Guide to Setting Up DNS for Manatal on Cloudflare
- 1 Minute to read
- Print
- DarkLight
- PDF
Guide to Setting Up DNS for Manatal on Cloudflare
- 1 Minute to read
- Print
- DarkLight
- PDF
Article summary
Did you find this summary helpful?
Thank you for your feedback!
This guide offers steps to help you set up your DNS for domain verification with Manatal on Cloudflare. Follow these instructions to ensure your domain is verified and ready for use with Manatal's Mass Emailing features. Learn more about Cloudflare on their website.
Important
- The Mass Emailing feature must be enabled, please follow these instructions.
- This can only be done by an Admin or non-admin users who has been given access to the Mass Emailing feature.
- An active Cloudflare account is required to complete this setup.
Retrieve DNS Records from Manatal:
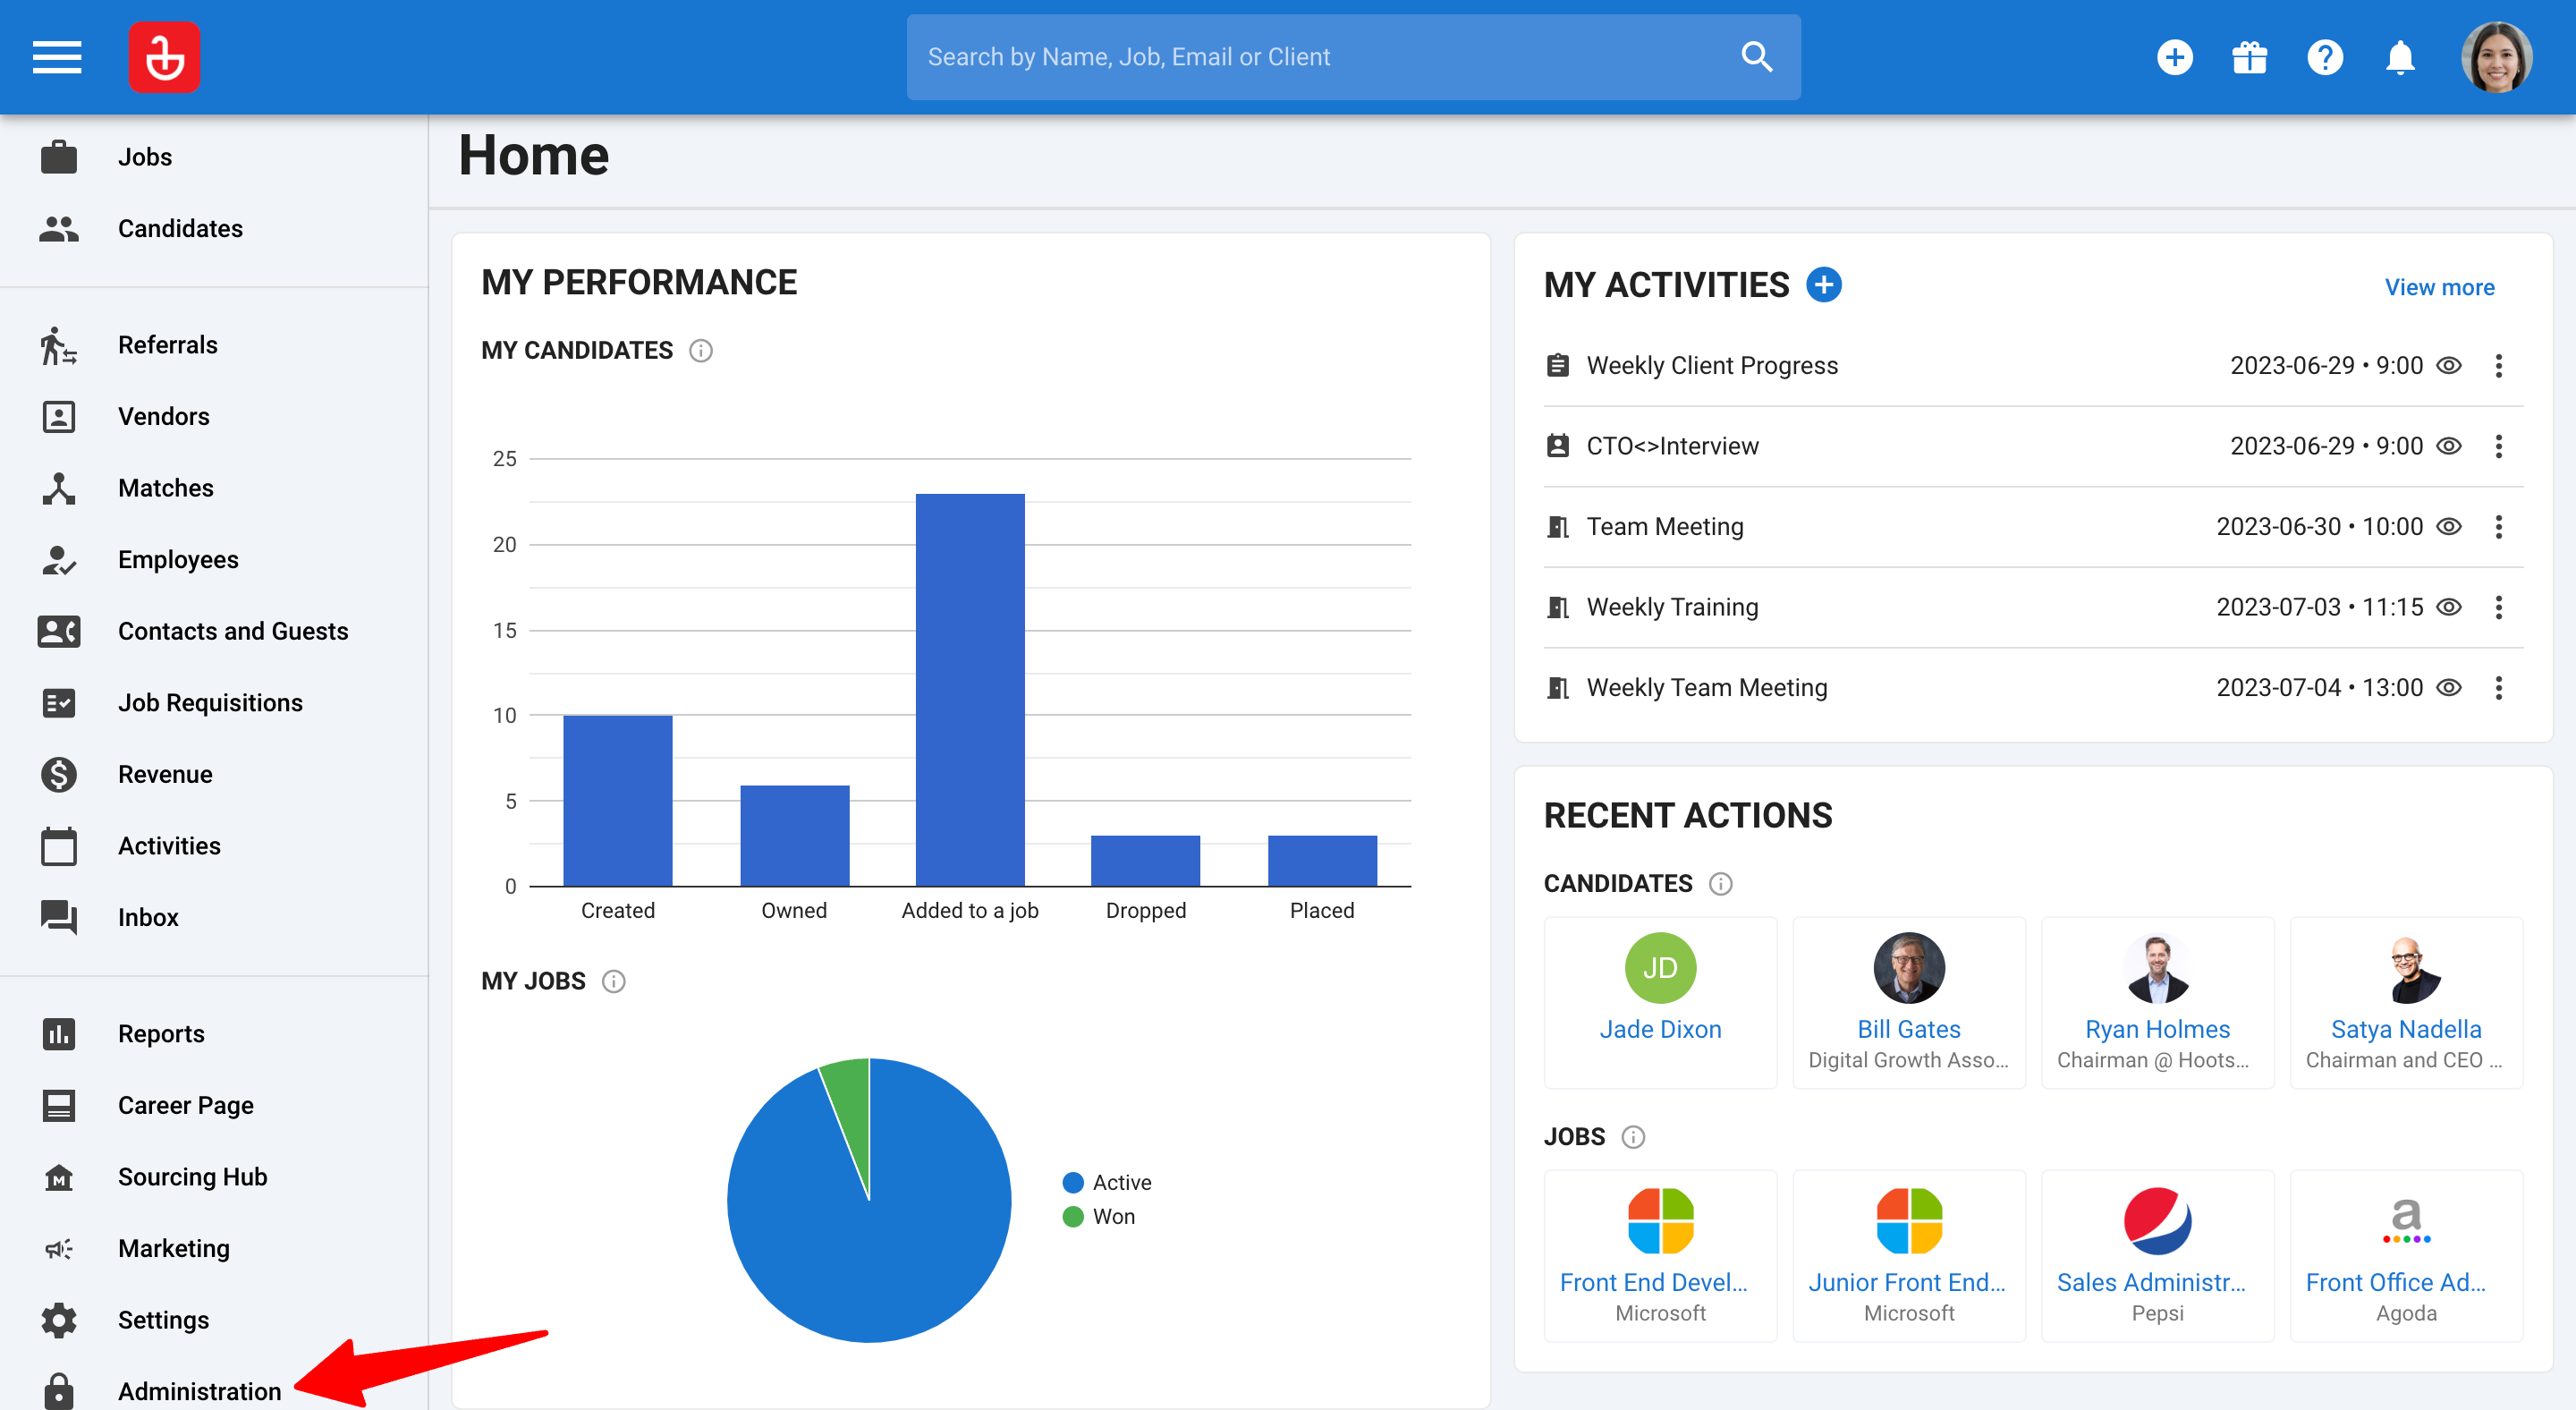
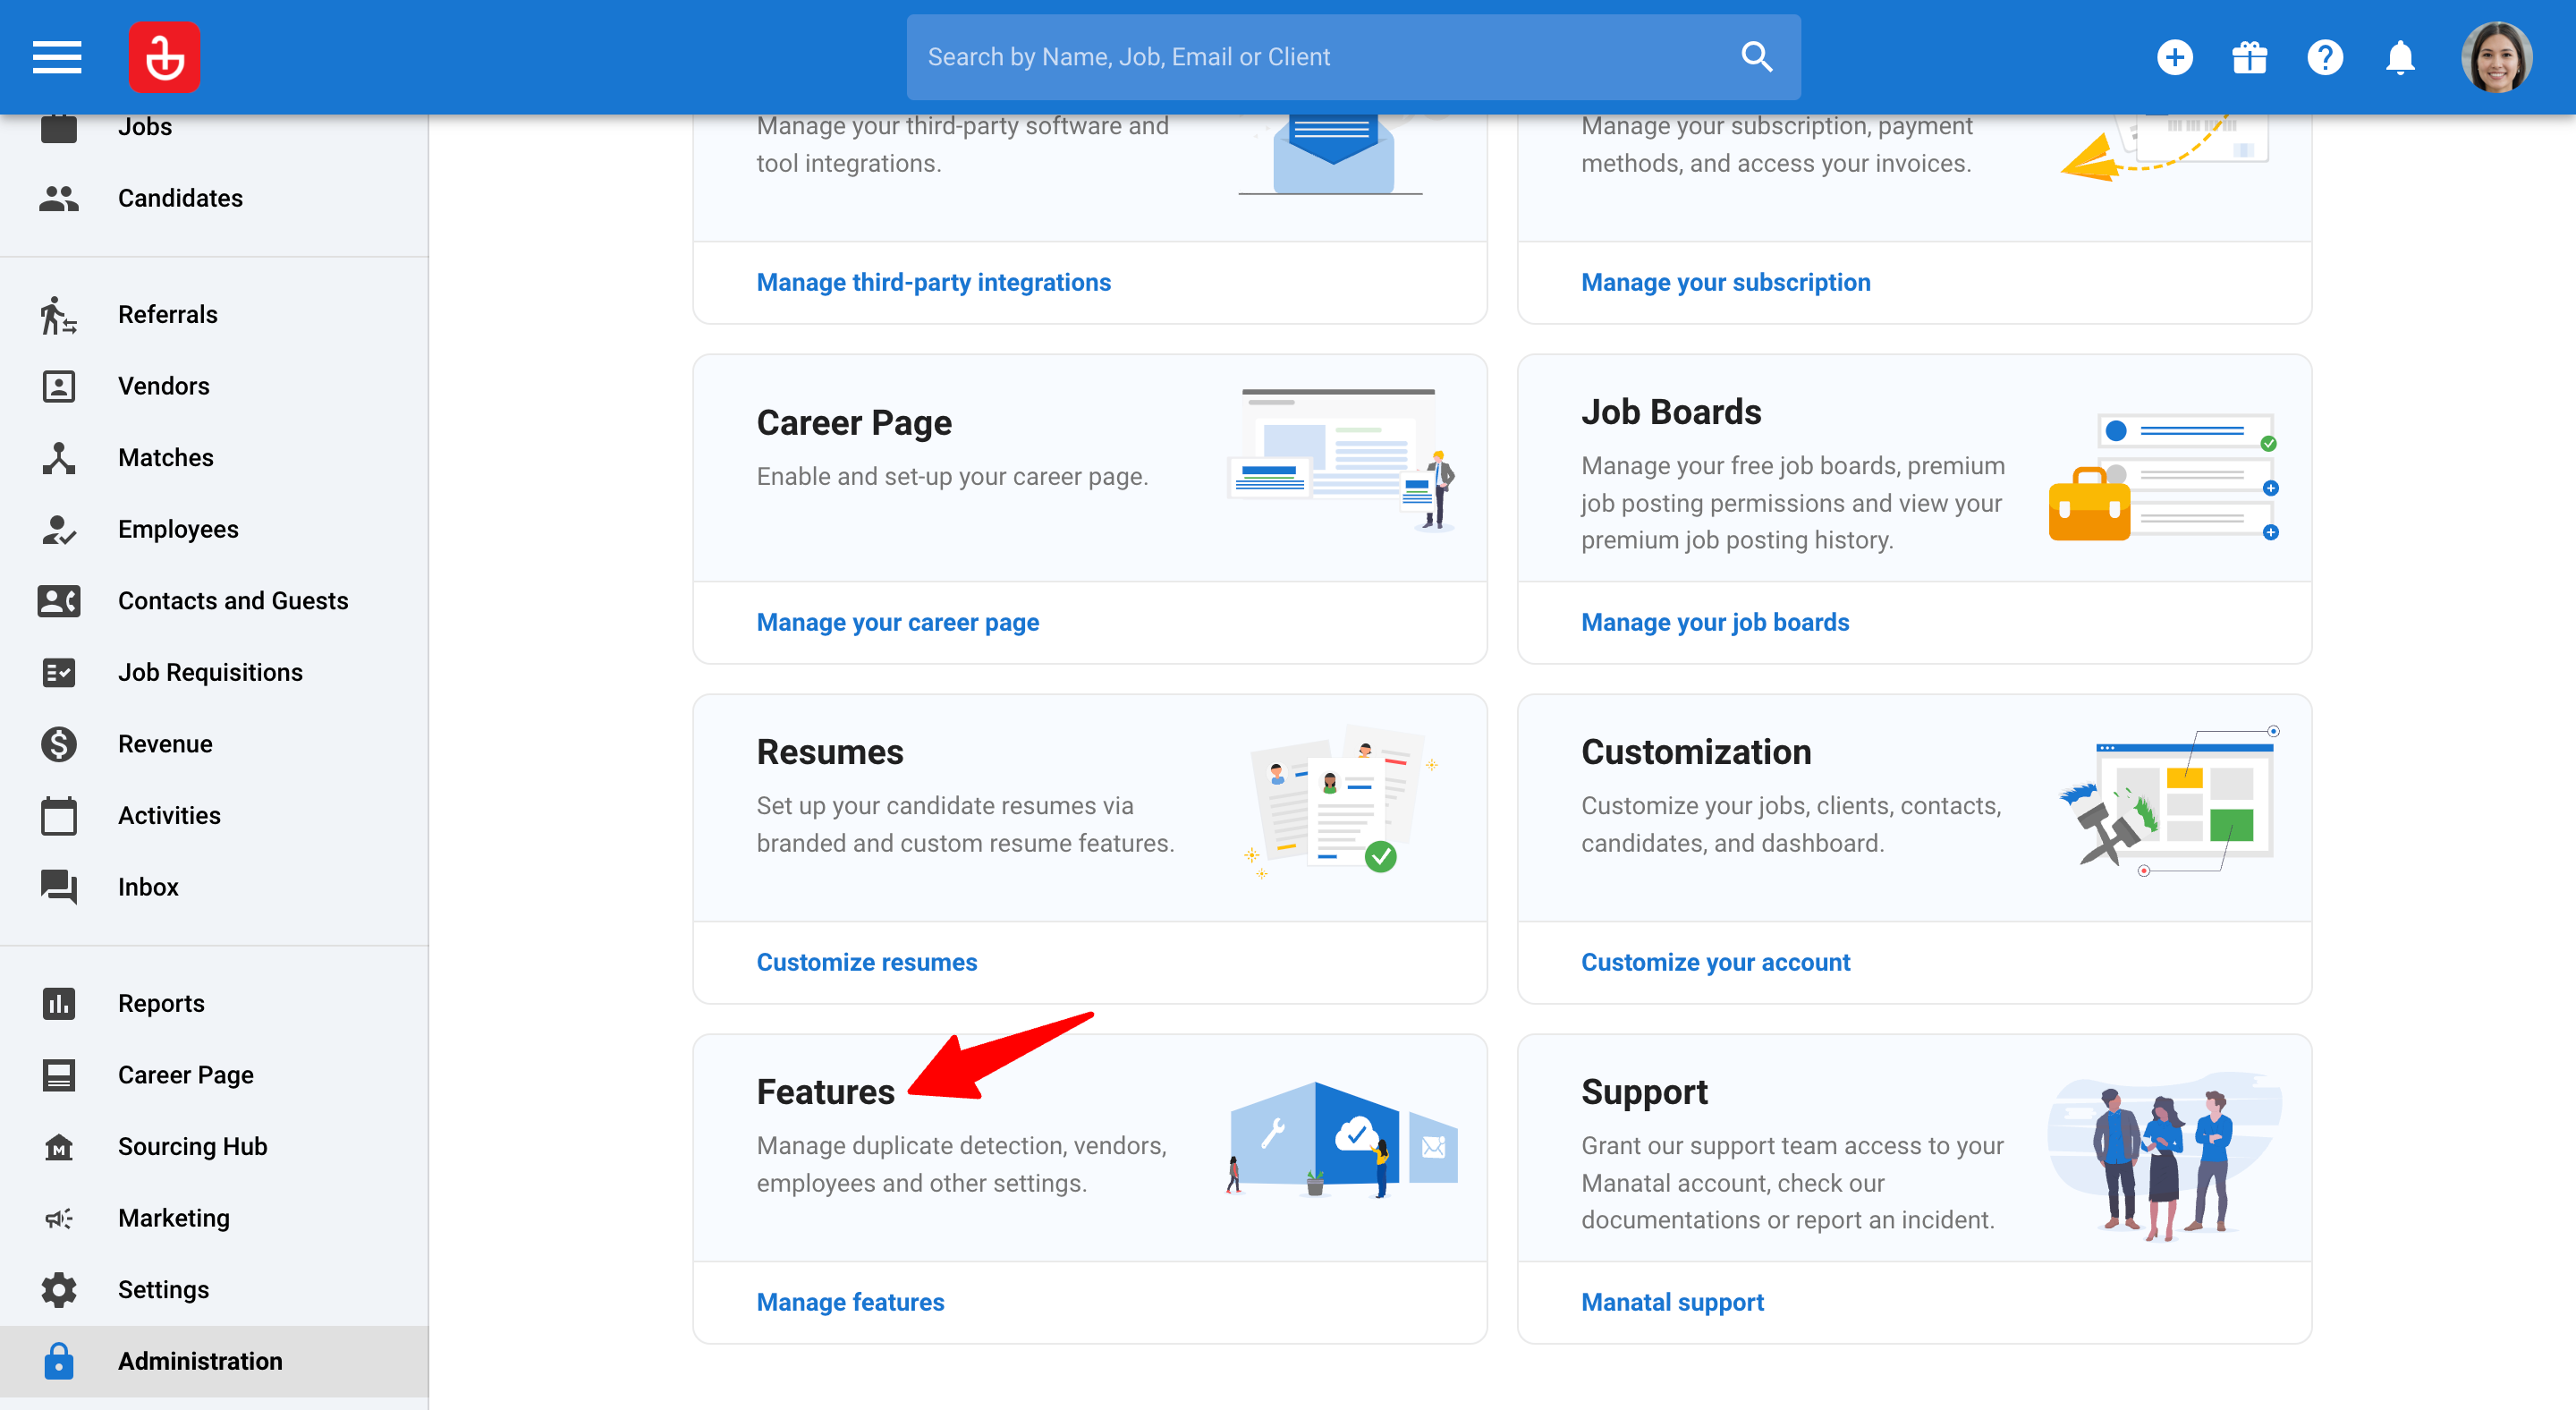
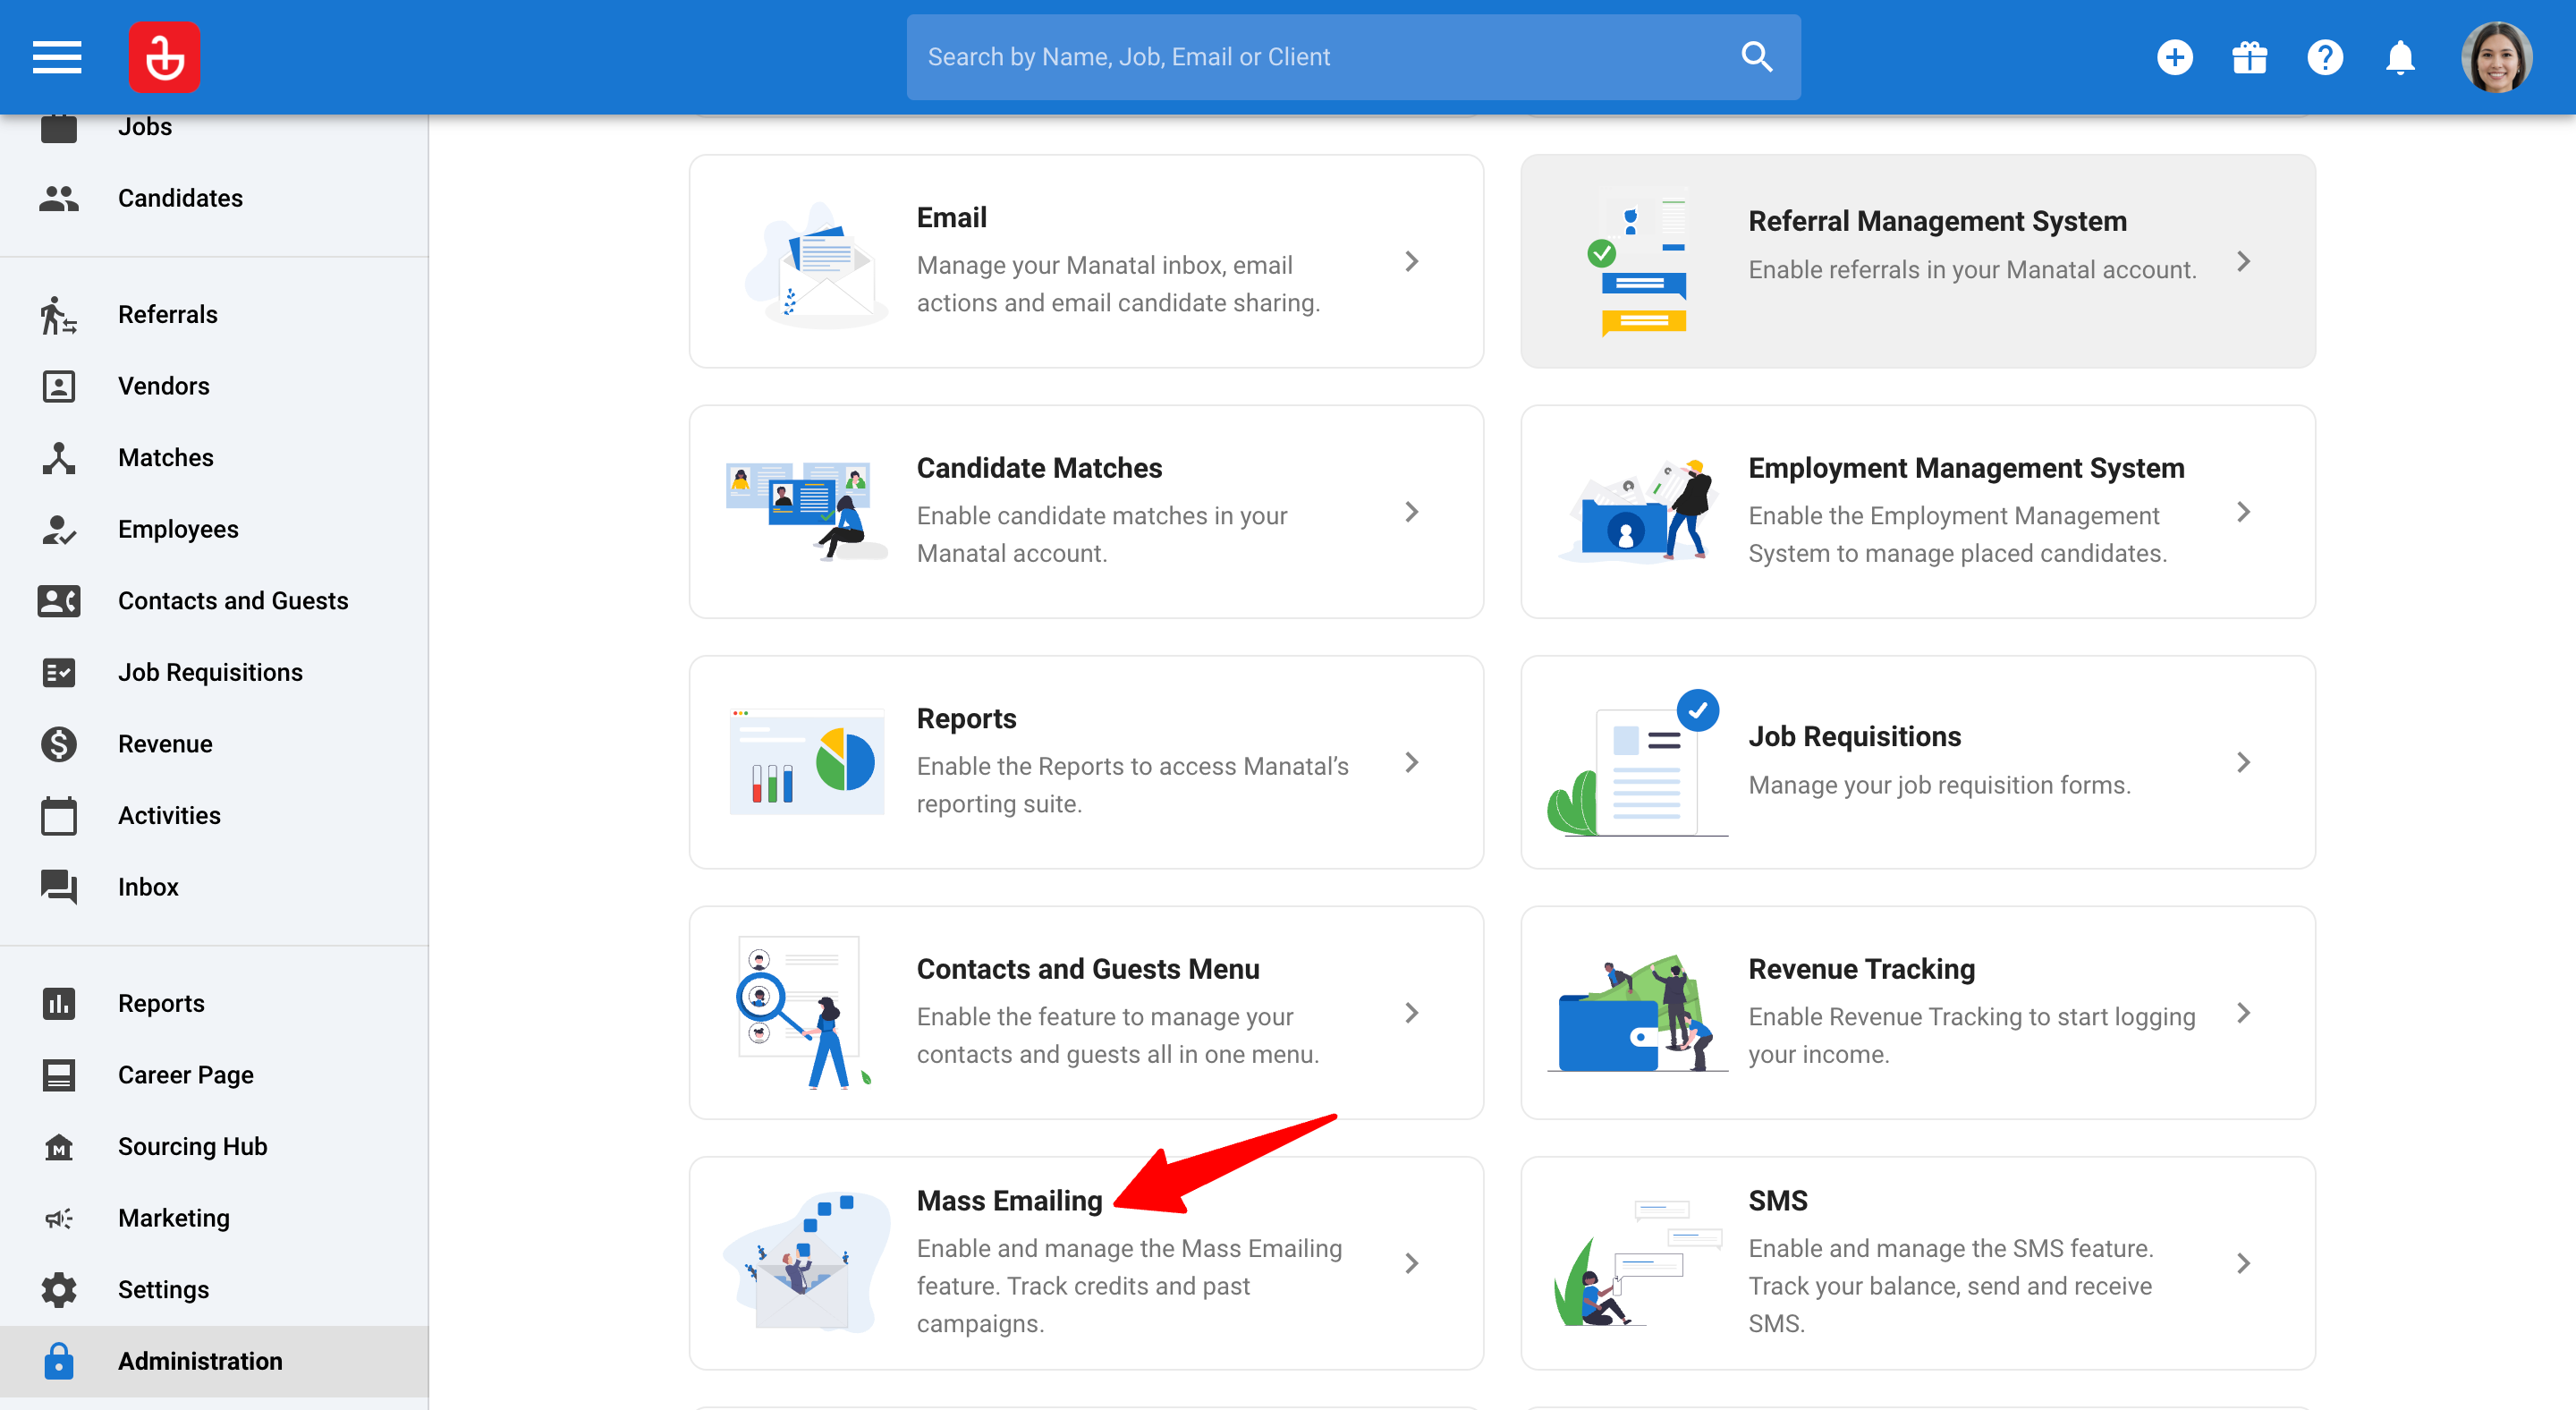
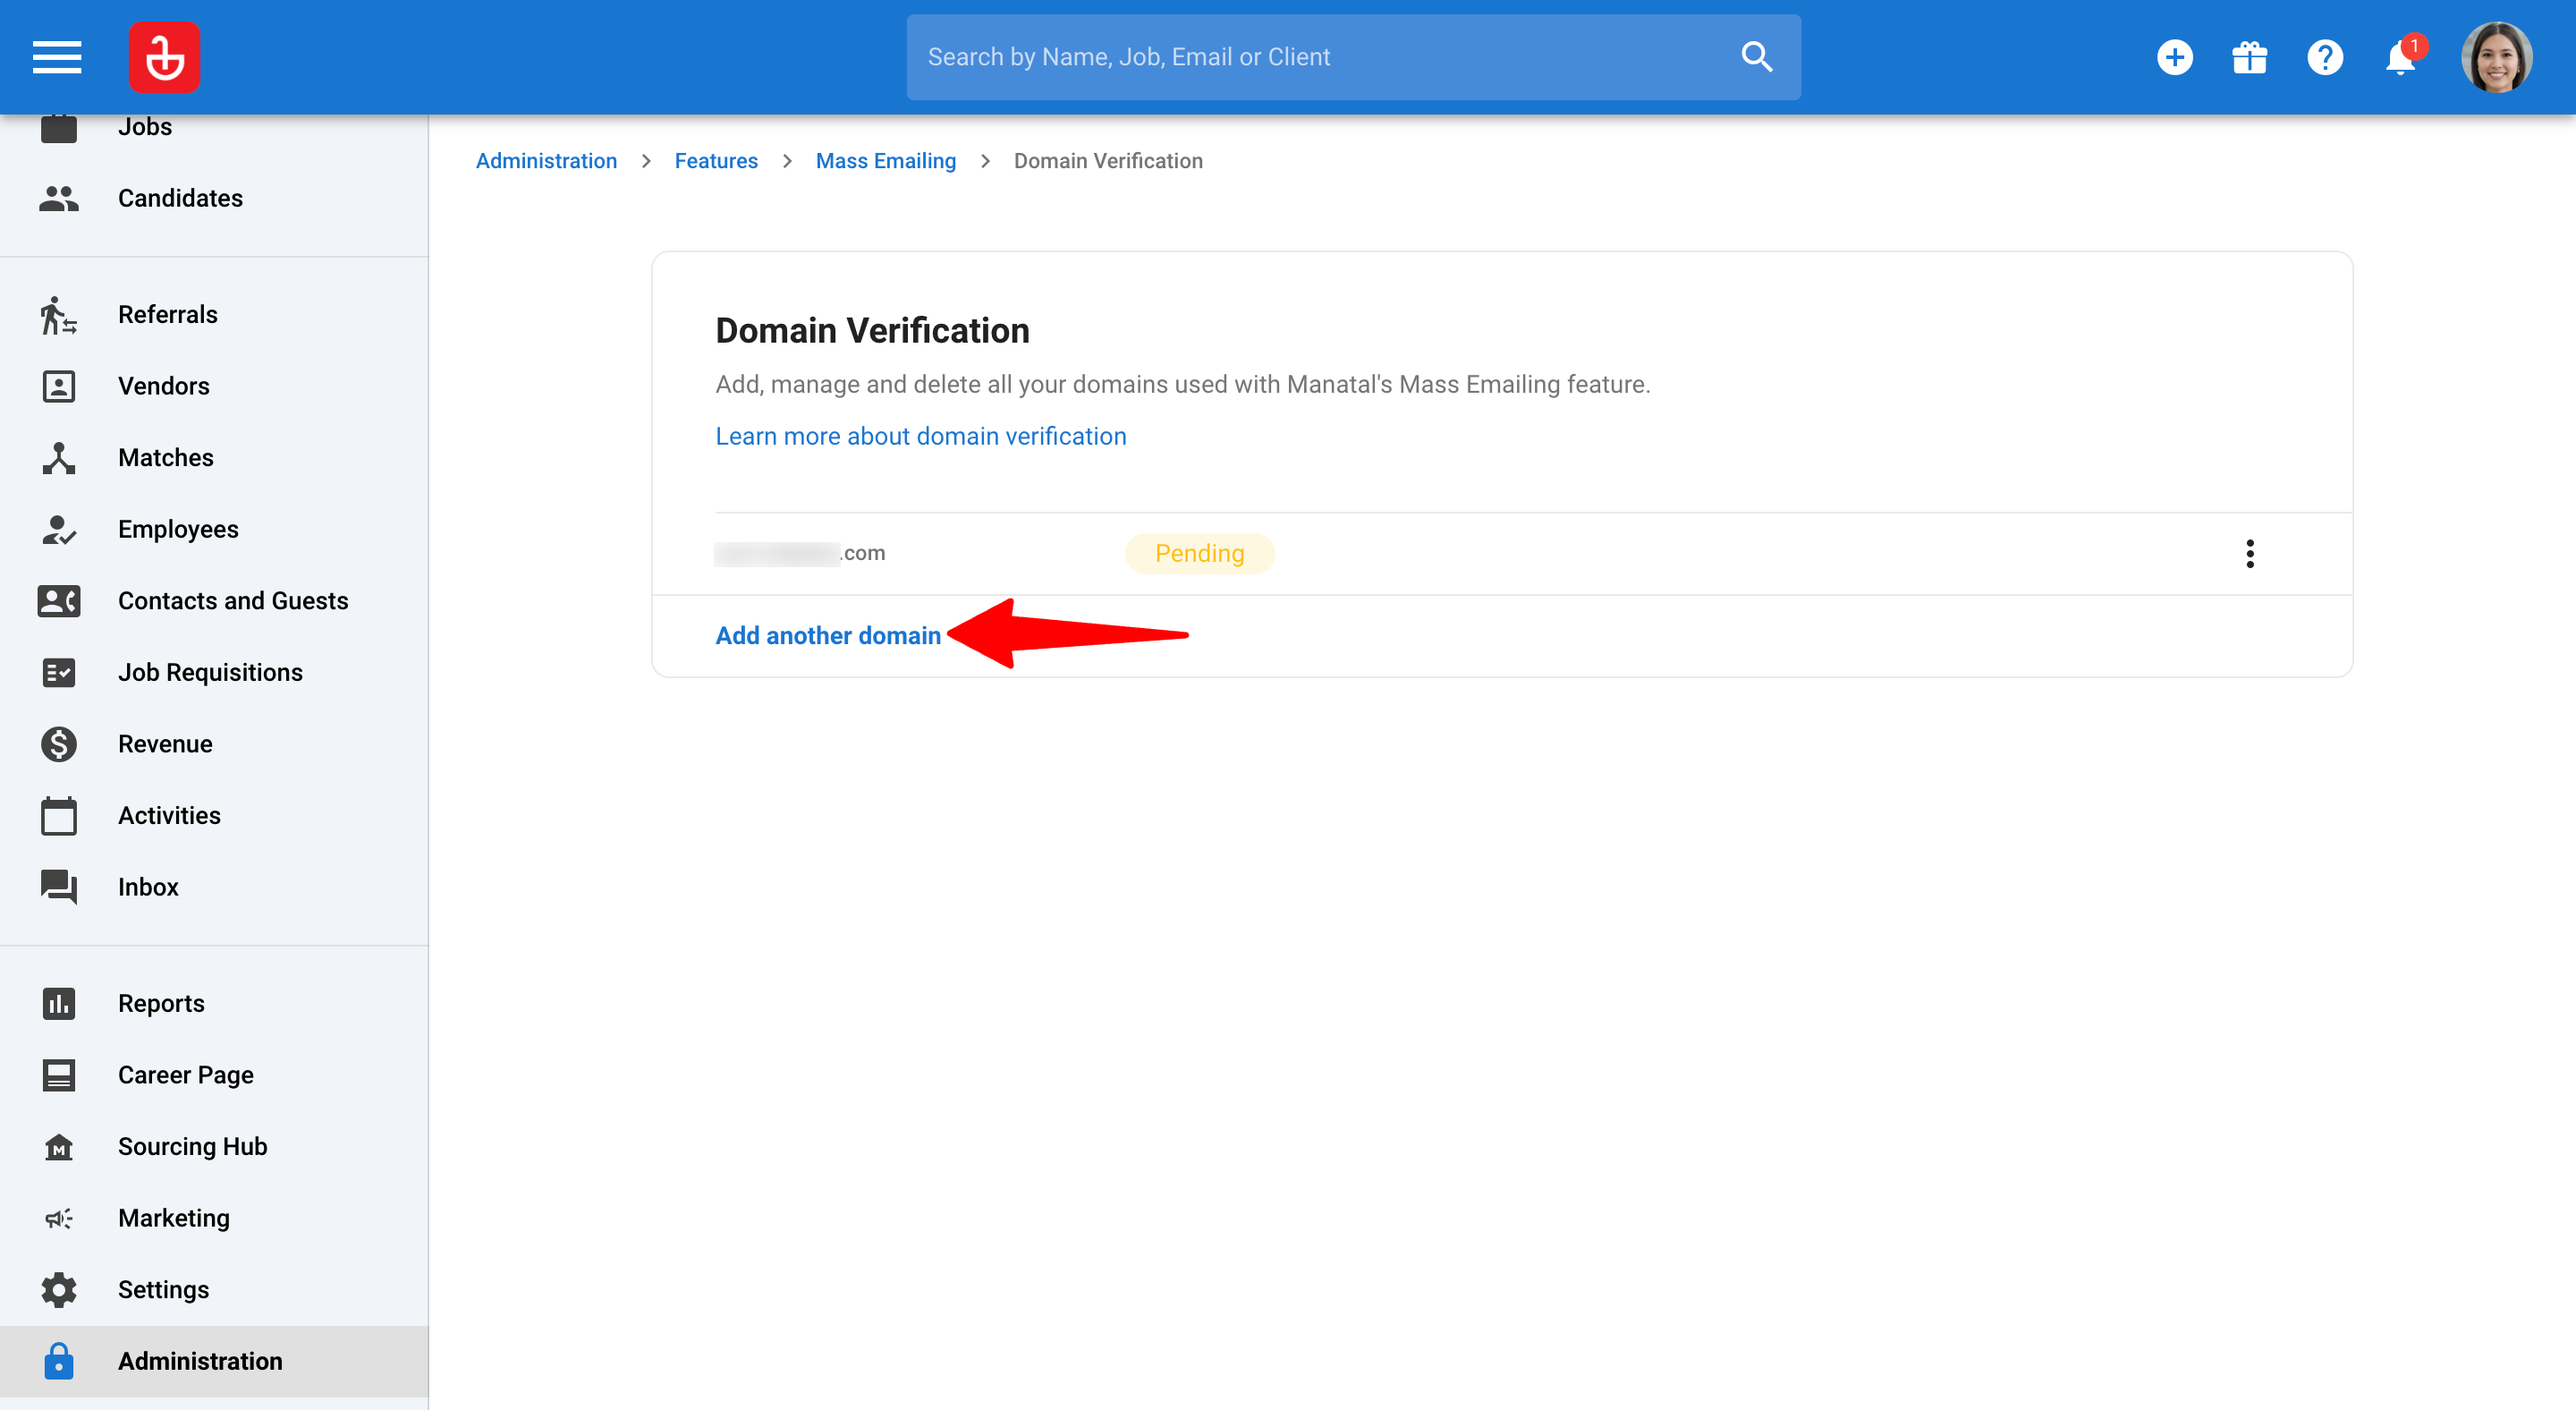
Head to the following page. Alternatively, click on "Administration" from your side menu and open the "Features" category. Click on "Mass Emailing" and then "Domain Verification".
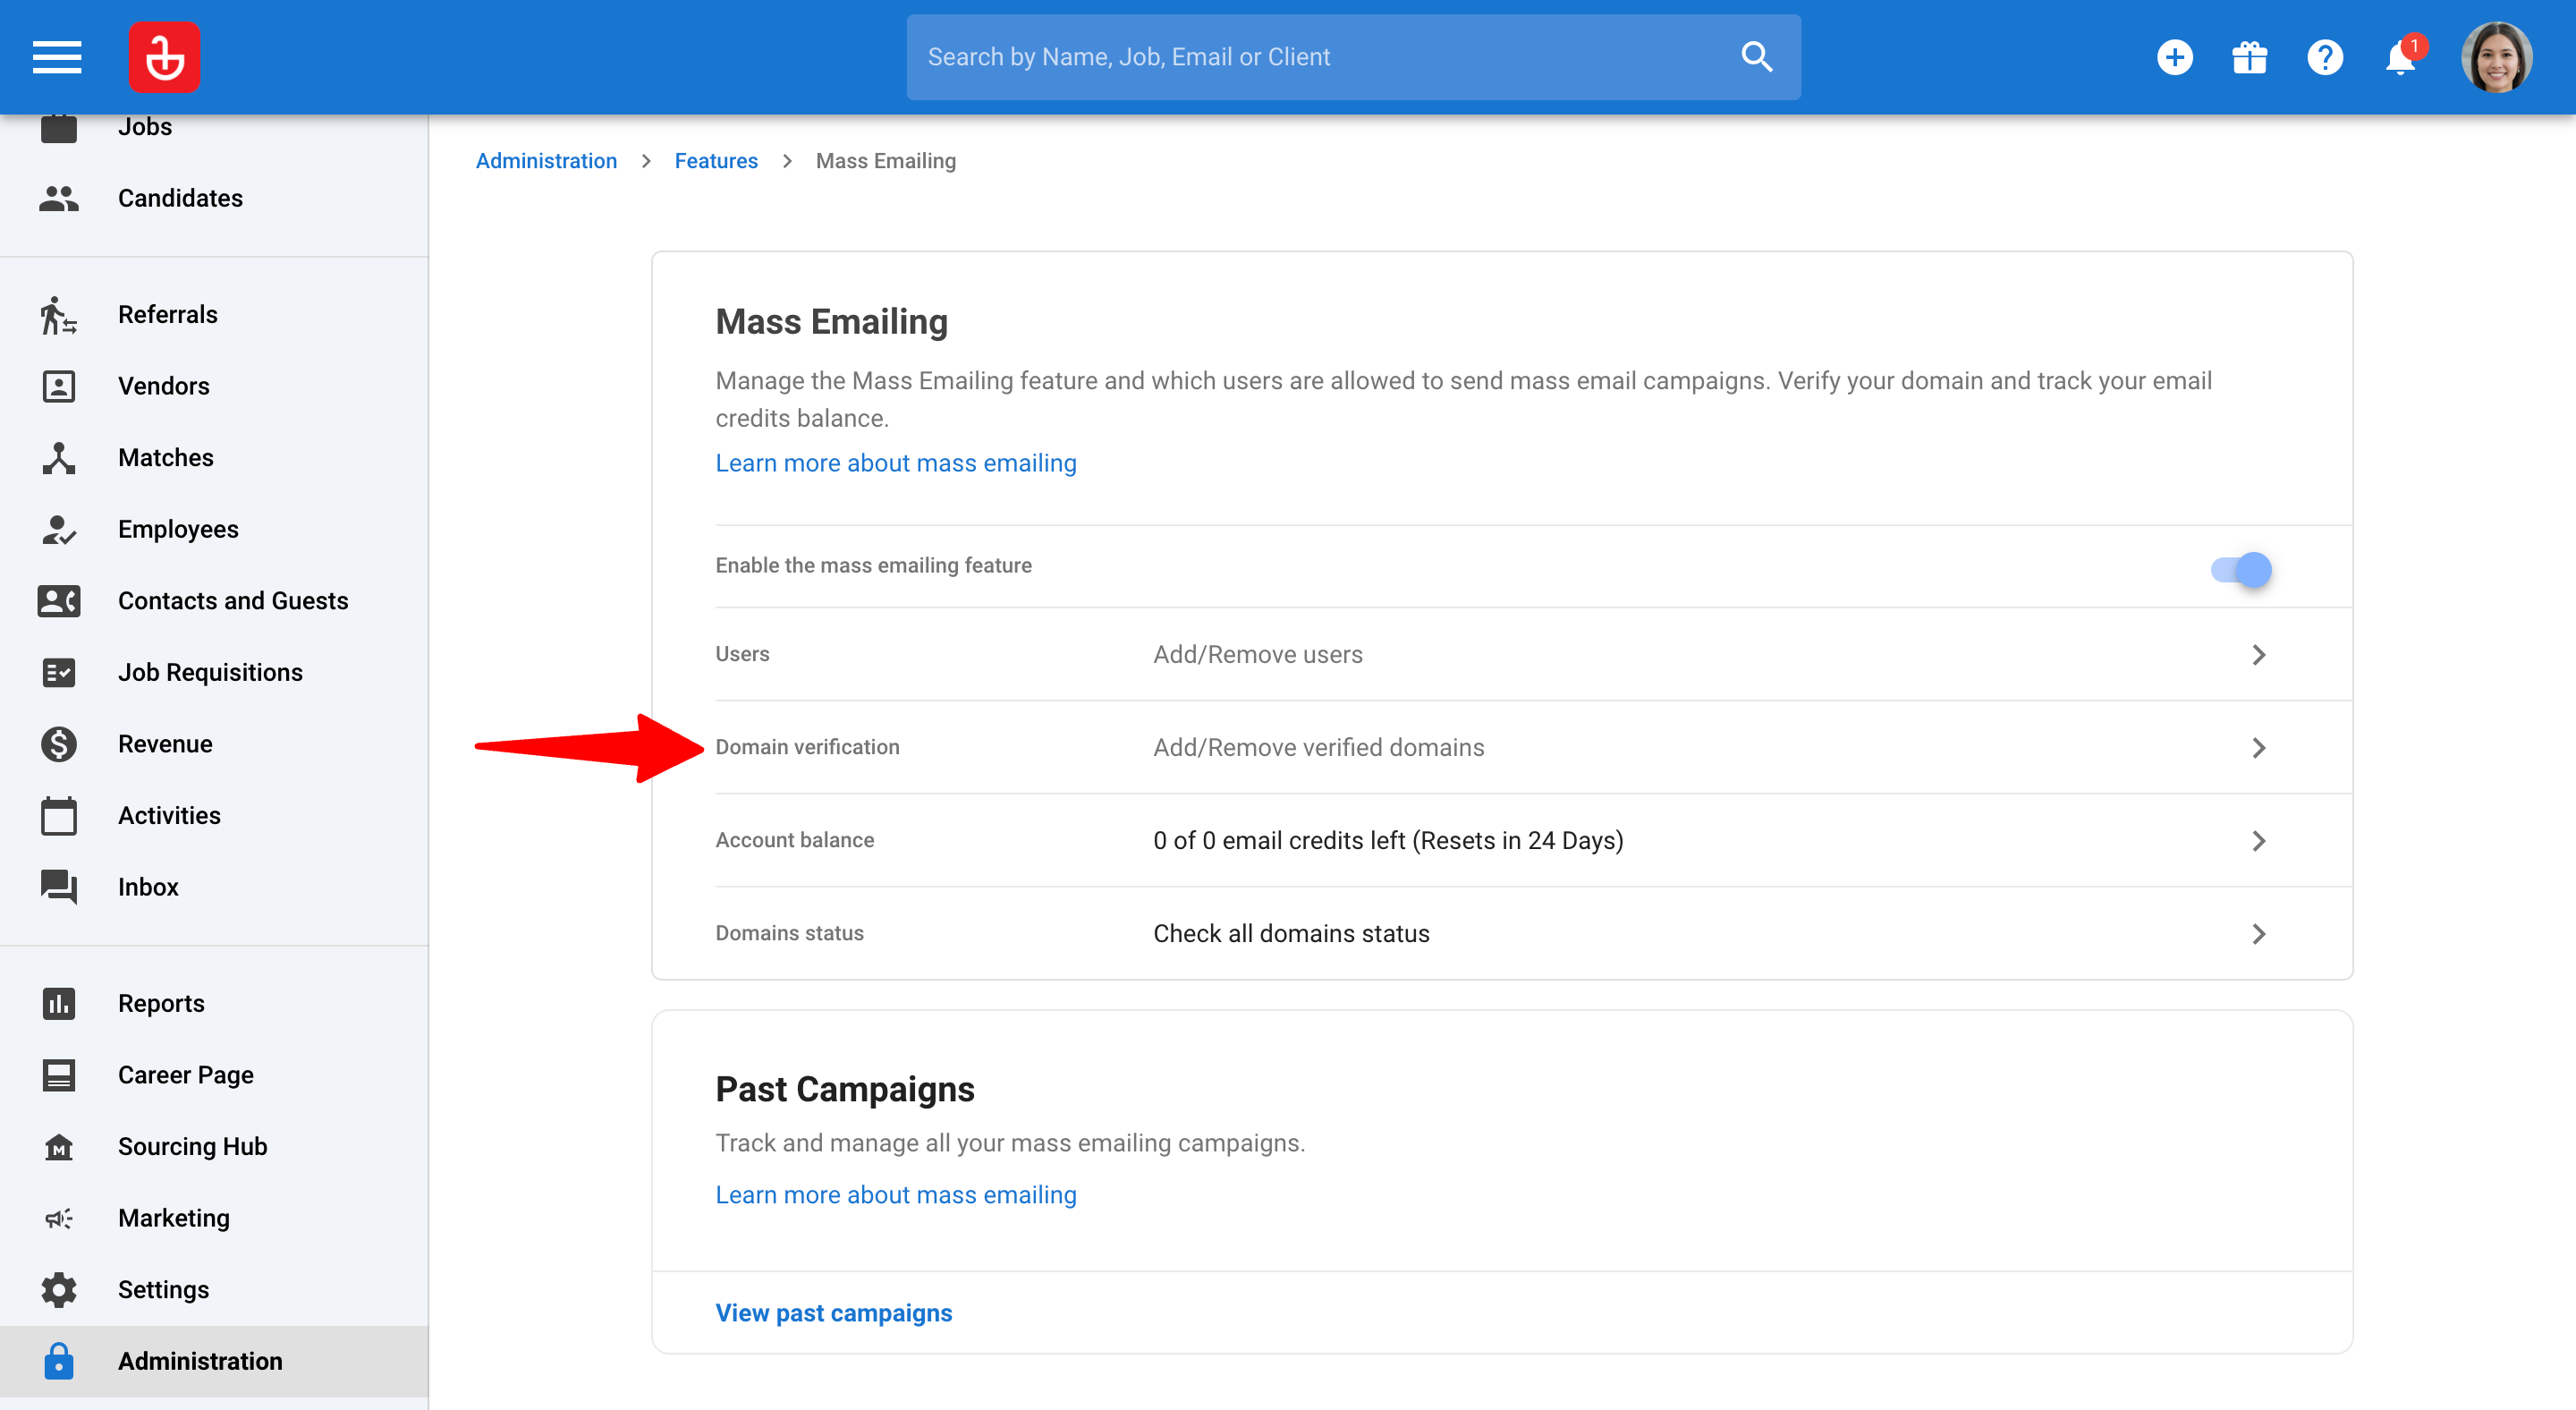
Click on "Add another domain".
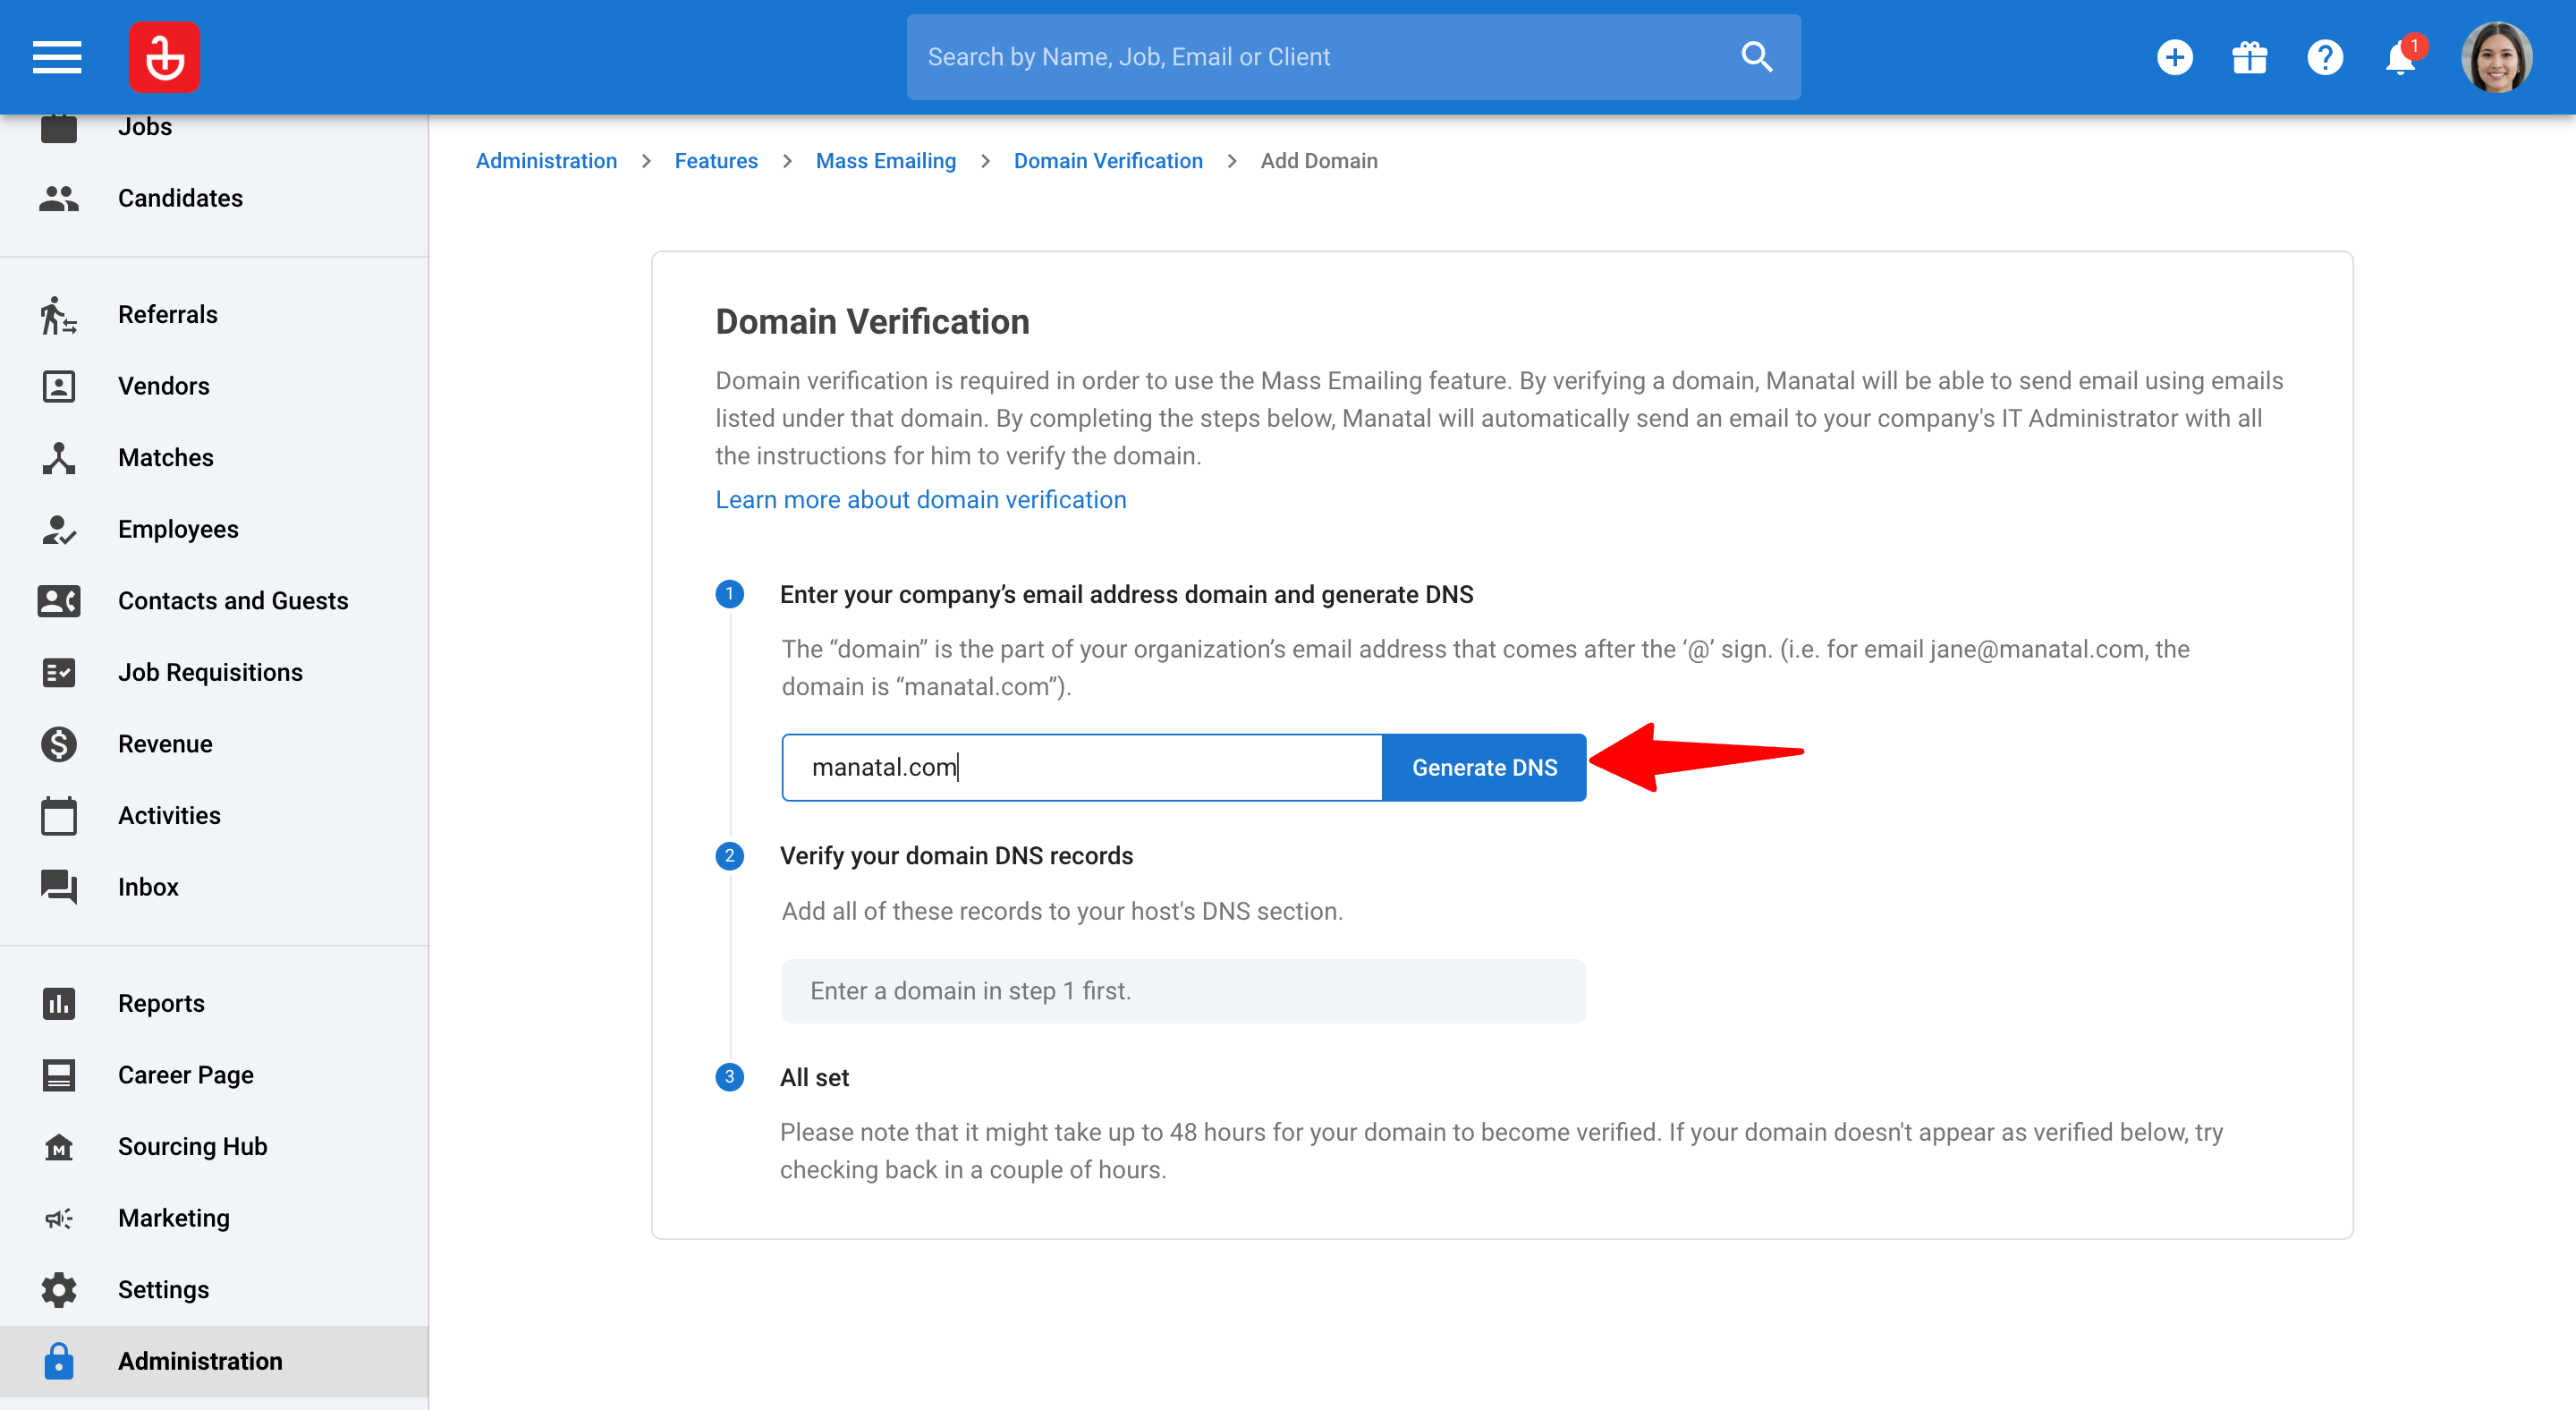
Enter your domain name without any prefixes like "www" or "https"(Example: manatal.com).
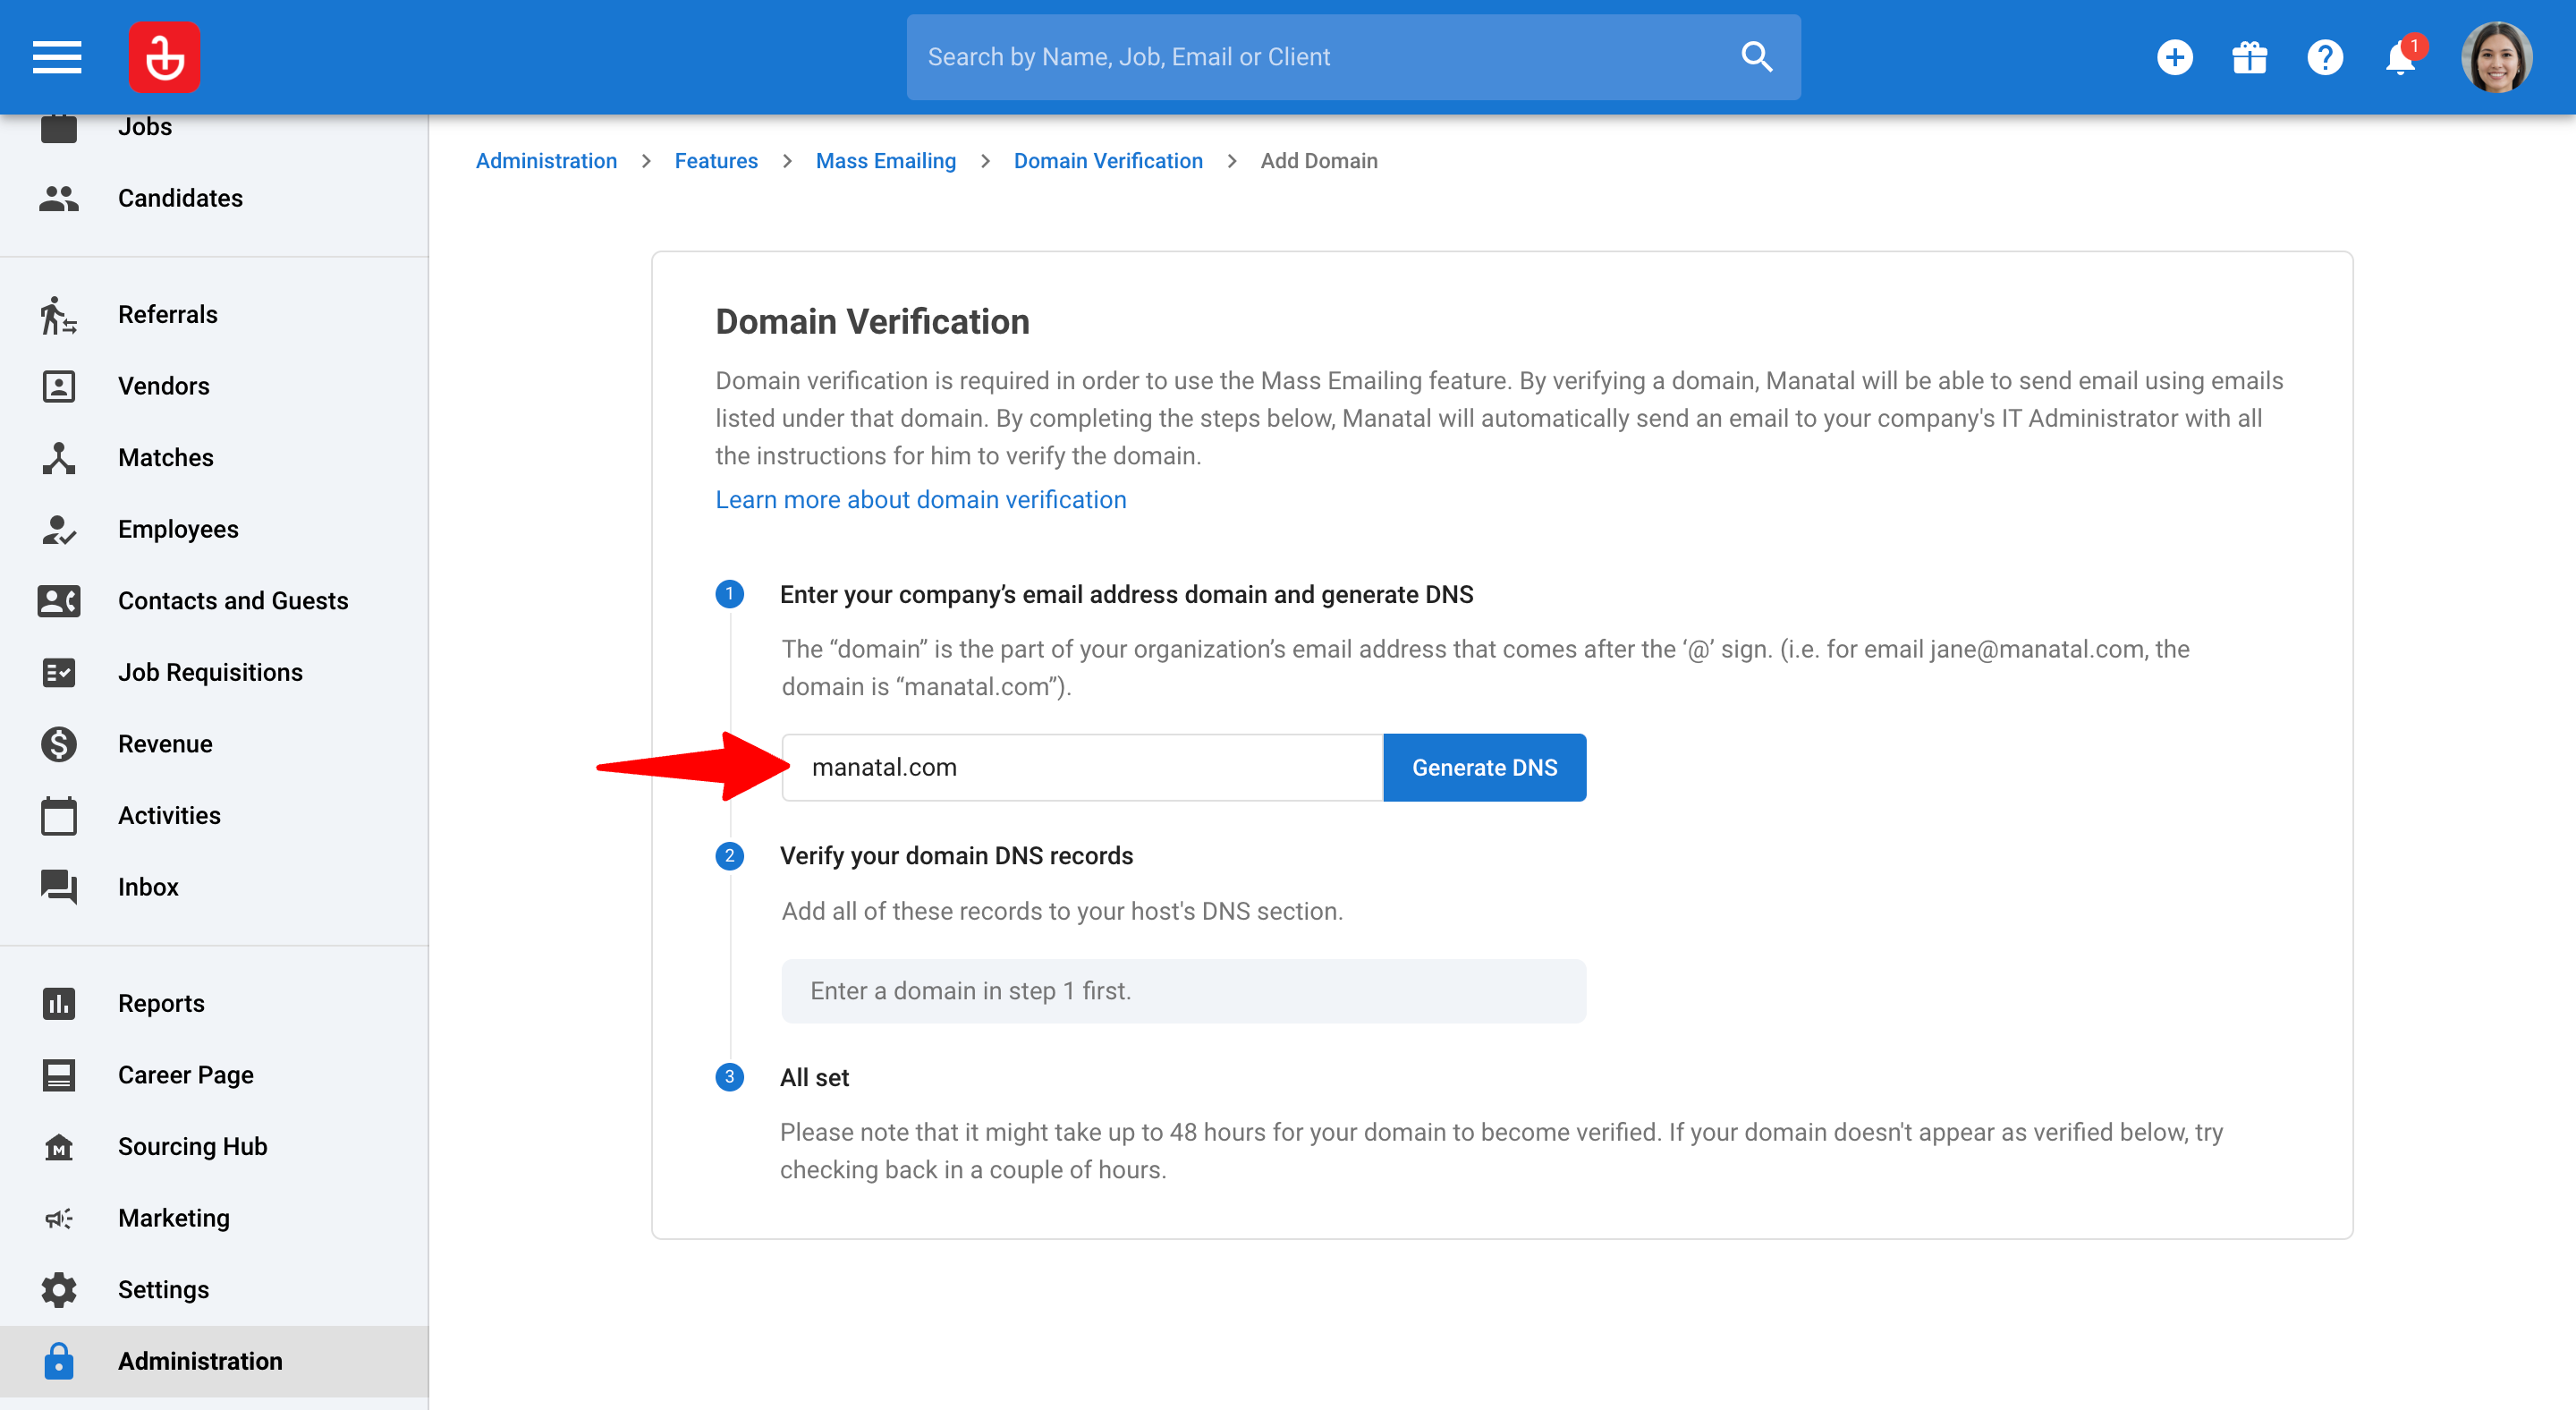
Click on "Generate DNS" to create the required DNS records.


Add DNS Records to Your Cloudflare Domain
Important
The steps outlined below are based on the Cloudflare interface at the time of creating this guide. The interface or process may change over time, so please refer to the official Cloudflare documentation if you encounter any differences.
Sign in to your Cloudflare account.
Select the domain you wish to modify from your account’s list.
Click on the DNS tab.
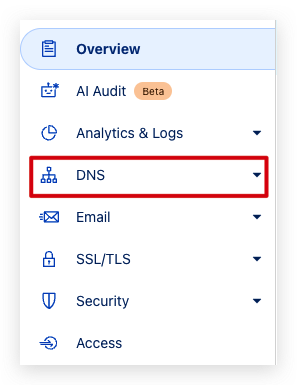
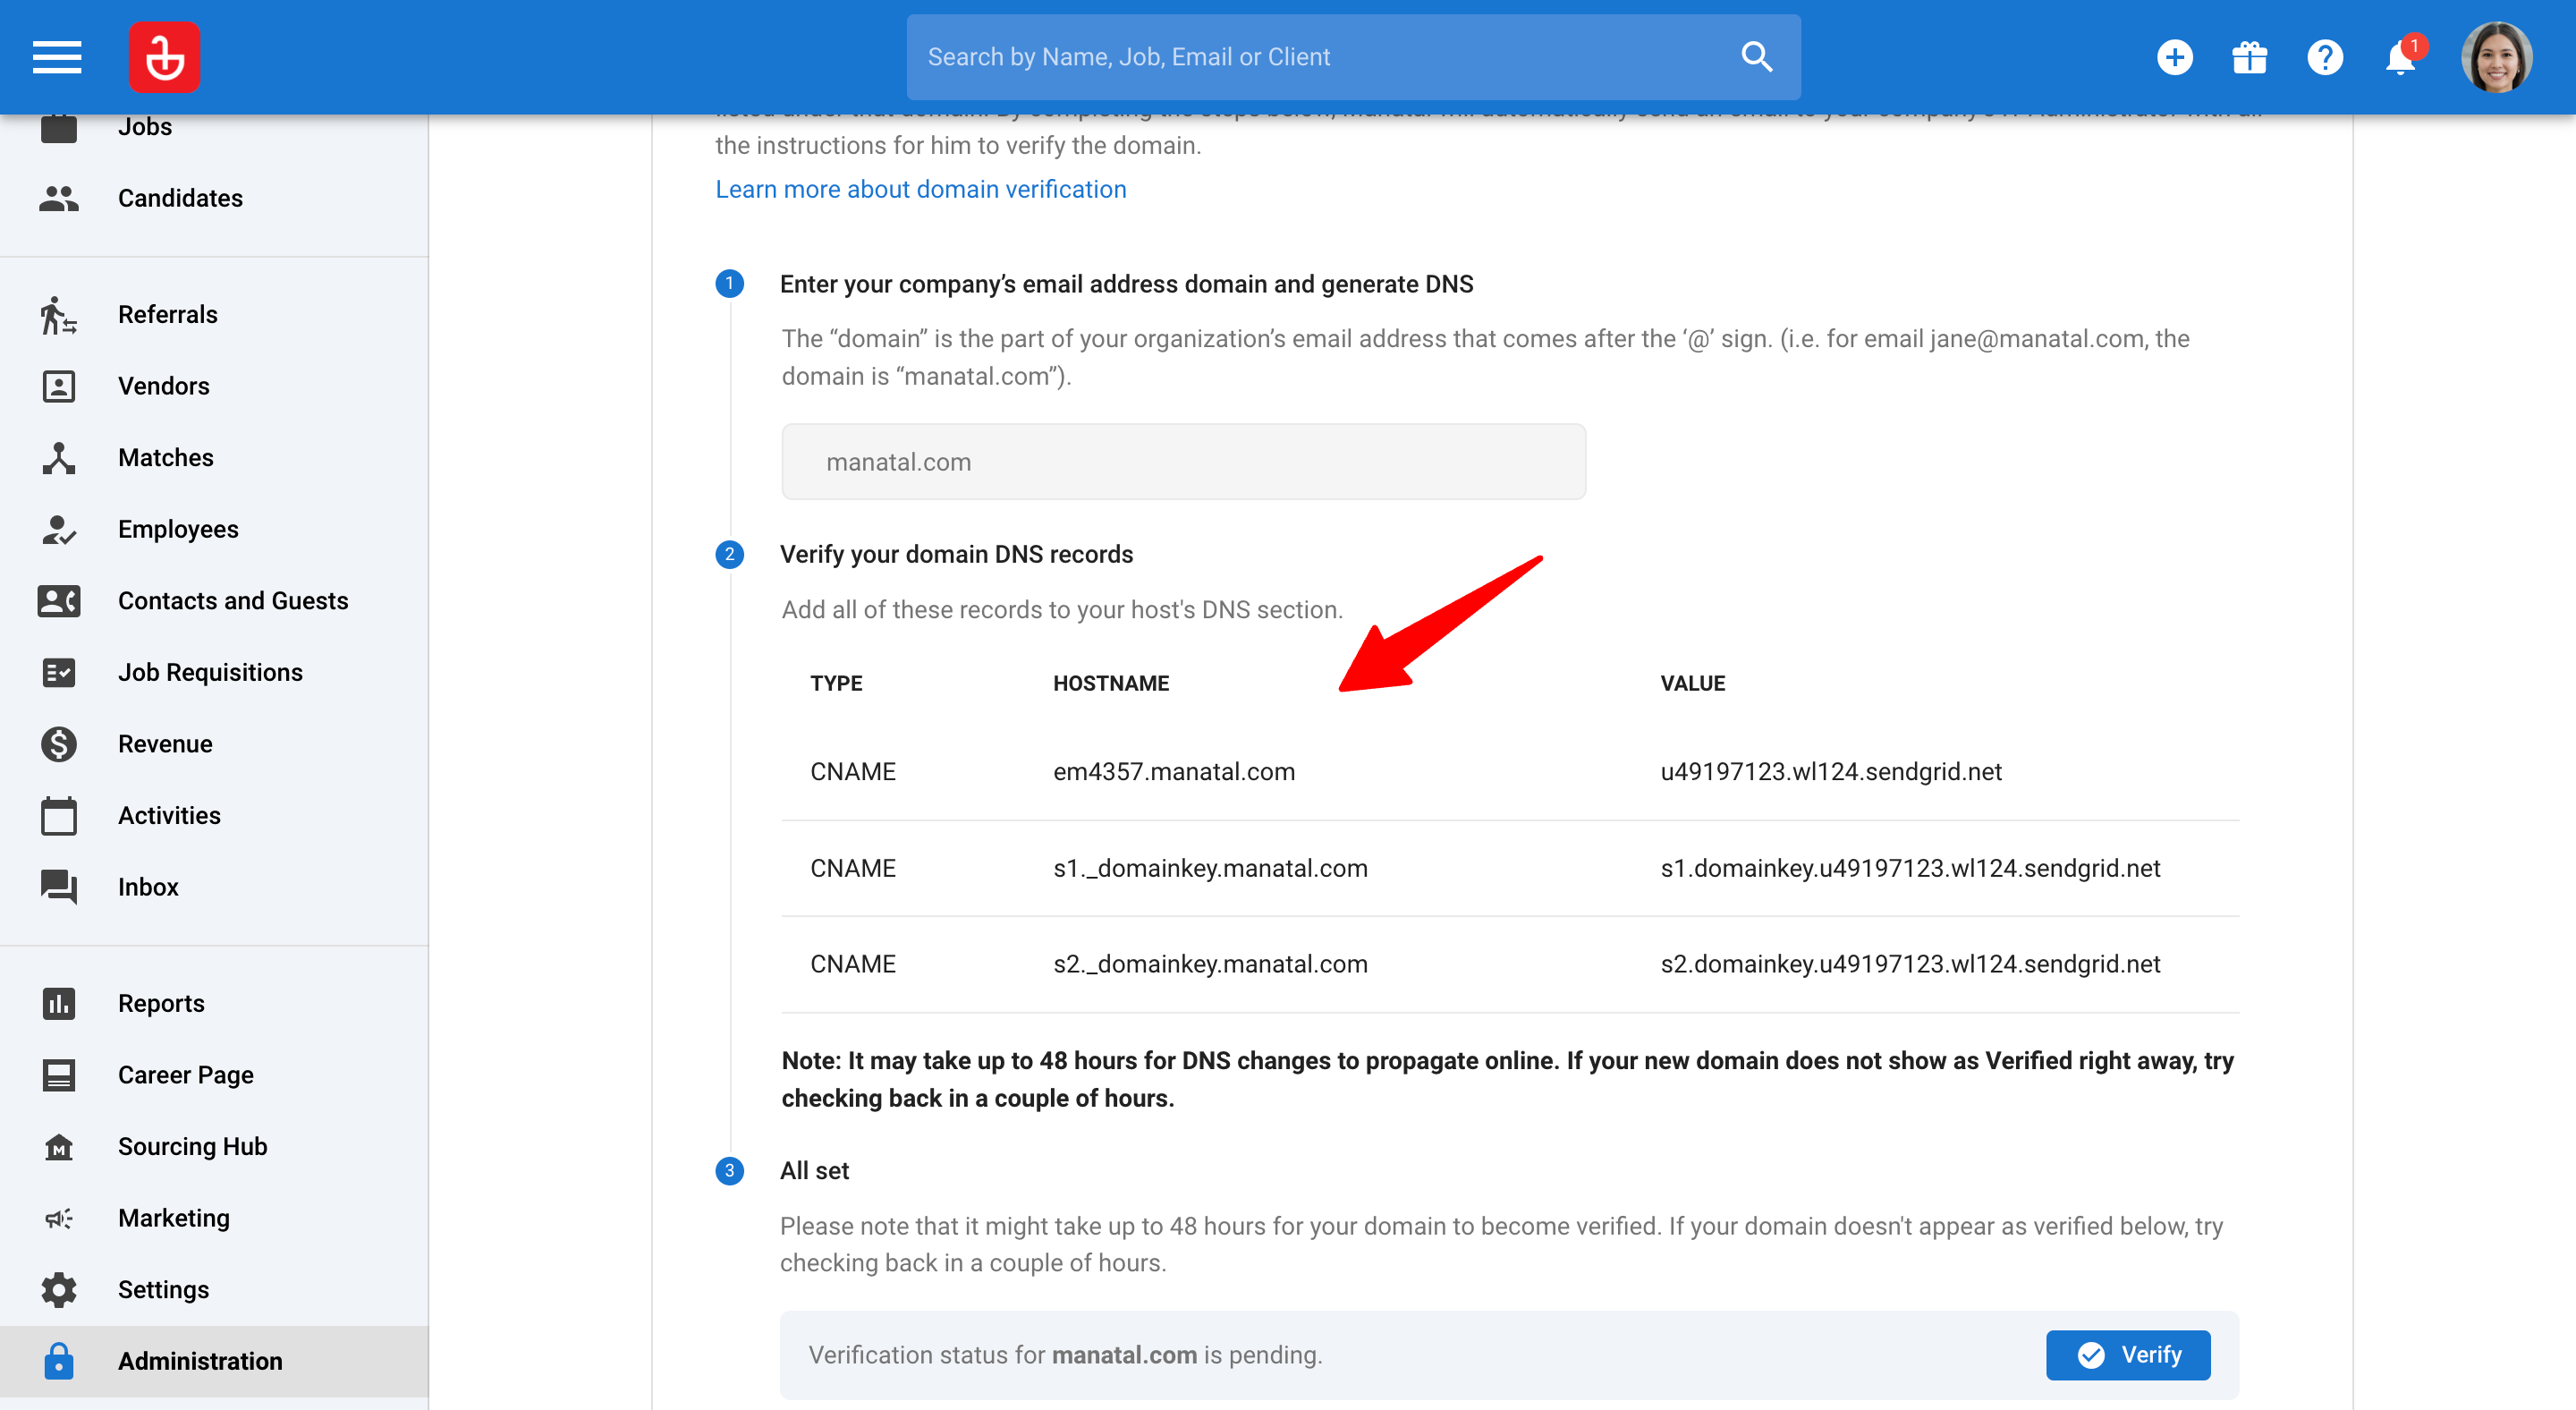
Add the DNS records for your domain and add the following 3 sets of CNAME records:
- Type: CNAME
- Name: Hostname
- Content: Value
- TTL: Leave at the default value
- Proxy status: Select bypass Cloudflare’s proxy
Click on "Save" to apply the new CNAME record. You should have 3 sets of CNAME records like in this example below

Wait for DNS to update.


Important
It may take up to 48 hours for DNS changes to propagate online.
Verify your Domain on Manatal
- In your Manatal account, access the Domain Verification page for Cloudflare and click on the "Verify" button.
Important
If your new domain does not show as Verified right away, try checking back in a couple of hours.

- When your domain is marked as "Verified", you will be ready to start sending email campaigns. Learn more about sending email campaigns in this article.
Was this article helpful?