Matches Data Import
- 5 Minutes to read
- Print
- DarkLight
- PDF
Matches Data Import
- 5 Minutes to read
- Print
- DarkLight
- PDF
Article summary
Did you find this summary helpful?
Thank you for your feedback!
Important
This can only be done by an Admin.
Manatal allows the mass creation of matches through the import of CSV or JSON files. This can be particularly useful when performing a data migration to Manatal for example. Please refer to this article for more information on matches.
Important
When importing matches, both candidate and job source IDs must be attached to each match to define to which candidate and job it should be attached to.
During the import, for each match:
- if either the source ID of the candidate or job is missing, the import will fail.
- if the source ID of the candidate or job is duplicate (within the current or a past import), the import will fail.
Important
It is recommended to map Candidate Source ID and Job Source ID when importing candidates and importing jobs.
Import your Matches
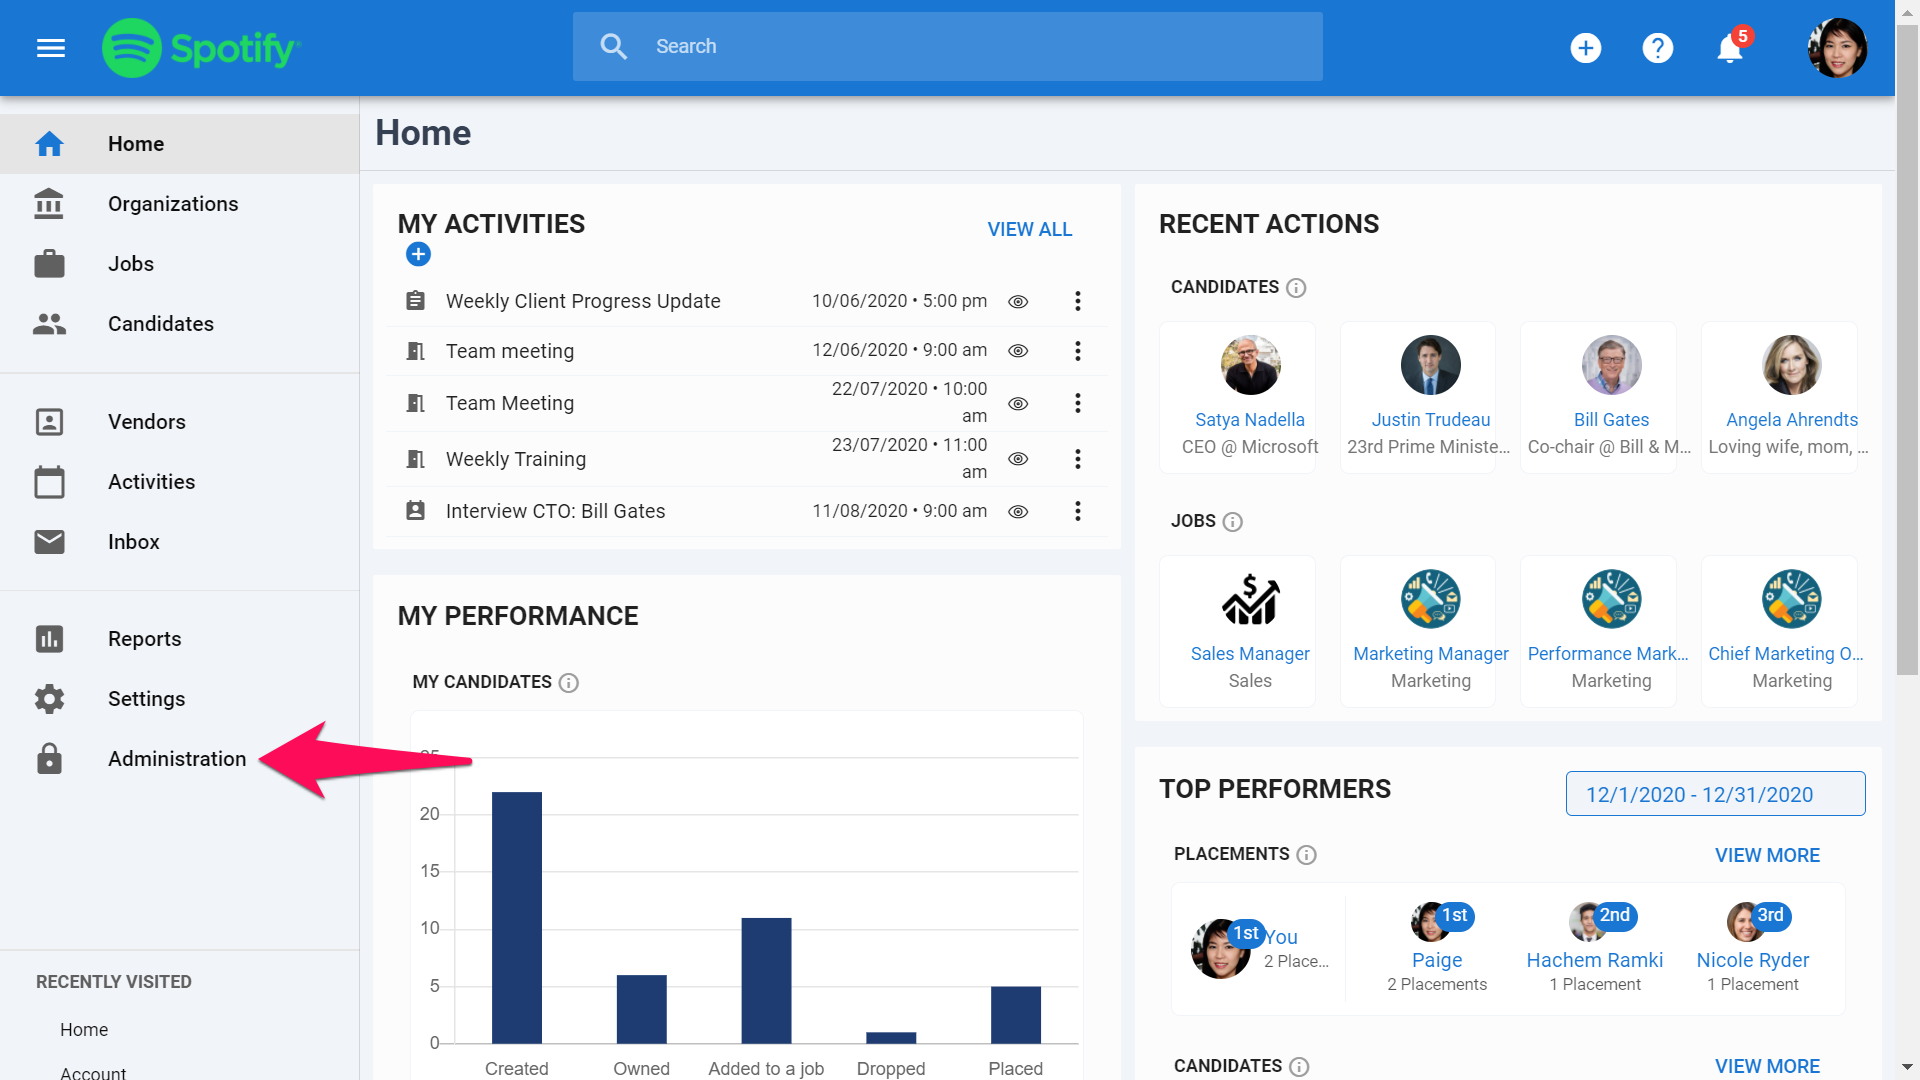
- Head to the following page. Alternatively, click on "Administration" from your side menu, open the "Data Management" category and then the "Data Import" category then click on "Upload file".


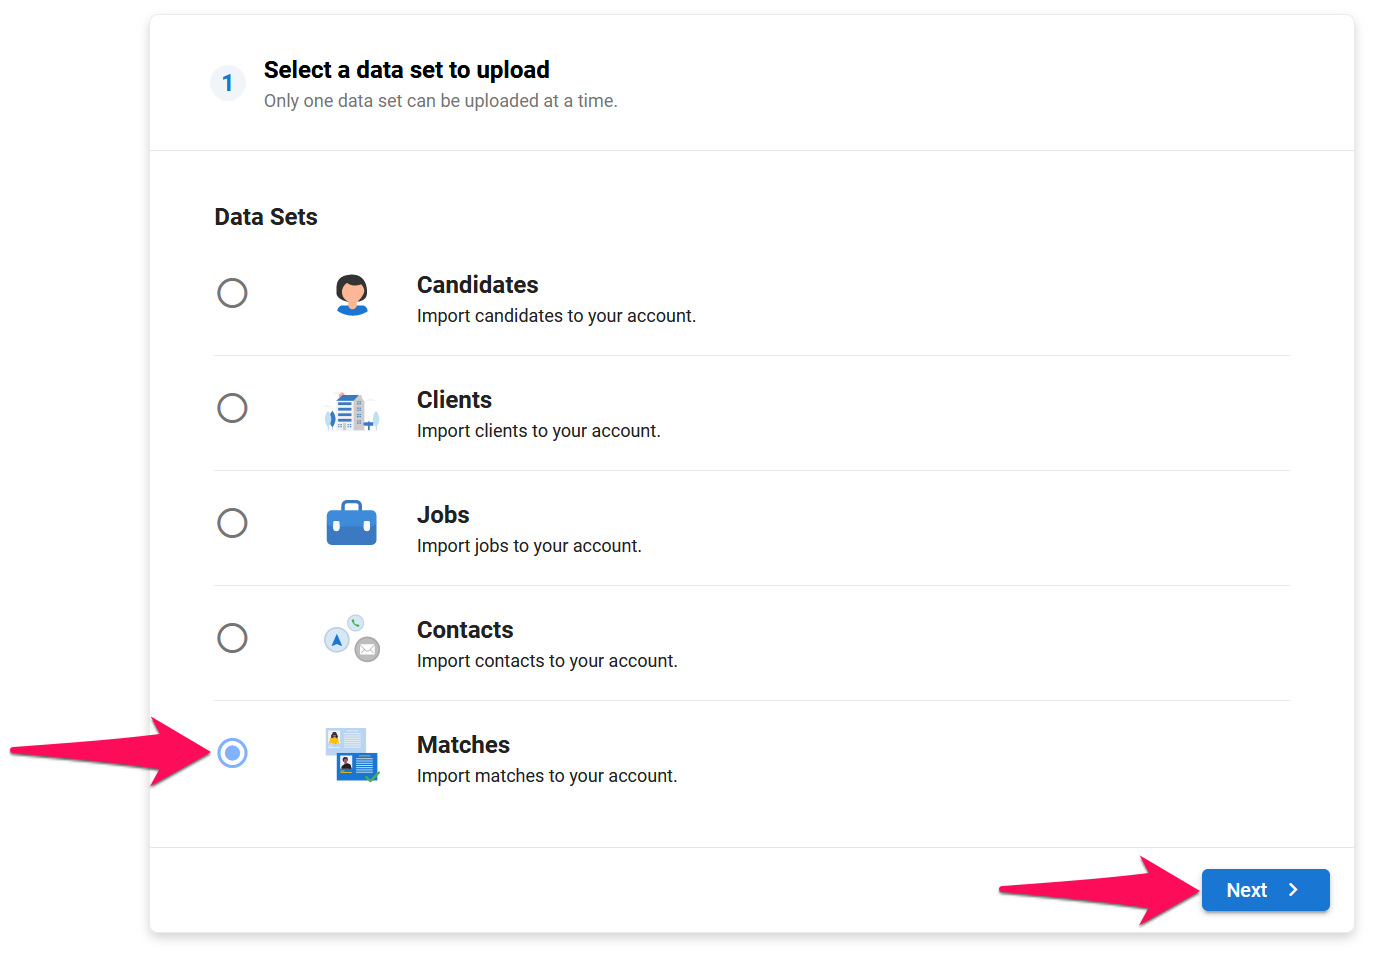
Select the Matches data set and click "Next".
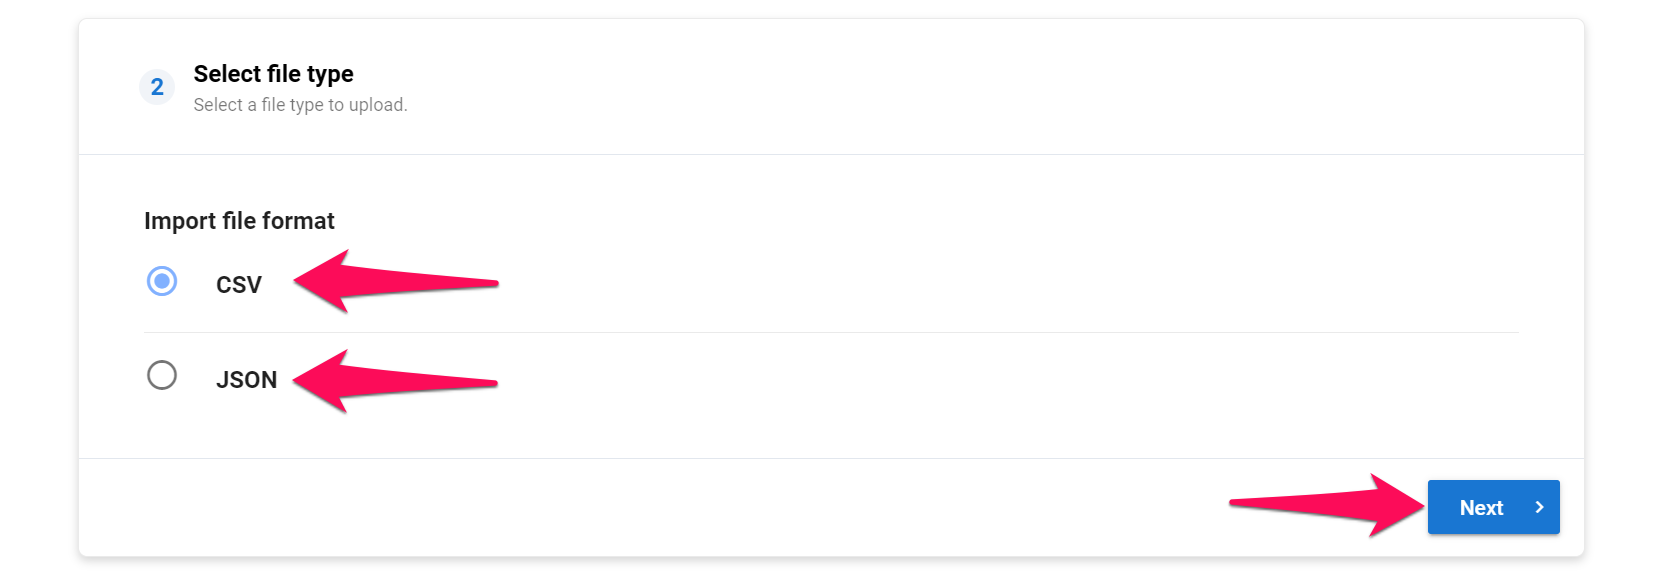
Select the file type and click "Next". For a CSV file, continue reading below, for a JSON file follow these instructions.


CSV File
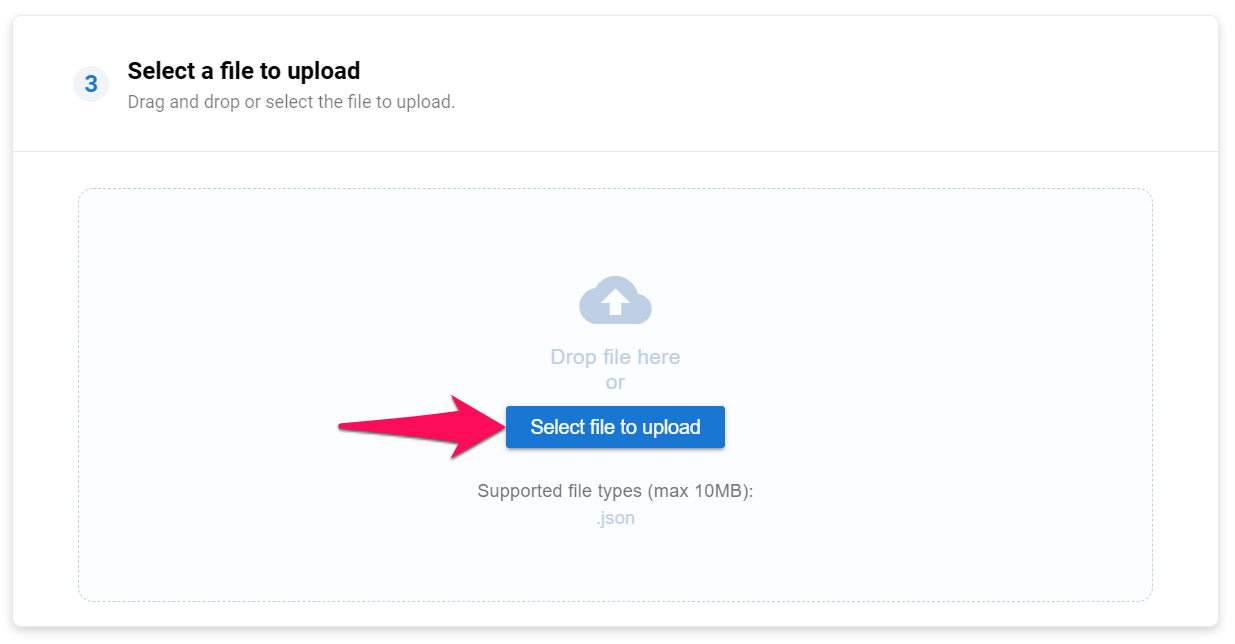
- Select a file to upload, click "Next" and then "Upload". Manatal will analyze the file and extract all the information it contains.


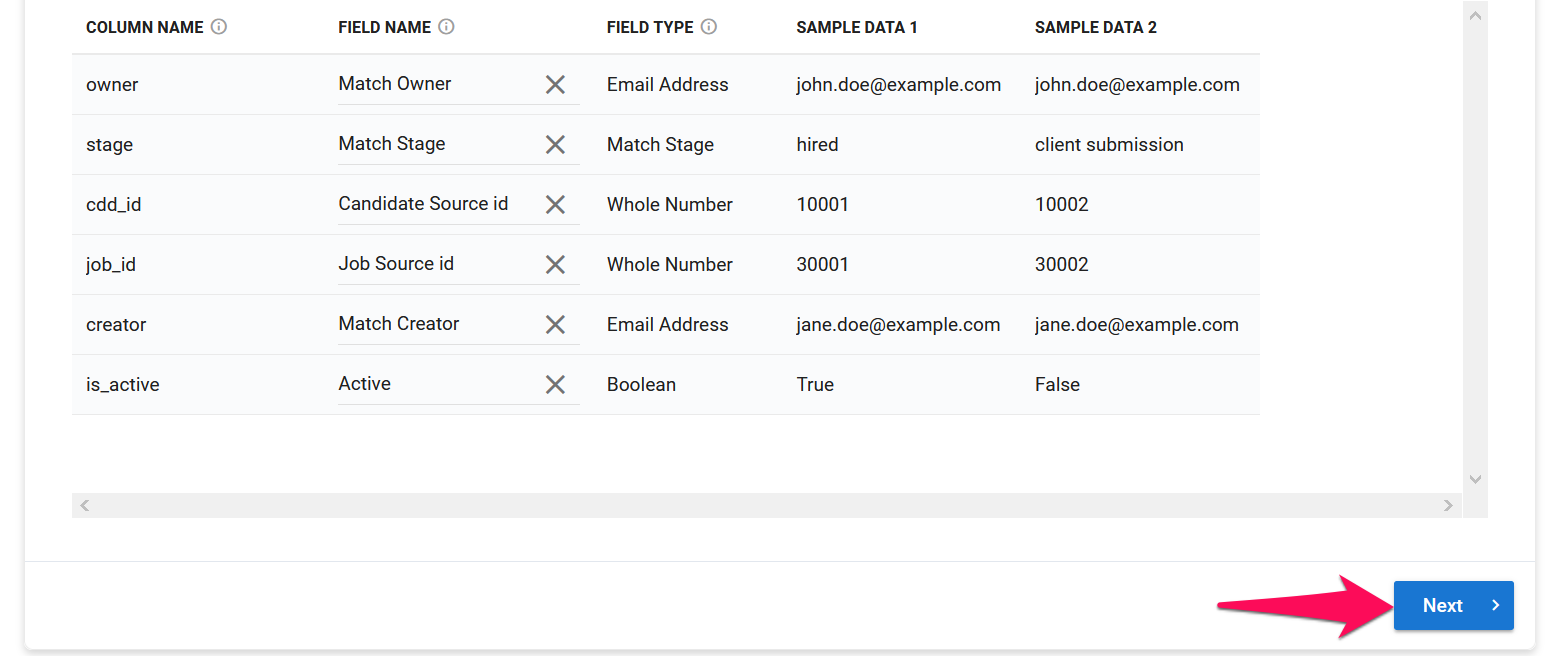
- Map your file's columns according to Manatal's fields.
Important
- Fields marked with a red asterisk in the "Field Name" dropdown menu are required in order to proceed.
- Any column mapped to a required field must not contain any blank cells otherwise the import will not succeed.
Info
Unmapped columns will not be imported to the platform.
- 1. Column Name: Content of the first cell of each column in your CSV file. If the cell has no content, the column name will be "Unnamed: n", where n refers to the column's number.
- 2. Field Name: Name of the field in Manatal. Match the field name with the relevant column (i.e. match the "Website" column with the "Organization Website" field).
- 3. Field Type: Data type as required by Manatal. Ensure the data contained in each column meets the requirements of each field. Data will fail to be imported to Manatal if it doesn't meet the data type's constraints. Learn more about field type constraints in the table below.
- 4. Sample Data: Sample data extracted from each columns. Can be used to confirm the column's data corresponds to the Manatal field.

To match a column with a field, simply click on "Select field to map to" next to the column's name, and select the relevant field from the dropdown menu.


Below are all the default Manatal fields that can be mapped and their respective requirements.
| Field Name | Required | Field Type | Constraints |
|---|---|---|---|
| Candidate Source ID | Yes | Whole Number | Must correspond to the source ID of a candidate. |
| Job Source ID | Yes | Whole Number | Must correspond to the source ID of a job. |
| Match Creator | No | Email Address | Must correspond to the email address of a user. |
| Match Owner | No | Email Address | Must correspond to the email address of a user. |
| Active | No | Boolean | "true" for candidates that are still in process (candidates will be visible in the job's pipeline), or "false" for candidates that have been dropped (candidates will be in the dropped candidates menu in the job's page) |
| Match Stage | No | Match Stage | ≤ 255 char. |
| Notes | No | Notes | Only available via JSON import. See below for more details. |
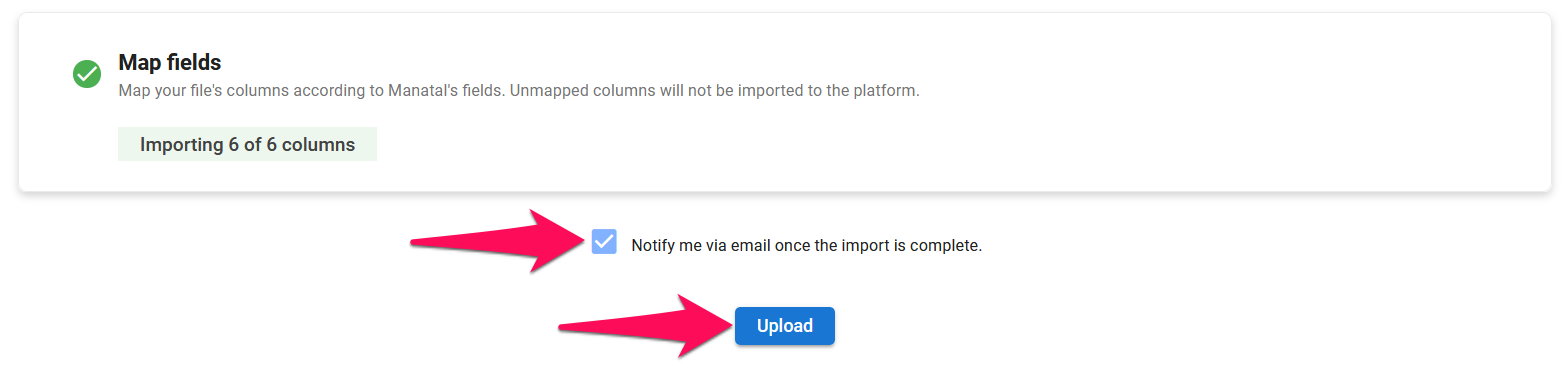
Once you have mapped all the columns that need to be imported, click "Next".
Select whether you want to be notified via email once the import is complete then click "Upload".
From here you can resume your work as usual, your file will be processed in the background. To check the import's status, please visit the Data Import History page.


JSON File
- Select a file to upload, click "Next" and then "Upload". Manatal will analyze the file and extract all the information it contains.


- Map your file's columns according to Manatal's fields.
Important
Fields marked with a red asterisk in the "Field Name" dropdown menu are required in order to proceed.
Info
Unmapped columns will not be imported to the platform.
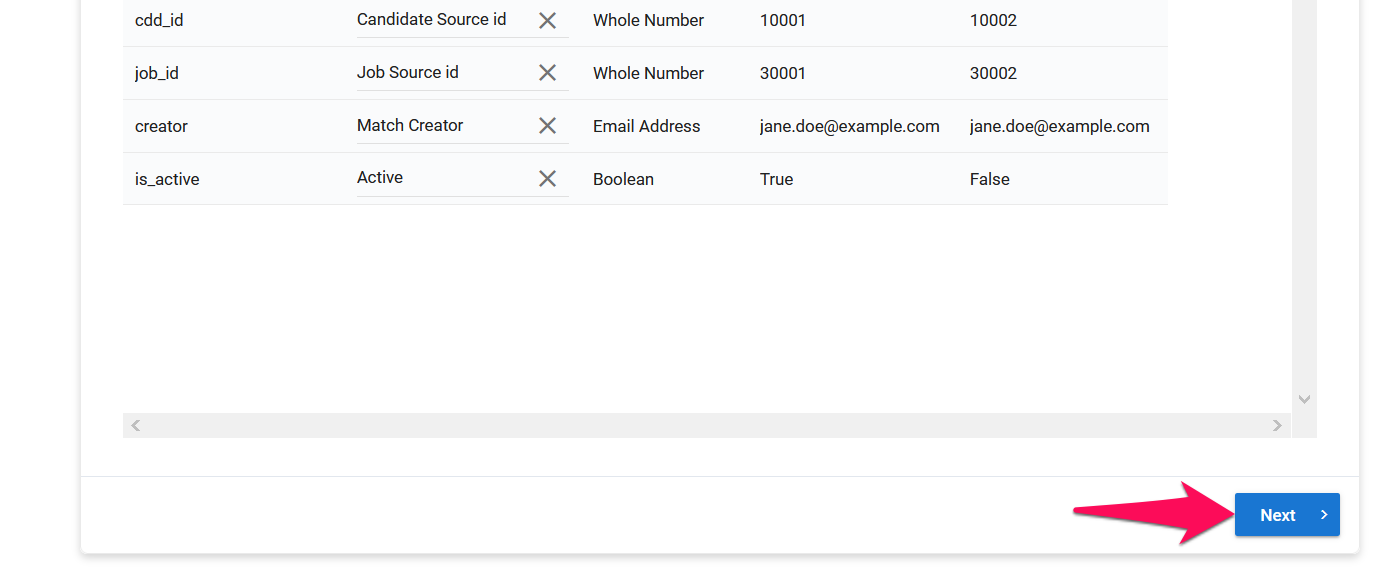
- 1. Column Name: All the variables contained in your JSON file.
- 2. Field Name: Name of the field in Manatal. Match the field name with the relevant column (i.e. match the "website" column with the "Organization Website" field).
- 3. Field Type: Data type as required by Manatal. Ensure the data contained in each column meets the requirements of each field. Data will fail to be imported to Manatal if it doesn't meet the data type's constraints. Learn more about field type constraints in the table below.
- 4. Sample Data: Sample data extracted for each column. Can be used to confirm the column's data corresponds to the Manatal field.

To match a column with a field, simply click on "Select field to map to" next to the column's name, and select the relevant field from the dropdown menu.


Below are all the default Manatal fields that can be mapped and their respective requirements.
| Field Name | Required | Field Type | Constraints |
|---|---|---|---|
| Candidate Source ID | Yes | Whole Number | Must correspond to the source ID of a candidate. |
| Job Source ID | Yes | Whole Number | Must correspond to the source ID of a job. |
| Match Creator | No | Email Address | Must correspond to the email address of a user. |
| Match Owner | No | Email Address | Must correspond to the email address of a user. |
| Active | No | Boolean | "true" for candidates that are still in process (candidates will be visible in the job's pipeline), or "false" for candidates that have been dropped (candidates will be in the dropped candidates menu in the job's page) |
| Match Stage | No | Match Stage | ≤ 255 char. |
| Notes | No | Notes | See more details below |
Notes
Below are the requirements for the notes type field and a code snippet.
| Data Point | Required | Type | Constraints |
|---|---|---|---|
| content | Yes | Text | |
| created_at | No | Date and Time | Format must be YYYY-MM-DDThh:mm:ssZ |
| creator | No | Email Address | Must be an existing user |
Important
All time fields imported will be considered in the UTC timezone.
Code snippet:
[
	{
		"content": "reassess recruitment needs early Q2"
	},
	{
		"content": "Reassess recruitment needs early Q2",
		"creator": "joseph.staline@testy.com",
		"created_at": "2010-09-15",
	},
]
JSON File Example
[
   {
      "cdd_id":10001,
      "job_id":30001,
      "creator":"jane.doe@example.com",
      "owner":"john.doe@example.com",
      "is_active":true,
      "stage":"hired"
   },
   {
      "cdd_id":10002,
      "job_id":30002,
      "creator":"jane.doe@example.com",
      "owner":"john.doe@example.com",
      "is_active":false,
      "stage":"client submission",
      "note":[
         {
            "content":"Please send the map for interview location to him.",
            "creator":"jittinun.p+betseyadmin2@manatal.com",
            "created_at":"2021-01-15"
         },
         {
            "content":"Fluent in Portuguese and Spanish, expected salary is negotiable."
         }
      ]
   }
]
Once you have mapped all the columns that need to be imported, click "Next".
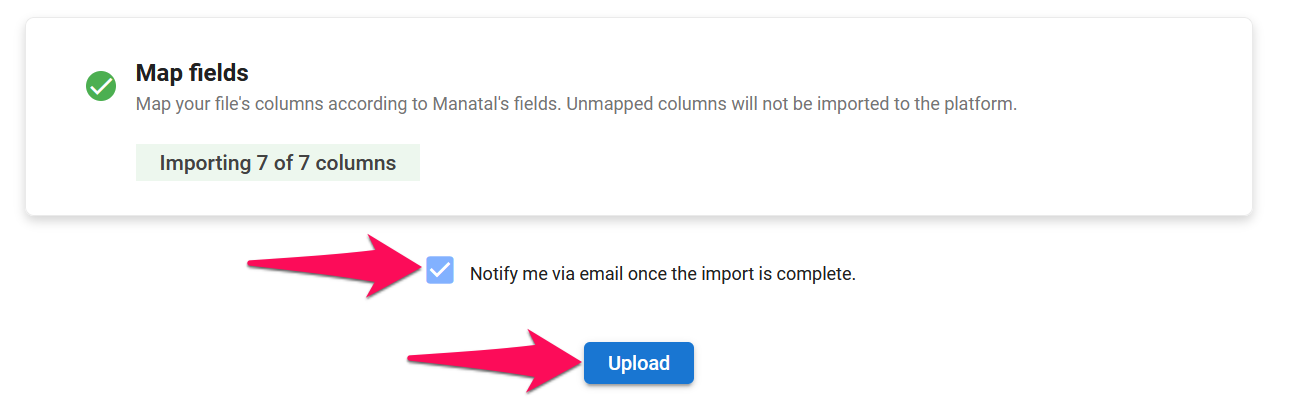
Select whether you want to be notified via email once the import is complete then click "Upload".
From here you can resume your work as usual, your file will be processed in the background. To check the import's status, please visit the Data Import History page.


Was this article helpful?