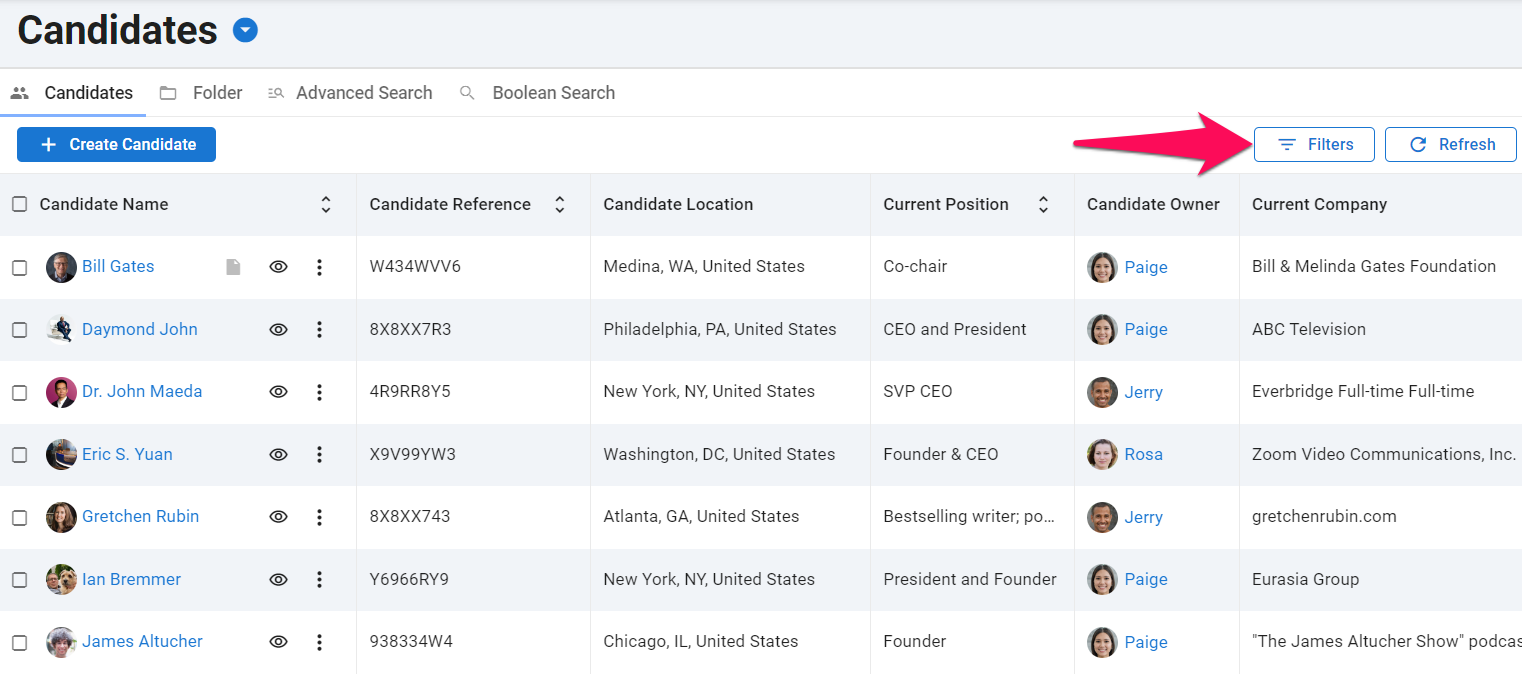
In most pages containing tables of information (list of candidates, list of jobs, list of Contacts, list of Organizations (Clients/Departments),...), Manatal allows to filter the information contained in those tables through an "Filters" button, located on the right side of the screen.
1. Using the Filter Function
-
Click on the "Filters" button.
-
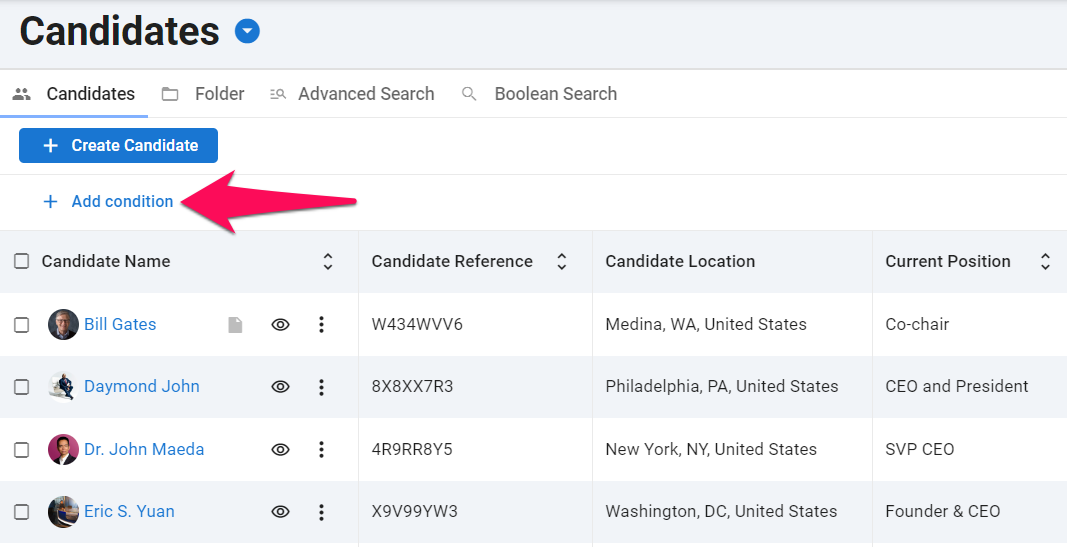
Click on "Add condition".
-
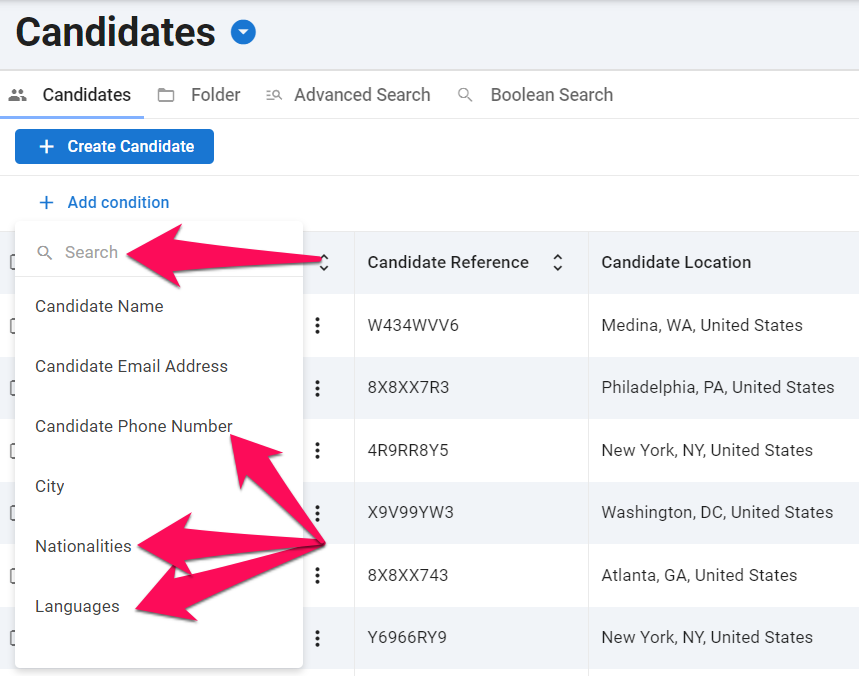
You can either type or scroll down to find a condition, then click on a condition to add it to the filter.
-
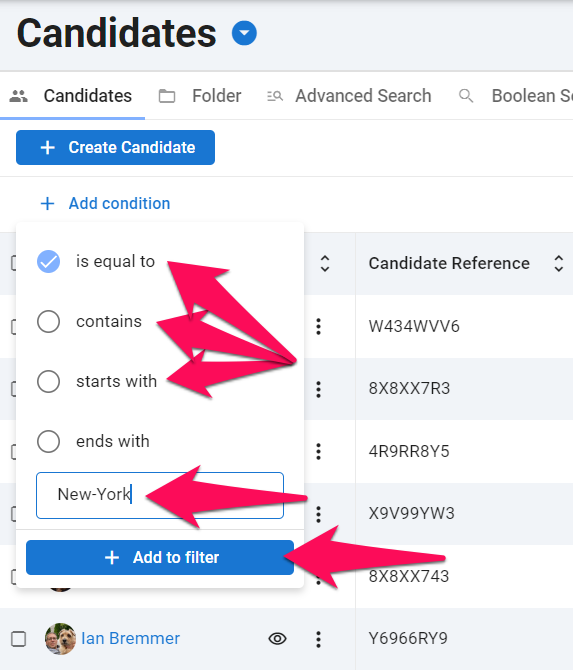
Complete the rules and then click on "Add to filter" to add this condition.
There are four different logic elements that can be selected:
- is equal to: Will return the exact value searched for.
- Example: Selecting Email is equal to bill.gates@email.com will return all the candidates that have the exact email bill.gates@email.com in their profiles.
- contains: Will return all the results that contains the value searched for.
- Example: Selecting Email contains @email.com will return all the candidates whose emails contain @email.com in their profiles.
- starts with: Will return all the results that start with the value searched for.
- Example: Selecting Email starts with bill will return all the candidates whose emails start with bill in their profiles.
- ends with: Will return all the results that end with the value searched for.
- Example: Selecting Email ends with .com will return all the candidates whose emails end with .com in their profiles.
-
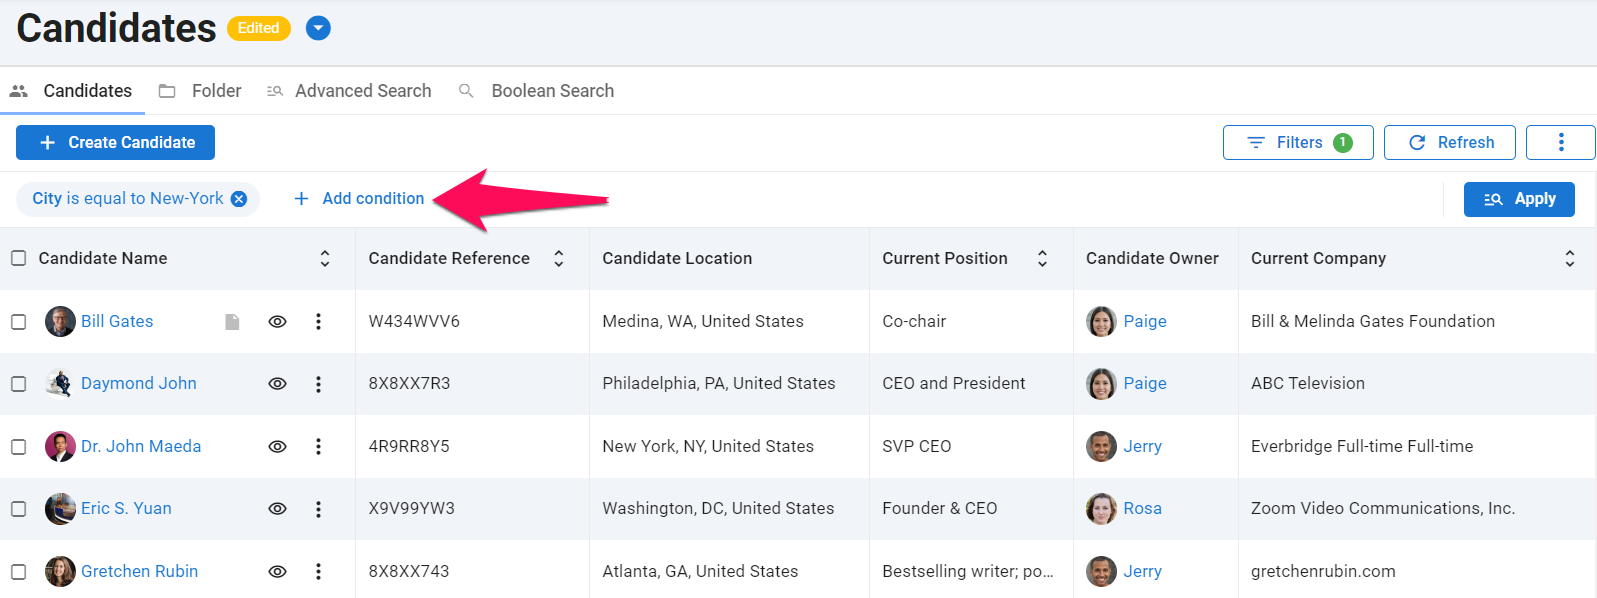
To add more conditions, click on "Add condition" and repeat steps 3 and 4.
-
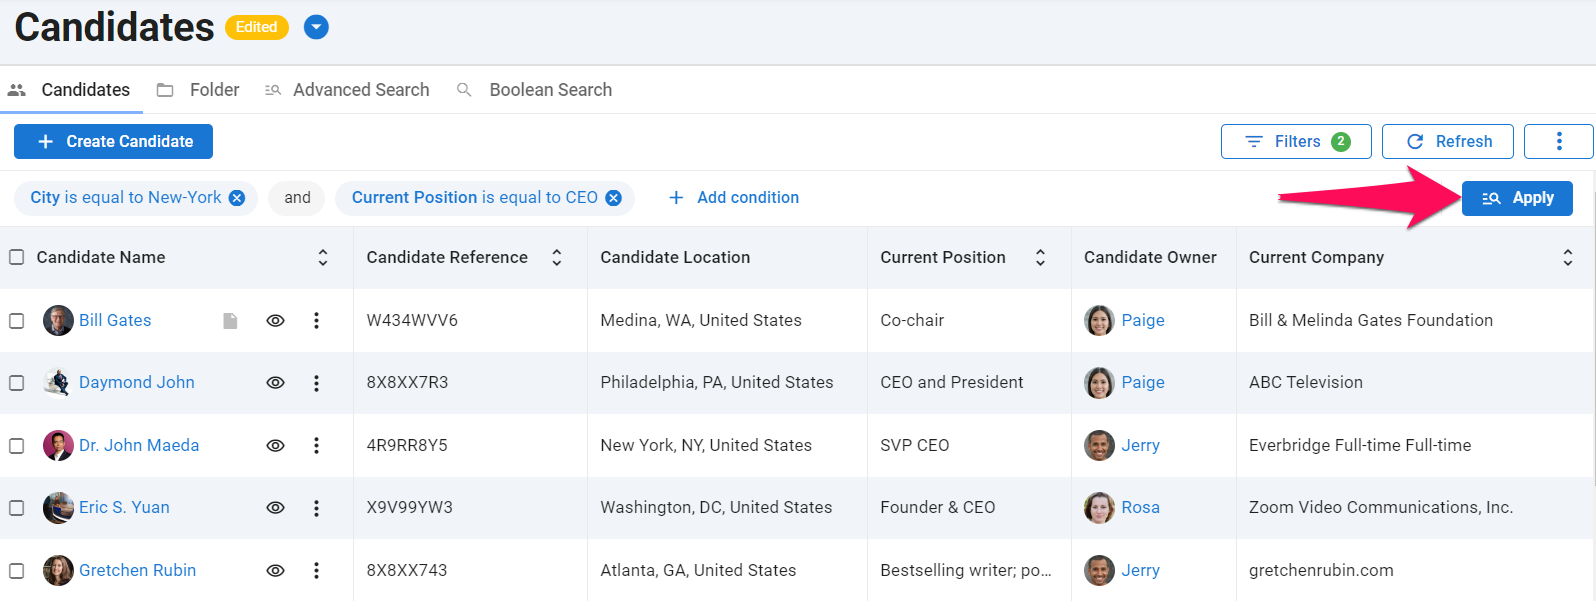
Once you have added all the conditions for the search, click on "Apply" and the results of the search will appear.
2. Saving a Filter
-
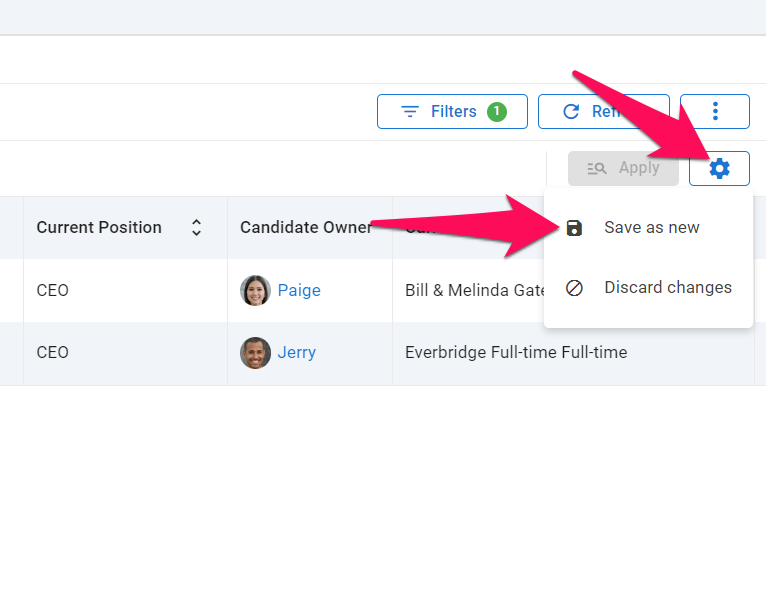
To create a filter, click on the gear icon and then "Save as new" in the dropdown menu.
-
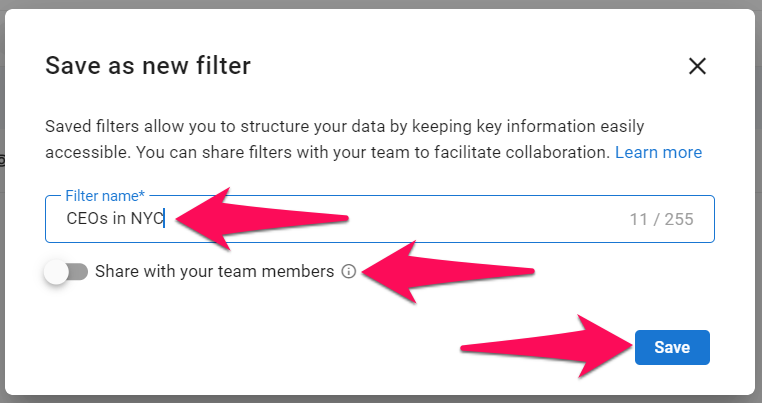
Enter a name for the filter. Select whether to share the filter with other team members and click "Save".
-
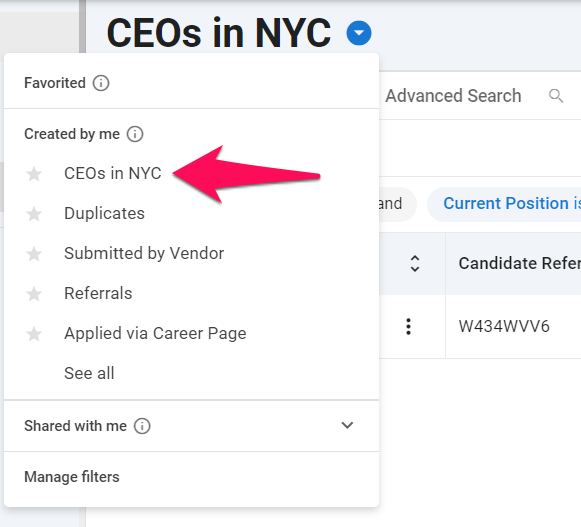
You can now find this new filter with other filters by clicking on the down arrow.
-
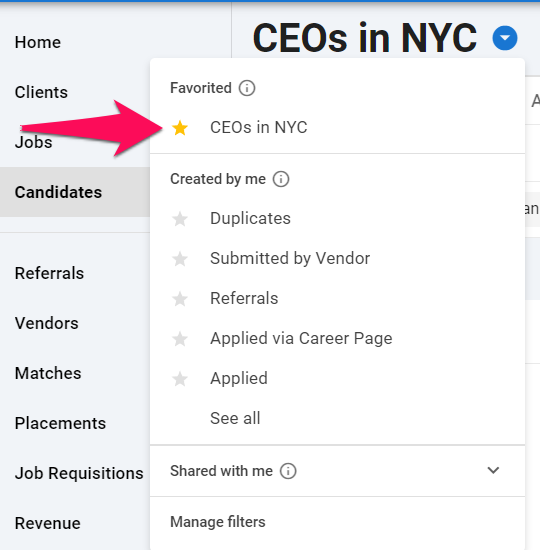
To favorite a filter, click on the arrow next to it and the filter will be stay pinned at the top of the dropdown.
-
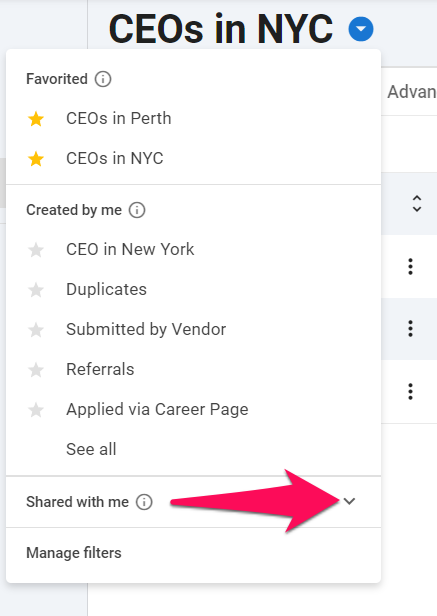
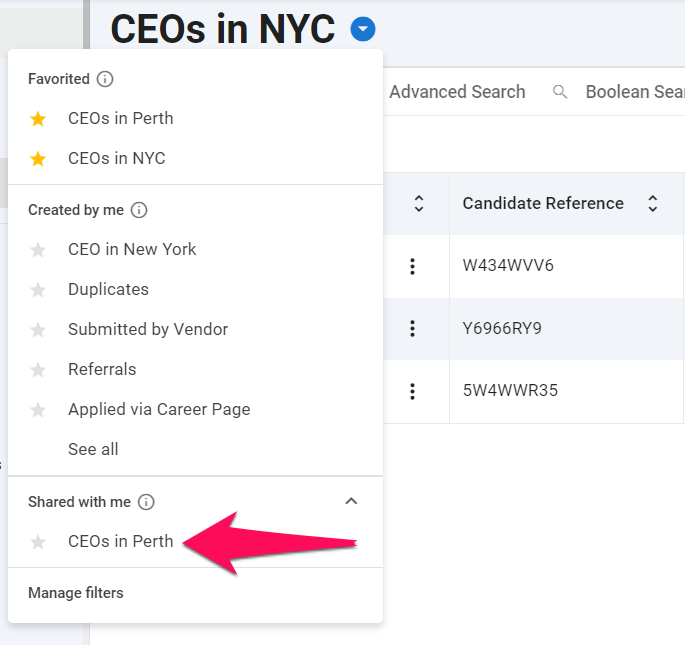
To view filters shared with you by other team members, click on the down arrow to open a new sub-menu.
-
Click on any filter to open it on the page.
3. Updating a Filter
-
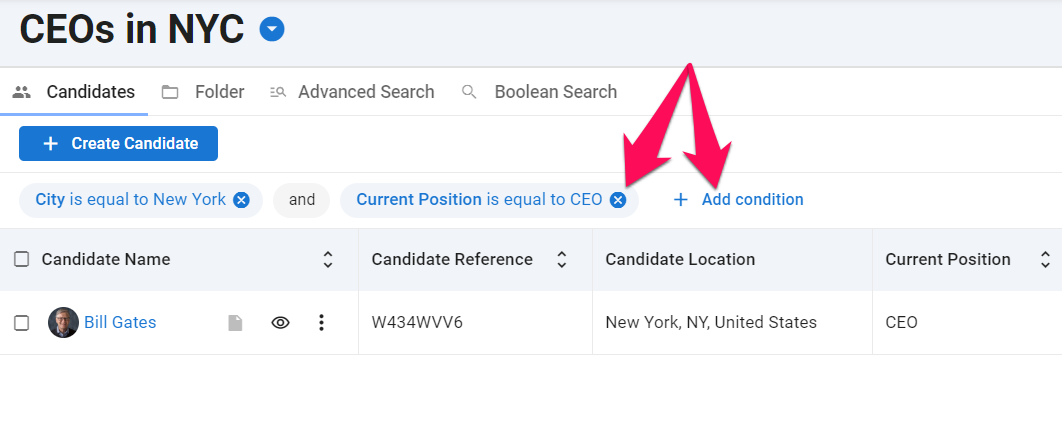
To modify a filter, open it on the page and add/remove conditions.
-
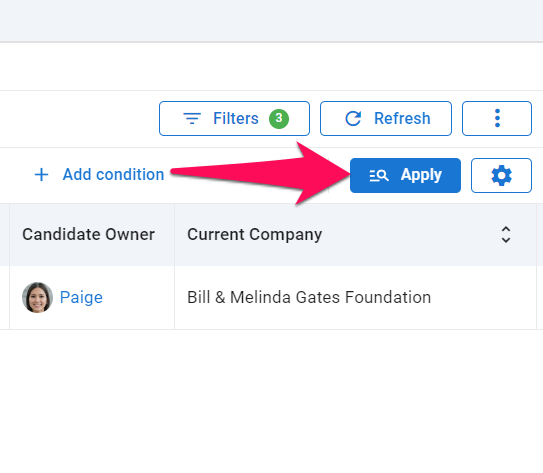
Click on "Apply" to display the results of the search.
-
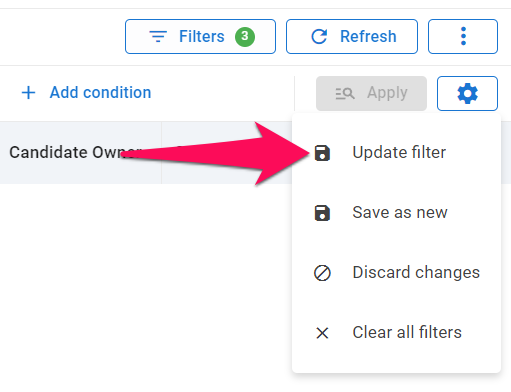
To update the filter, click on the gear icon and then "Update filter" in the dropdown menu.
4. Managing Filters
-
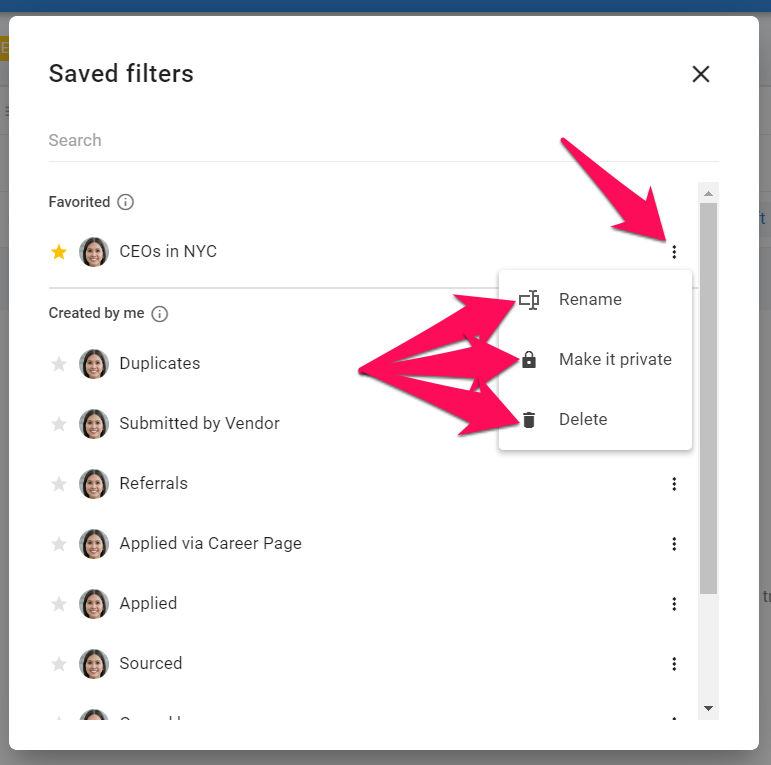
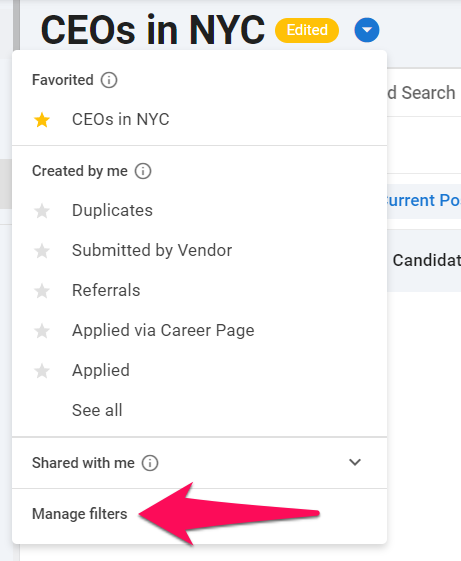
To rename, share or delete a filter, click on "Manage filters" from the filter droppdown menu.
-
Click on the 3-dots icon and then select an action from the dropdown menu.
