- This can only be done by an Admin or non-admin users who has been given access to the feature.
- Your domain must have been verified in order to send mass email campaigns.
- Sending mass email campaigns is not available during the free trial.
Enable and setup the Mass Emailing feature in order to start sending mass email campaigns.
Once the feature enabled and your domain connected, refer to the following article to start sending emails.
Enabling the Mass Emailing Feature
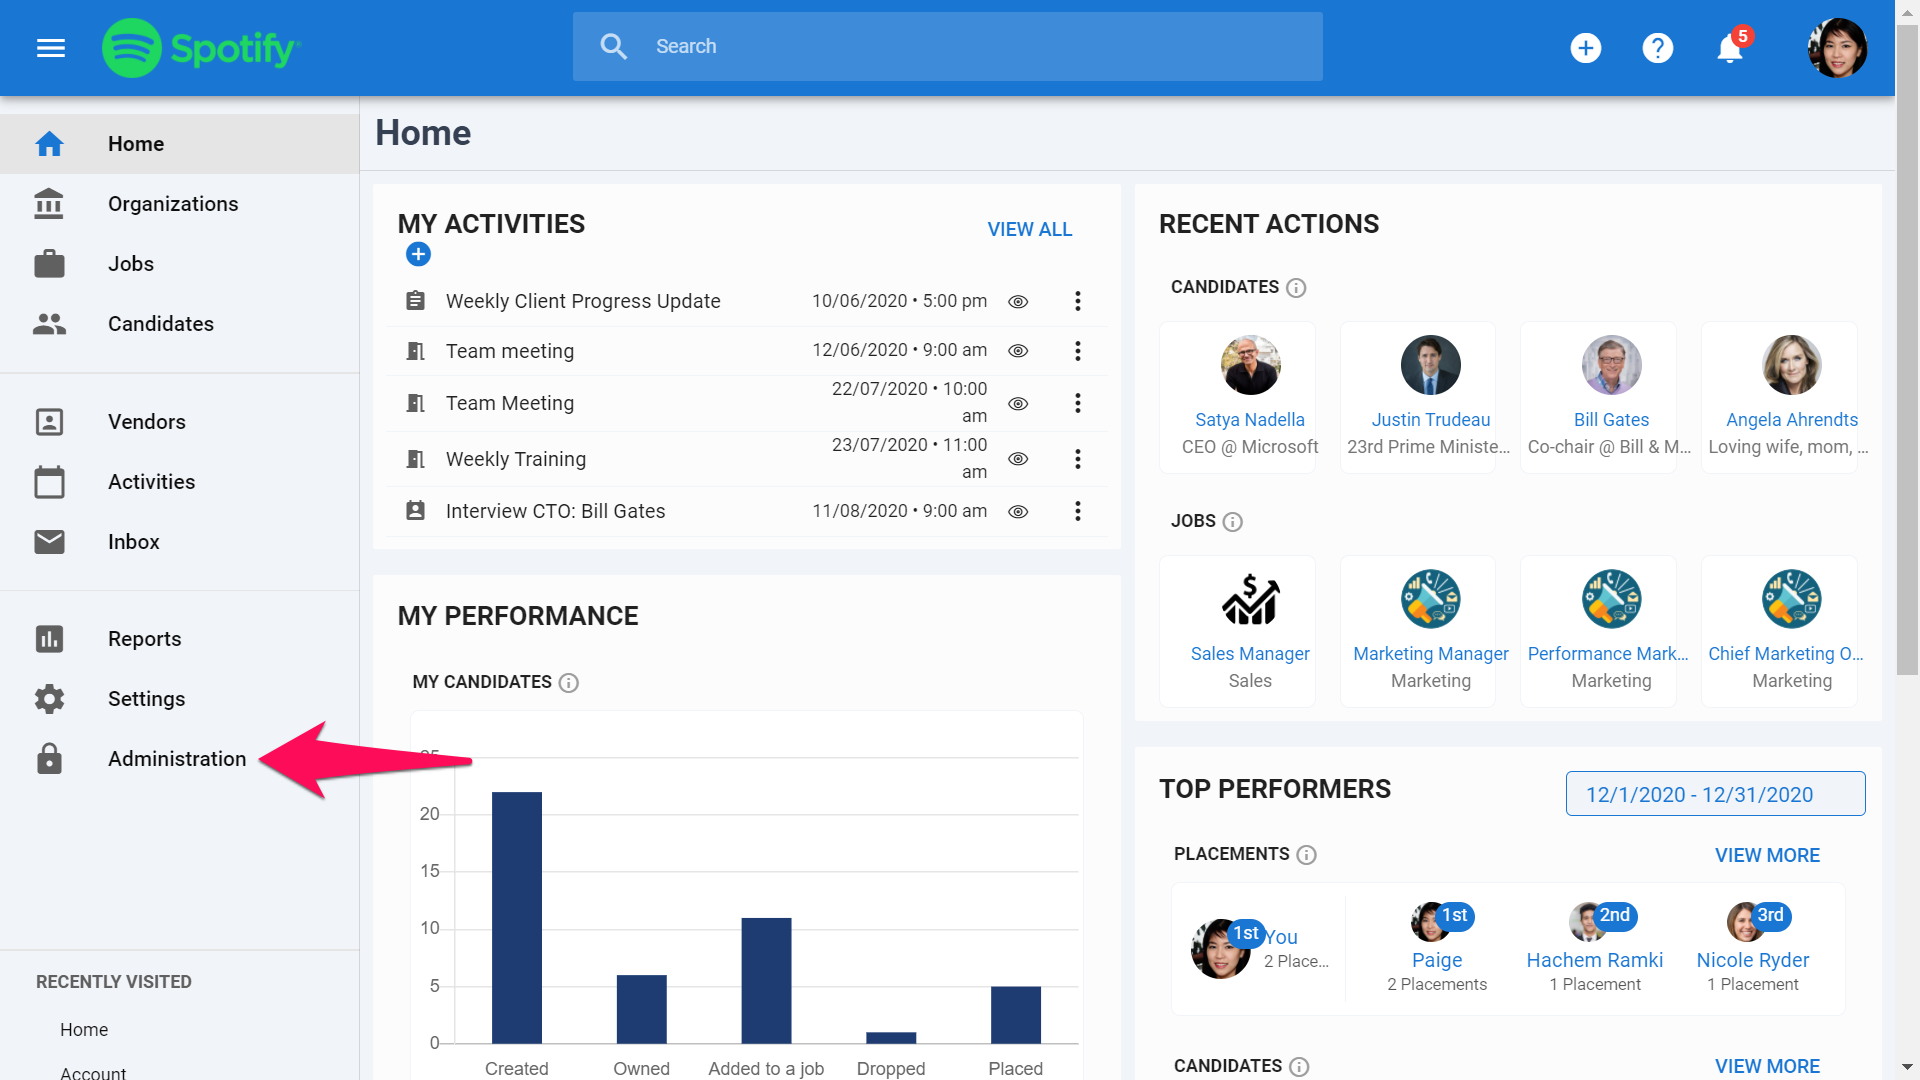
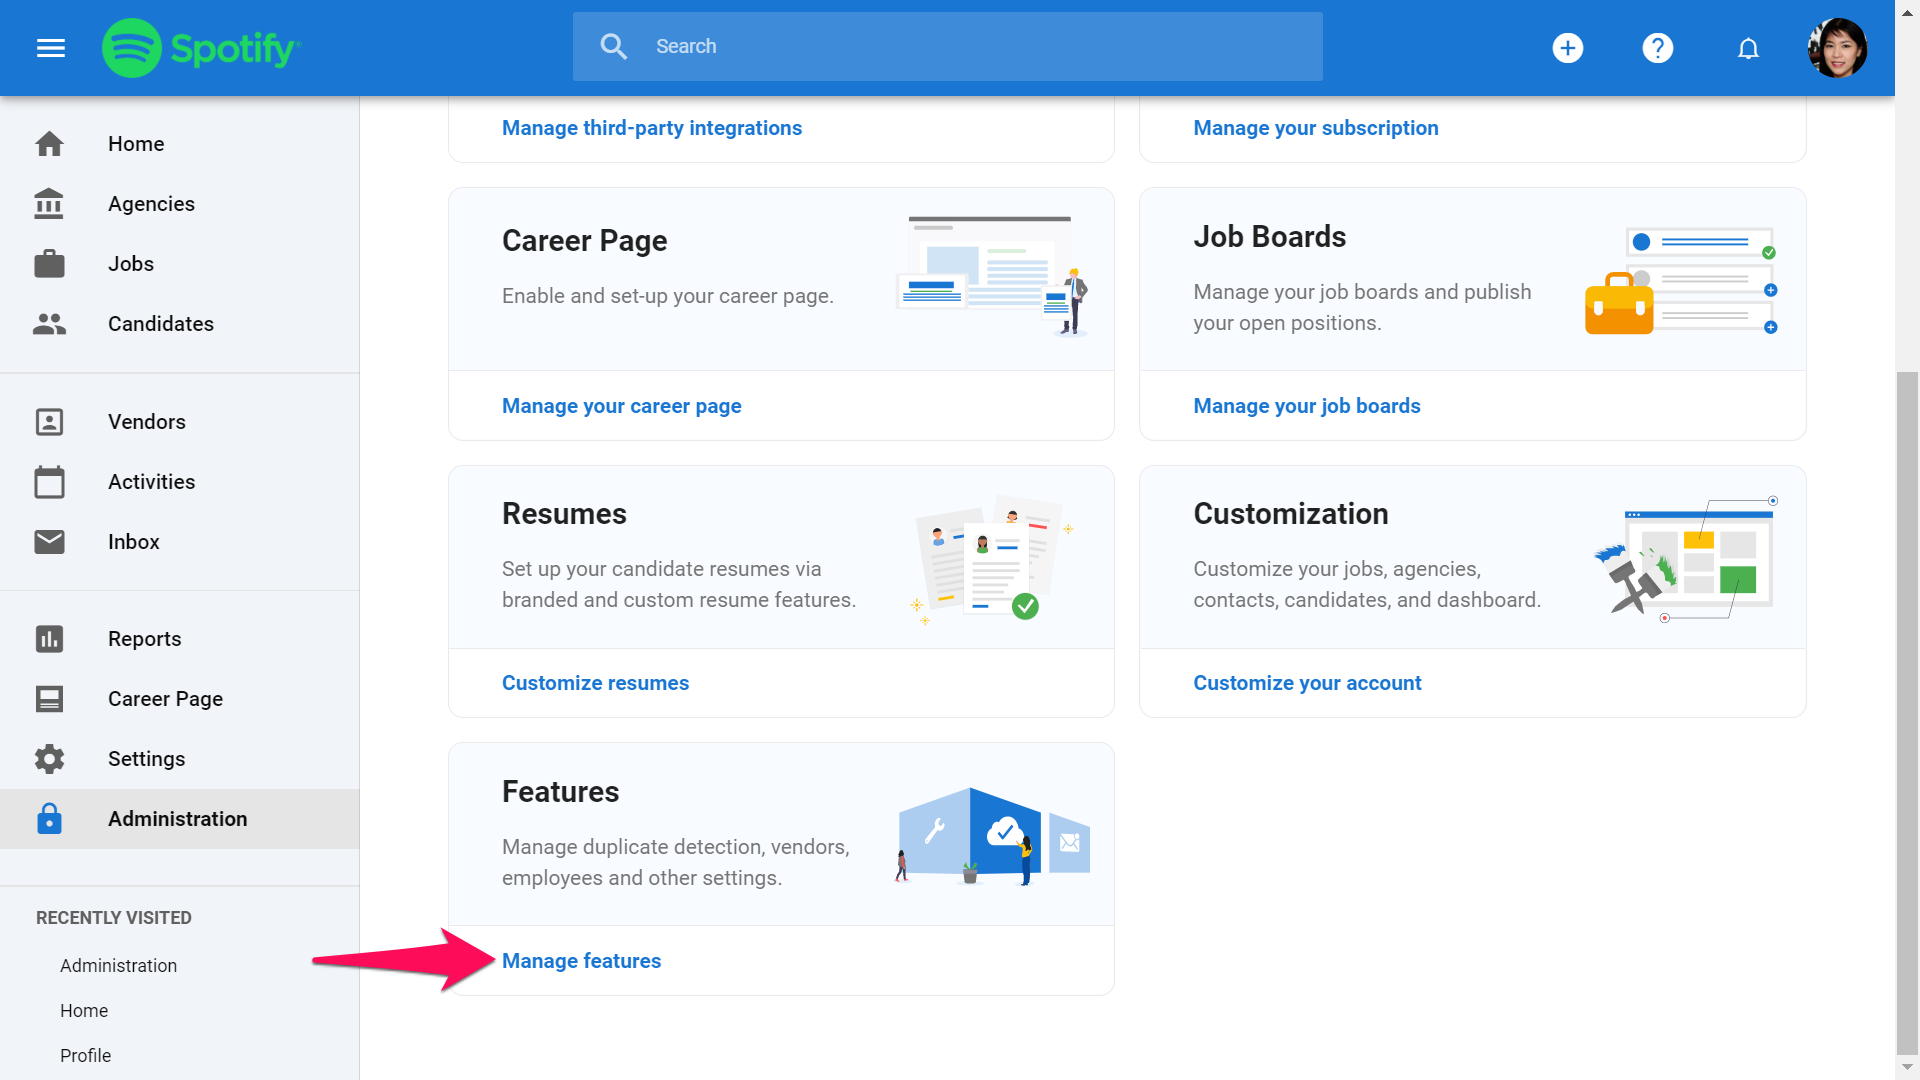
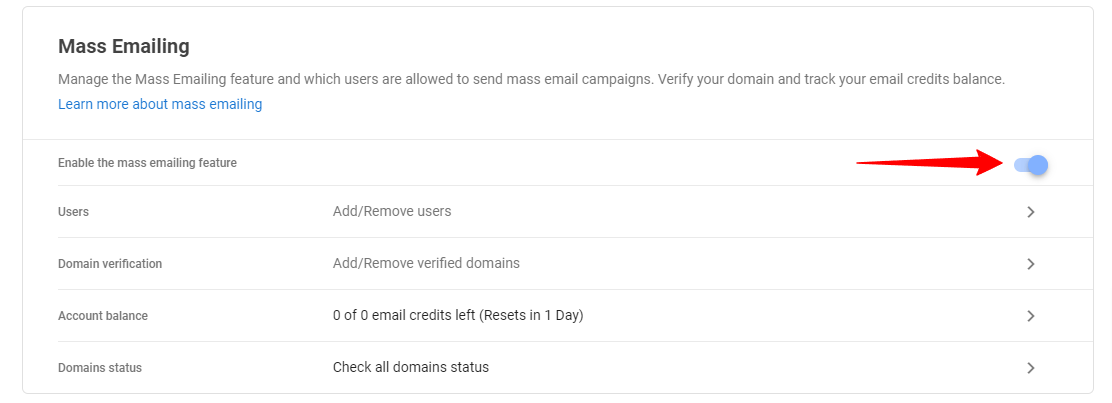
- Head to the following page. Alternatively, click on "Administration" from your side menu, open the "Features" category and then the "Mass Emailing" category.
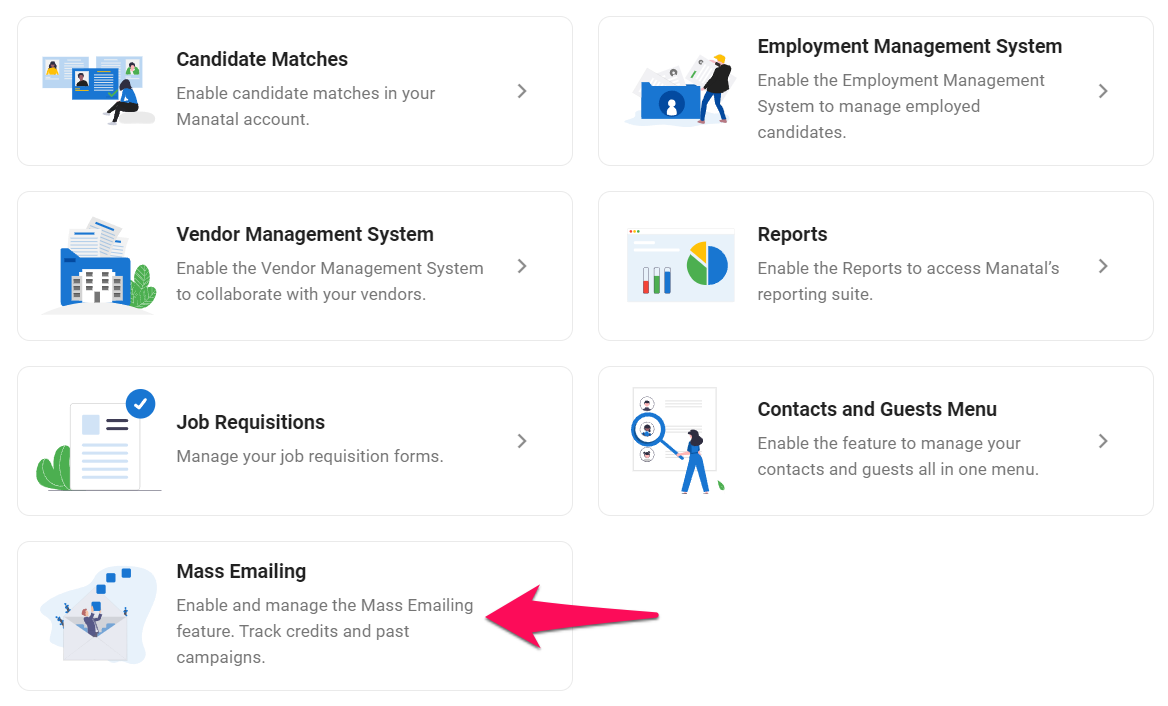
- Enable the Mass Emailing feature.
Verifying your Domain
To start sending mass email campaigns, you will first need to have your website domain verified.
In order to verify your domain, it might be useful to ask for the support of the person responsible for IT within your company.
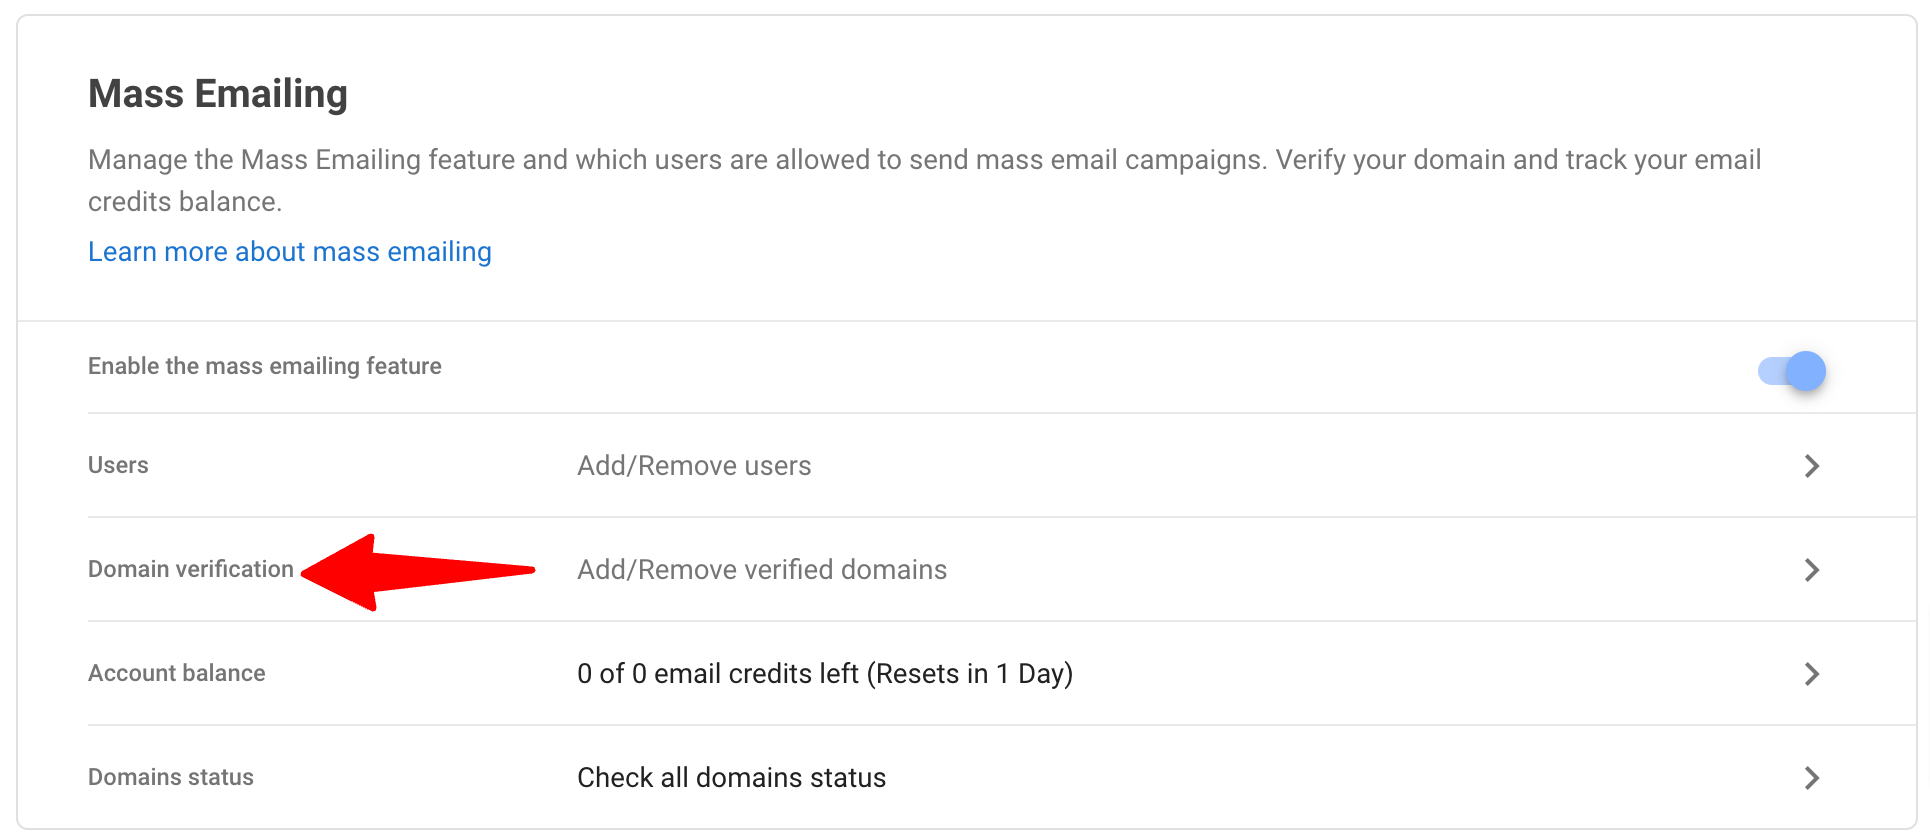
- Head to the following page. Alternatively, click on "Administration" from your side menu, open the "Features" category and then the "Mass Emailing" category then click on "Domain Verification".
-
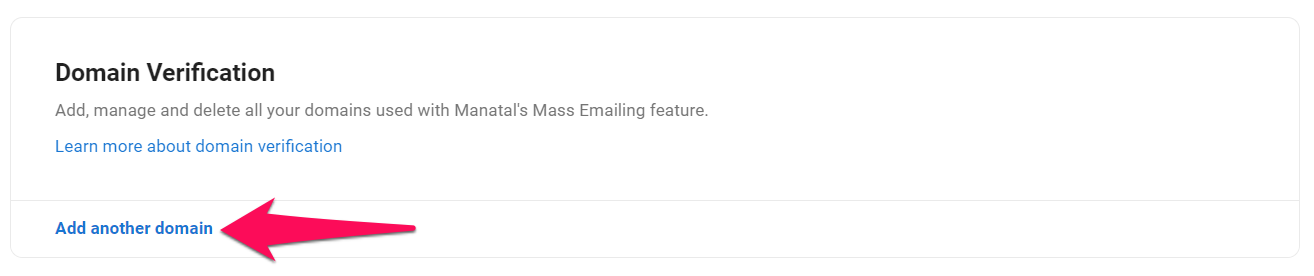
Click on "Add another domain".
-
Enter your website domain and click on "Generate DNS".

-
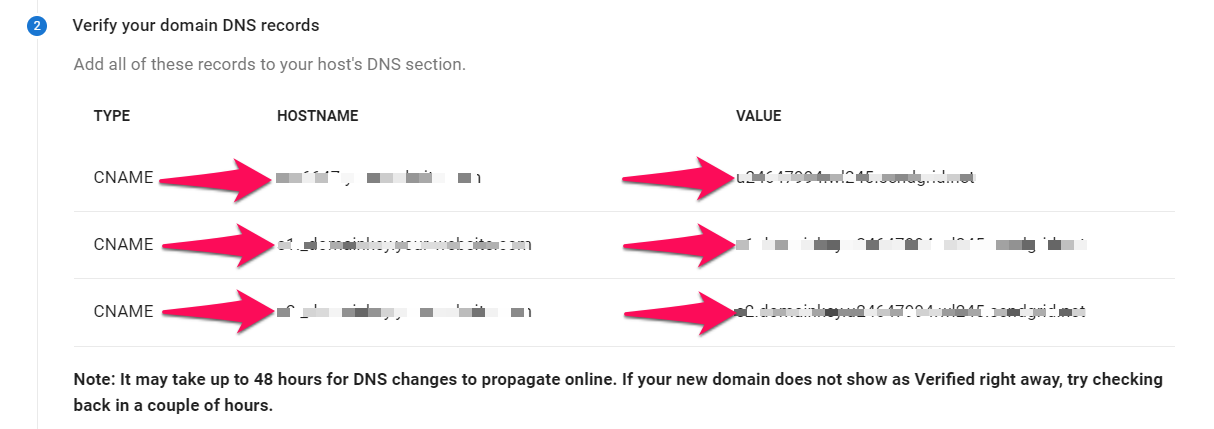
Add all of these records to your host's DNS section.
-
Once the records have been added to your host's DNS section, click on "Verify". When your domain is marked as "Verified", you will be ready to start sending email campaigns.
It may take up to 48 hours for DNS changes to propagate online. If your new domain does not show as Verified right away, try checking back in a couple of hours.

Handling DNS Record Conflicts (Subdomain Verification)
If your root domain is already integrated with other email services, you may encounter a conflict with DKIM selectors(specifically s1 and s2 hostnames). Most DNS providers, such as GoDaddy, do not allow duplicate records for the same hostname.
The Solution: Instead of your root domain, you can verify a subdomain (e.g., mail.yourdomain.com).
How to do it: In Step 3 above, enter your desired subdomain (e.g., mail.yourdomain.com). Manatal will generate unique records that will not conflict with your existing root domain setup and proceed with the rest of the steps.
Your outbound emails will reflect this change. For example, your sender address would appear as Name@mail.yourdomain.com instead of Name@yourdomain.com.
Adding Users to the Mass Emailing Feature
It is possible to select which non-Admin users are allowed to send mass email campaigns.
- To do so, head to the following page. Alternatively, click on "Administration" from your side menu, open the "Features" category and then the "Mass Emailing" category then click on "Users".
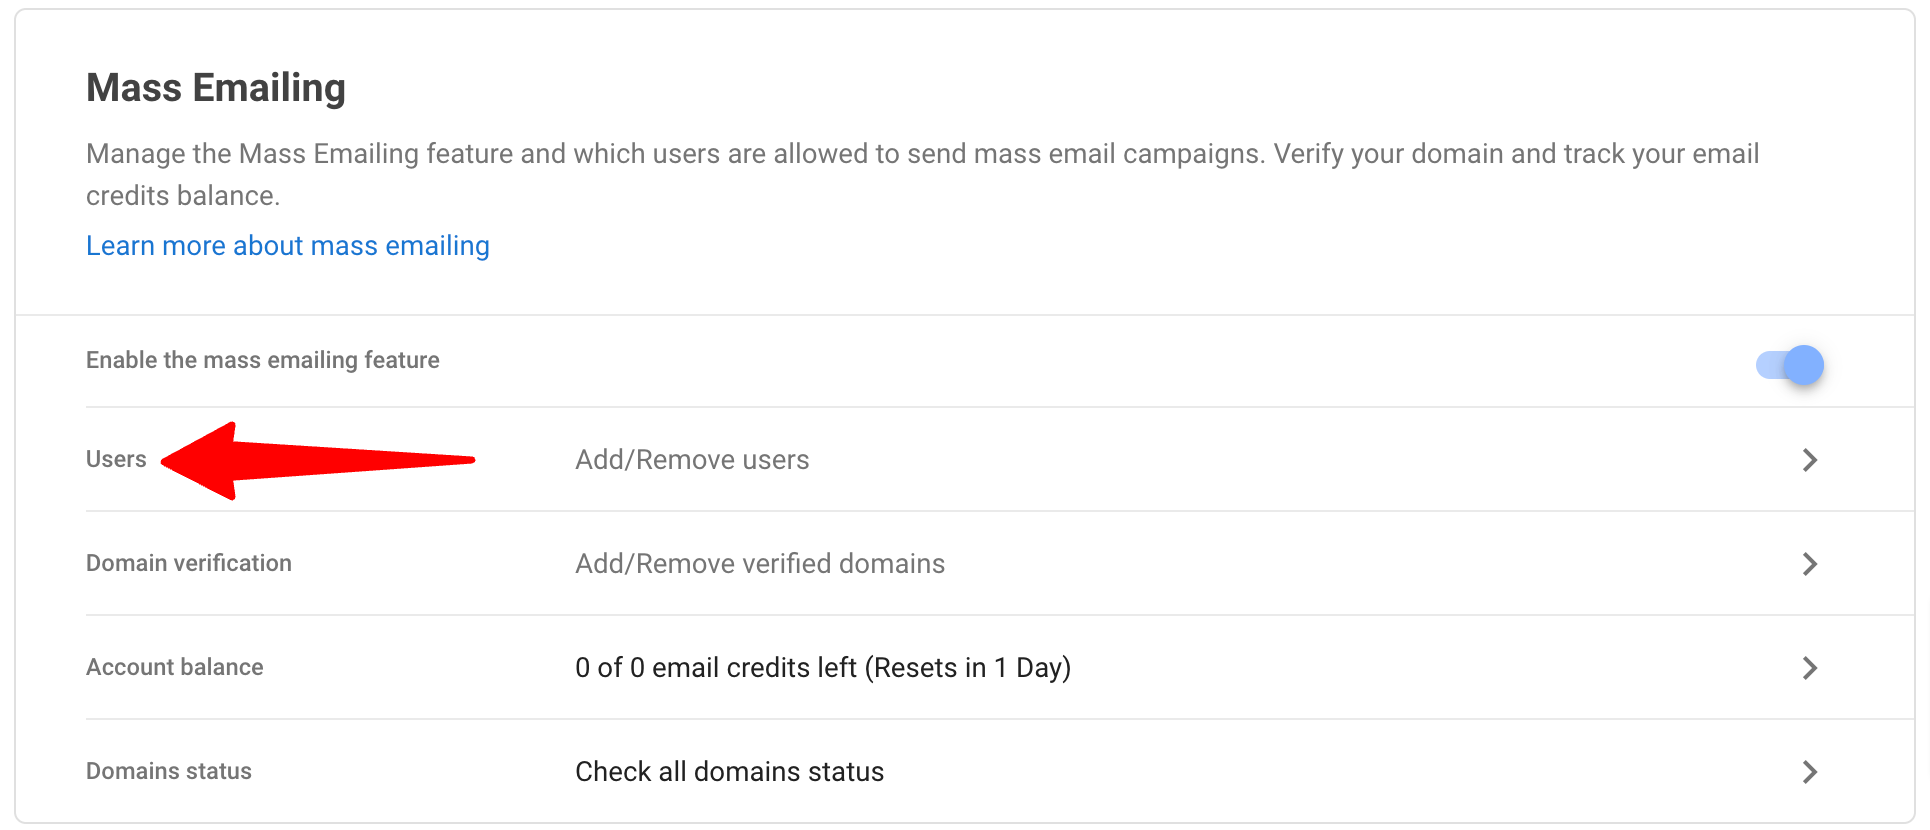
-
To add a user, click on "Add users".

-
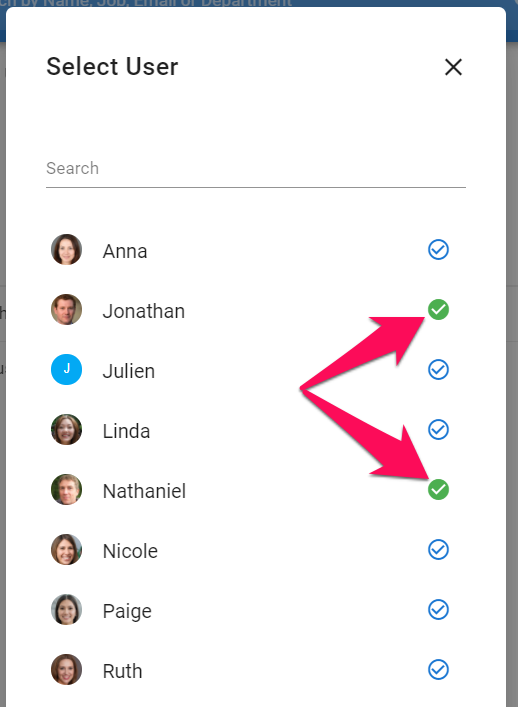
Select which users to add and they will immediately be granted the right to send mass email campaigns.
-
Remove users by clicking on the "-" sign next to that user.

Checking your Mass Emailing Credit Balance
- One email sent equals one credit.
- Email credits are on a monthly basis and are reset at the end of each month.
- Head to the following page. Alternatively, click on "Administration" from your side menu, open the "Features" category and then the "Mass Emailing" category then click on "Account Balance".
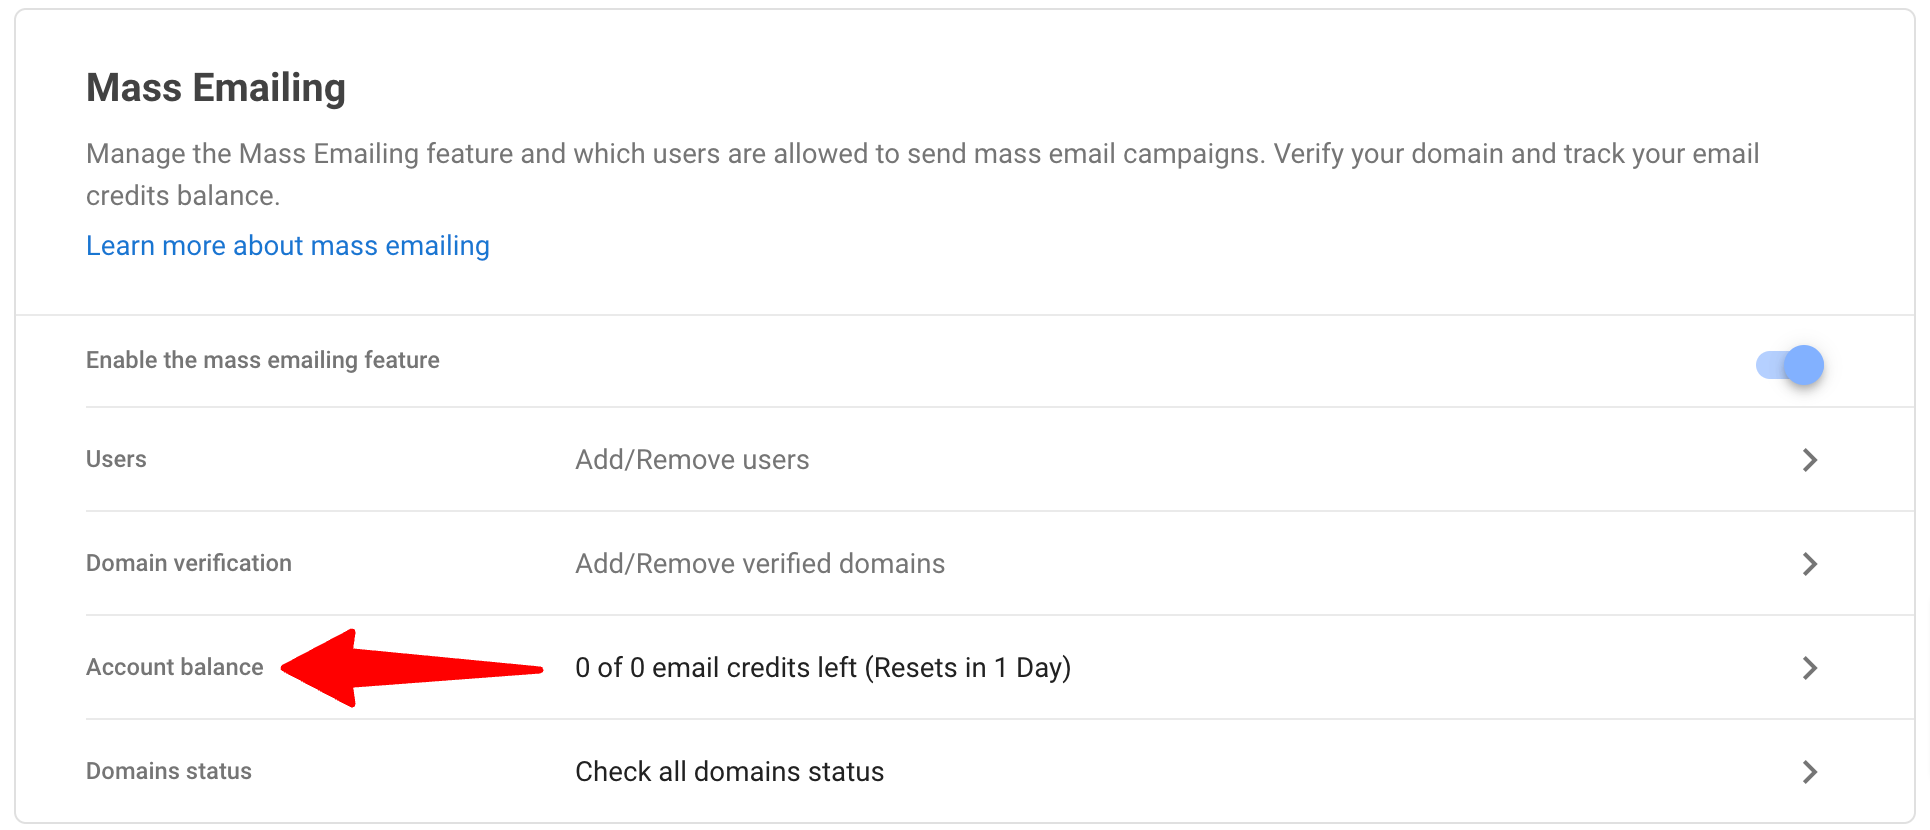
-
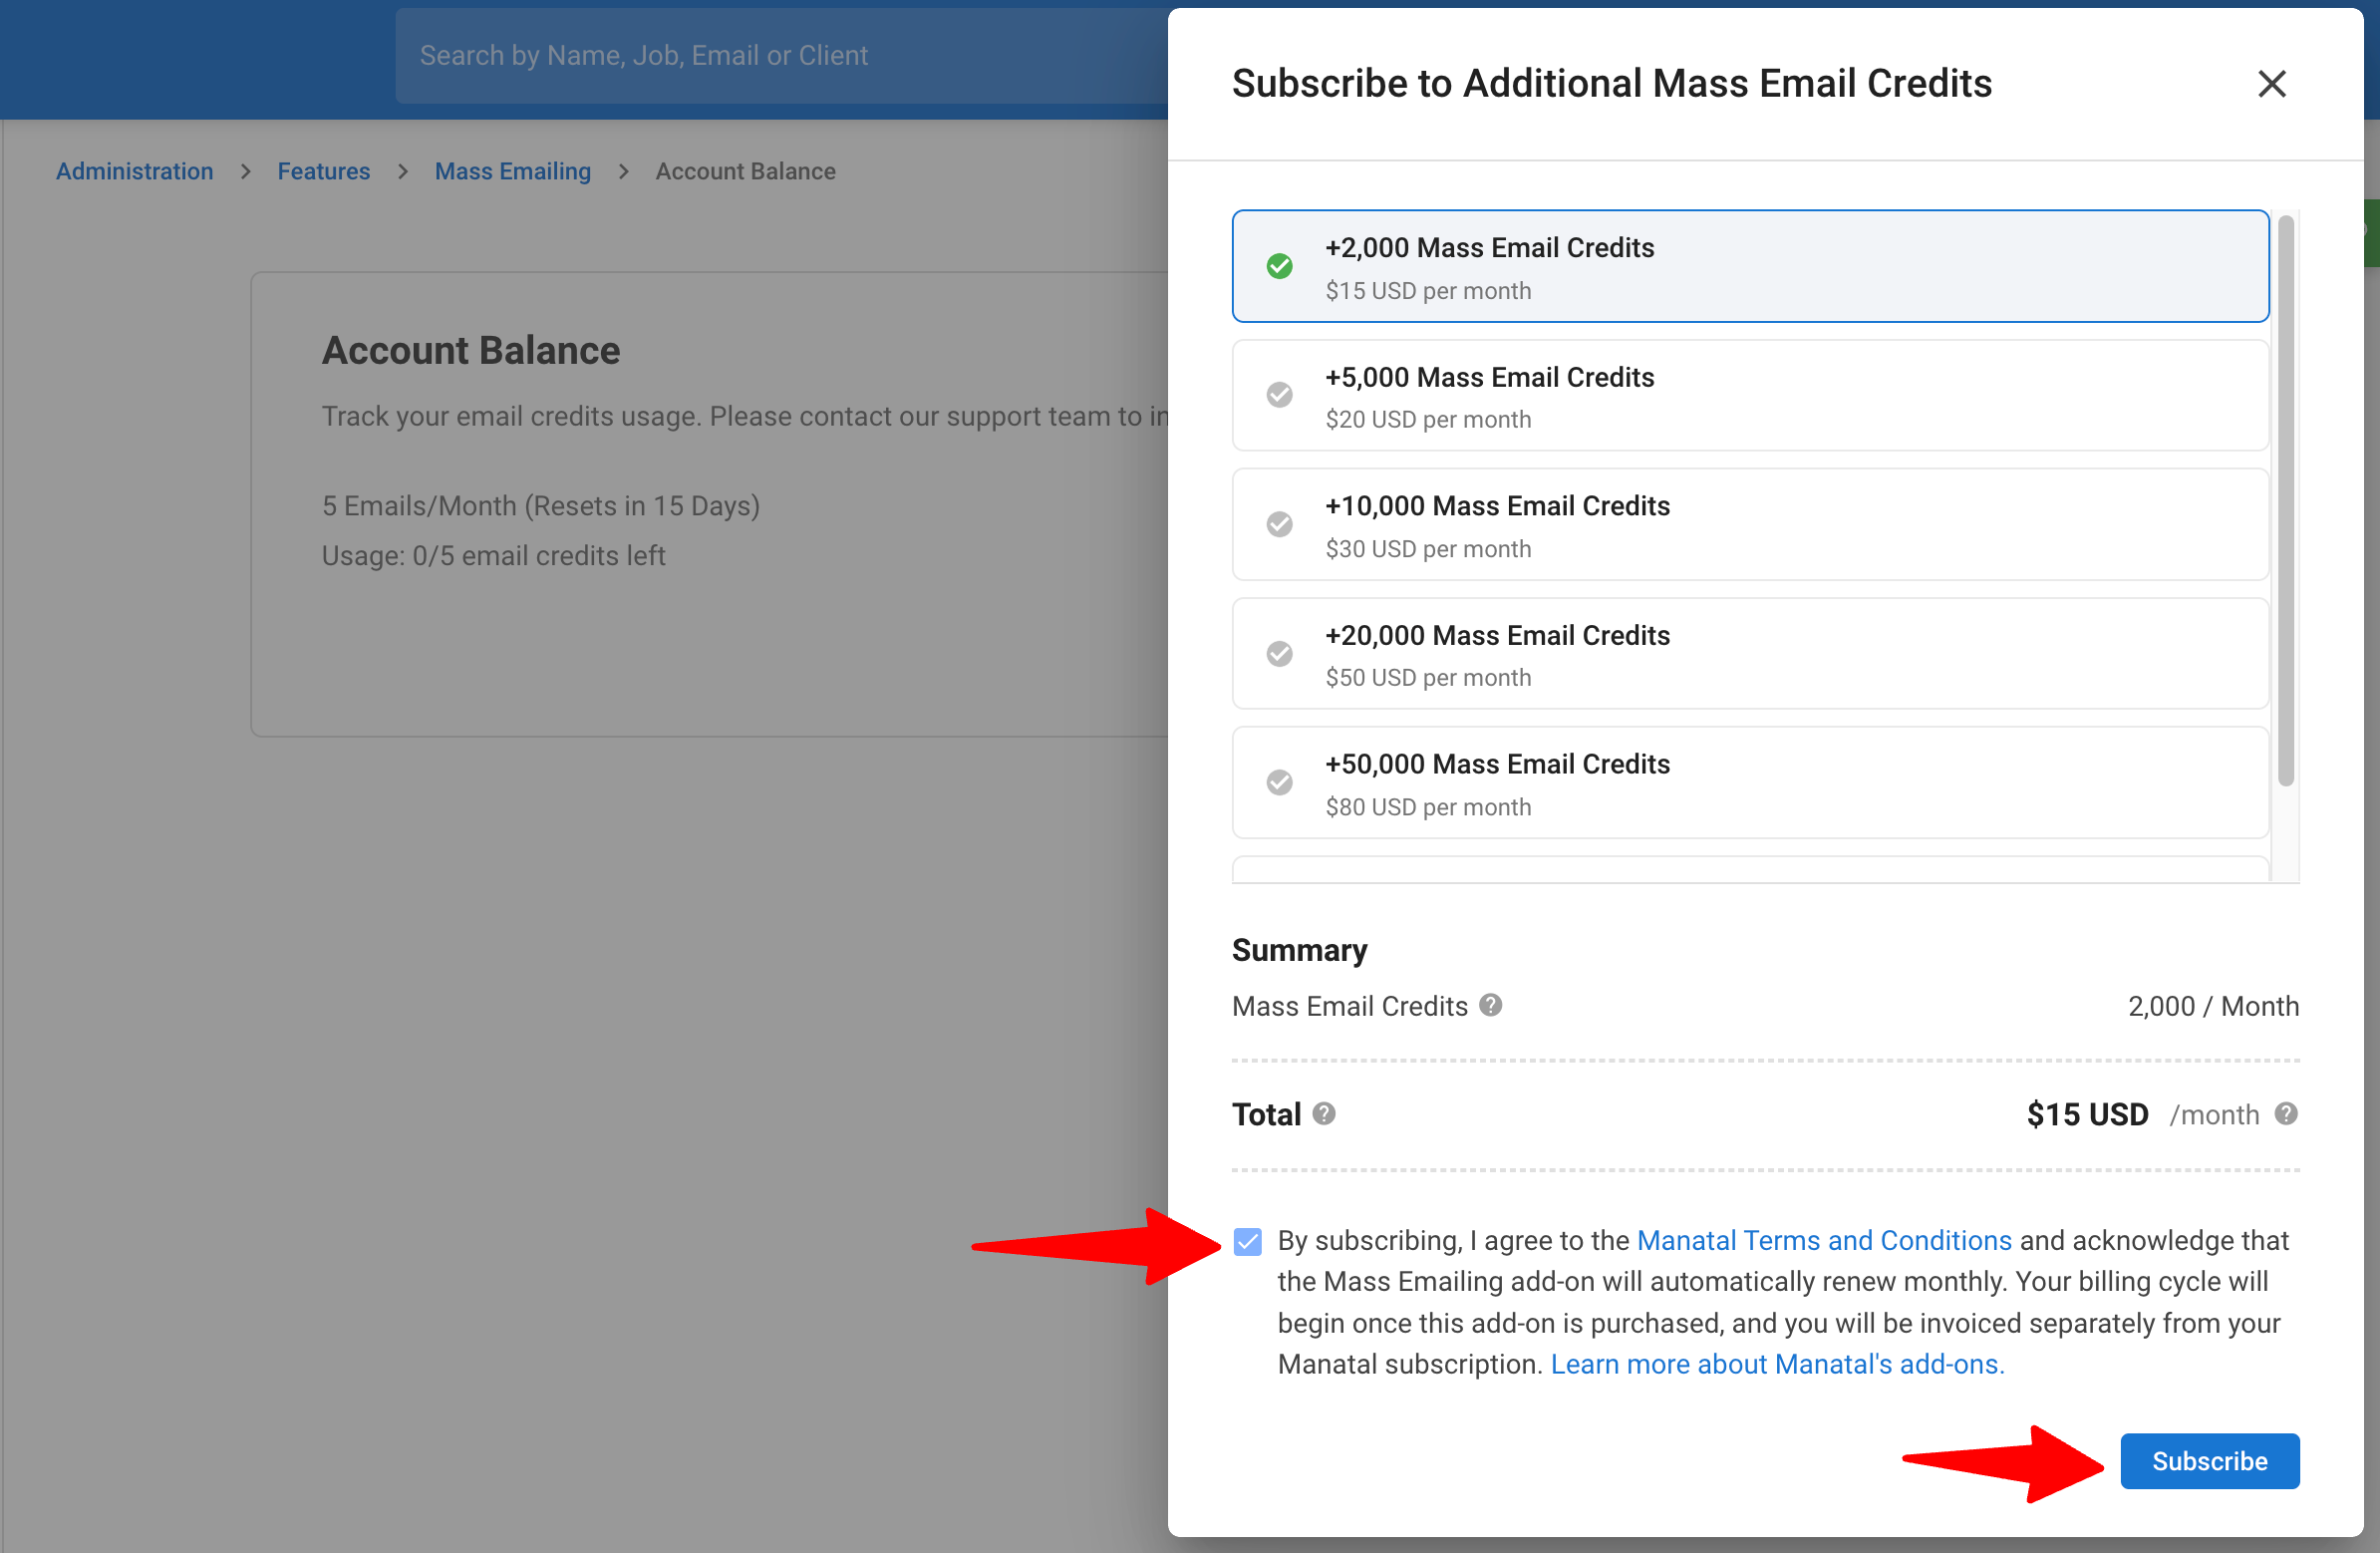
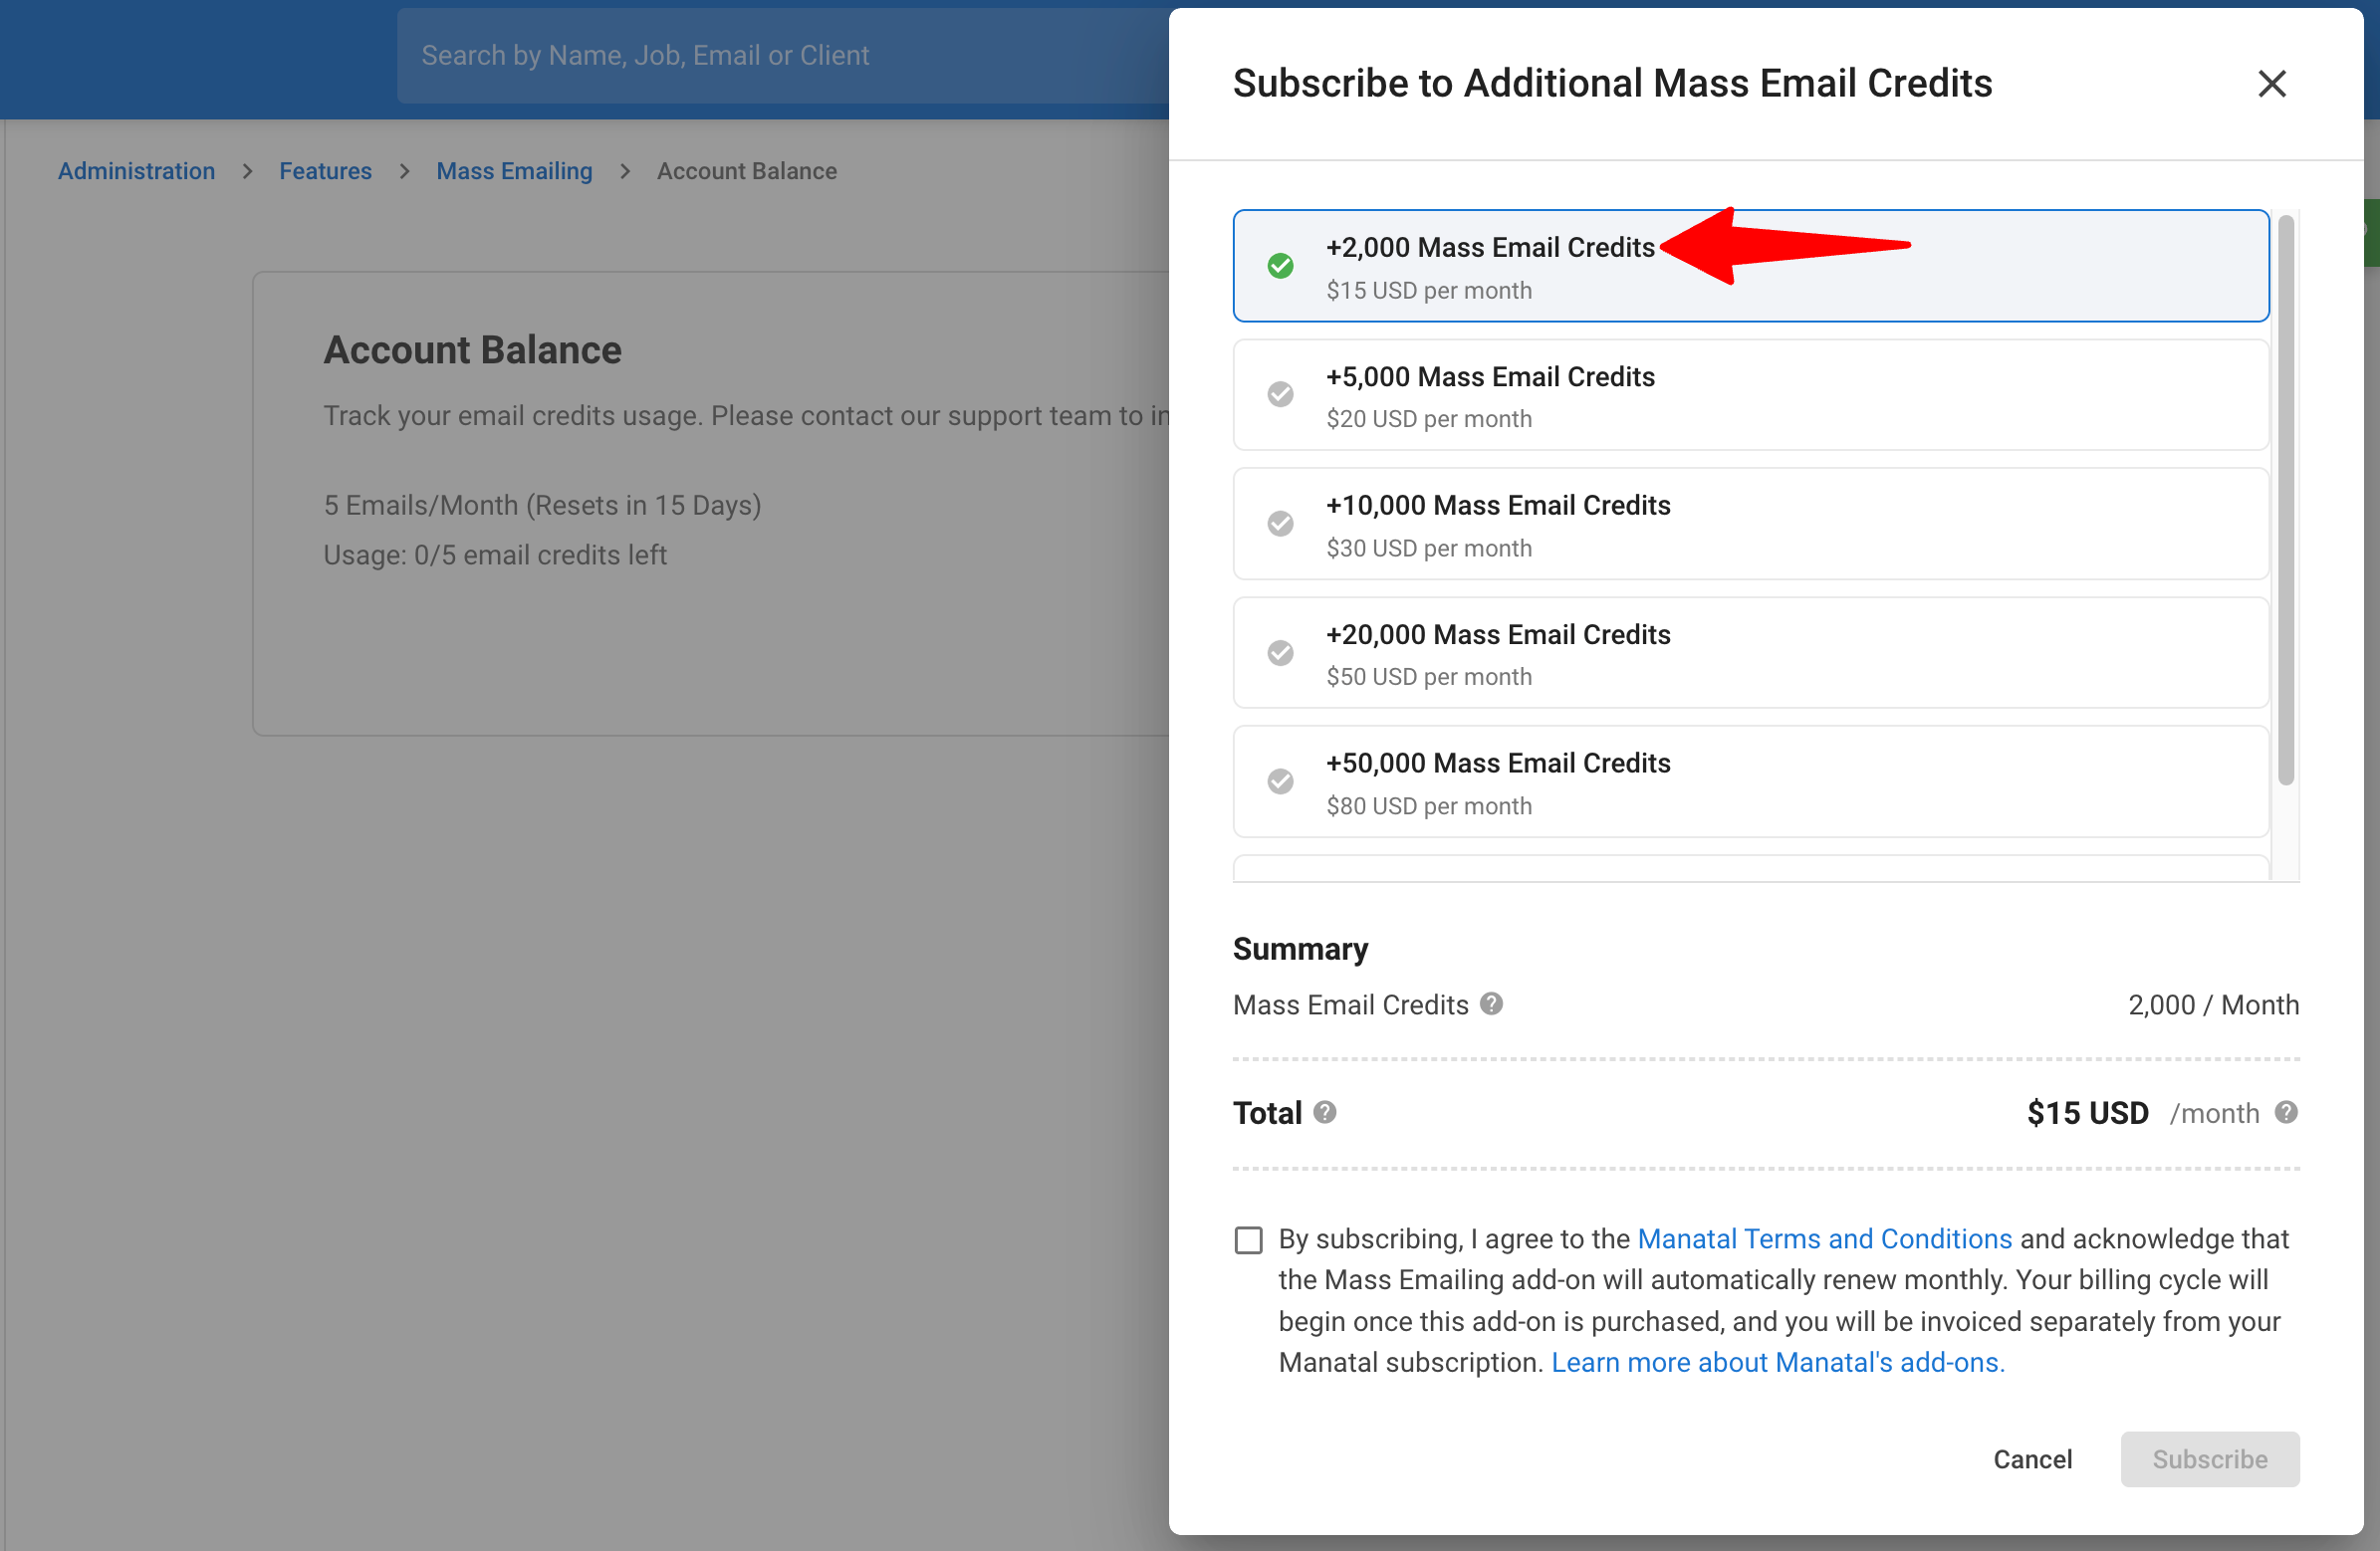
You will be presented with the detail of your current balance and usage. In order to increase your email credits, click on "Top-up Credits".
NoteYou can also add credits directly from the dedicated Add-ons marketplace within our app. Learn more in this guide.

-
Select the number of credits you wish to buy.
-
Tick the checkbox to agree with the 'Terms and Conditions' and click "Subscribe" to submit your purchase request.
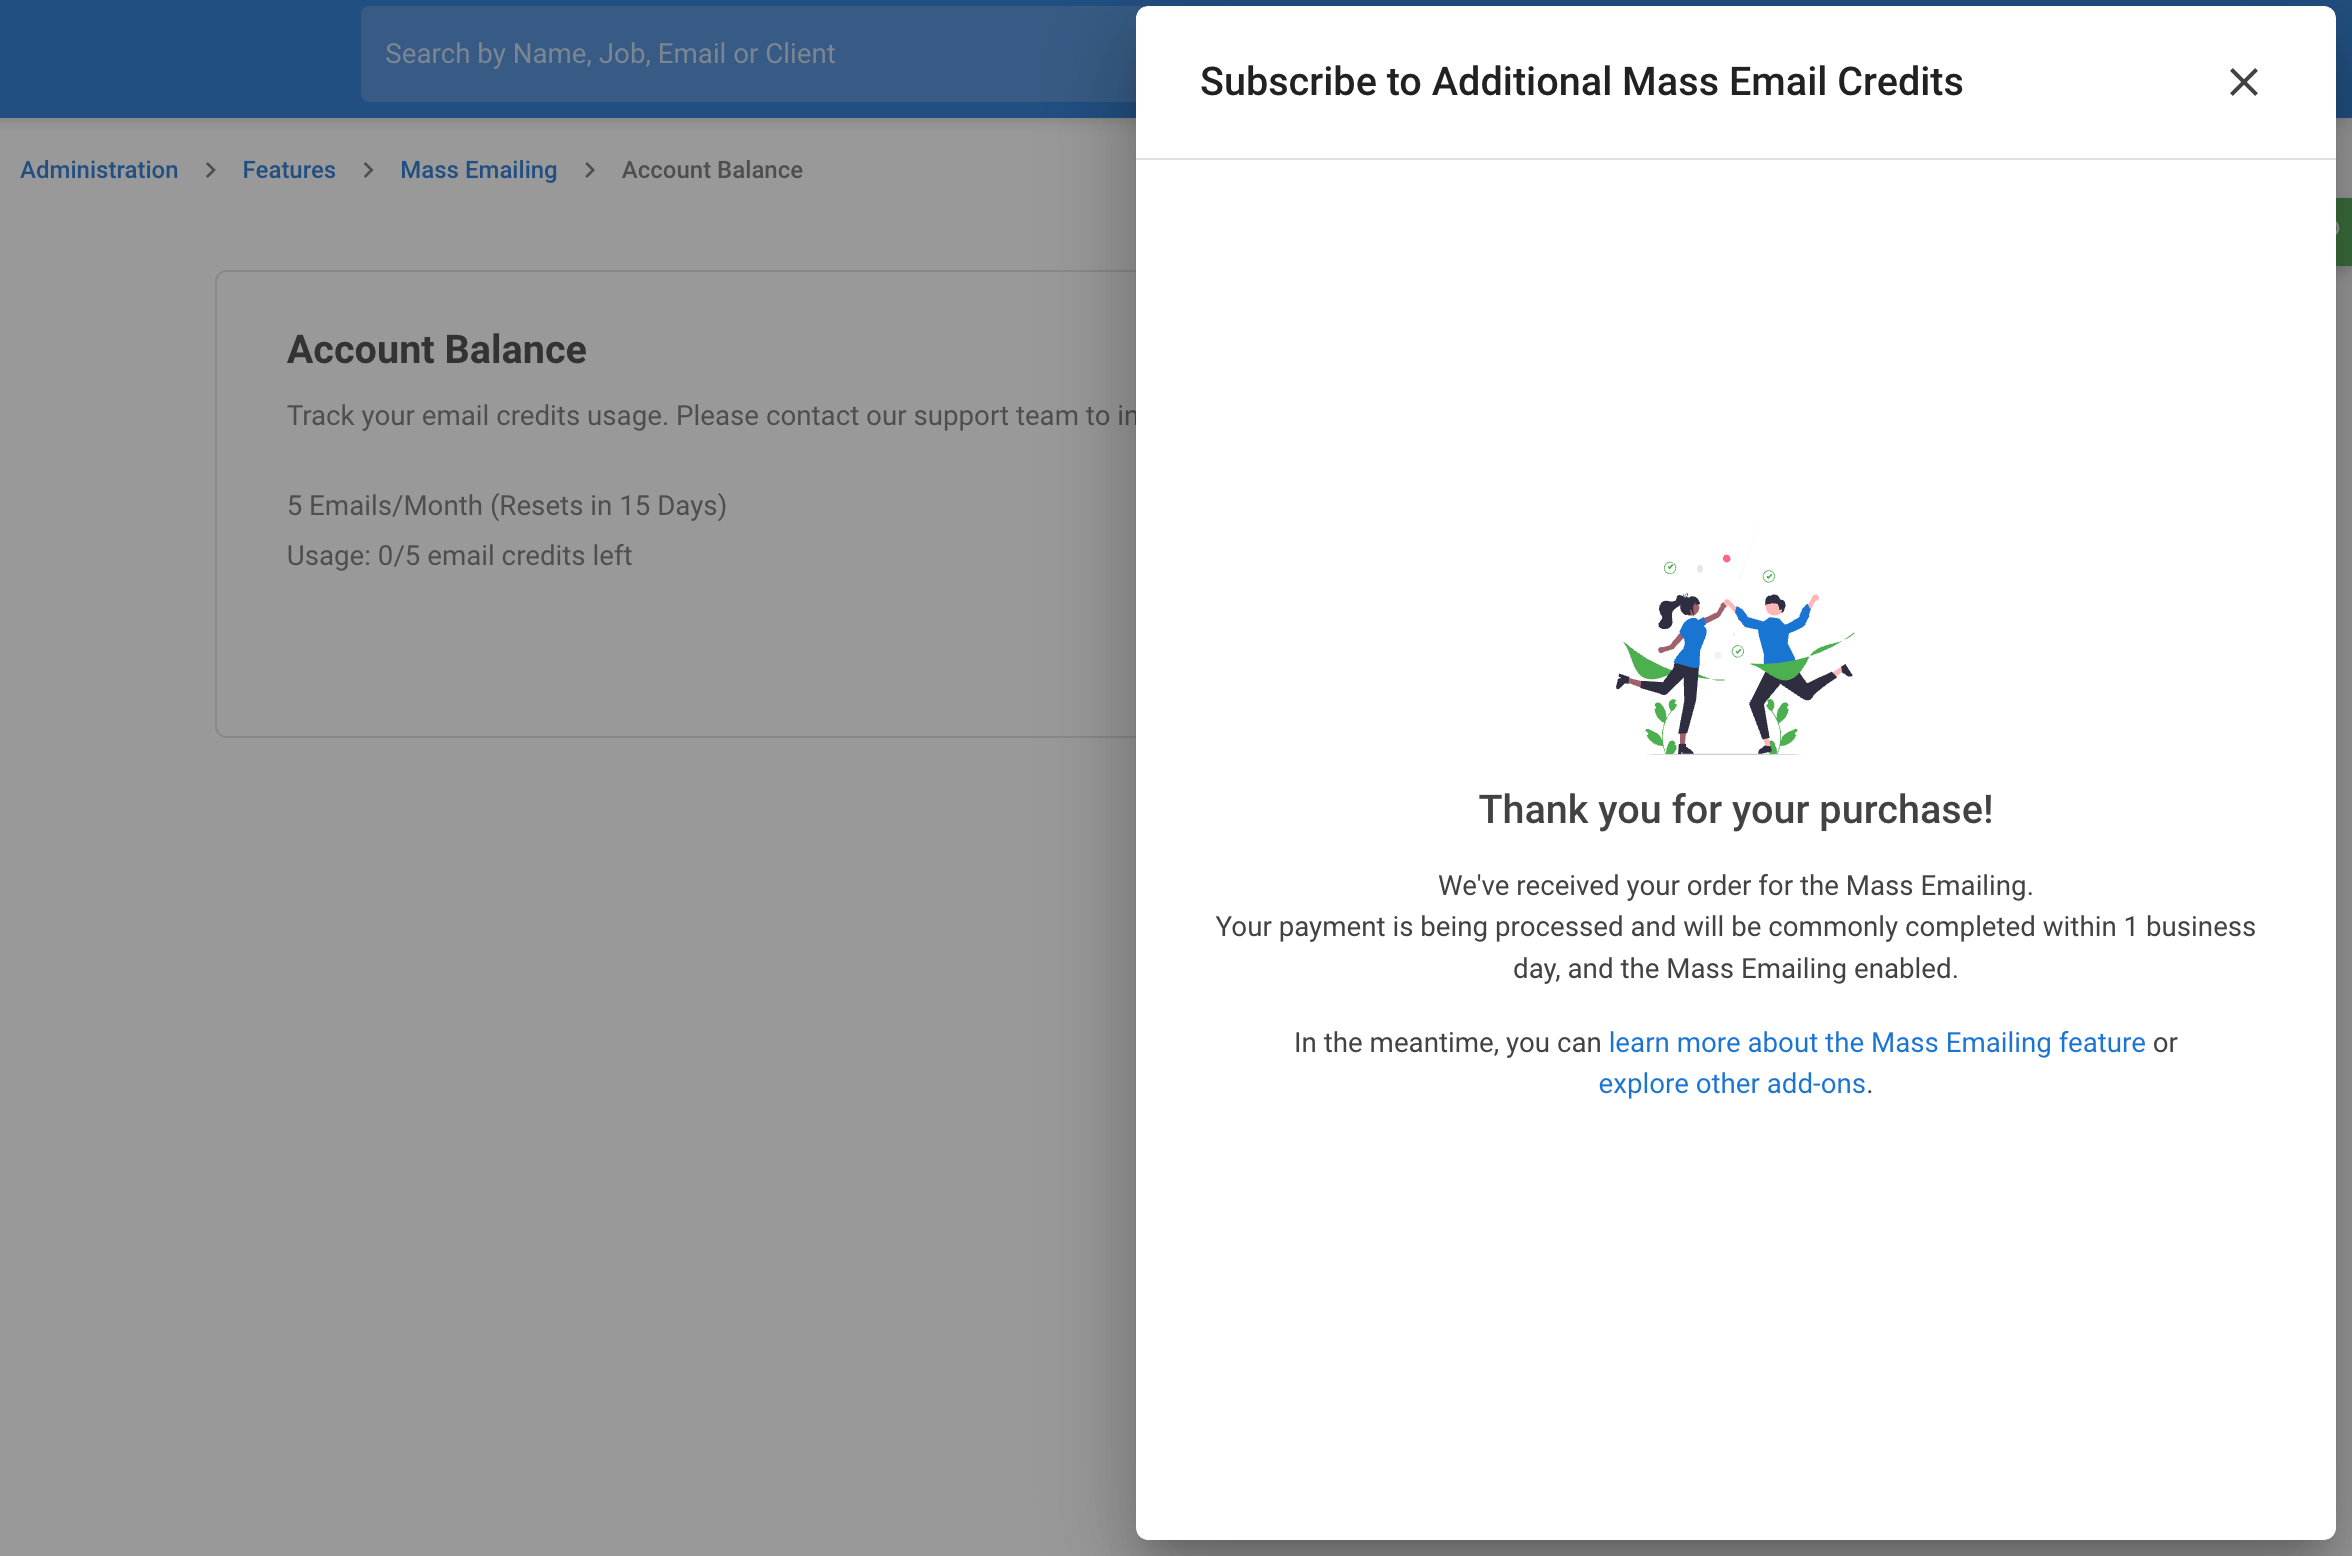
ImportantPlease note that it typically takes up to 1 business day for your Mass Emailing credits to be processed and added to your account.