Refer to this article for a step-by-step guide on how to add a Guest.
Once a Guest has been added to a specific organization’s (Client/Department) team, Manatal allows users to share notes with them under 3 circumstances:
- The note pertains to the Organization (Client/Department) under which the Guest is registered.
- The note pertains to a Job in the Organization (Client/Department) under which the Guest is registered.
- The note pertains to a Candidate that was added to a Job in the Organization (Client/Department) under which the Guest is registered. For notes under candidates to be visible, the candidate himself must be at a stage in the pipeline that Guests are allowed to see. Please refer to this article for more details.
Share a Note pertaining to the Organization
-
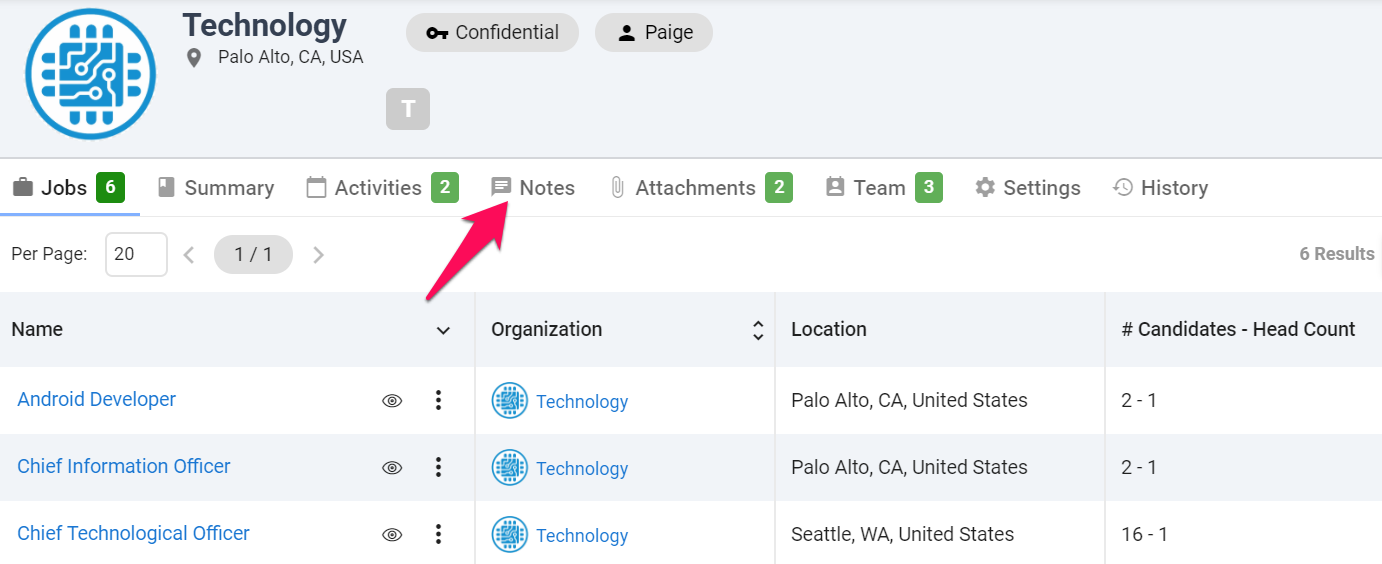
From the Organization's (Client's/Department's) page, click on the "Notes" tab.
-
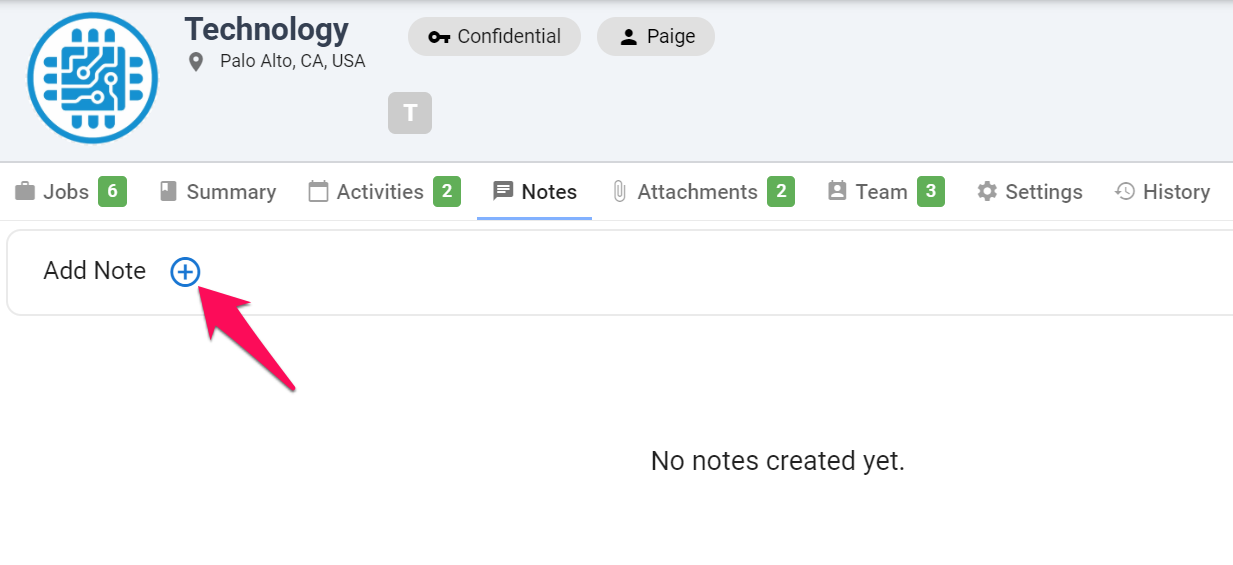
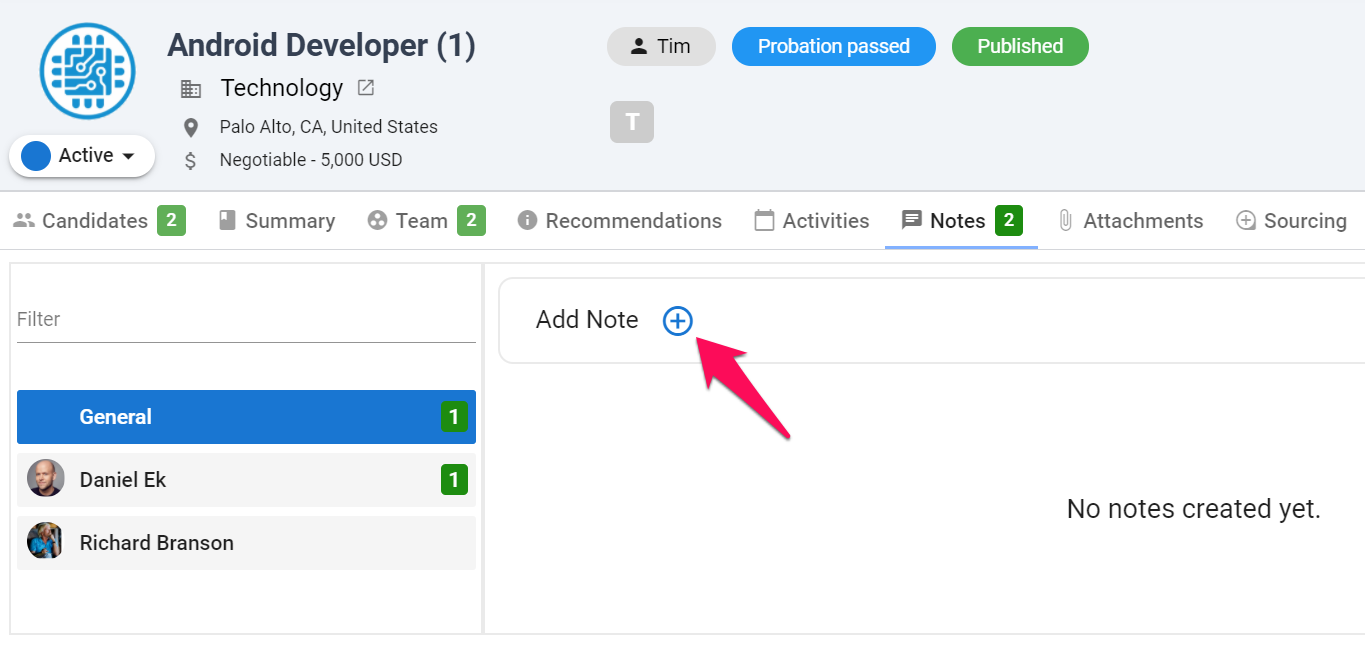
Click on the "+" icon next to "Add Note".
-
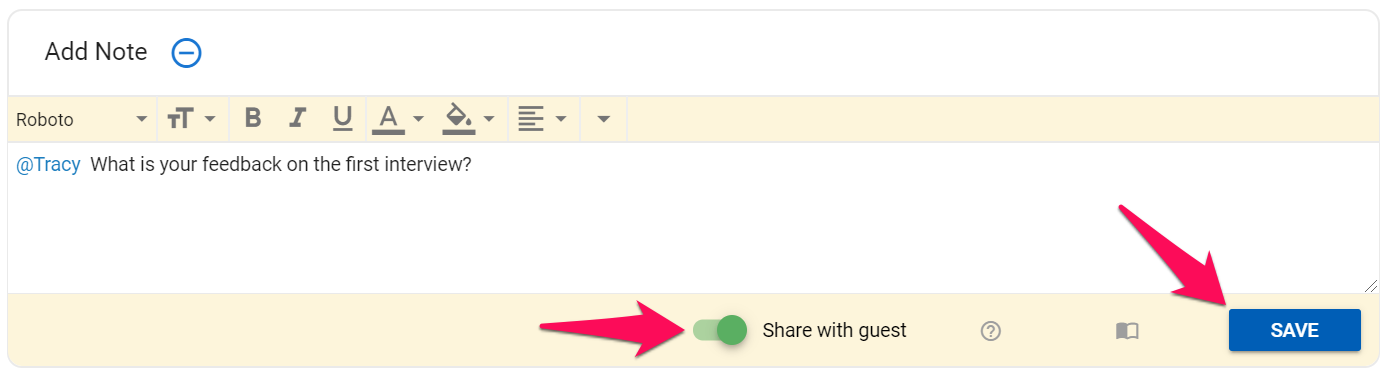
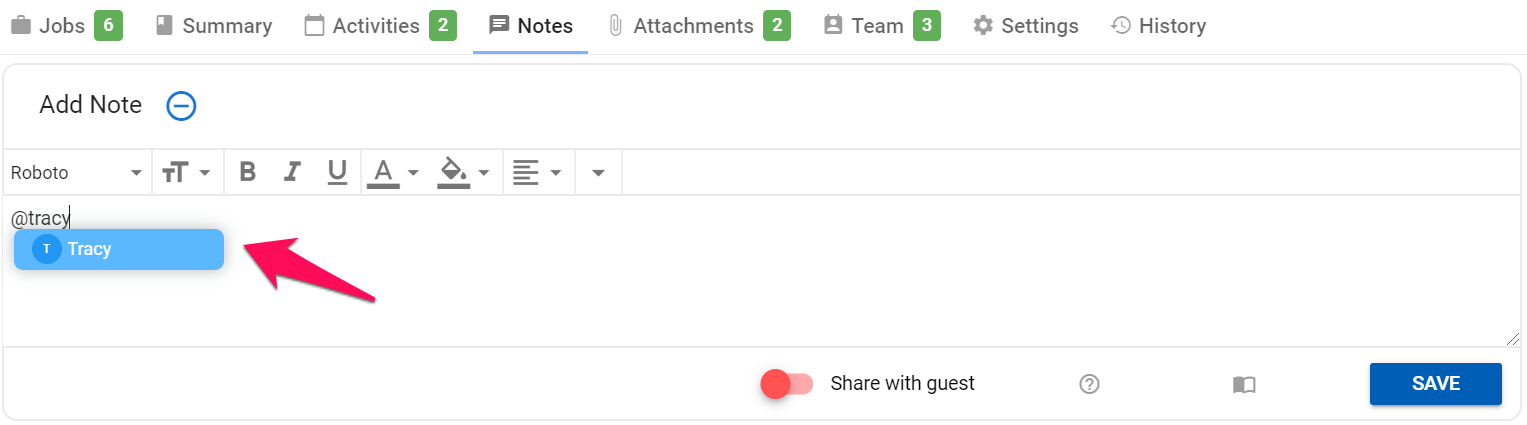
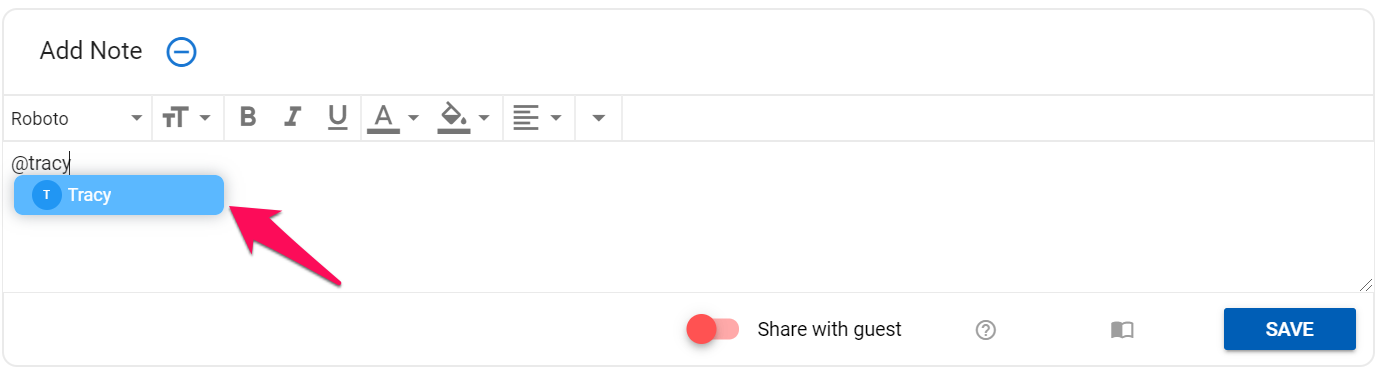
Write your note. It is possible to tag Guests or team members by typing "@" followed by their name to make sure they receive a notification.
-
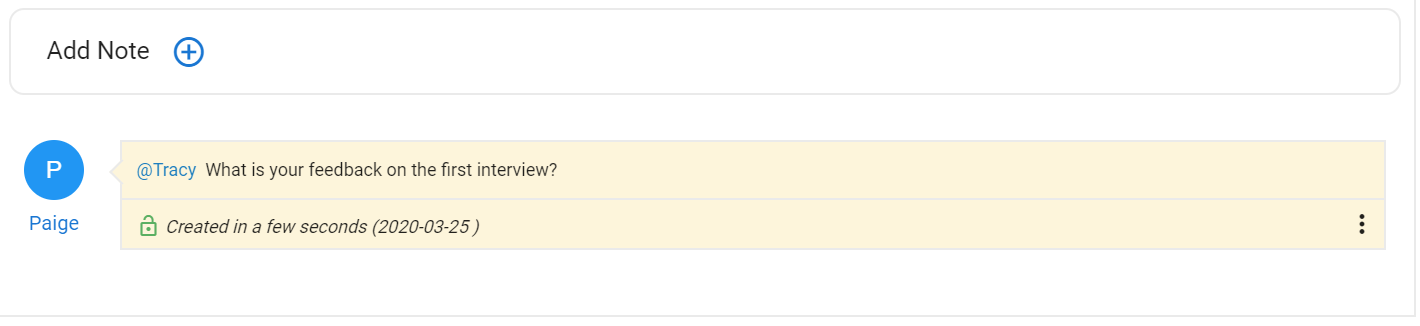
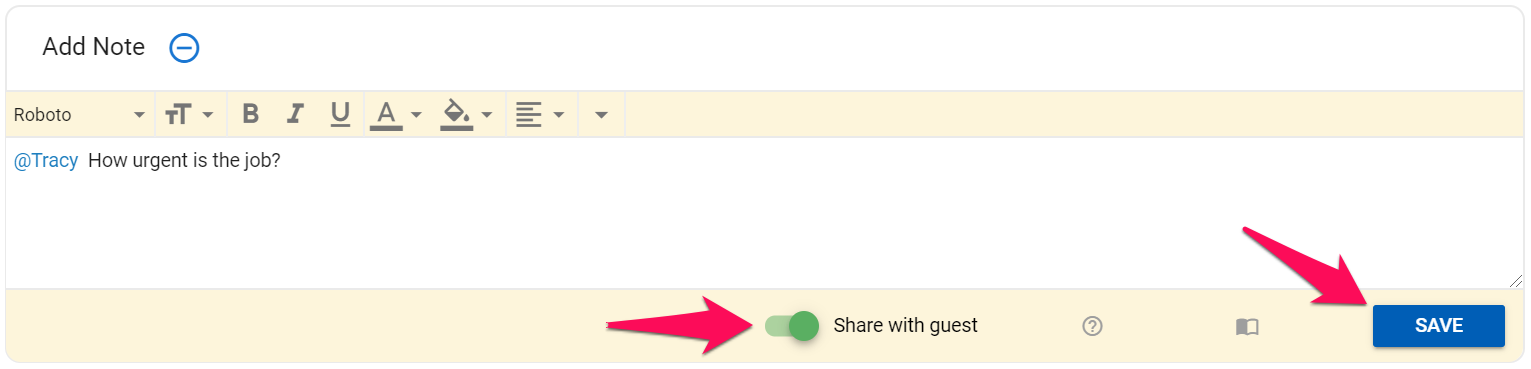
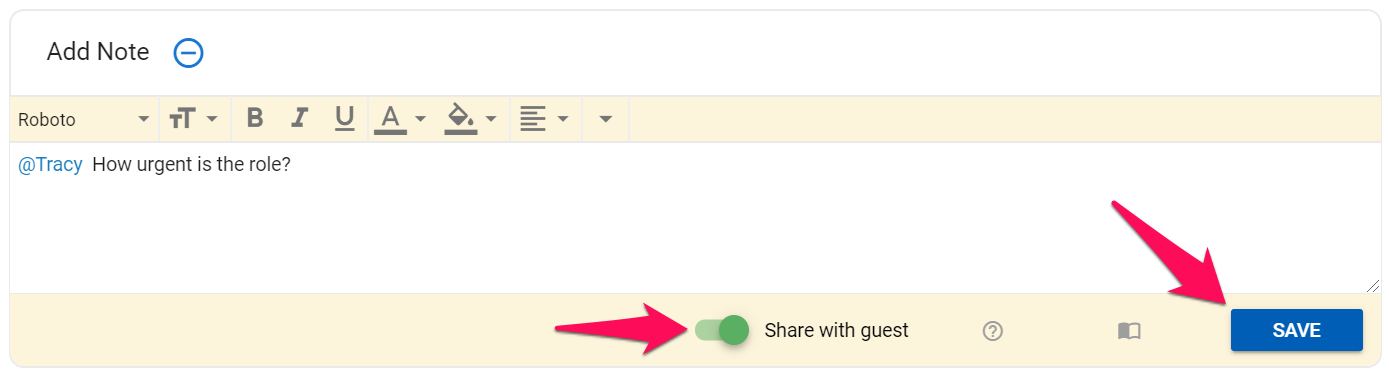
Enable "Share with Guest" and click "Save". The Organization's (Client's/Department's) Guests will now be able to view the note.

Share a Note pertaining to a Job within the Organization
-
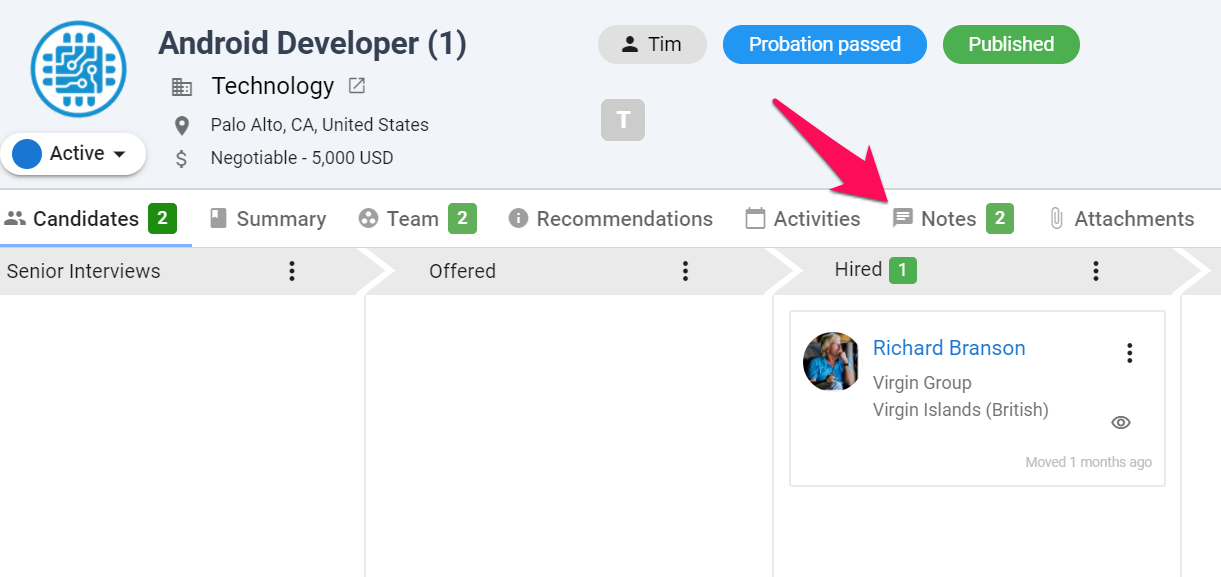
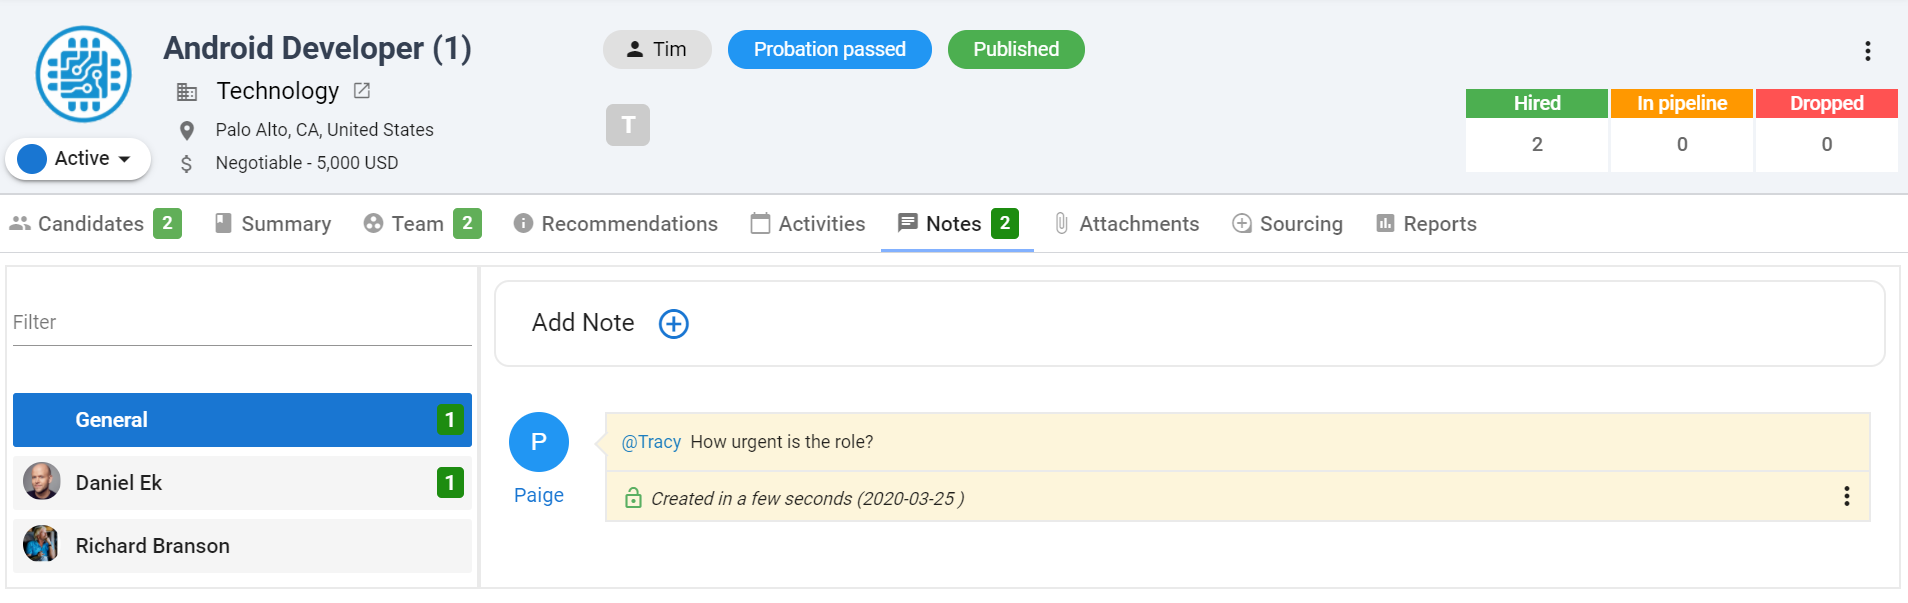
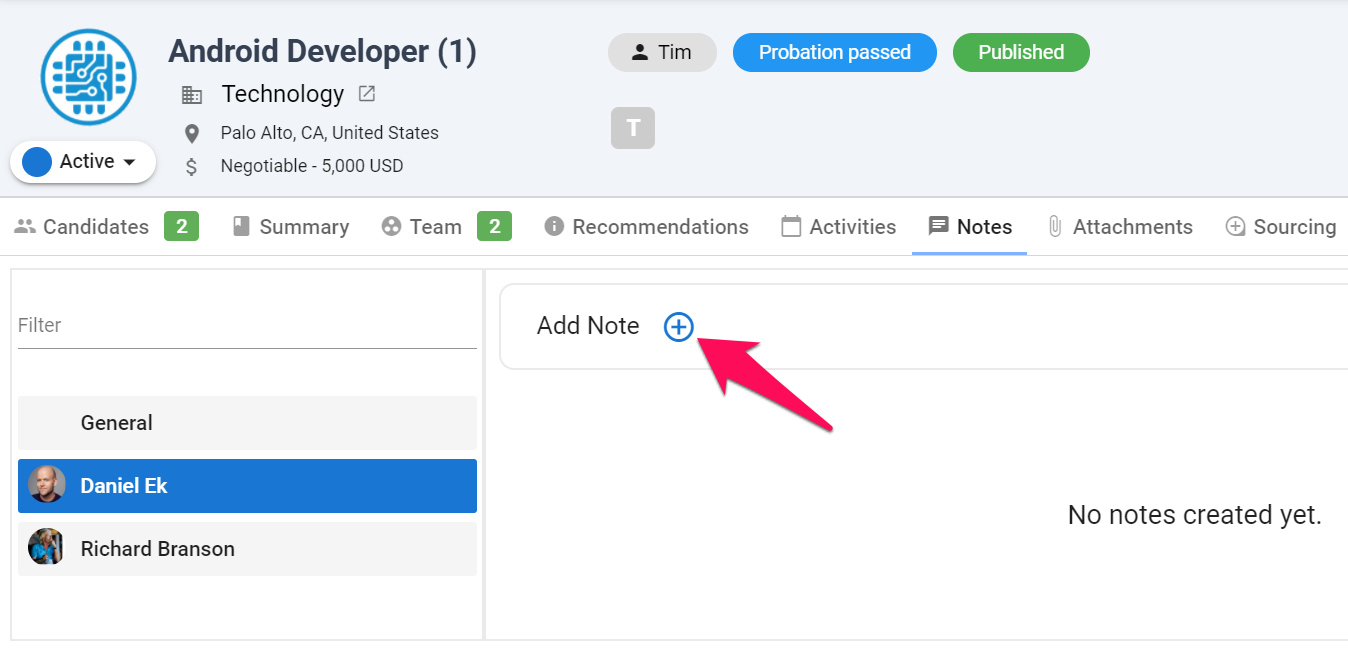
Navigate to a job page within the Organization (Client/Department) page, click on the "Notes" tab.
-
Click on the "+" icon next to "Add Note".
-
Write your note. It is possible to tag Guests or team members by typing "@" followed by their name to make sure they receive a notification.
-
Enable "Share with Guest" and click "Save". The Organization's (Client's/Department's) Guests will now be able to view the note.
Share a Note pertaining to a Candidate that was added to a Job within the Organization
-
Navigate to a job page within the Organization (Client/Department) page, click on the "Notes" tab.
-
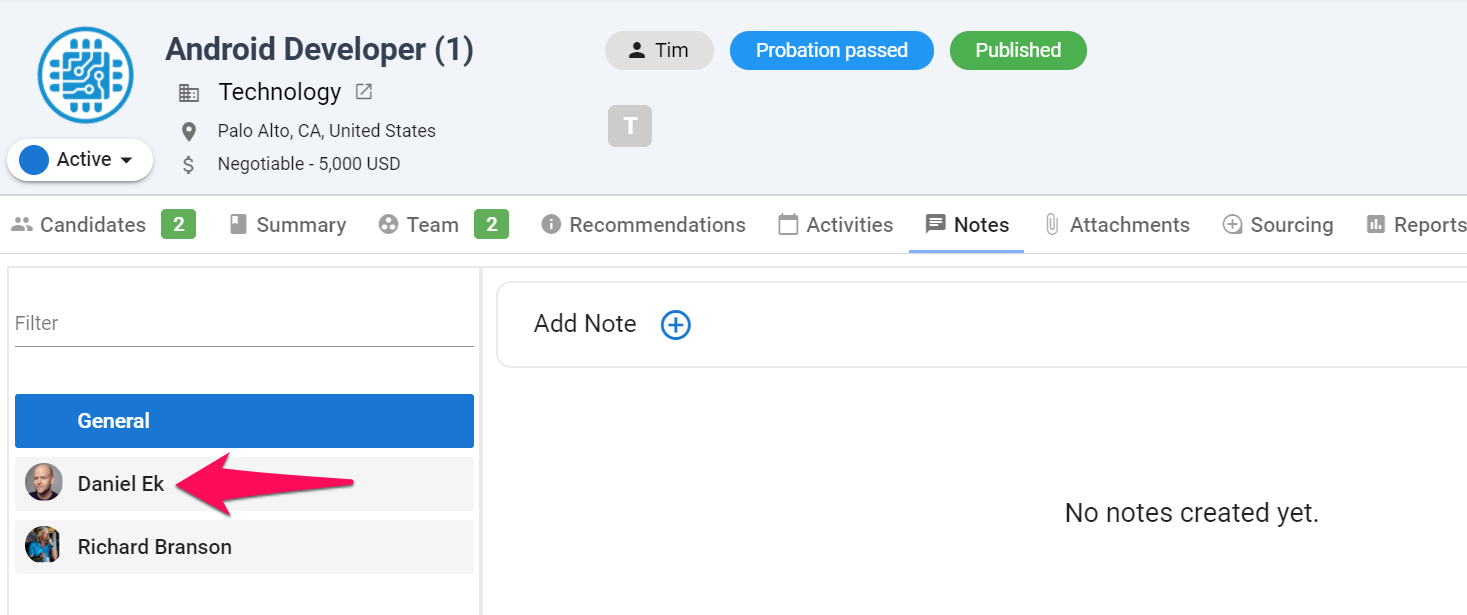
Click on the candidate that you wish to share a note on.
-
Click on the "+" icon next to "Add Note".
-
Write your note. It is possible to tag Guests or team members by typing "@" followed by their name to make sure they receive a notification.
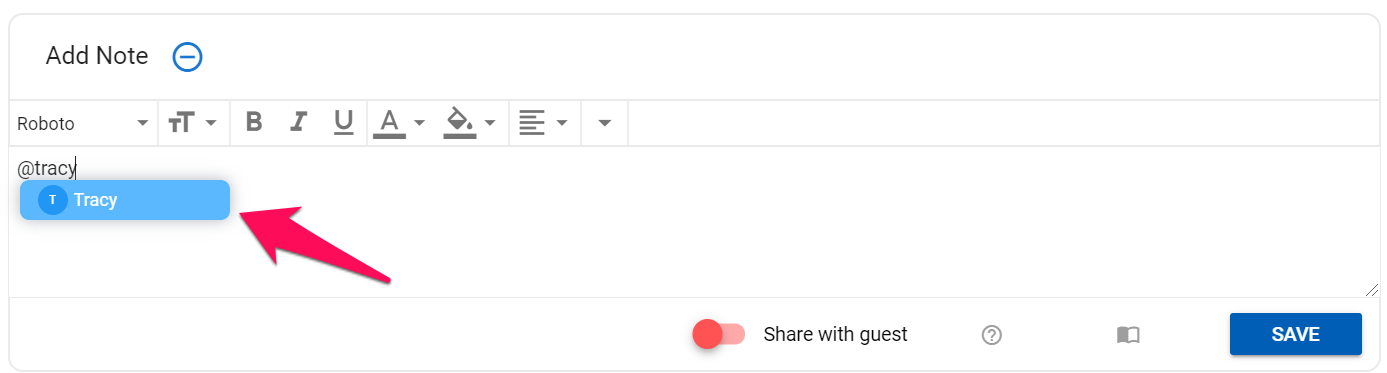
Enable "Share with Guest" and click "Save". The Organization's (Client's/Department's) Guests will now be able to view the note.