This guide covers the standard workflow for publishing and managing a single job post on your career page. For more complex scenarios, like creating multiple posts for one job, please see our advanced guide.
To publish a job on your Career Page, your Admin must have set it up beforehand. Refer to this article for more information.
Publish a Job to your Career Page
-
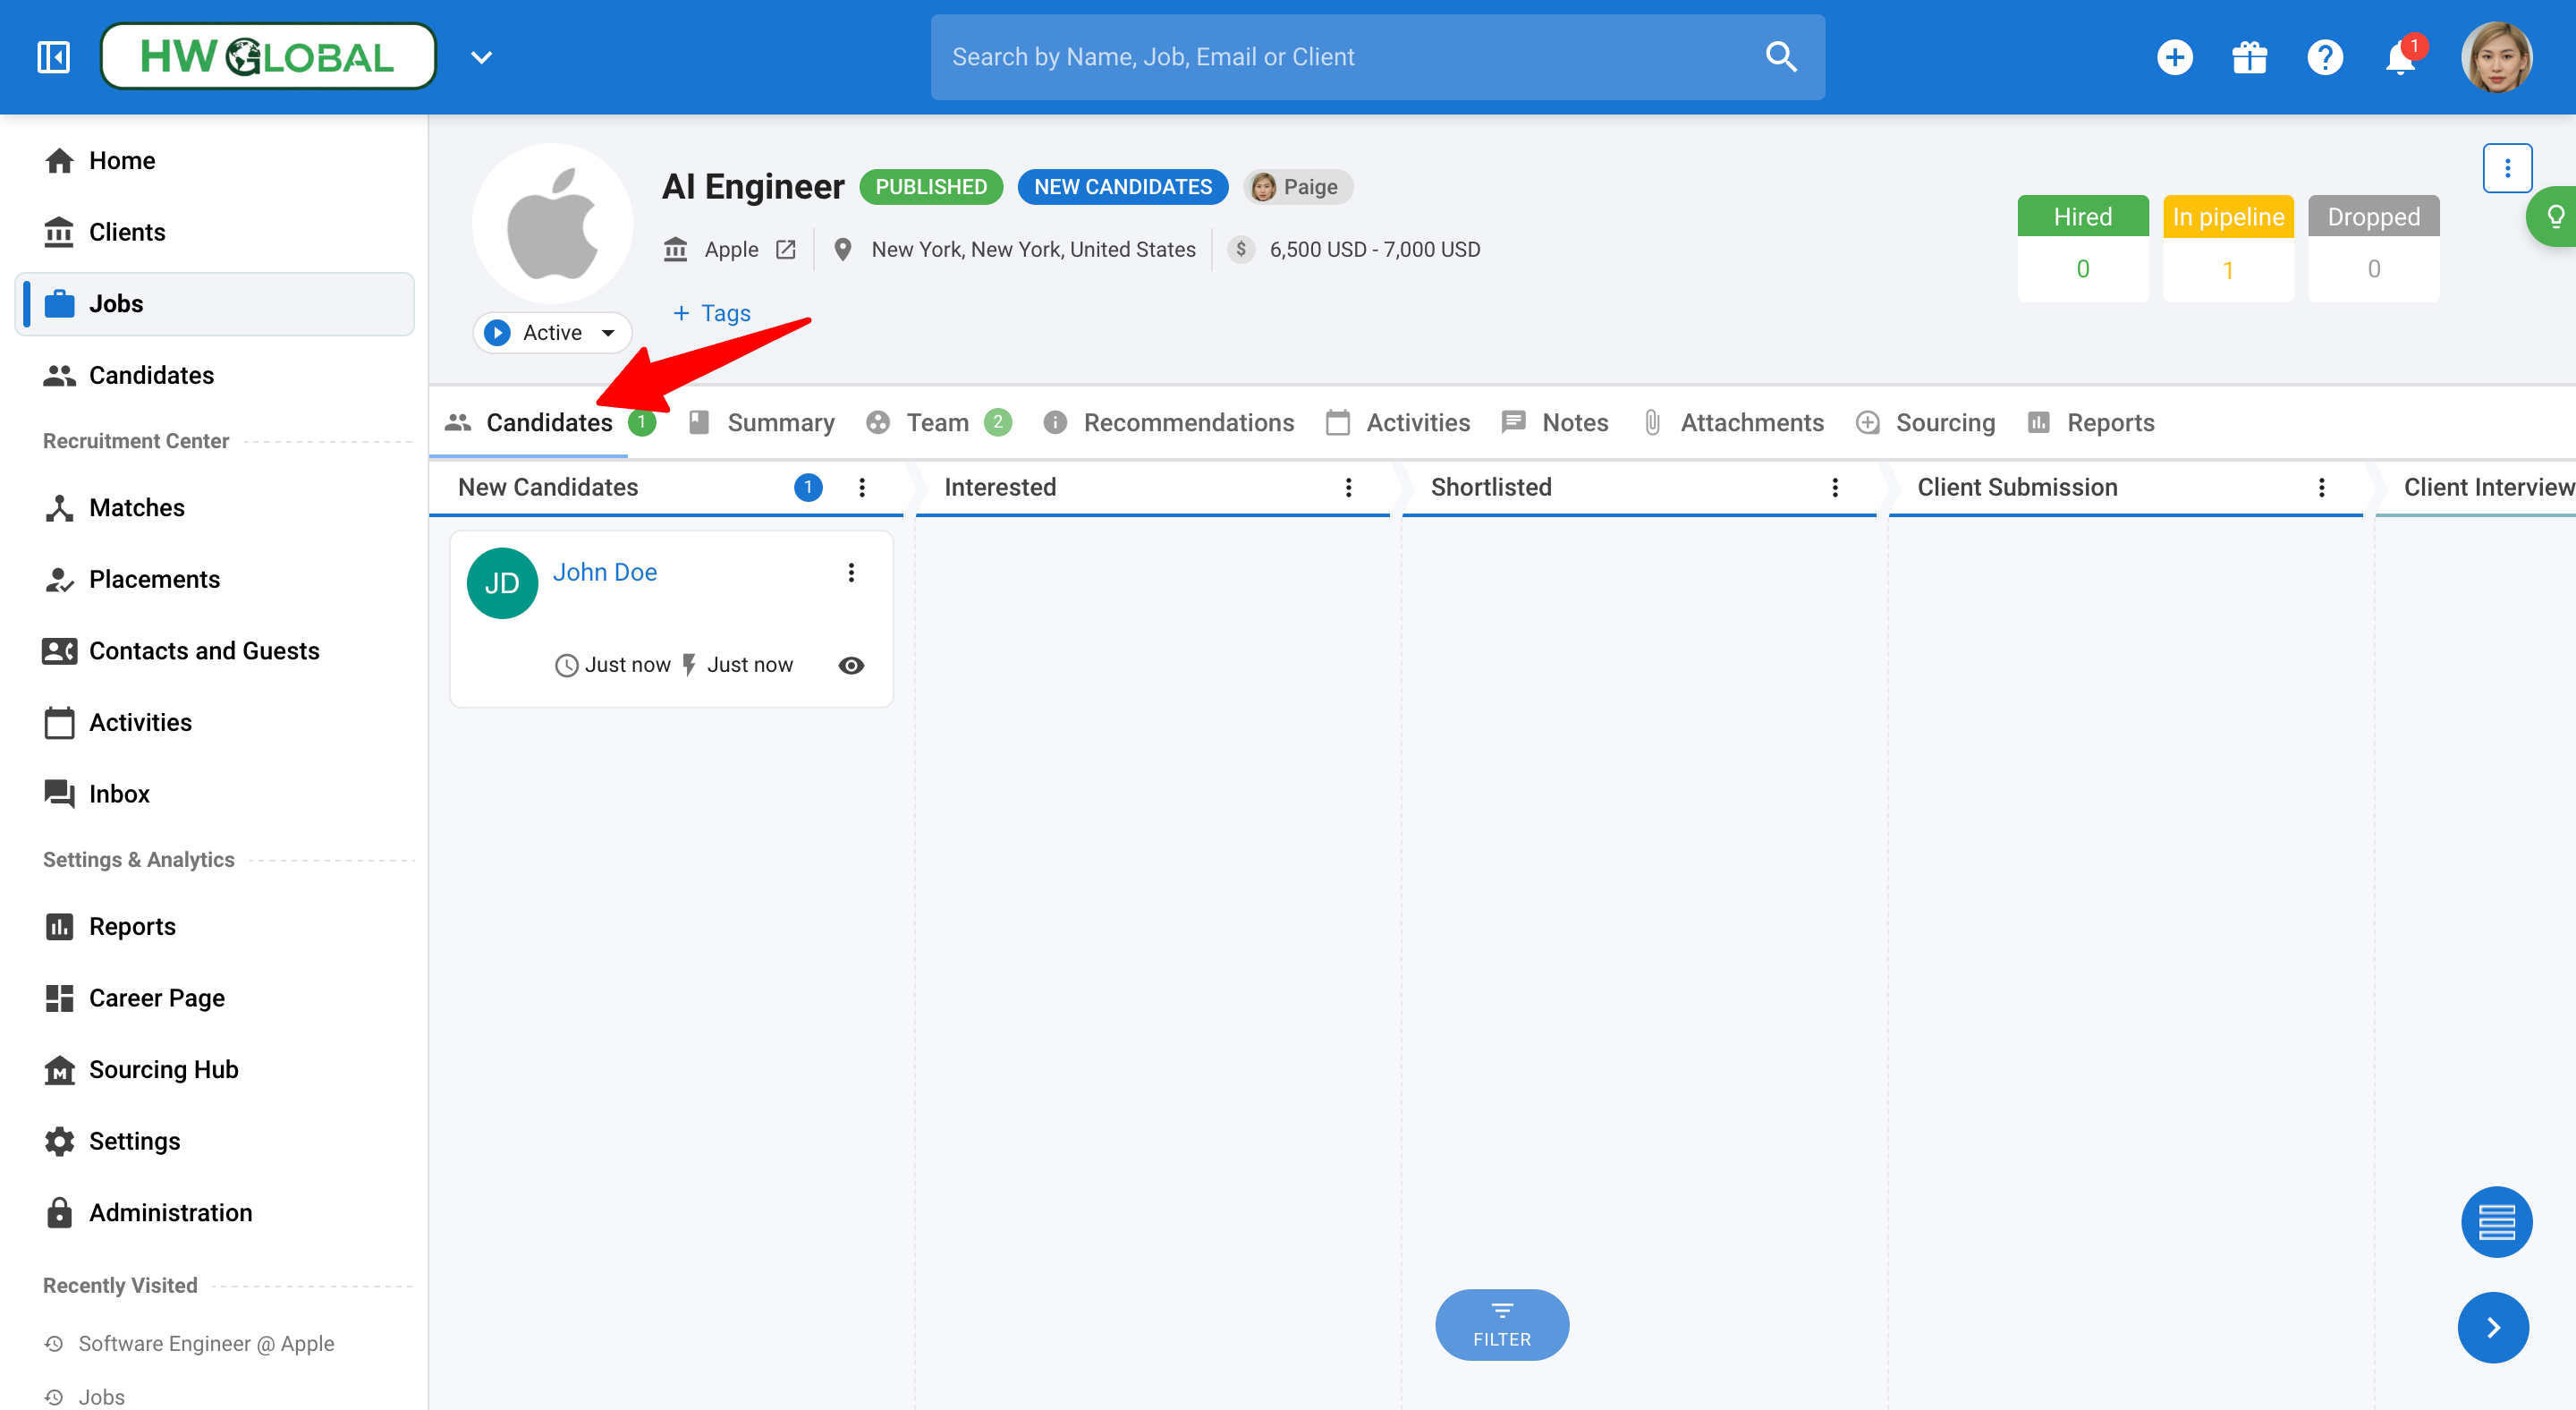
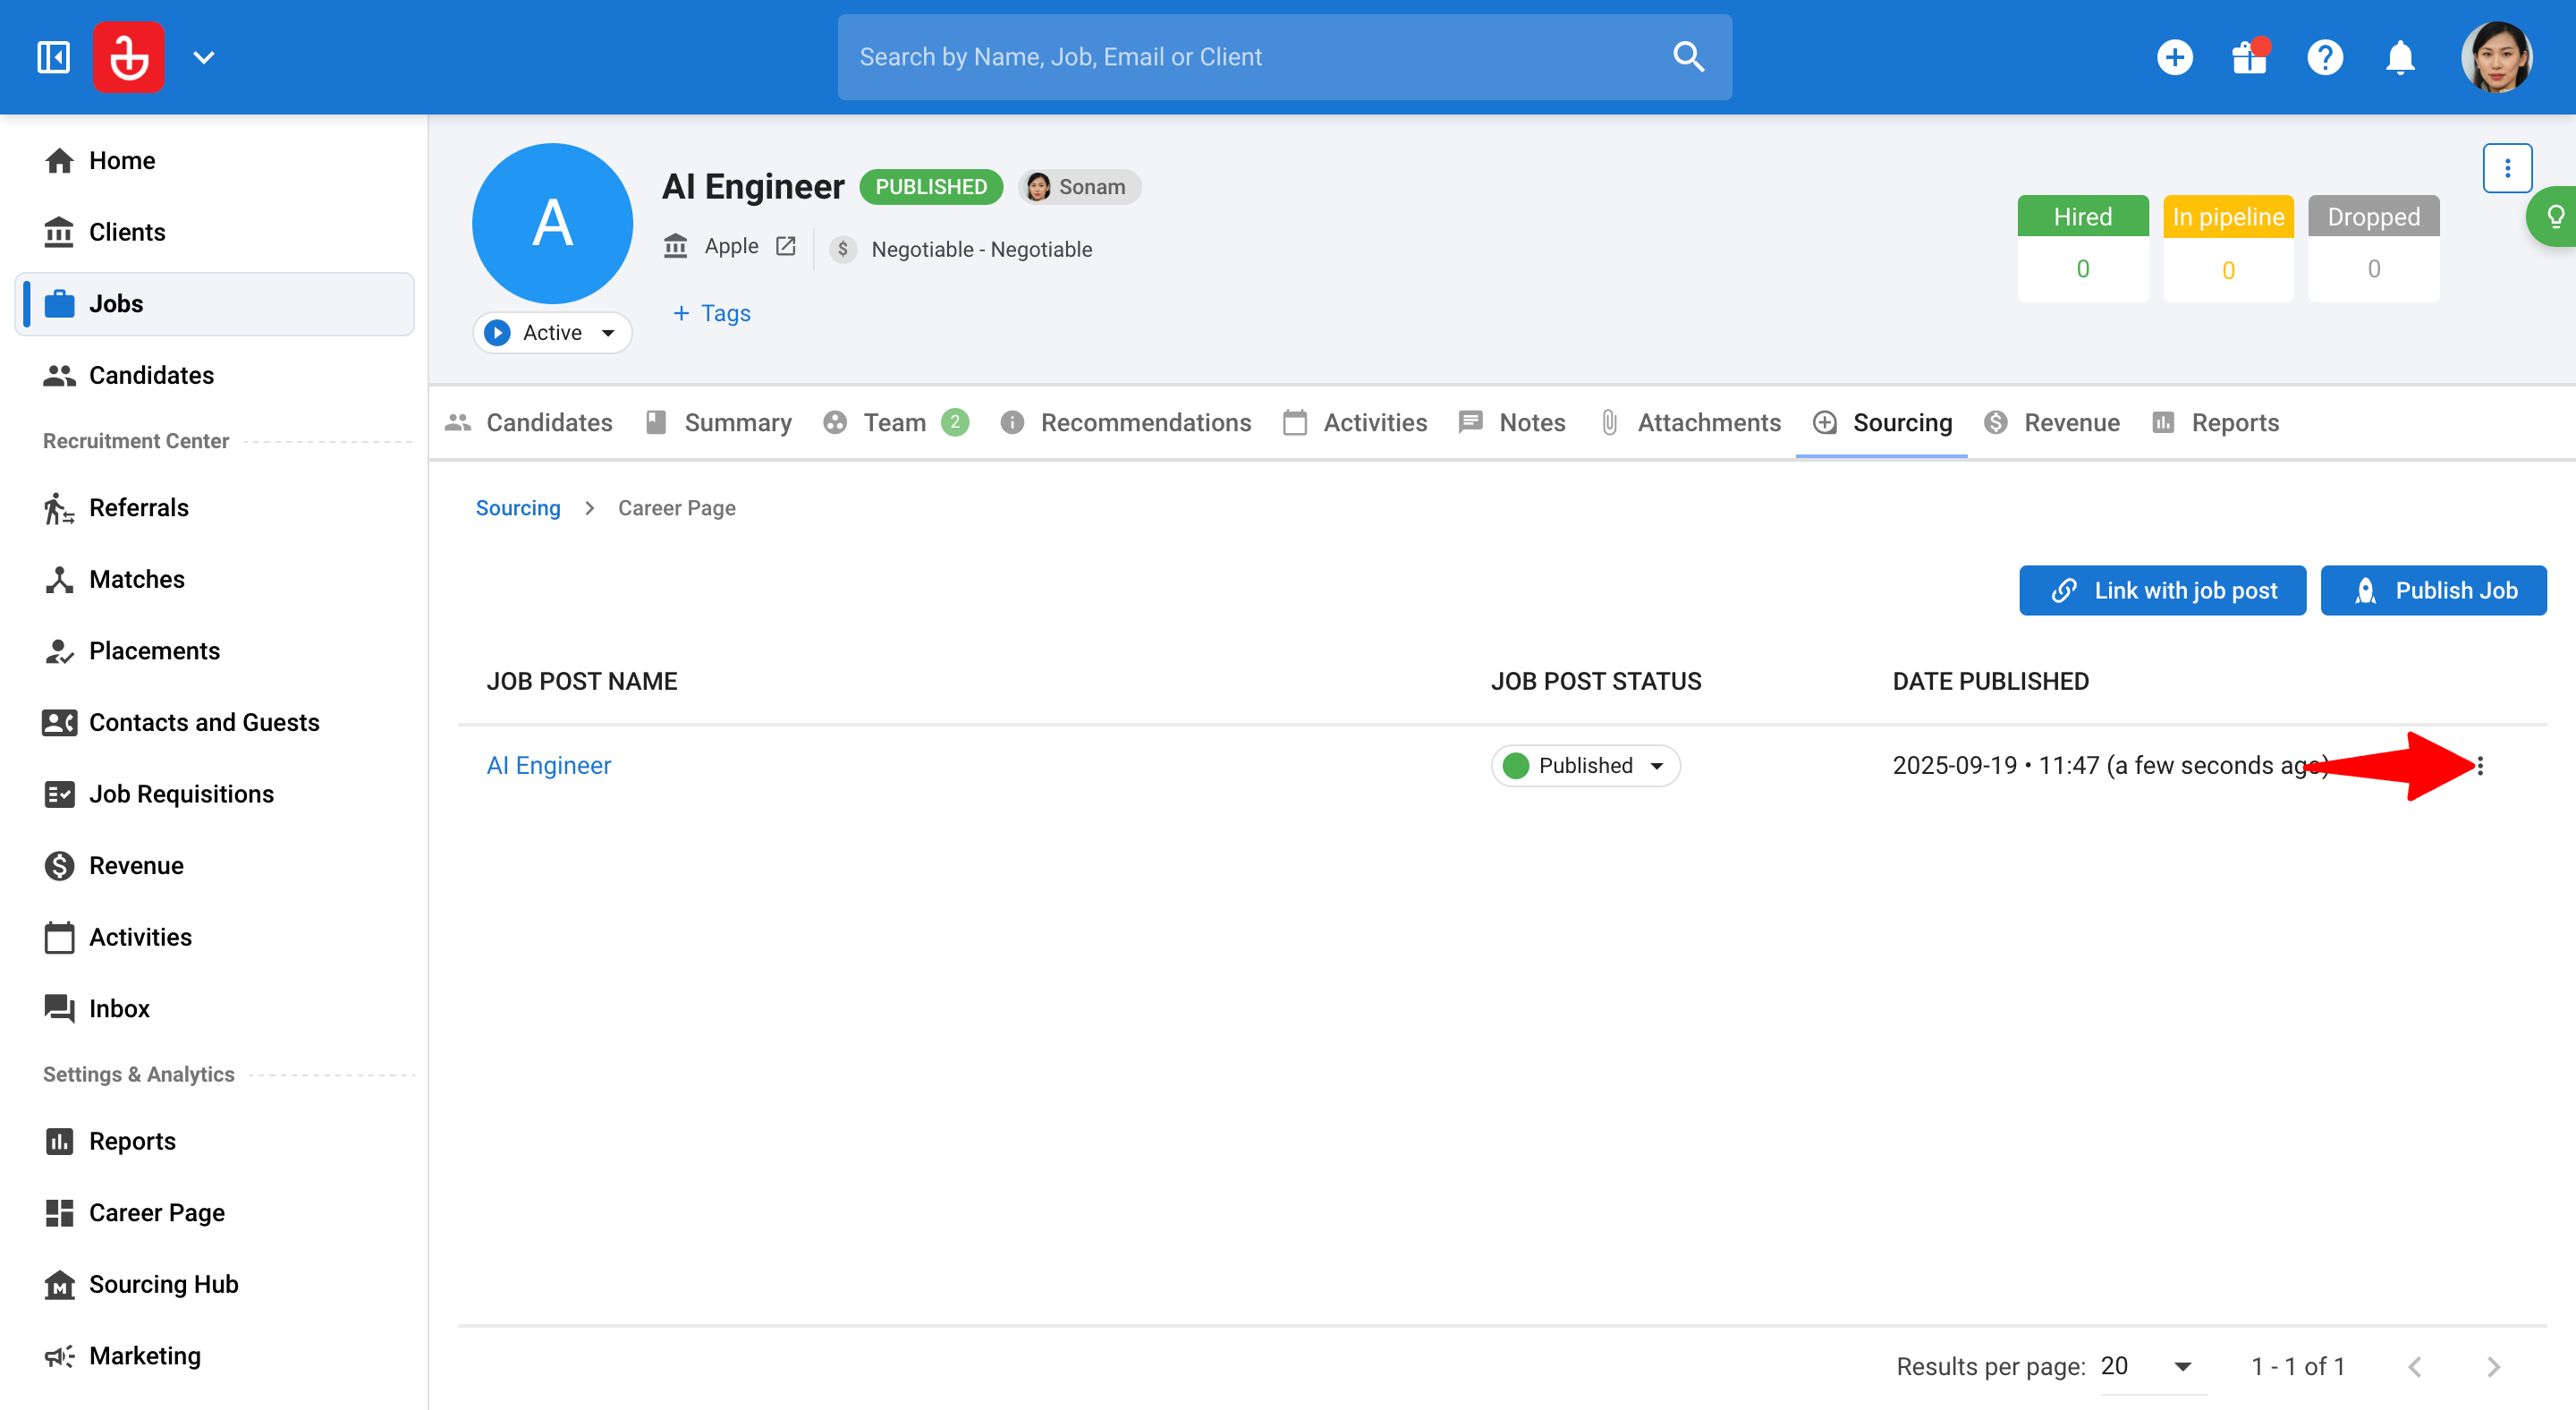
From within a Job, open the "Sourcing" tab.
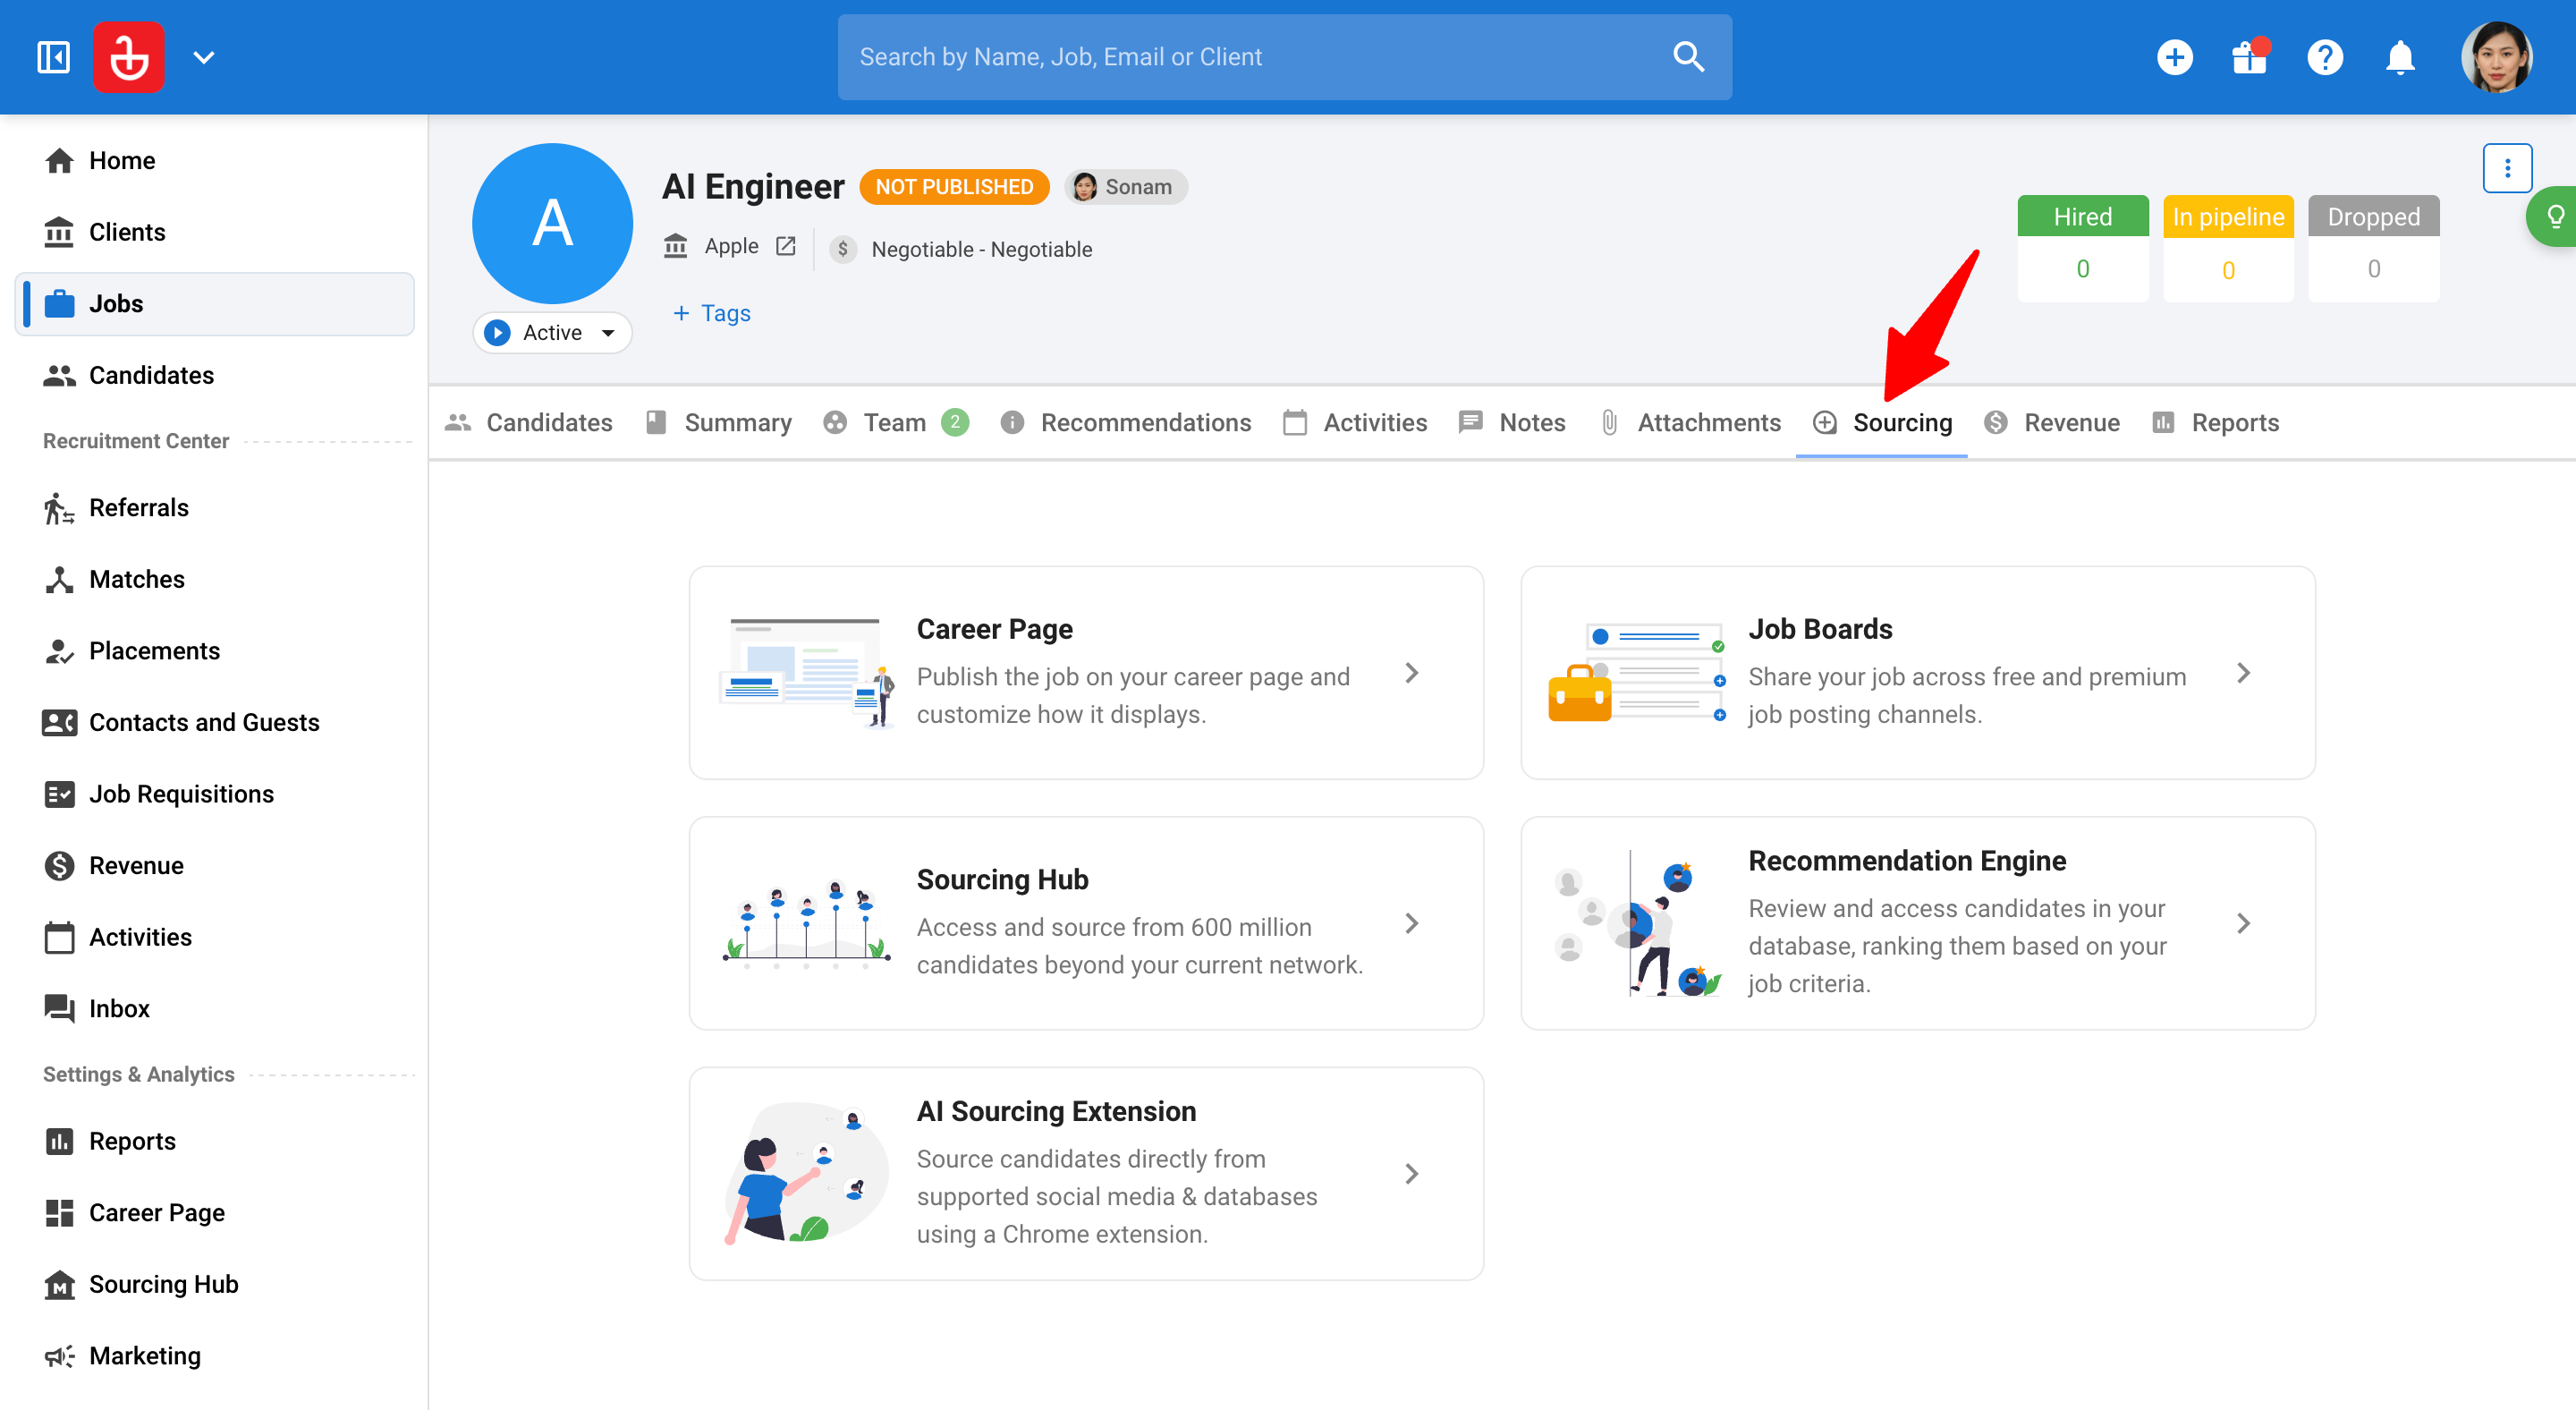
-
Click on "Career Page".
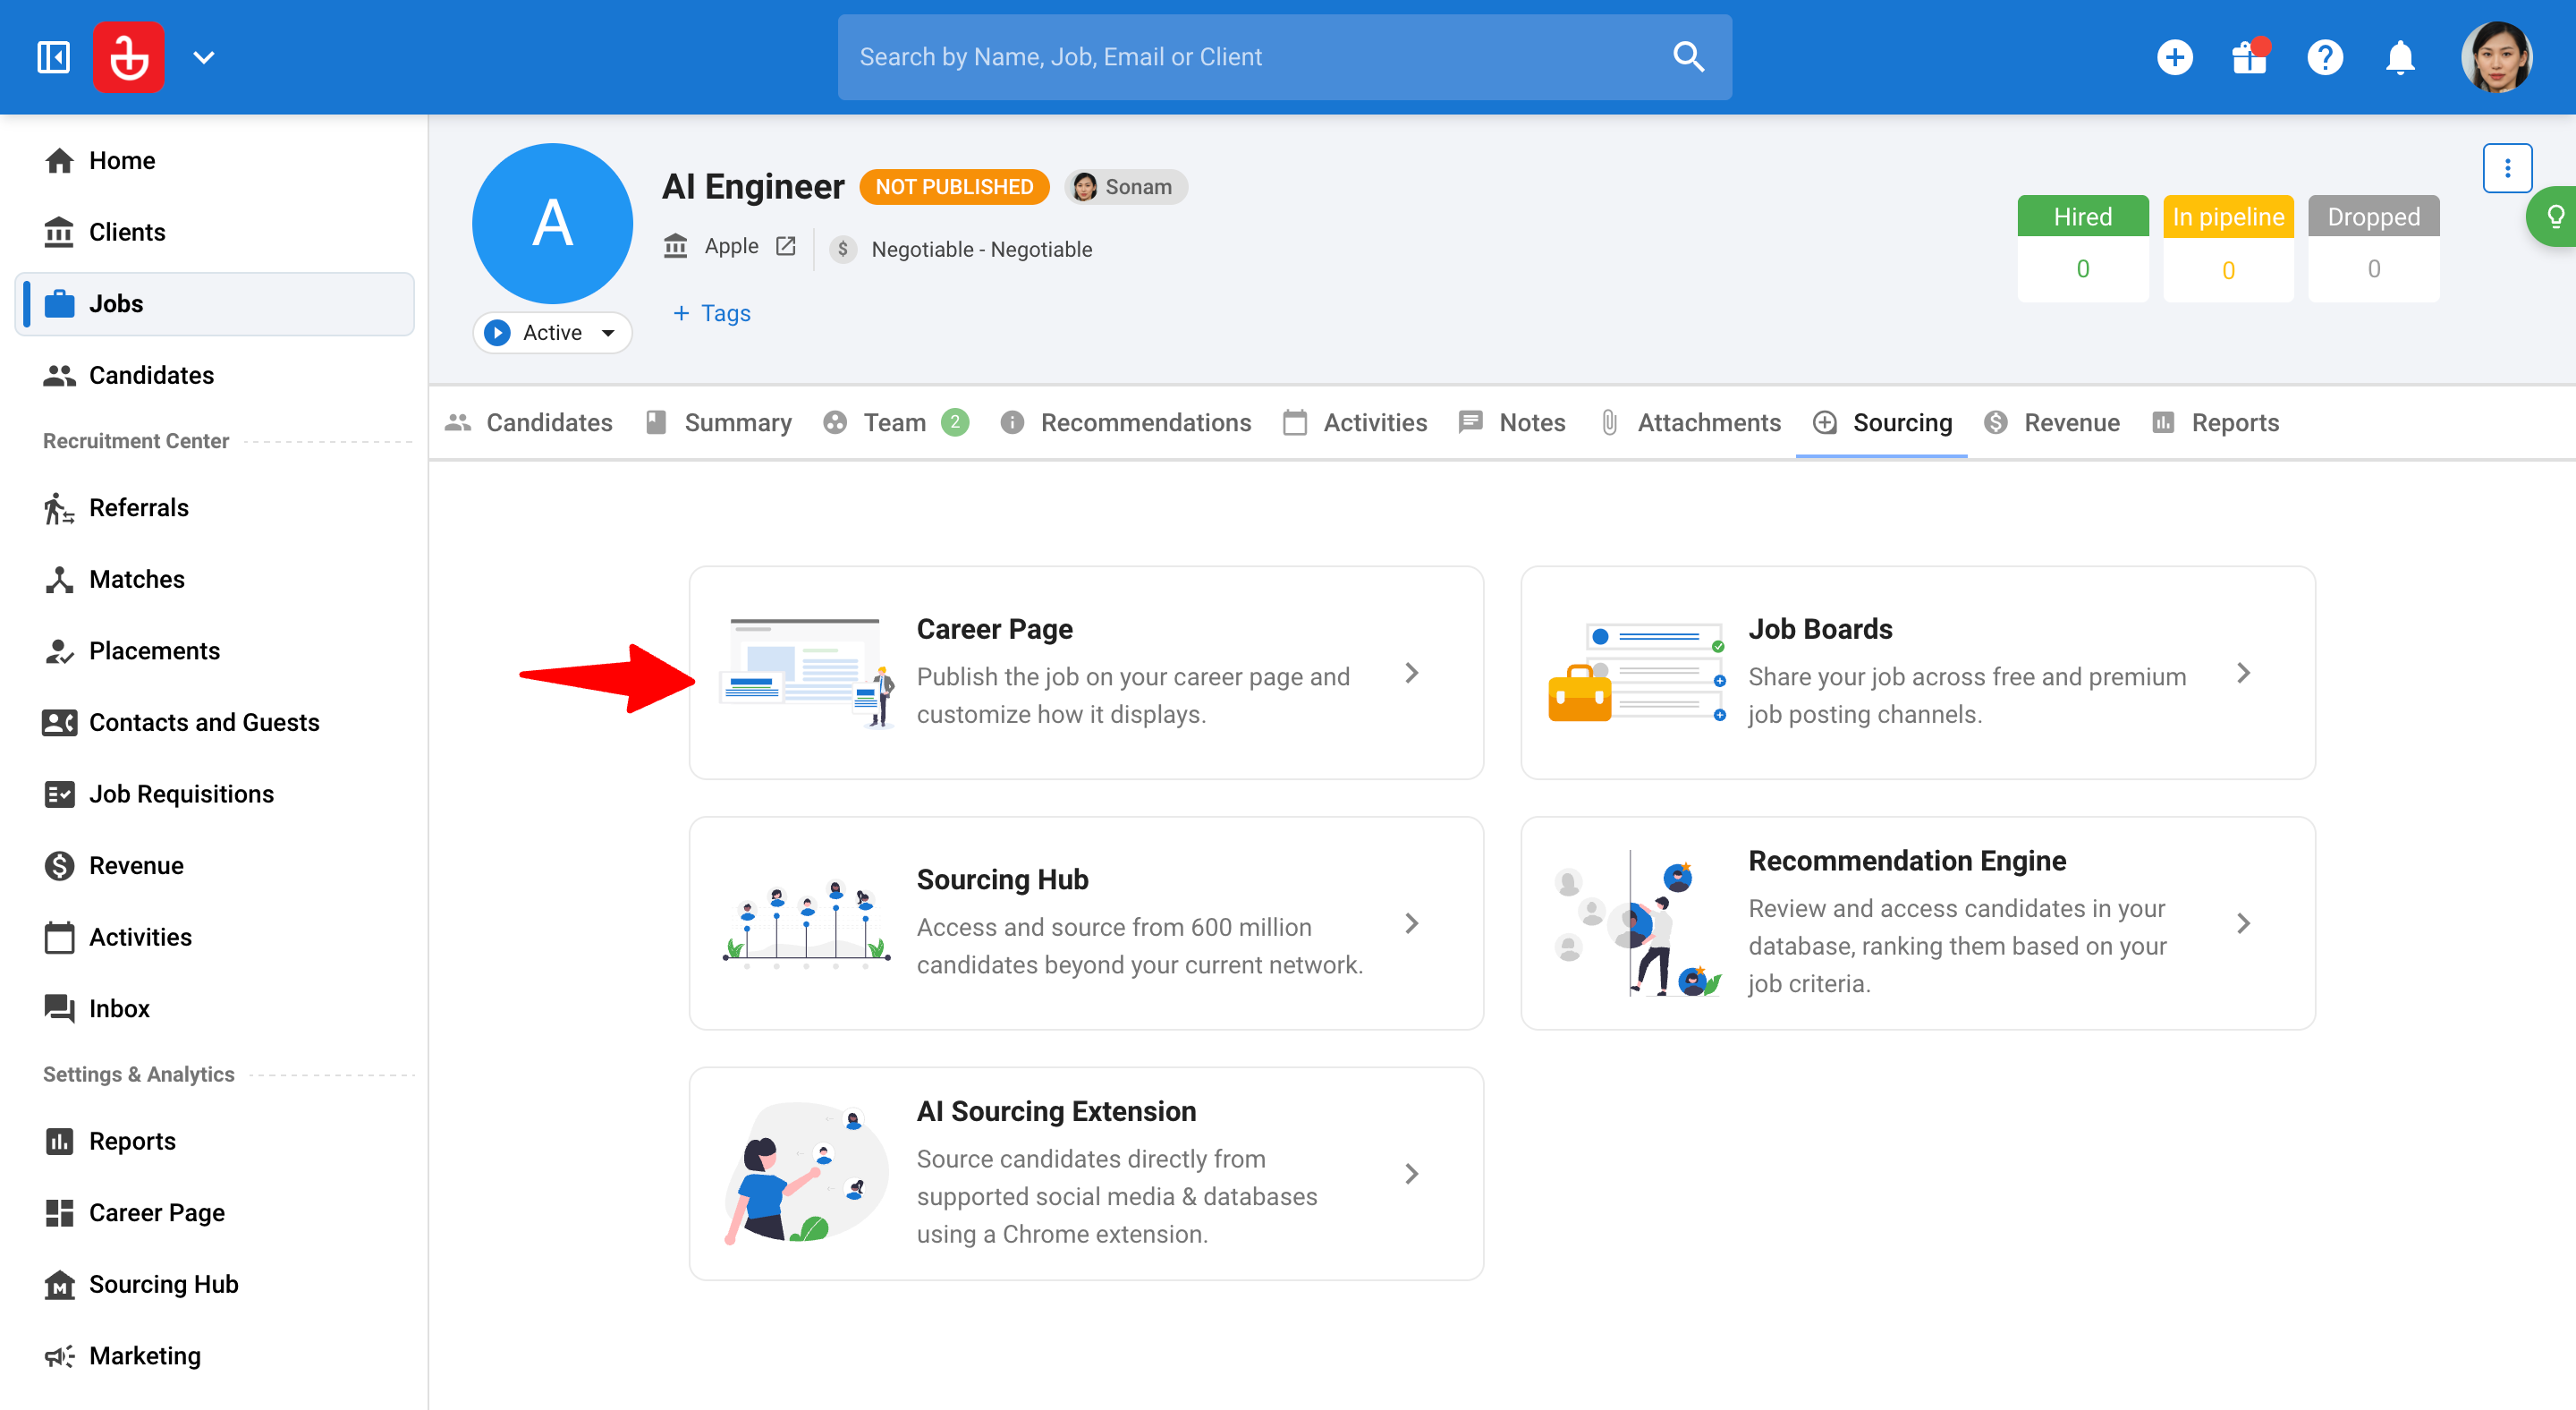
-
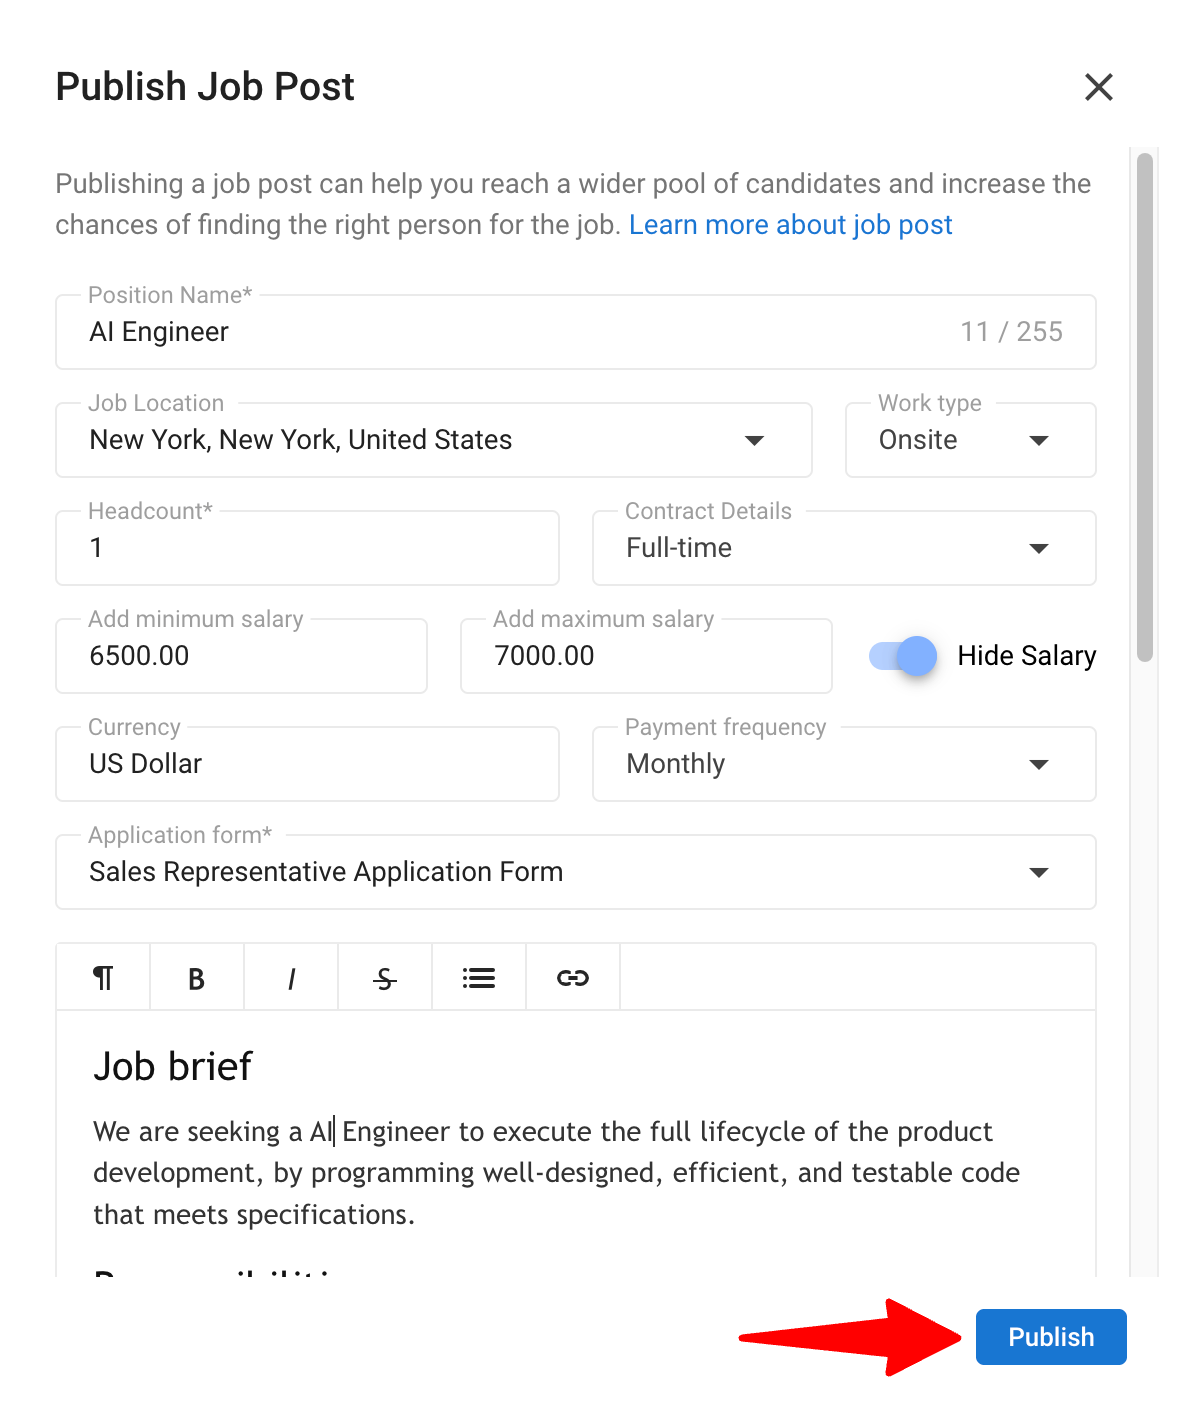
Click on "Publish job post".
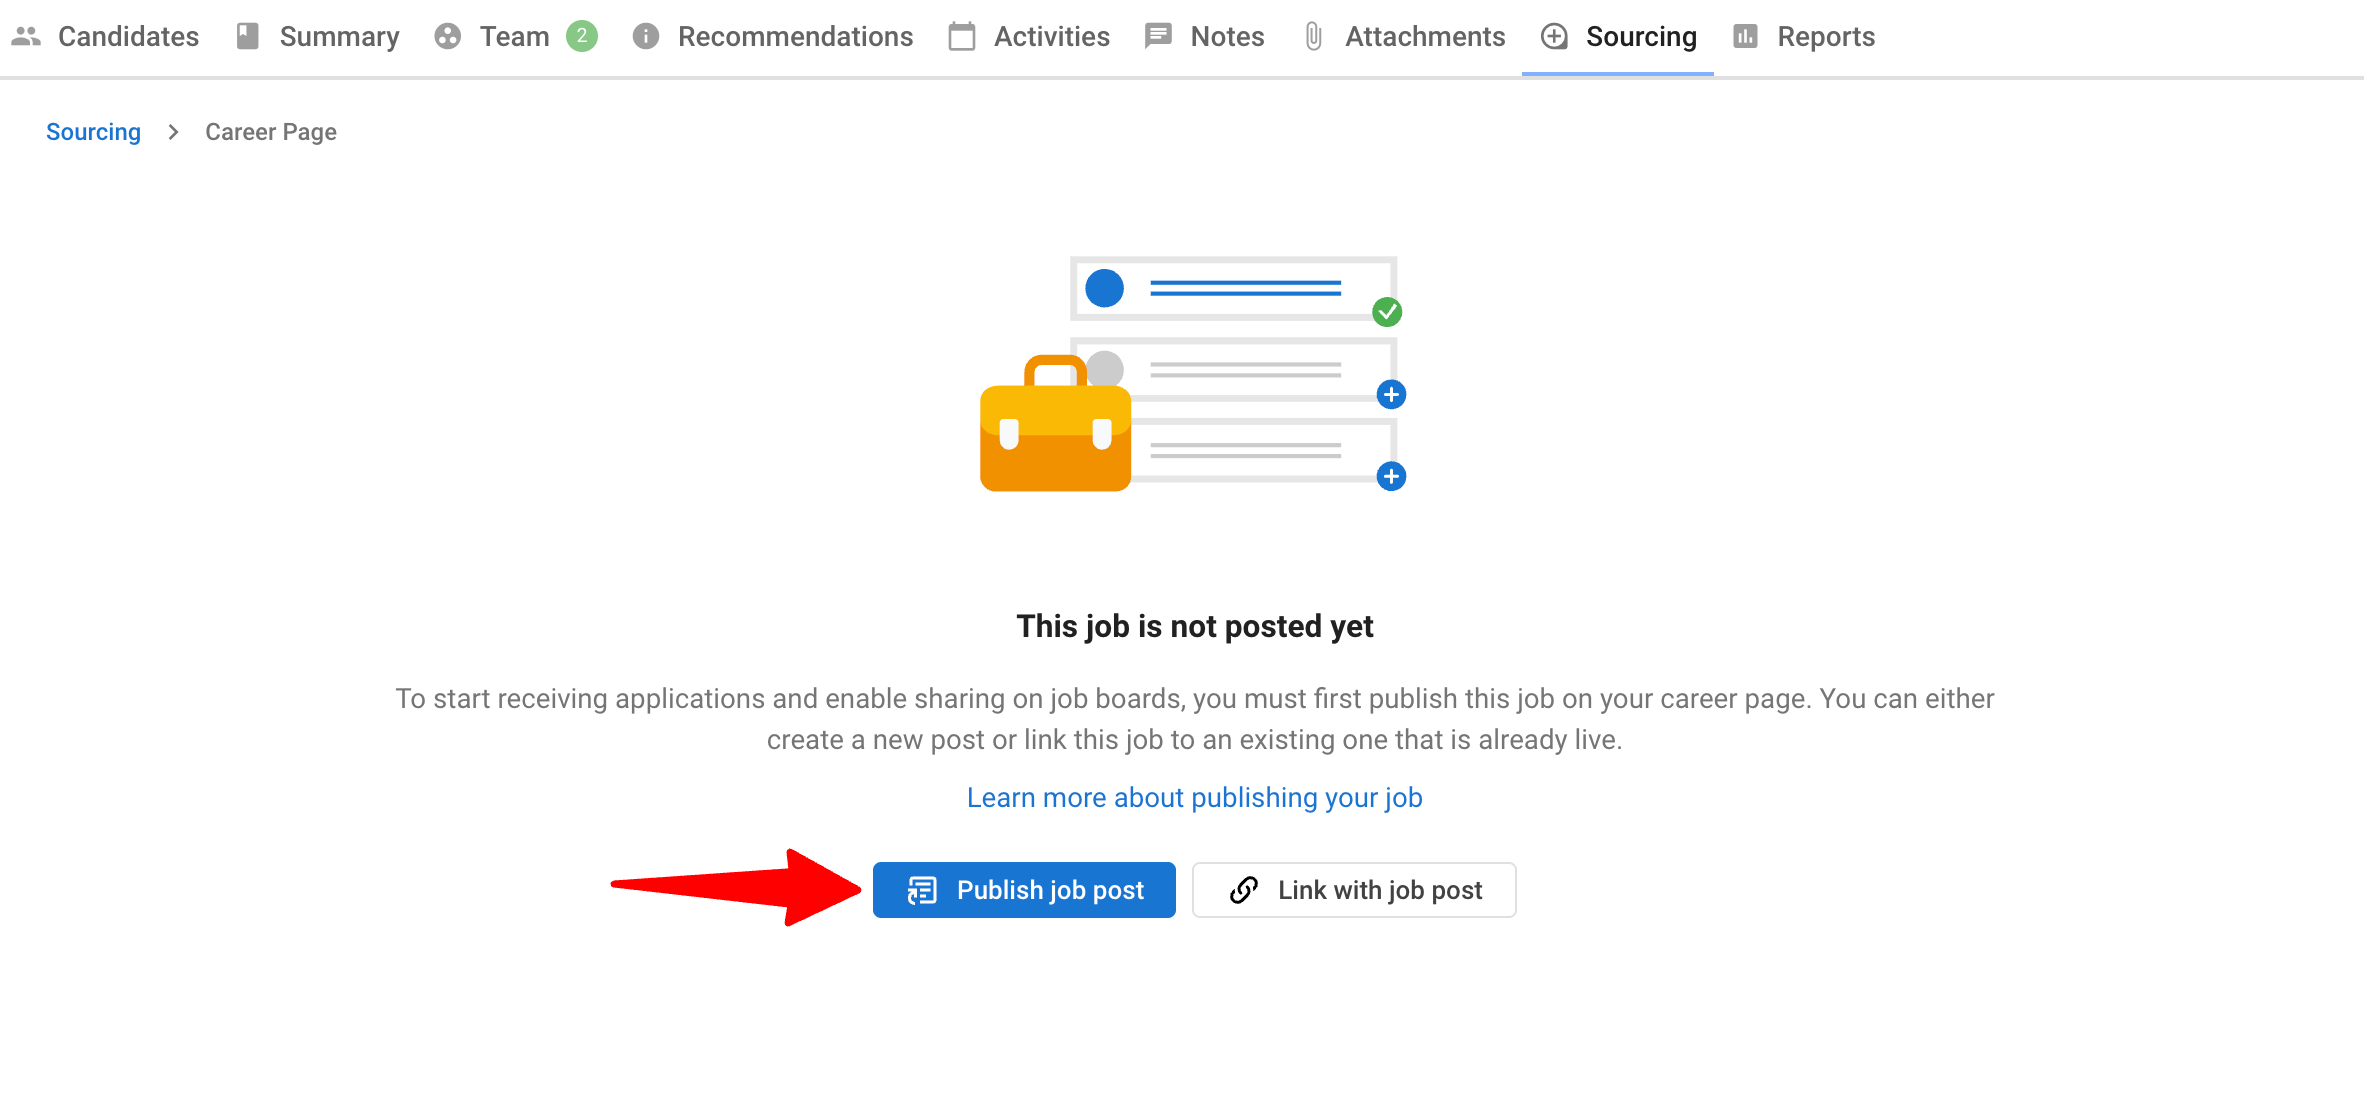
-
Click "Publish". The job post will automatically use the details from the associated job you are in, including:
- Job title
- Location
- Salary information
- Contract type
- Description
-
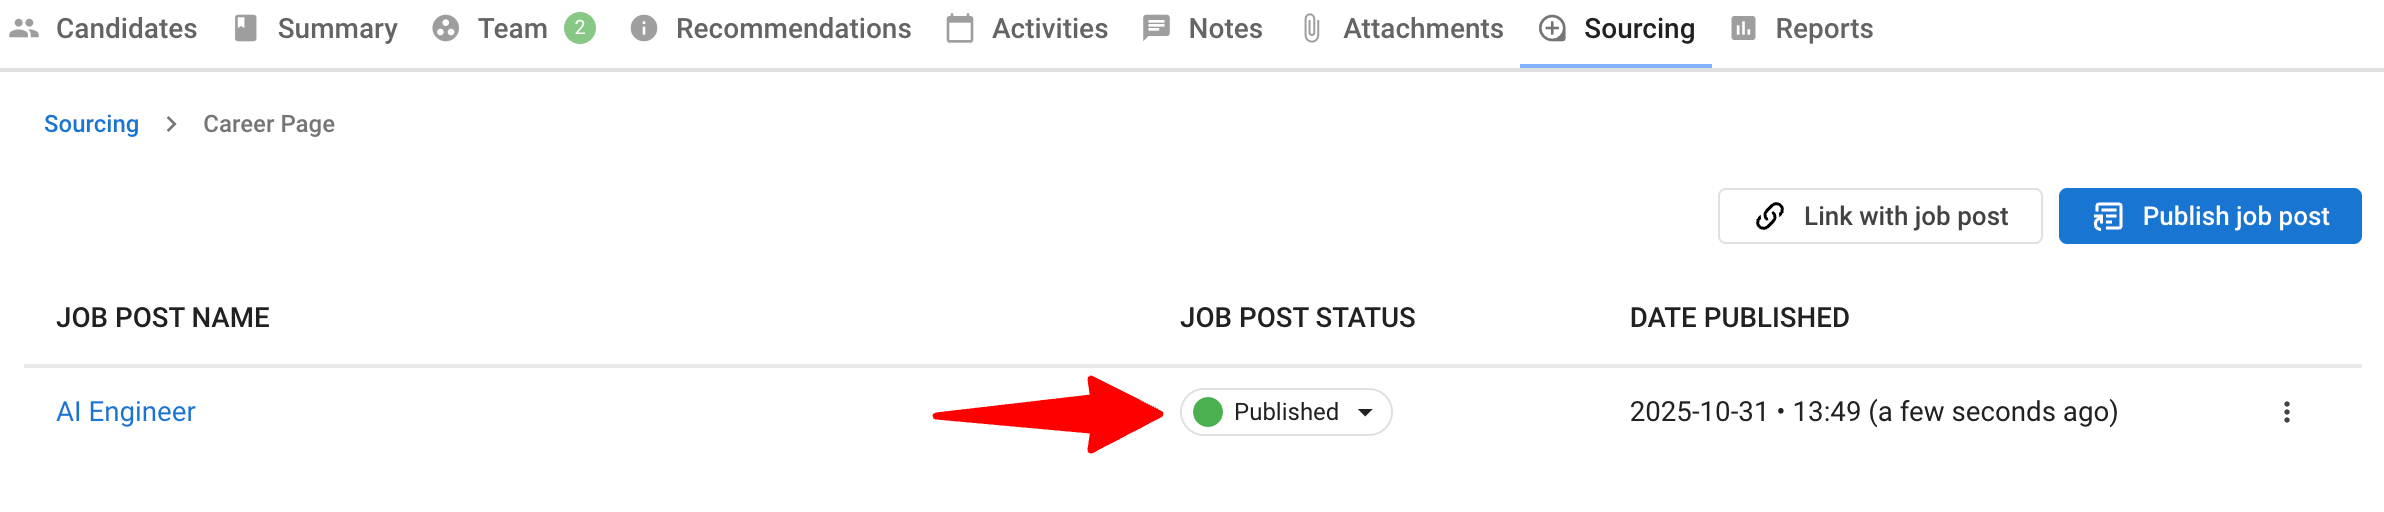
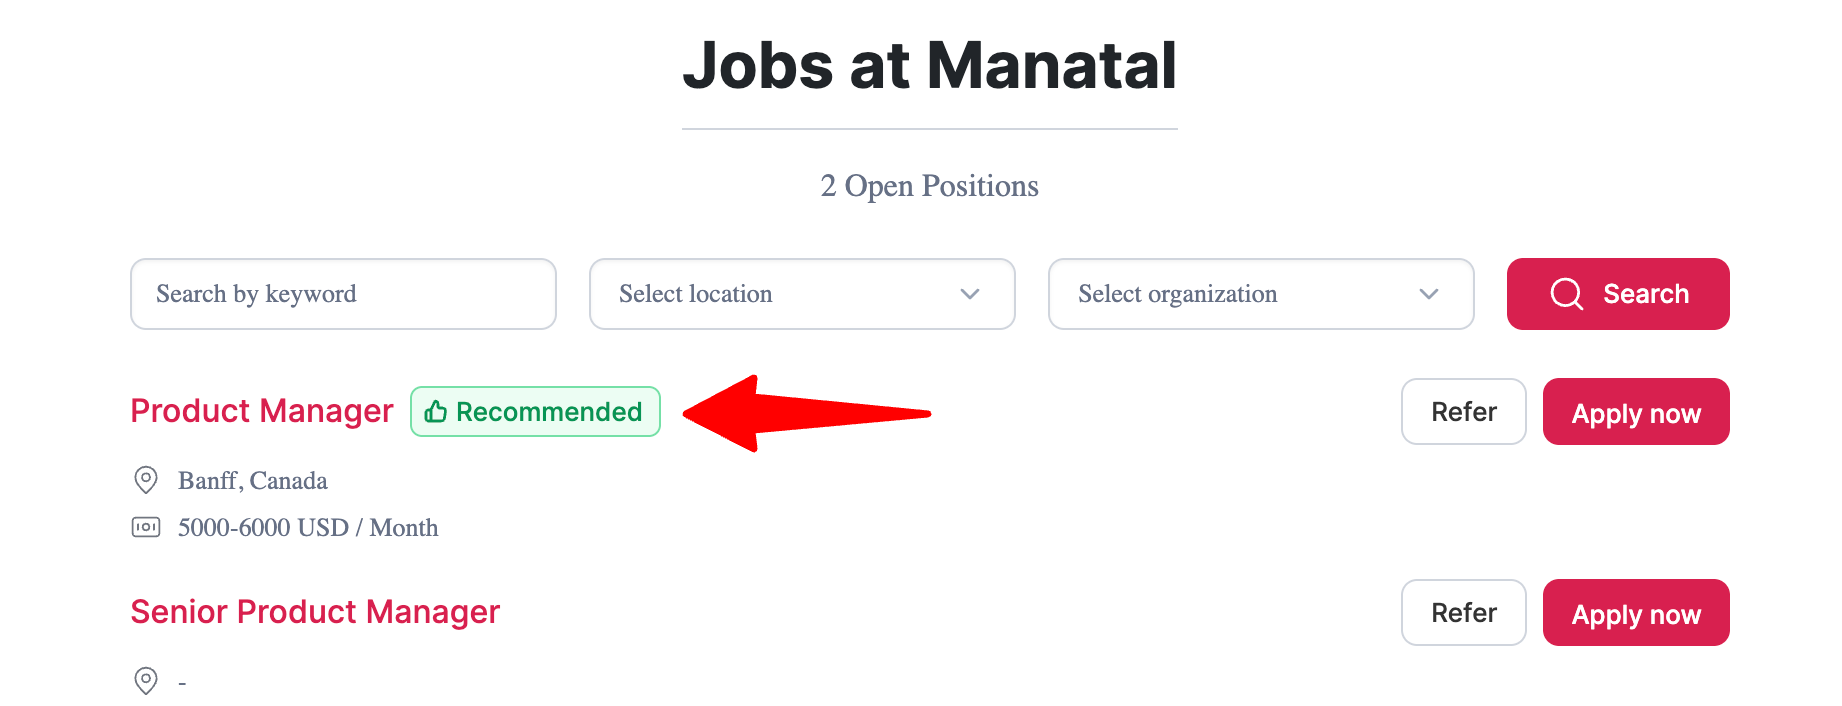
Your job post is now live on your career page. Candidates can apply and they will appear in the Candidates tab under the job.
-
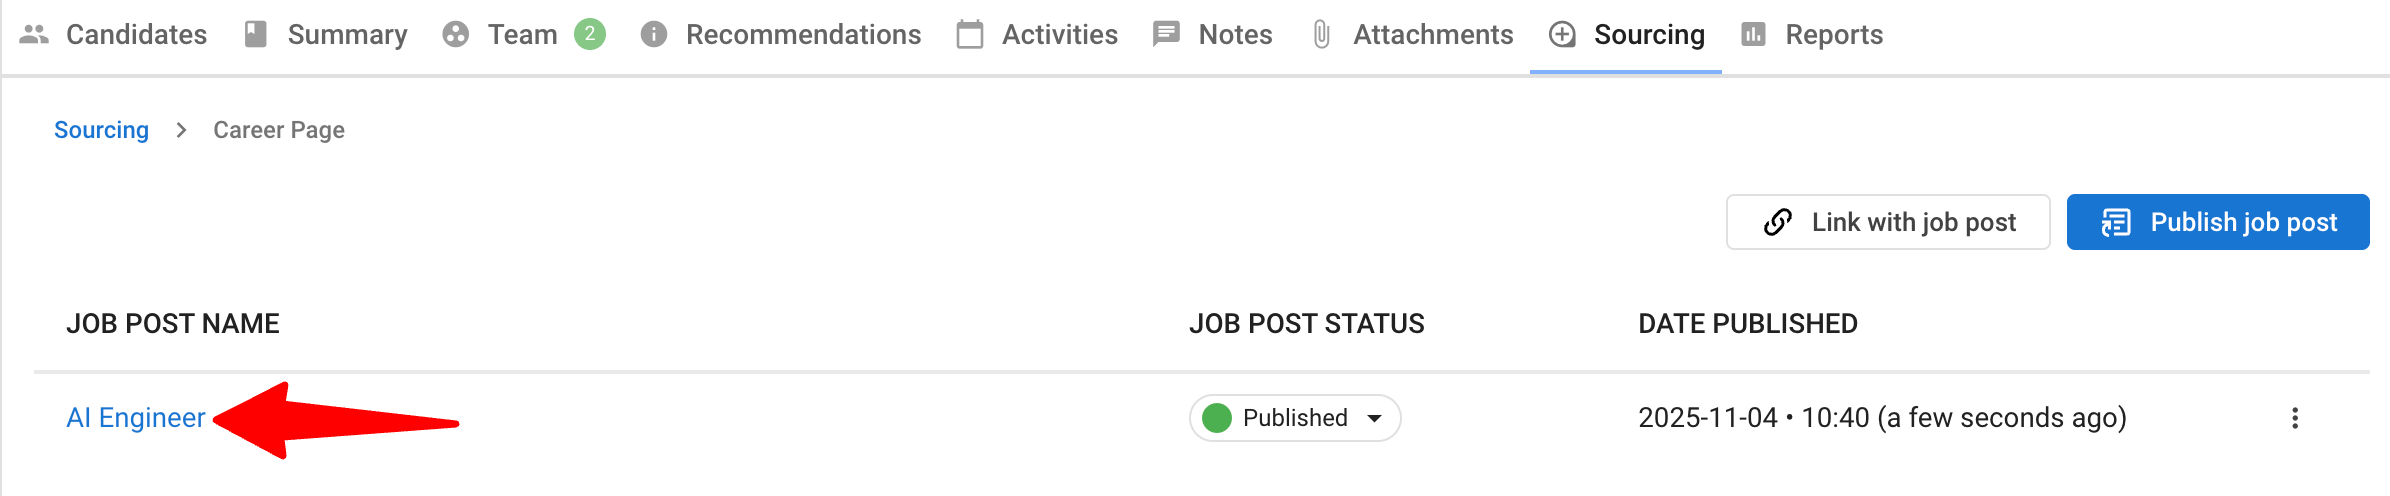
Click the job title to view the live post. To post on external job boards, please refer to this article.
Pin a Job on your Career Page
-
From within a Job, open the "Sourcing" tab.
-
Click on "Career Page".
-
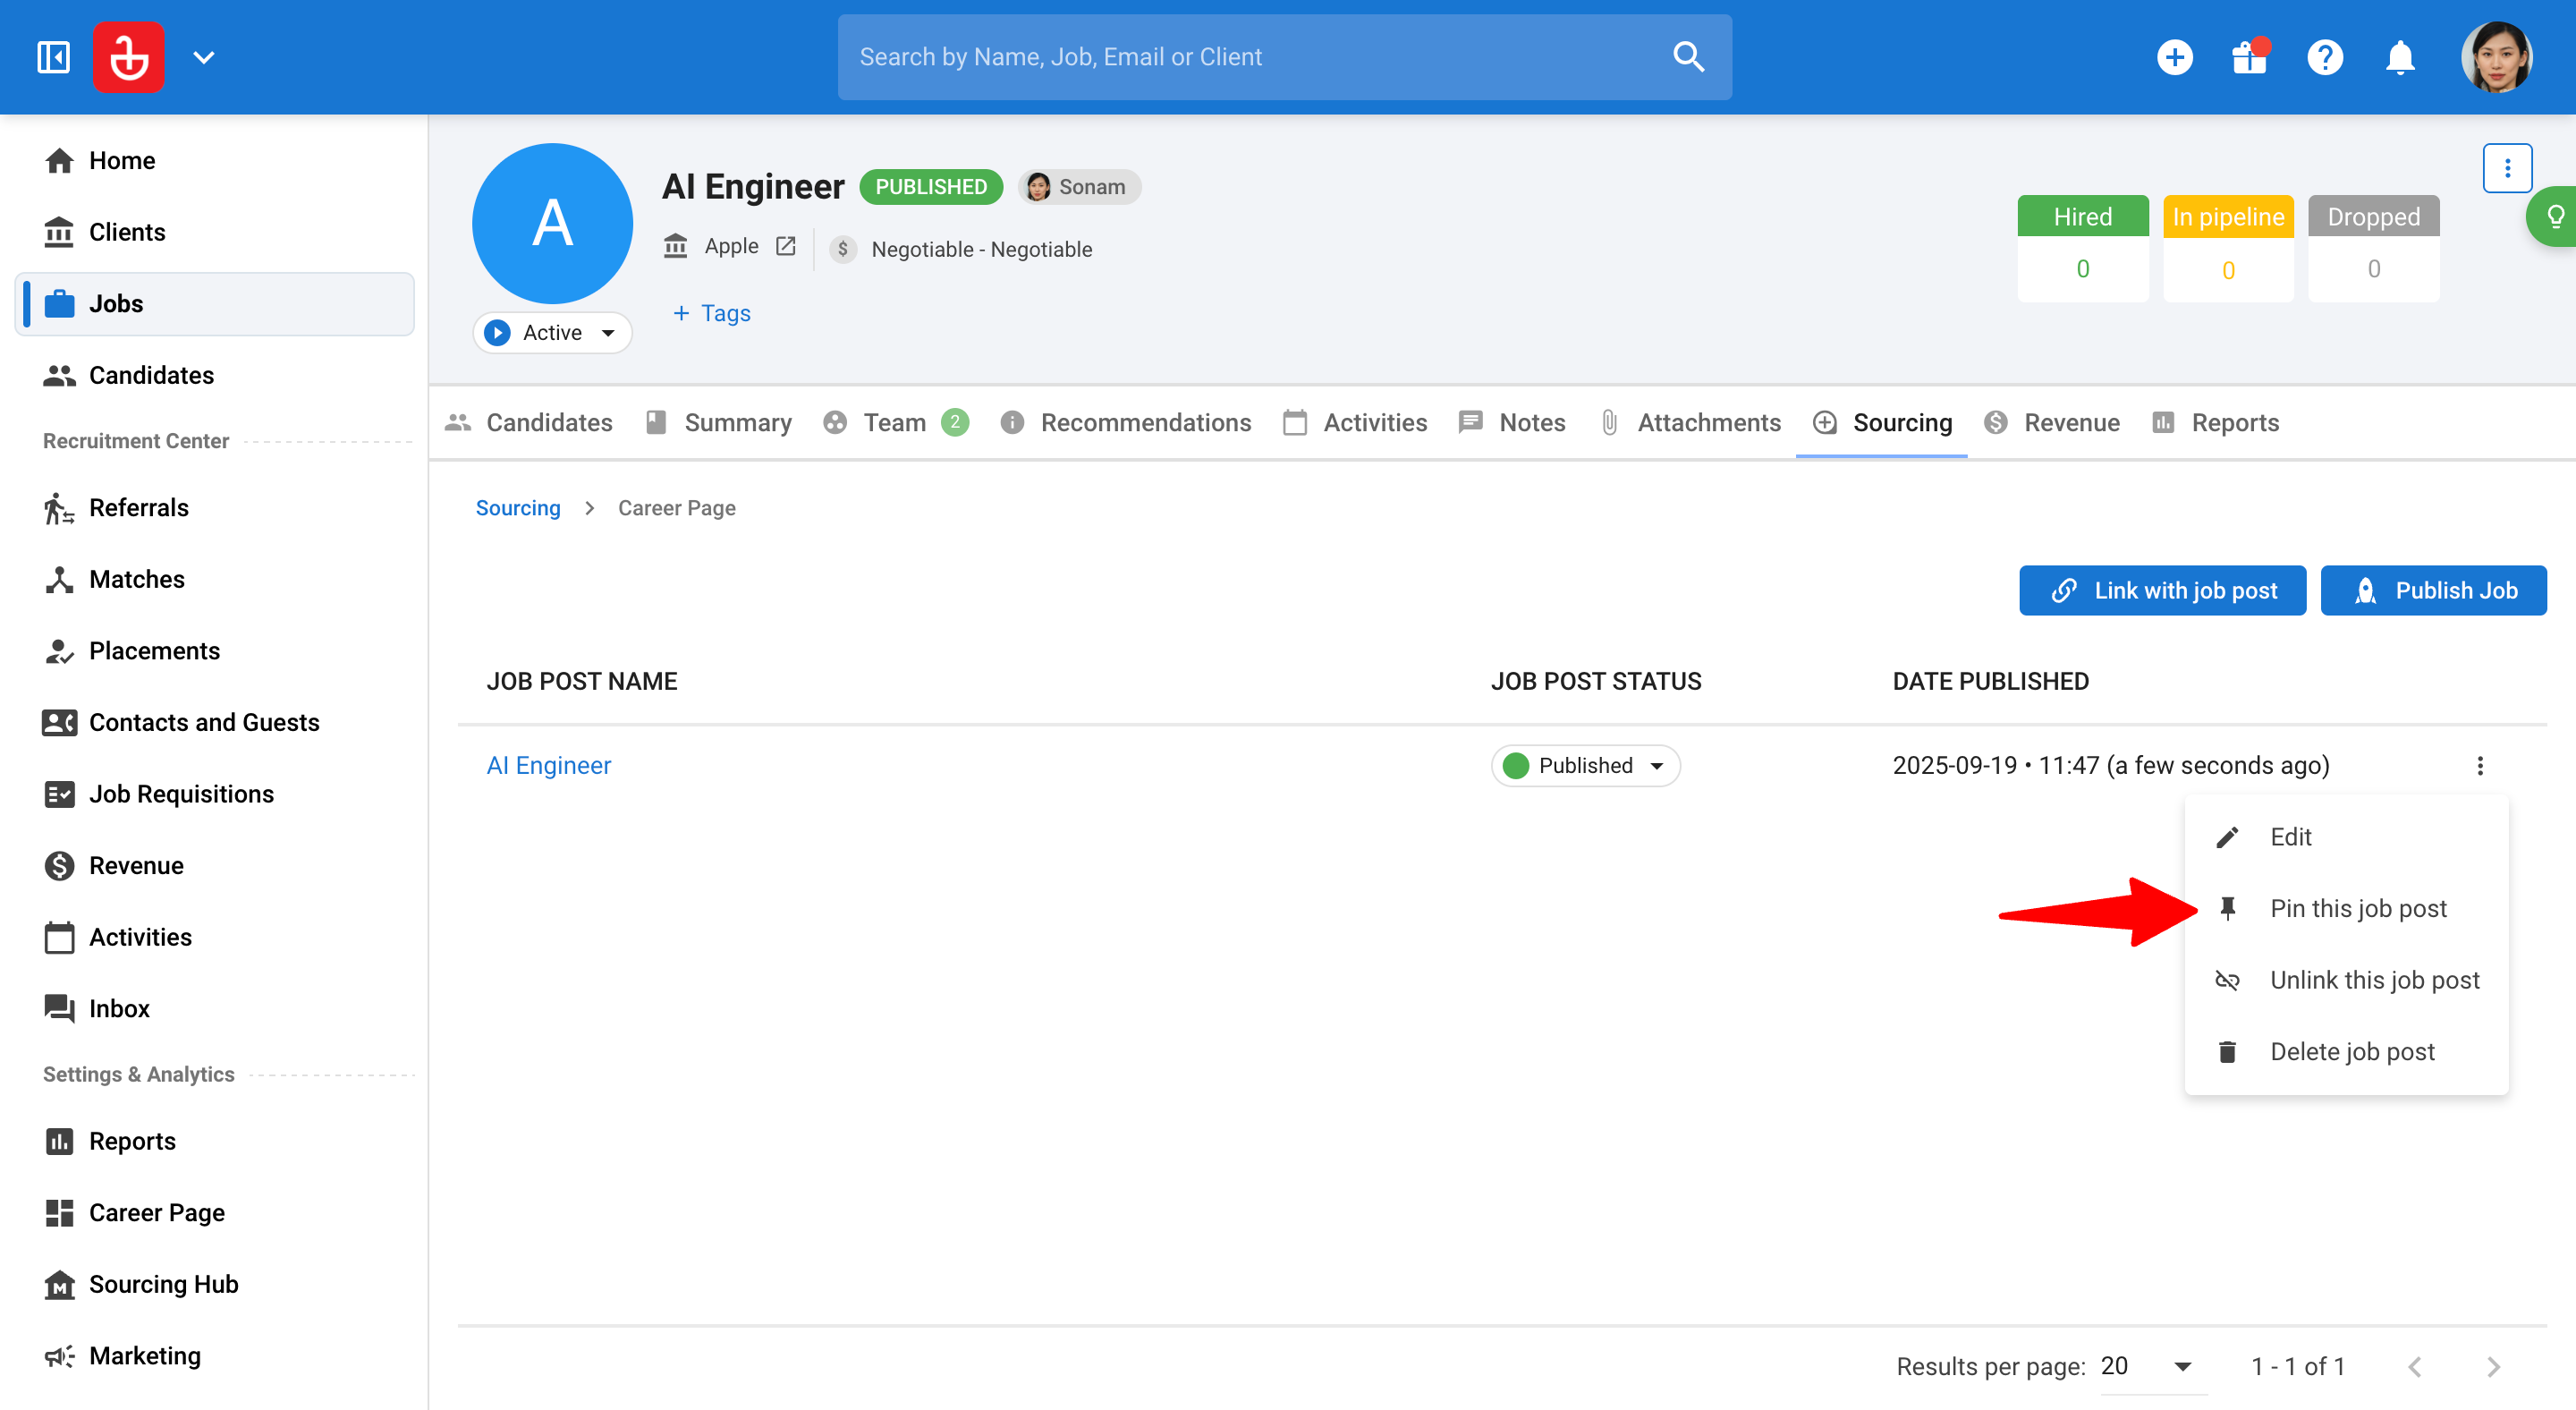
Click on the 3-dots icon next to the job and click on "Pin this job post".
-
That's it, the job will now remain on top of all the other openings on your career page.
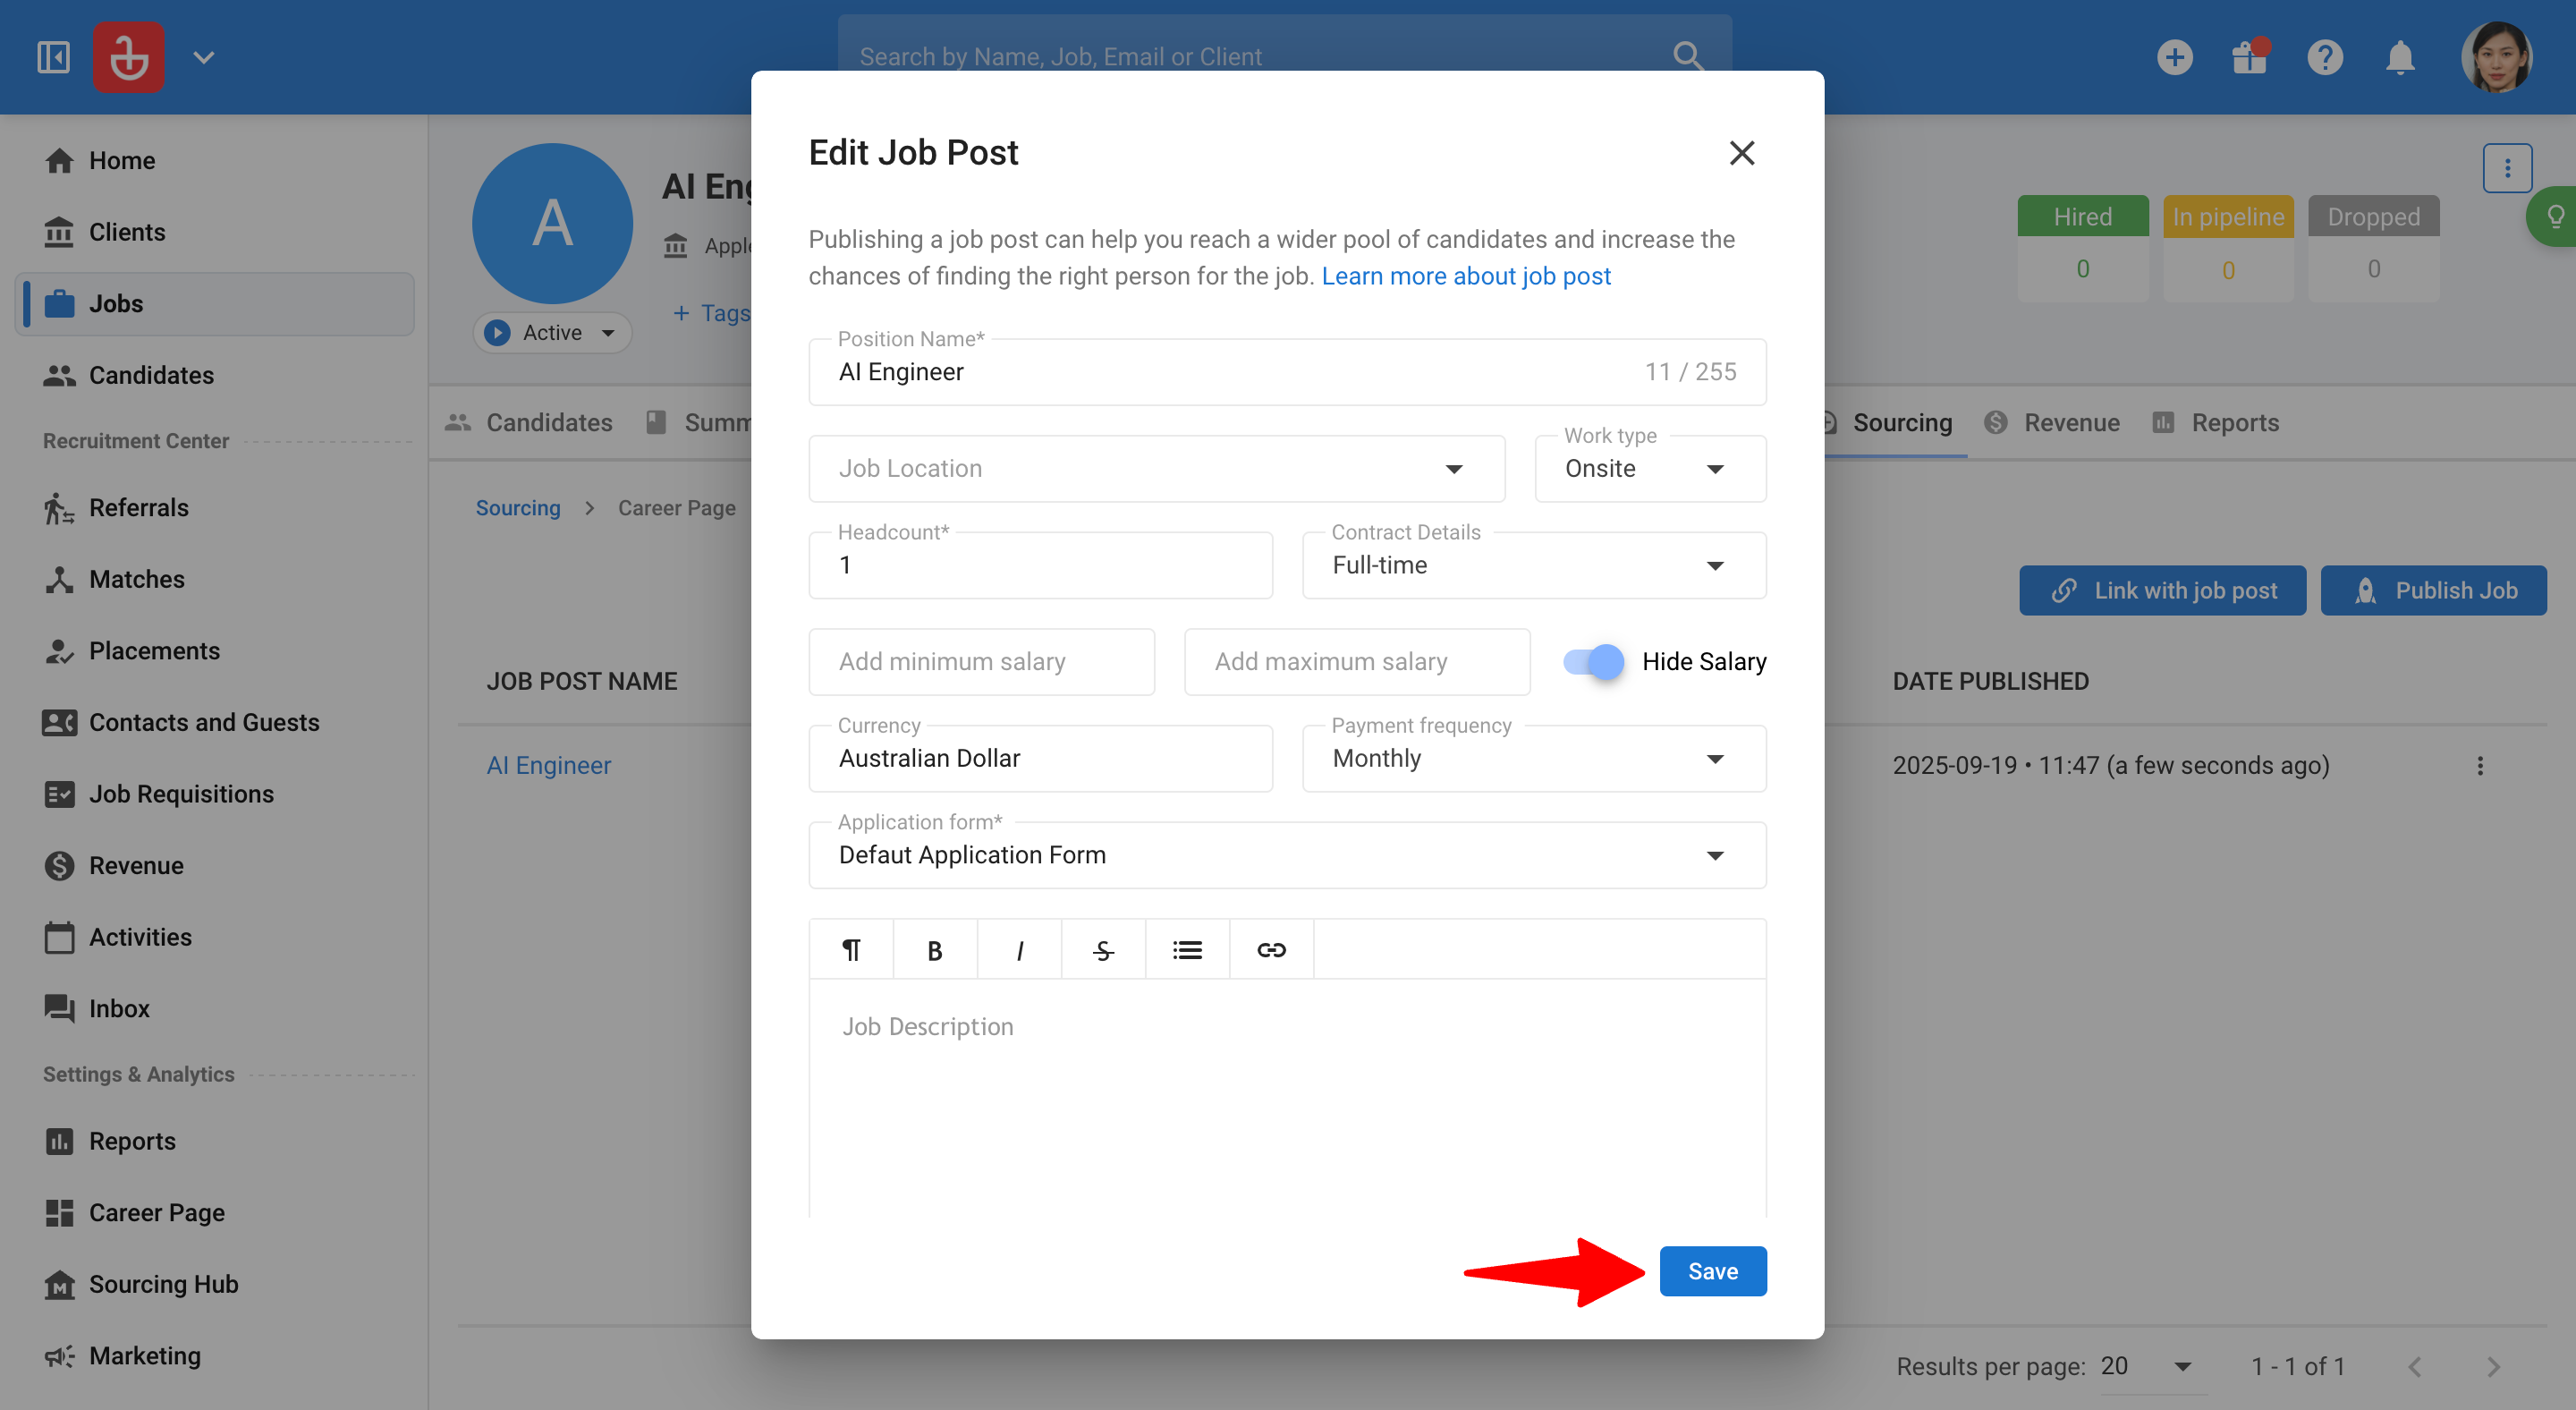
Edit a Job Post
-
From within a Job, open the "Sourcing" tab.
-
Click on "Career Page".
-
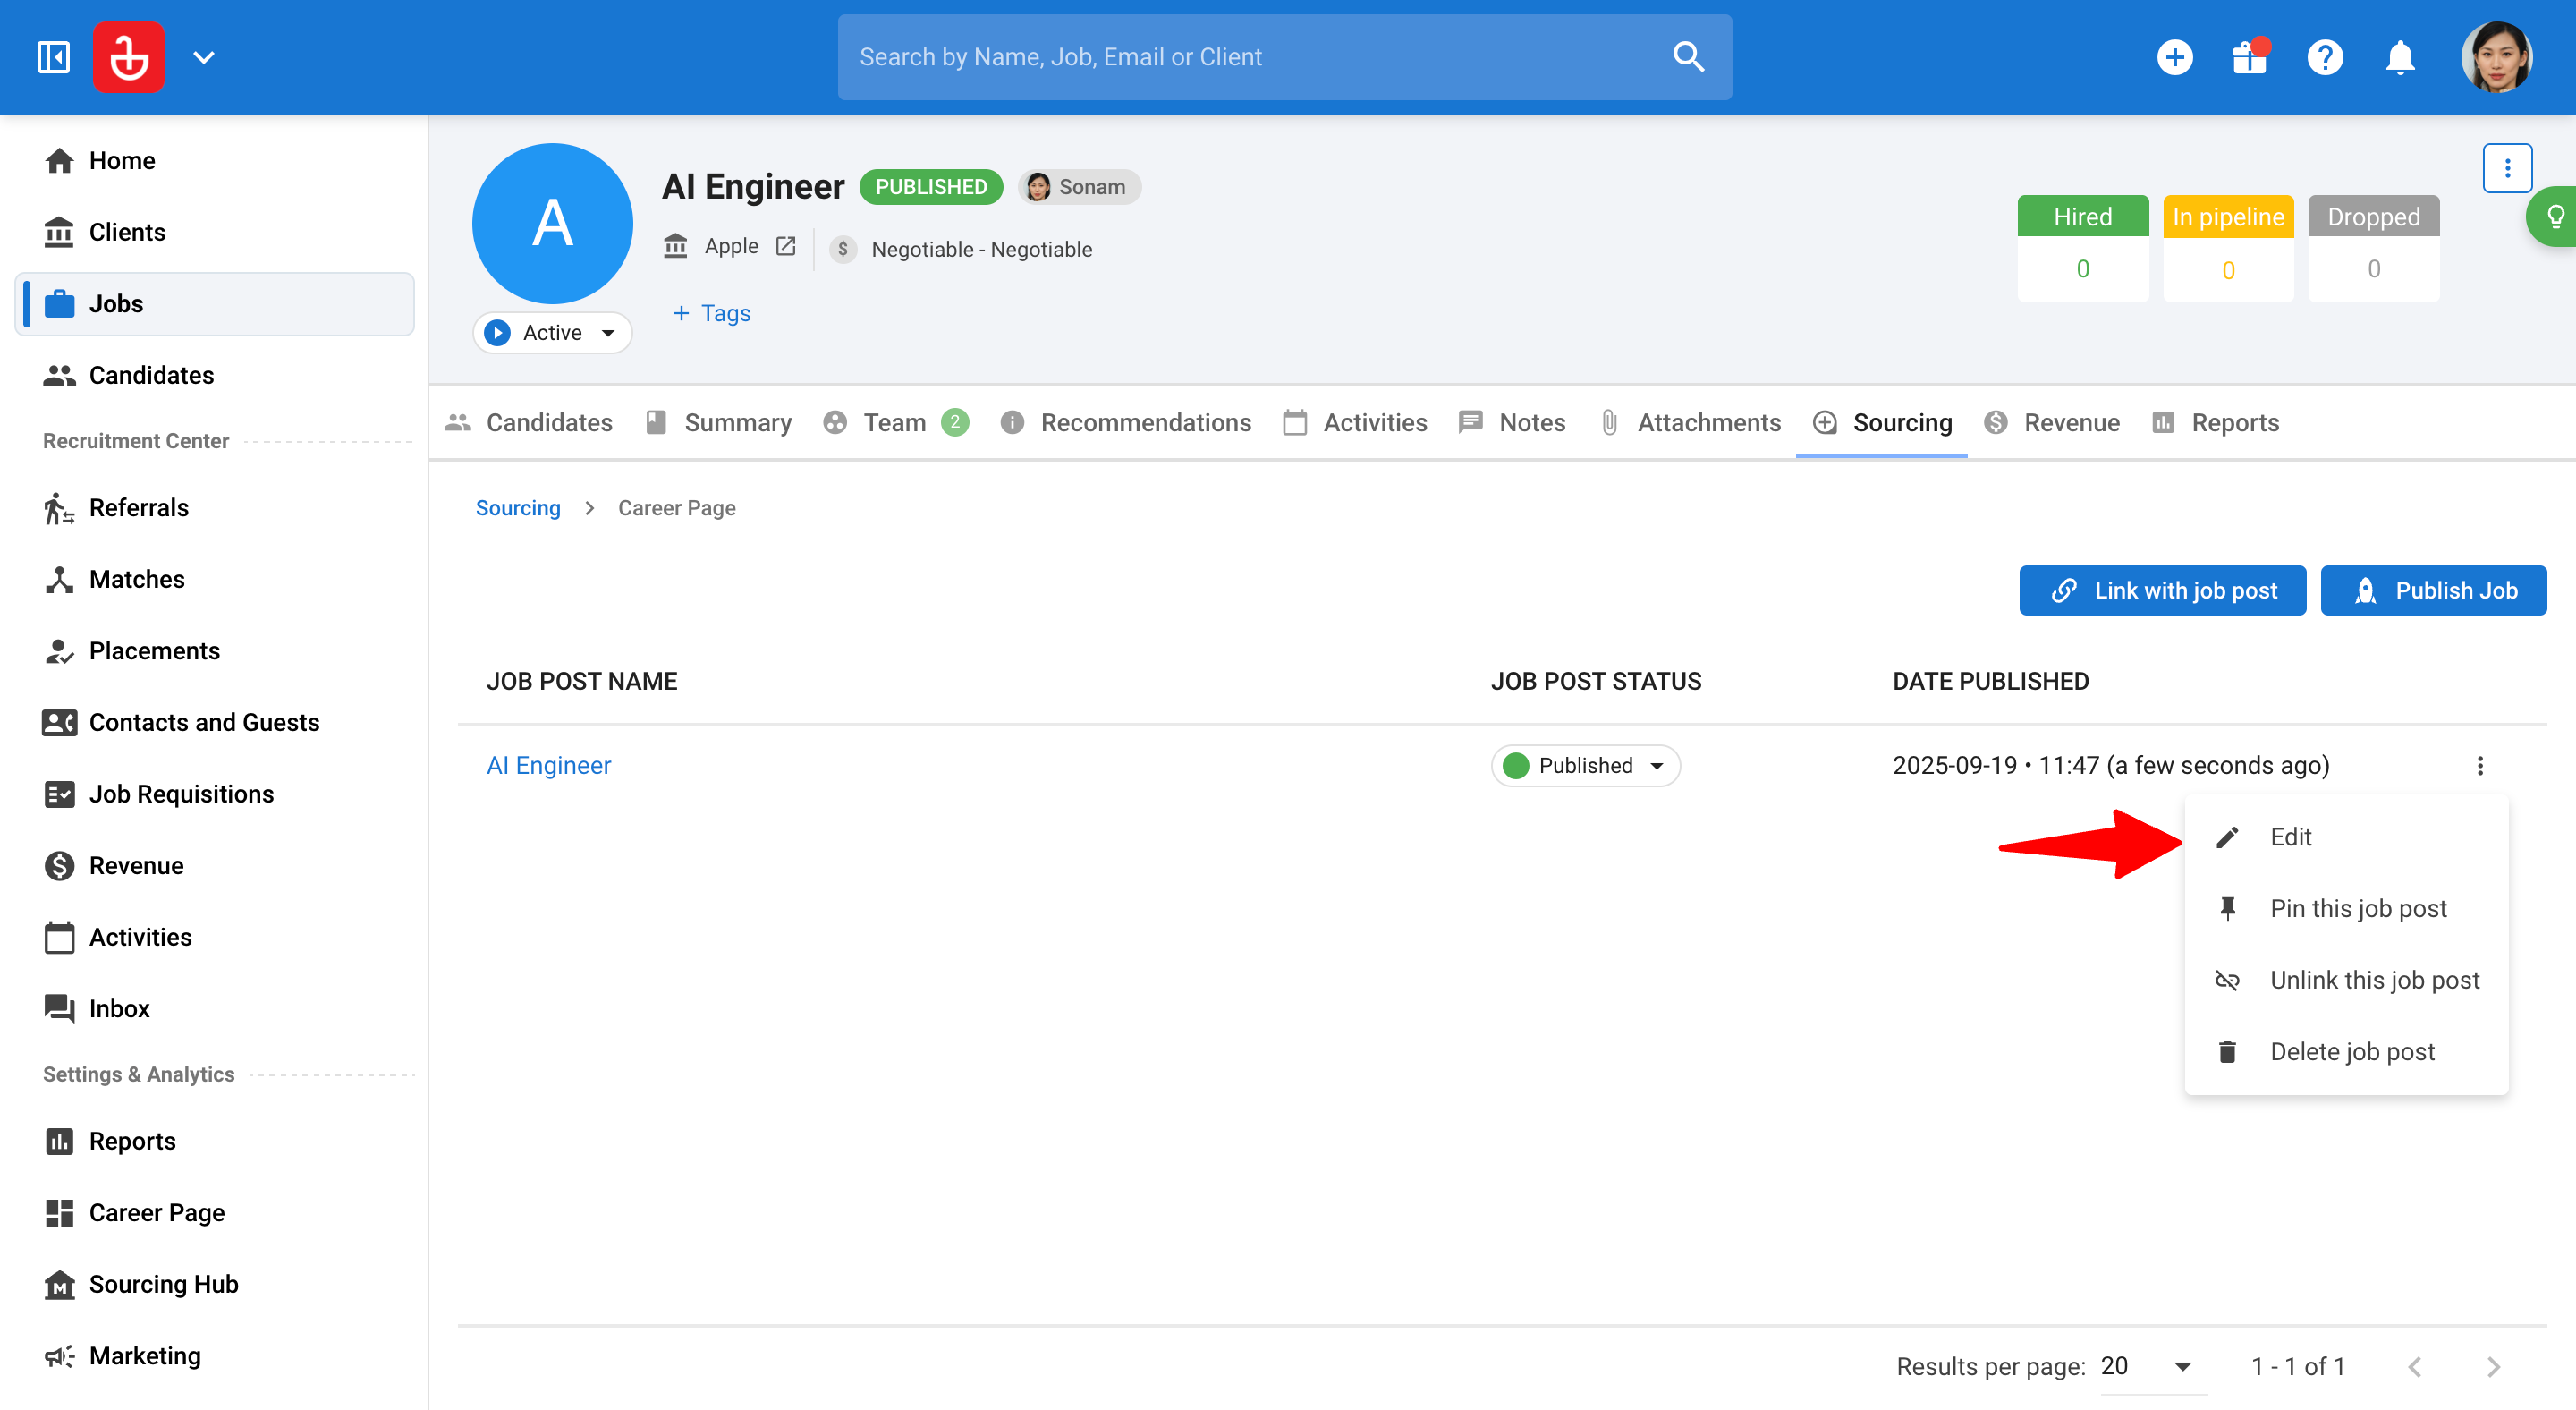
Click on the 3-dots icon next to the job and click on "Edit".
-
Make the necessary changes and click "Save".
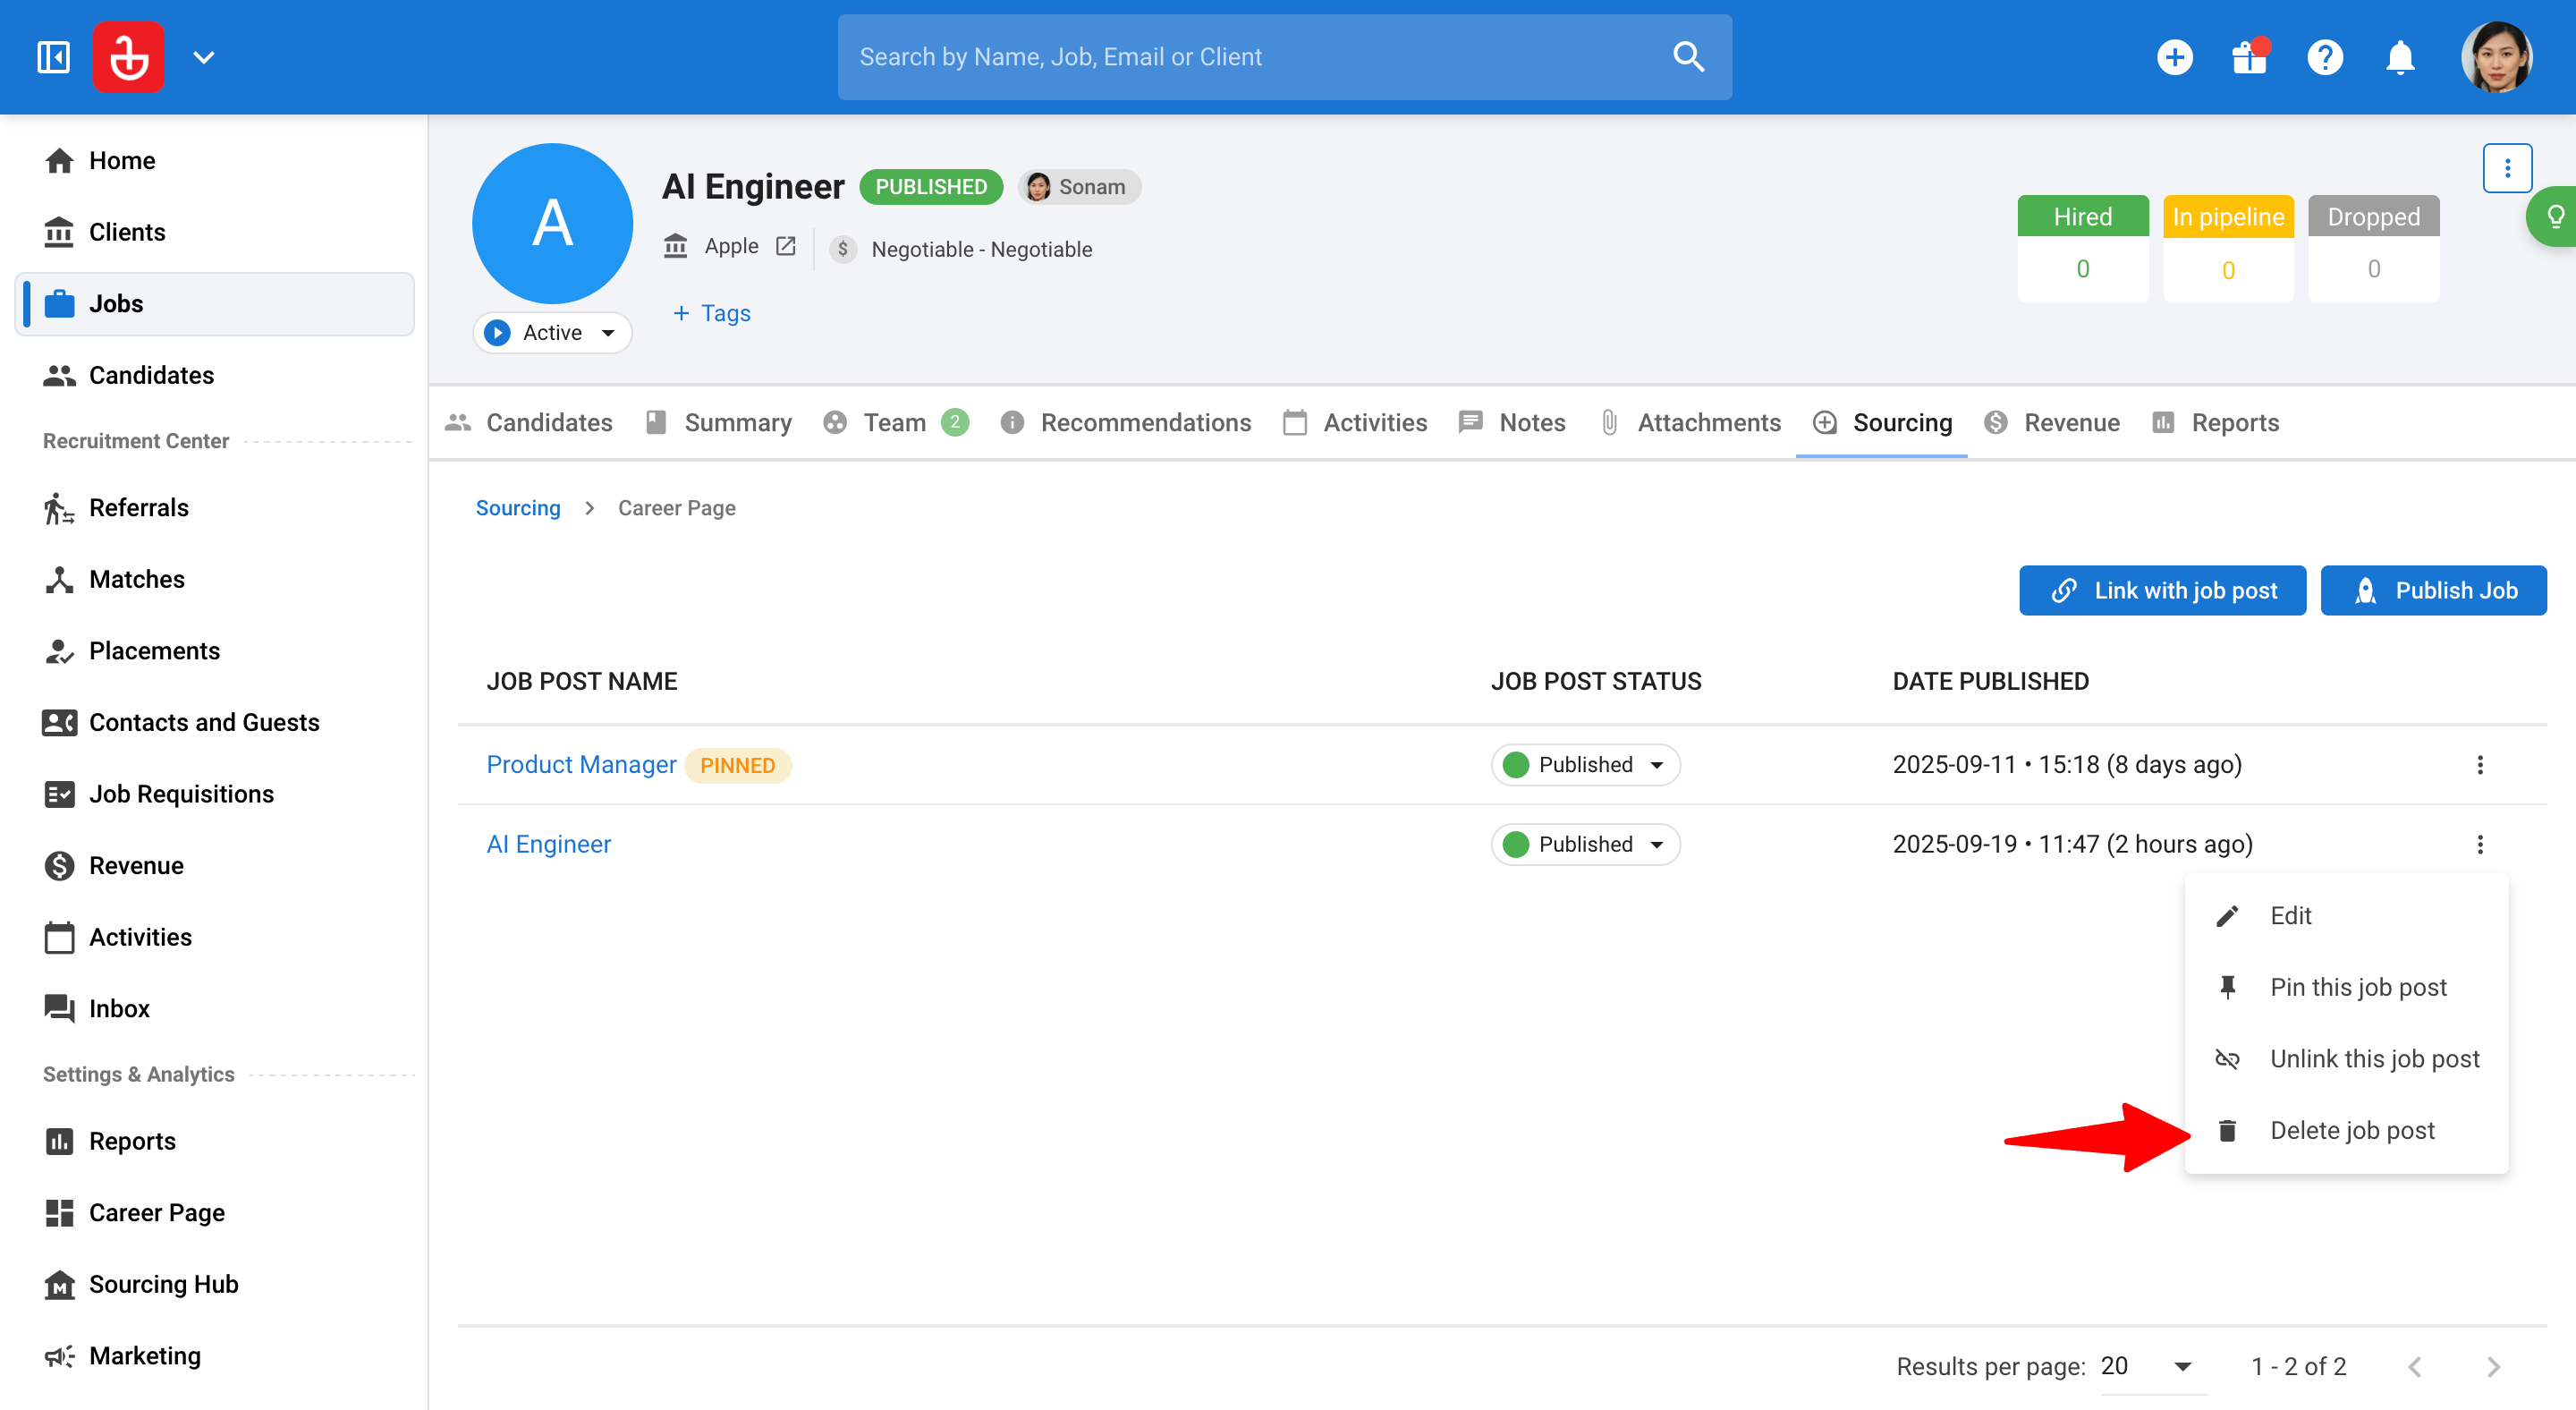
Delete a Job Post
-
From within a Job, open the "Sourcing" tab.
-
Click on "Career Page".
-
Click on the 3-dots icon next to the job and click on "Delete job post".
-
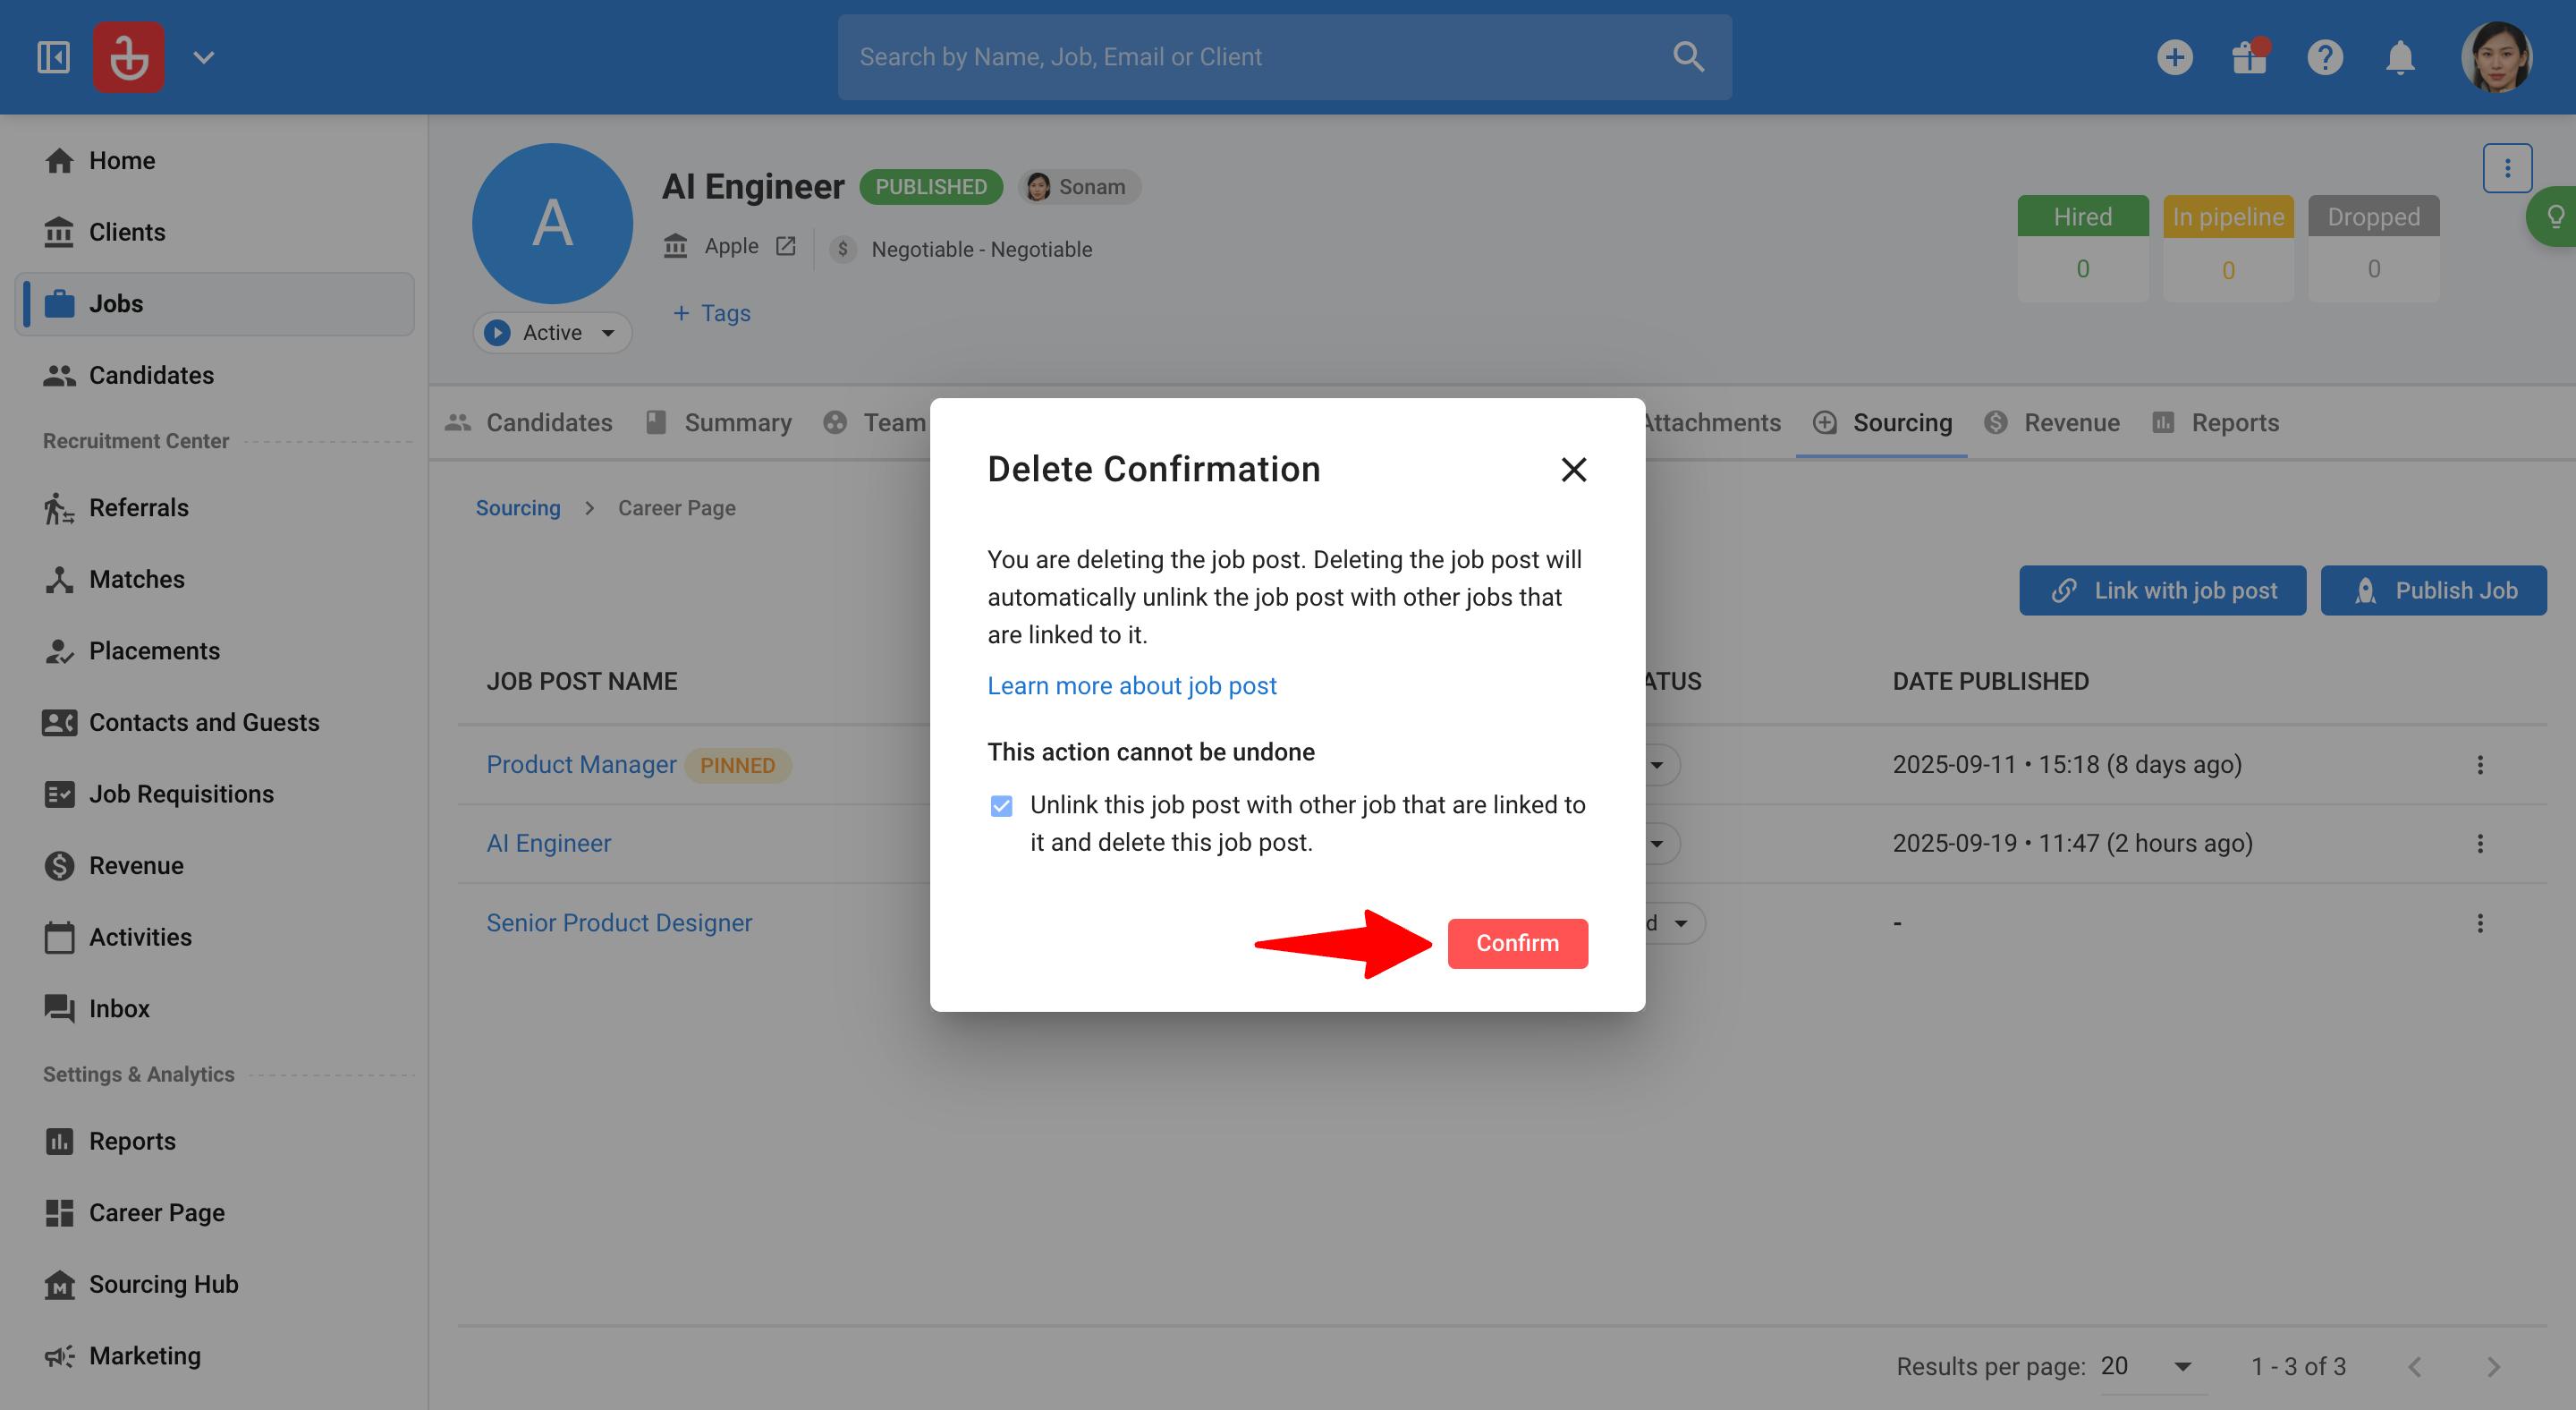
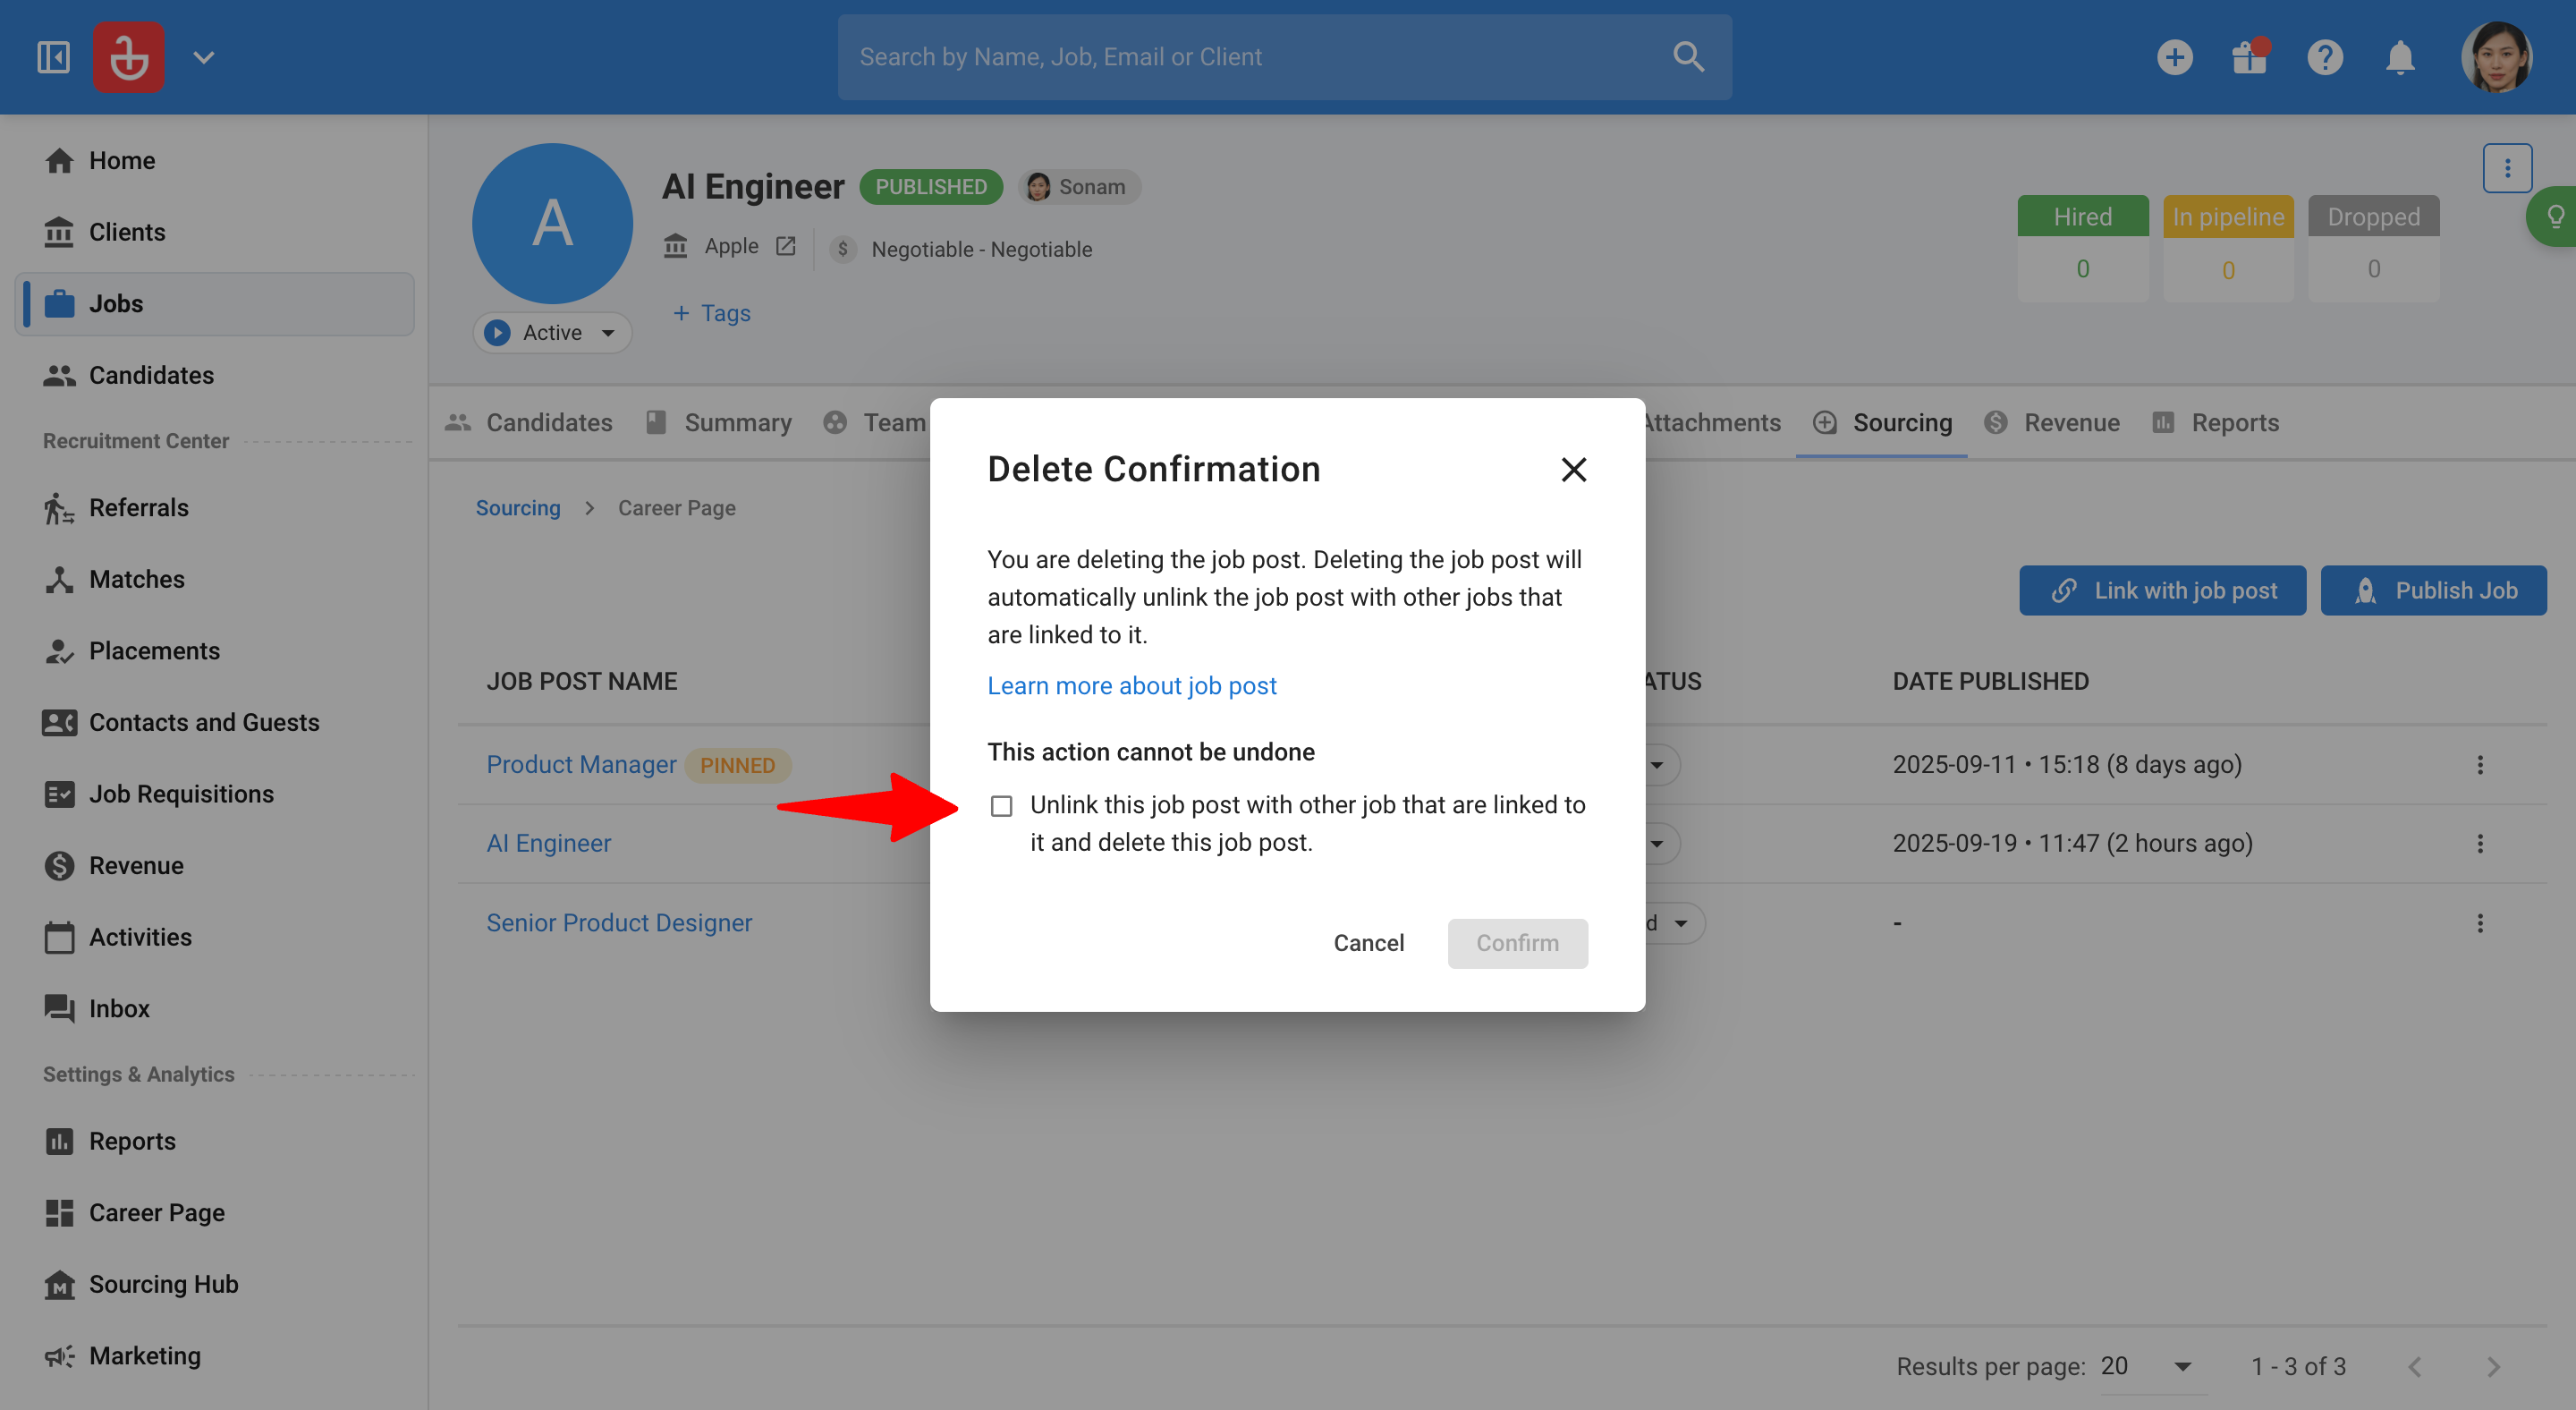
Tick the box to confirm the deletion.
-
Click on "Confirm".