This article will guide you through the process of setting up and customizing your account on Manatal. By the end of this guide, you'll be able to manage users, import data, enable GDPR tracking, manage integrations, and more.
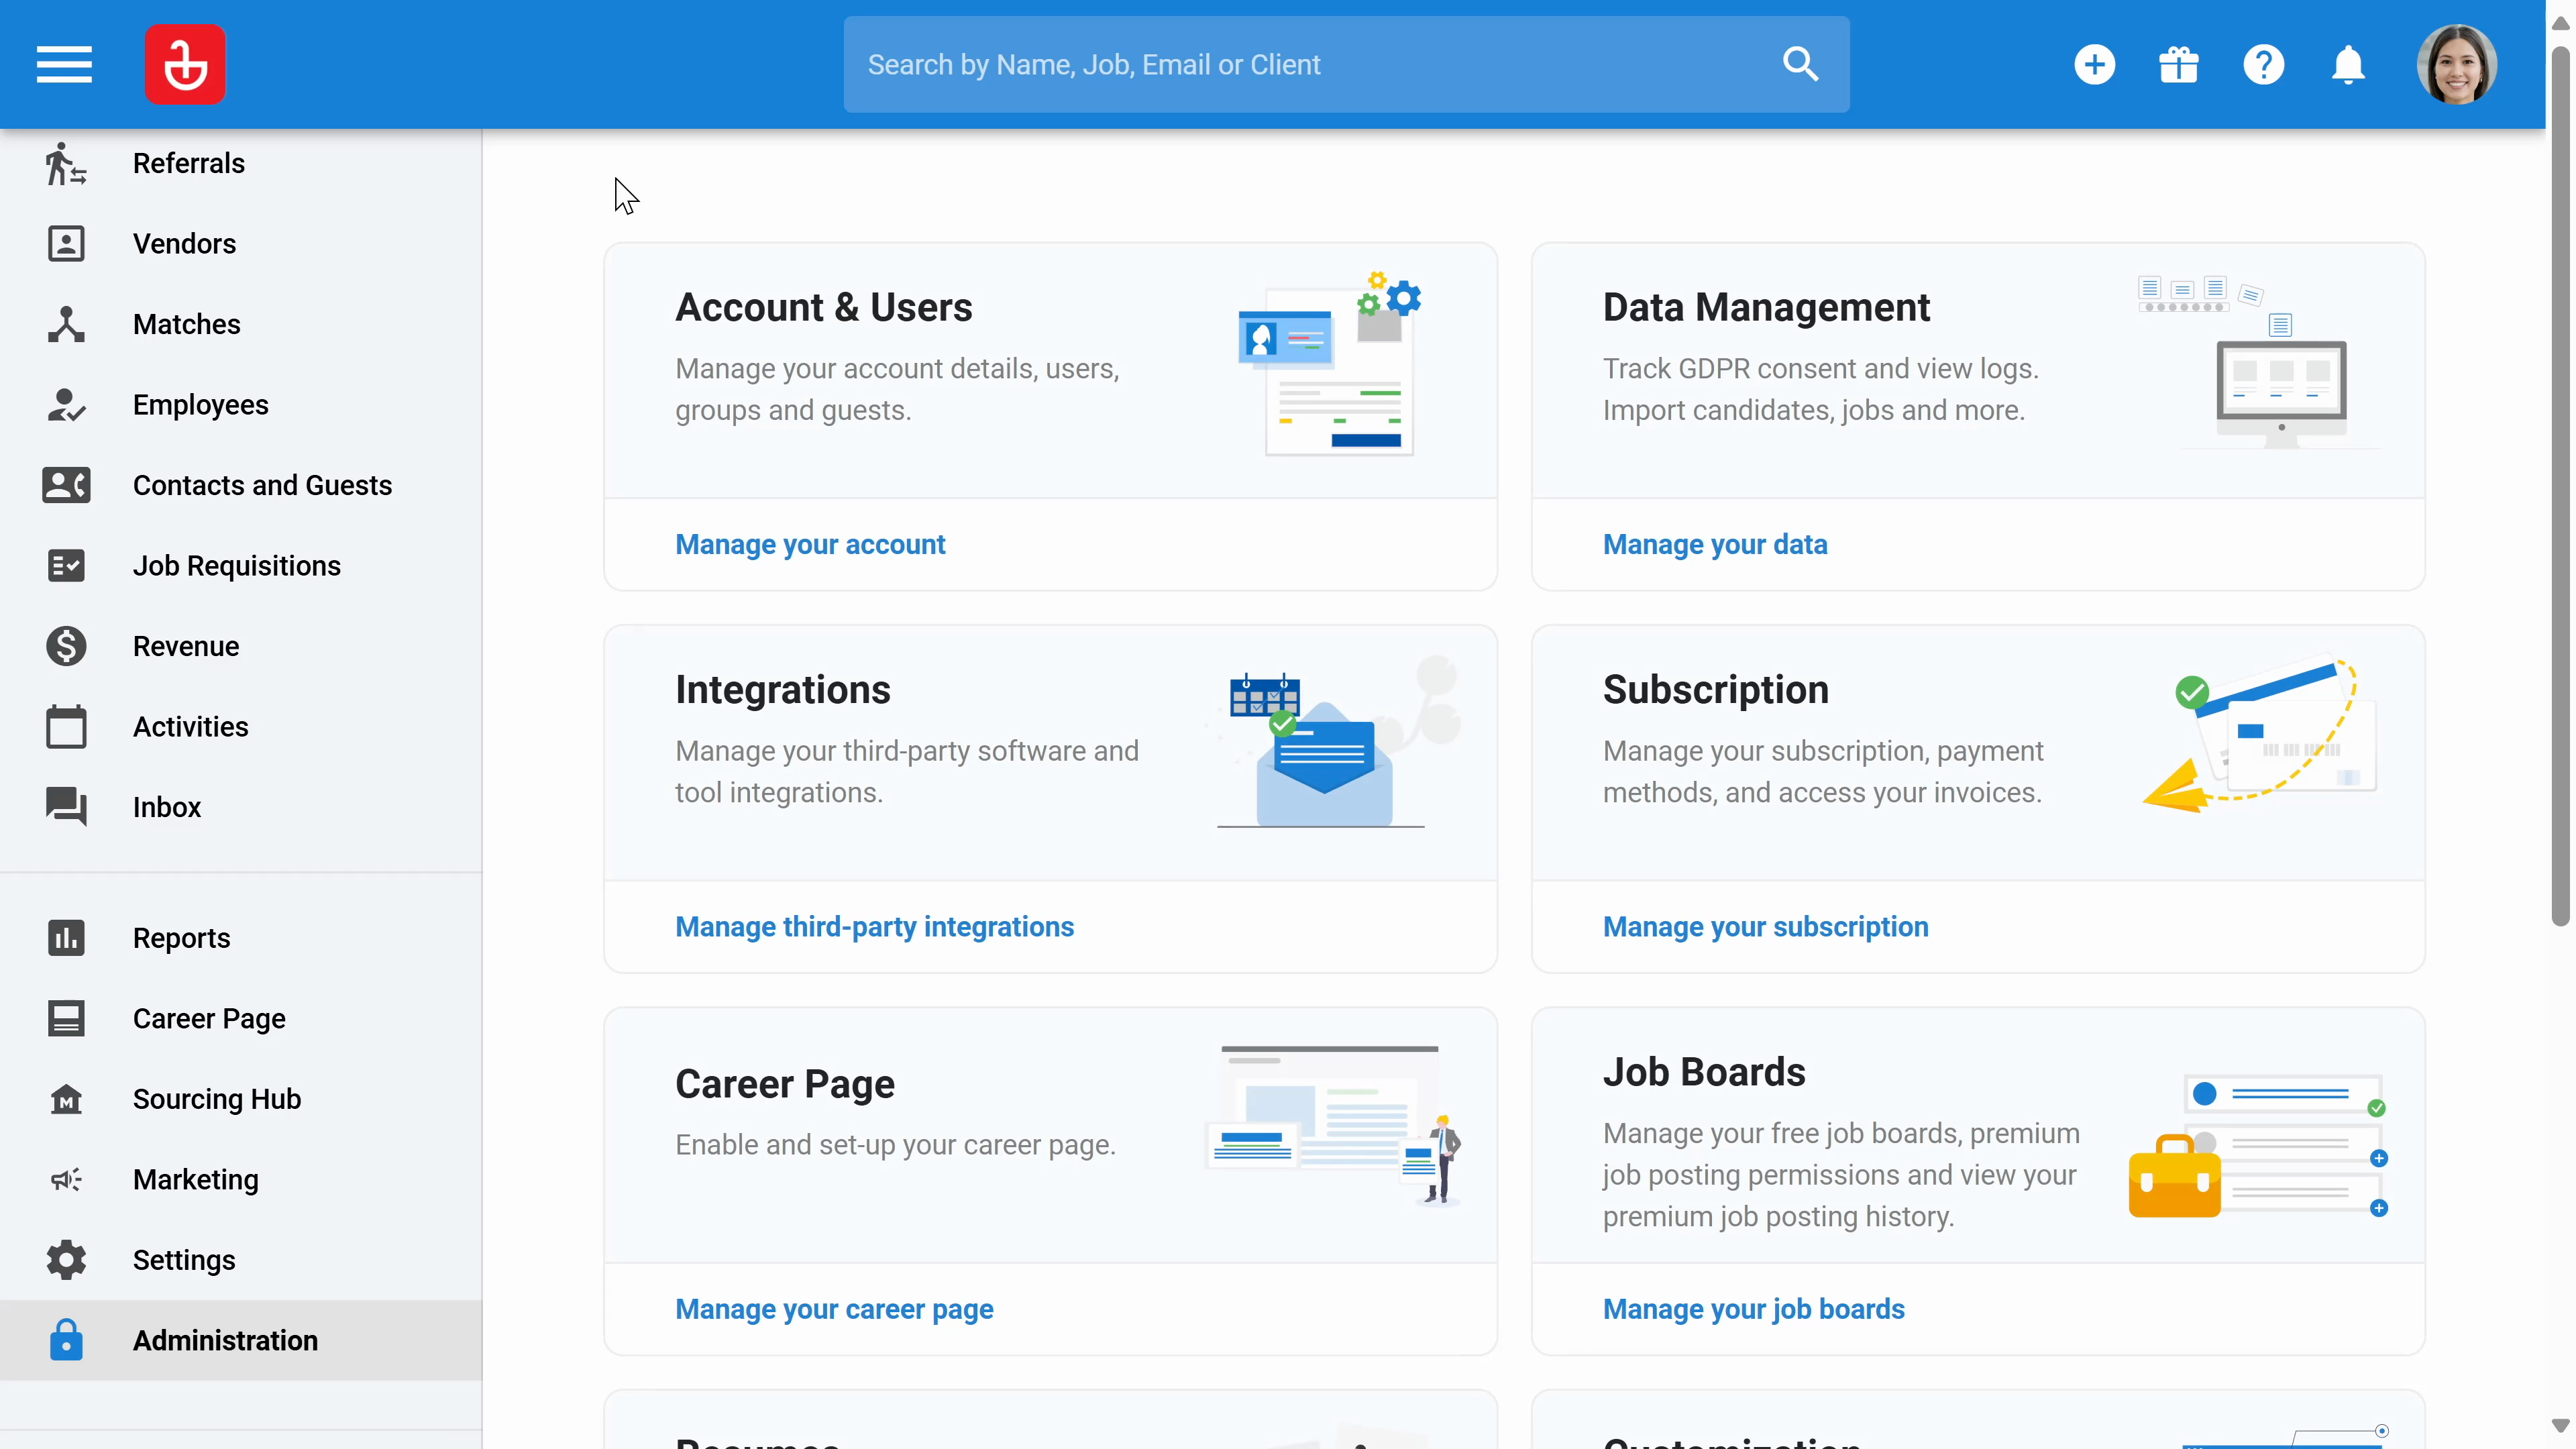
Step 1: Navigate to the administration section of your account. This area is only accessible to admin users.
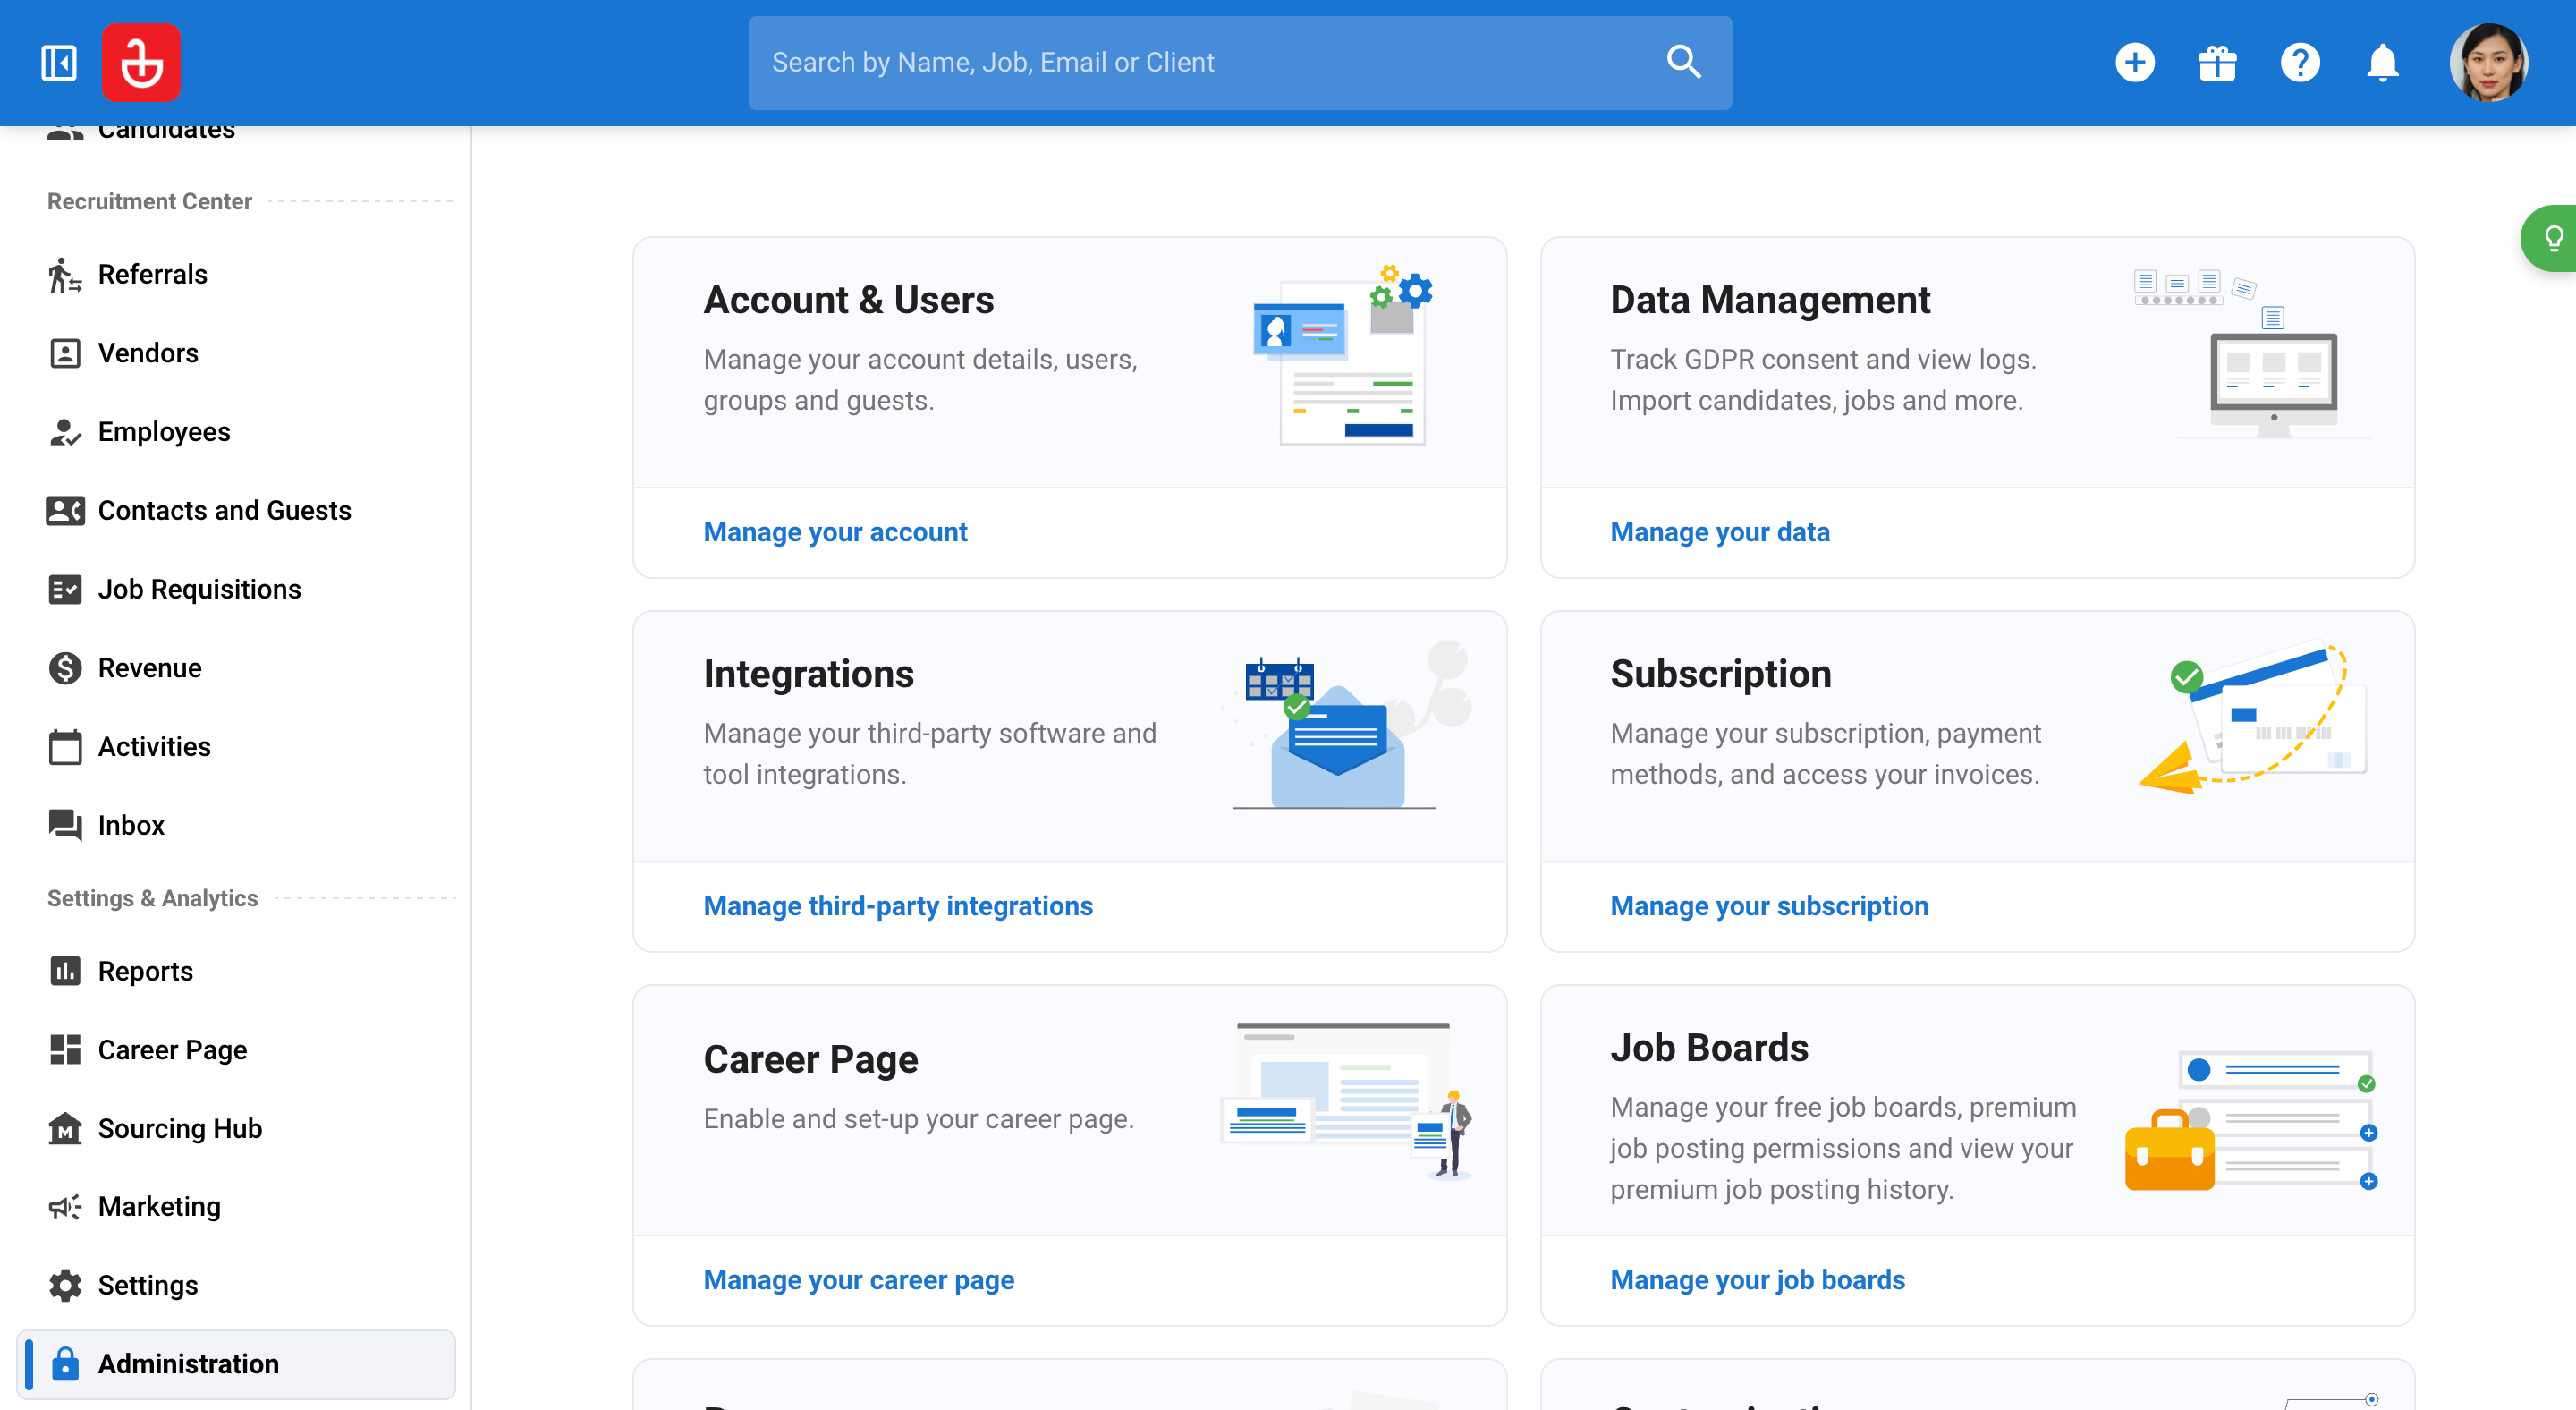
Step 2: Click on Account and Users to add your account's logo.
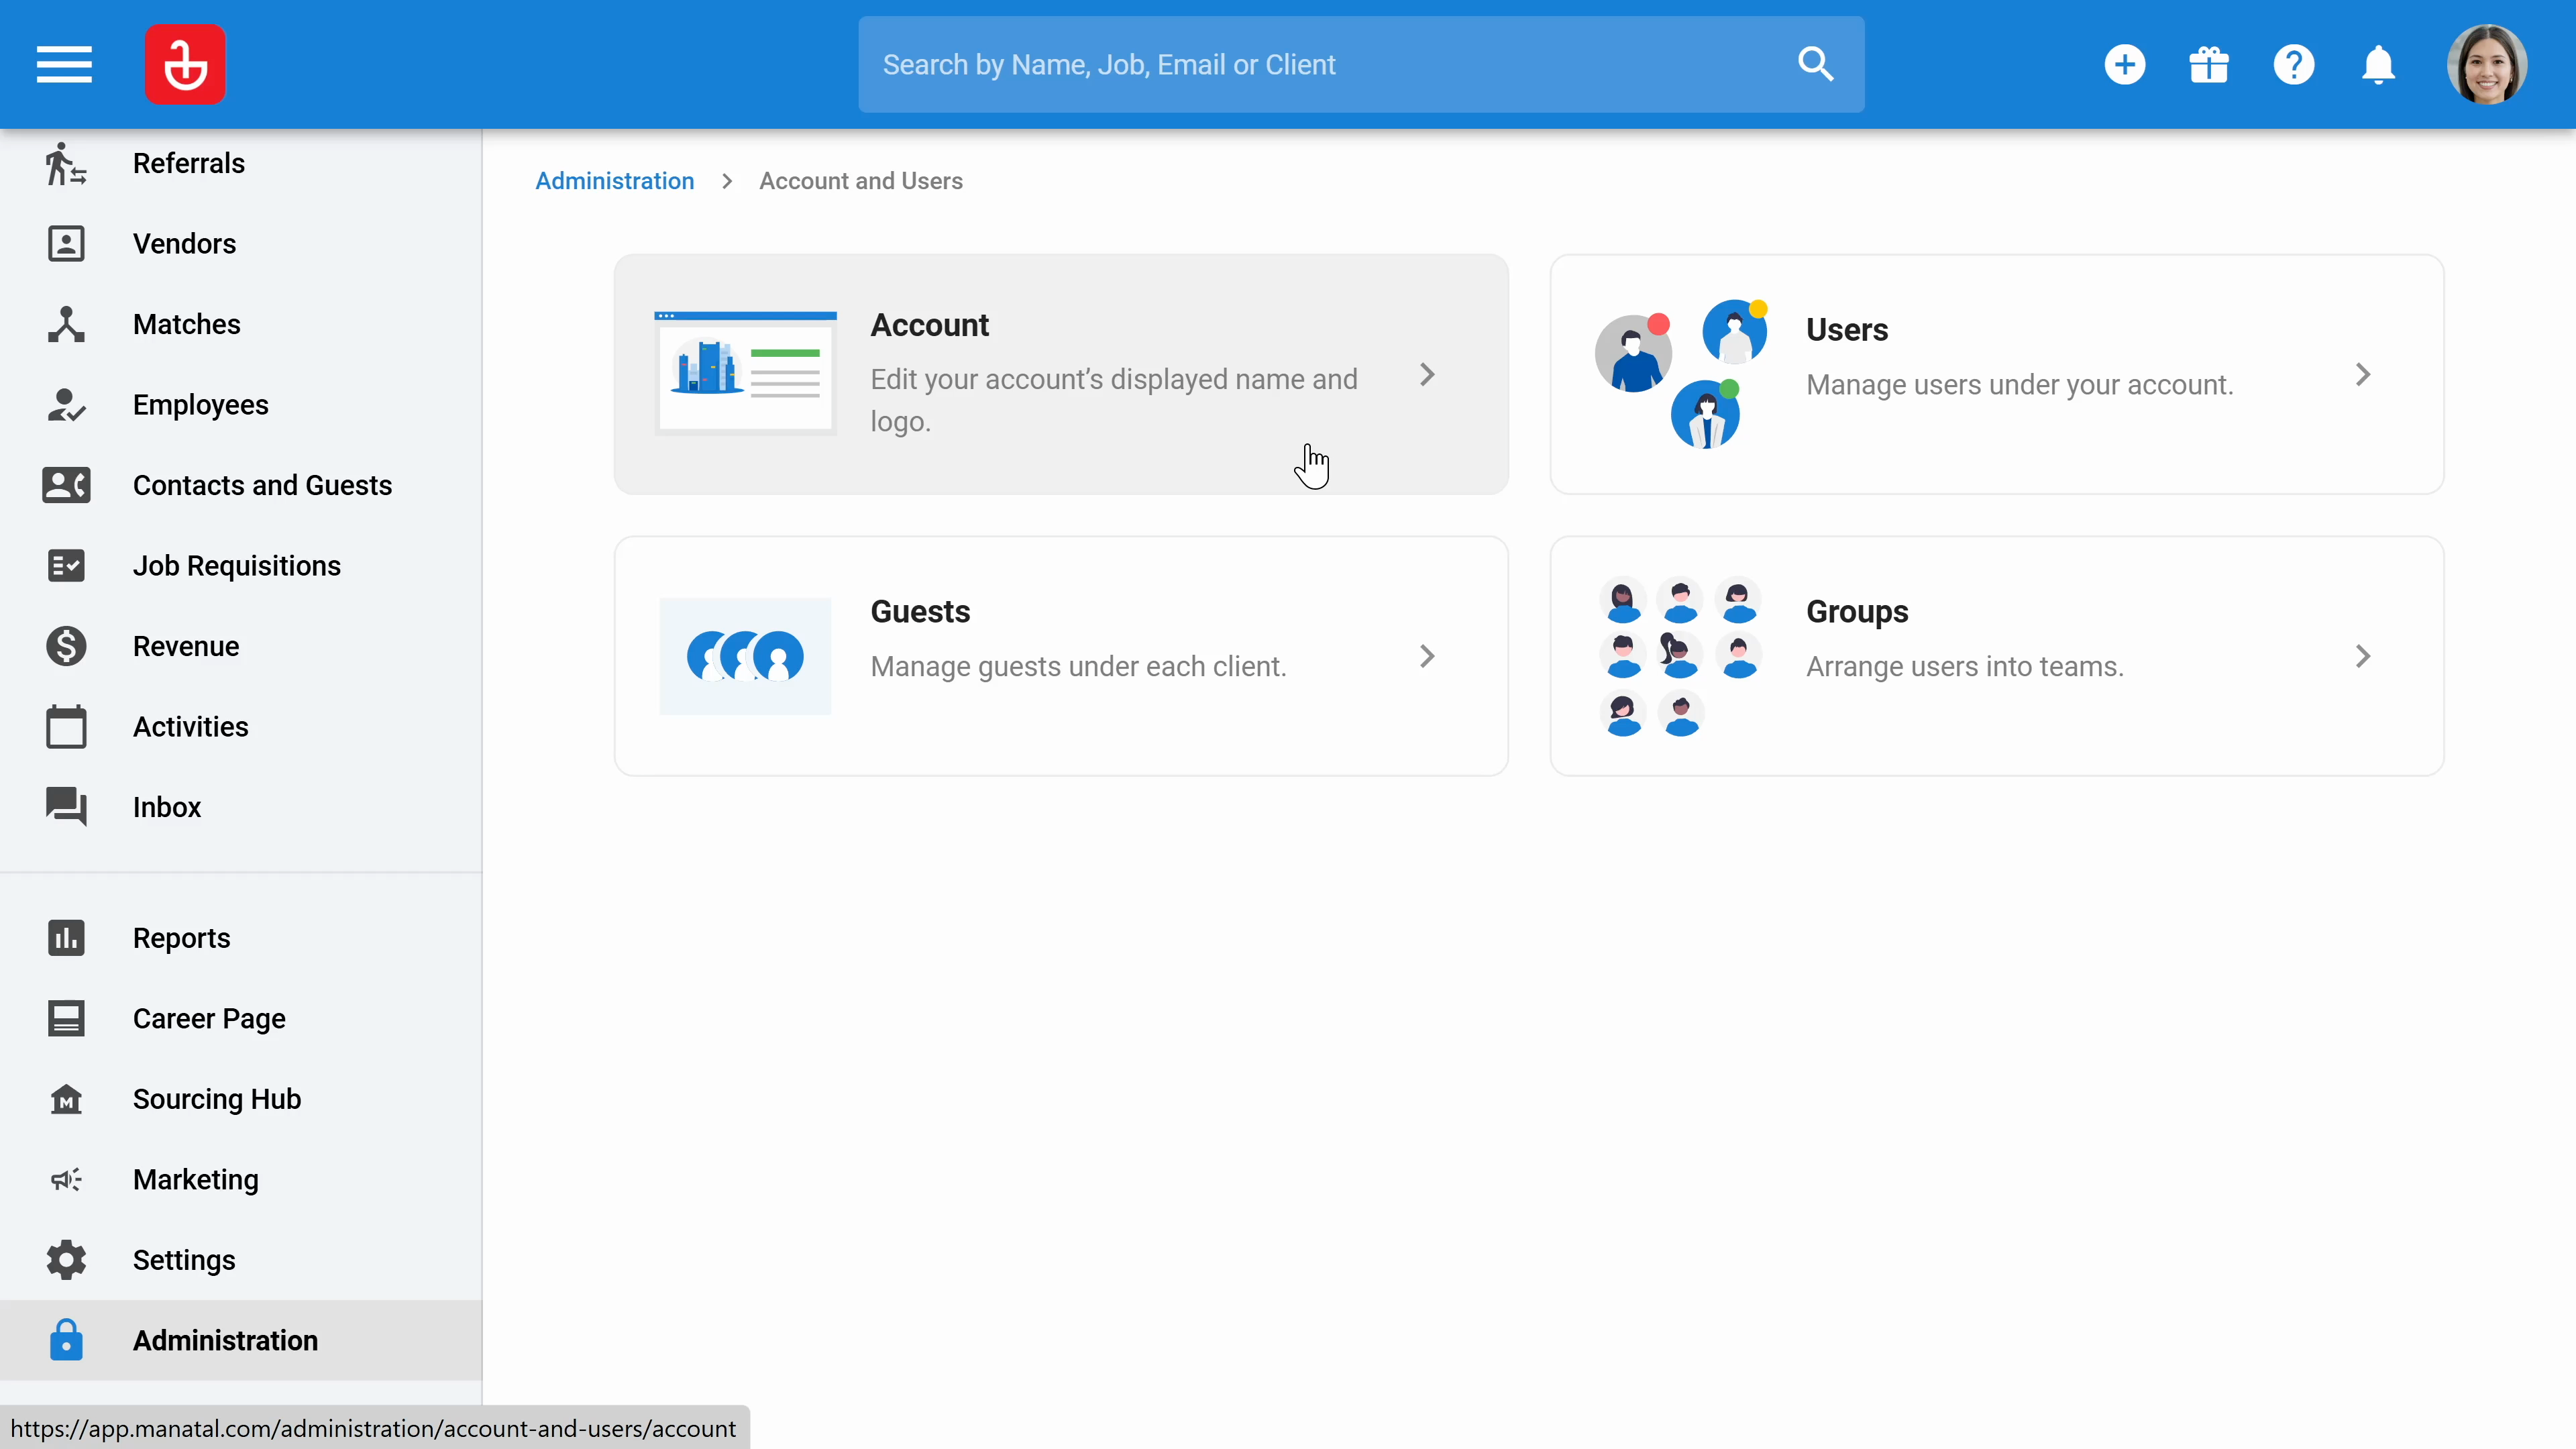
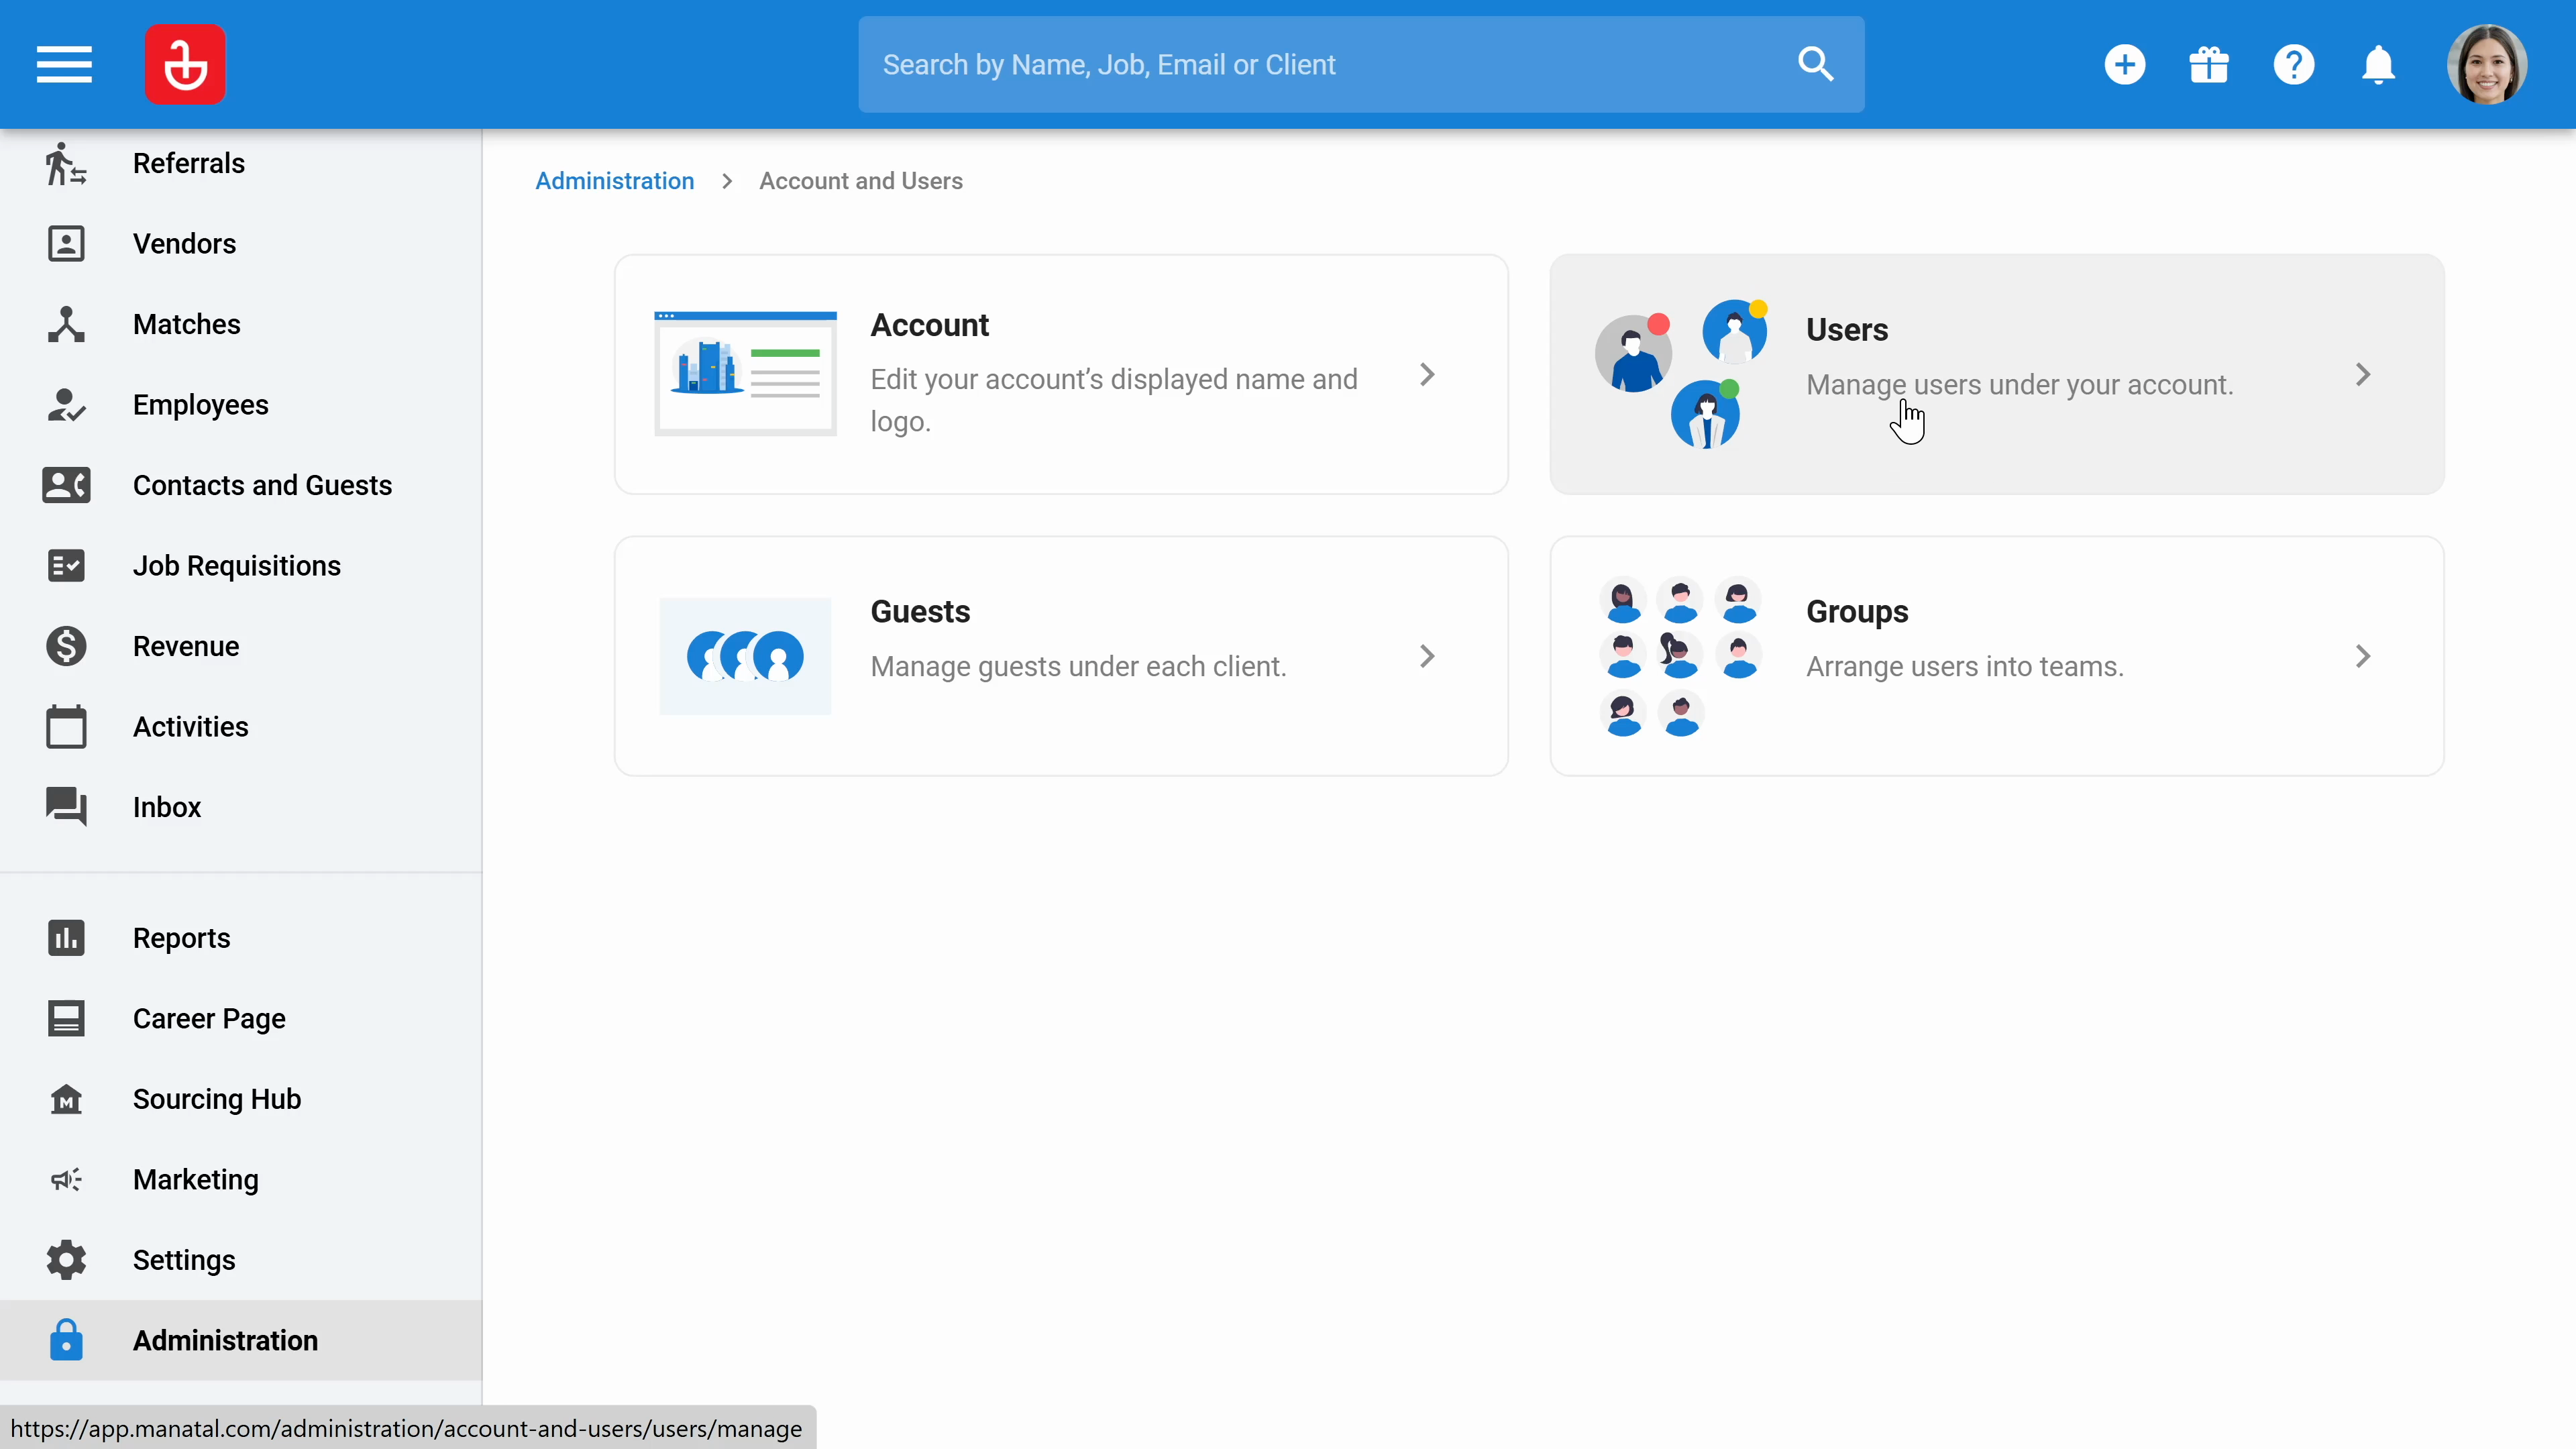
Step 3: Click on users to invite new users to your account or delete access for existing users.
Step 4: In the Guests section, you'll also manage guests.
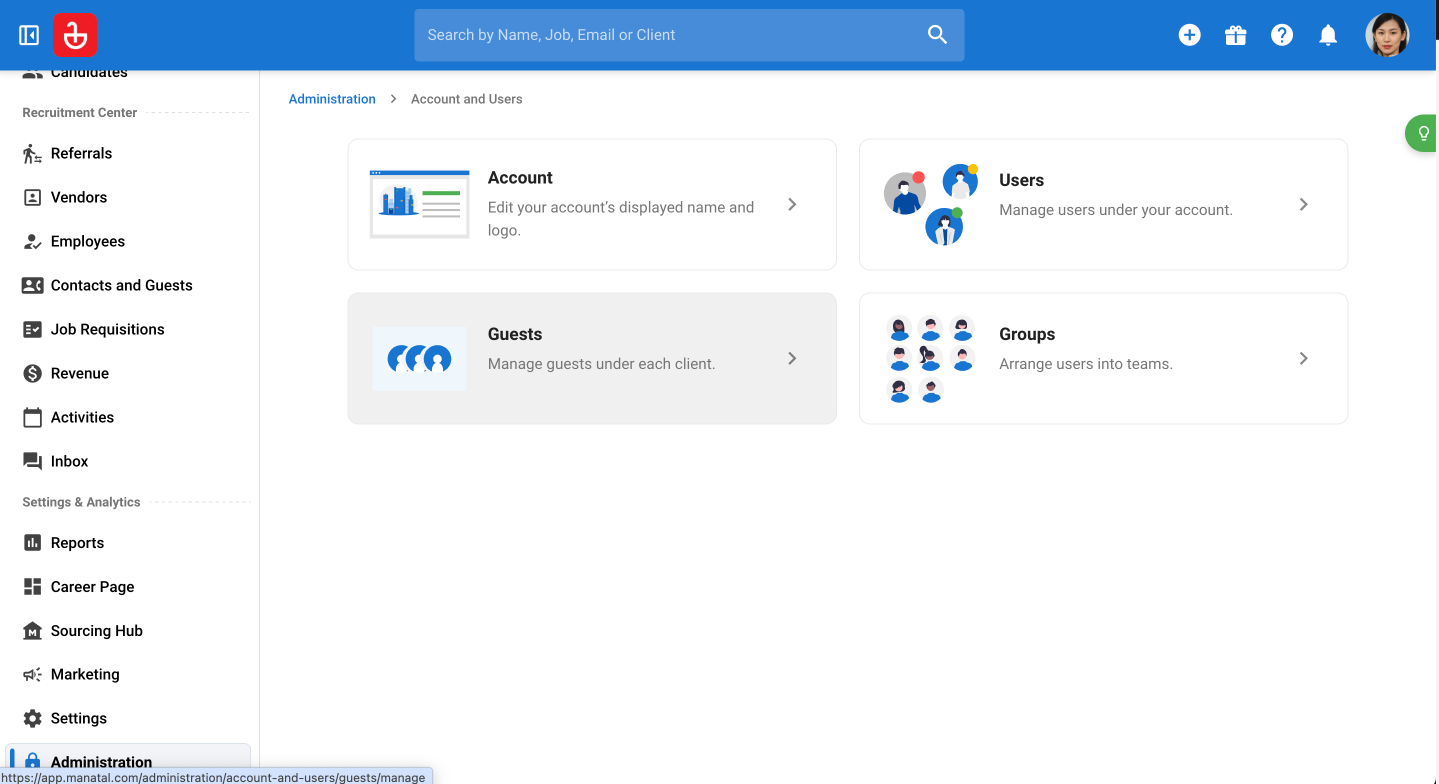
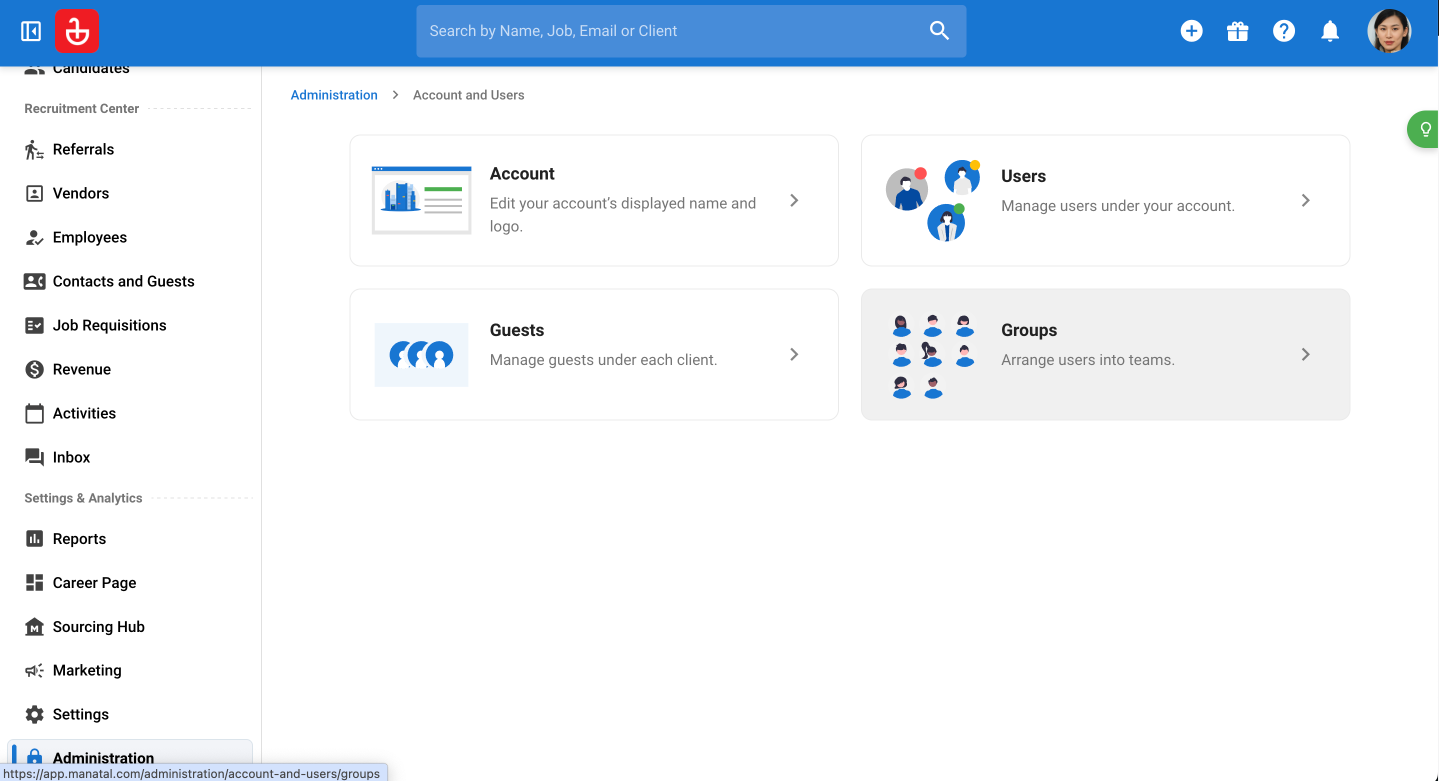
Step 5: In the Groups section, you can arrange users into teams.
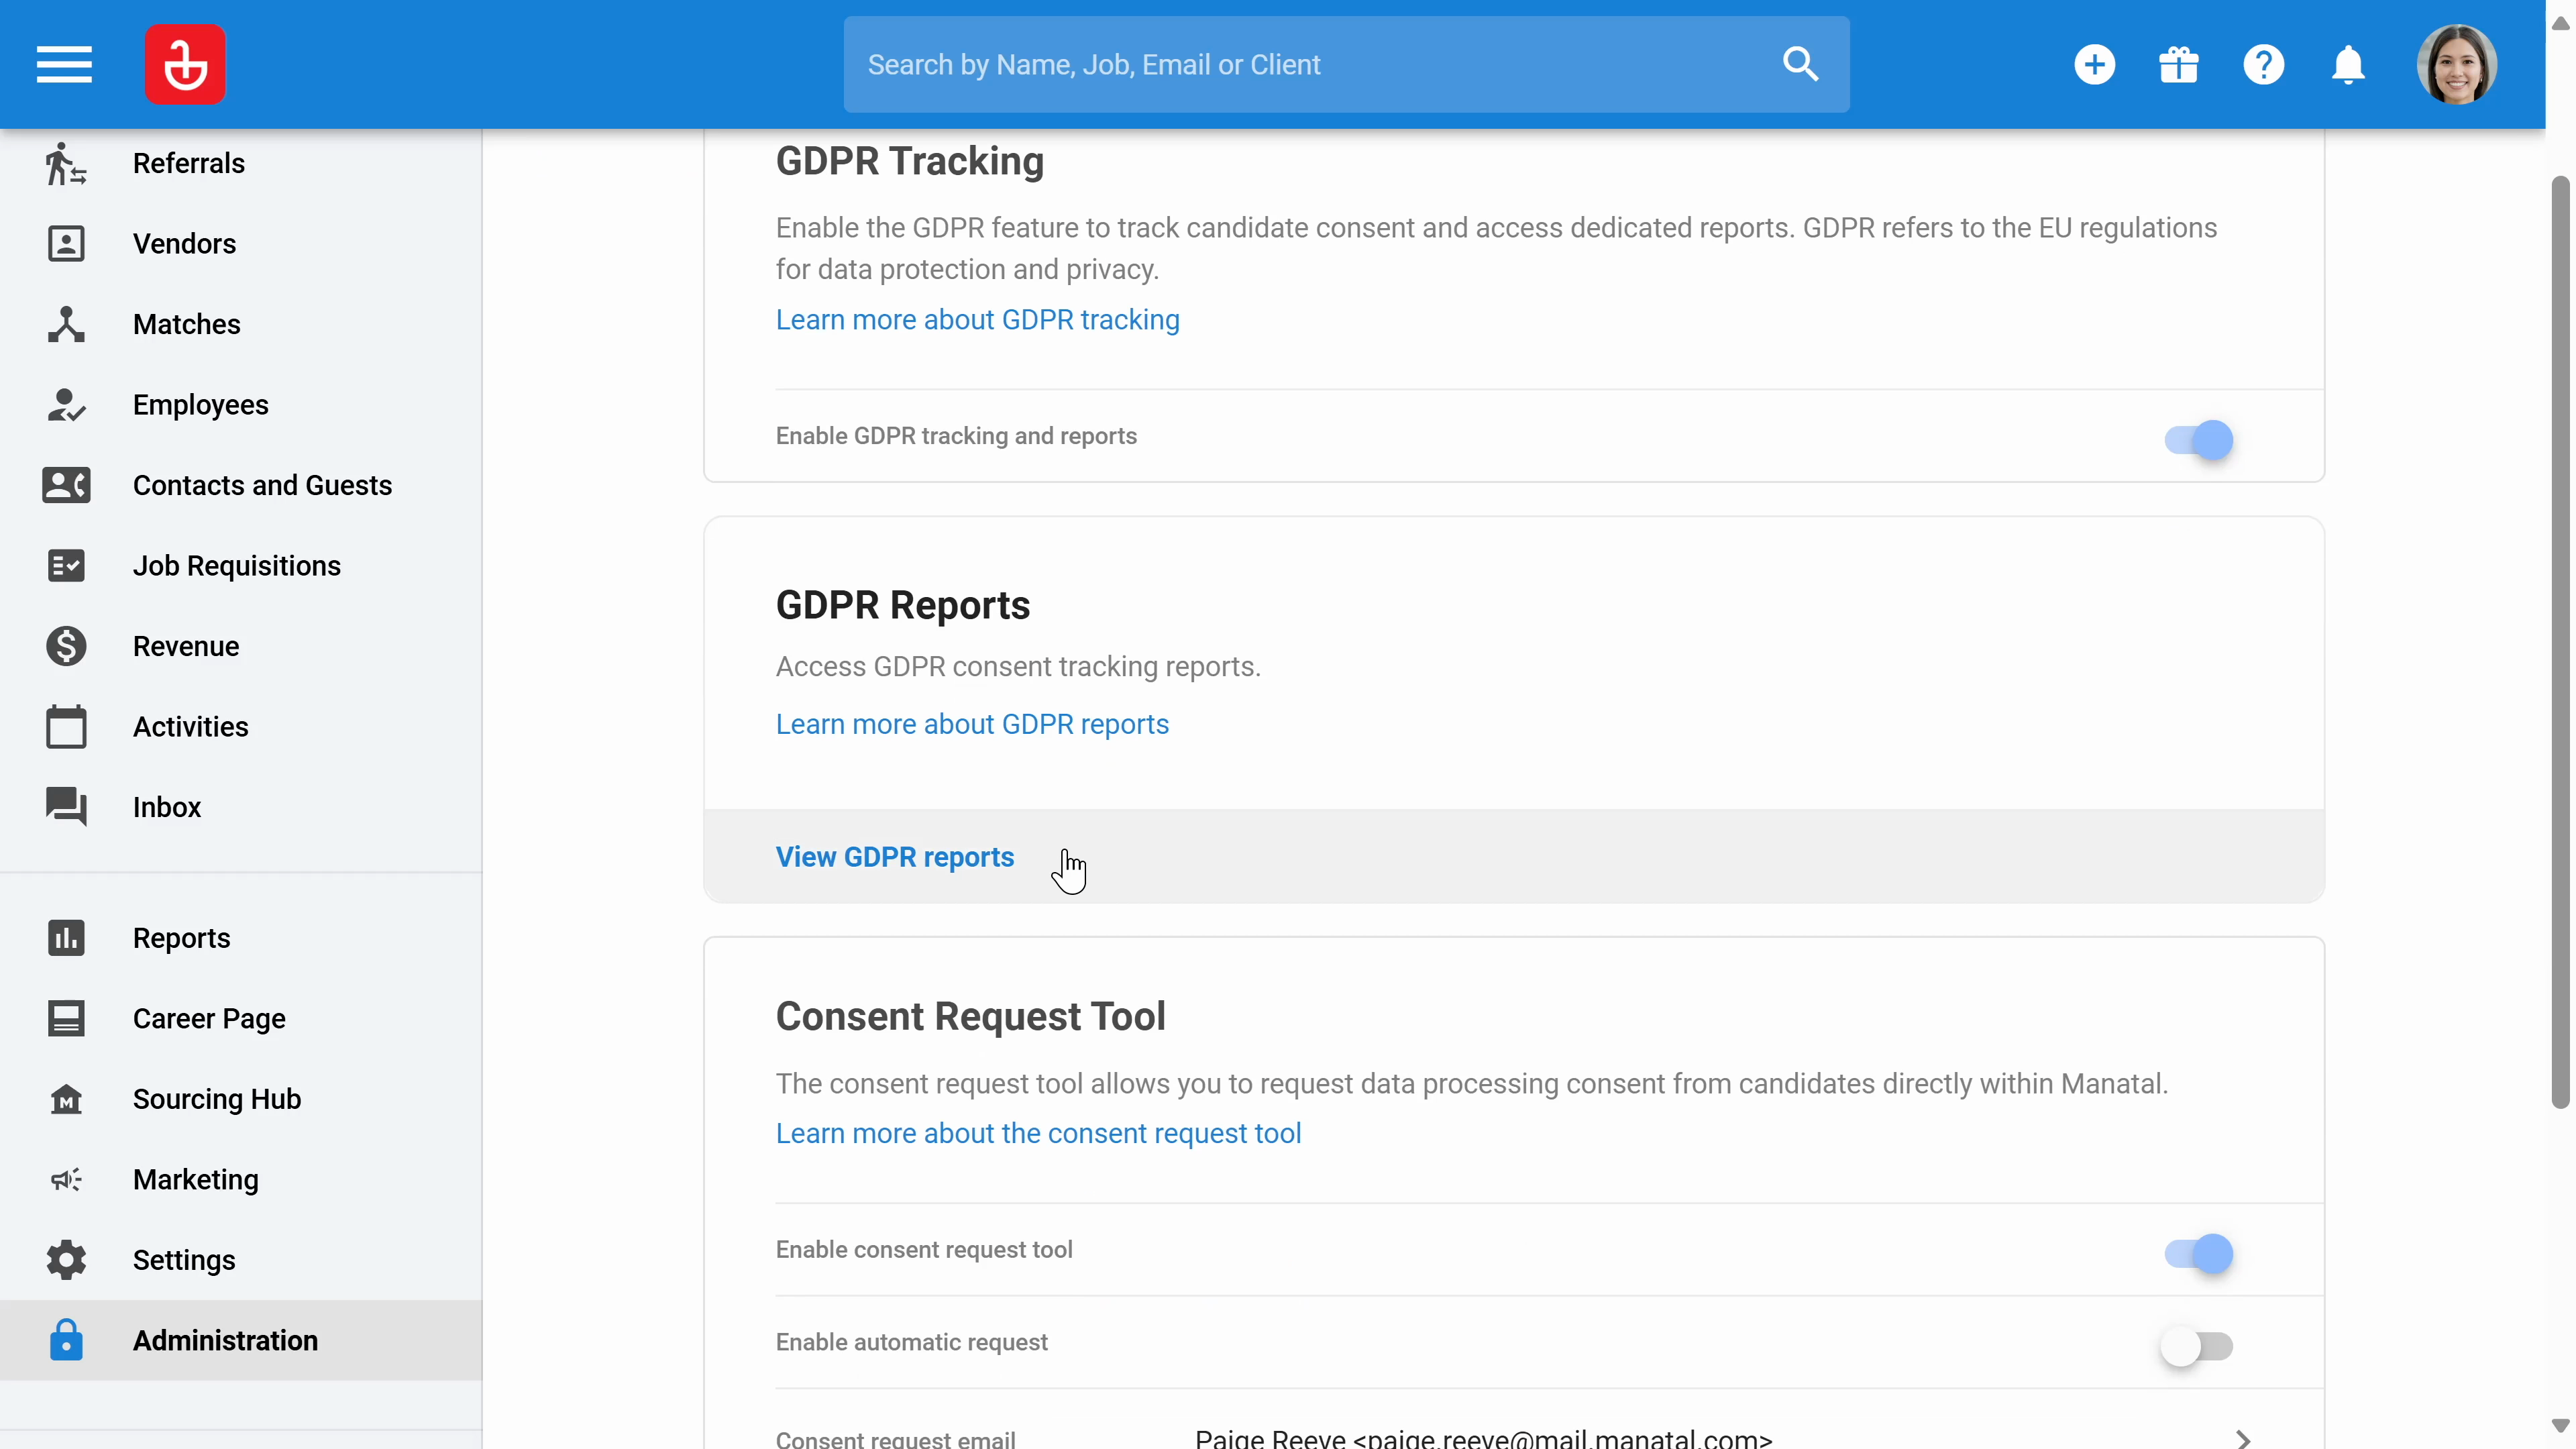
Step 6: Click on data management to import your existing database. This includes candidates, clients, job contacts, matches, and resumes. You'll also enable GDPR tracking here.
Enable the tracking.
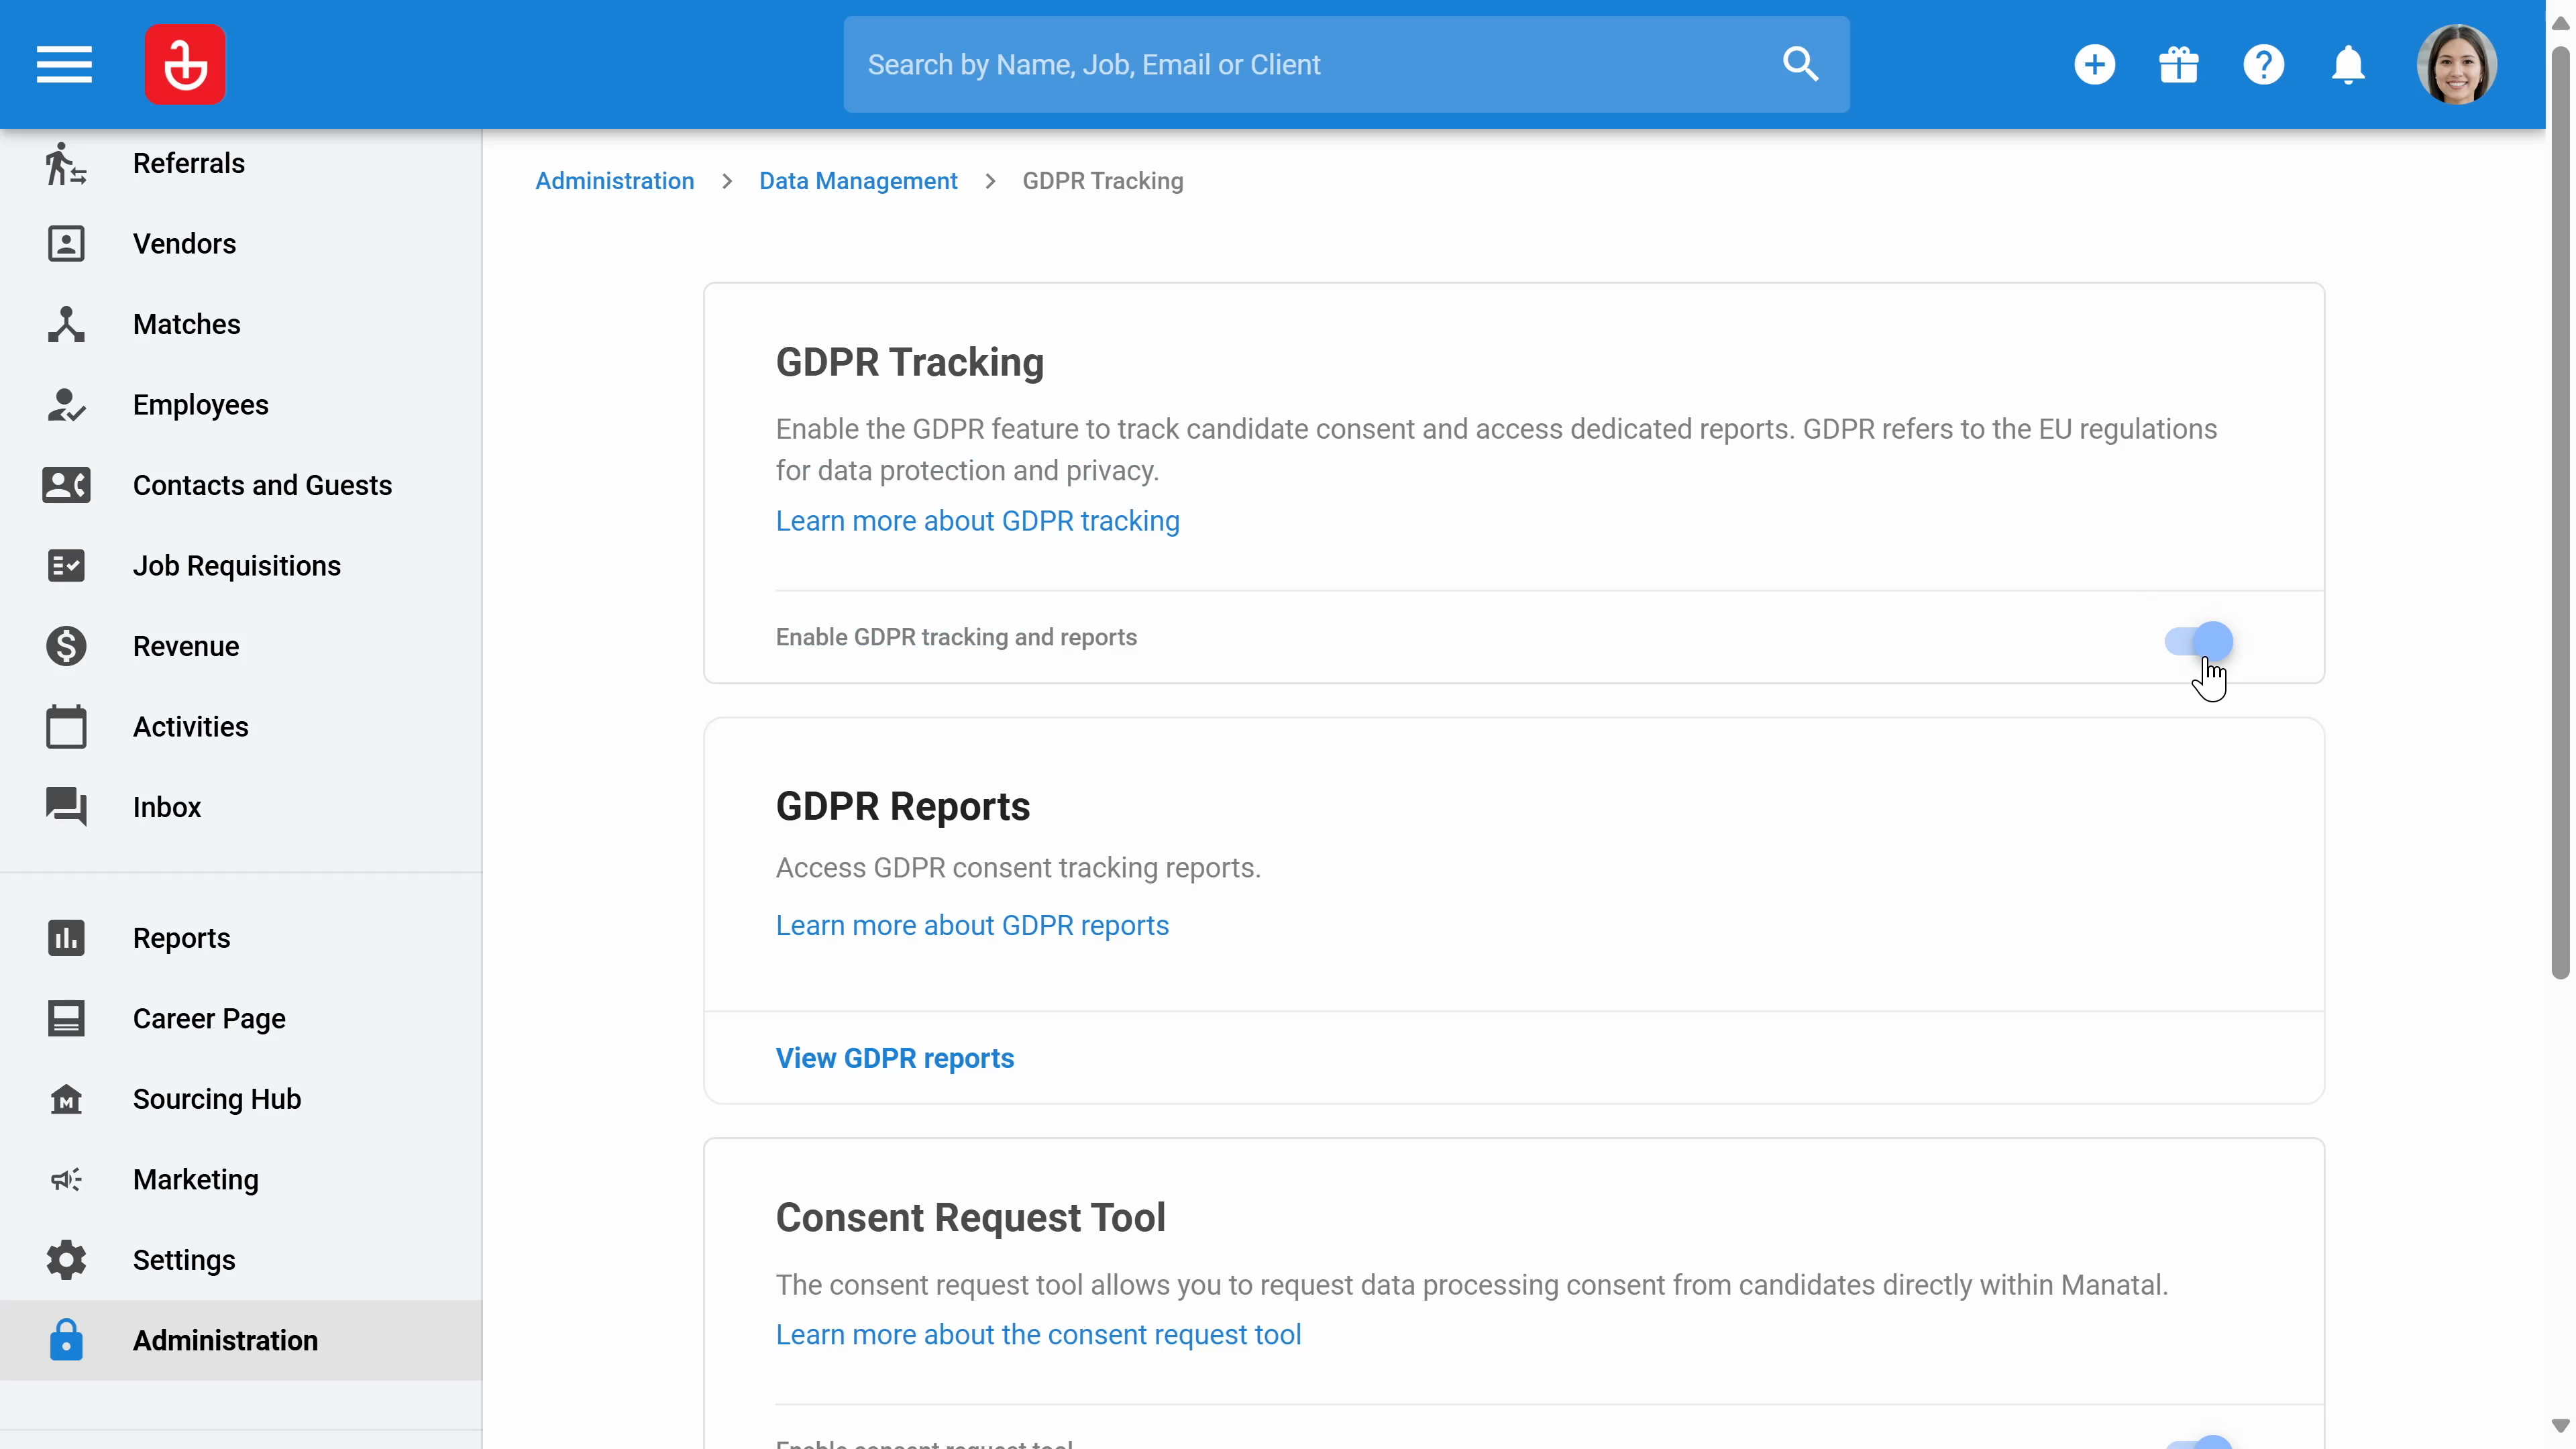
Step 7: Access the GDPR reports and set up the Consent request tool. Once set up, the system will send automated emails to candidates to request GDPR consent.

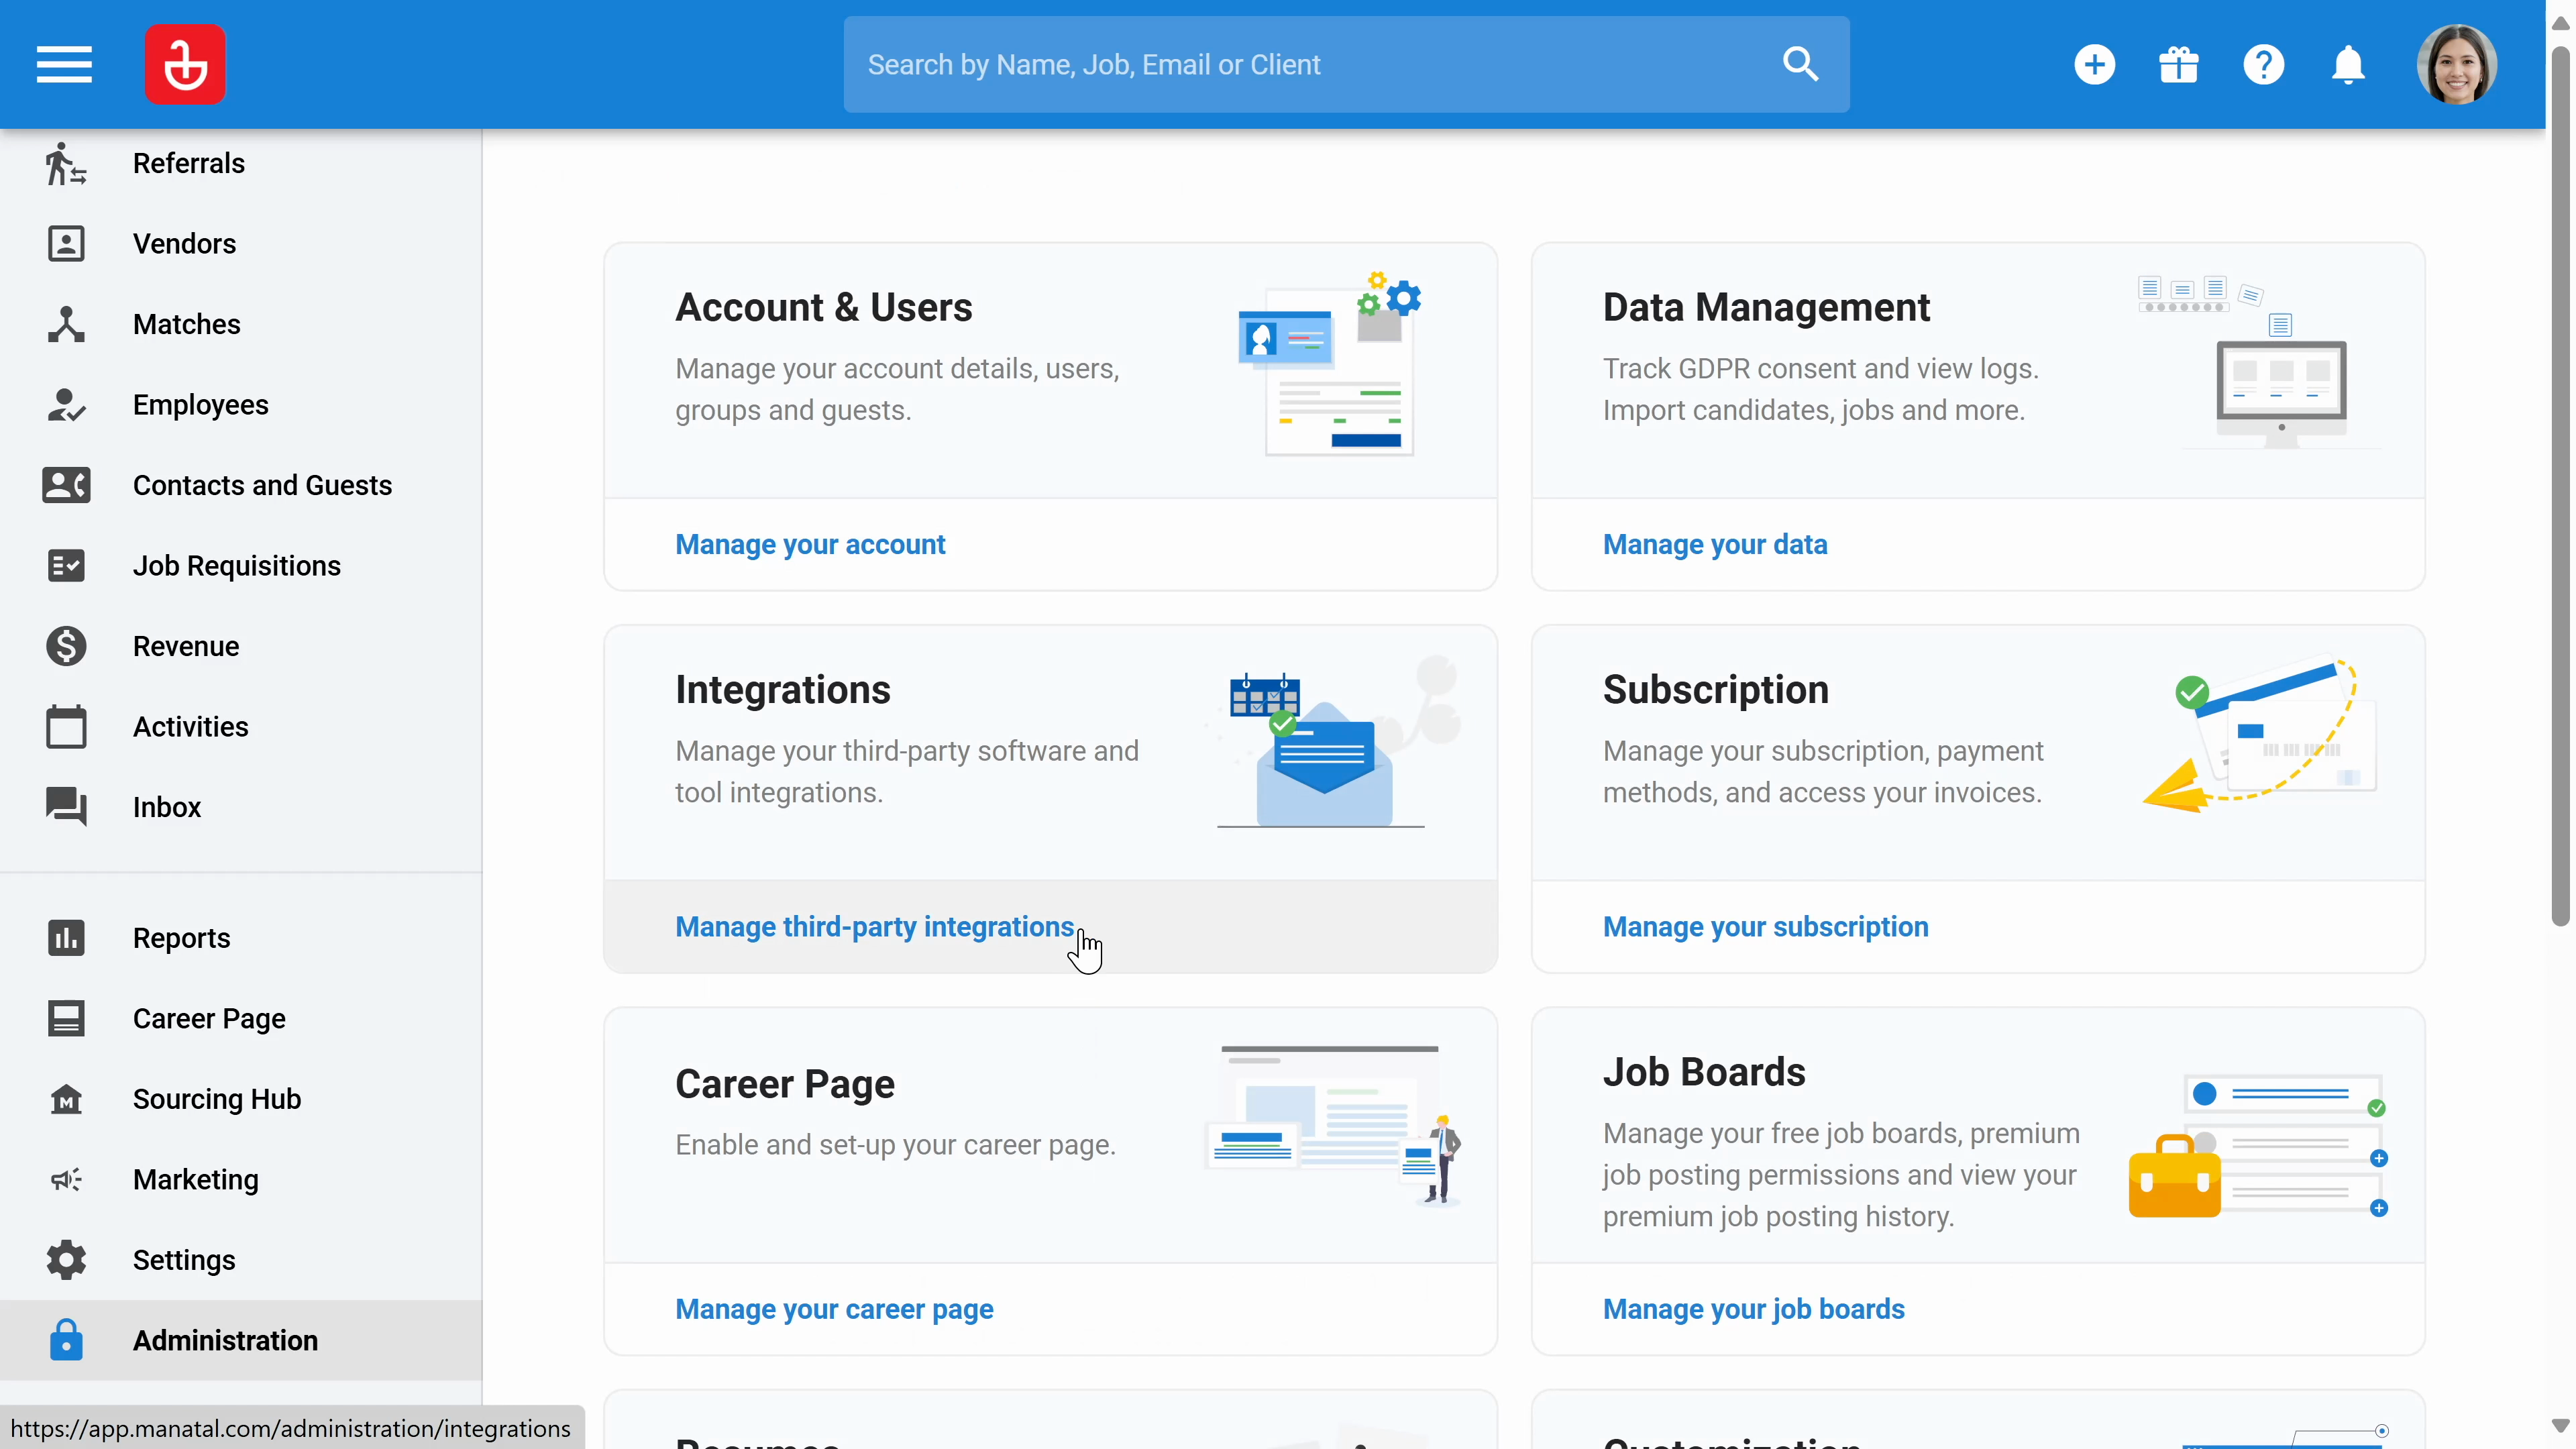
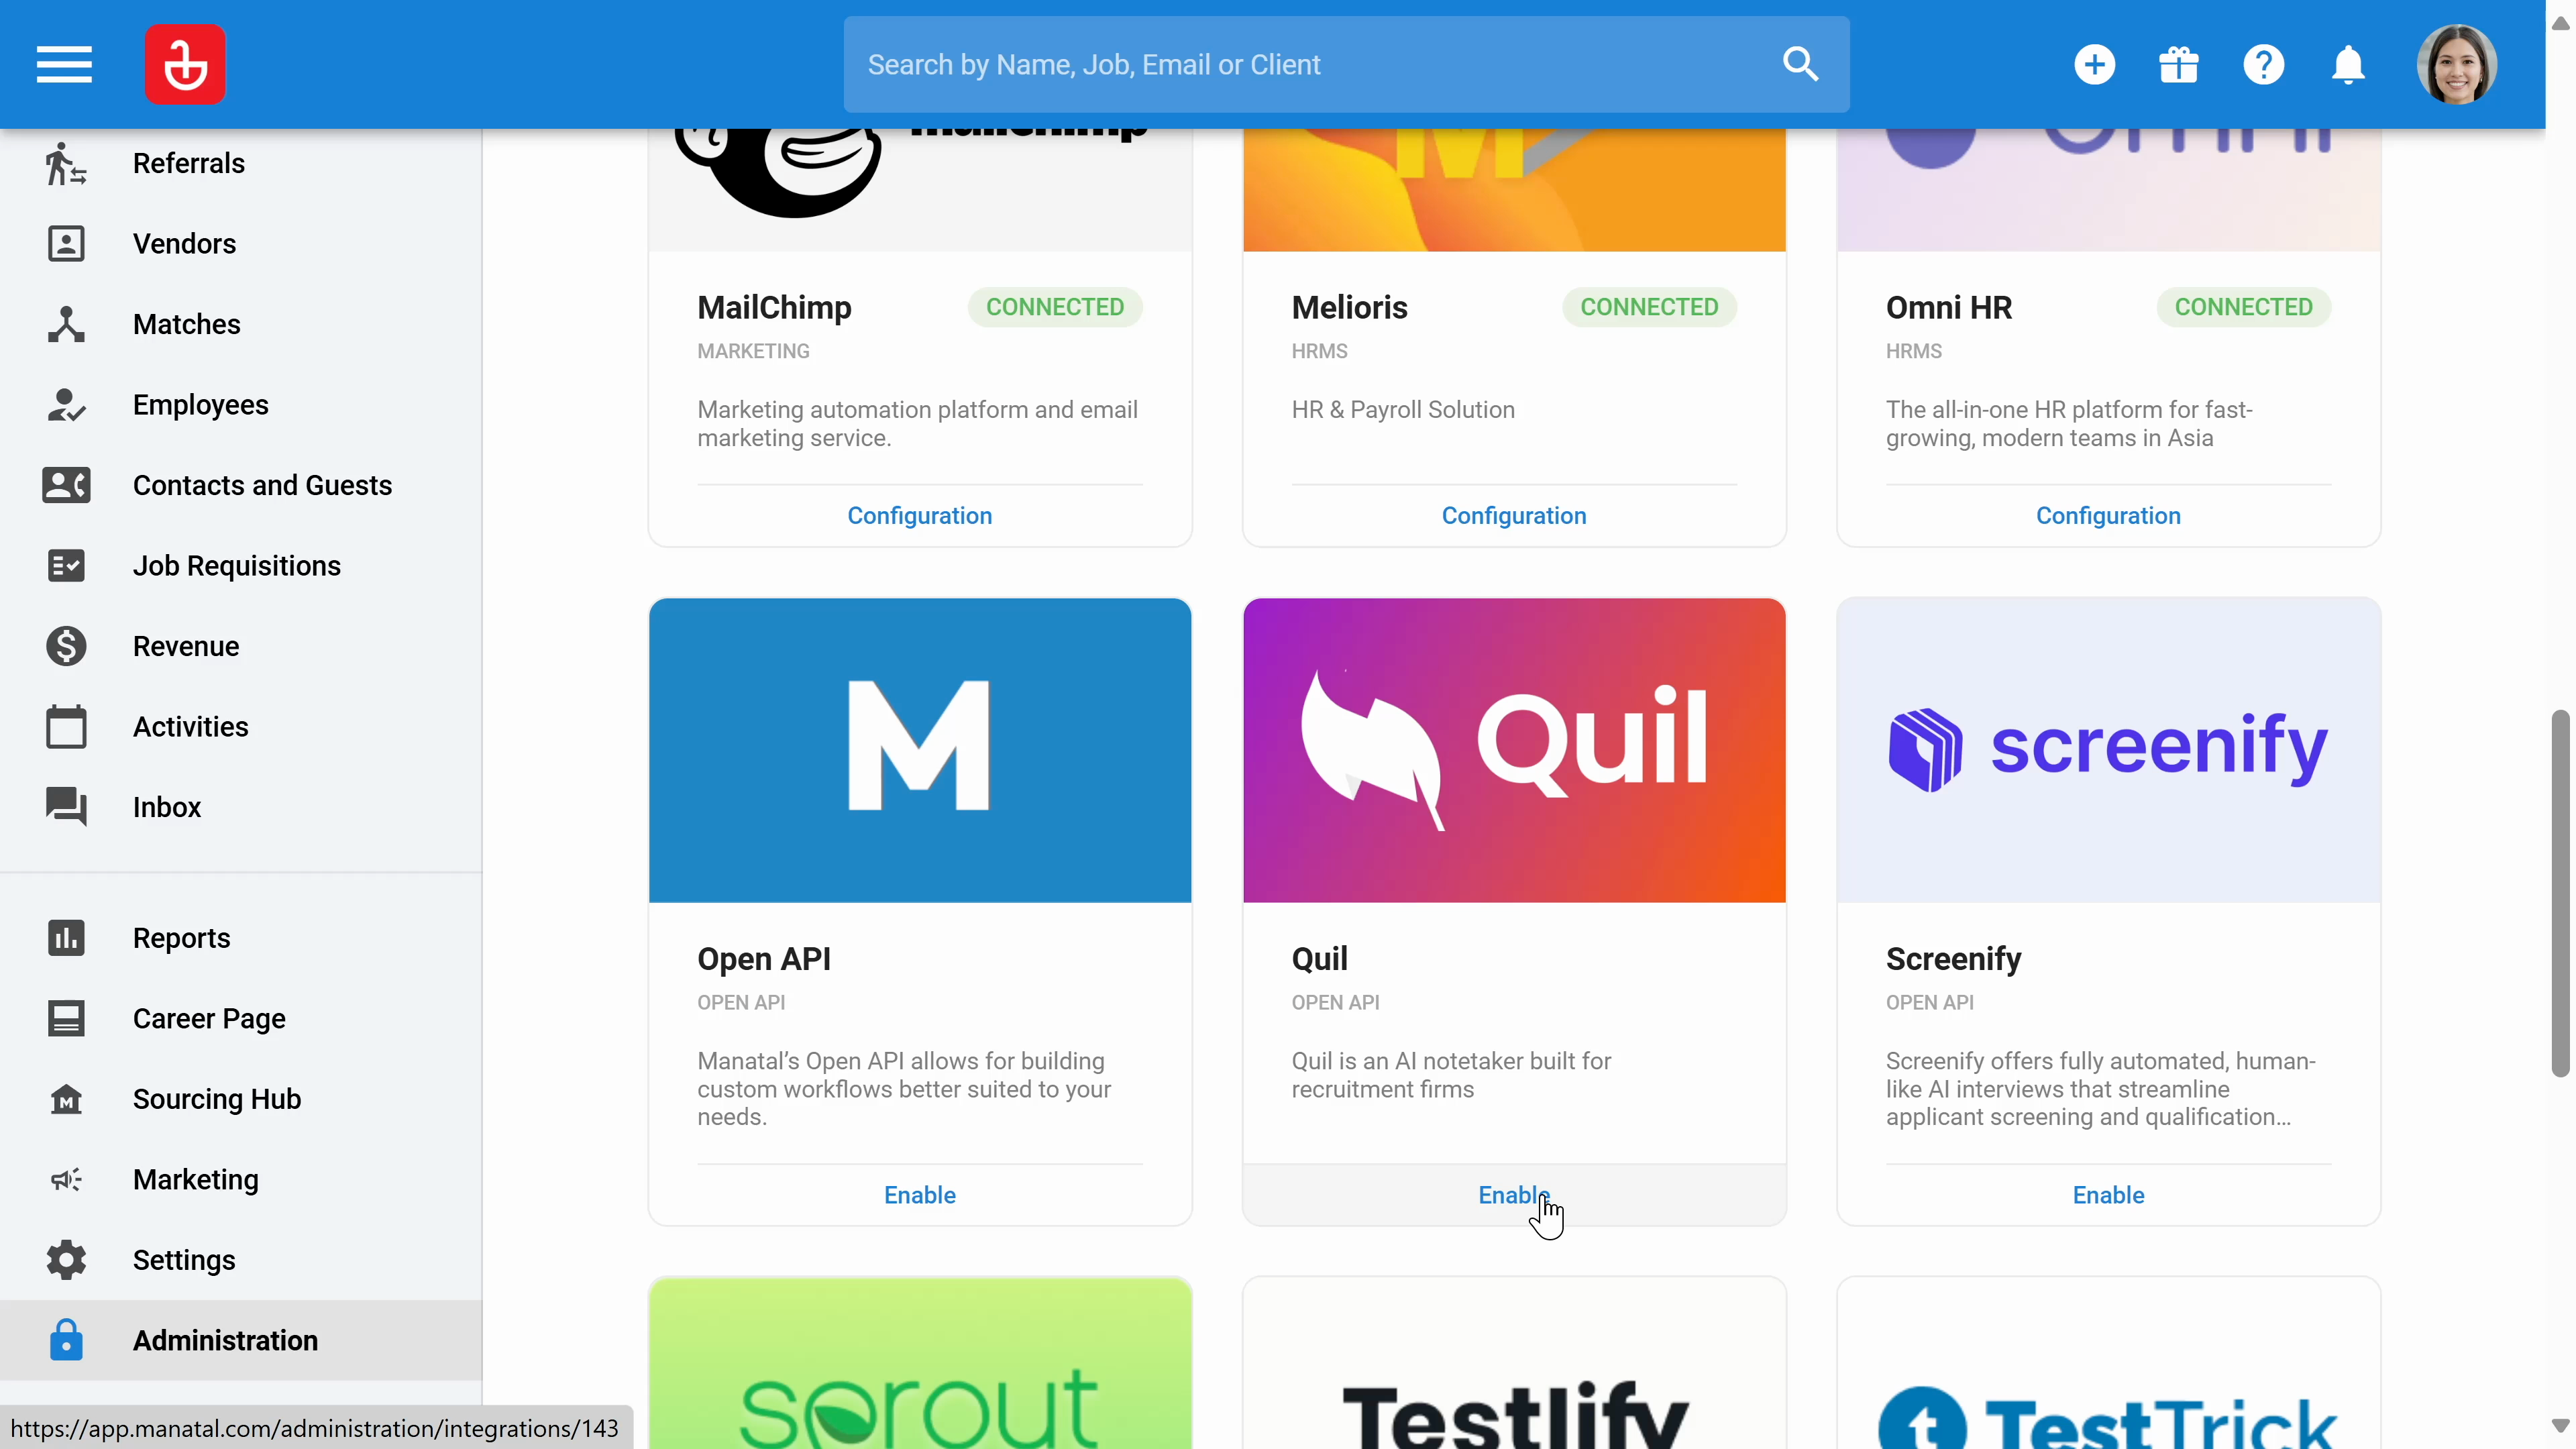
Step 8: Click on Integrations to manage third-party integrations. Manatal offers integration with various platforms.
Step 9: Click enable to integrate with the platform.
Step 10: In the subscription section, access your invoices, change payment methods, or upgrade your plan.

Step 11: Click on the career page to enable it and integrate it with your website. You can also customize the page here.
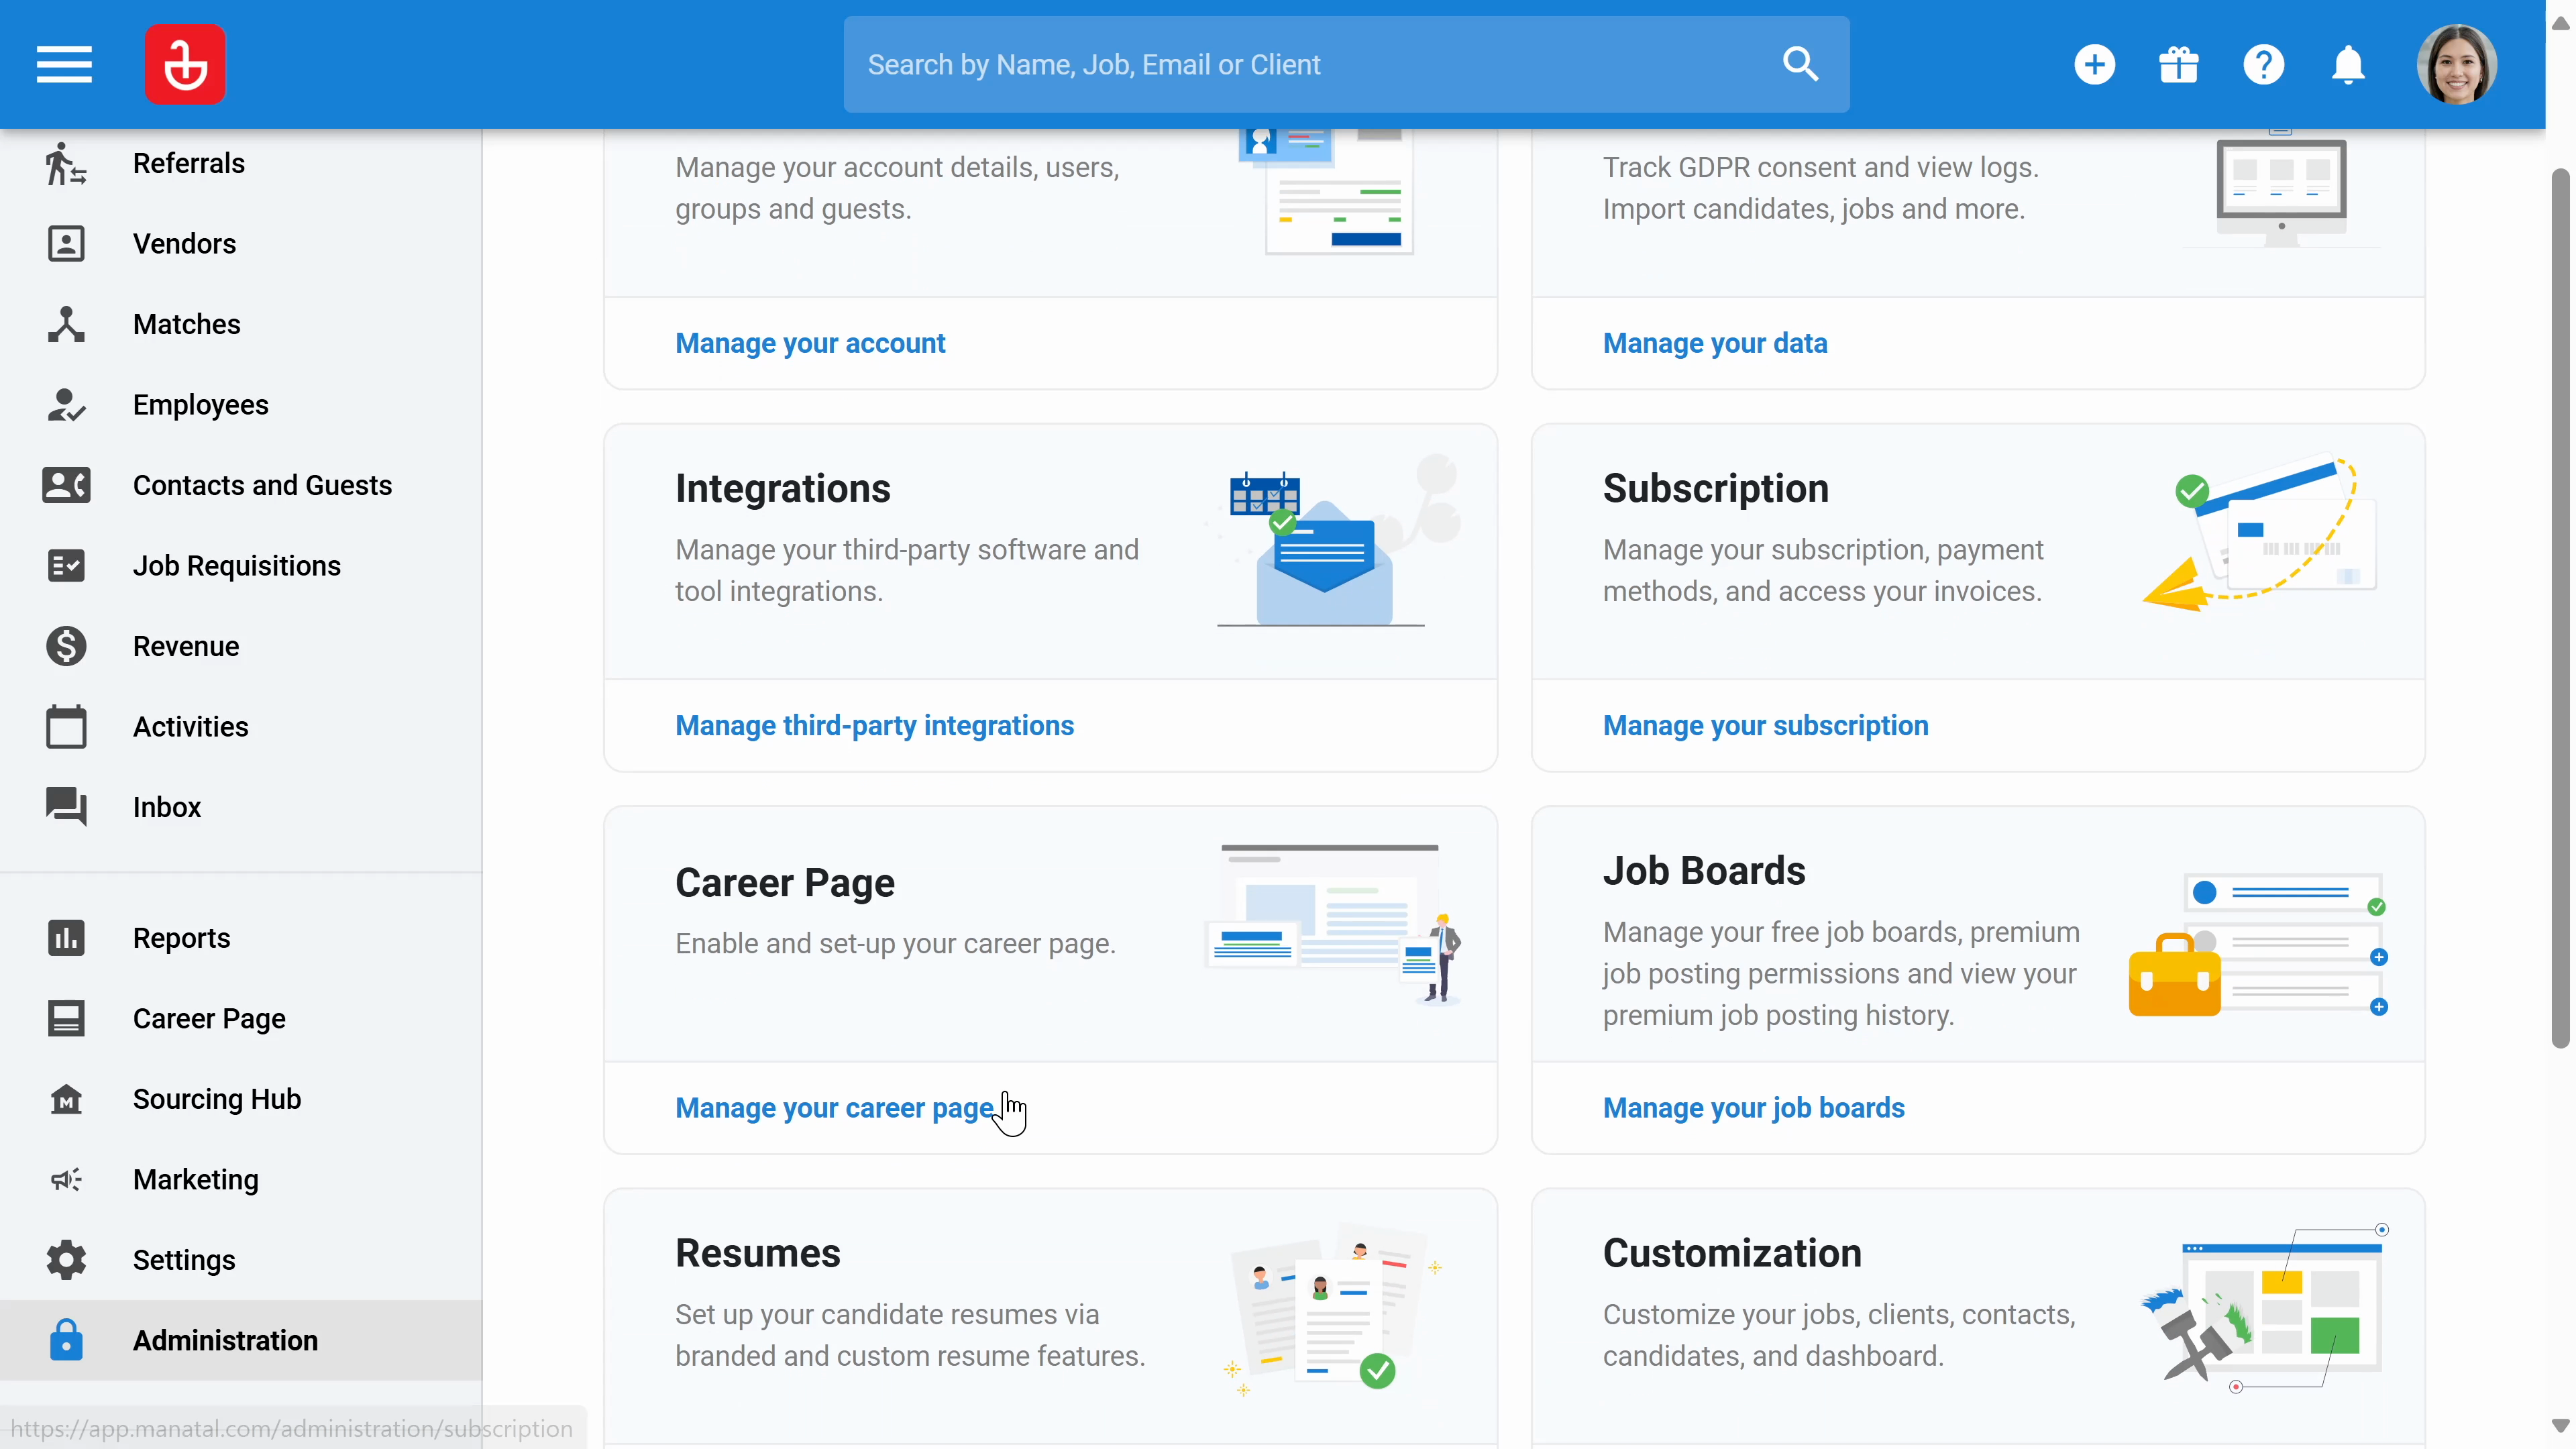
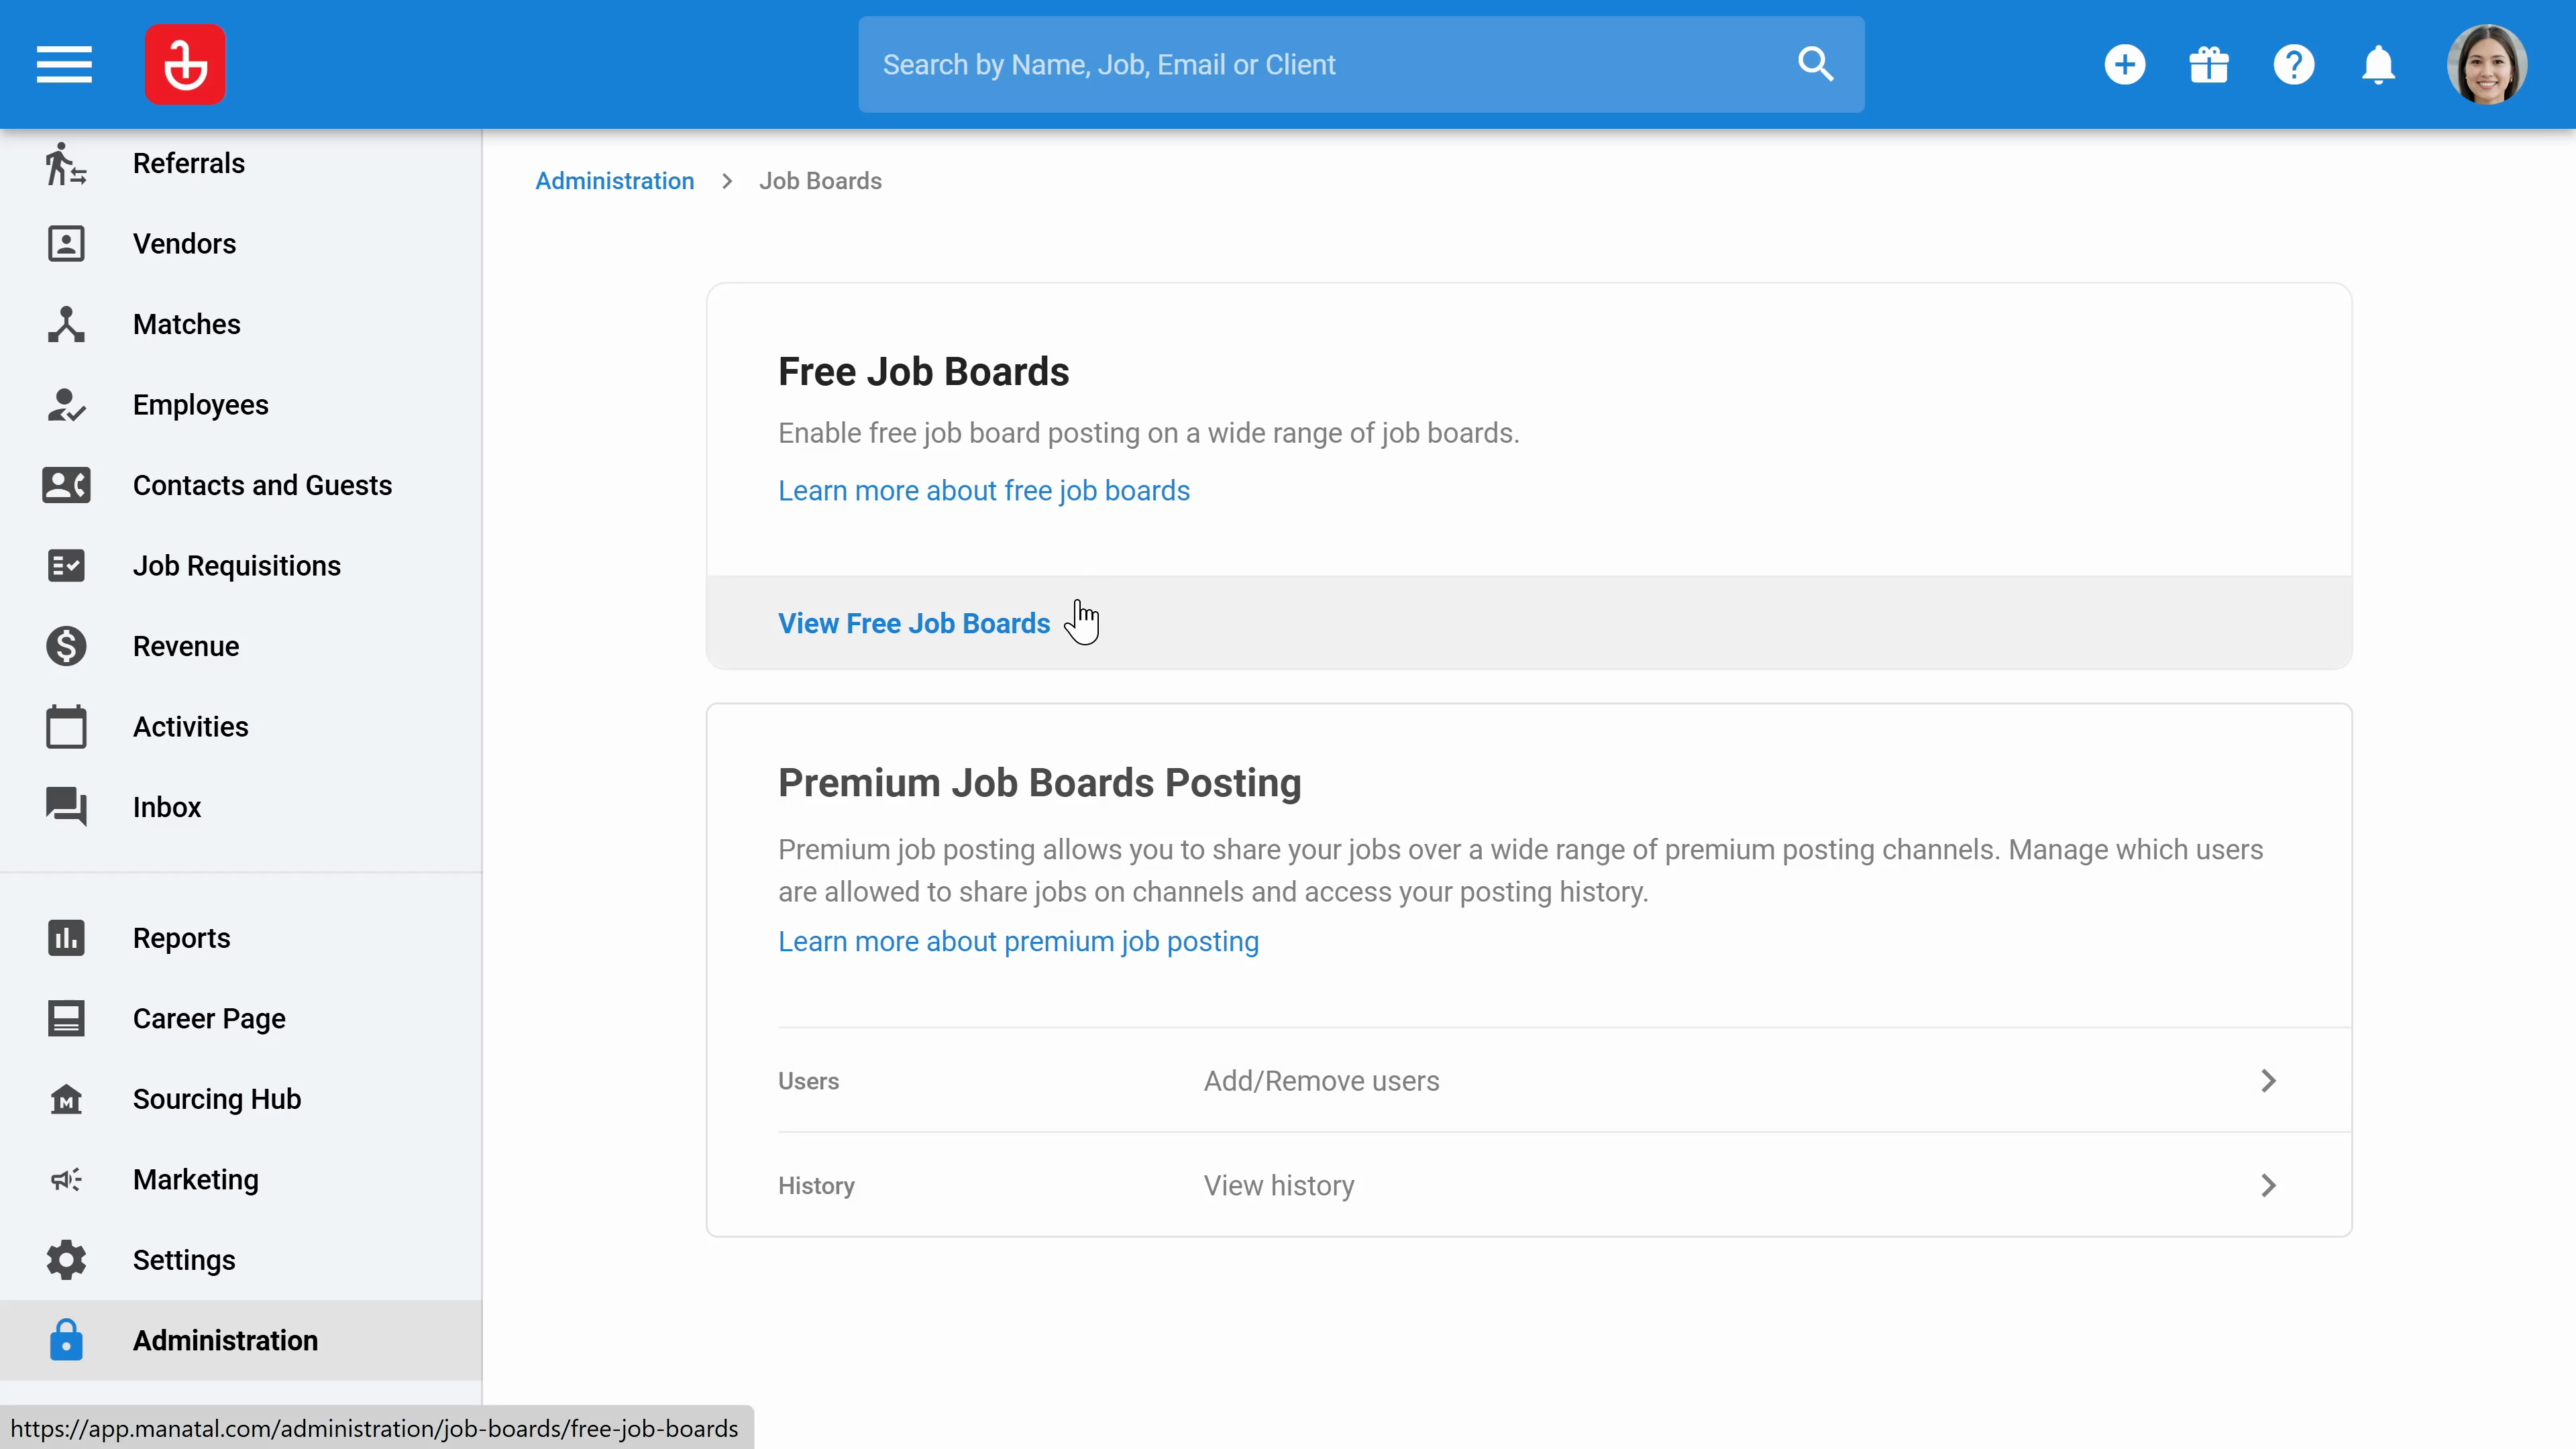
Step 12: Click on the job boards to enable free job posts.

Step 13: Click on the resumes to define the default resume displayed to guest users. You can also set up branded resumes and create templates for custom resumes.
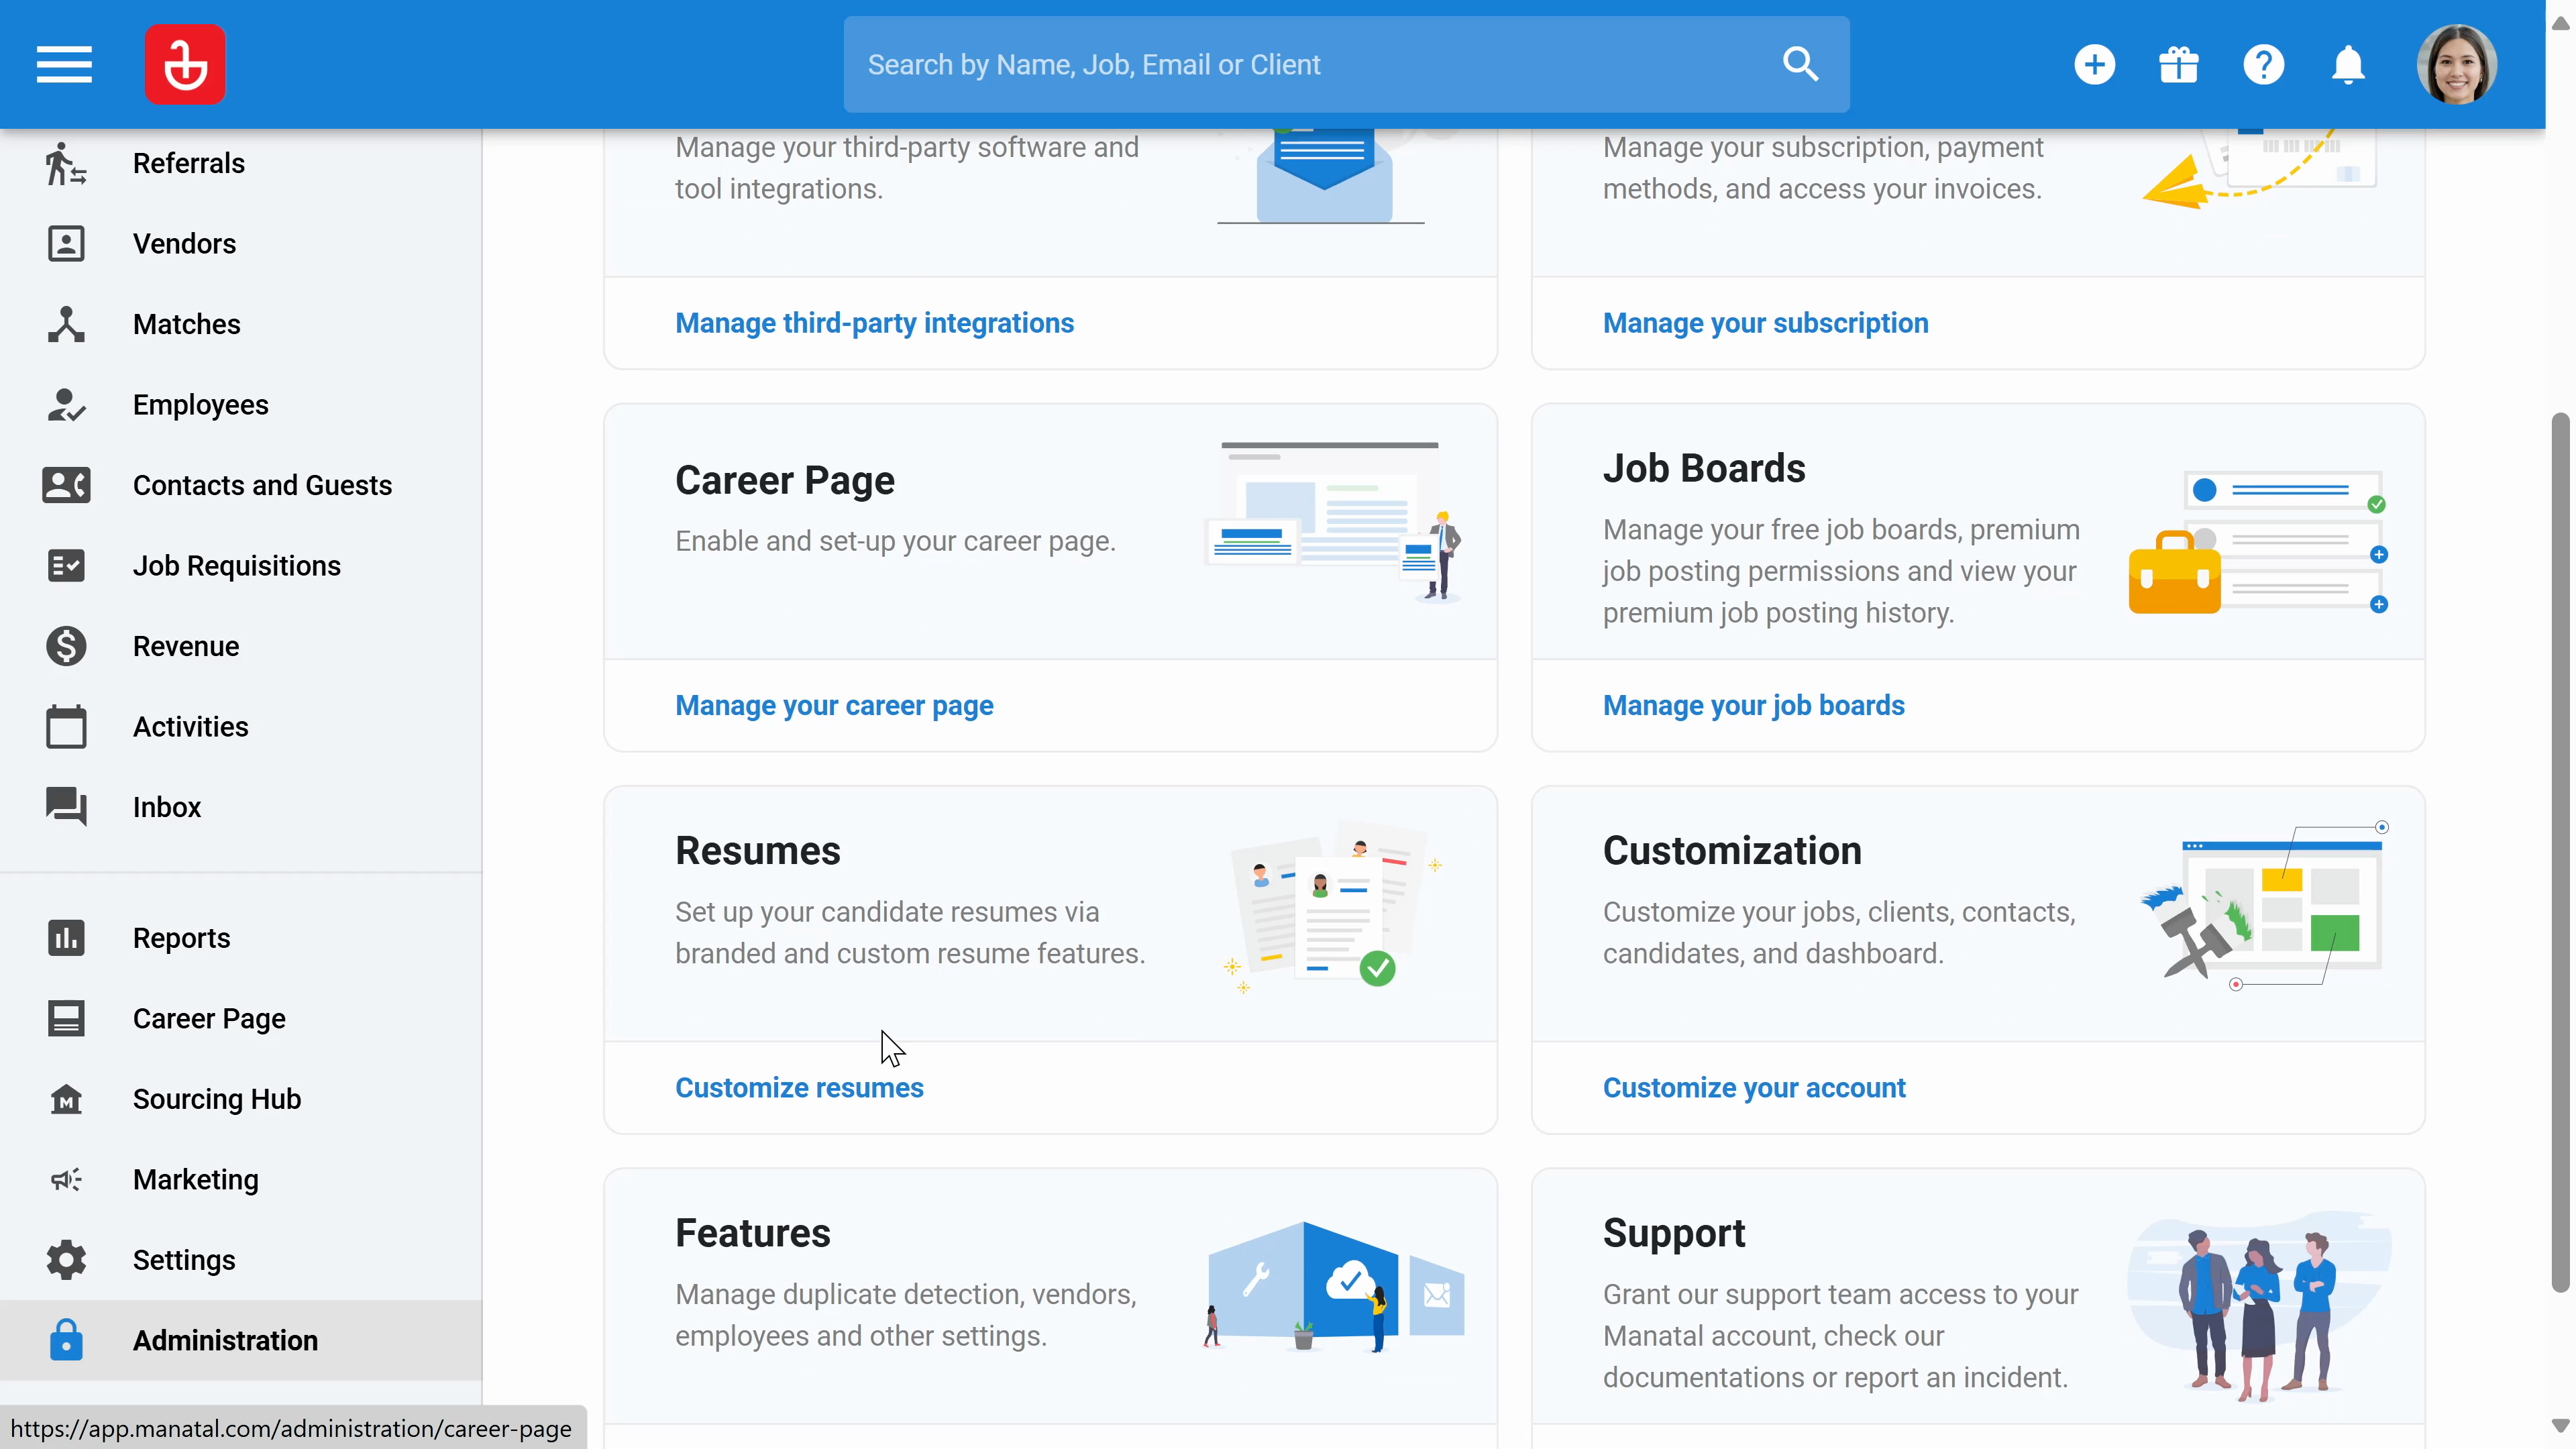
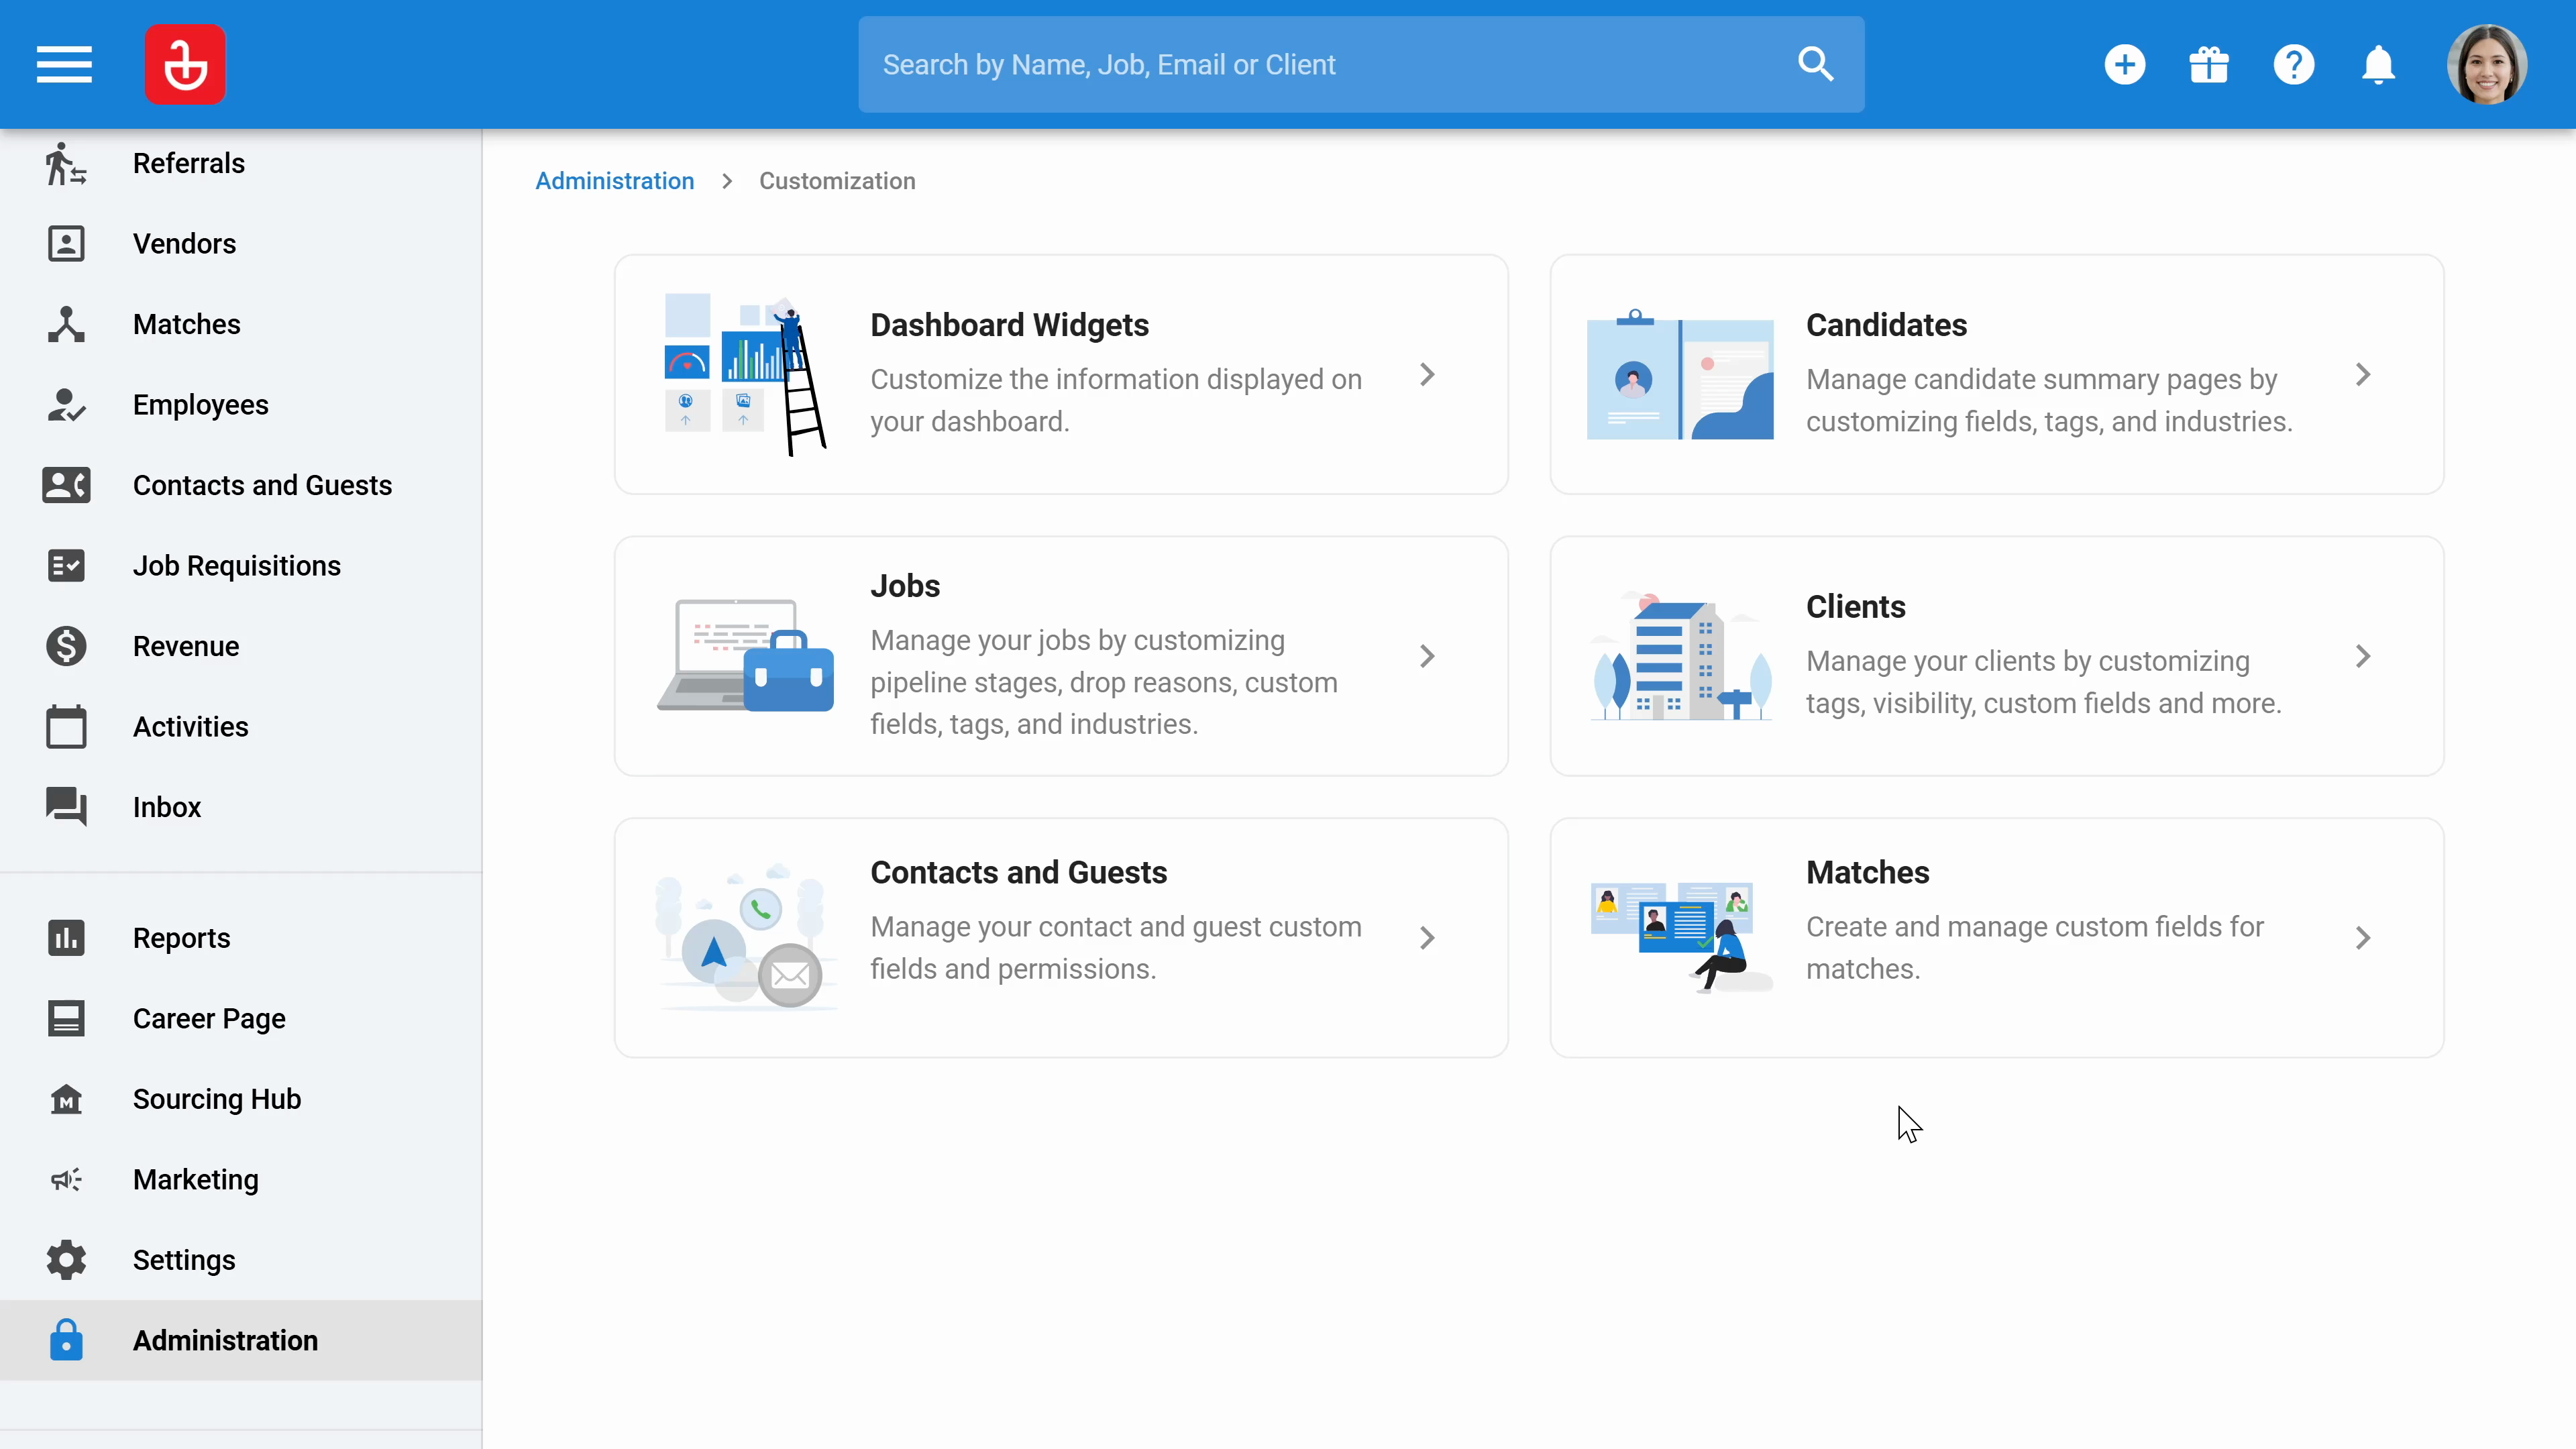
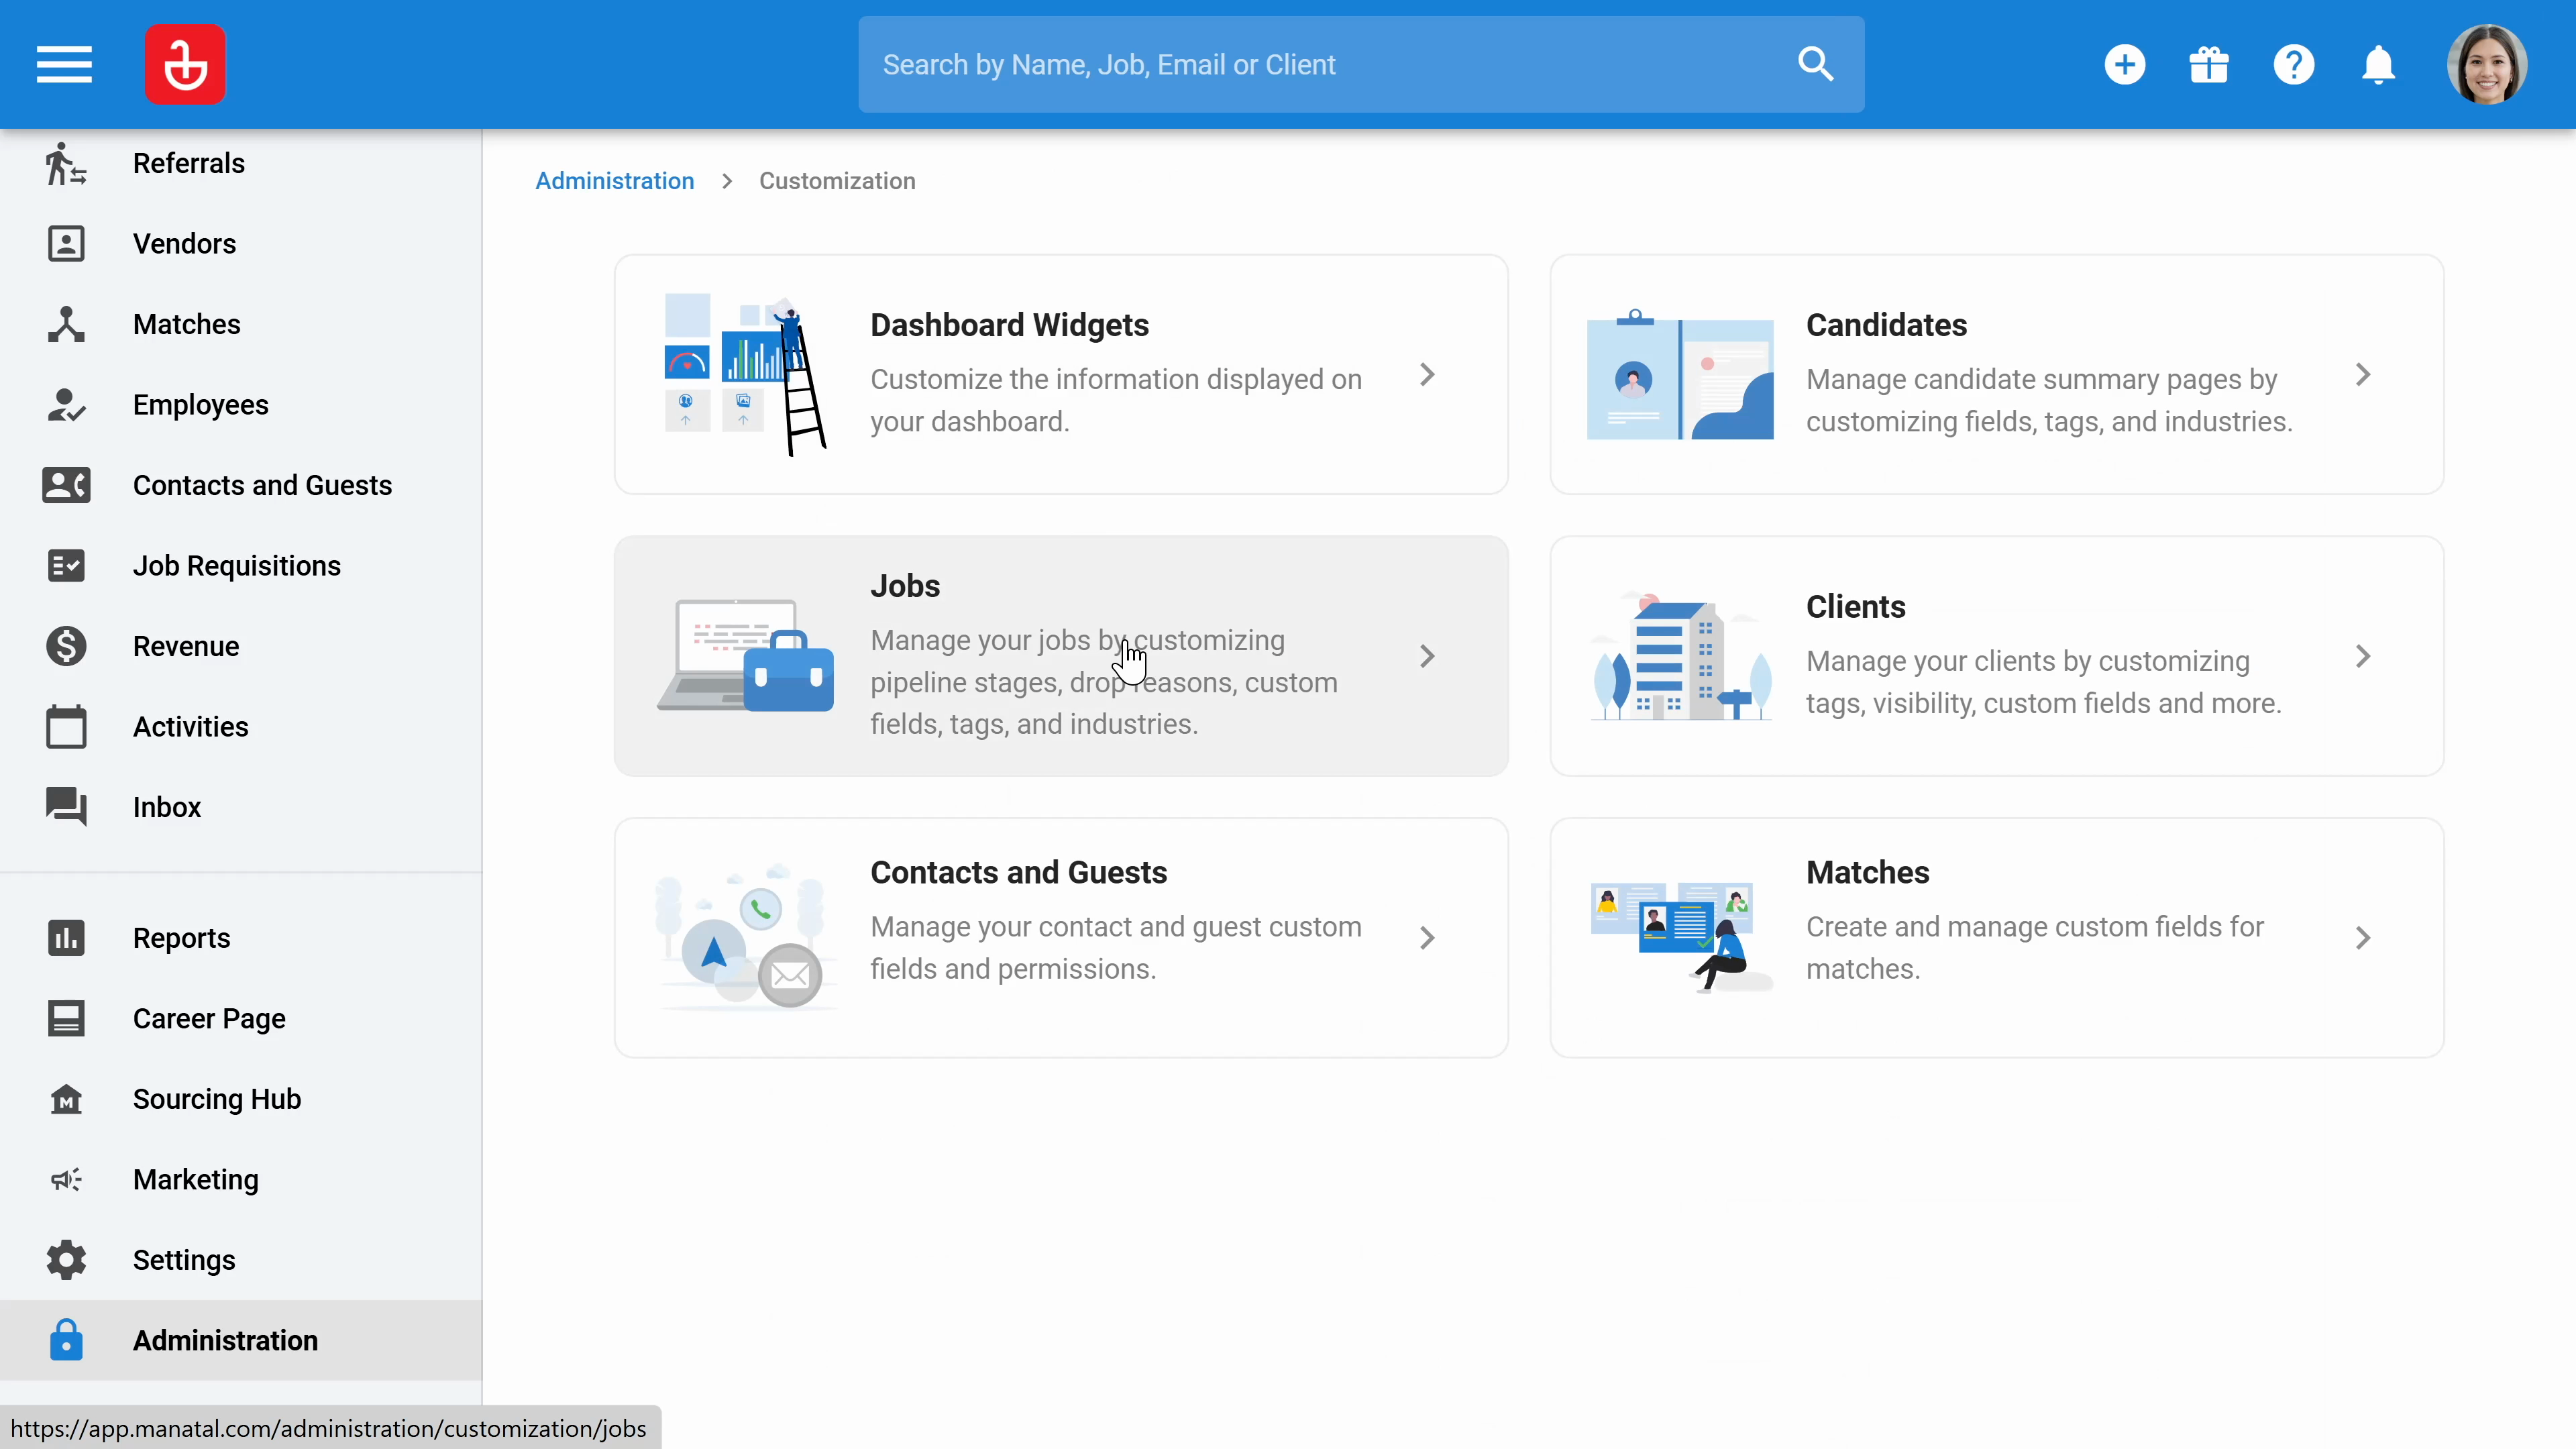
Step 14: Click on the customization to manage all customization related to your account.
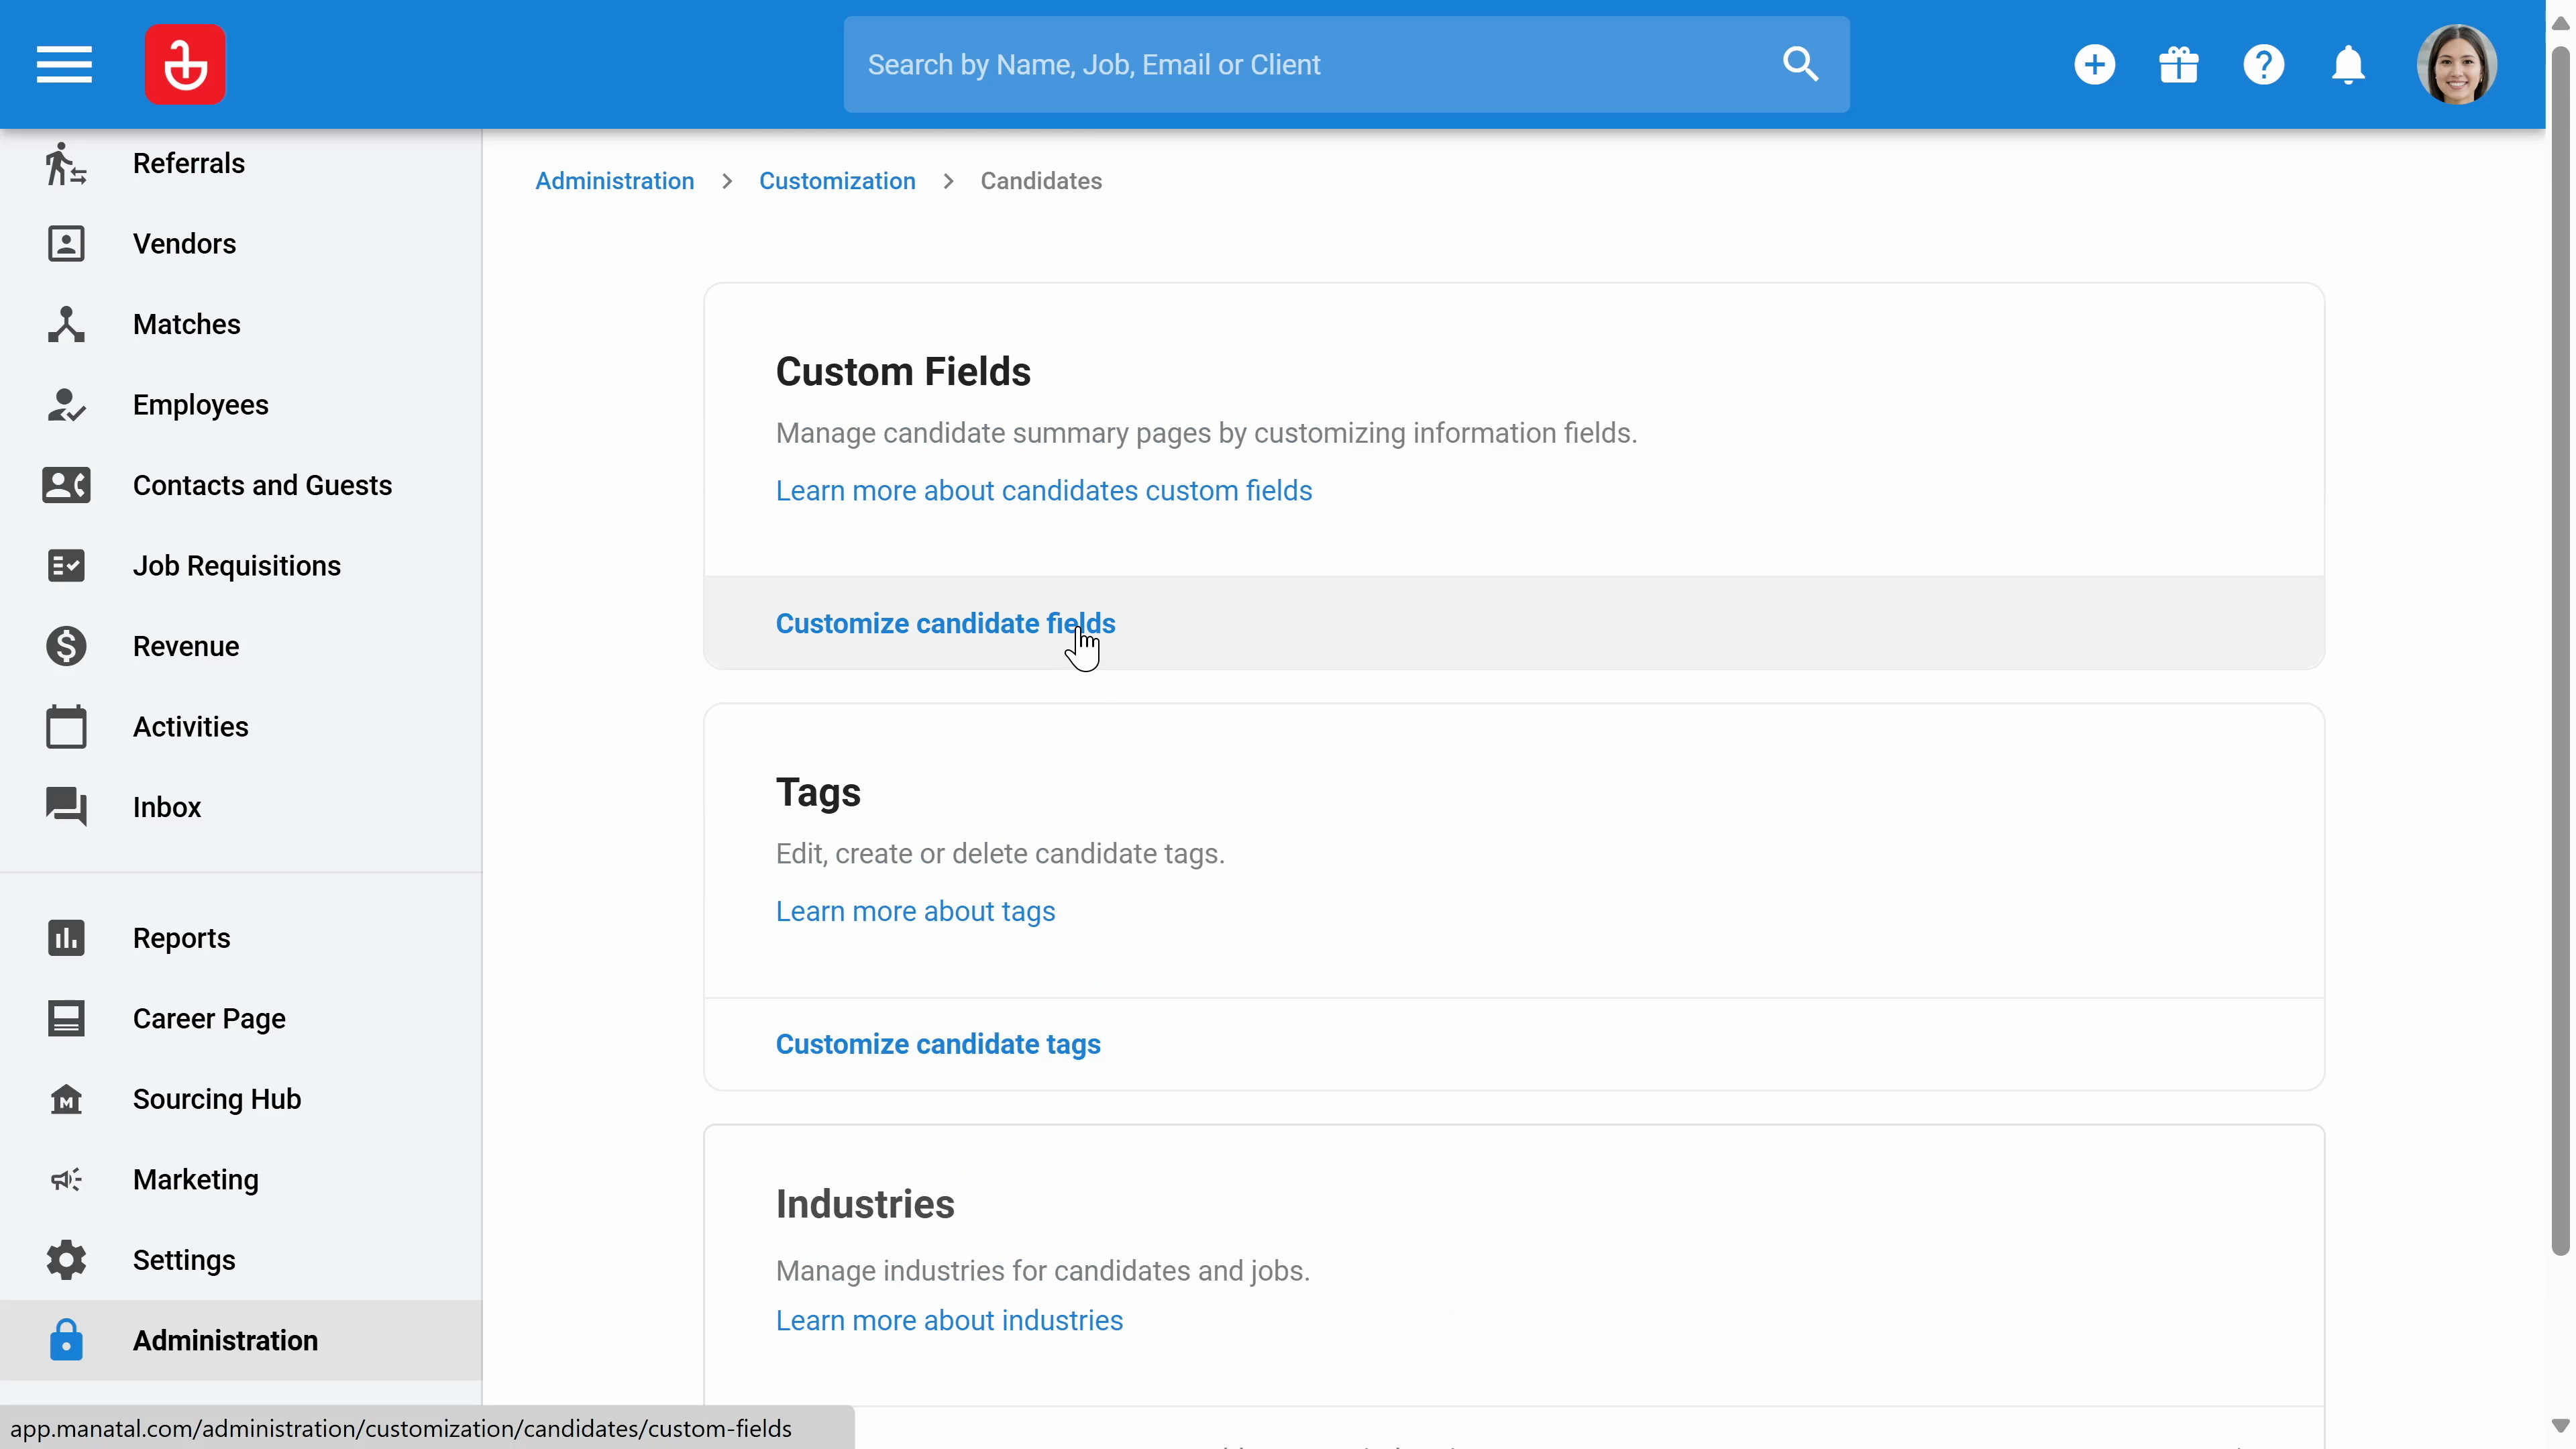
Step 15: Click on the candidates to create custom fields, tags, and industries.
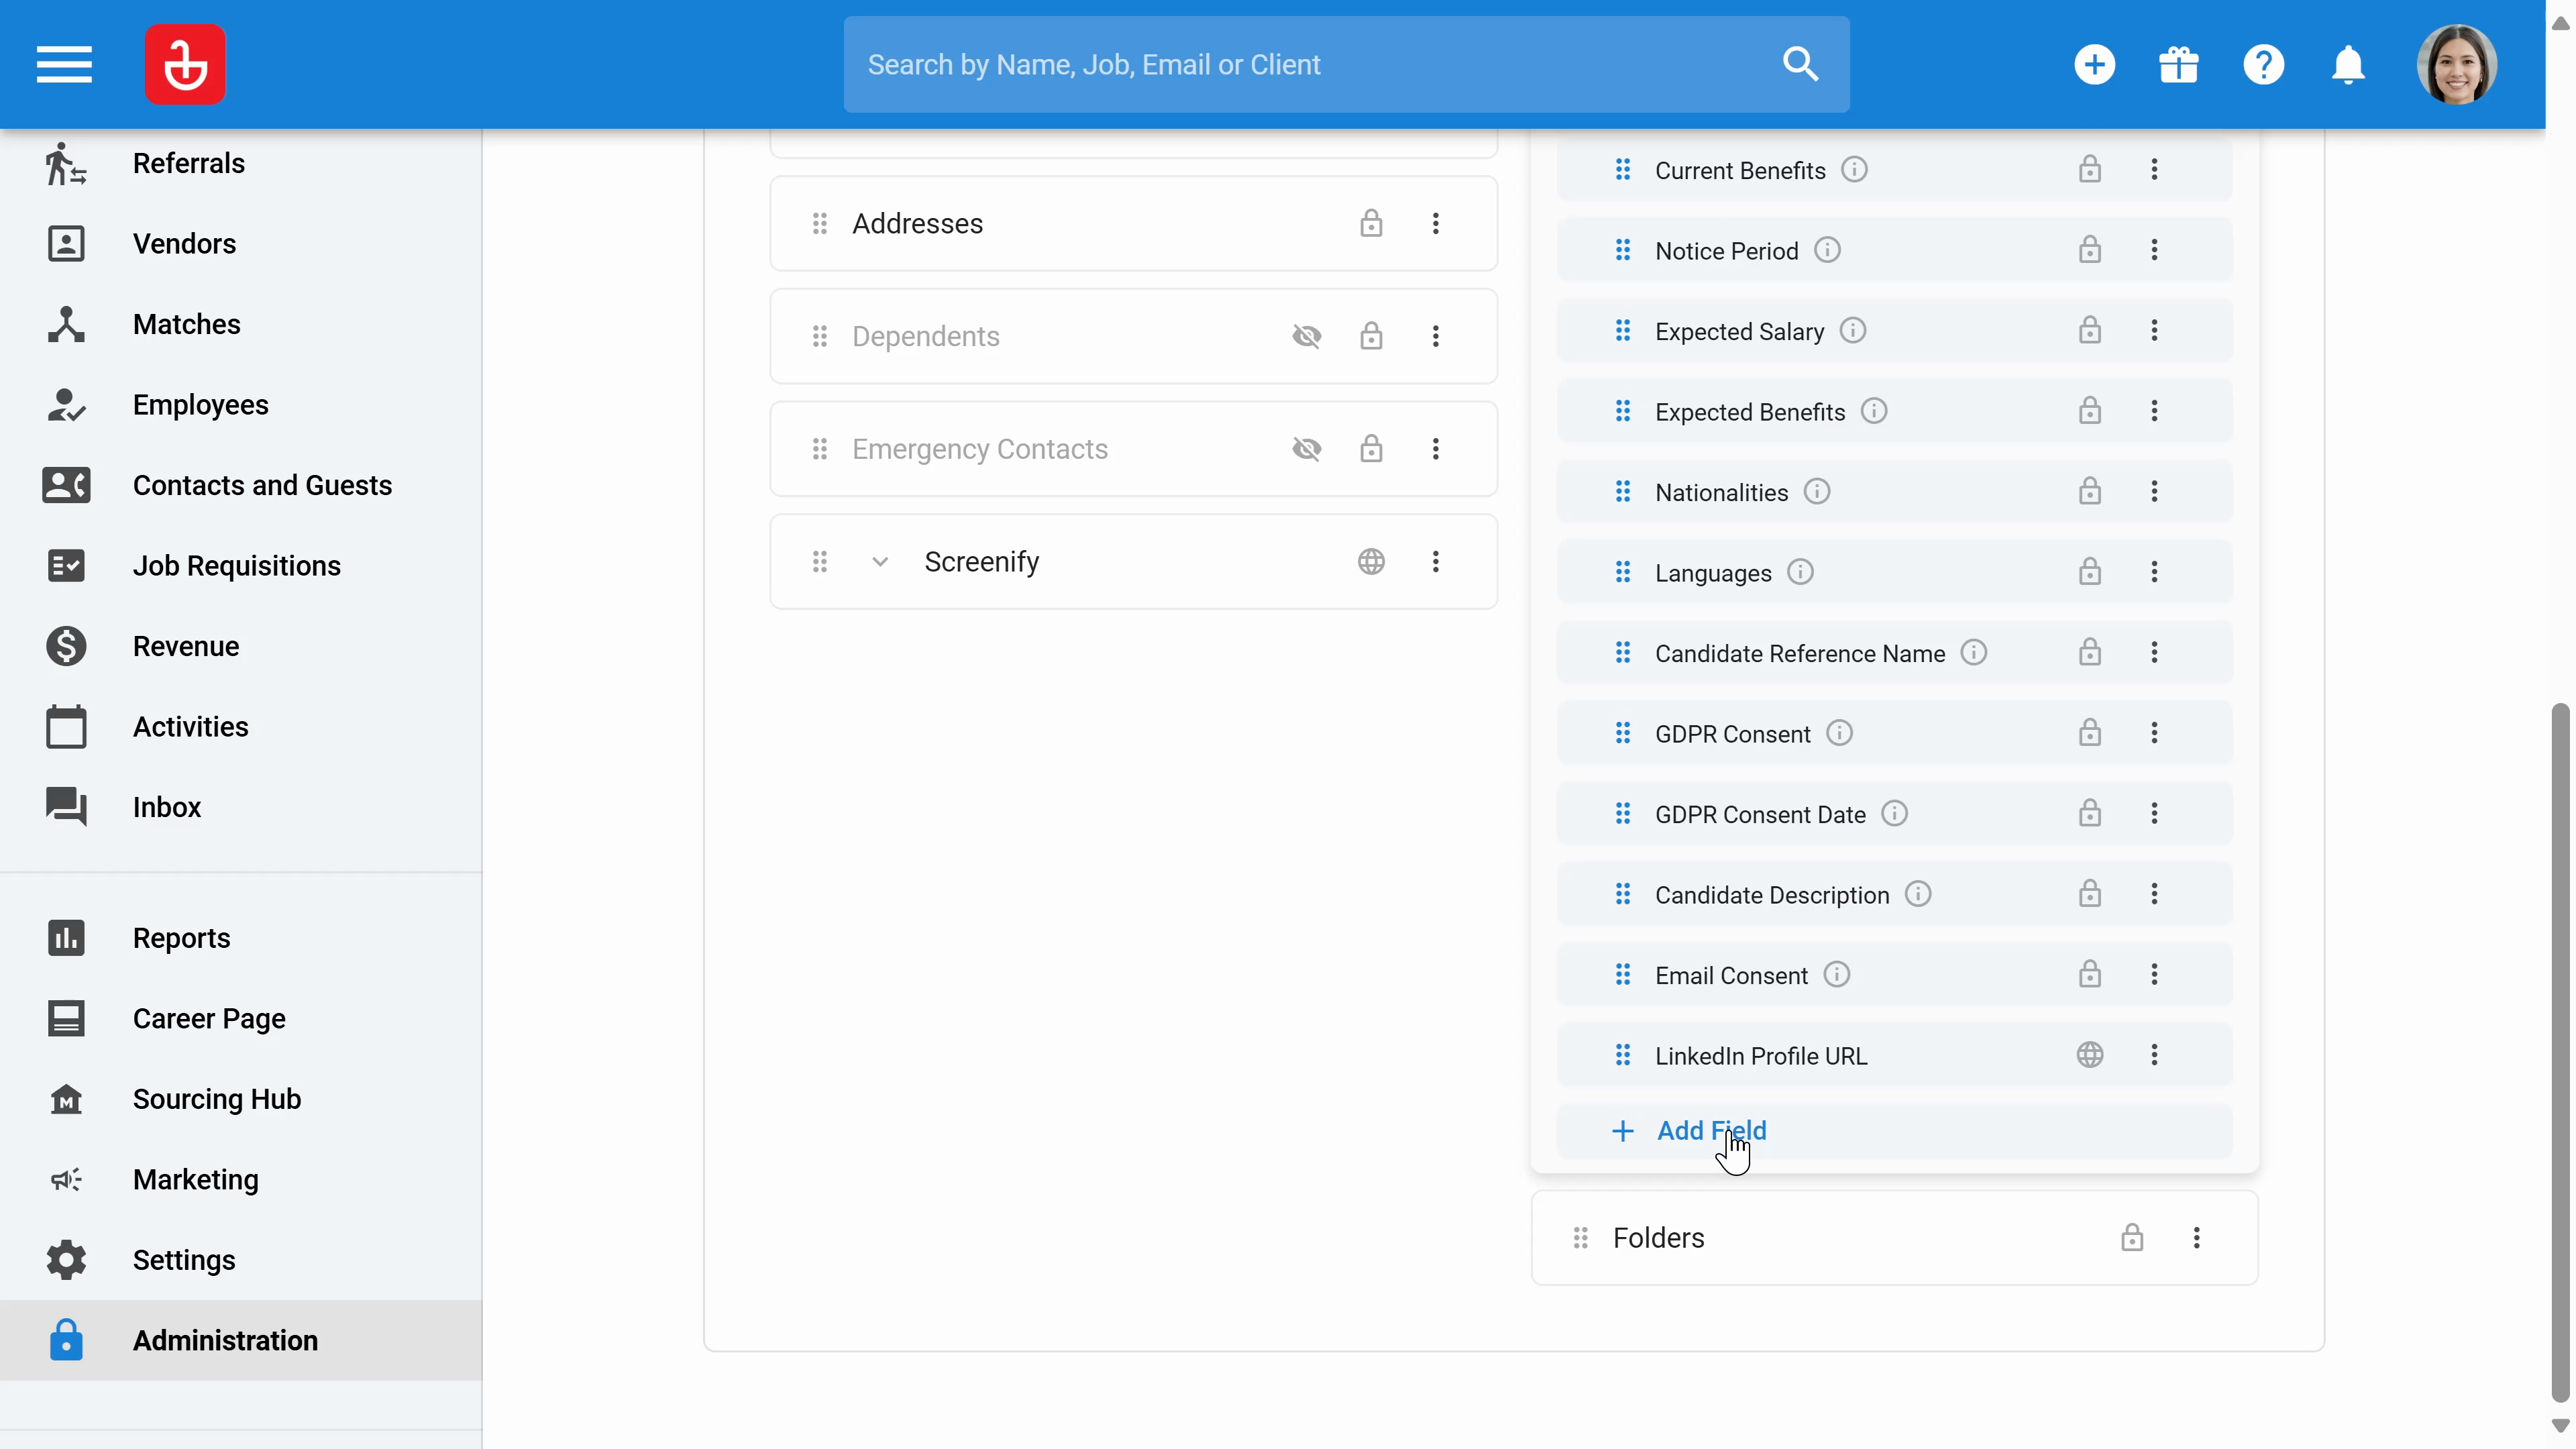
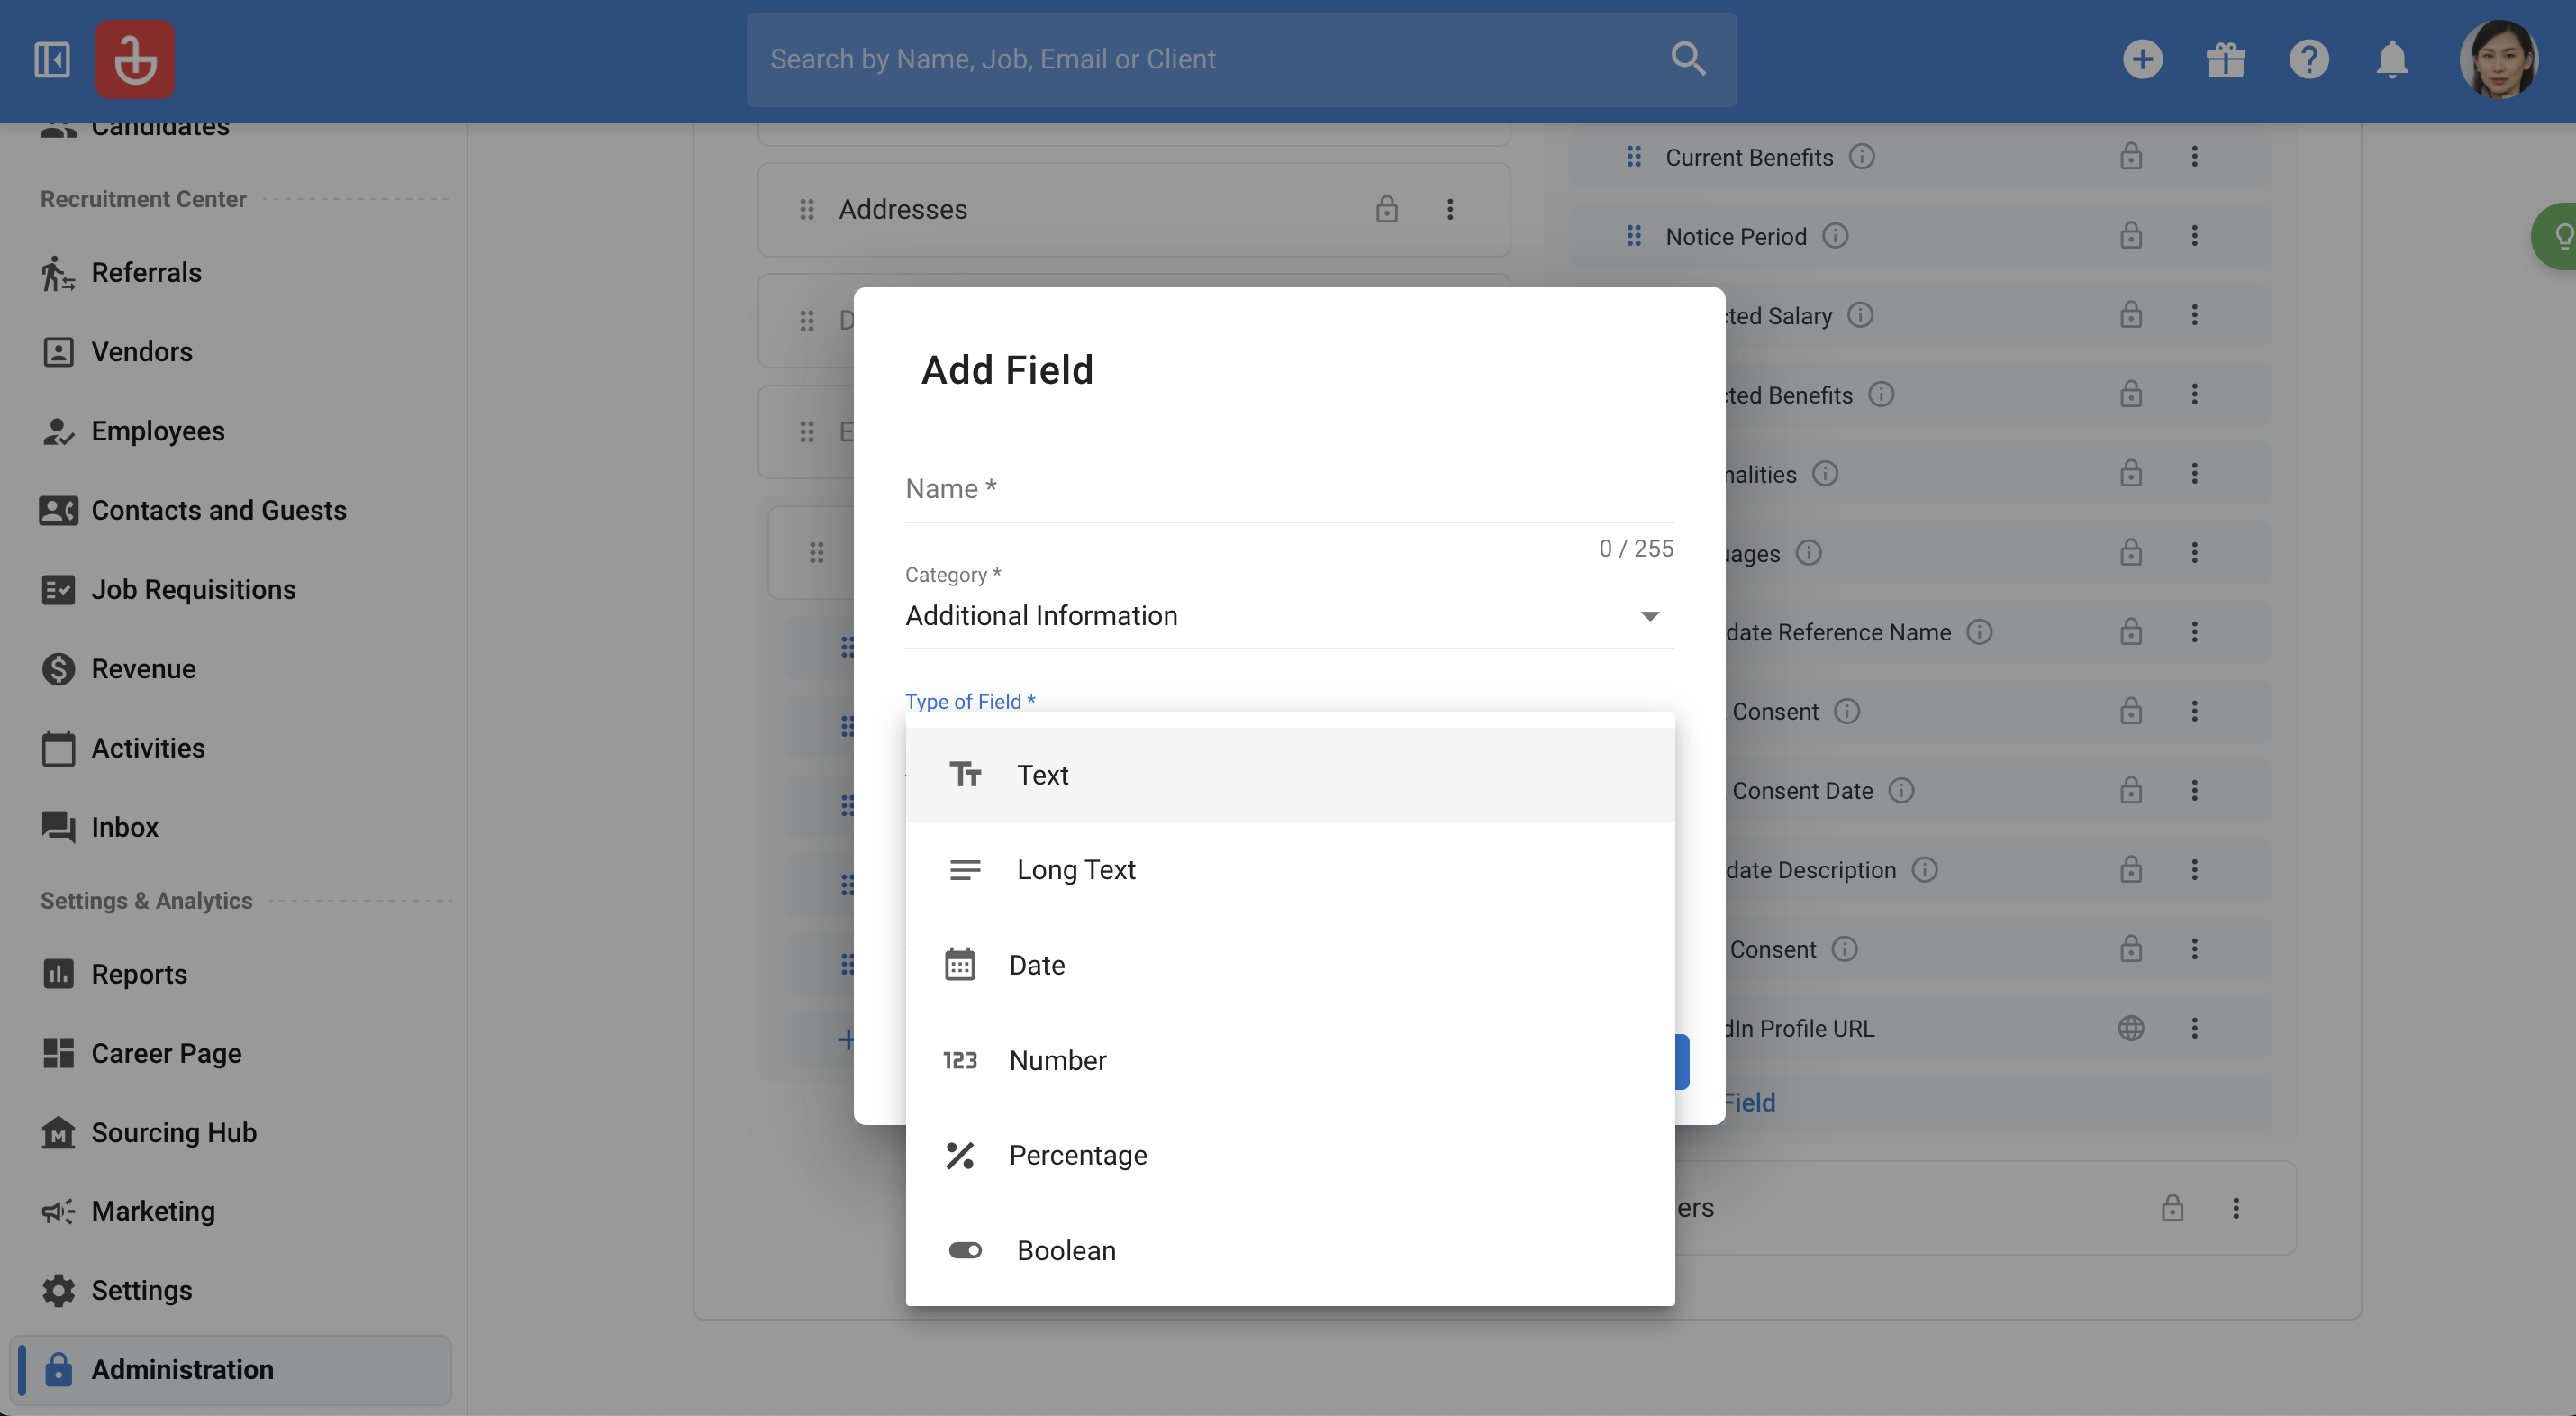
Step 16: Click Custom fields to add a new category or Add field to add a new field in a specific category.
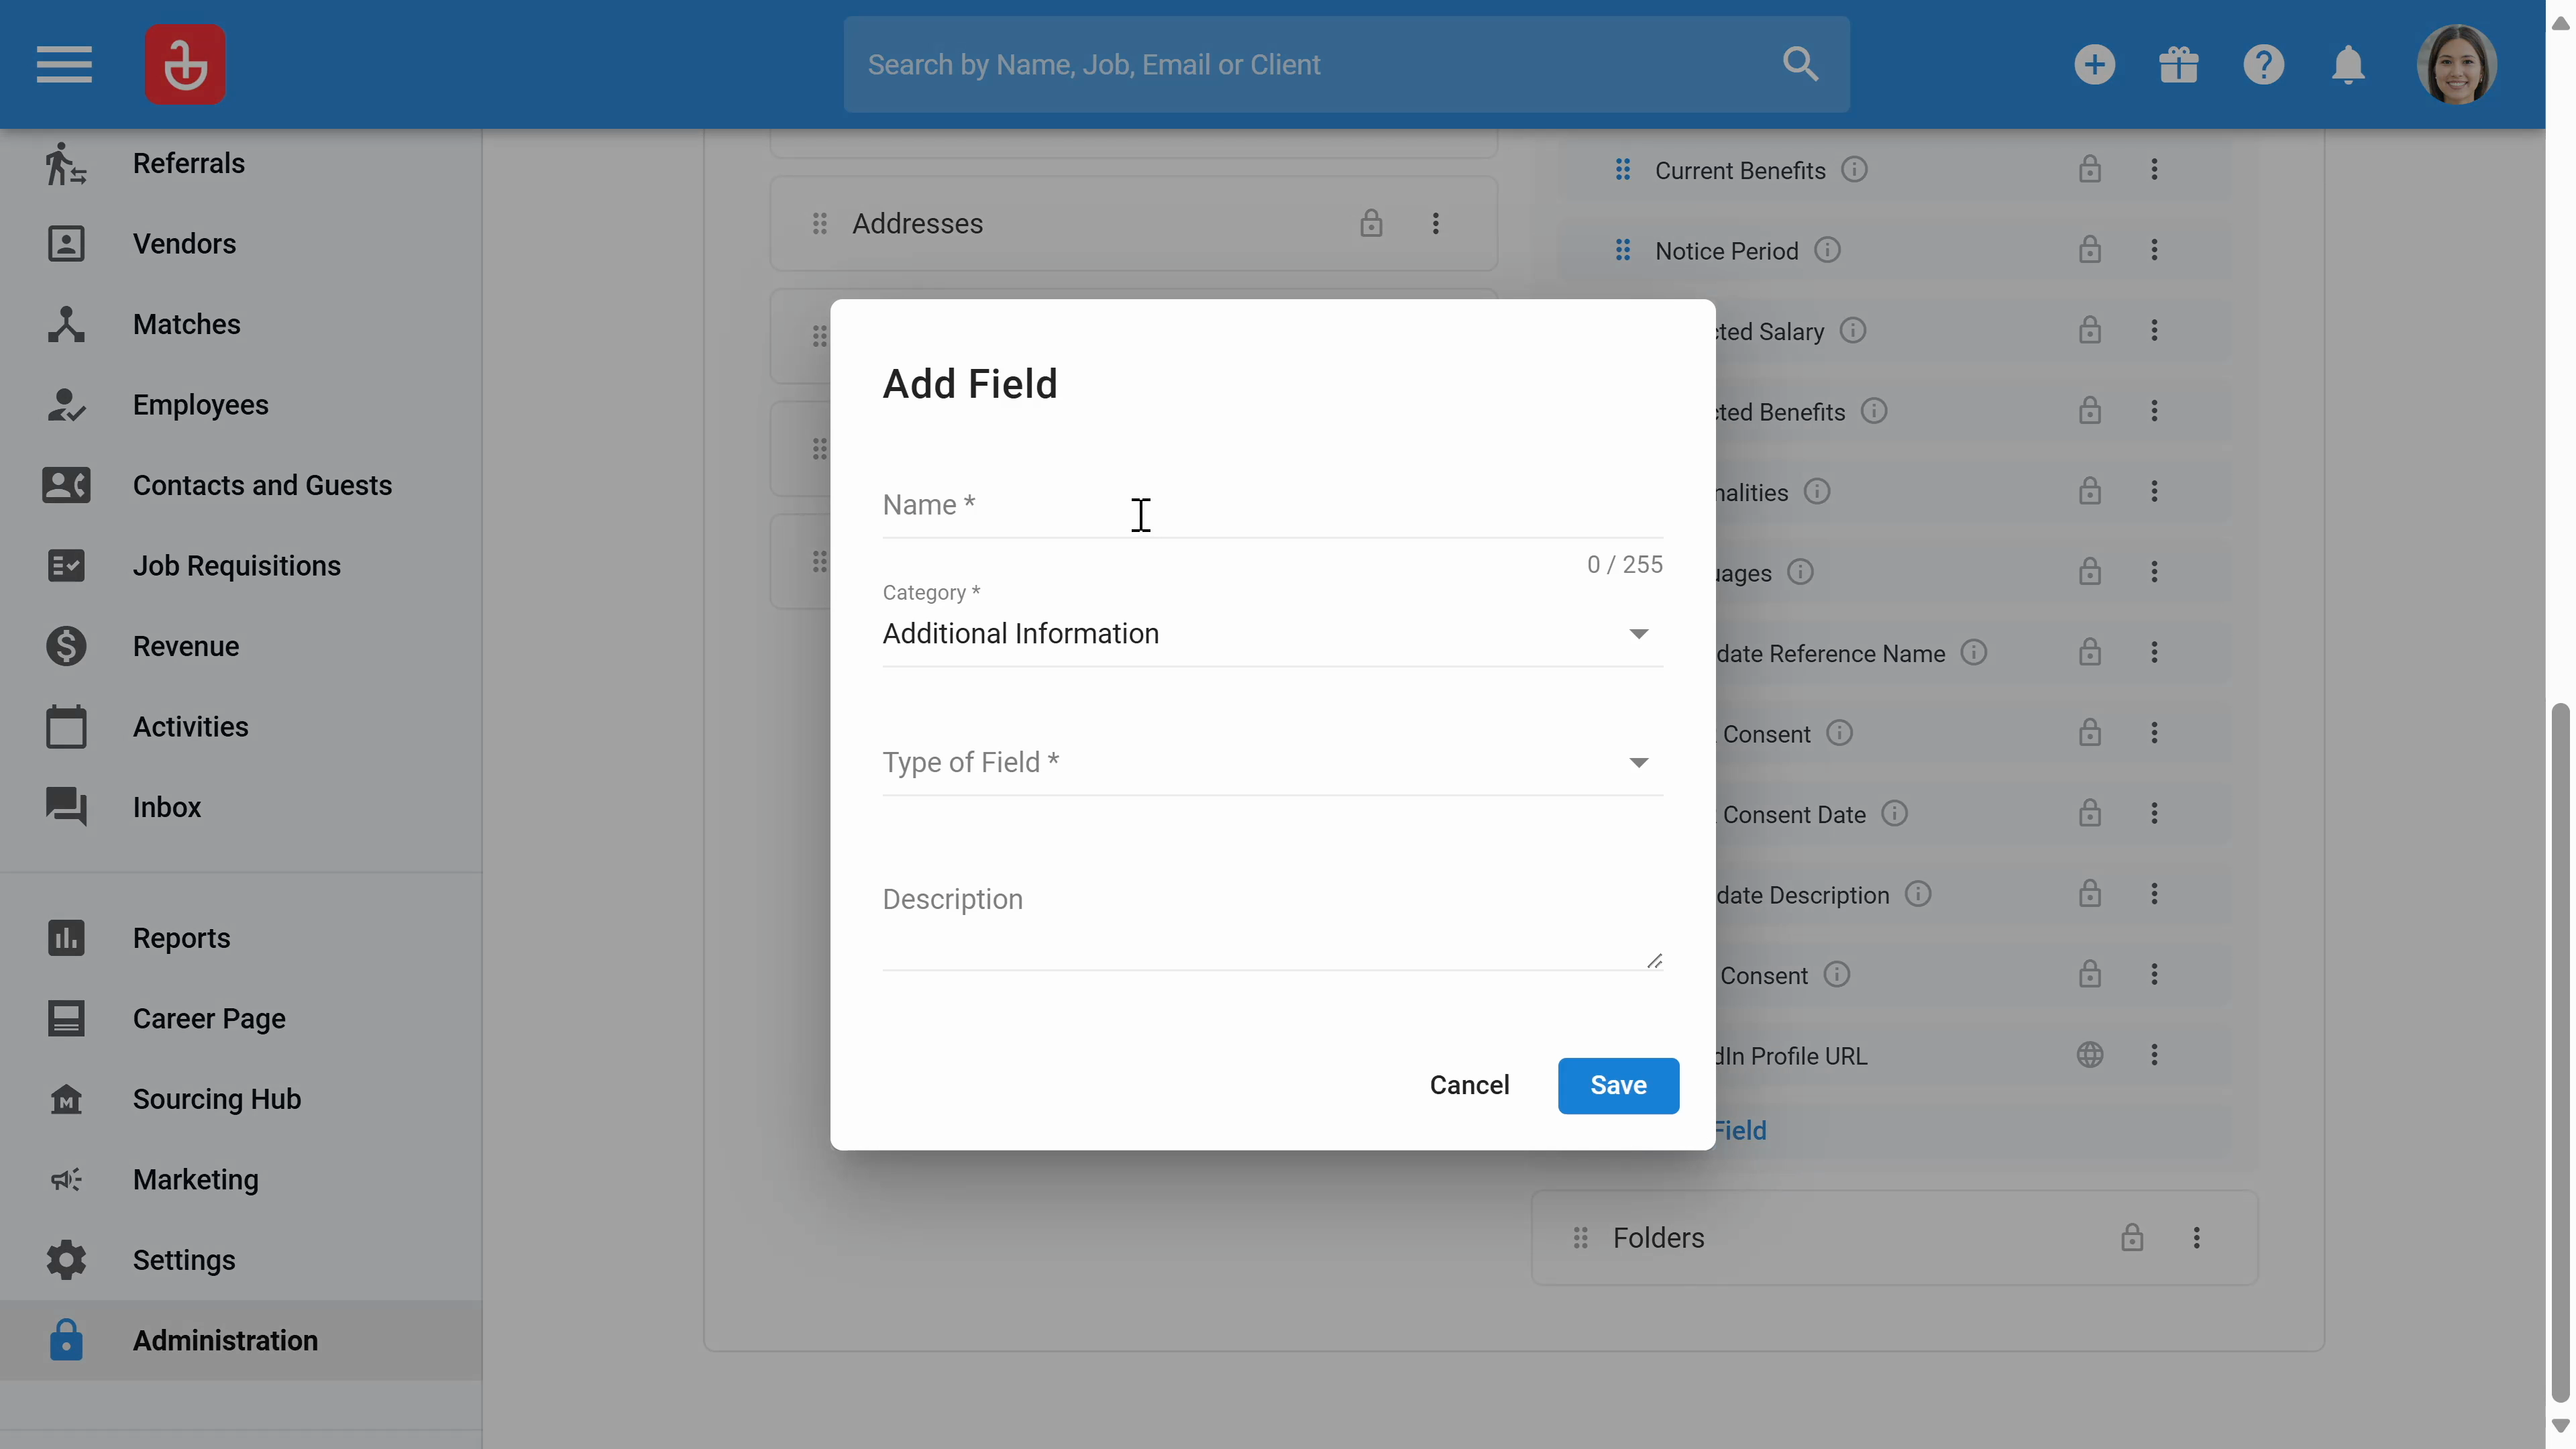
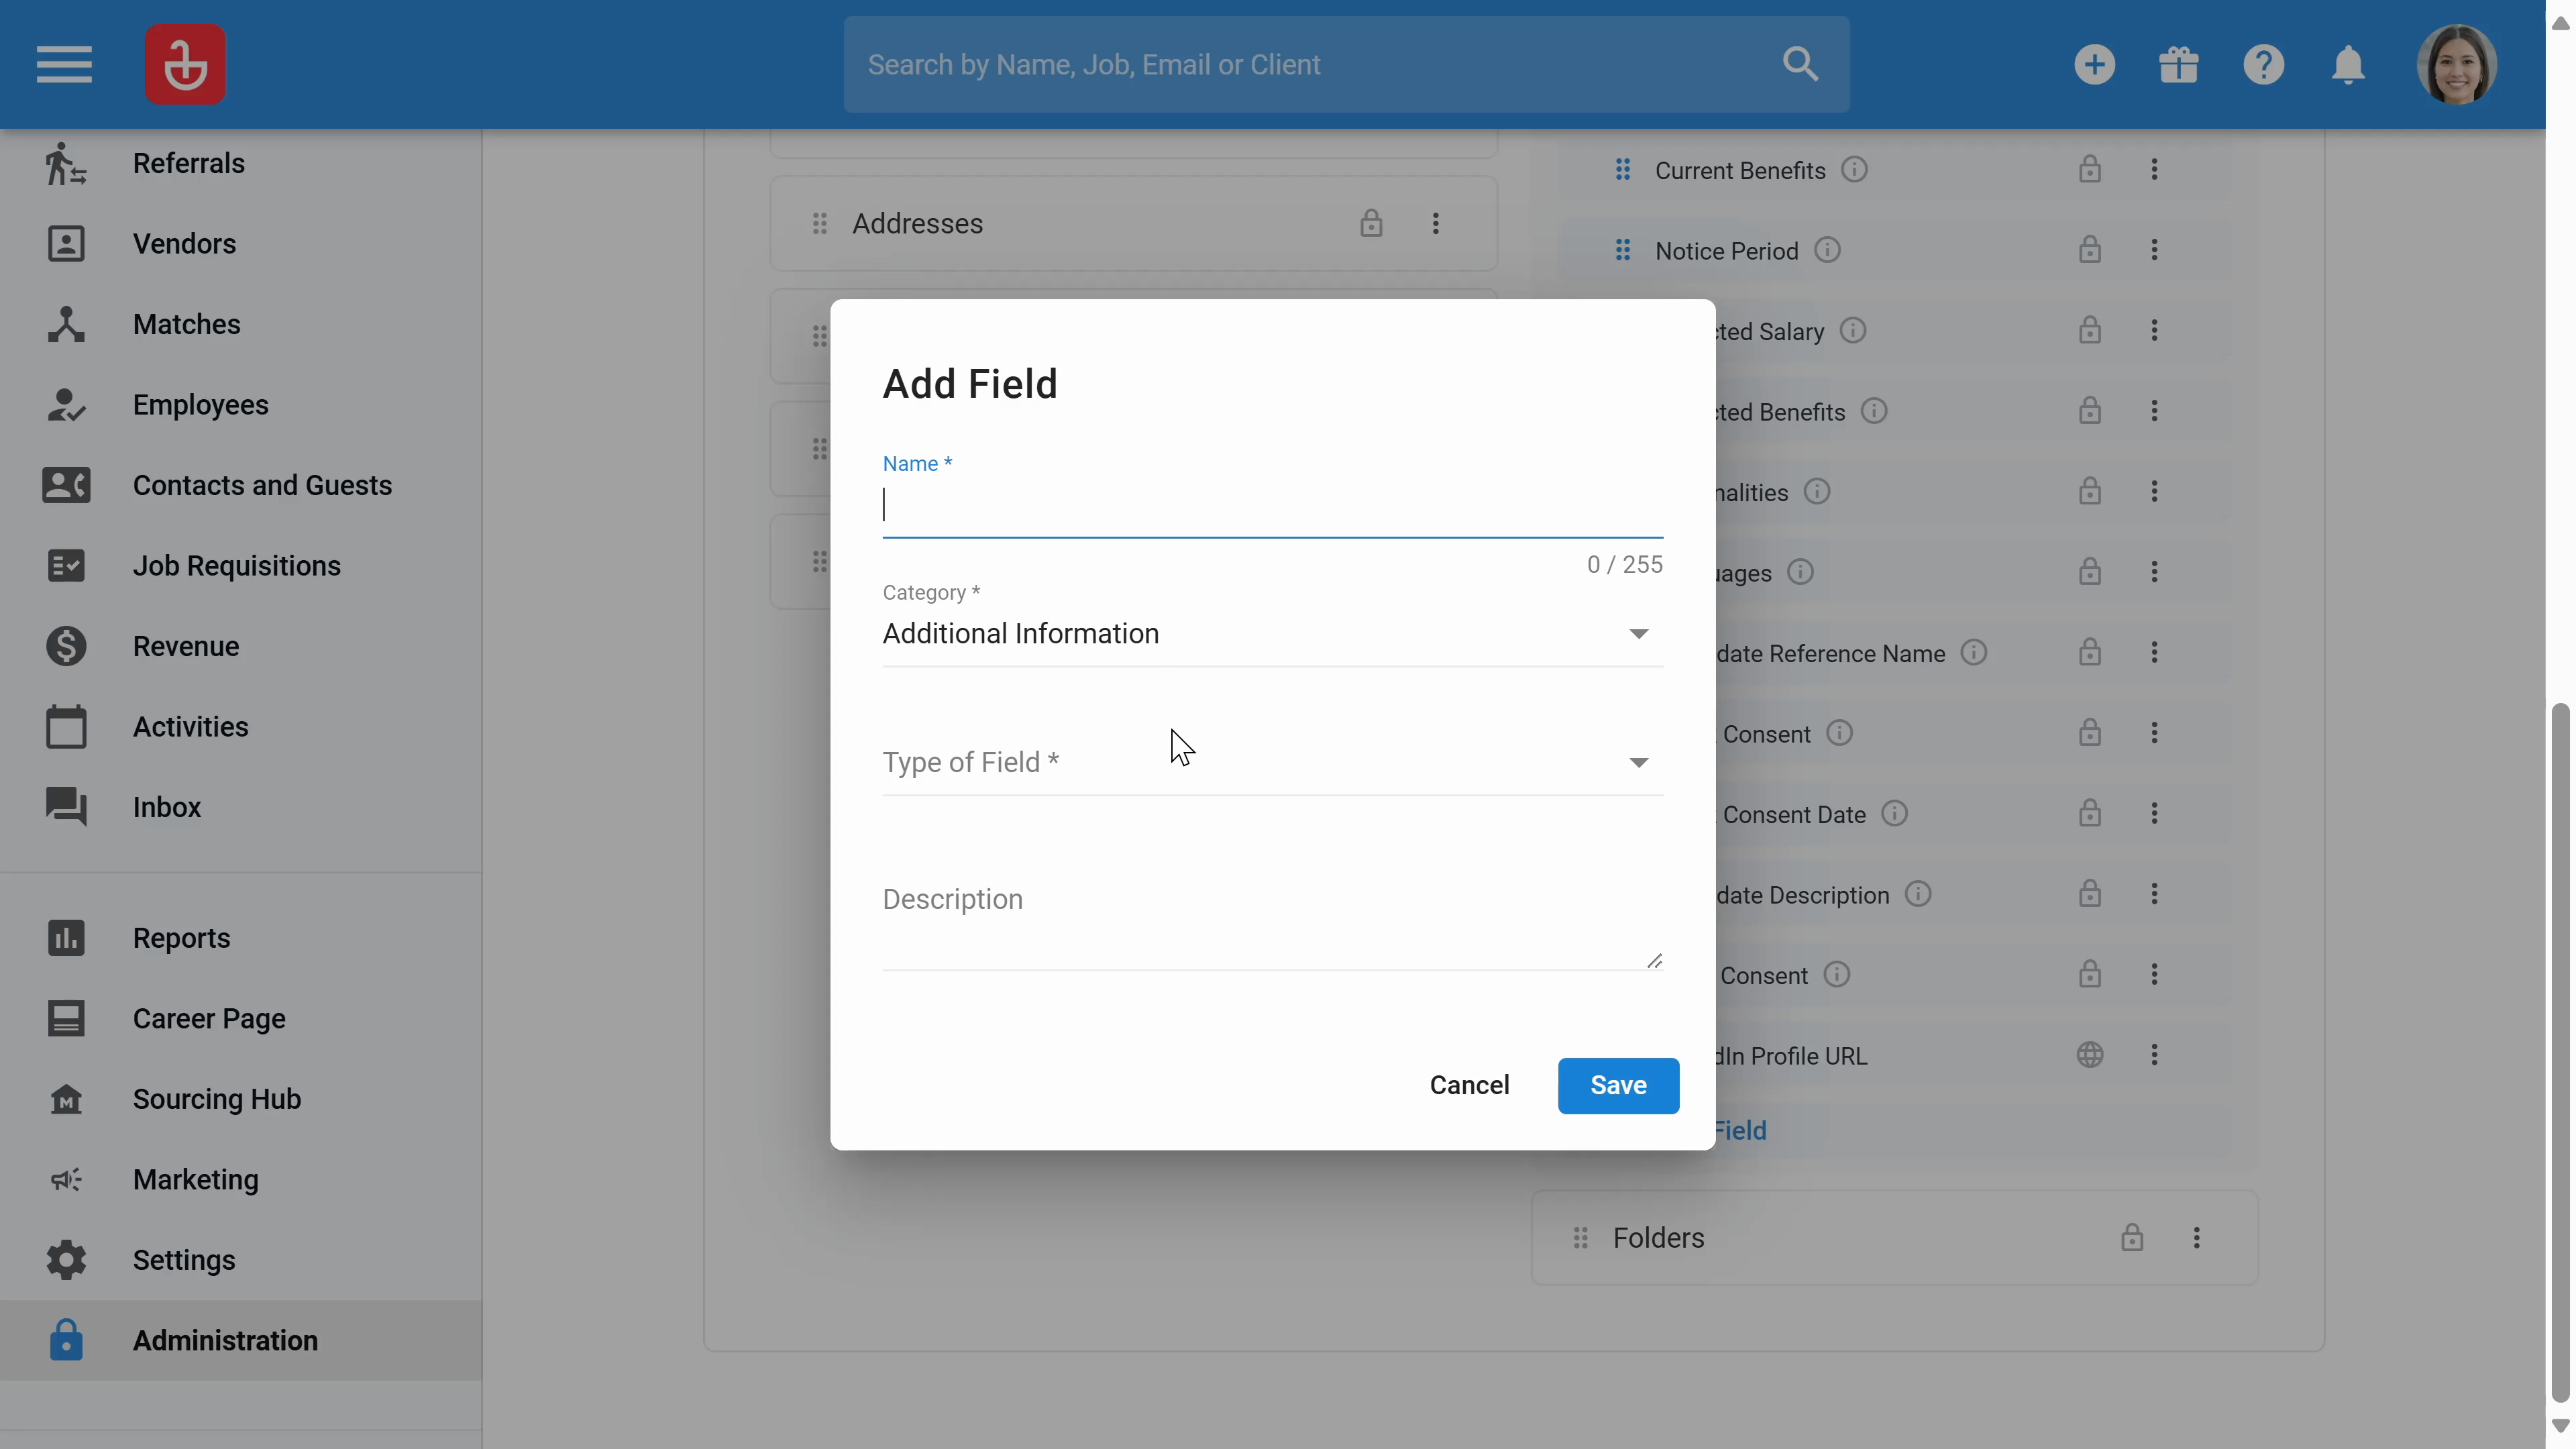
Step 17: Write the name of the field, select the category, and select the type of field.
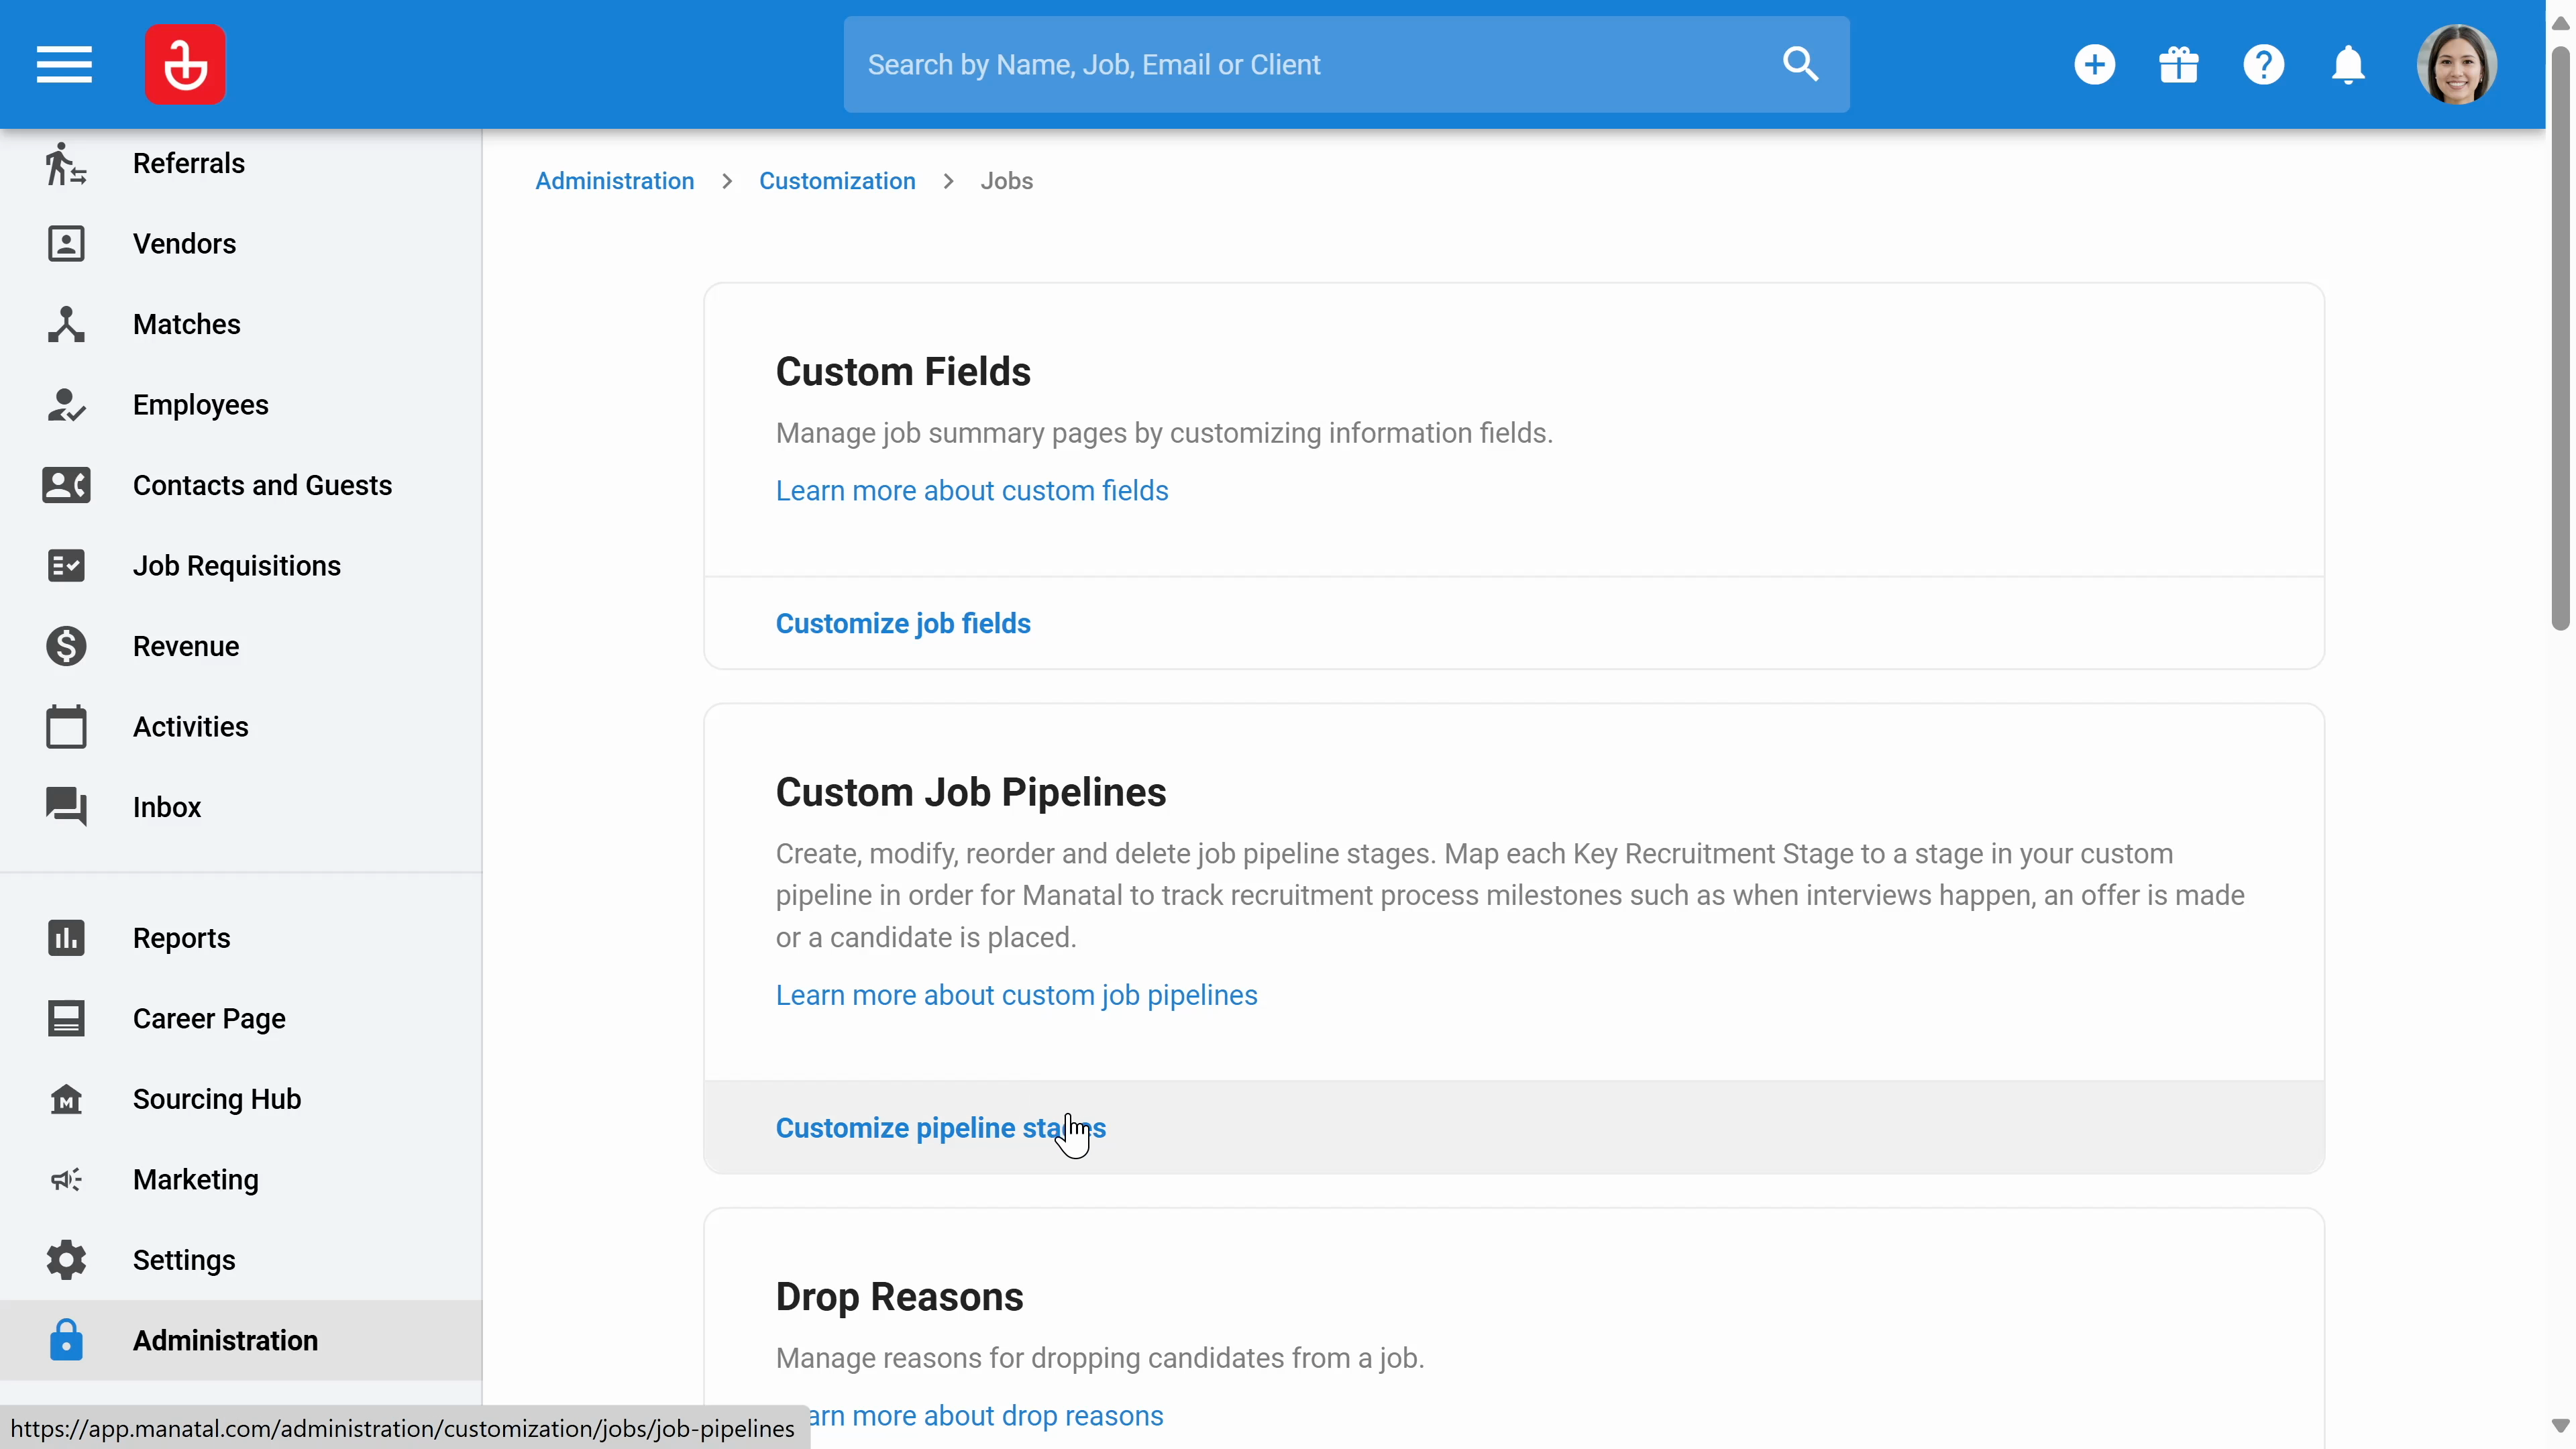
Step 18: You can customize job fields and modify job pipeline stages in the Jobs section.
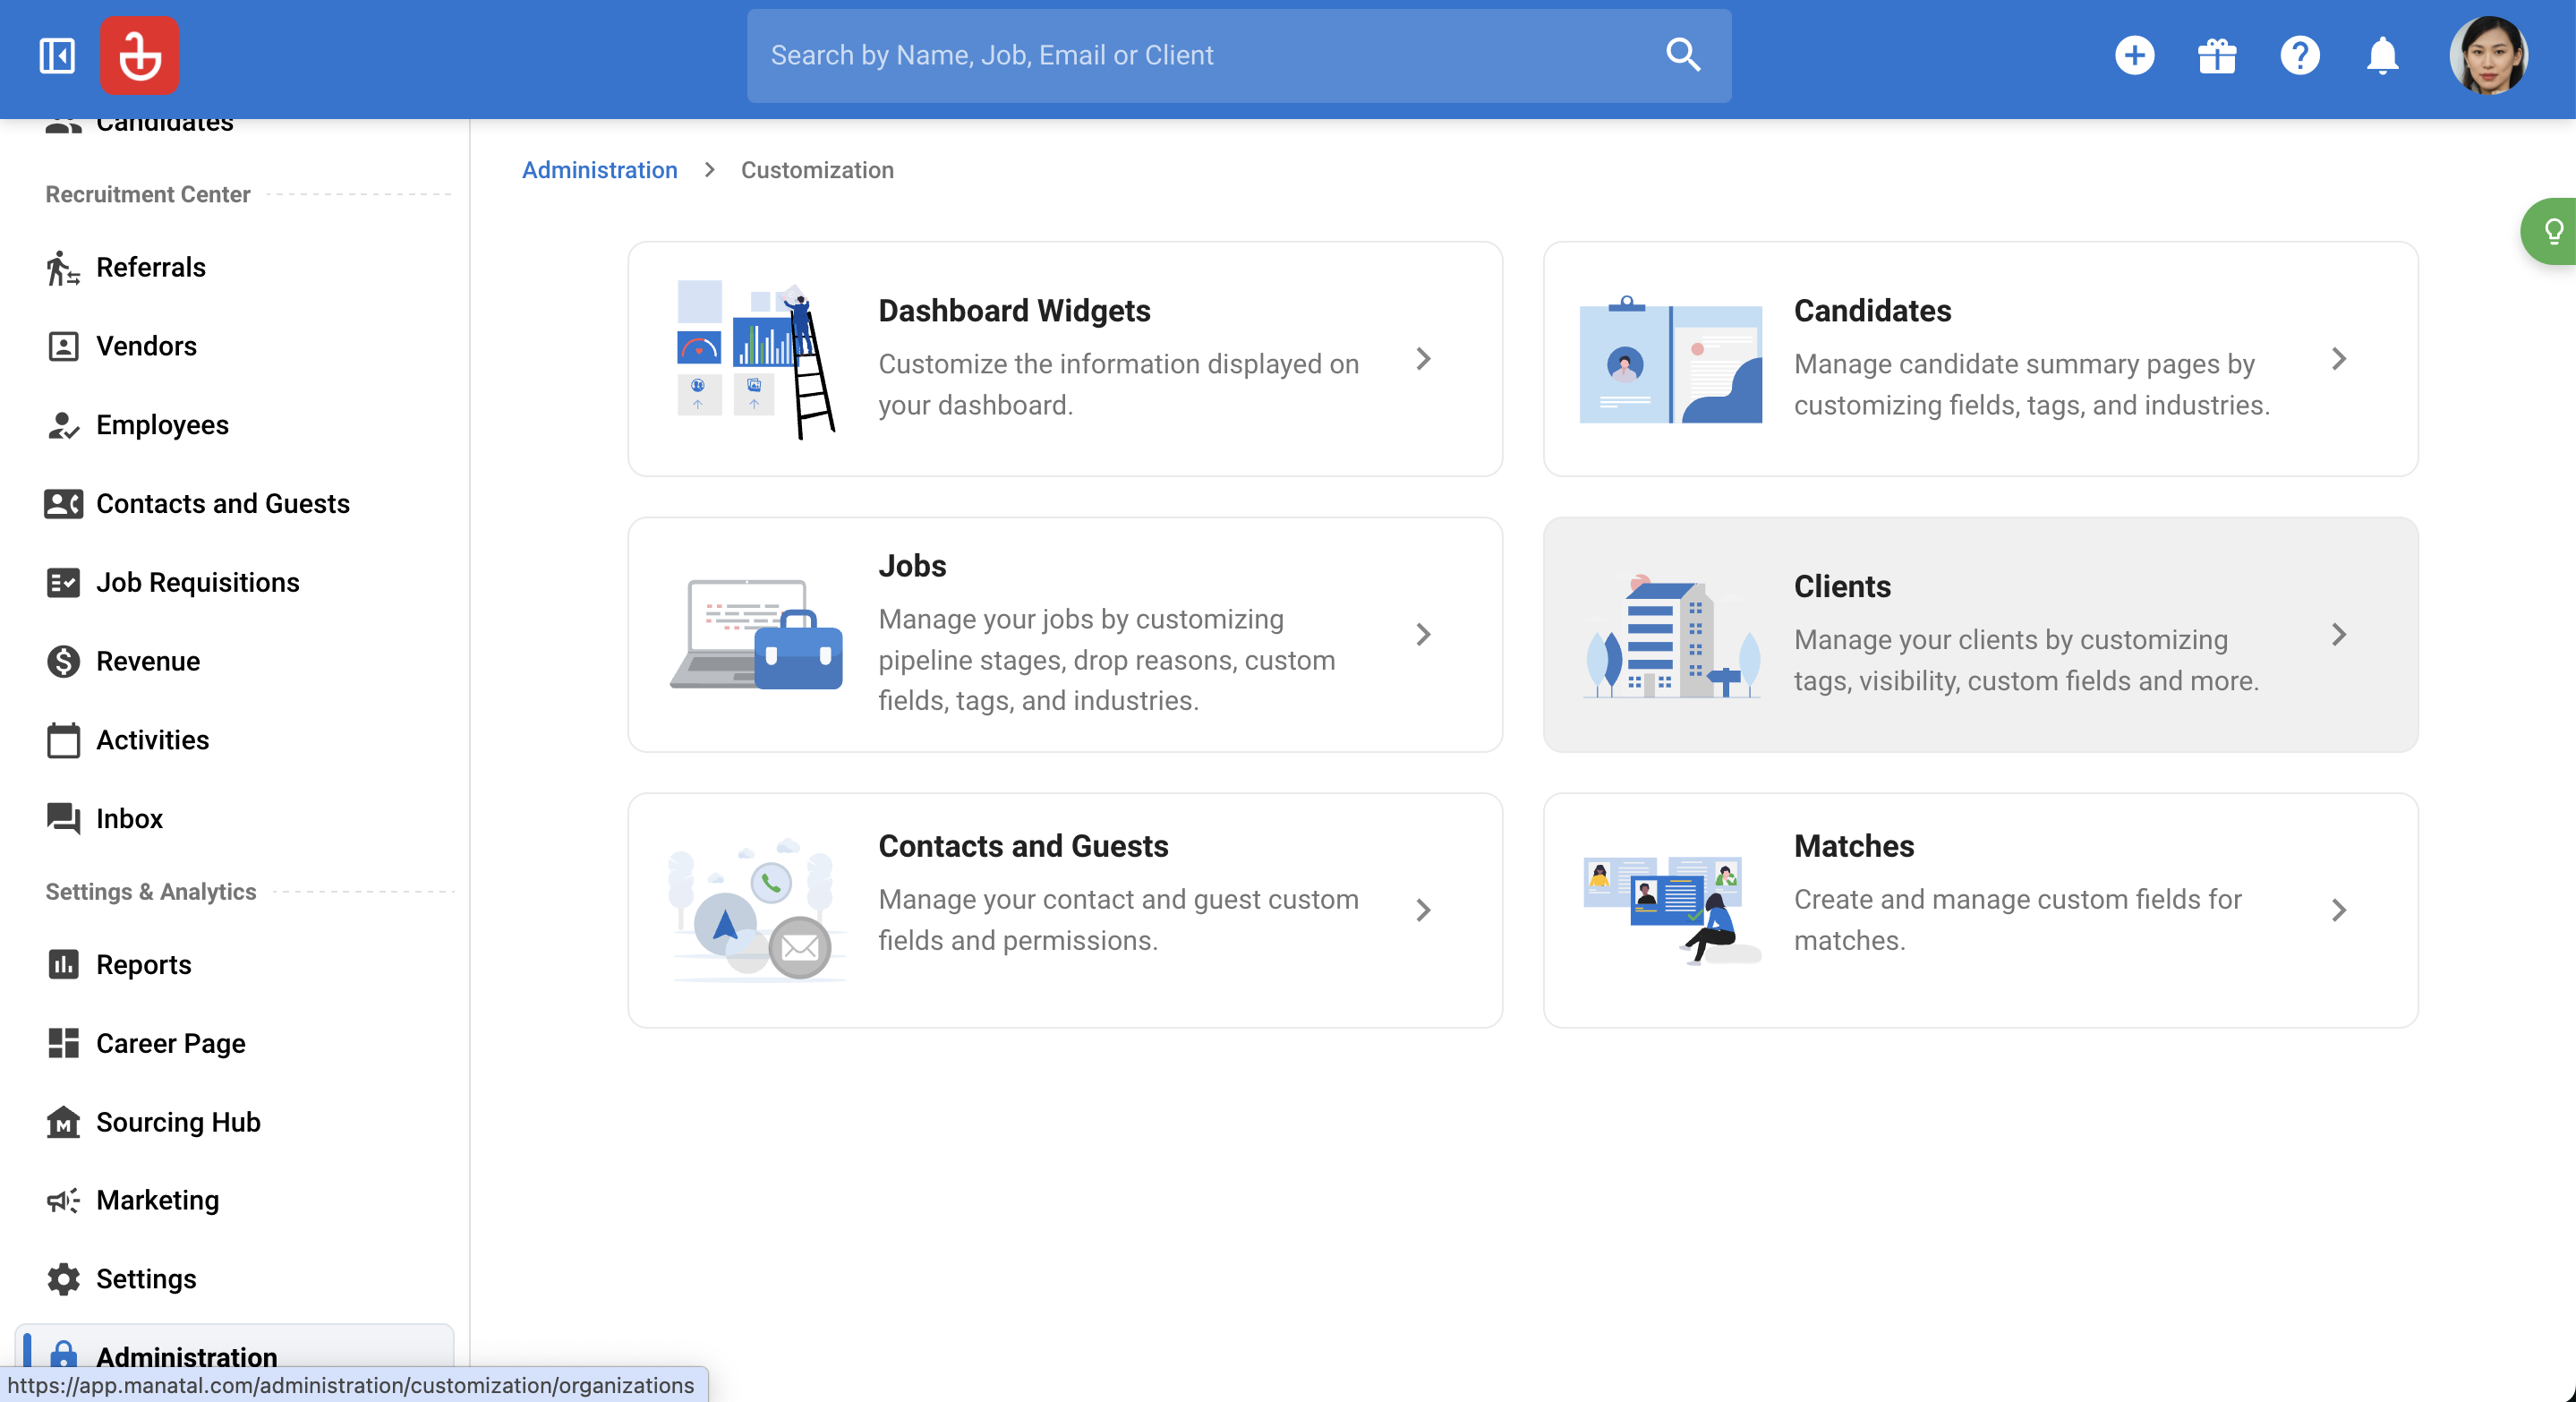
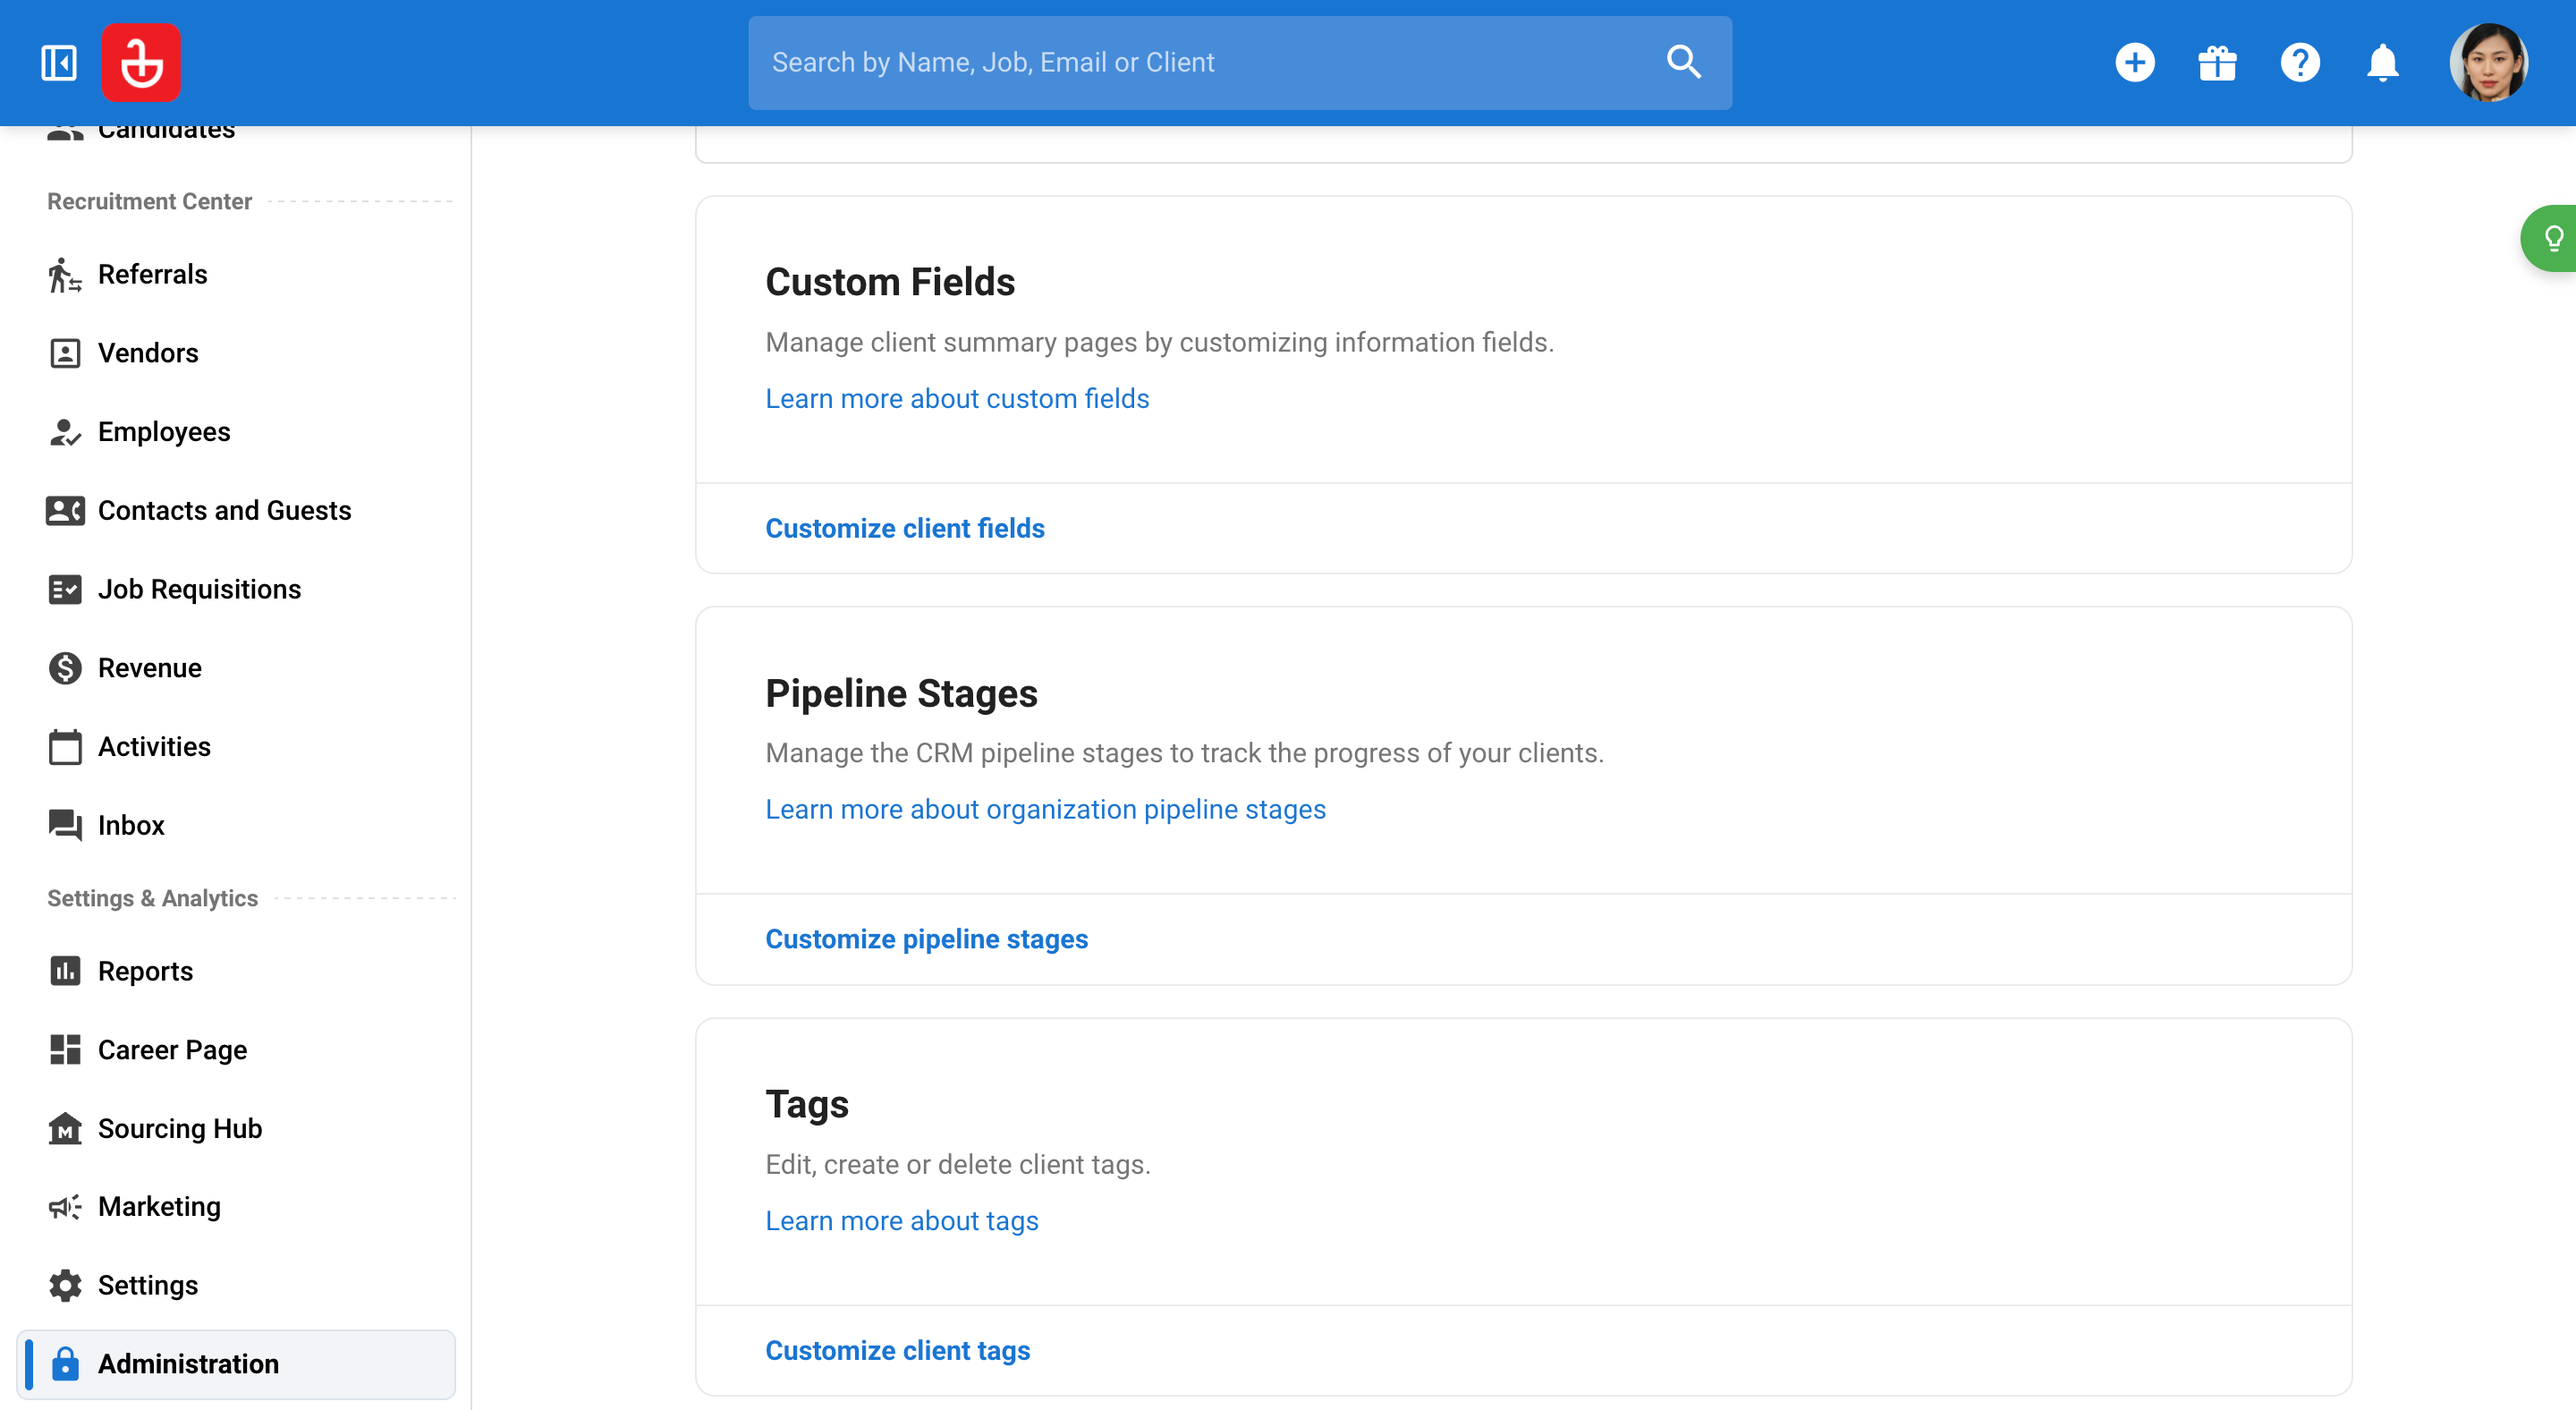
Step 19: Customize client fields, CRM stages, tags, and visibility.
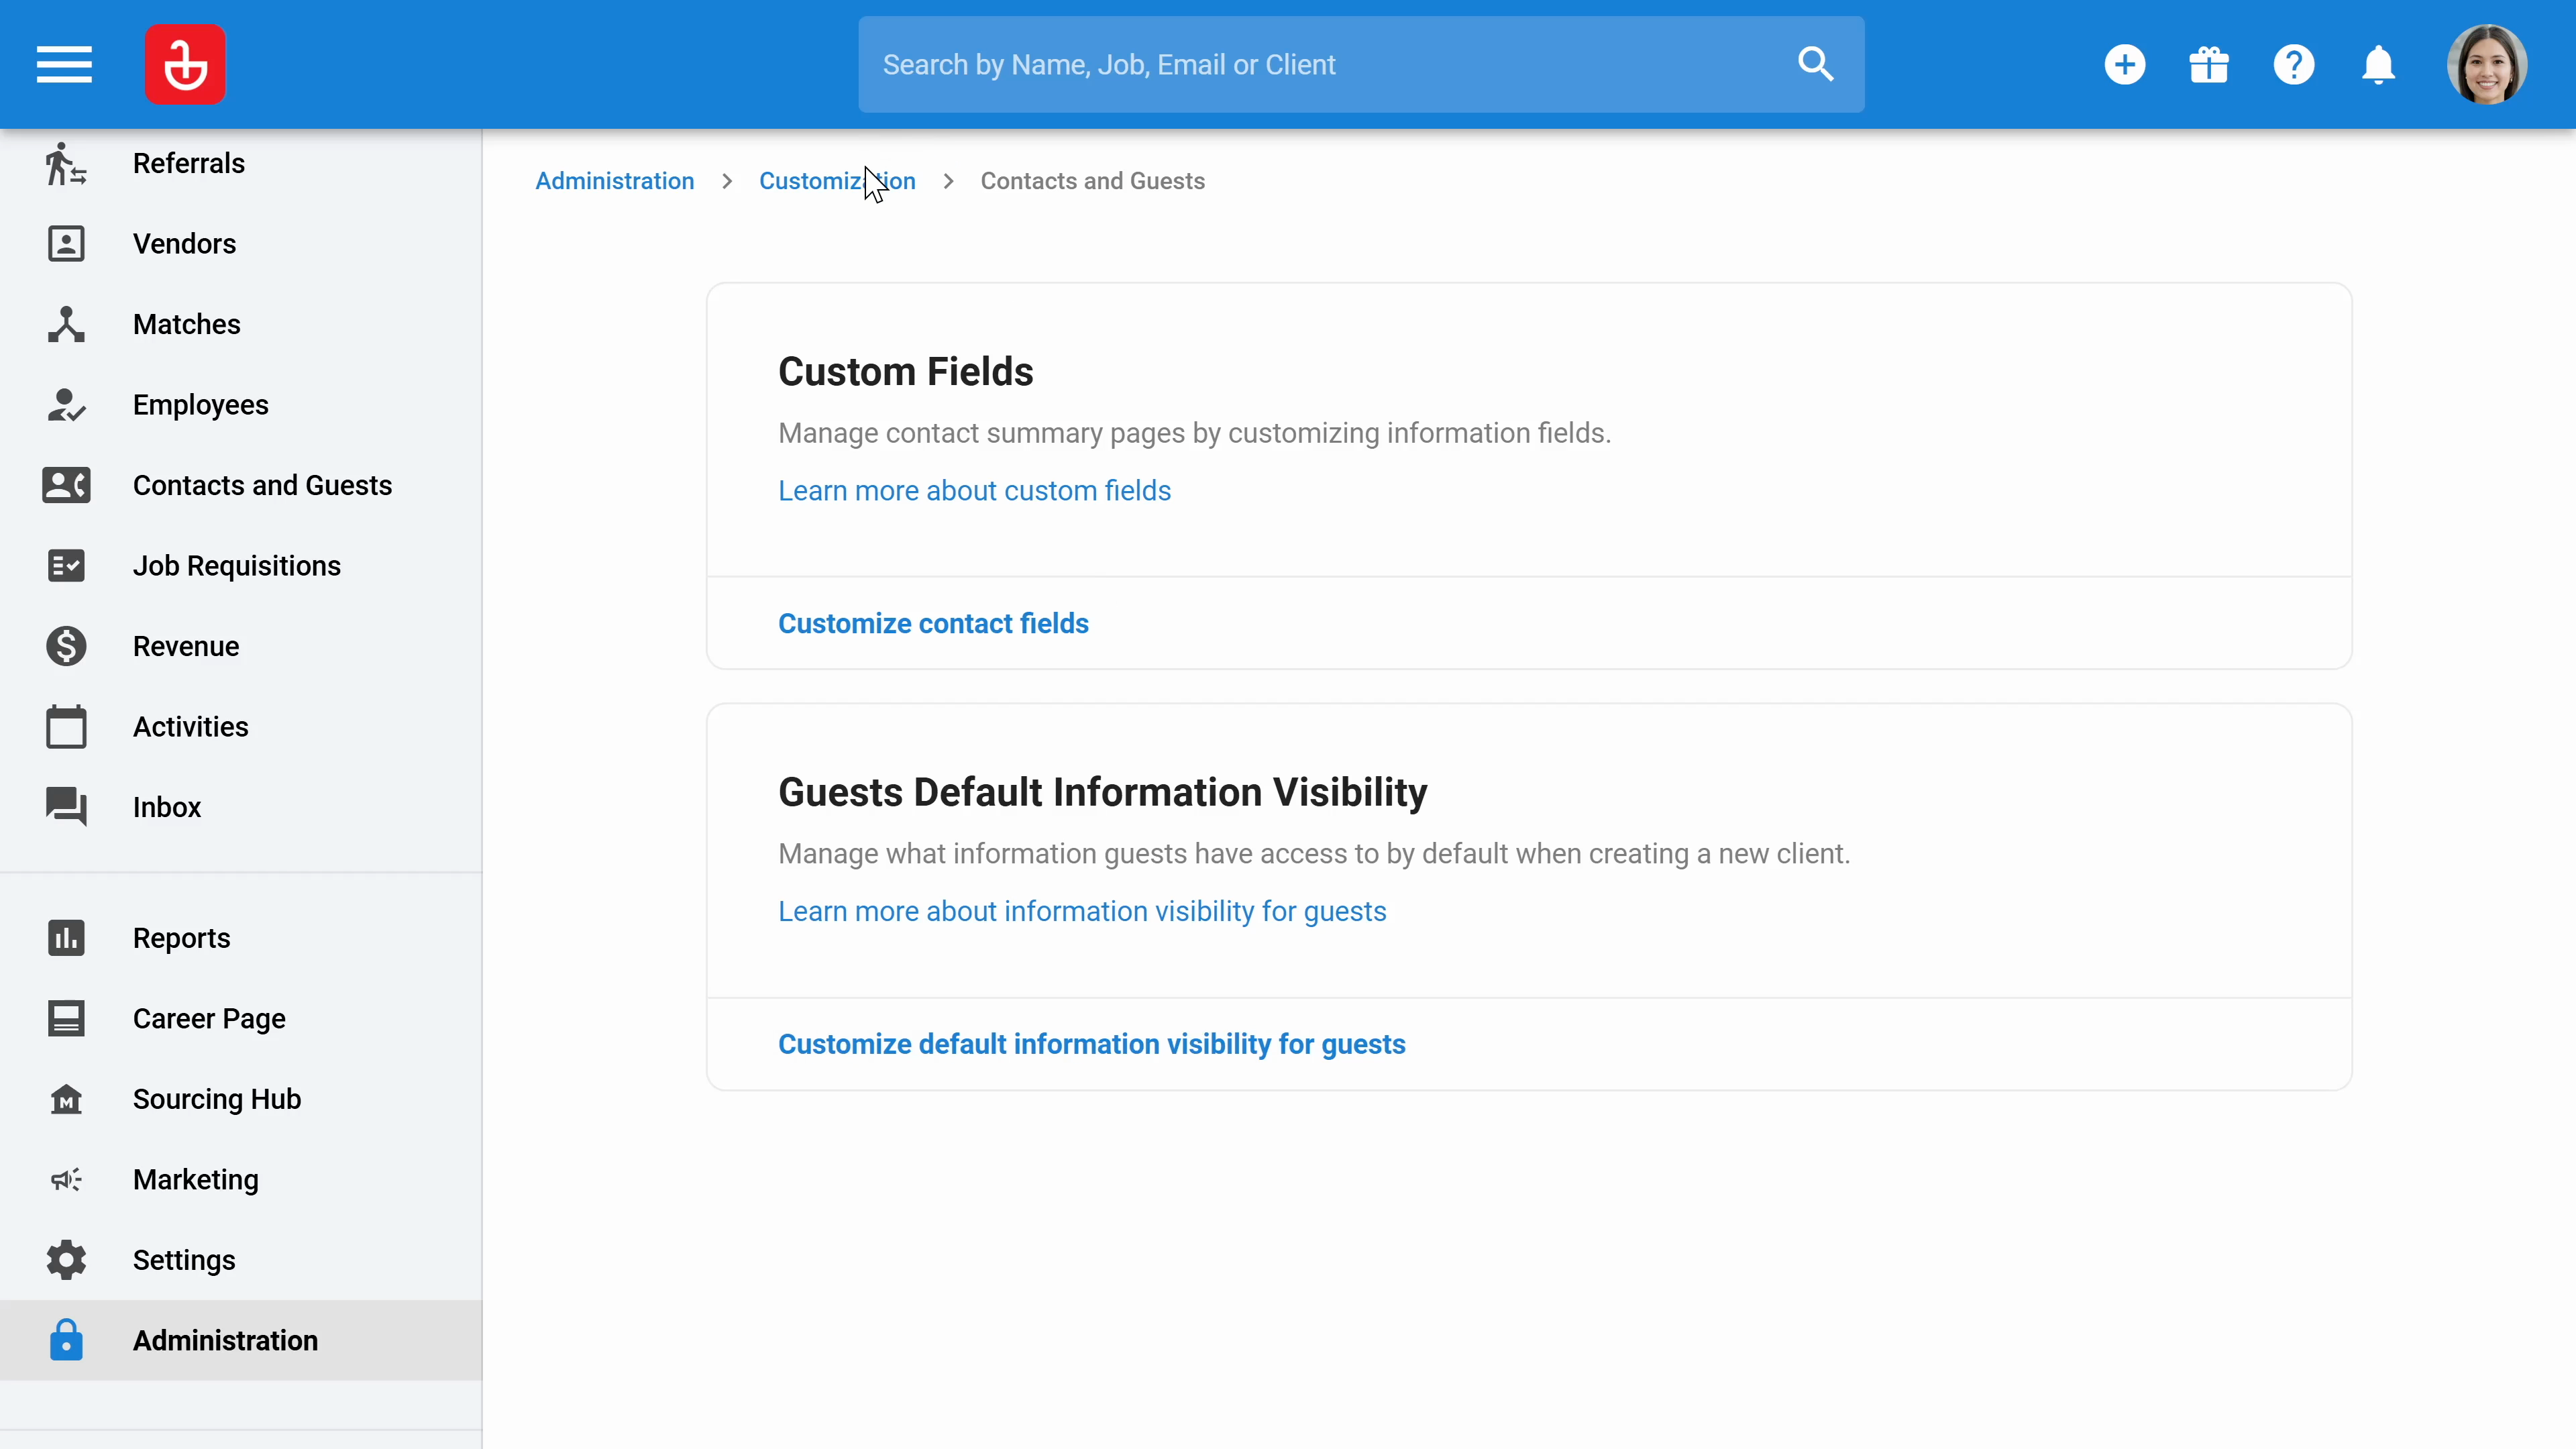
Step 20: In the Contacts and guests section, customize contacts and guests fields and information visibility.
Step 21: Create matches custom fields.

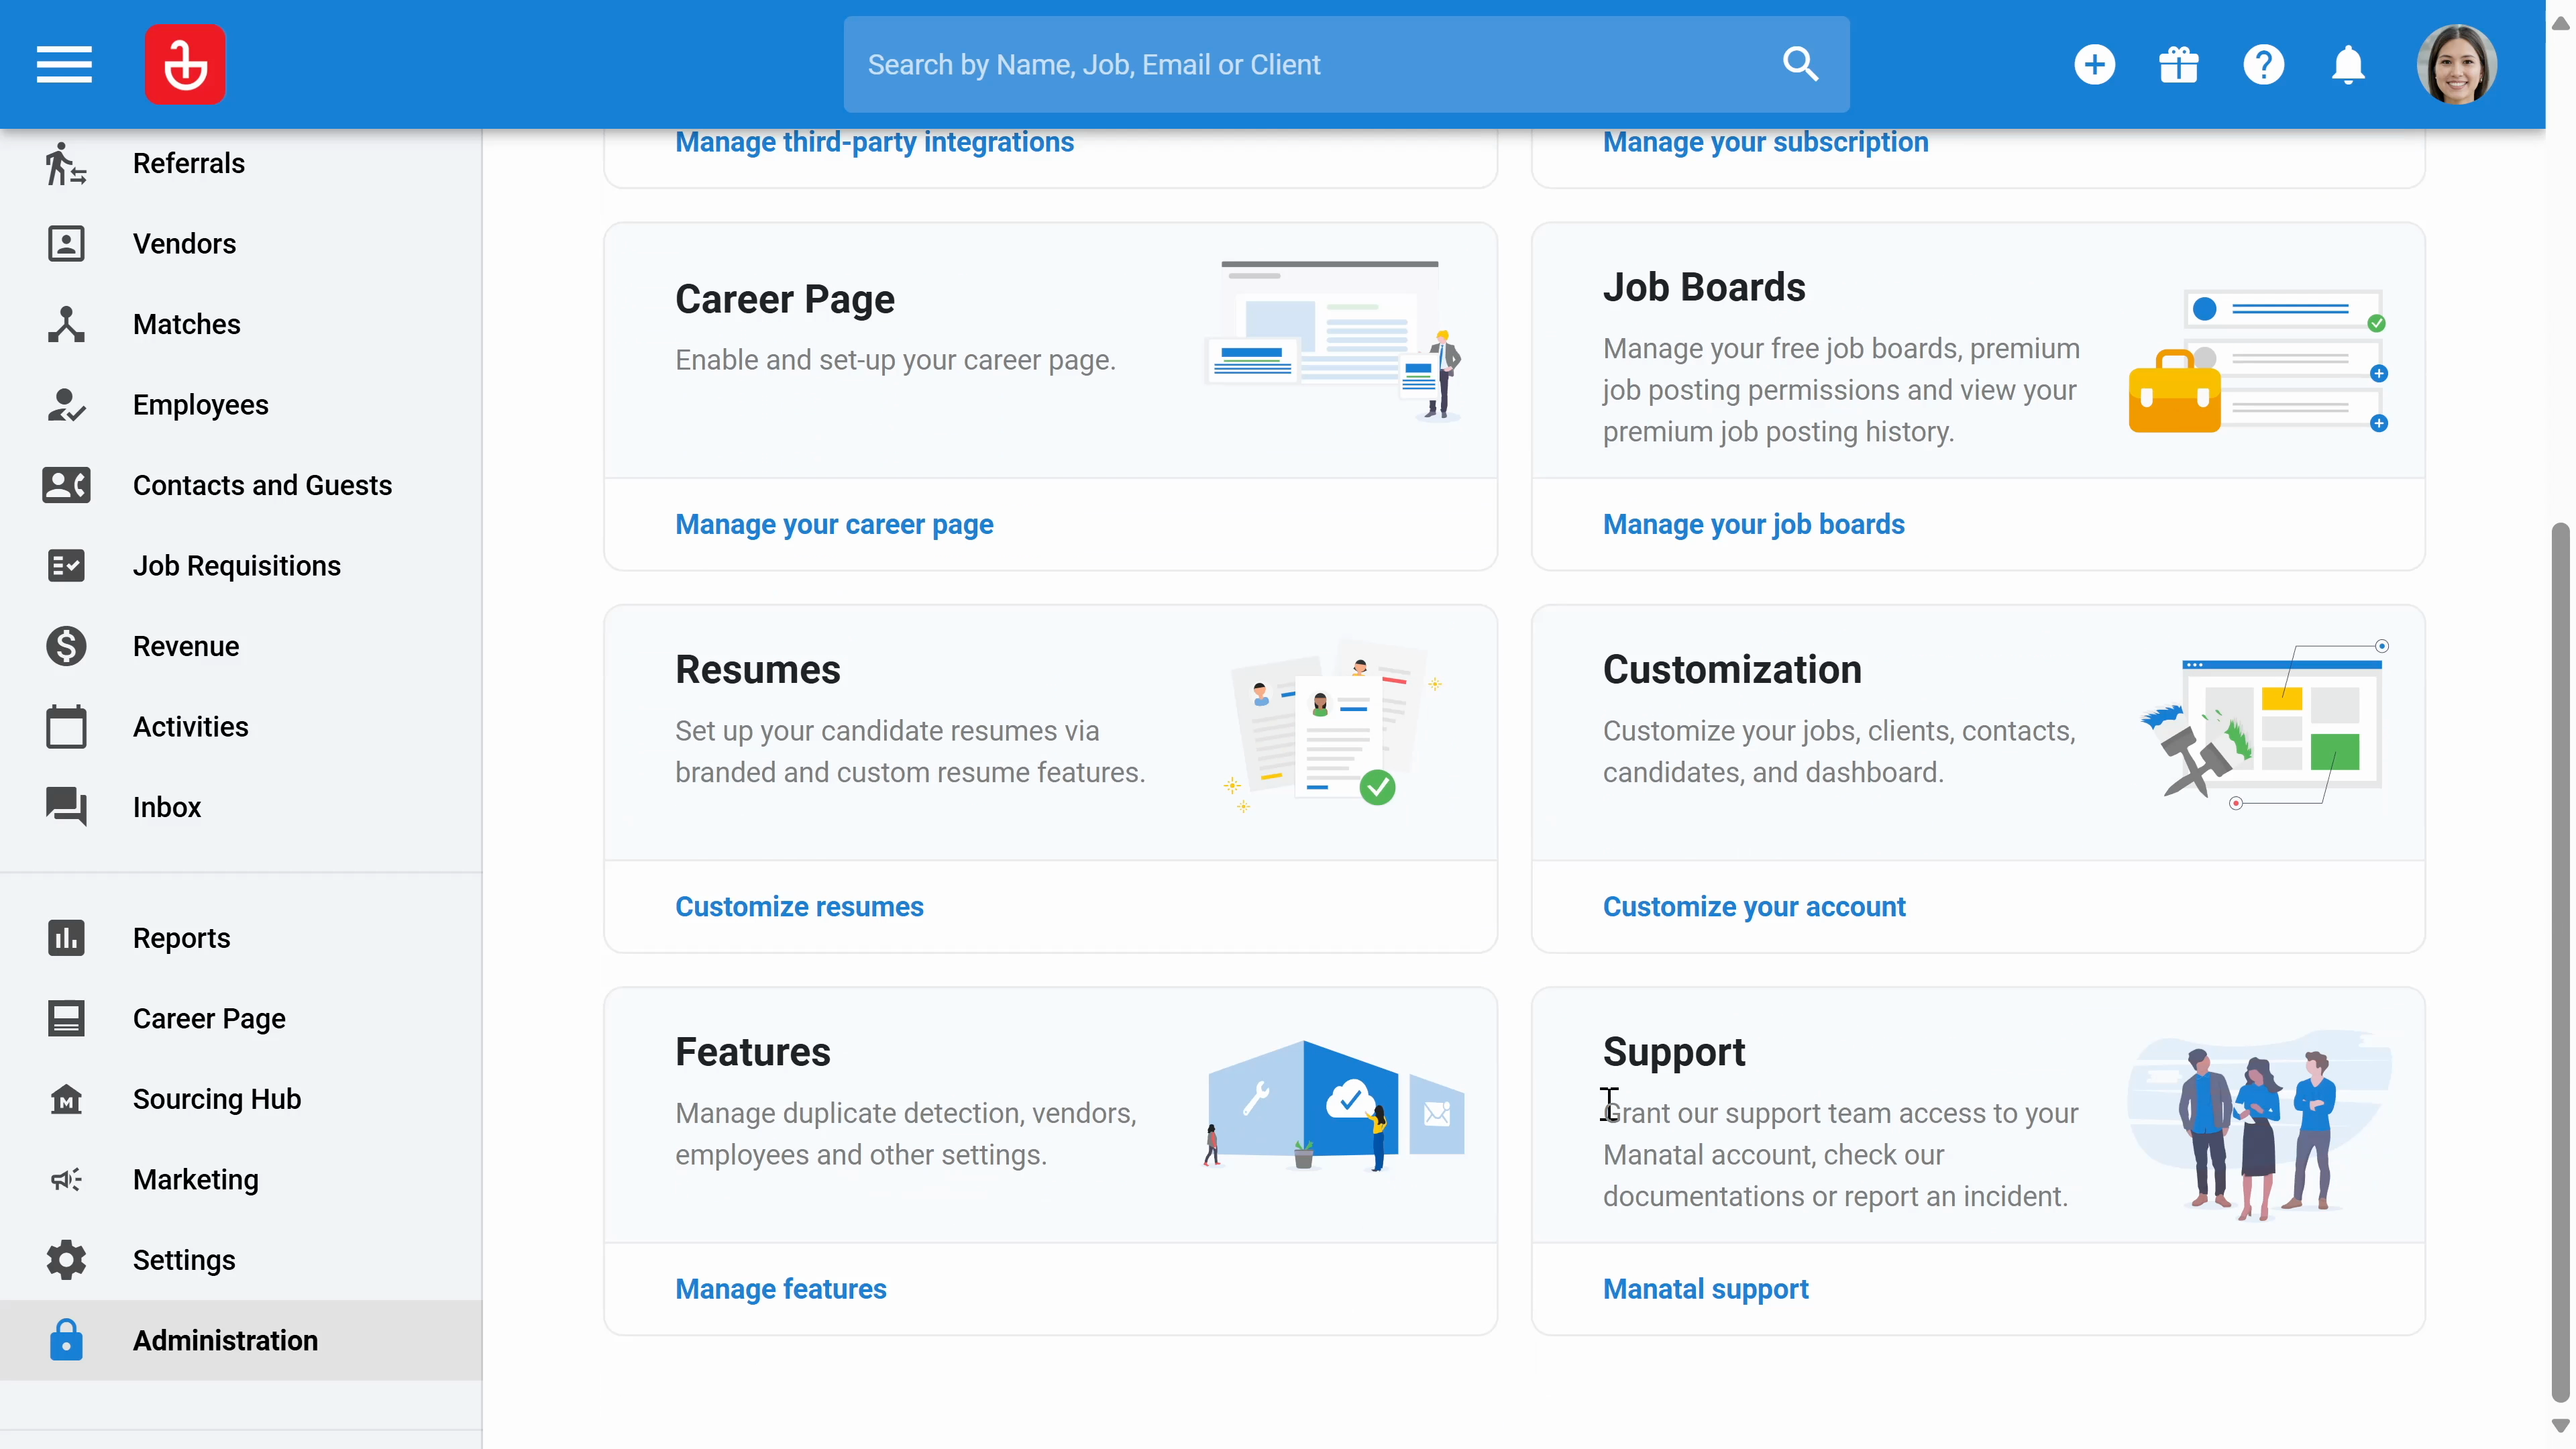
Step 22: In the Features section, you can enable features such as revenue tracking, mass emailing, scorecards, Manatal AI, Automations , and Sourcing hub.

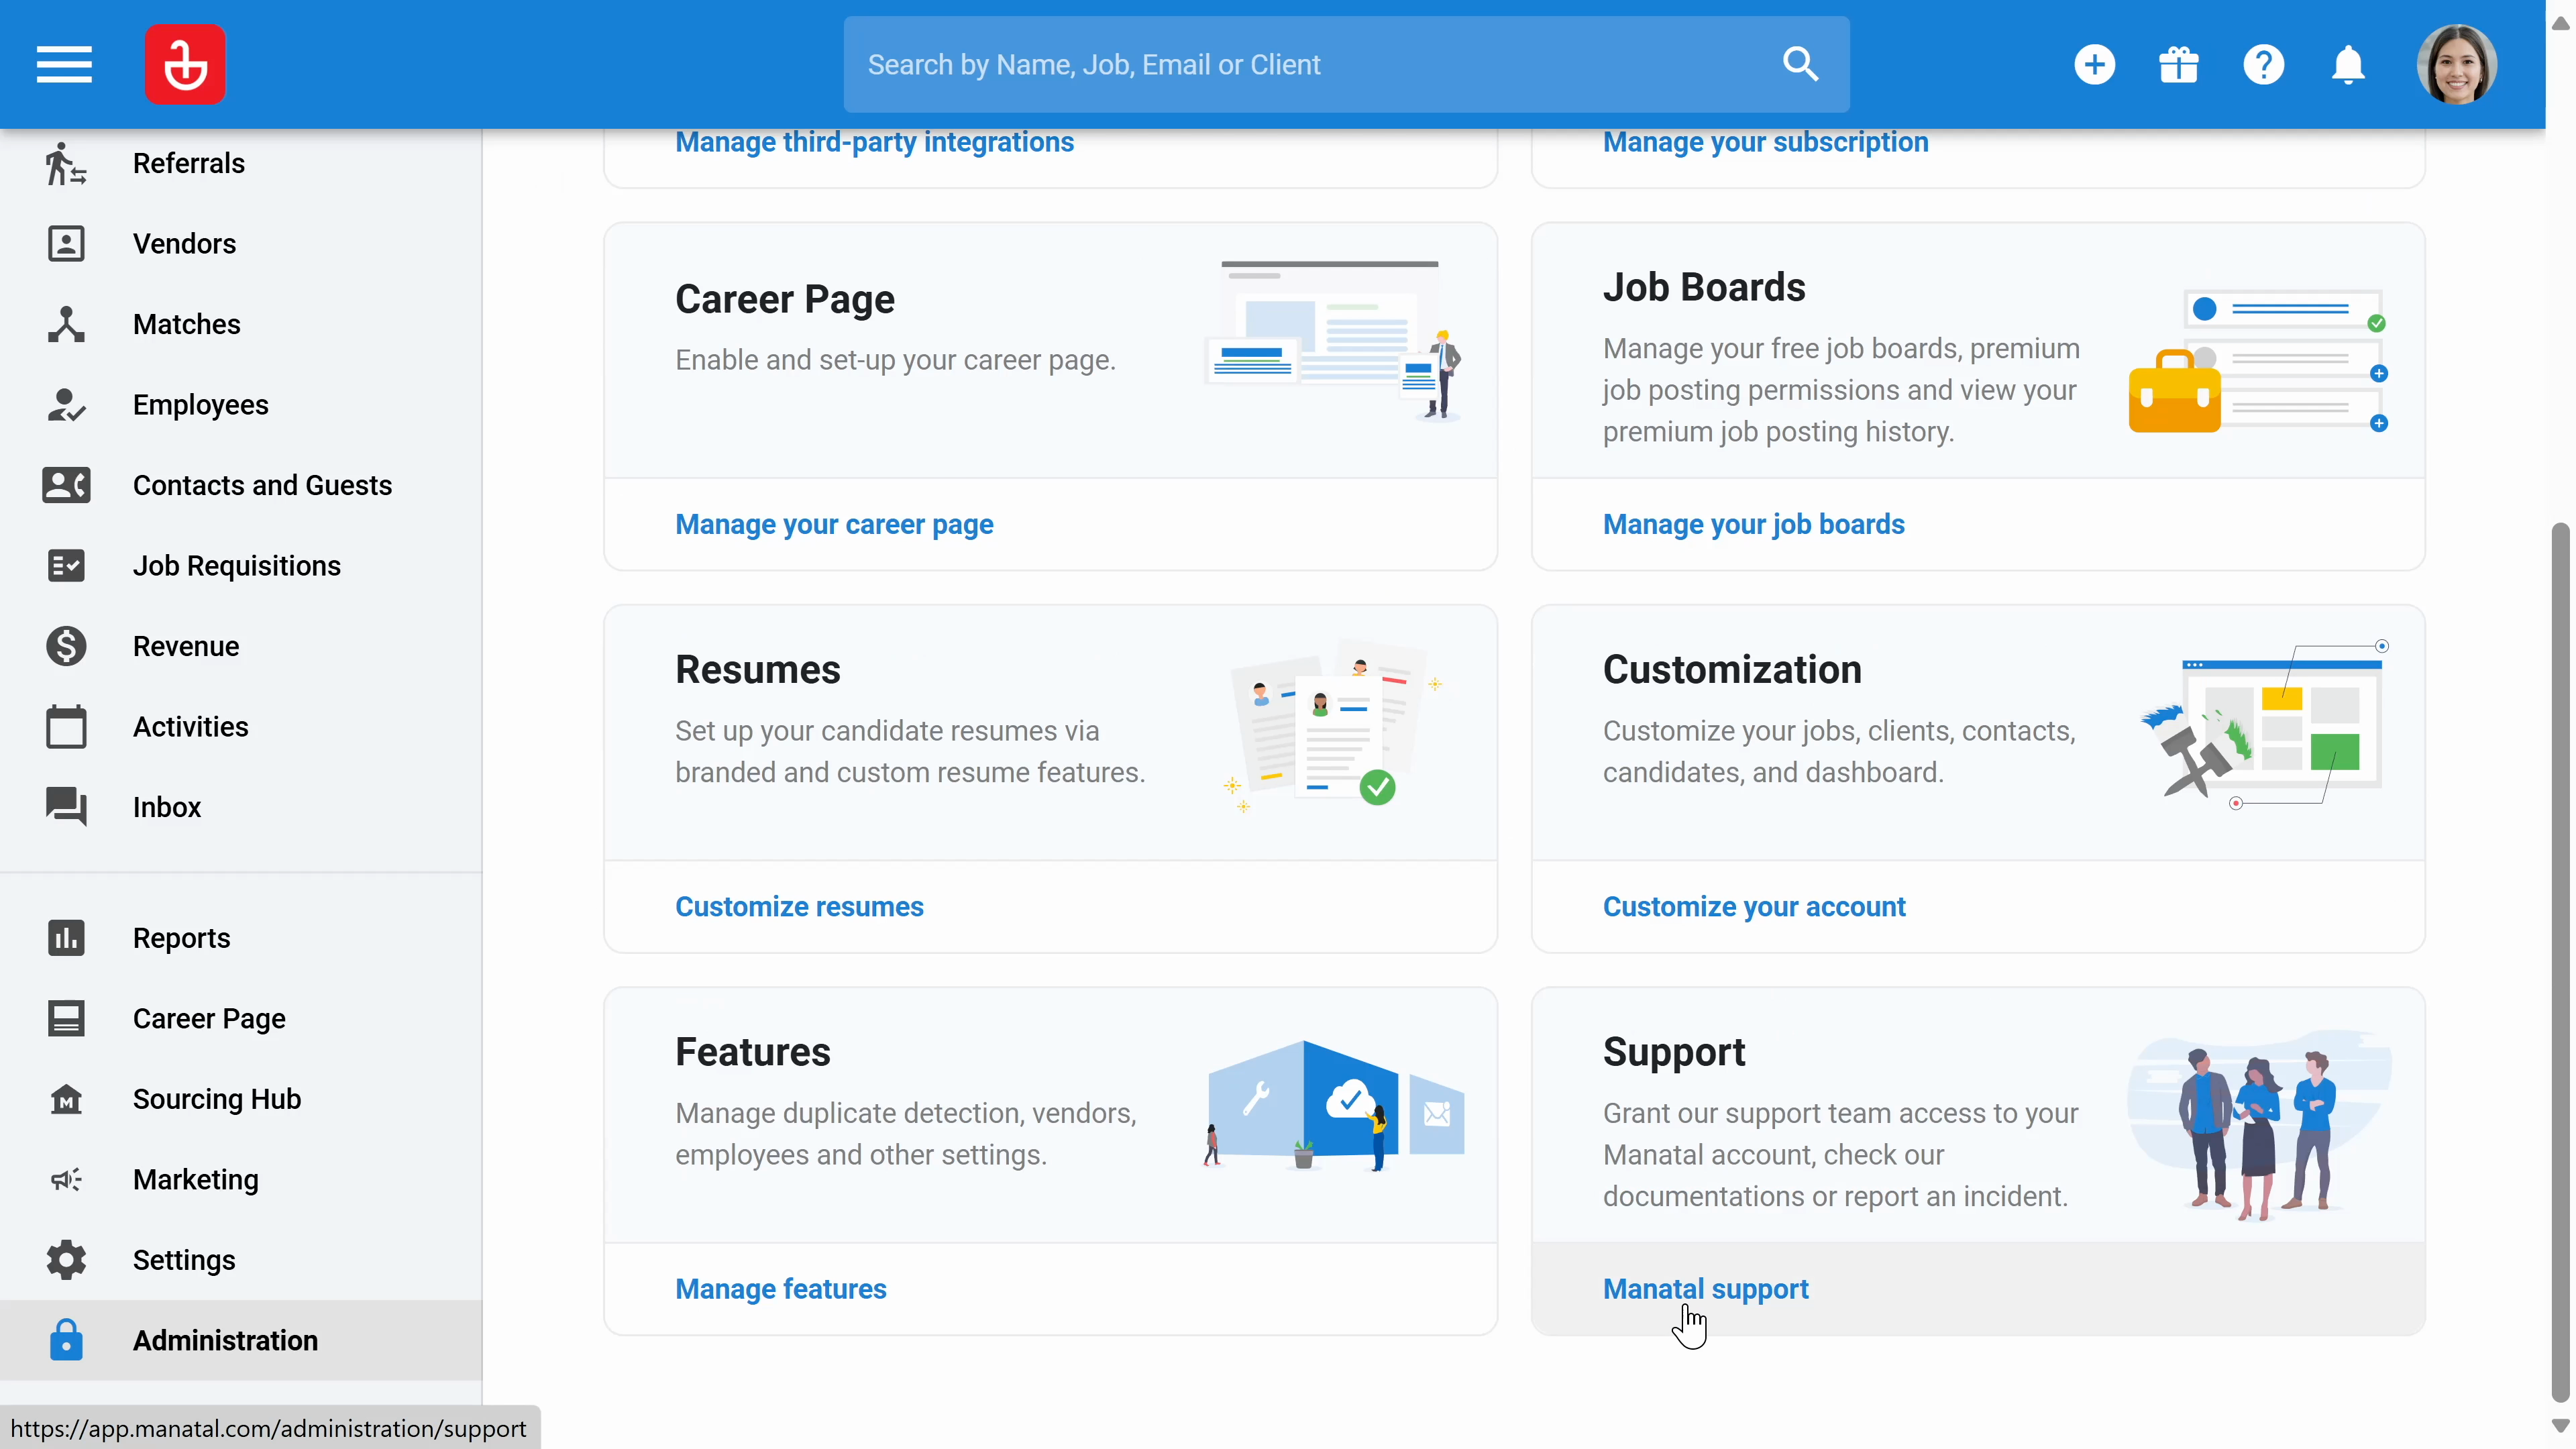
Step 23: Next, click Manatal support to check or report an incident.
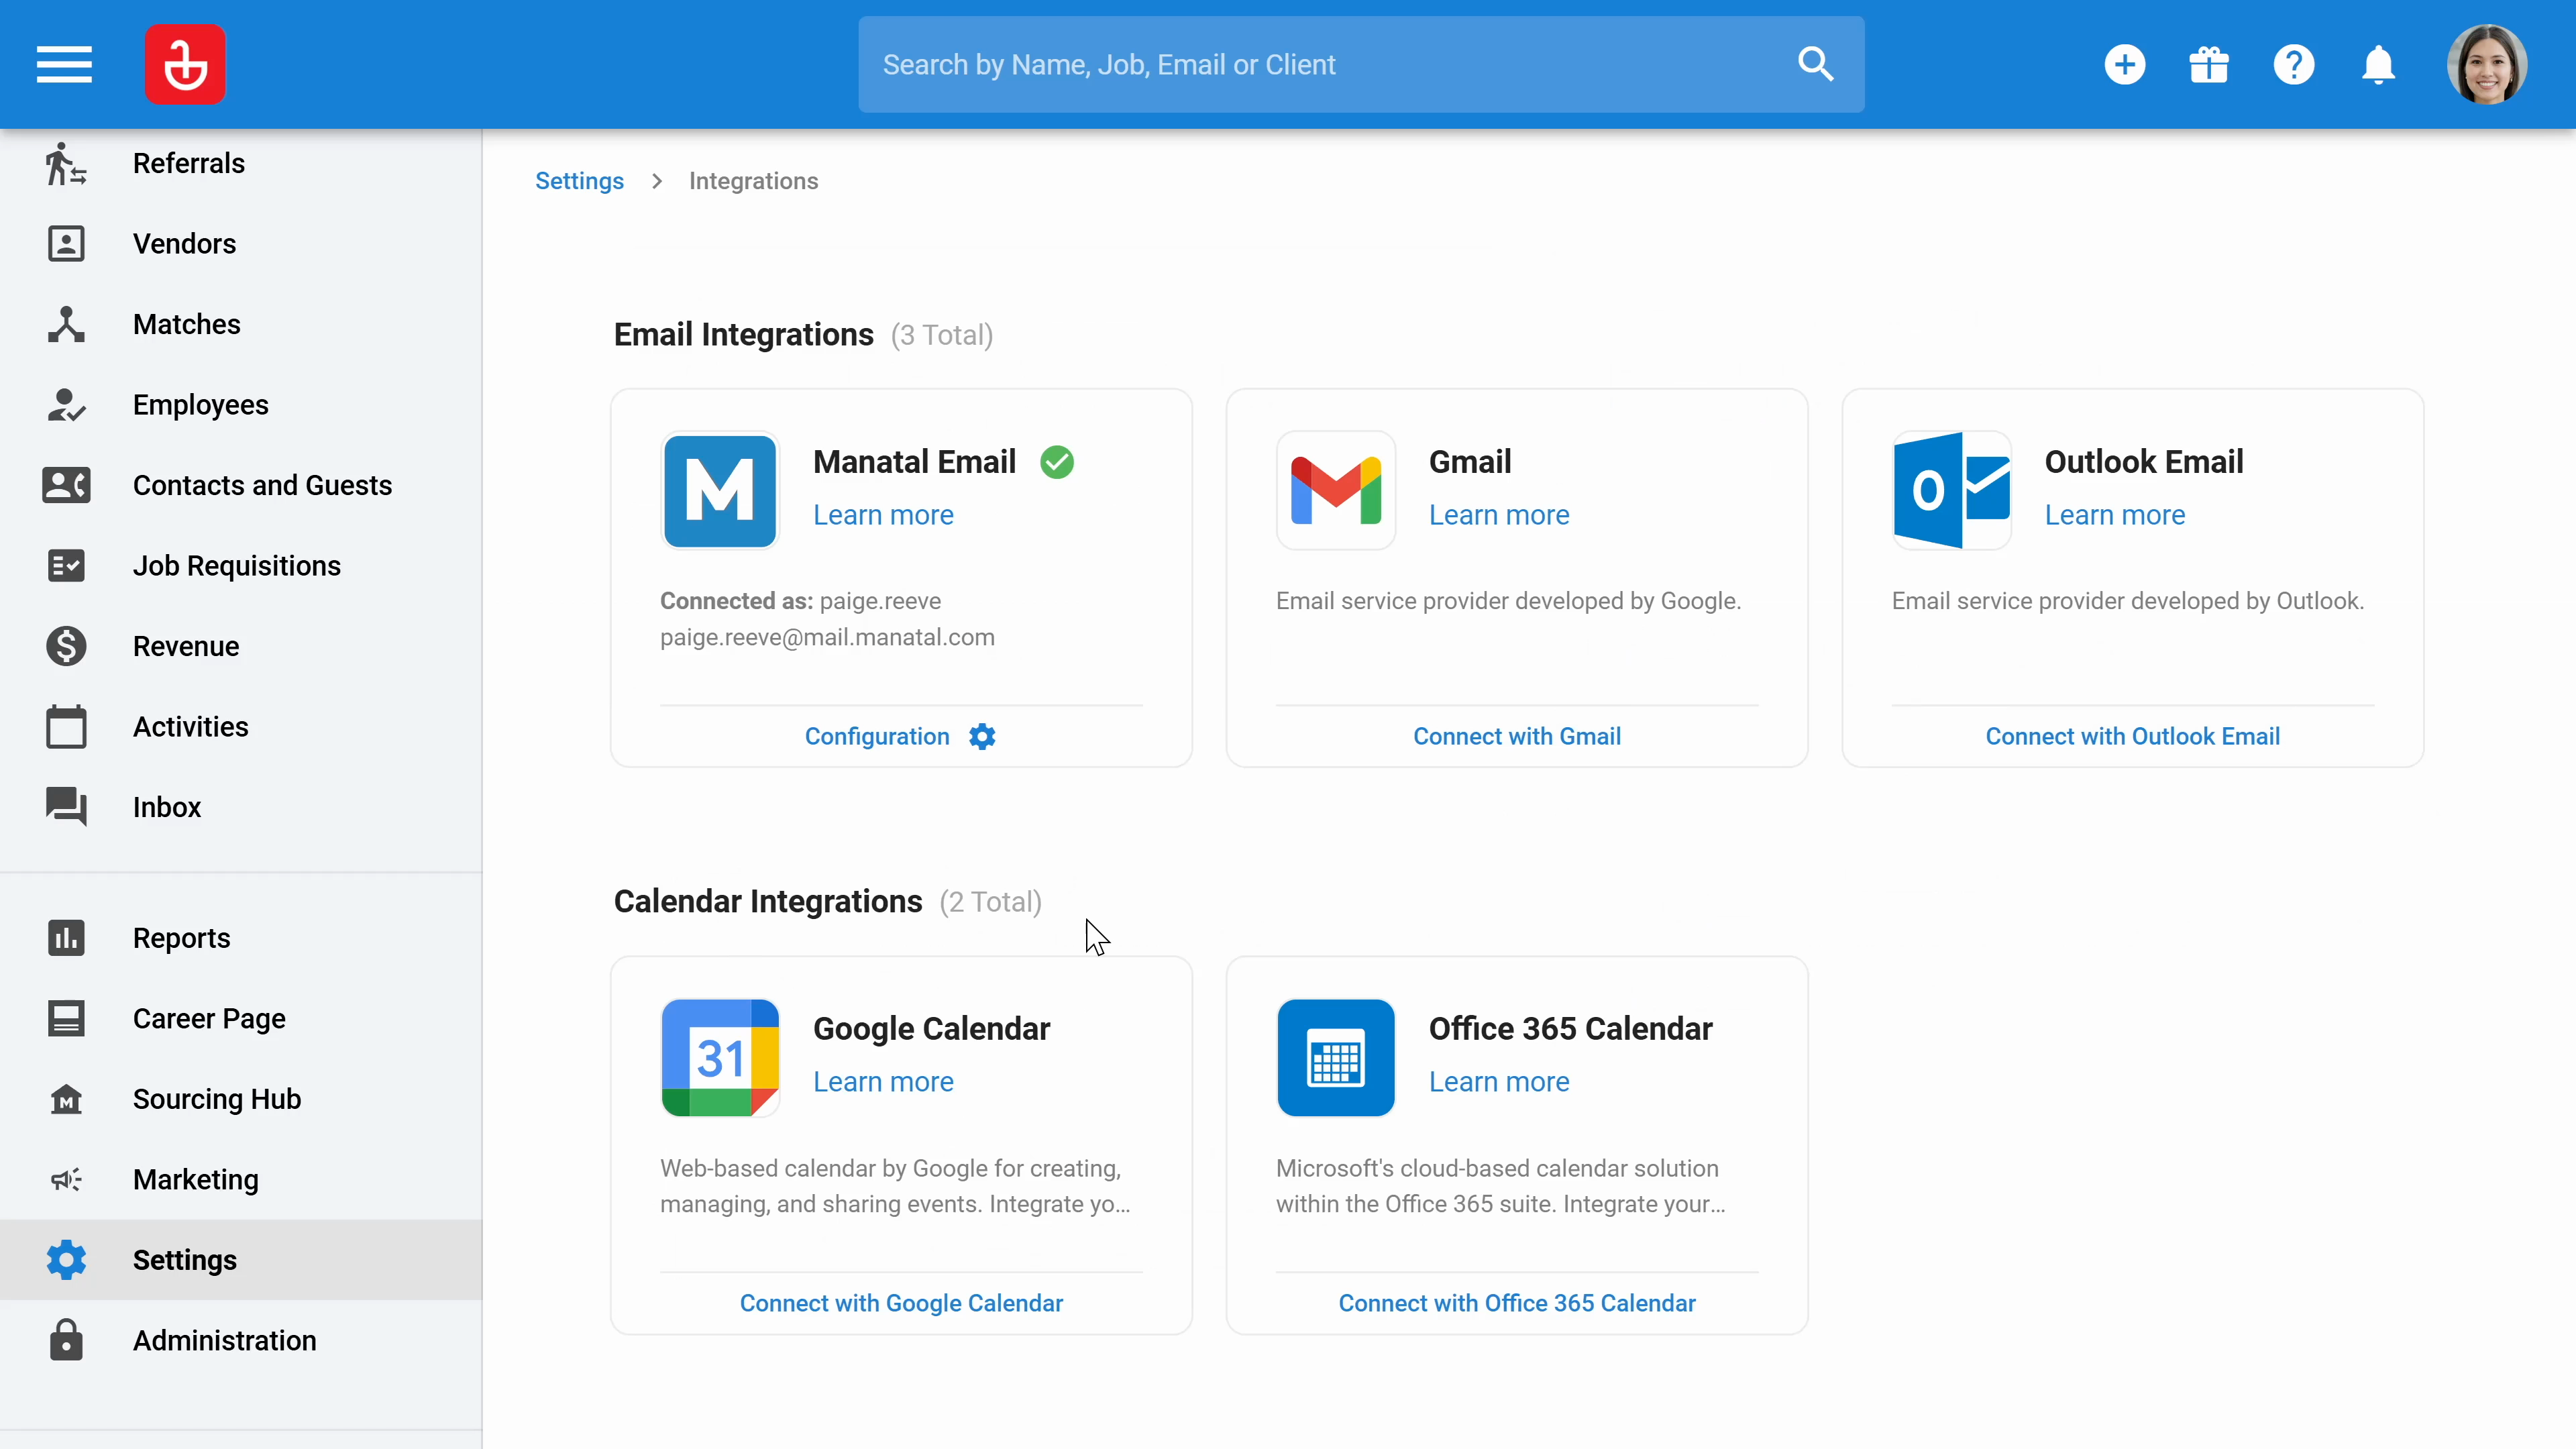
Step 24: Click on Settings, from the left menu, to access settings available to all users. Click Integrations to integrate your email and calendar.
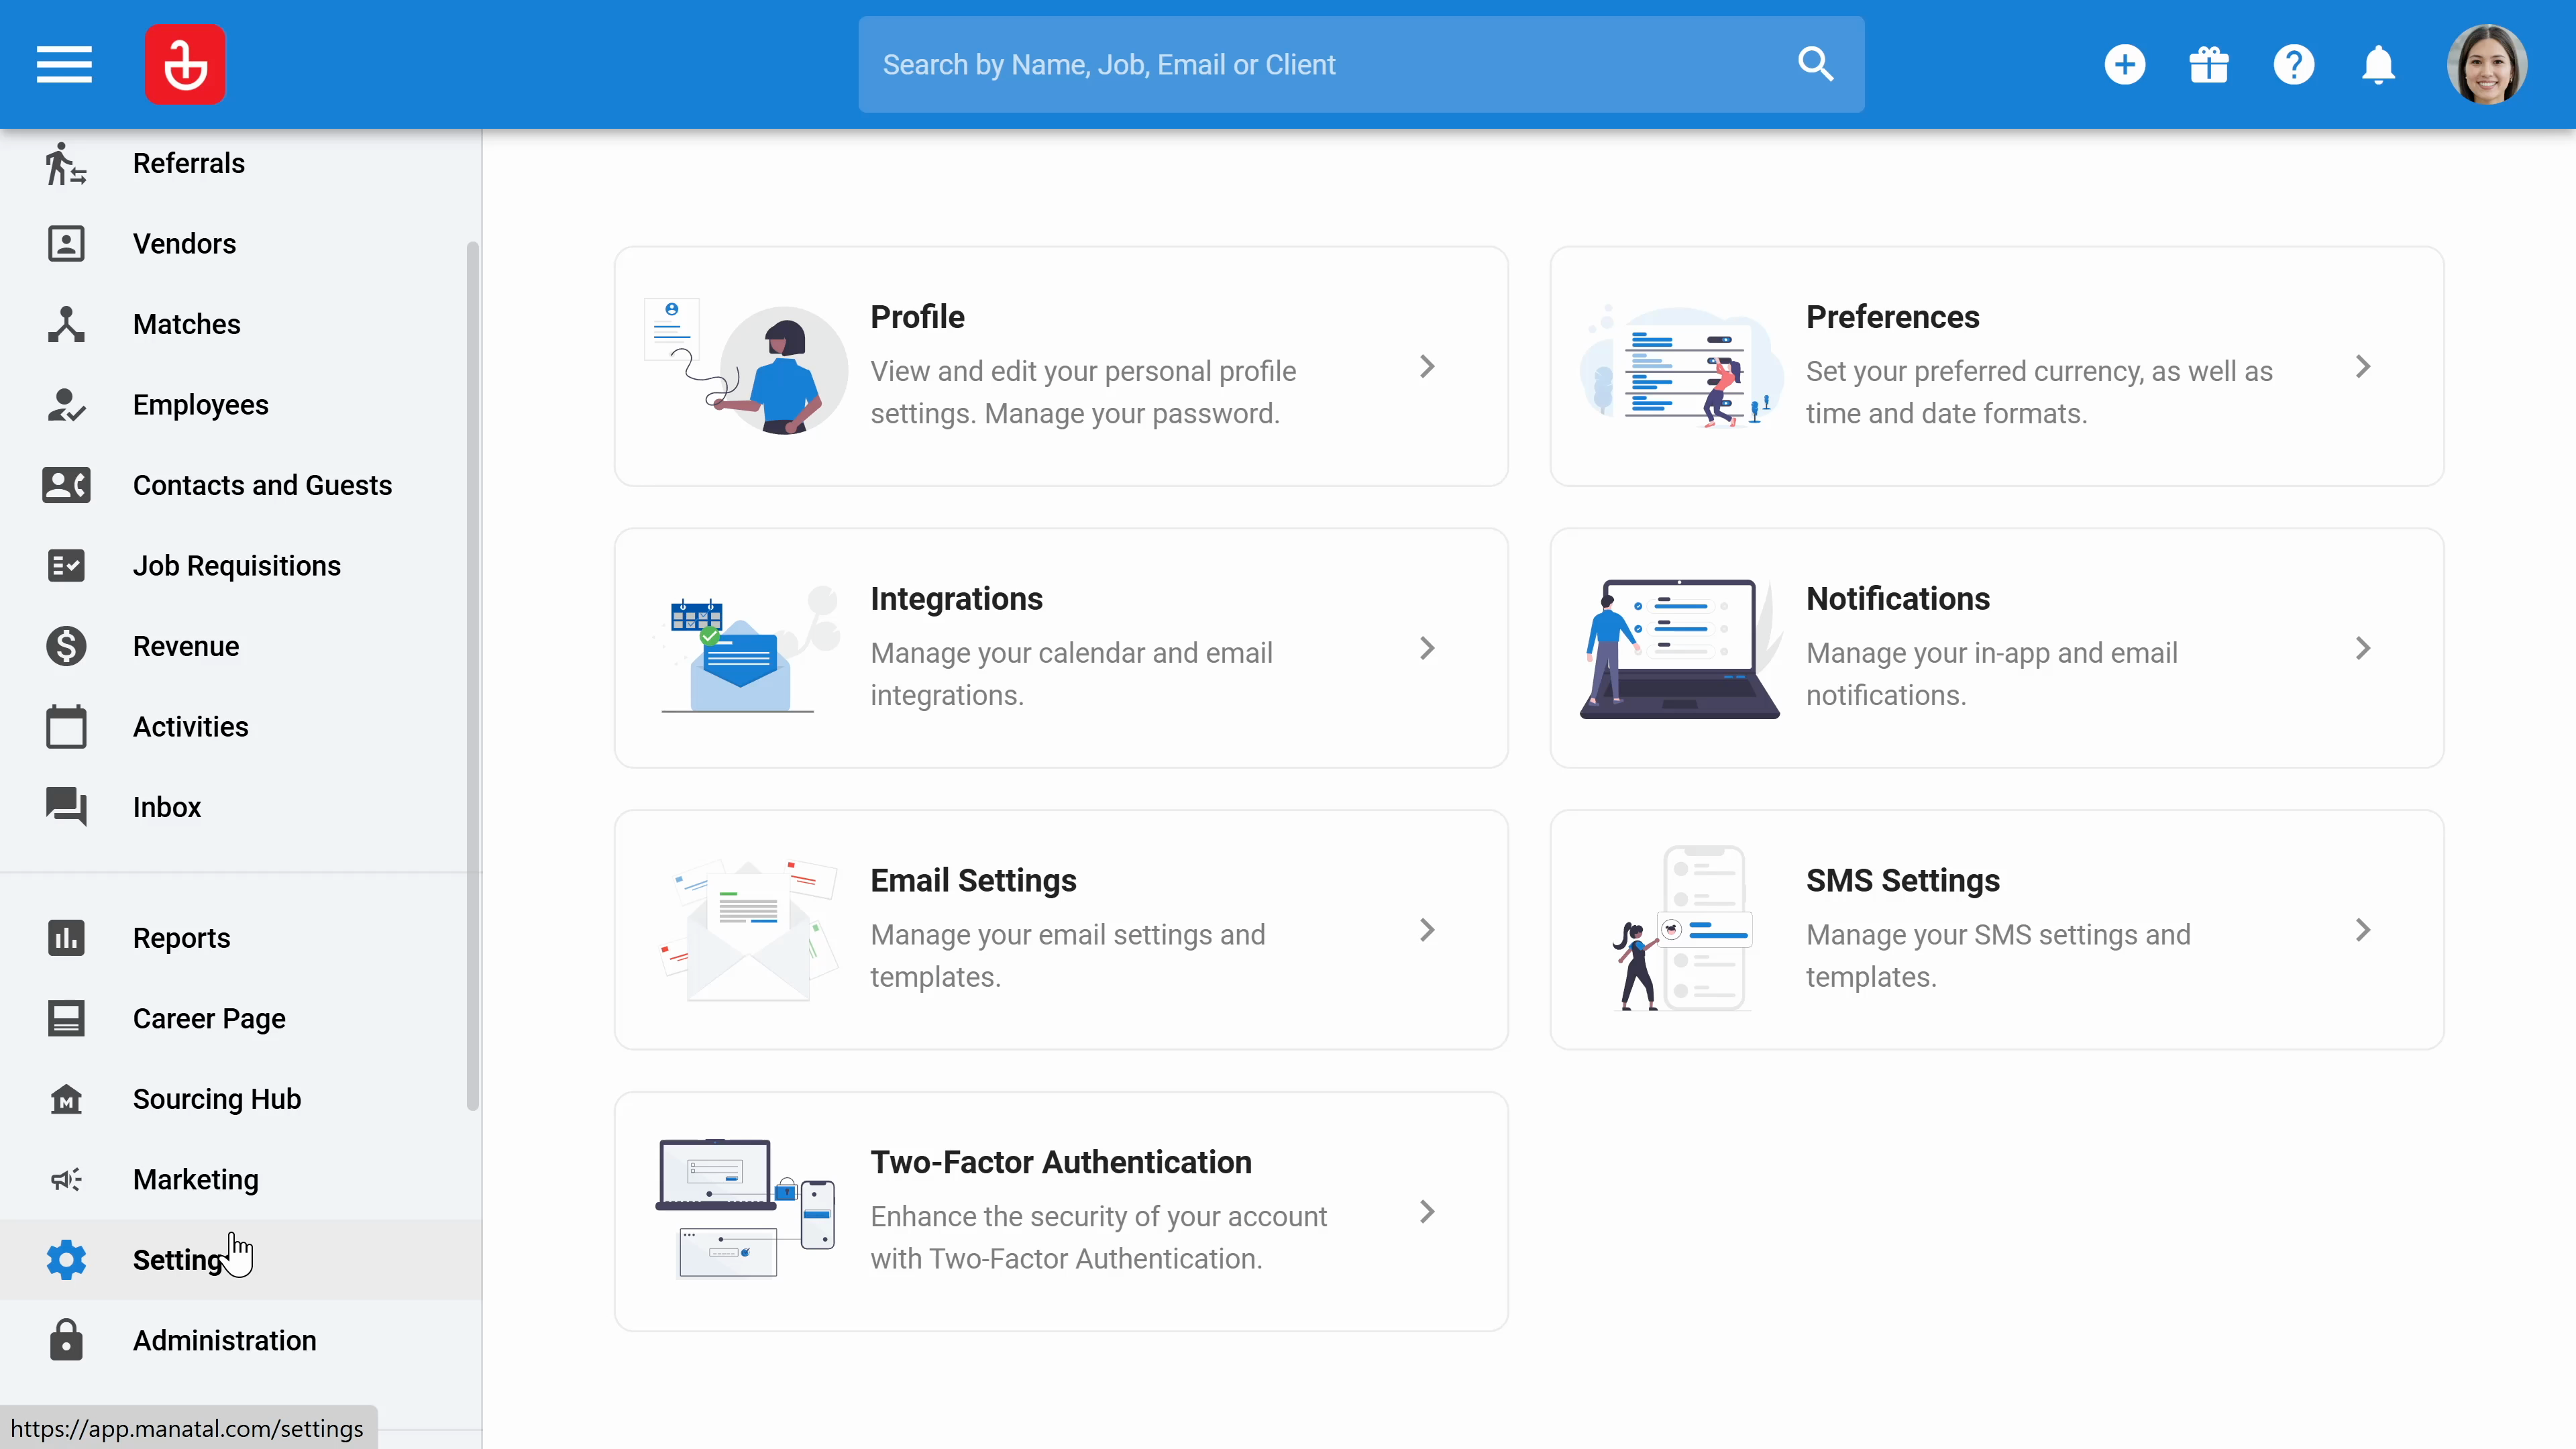
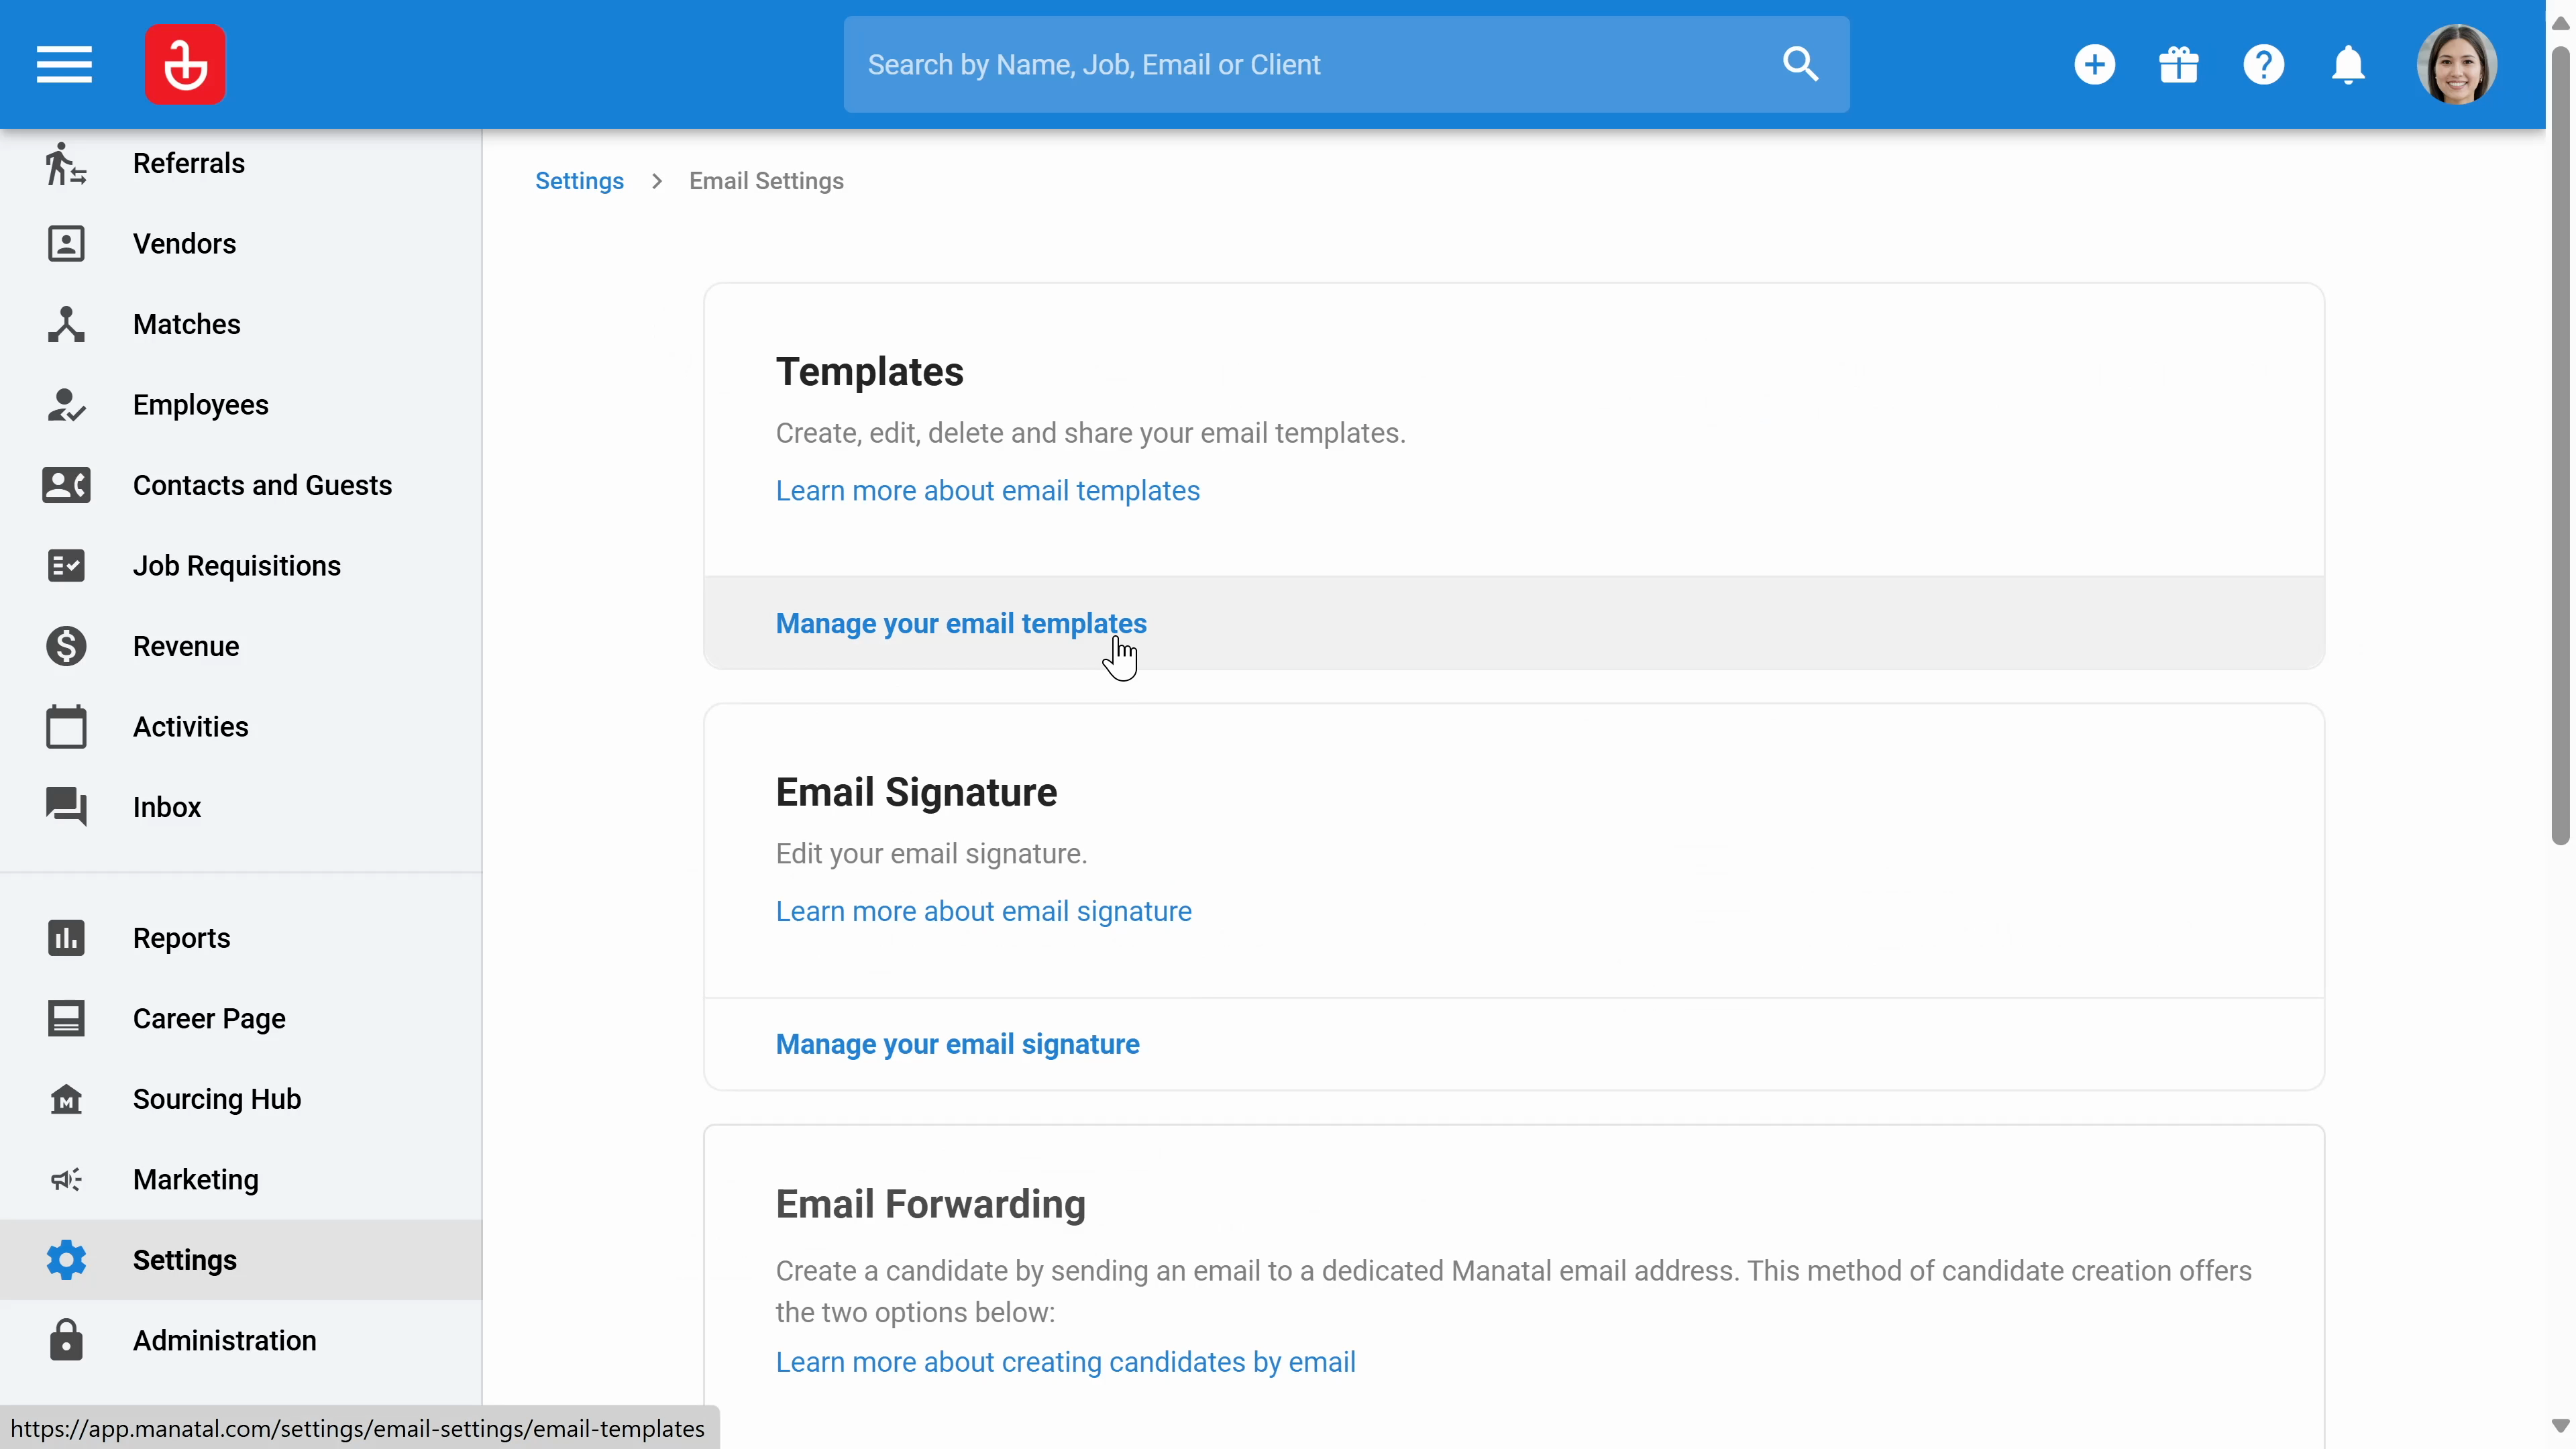
Step 25: Click email settings to create new email templates and add your email signature
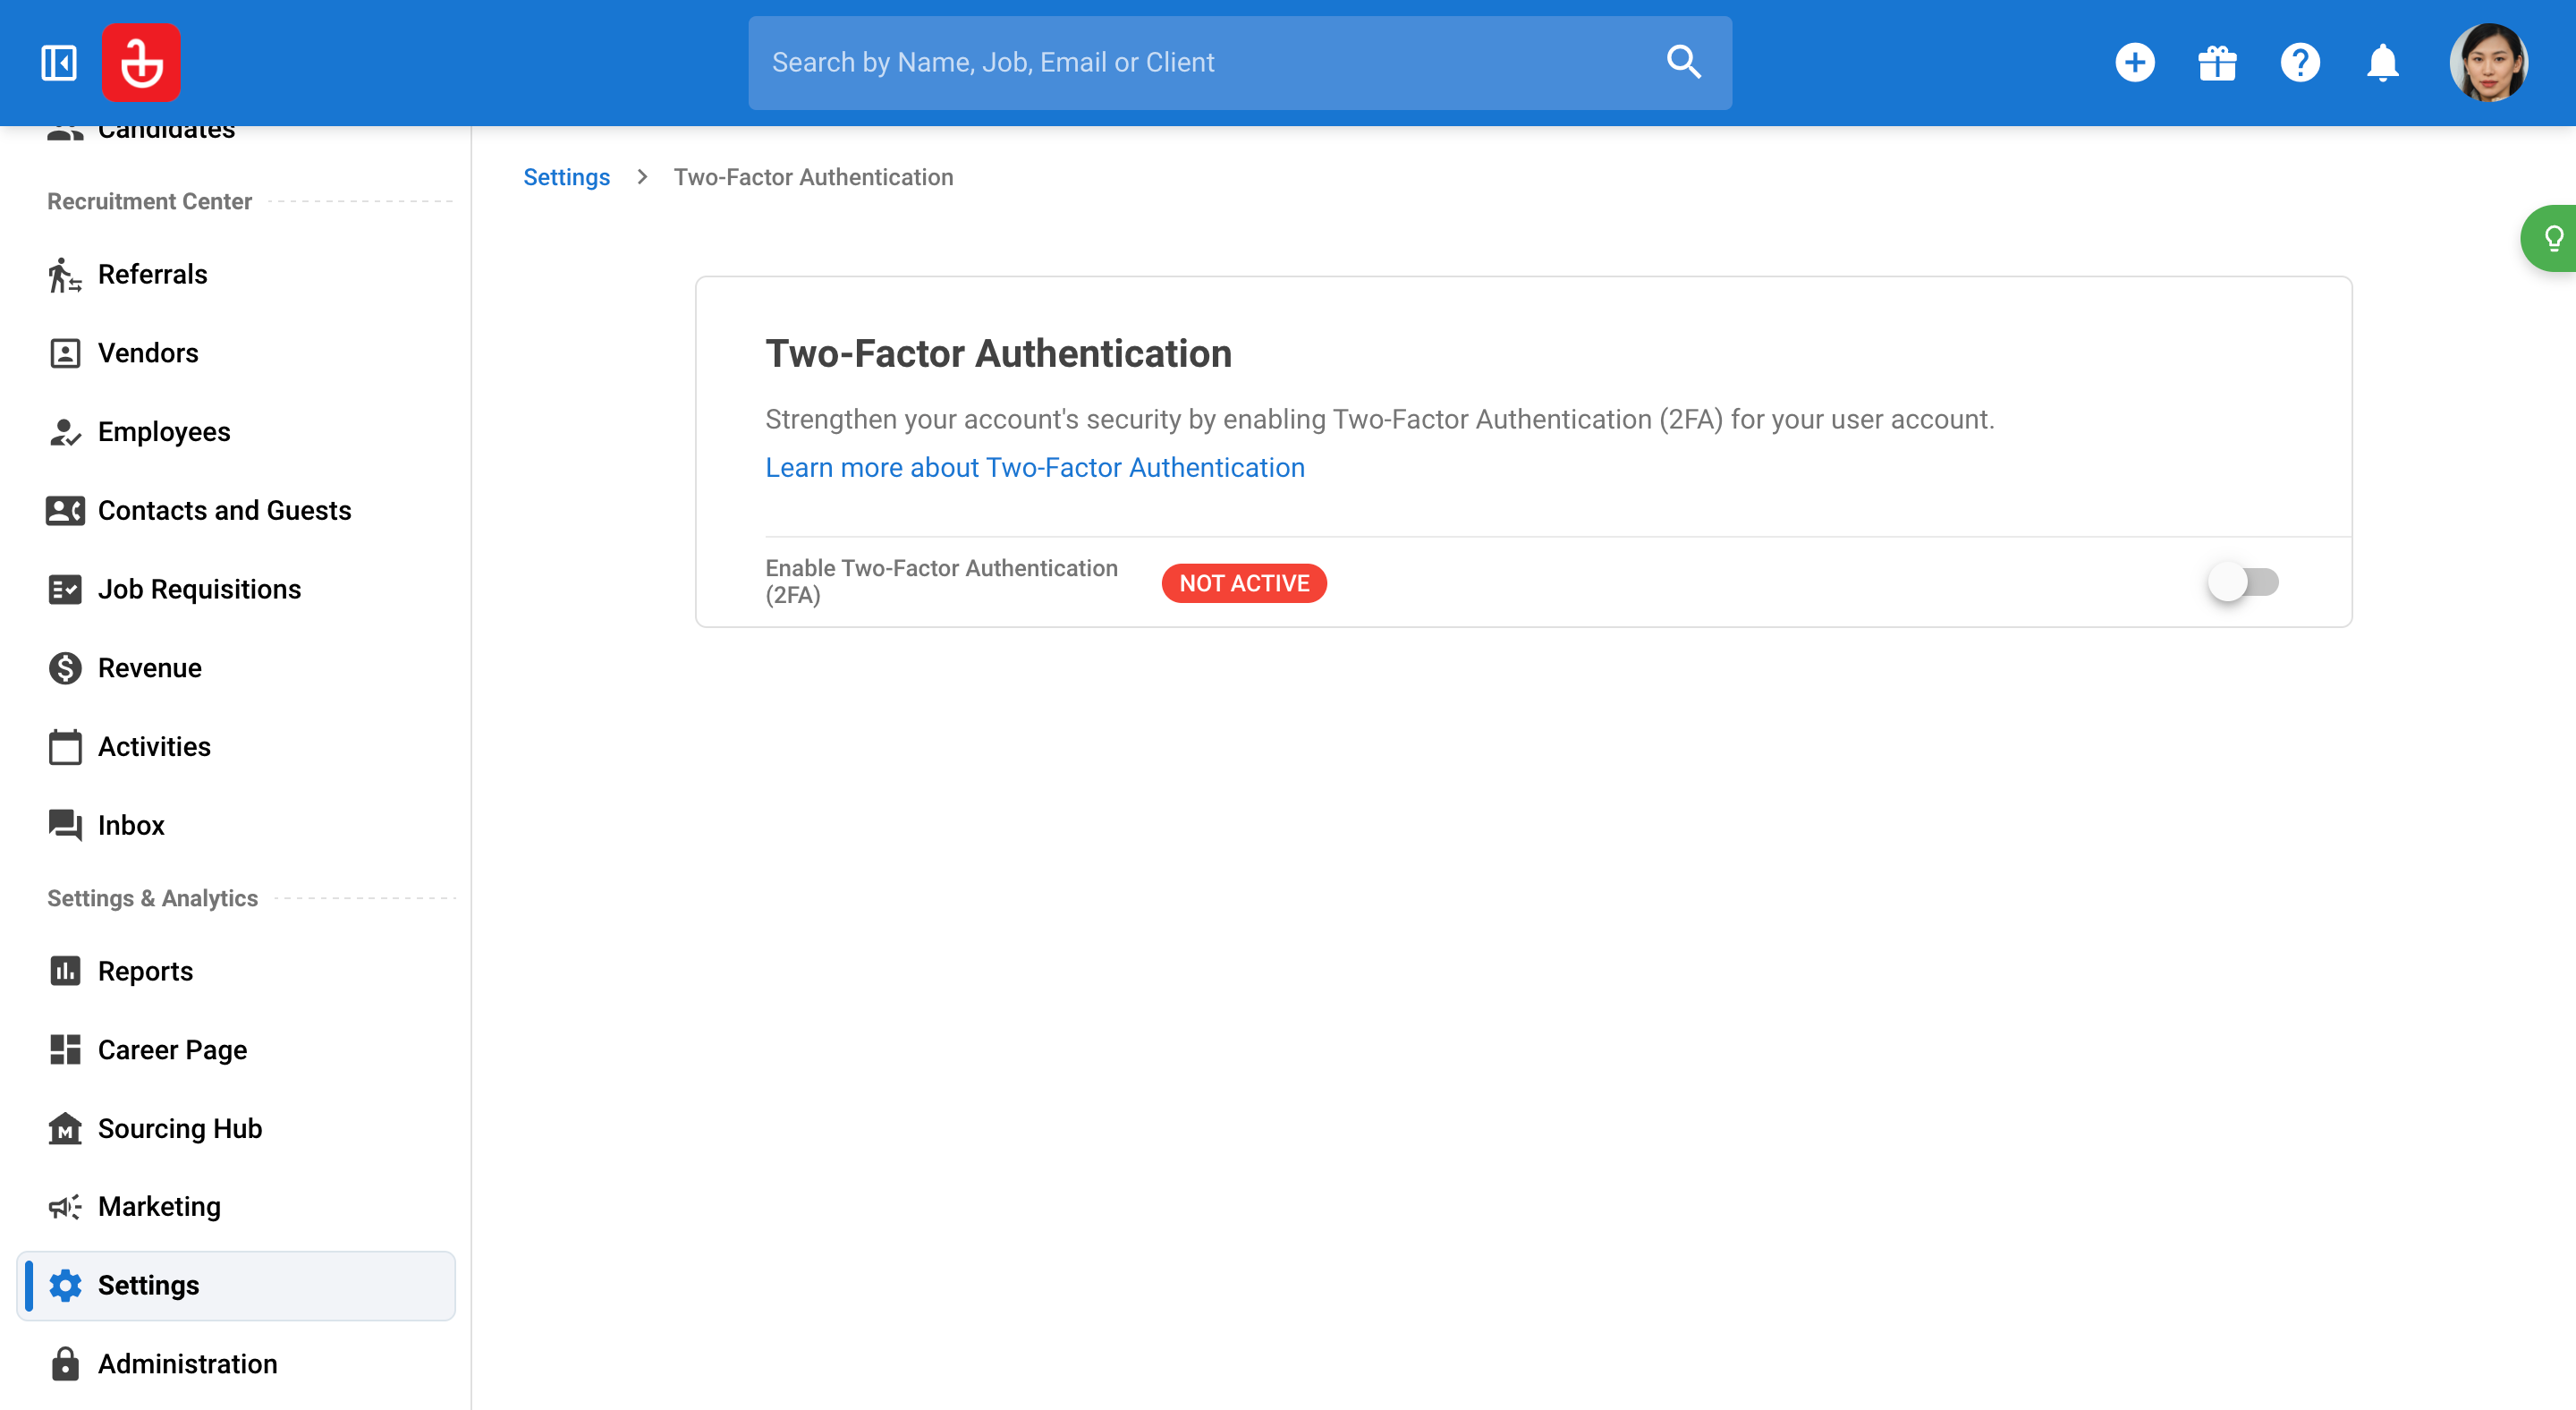
Step 26: Set up two-factor authentication with the Two-Factor Authentication setting.
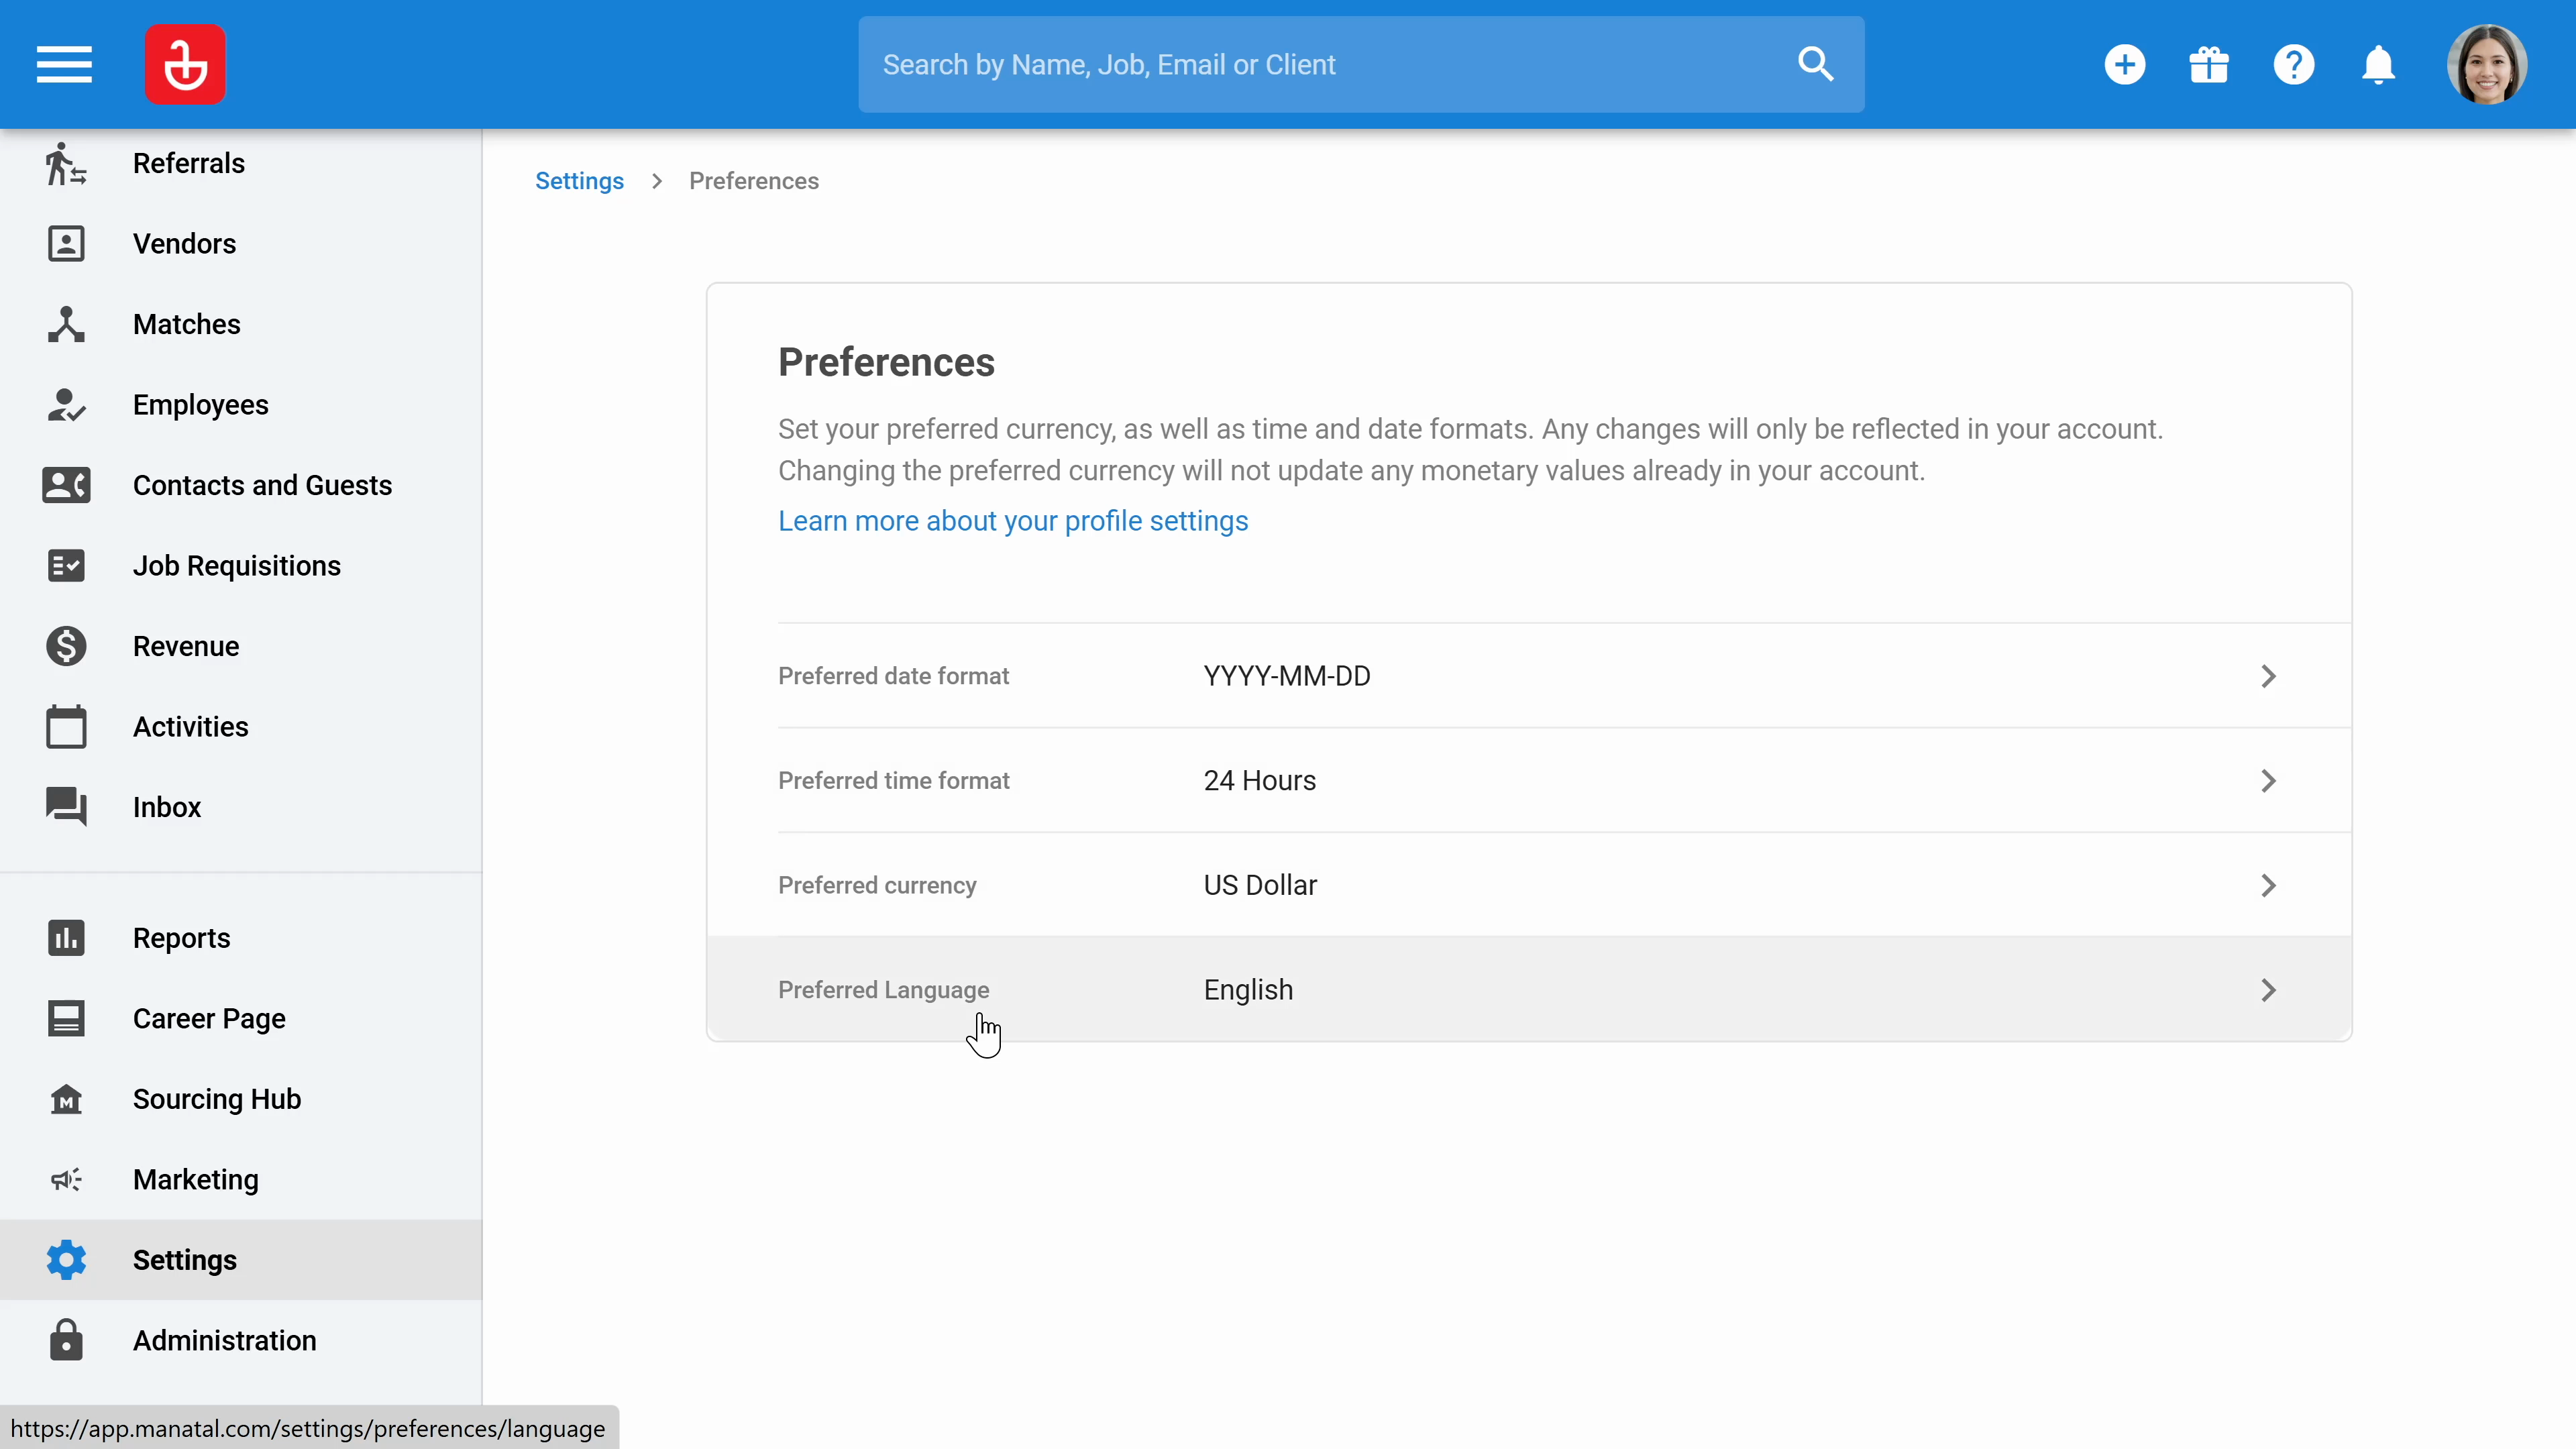
Step 27: Set up your preferences including preferred date, time, currency, and languages.
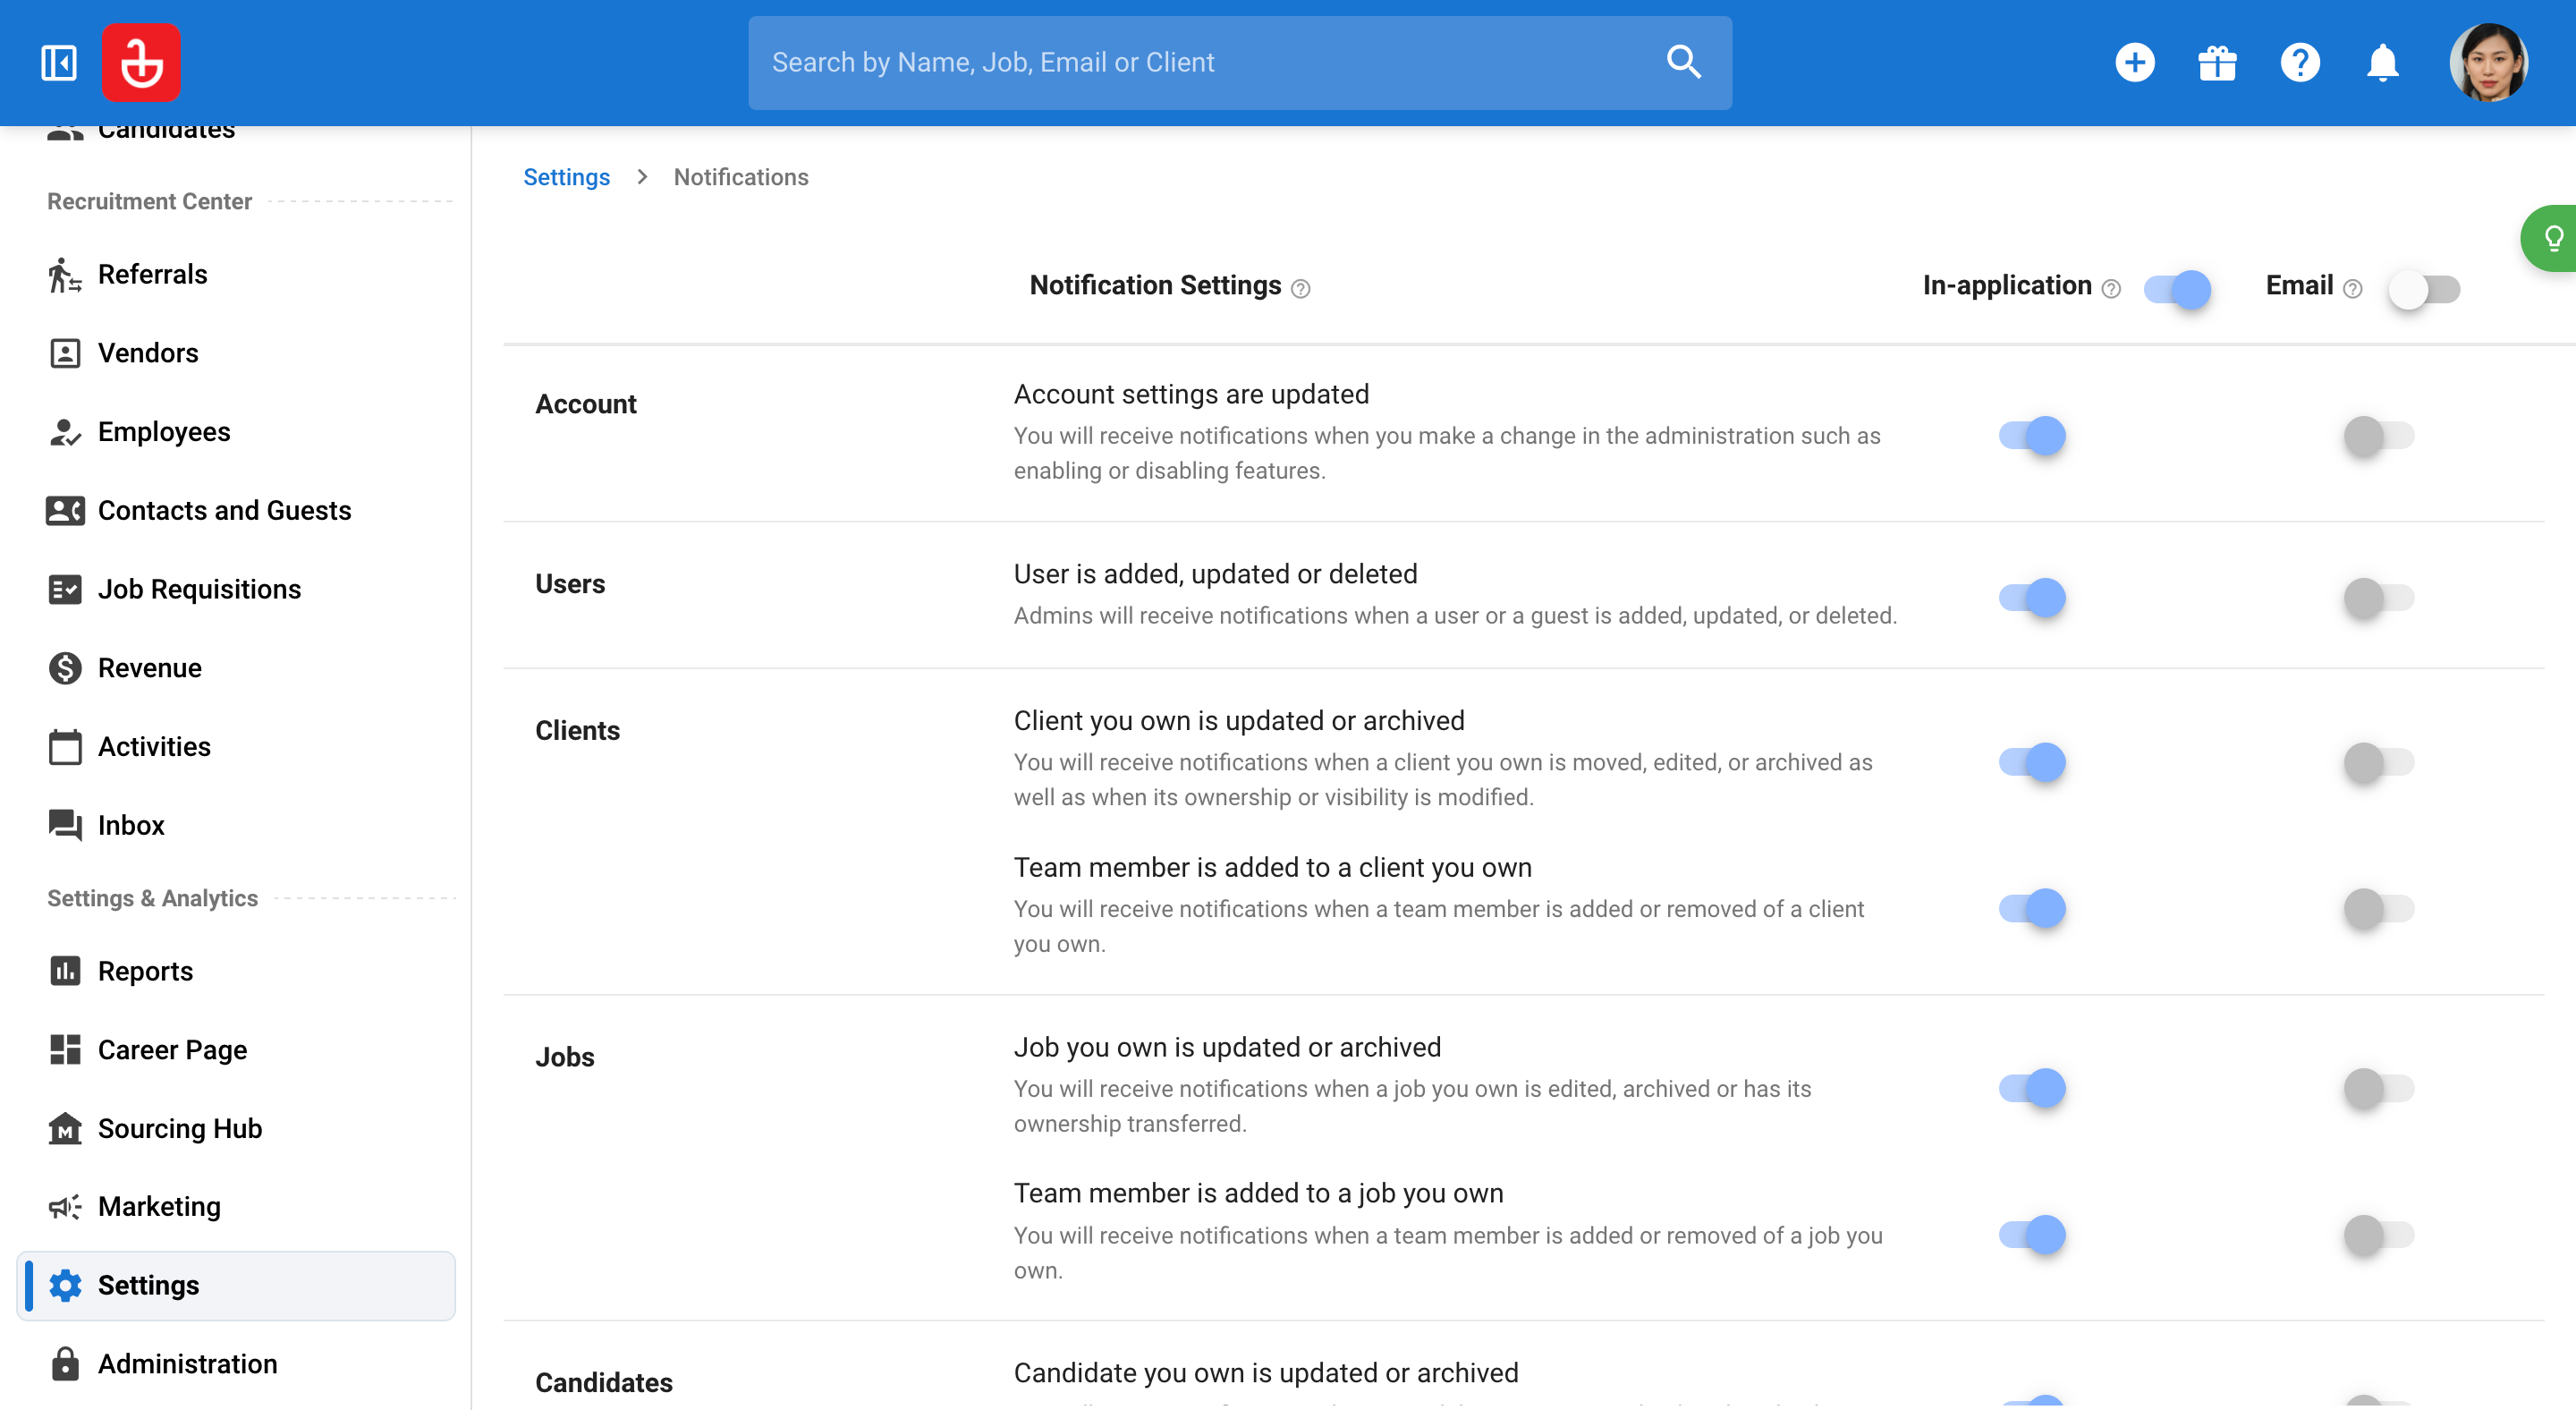
Step 28: Click notification to enable notifications relevant to you.