In this article, we'll guide you through the process of creating new clients and managing them effectively. You'll learn how to customize your dashboard and filter client information to streamline your workflow.
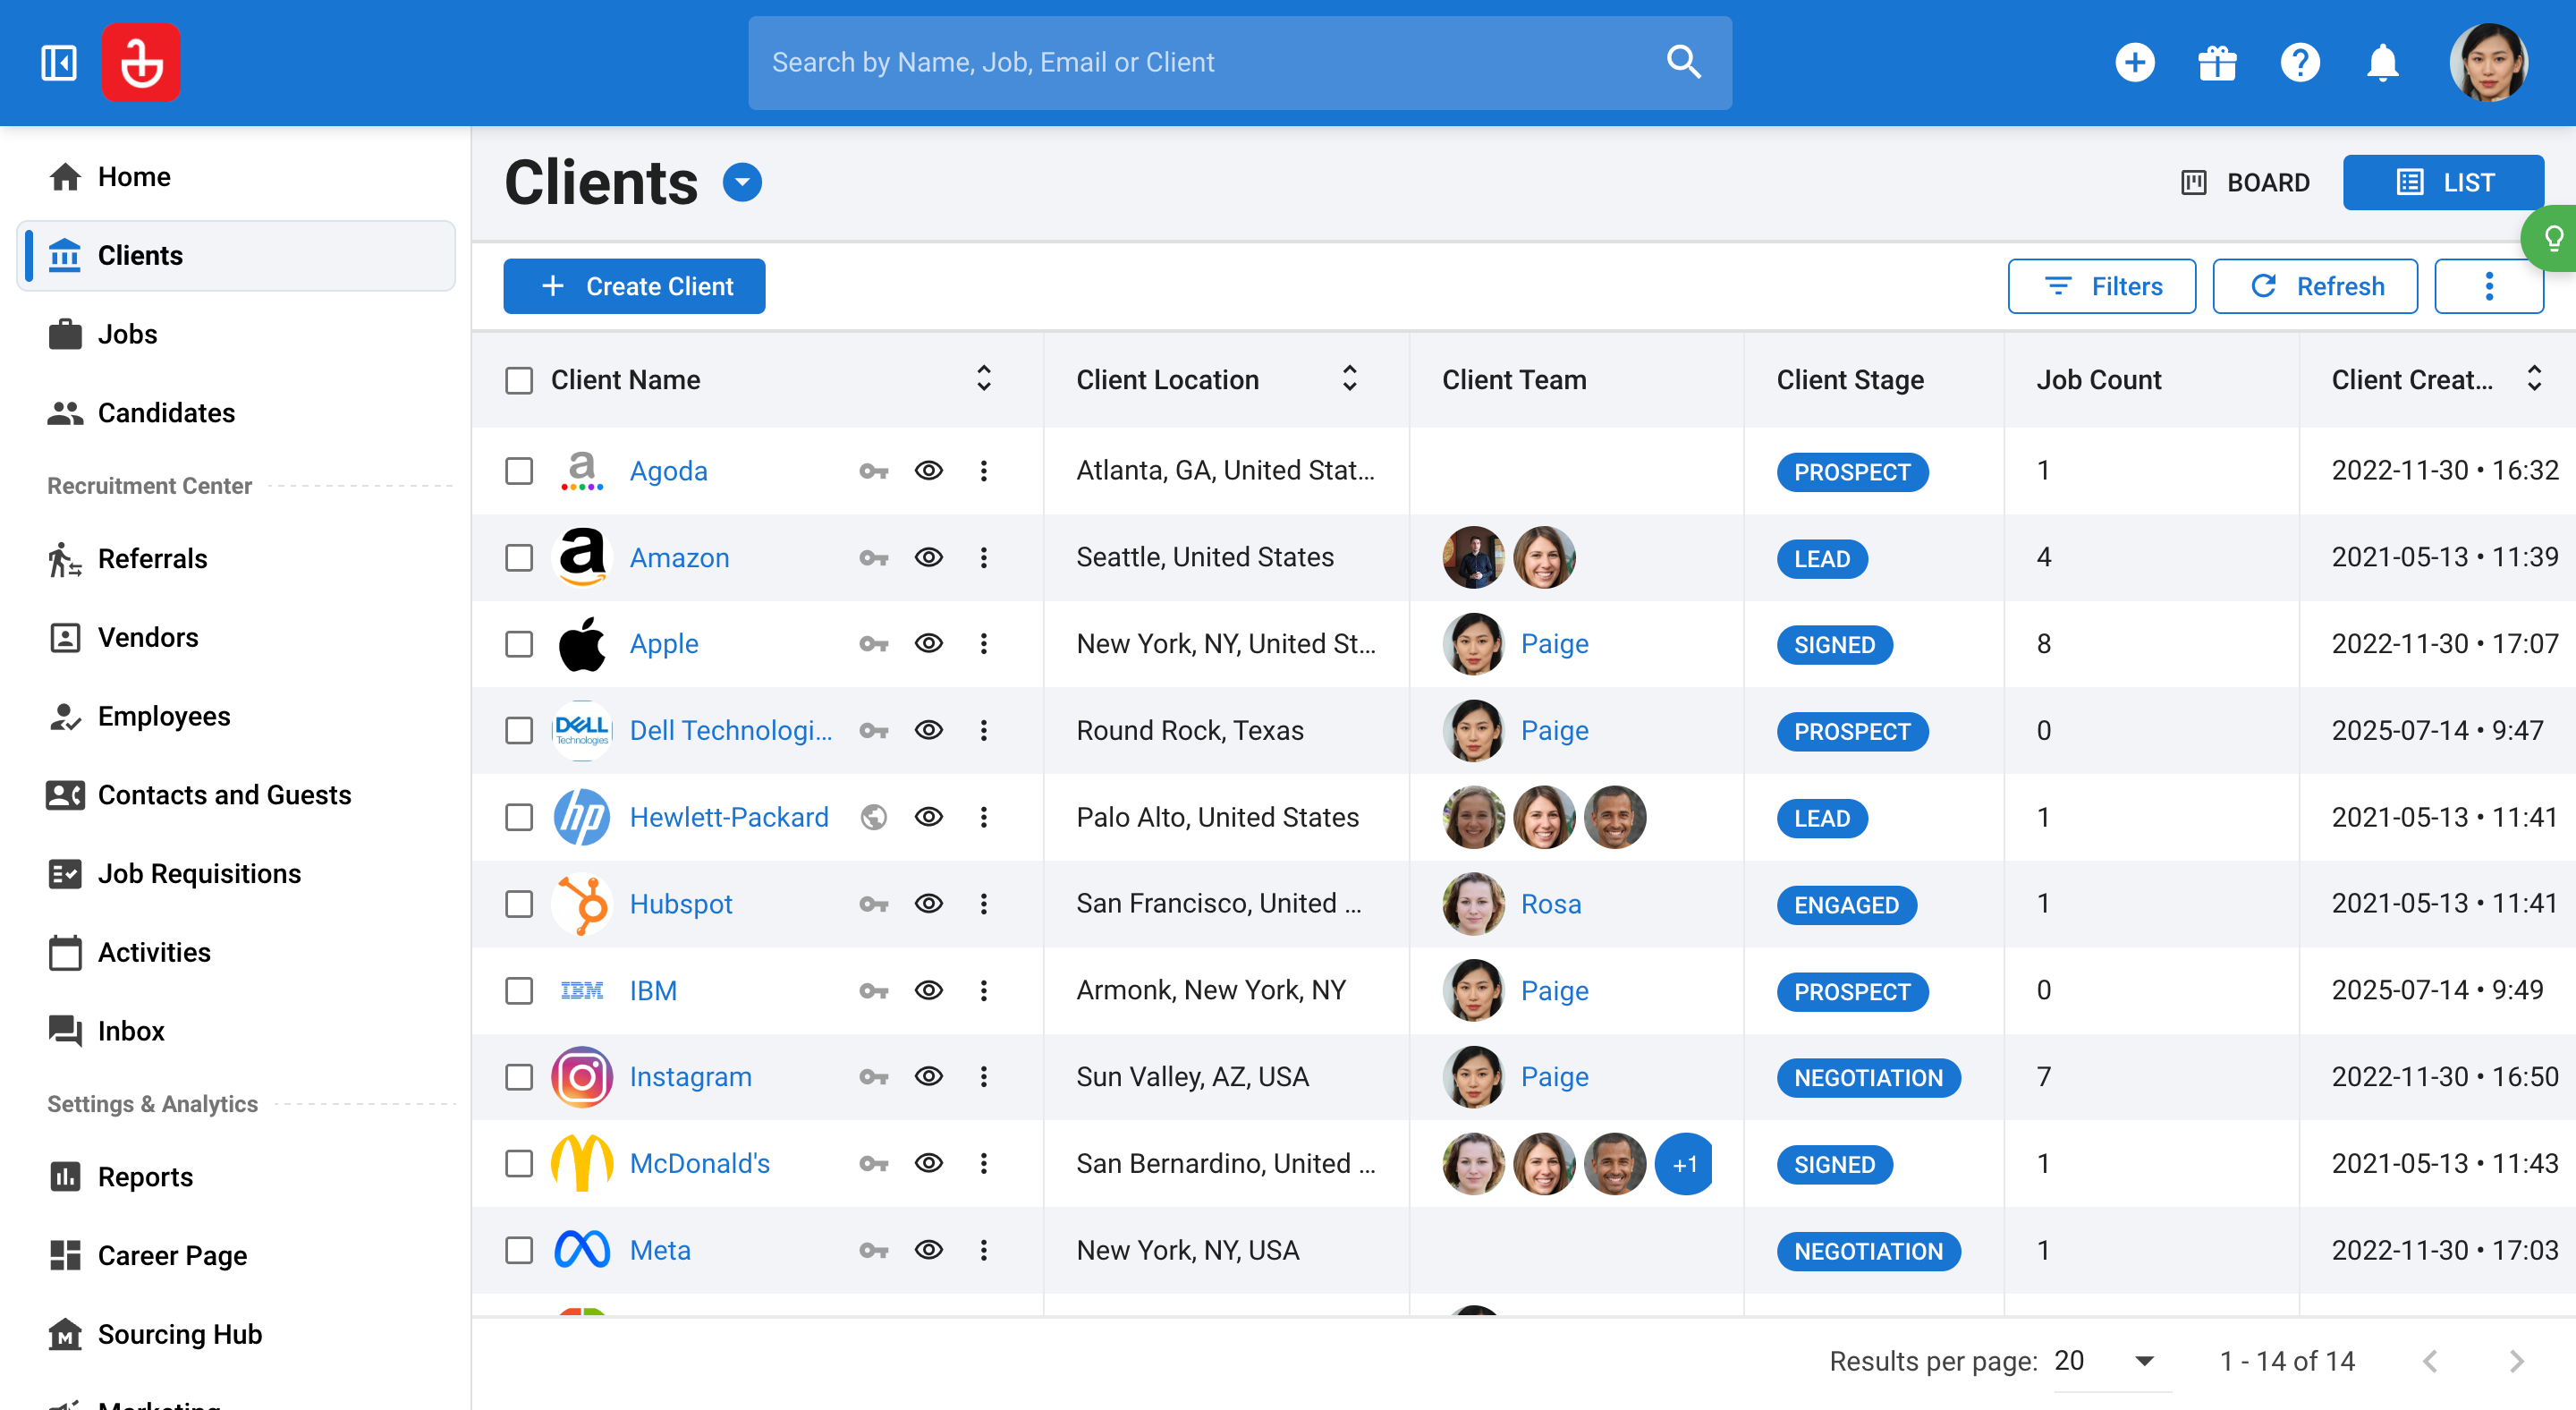
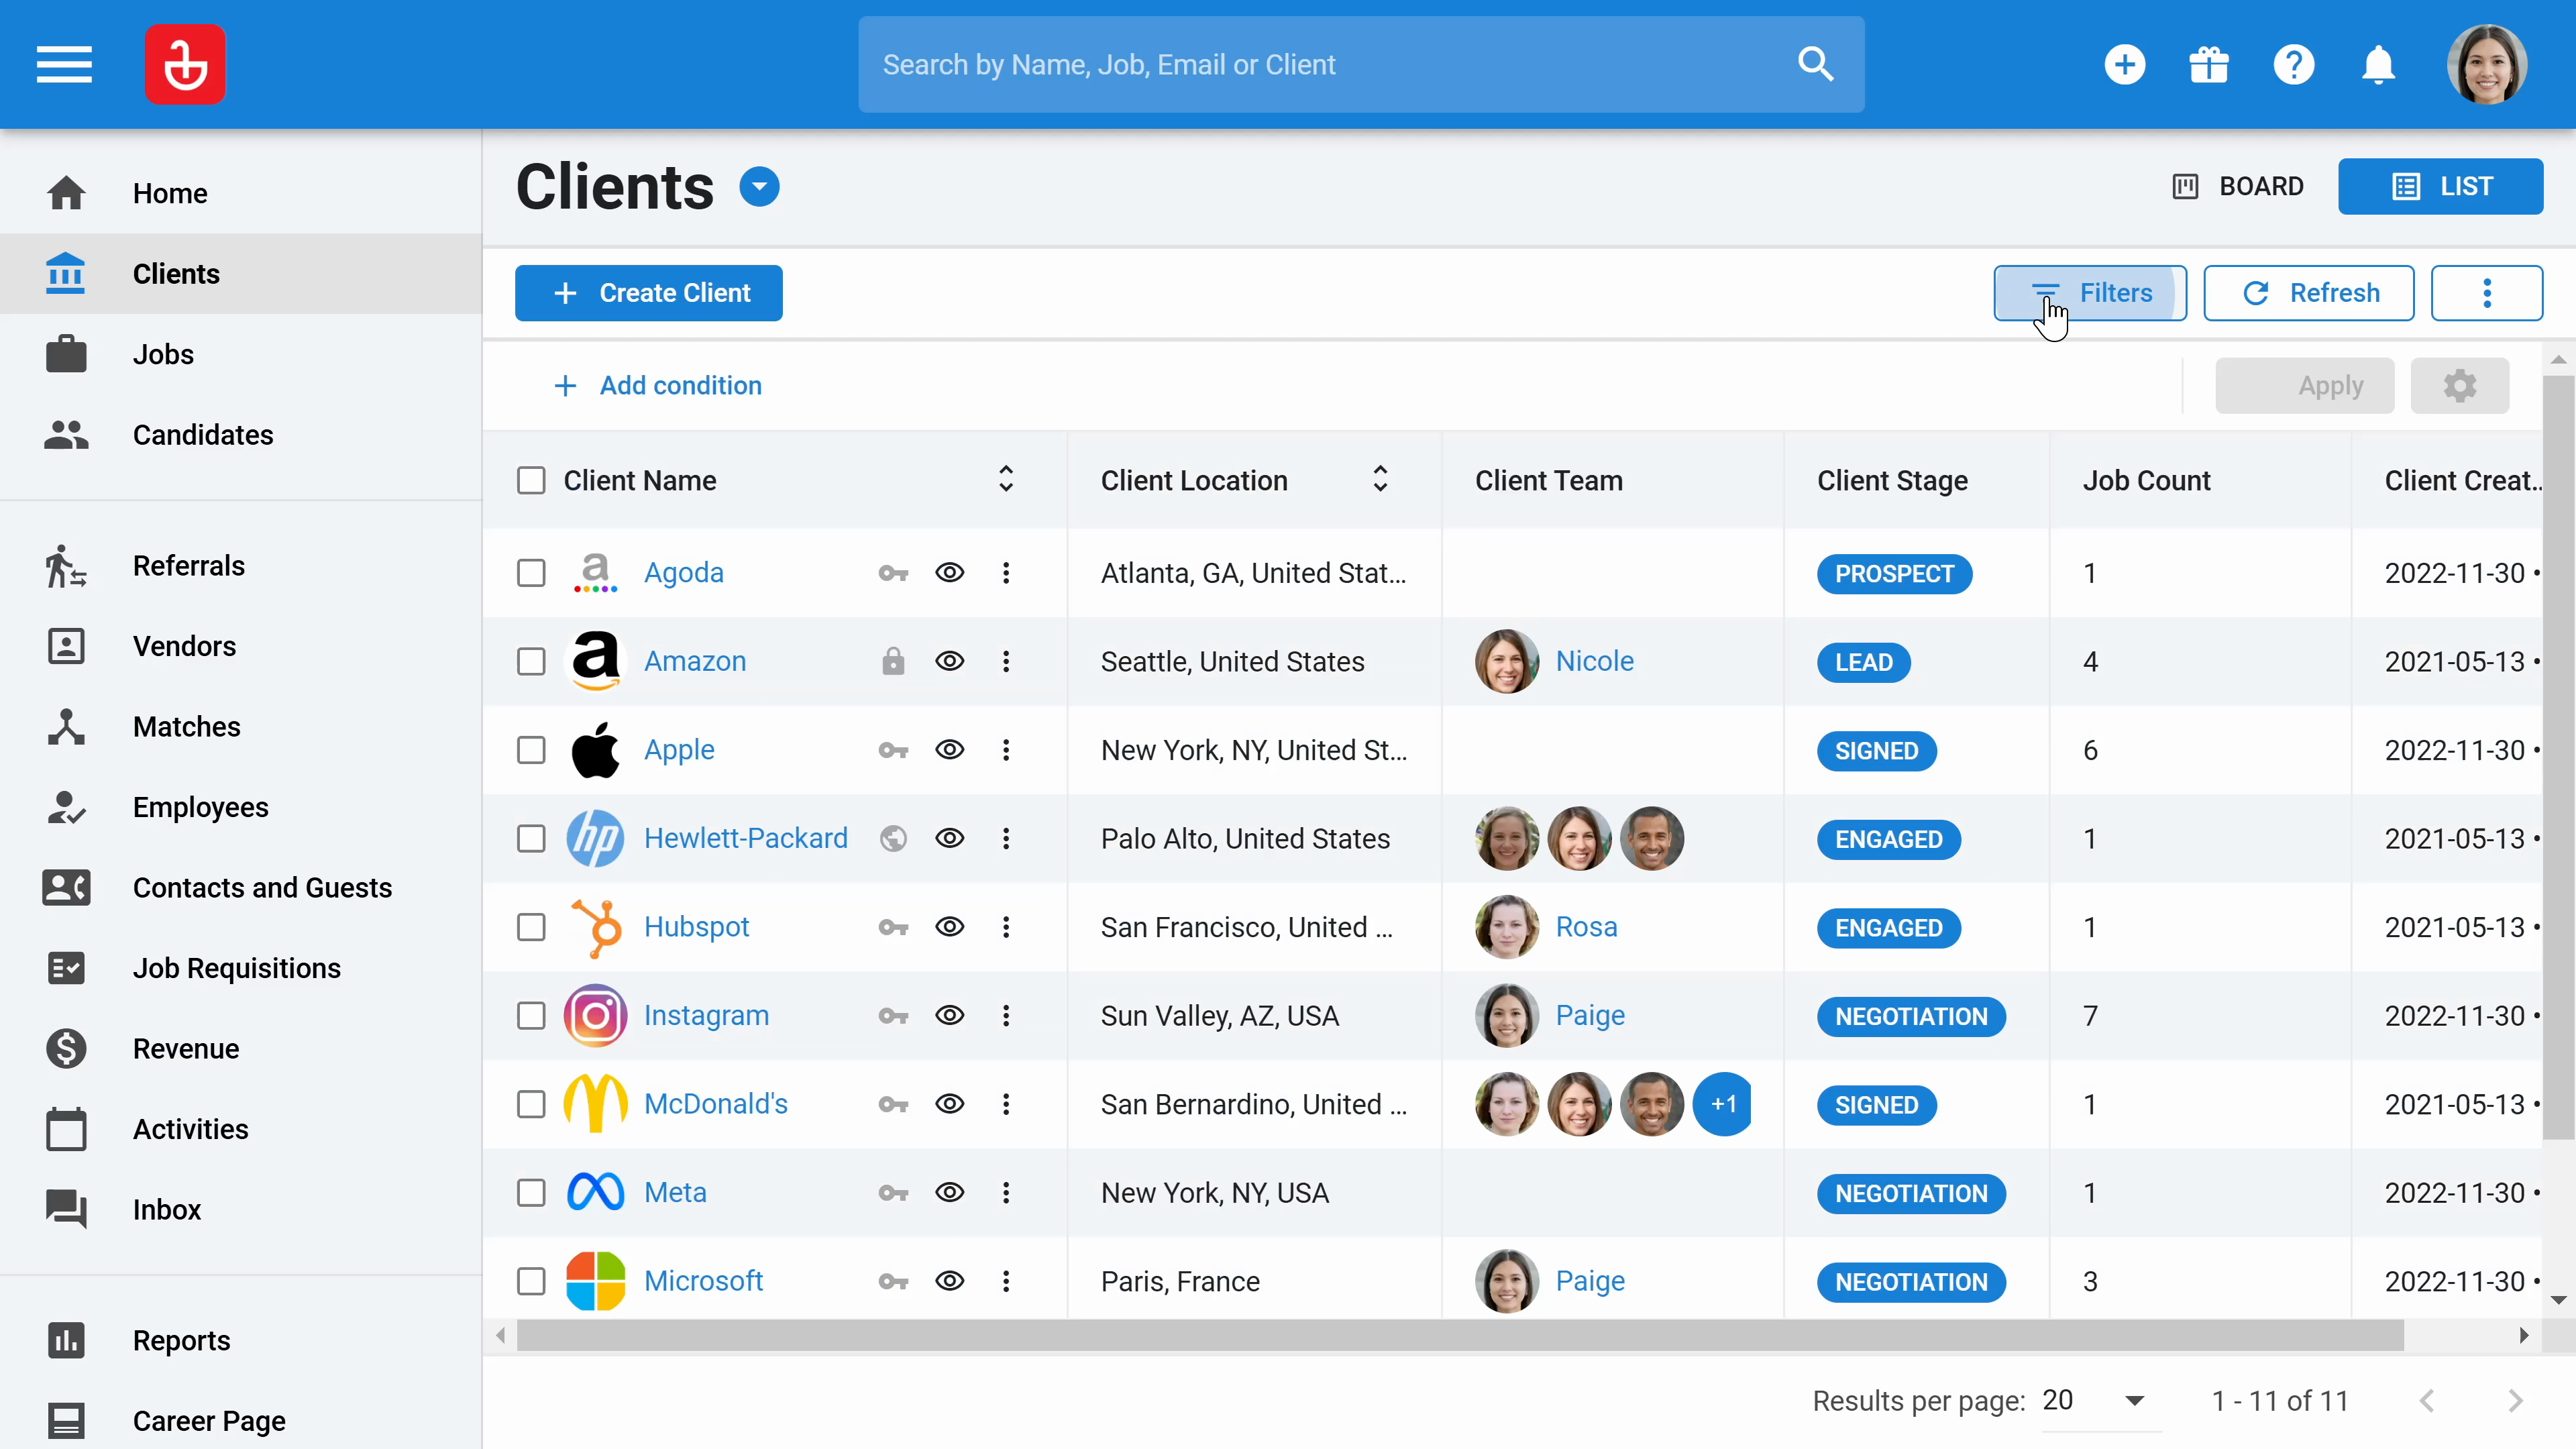
Step 1: Start by navigating to the Clients section. Here, you'll view a list of all your clients displayed on the dashboard.
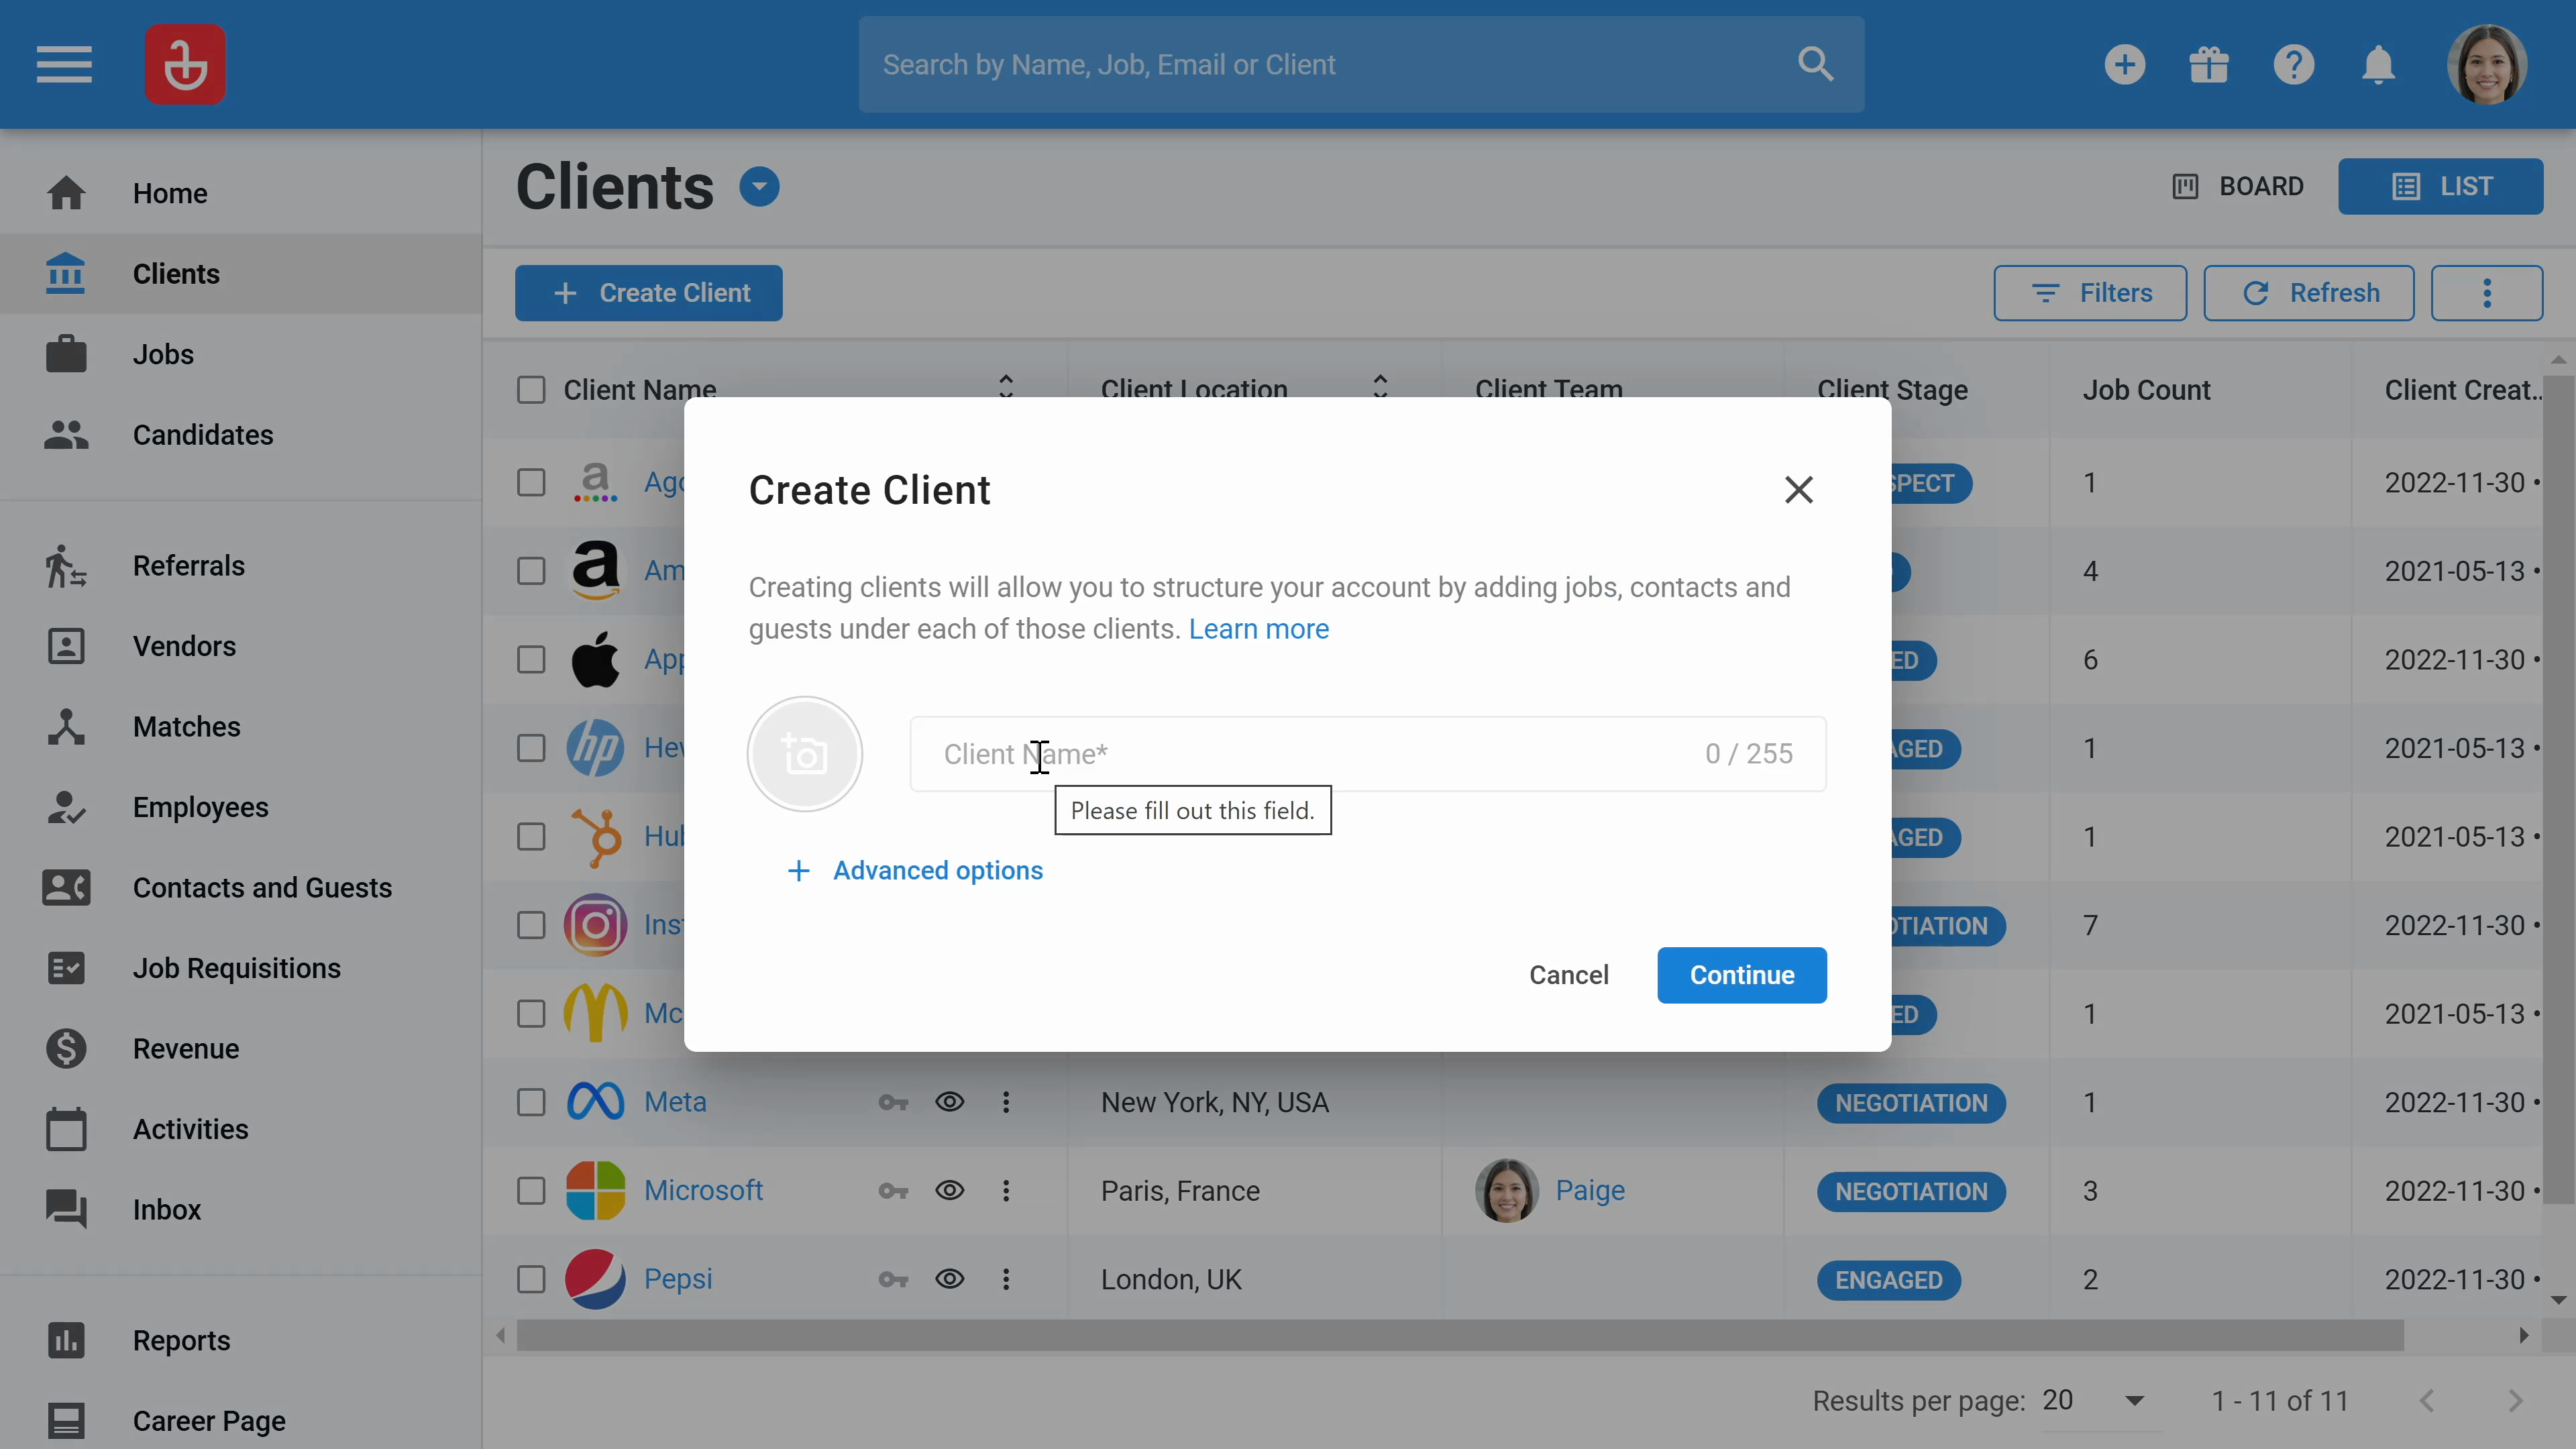
Step 2: To add a new client, click the Create Client button. You'll need to enter the client's name, which is the only mandatory field for this process.
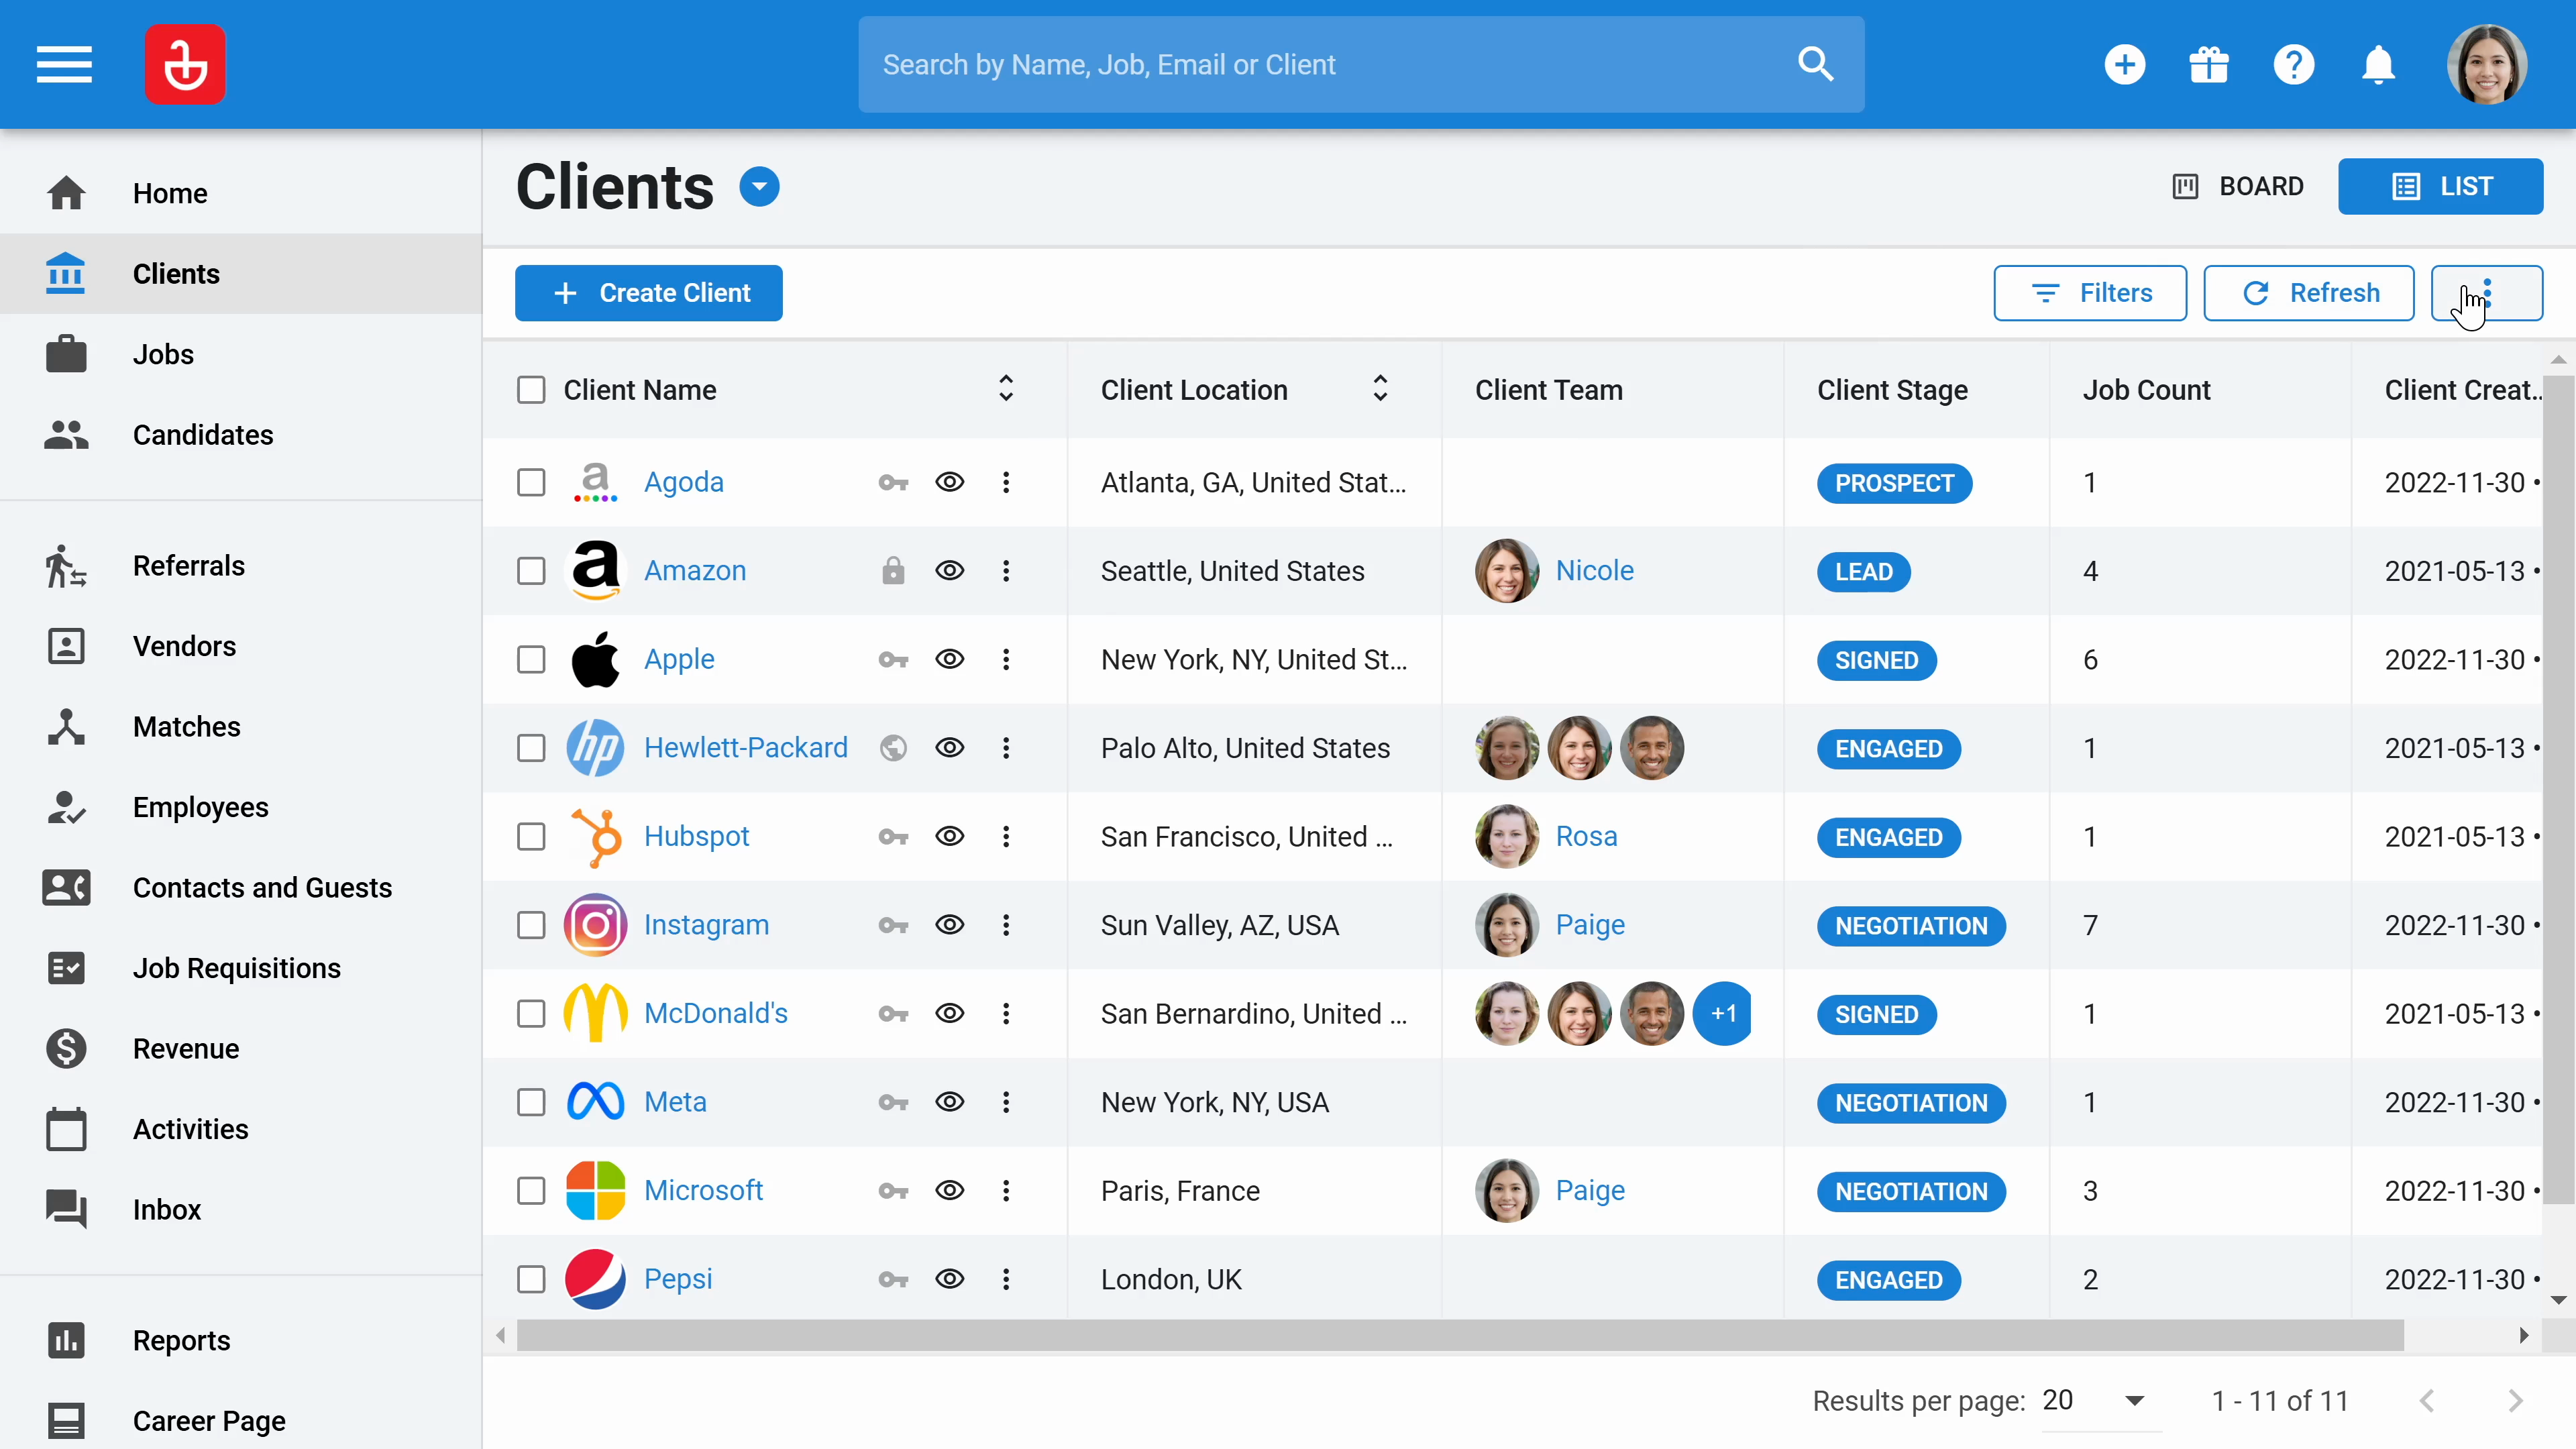
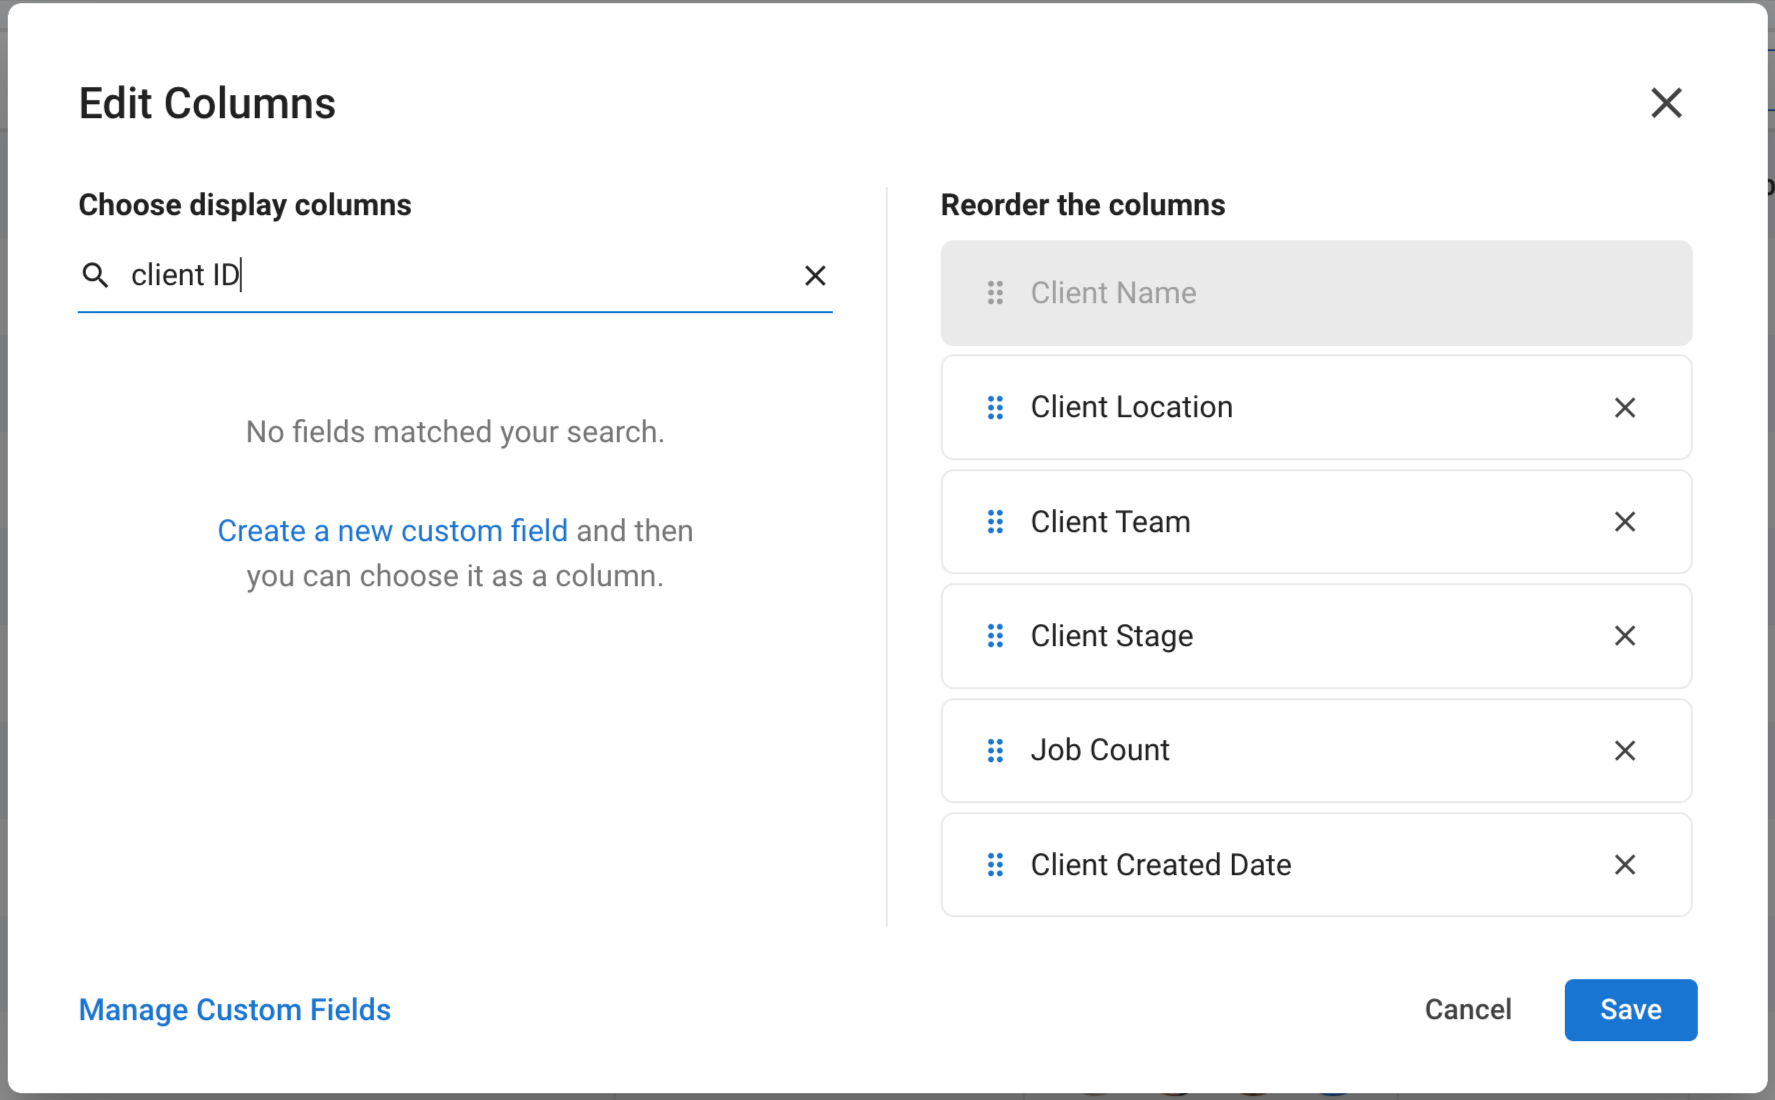
Step 3: Customize your dashboard by clicking the three dots and selecting Edit columns. Here, you can choose which columns to display and reorder them as needed. If you need to add a new column, such as 'Client ID', you can create a new field and select it as a column.
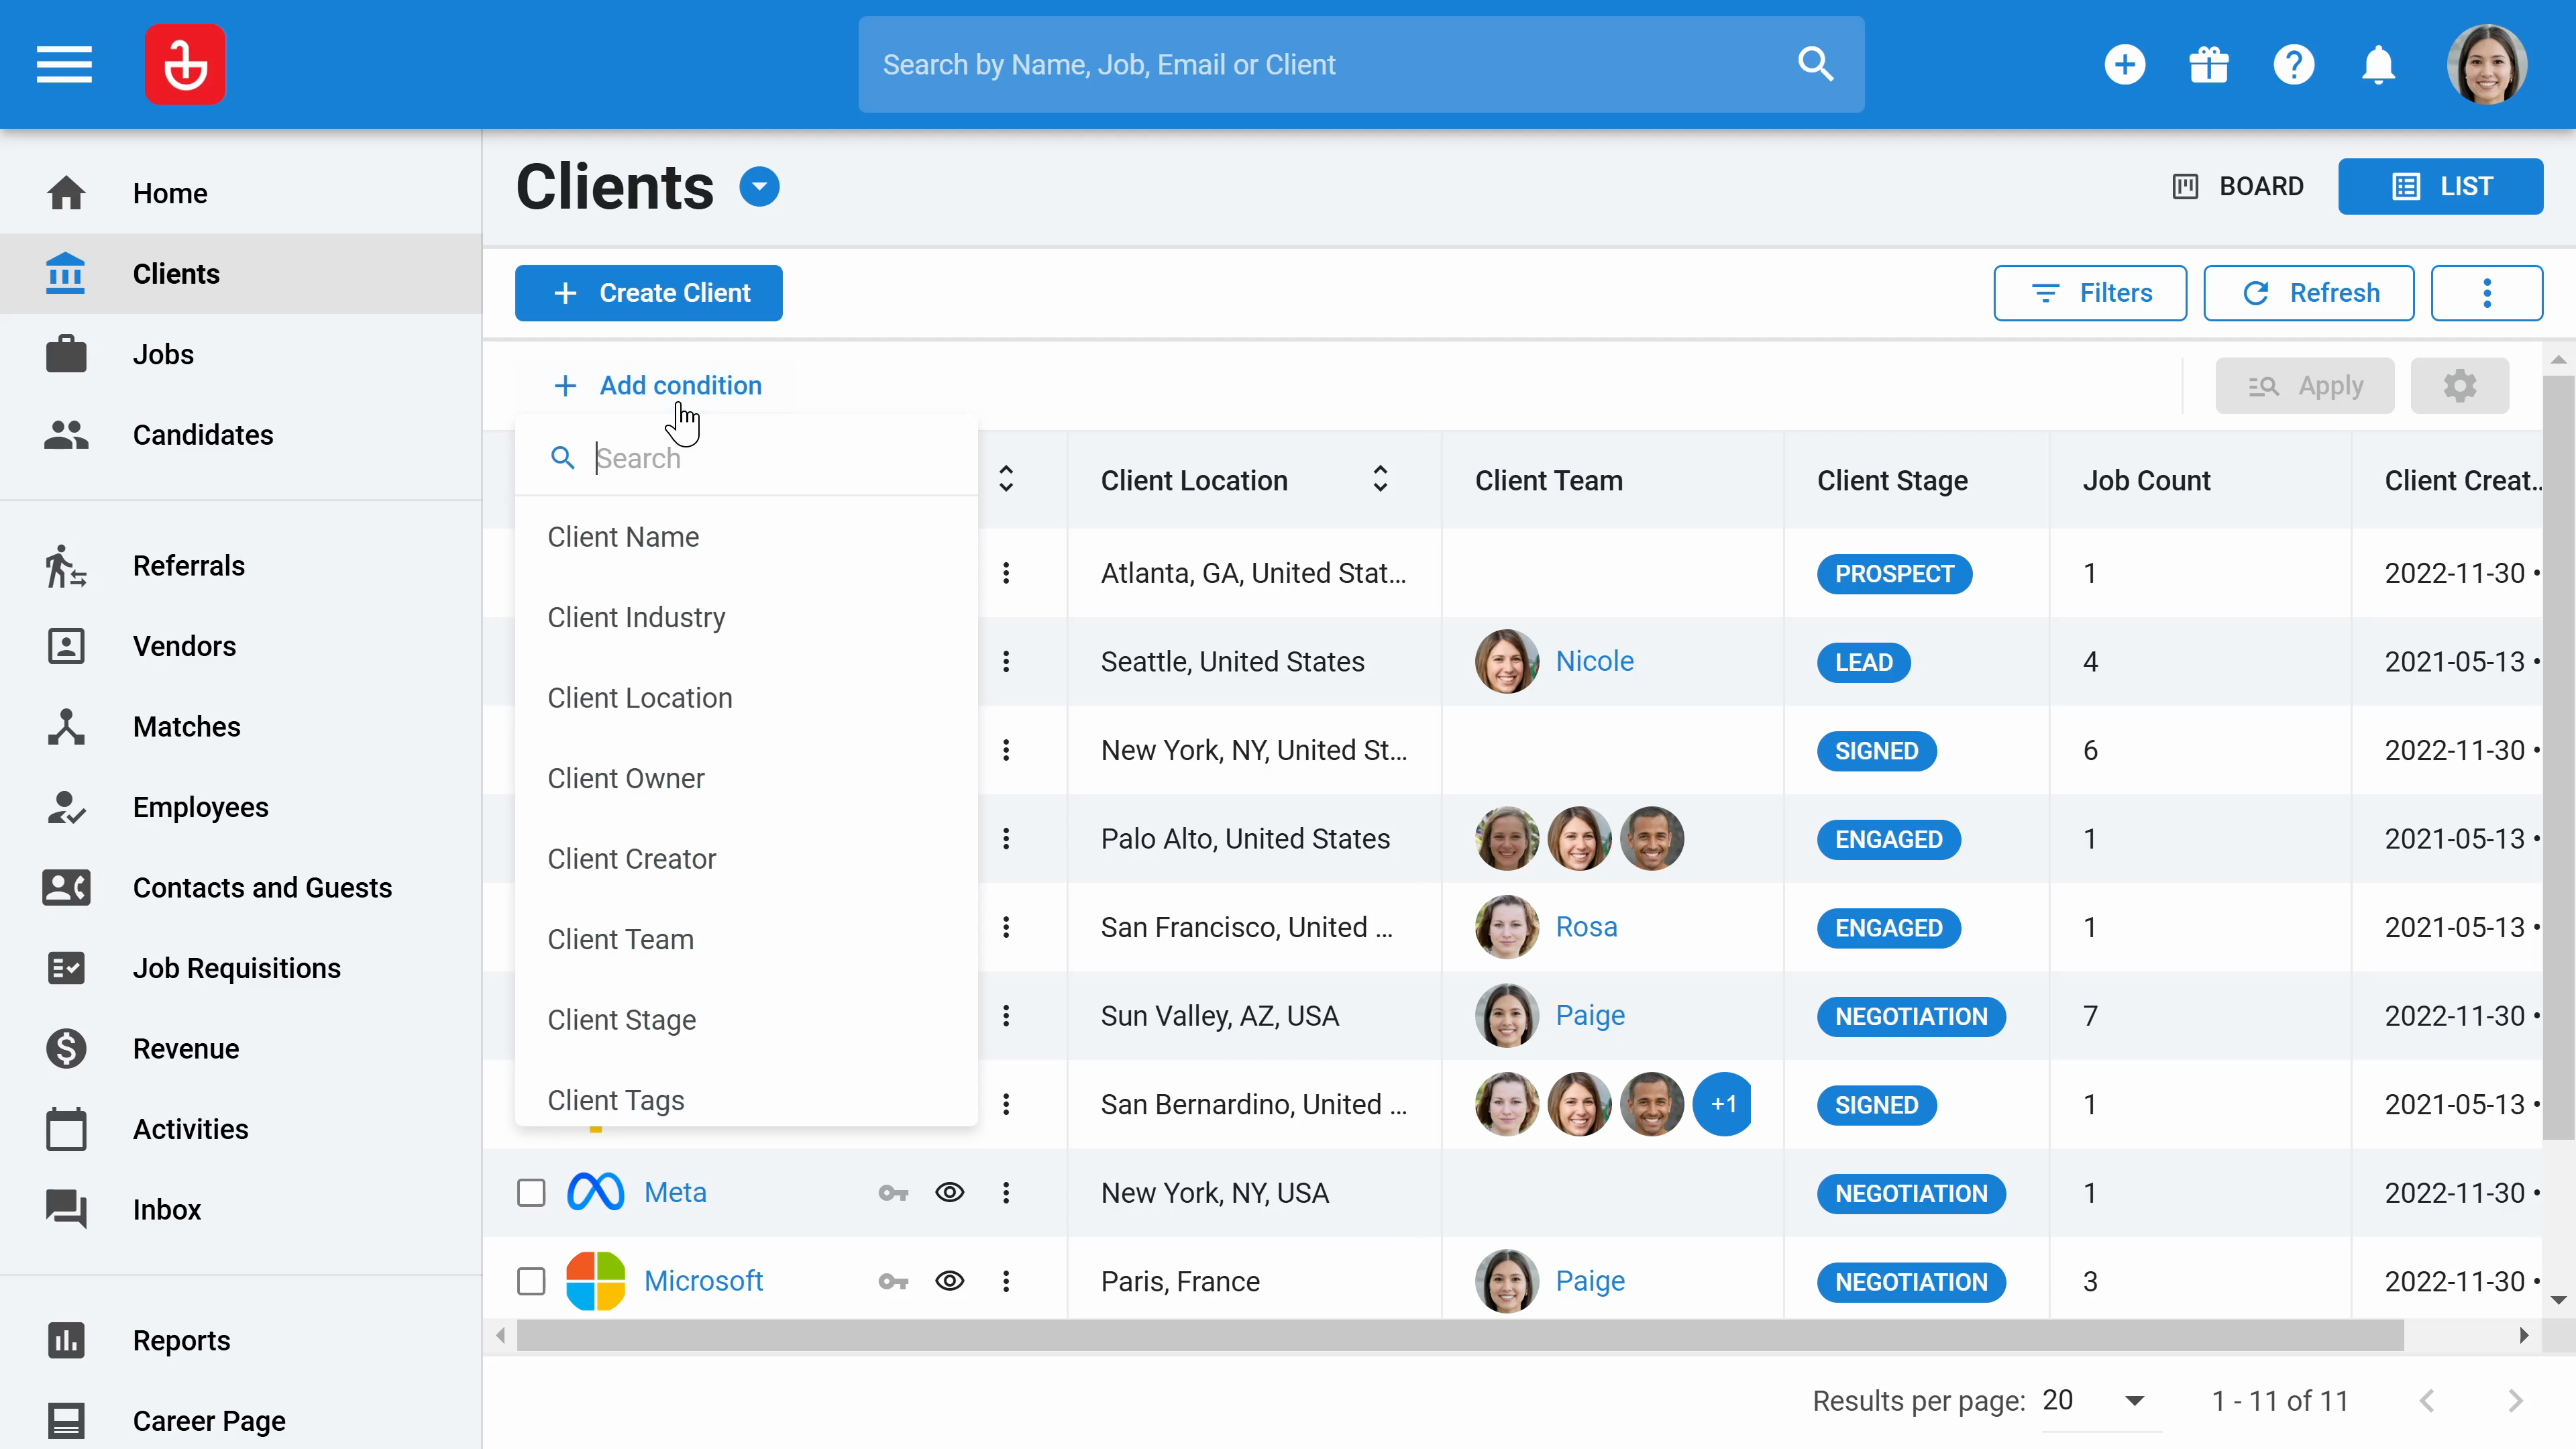
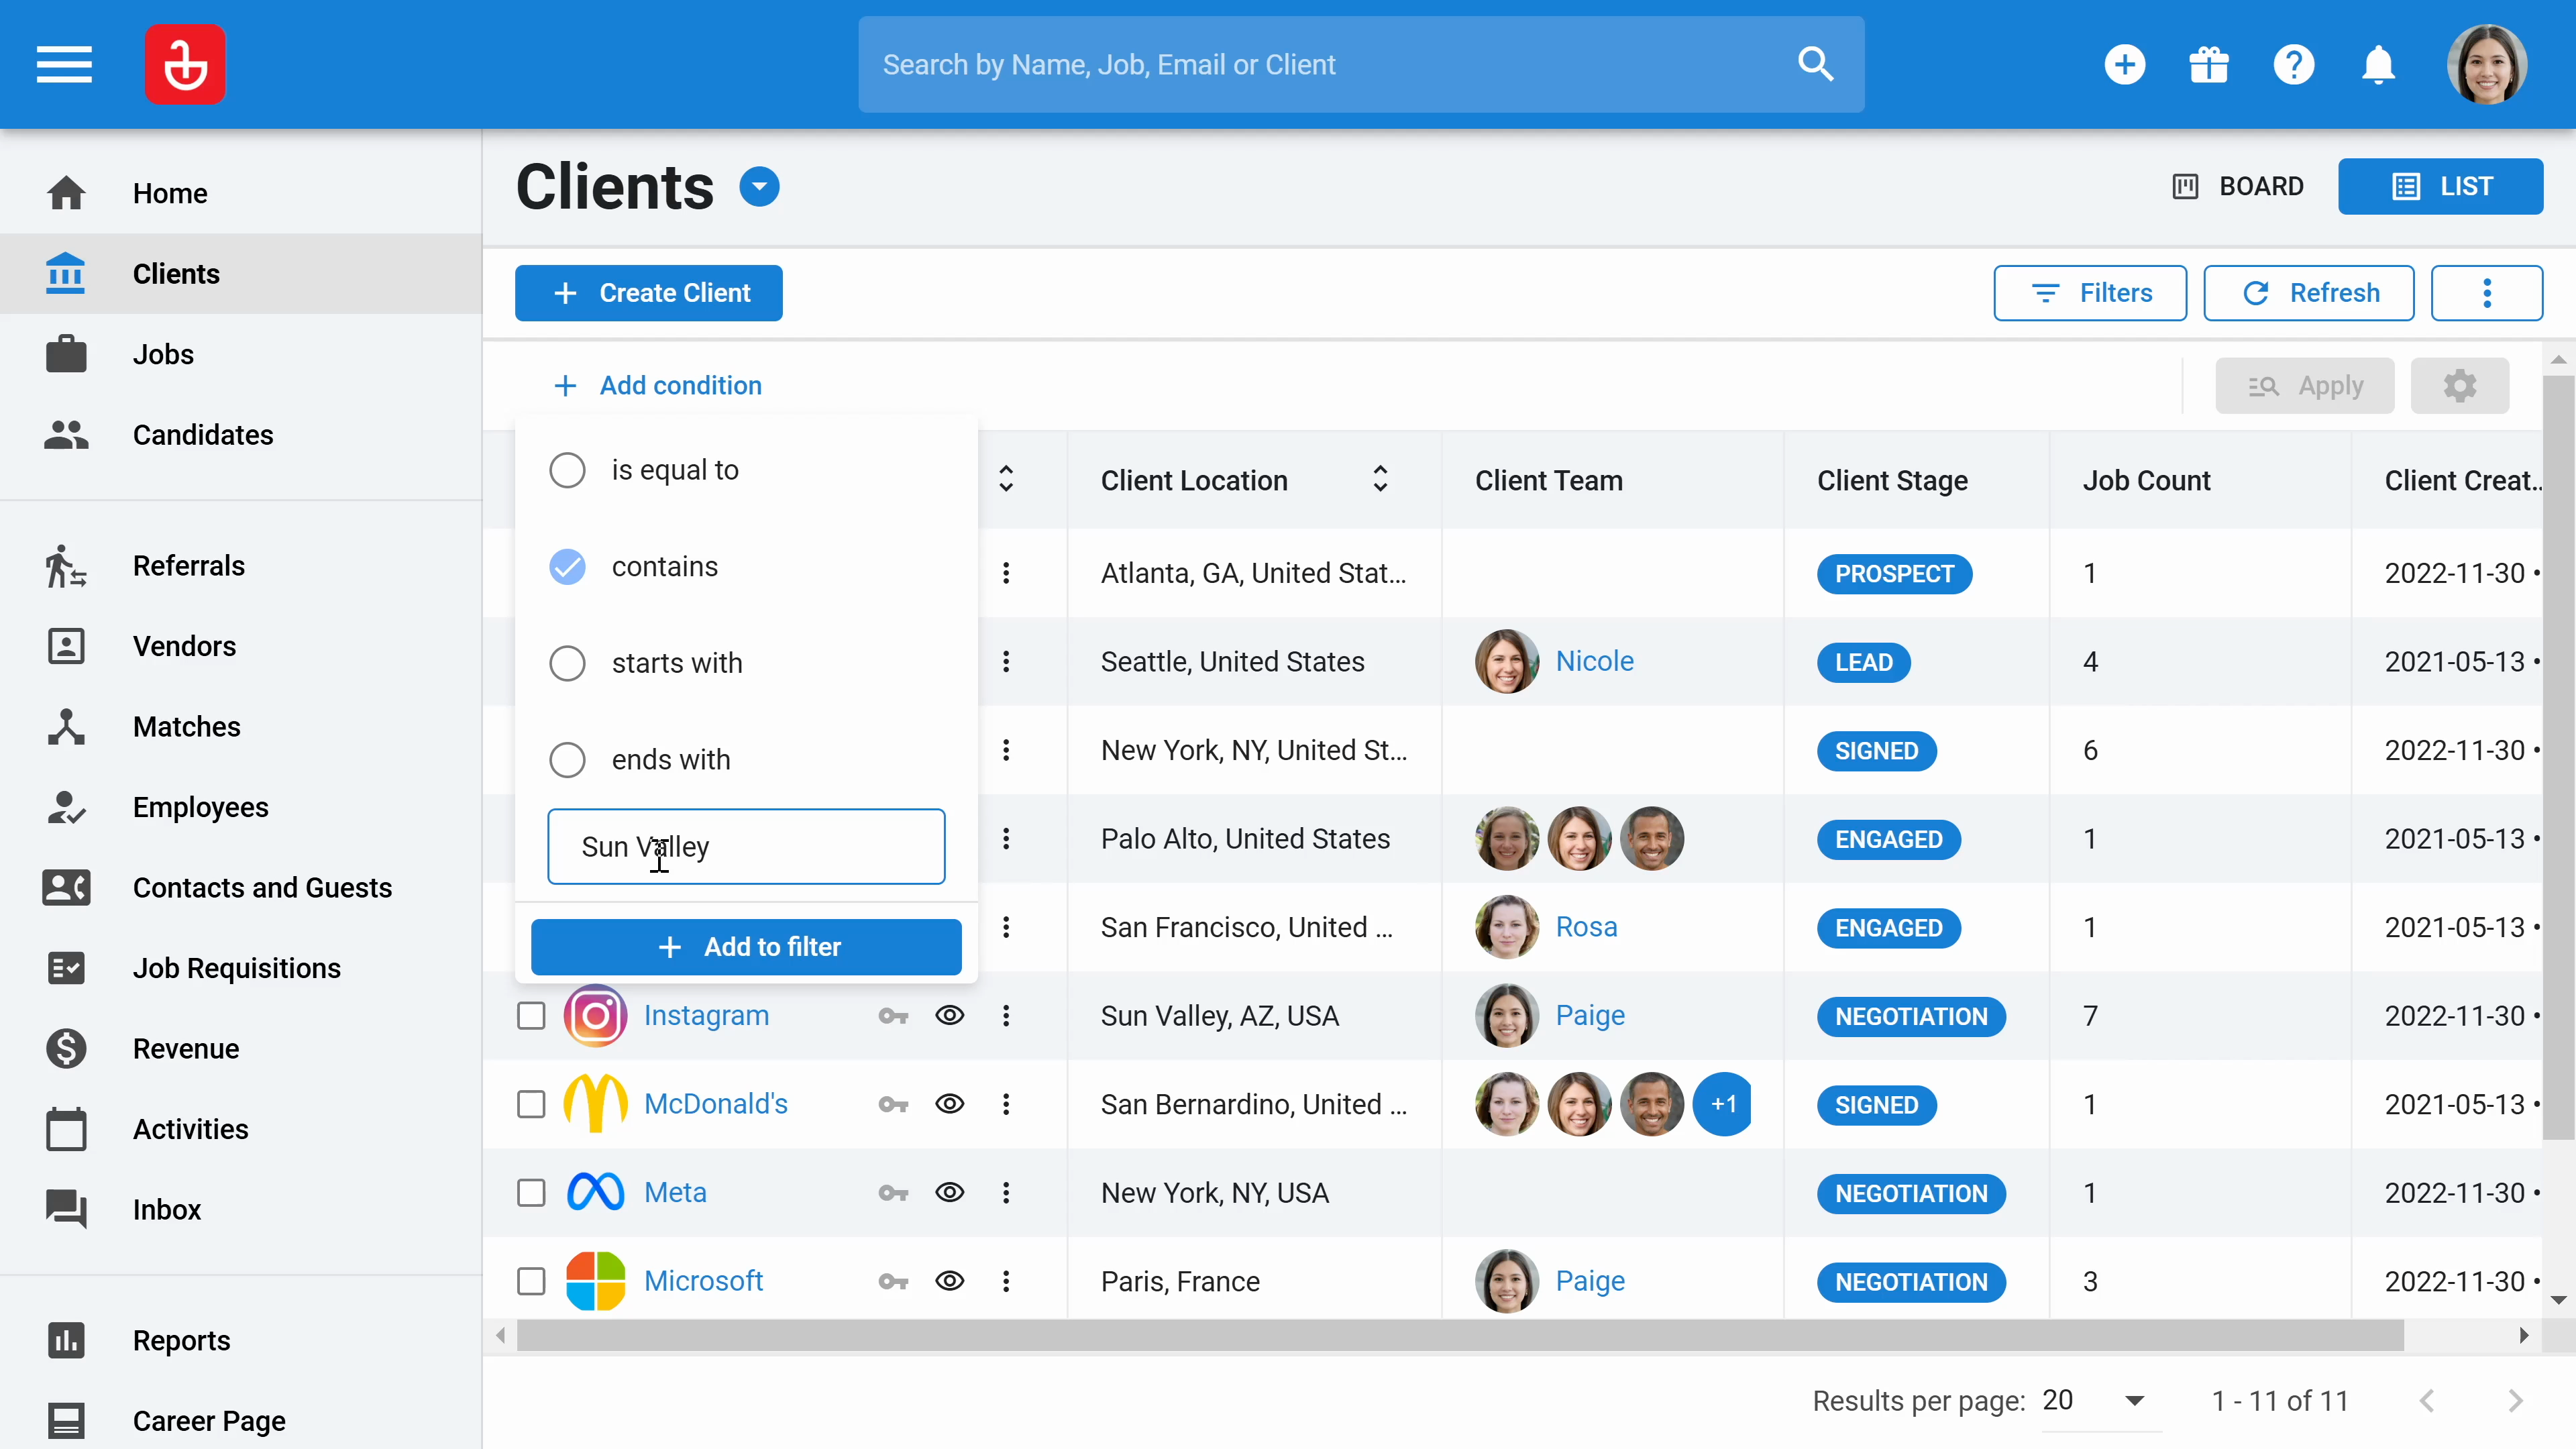
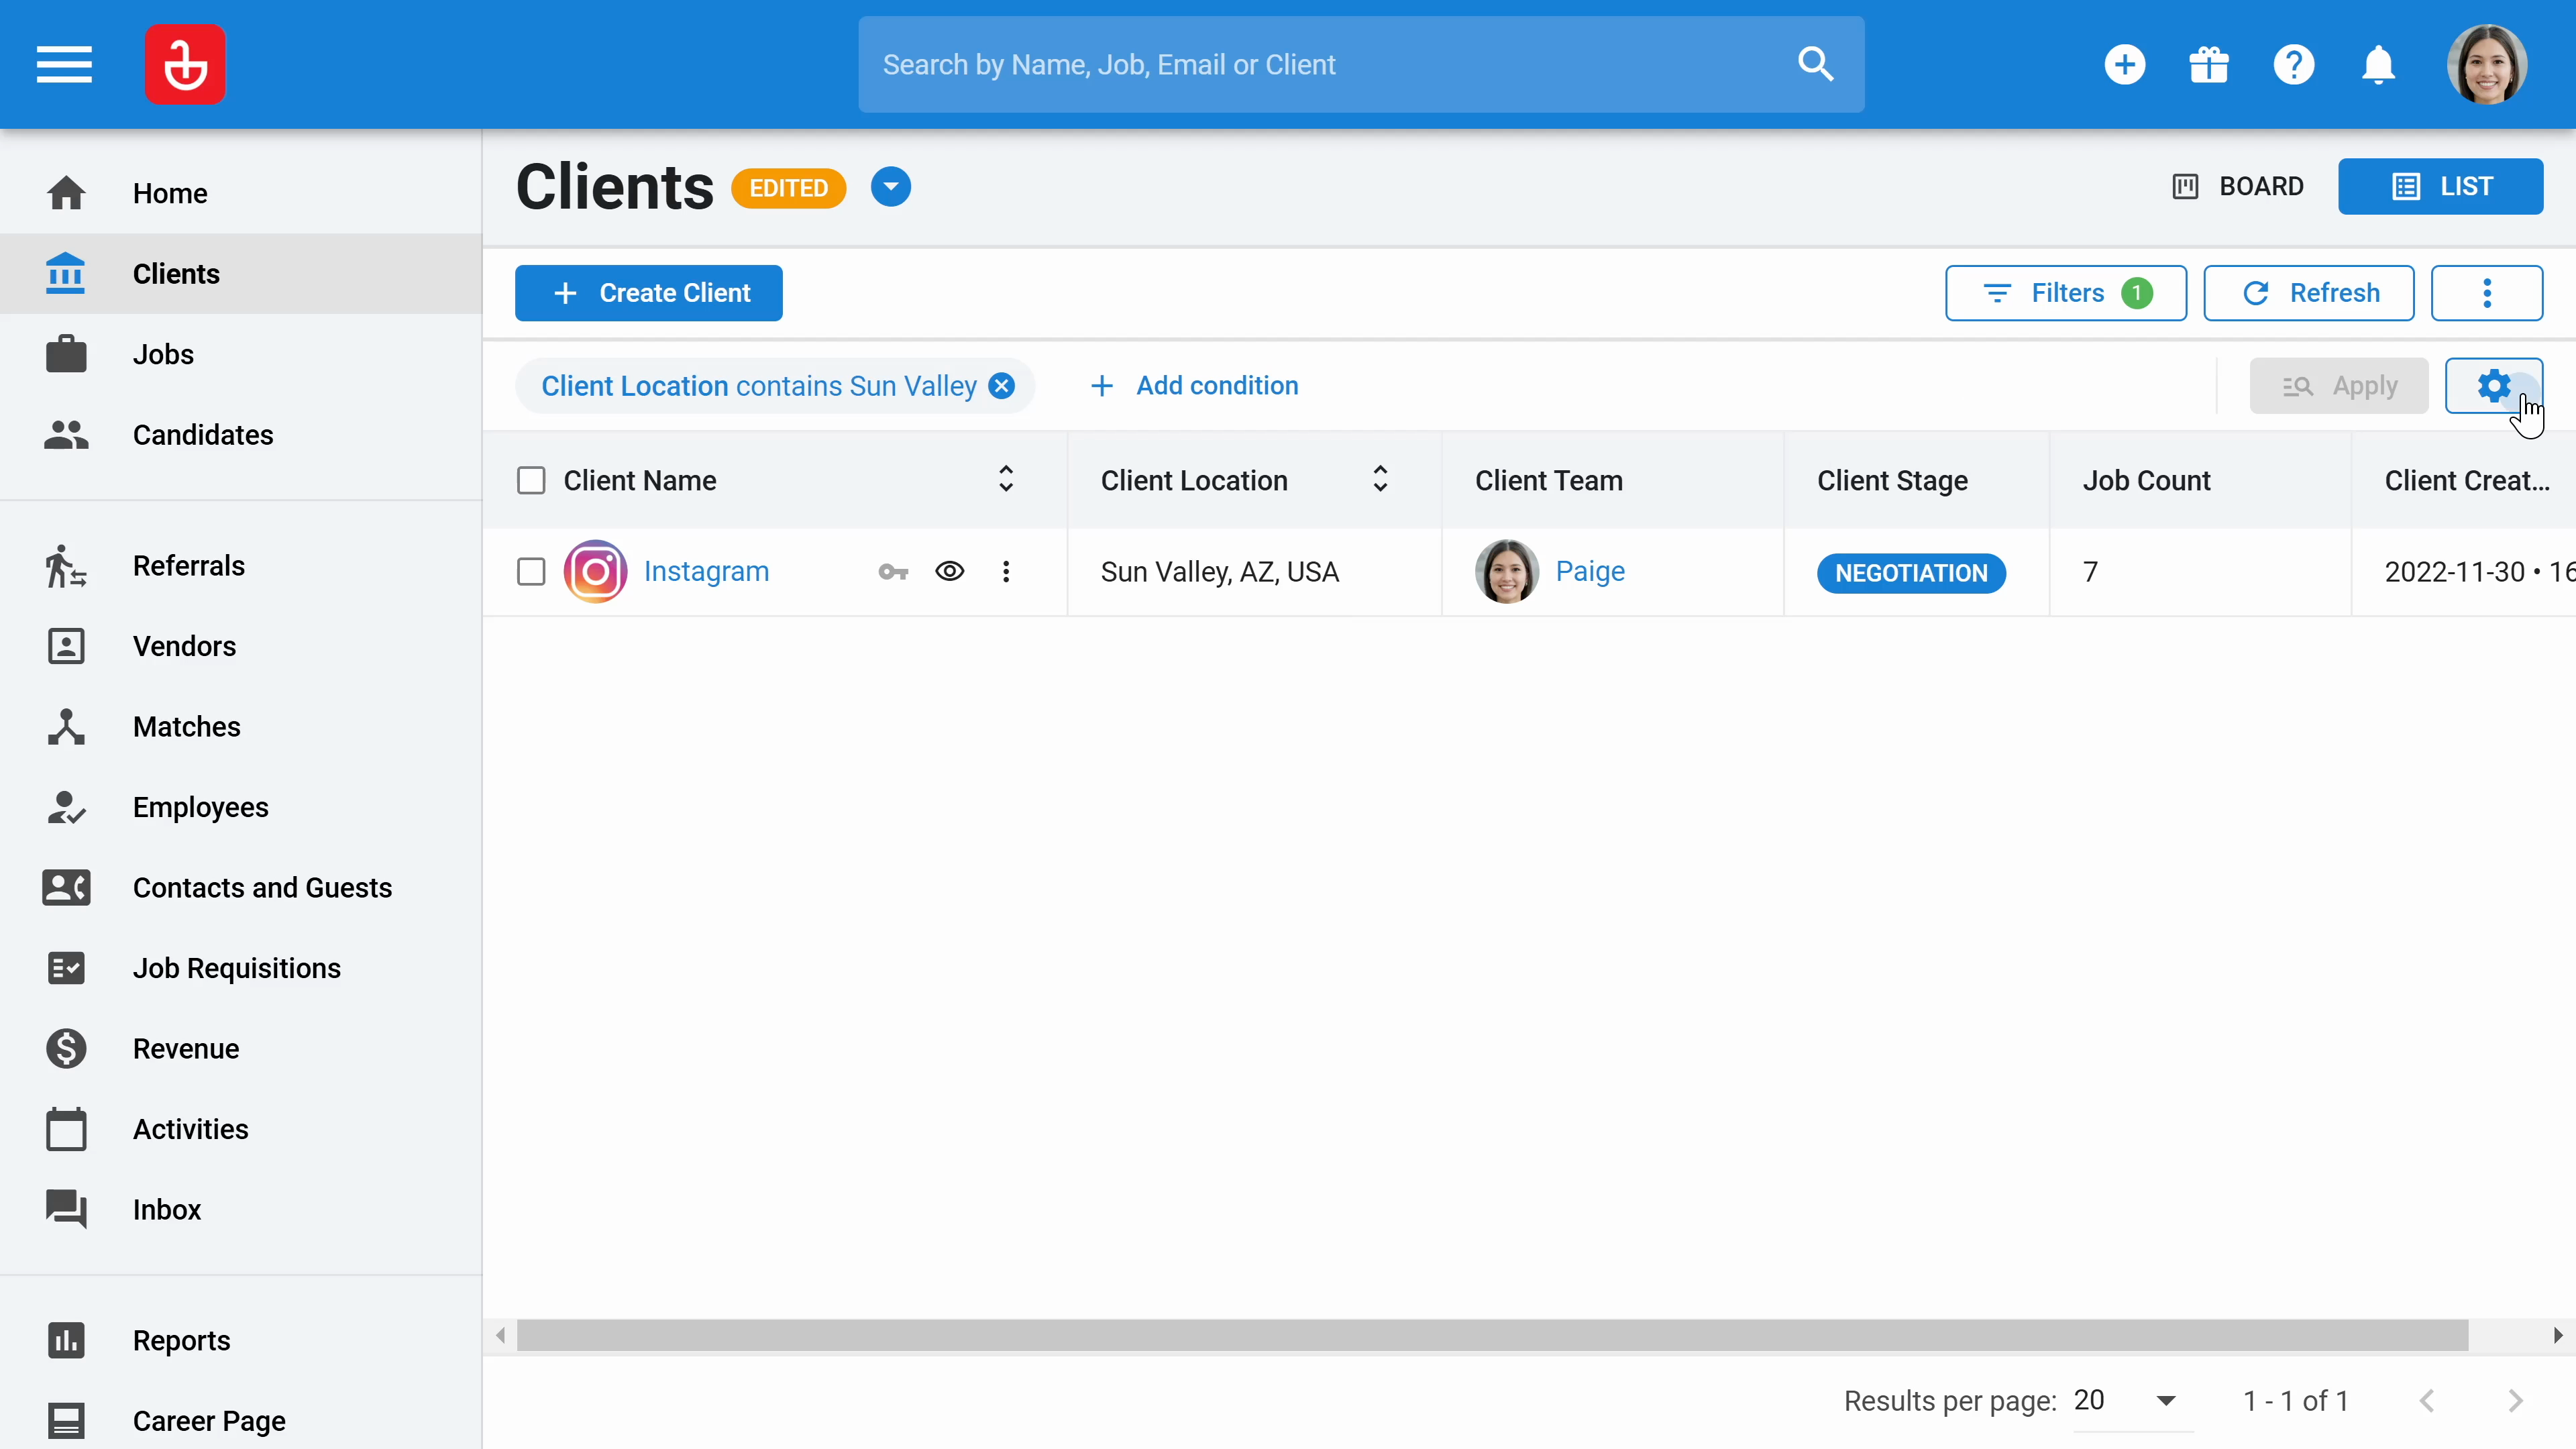
Step 4: Filter the client dashboard to see specific information. Click Filter, then add condition. For instance, to filter by location, you might choose 'Sun Valley'. After setting your conditions, click Apply to update the dashboard view.

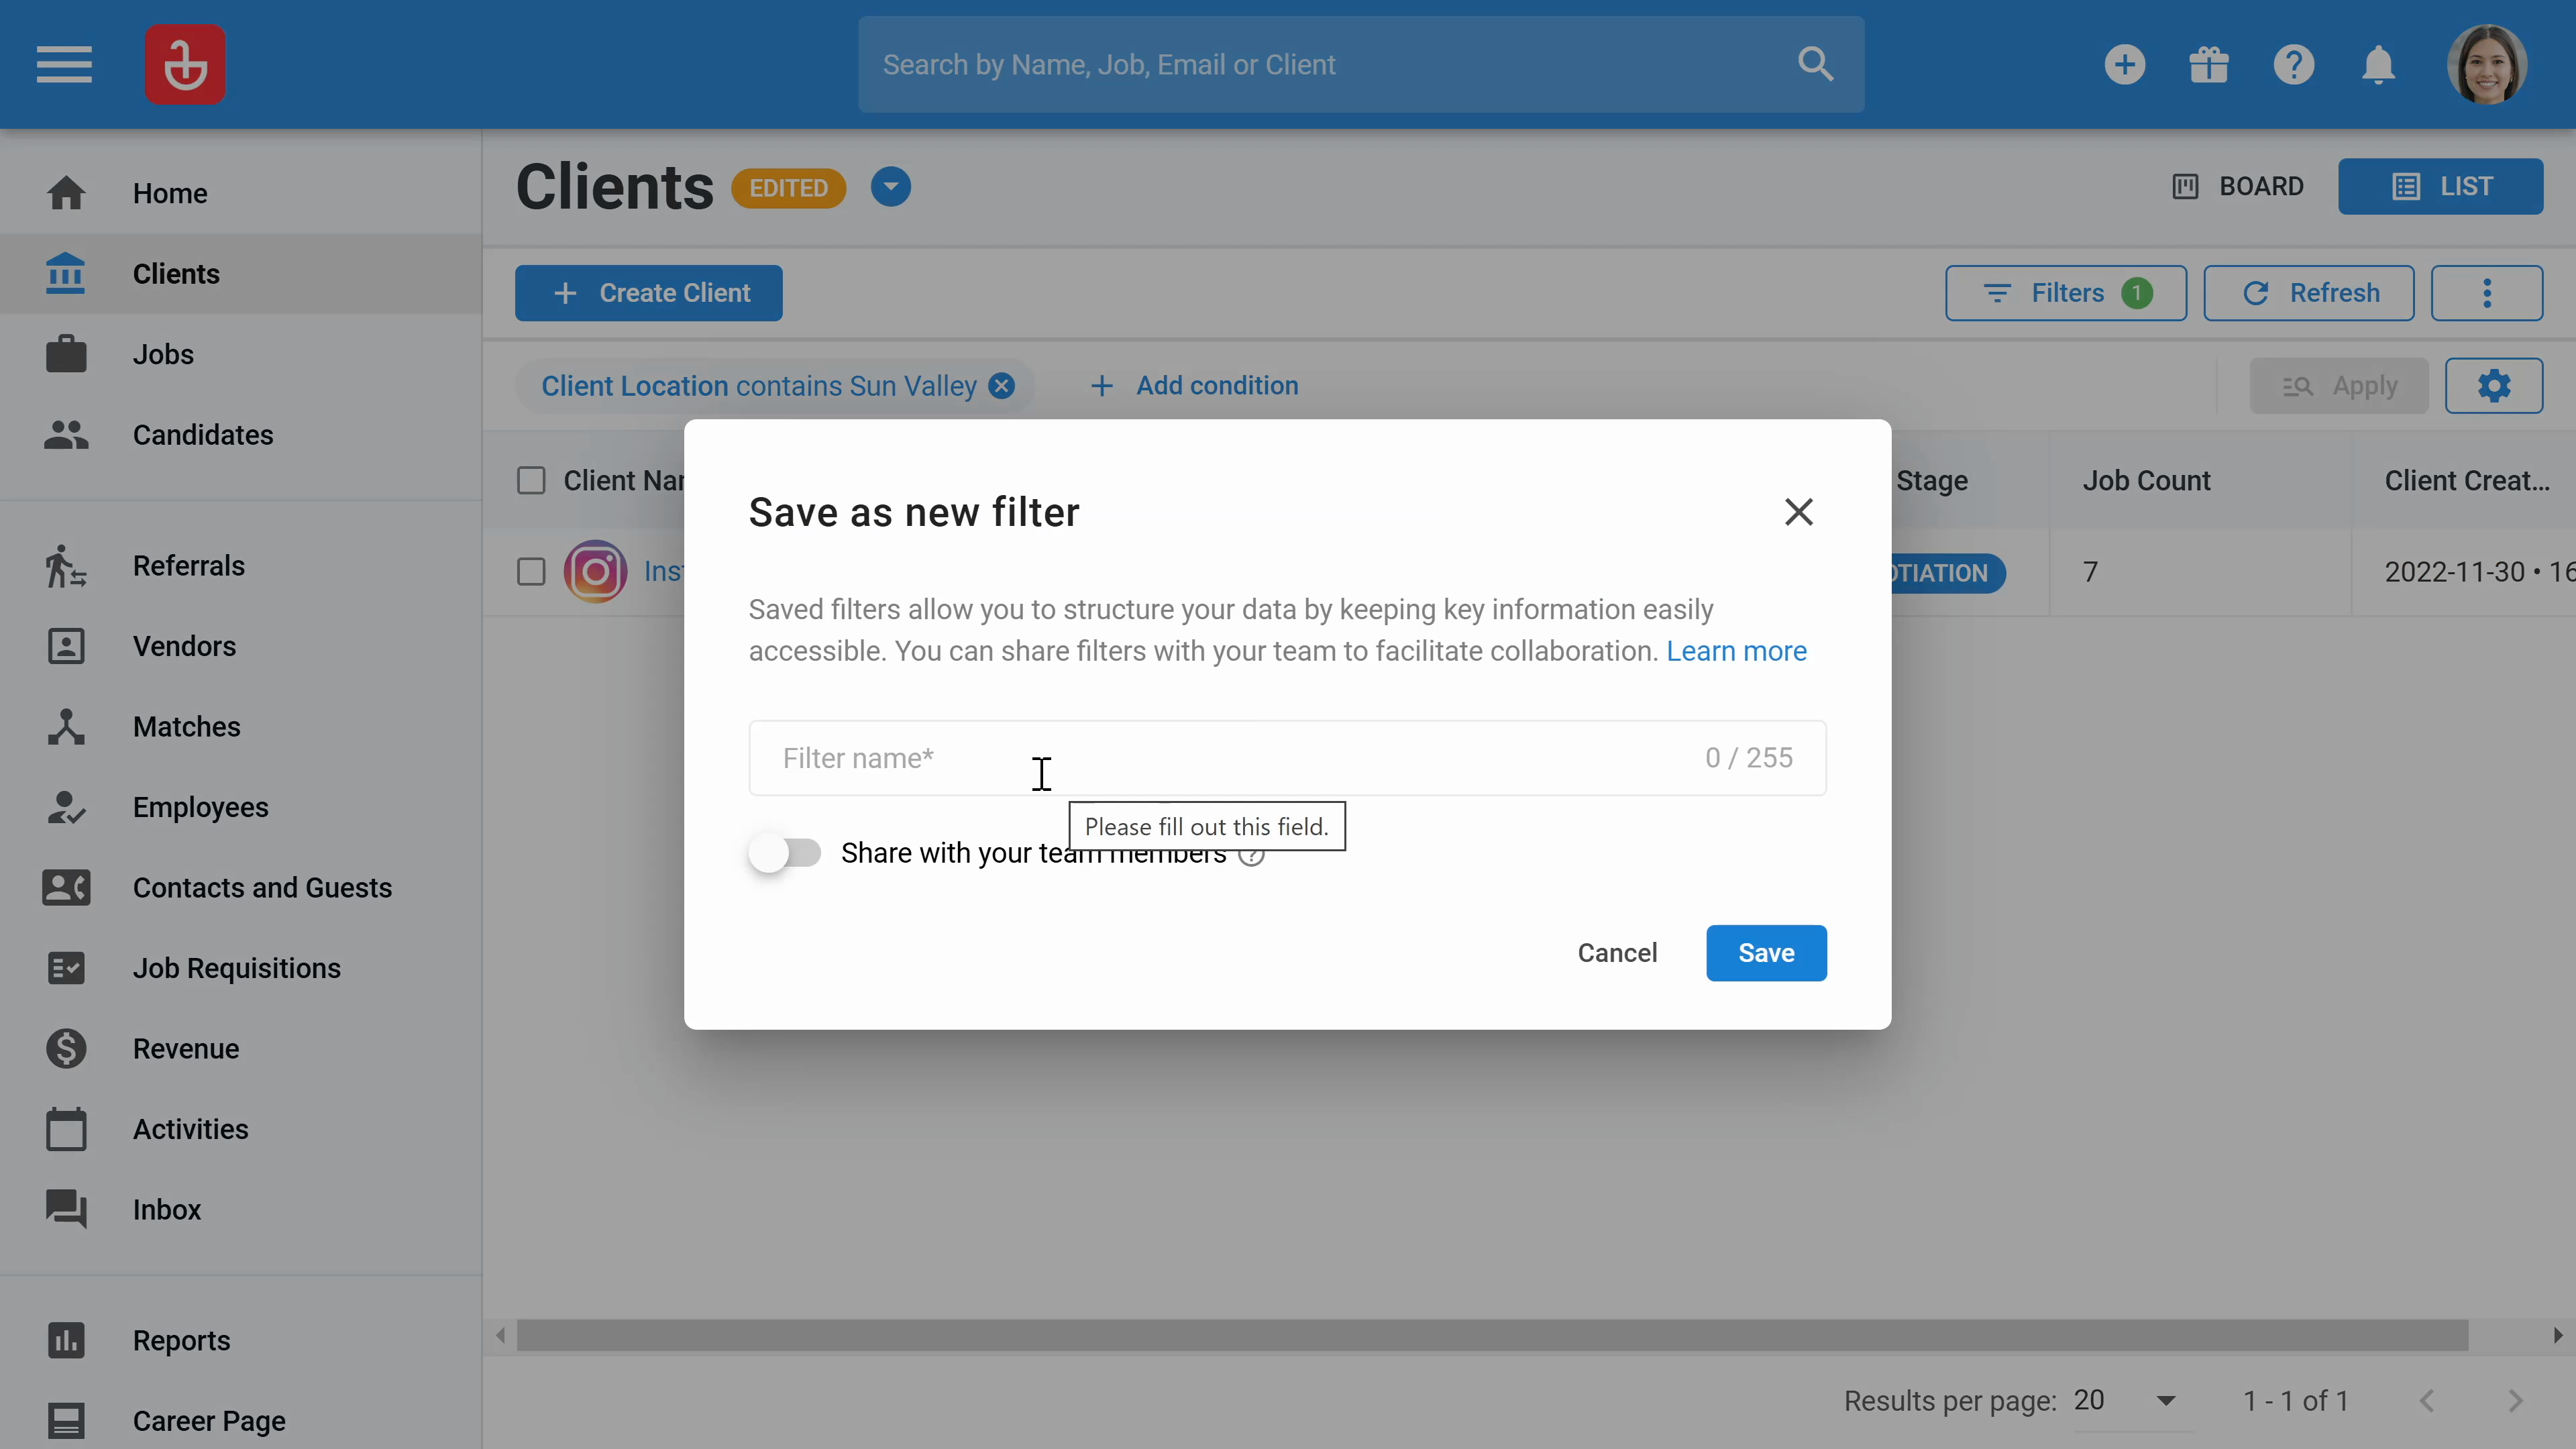
Step 5: Save your custom filter for future use by clicking Save as new. Enter a name for your filter, which makes it easier to select from the clients page on your next visit.
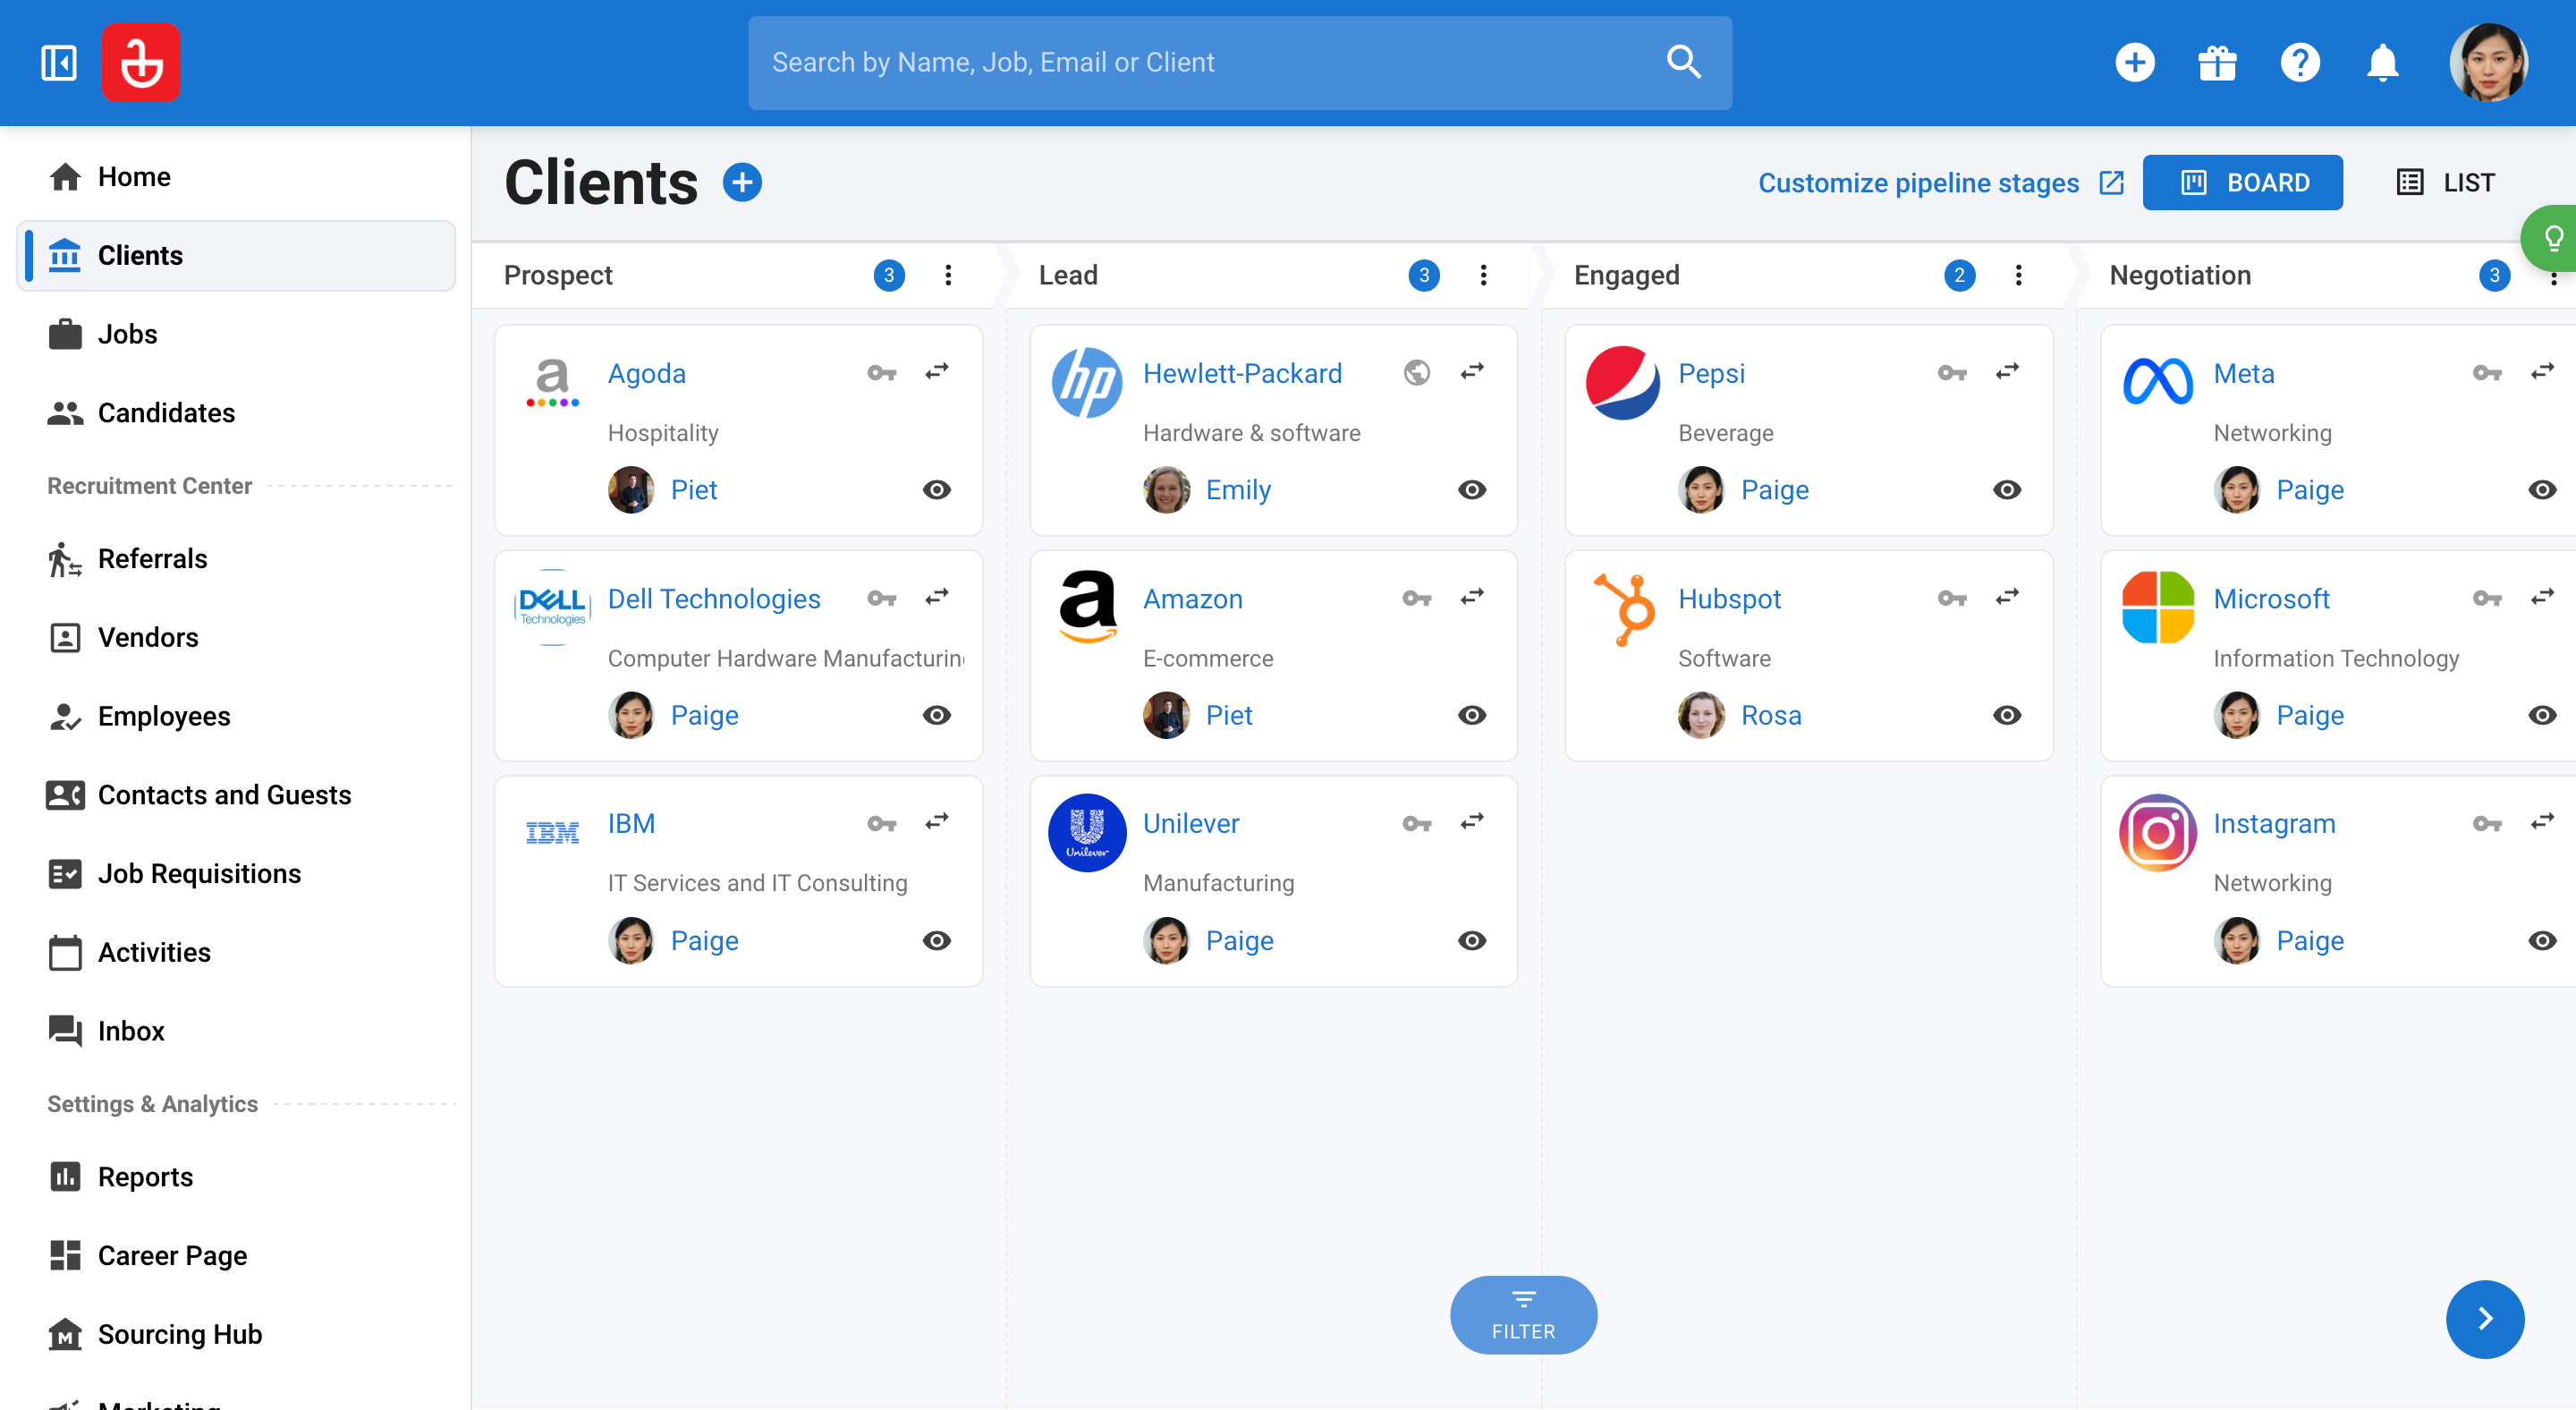
Step 6: View your clients in different sales stages by clicking on Board within the client section. This helps you easily track progress and manage client interactions effectively in a pipeline.
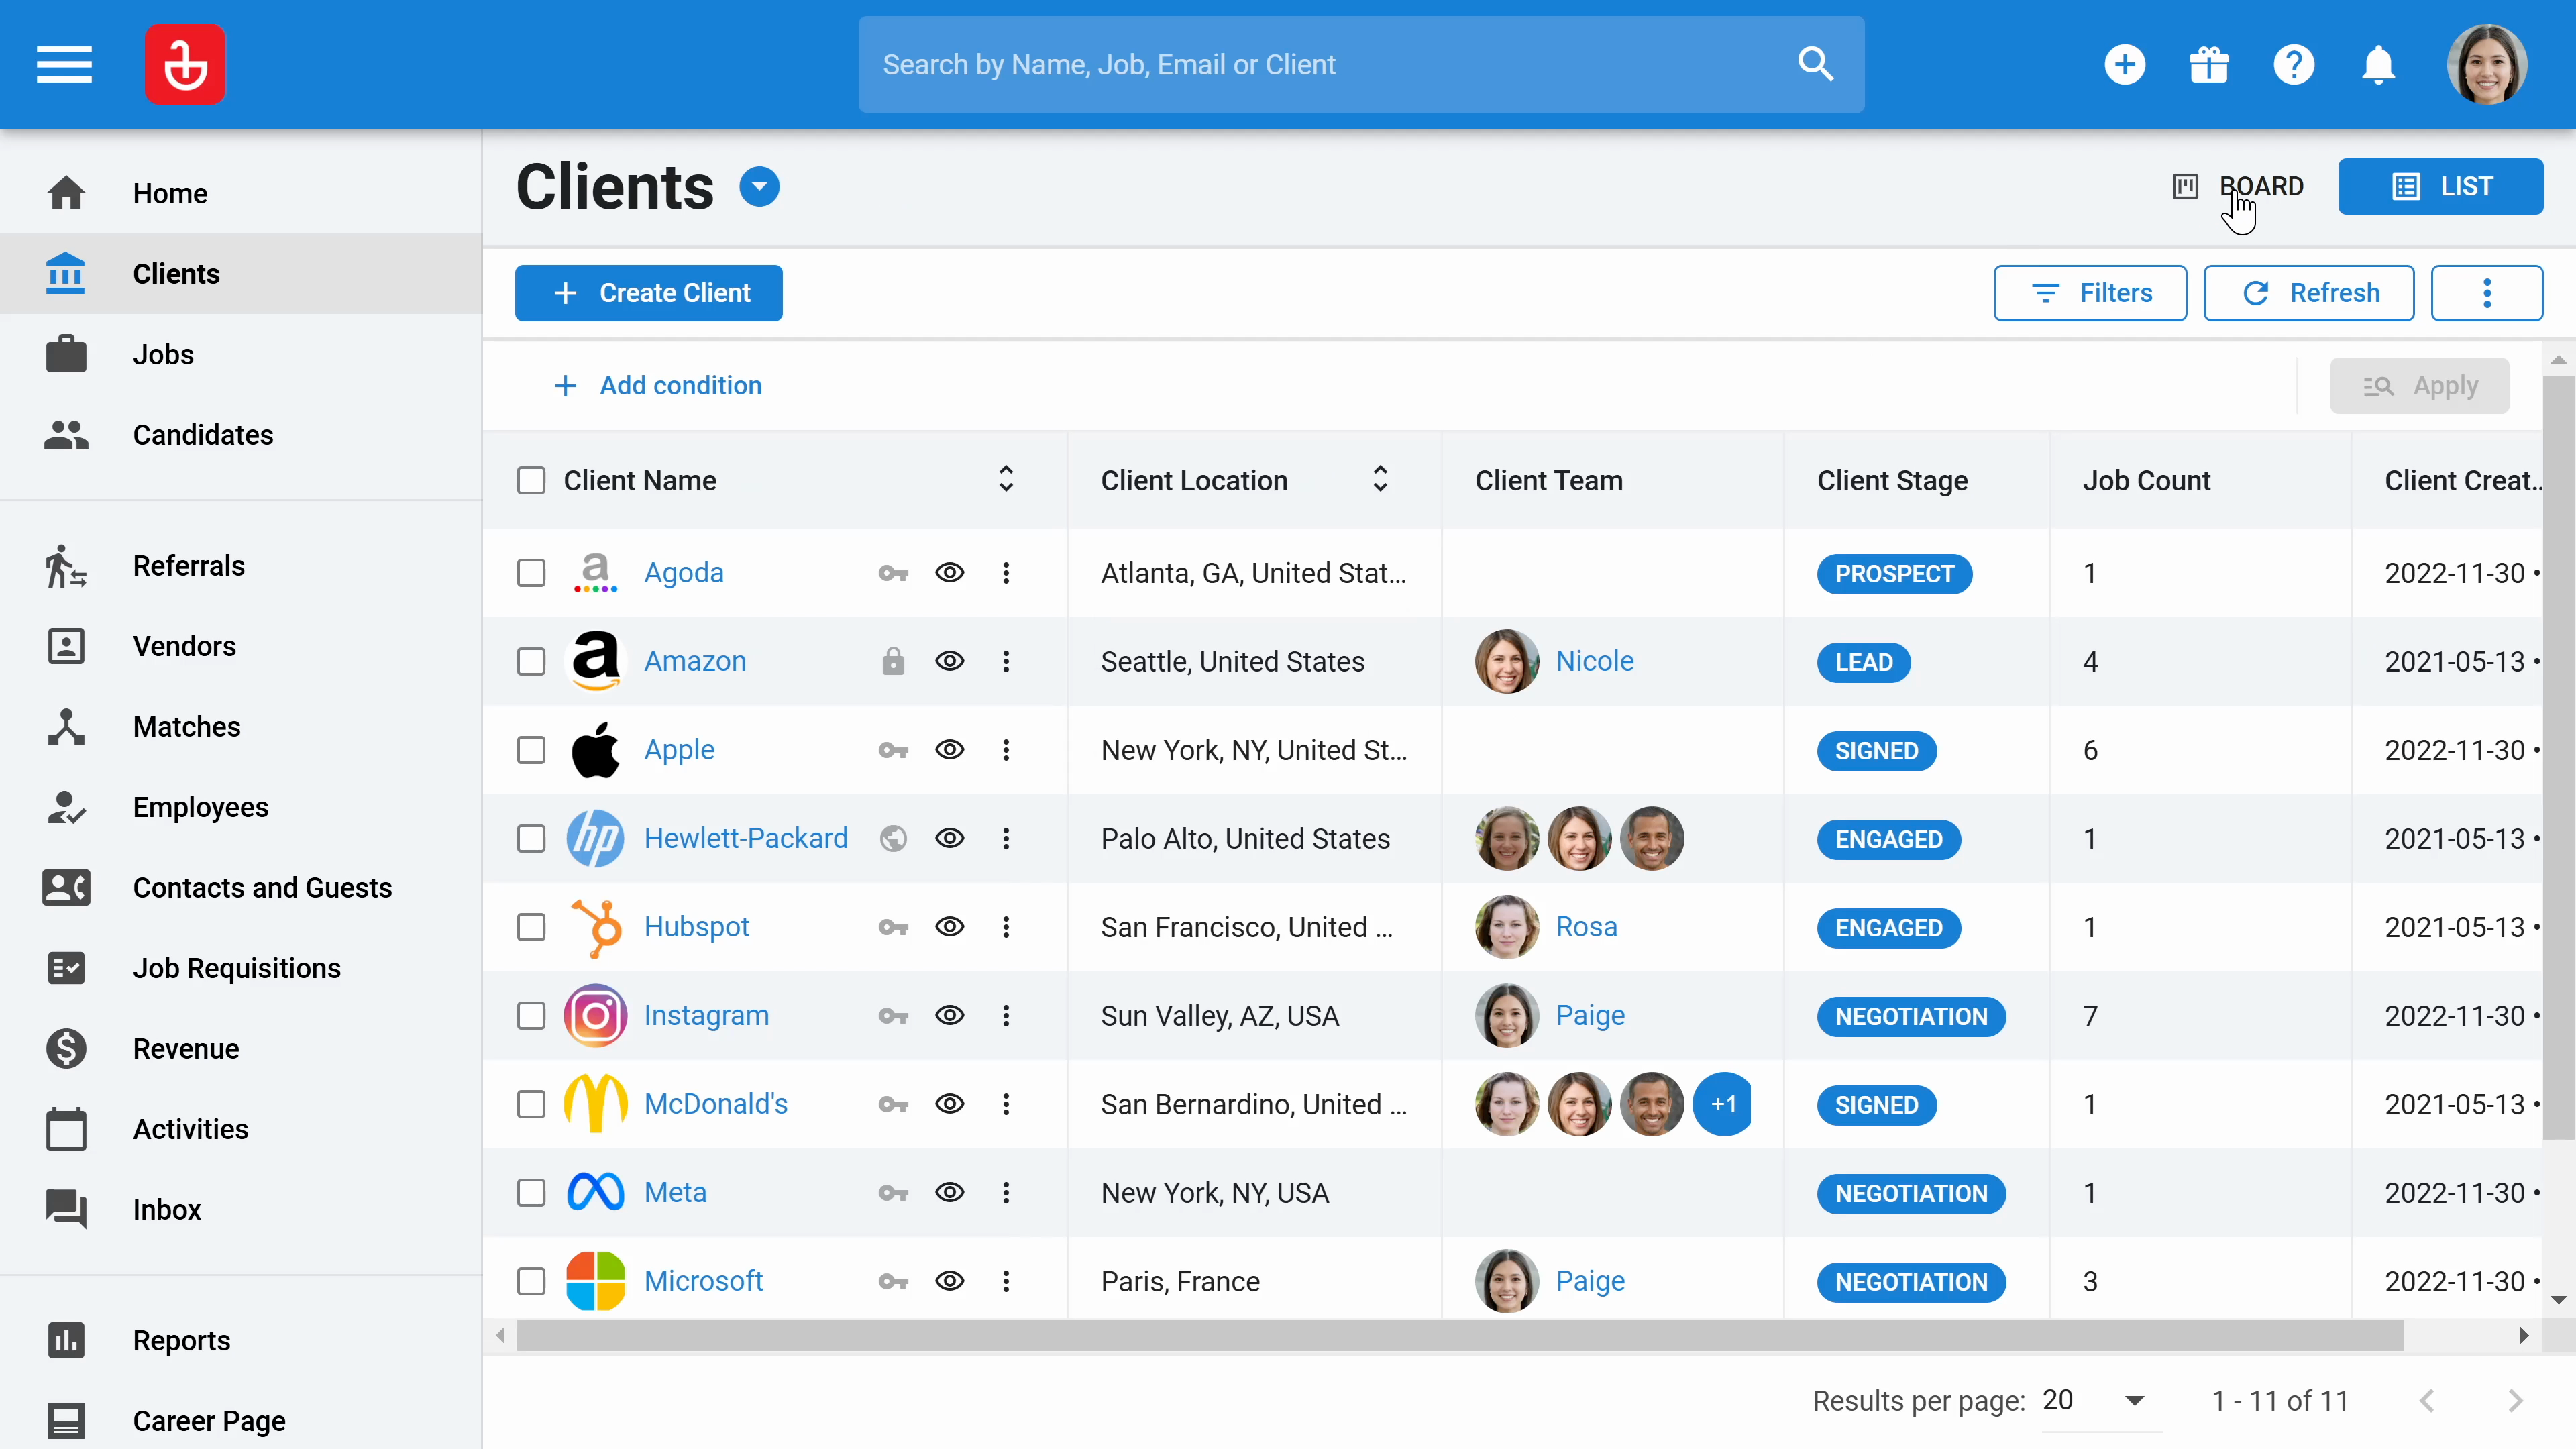
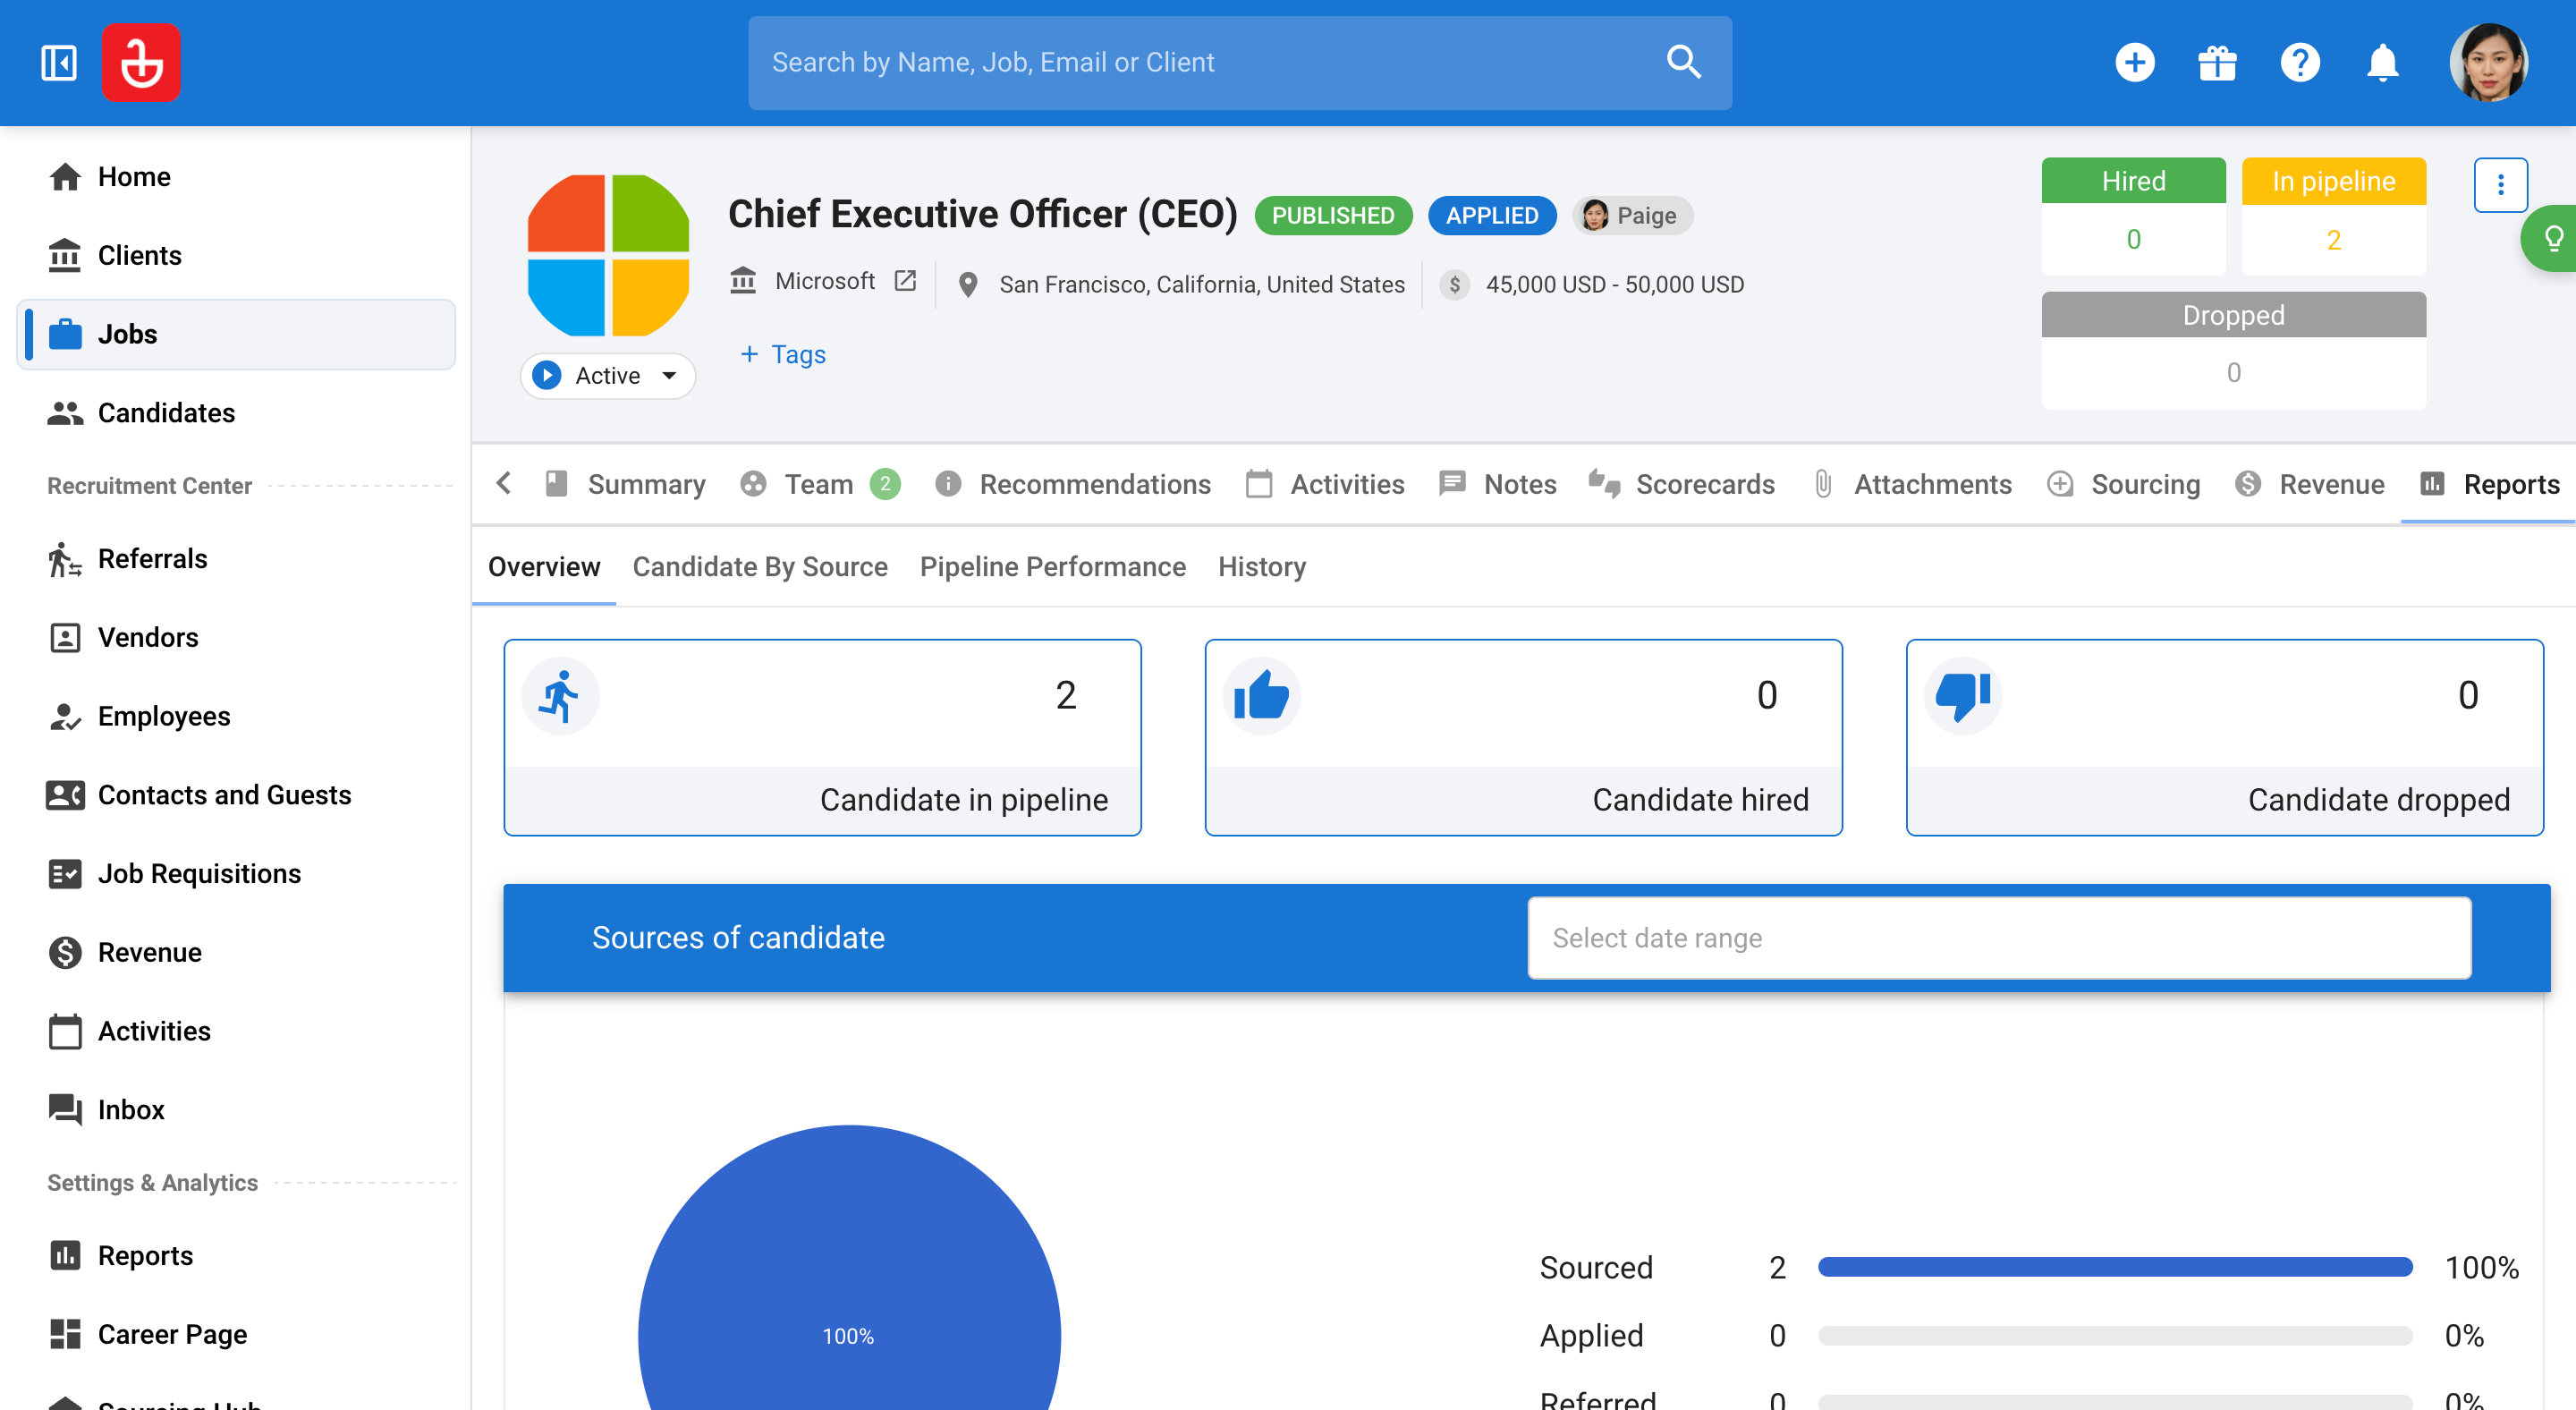
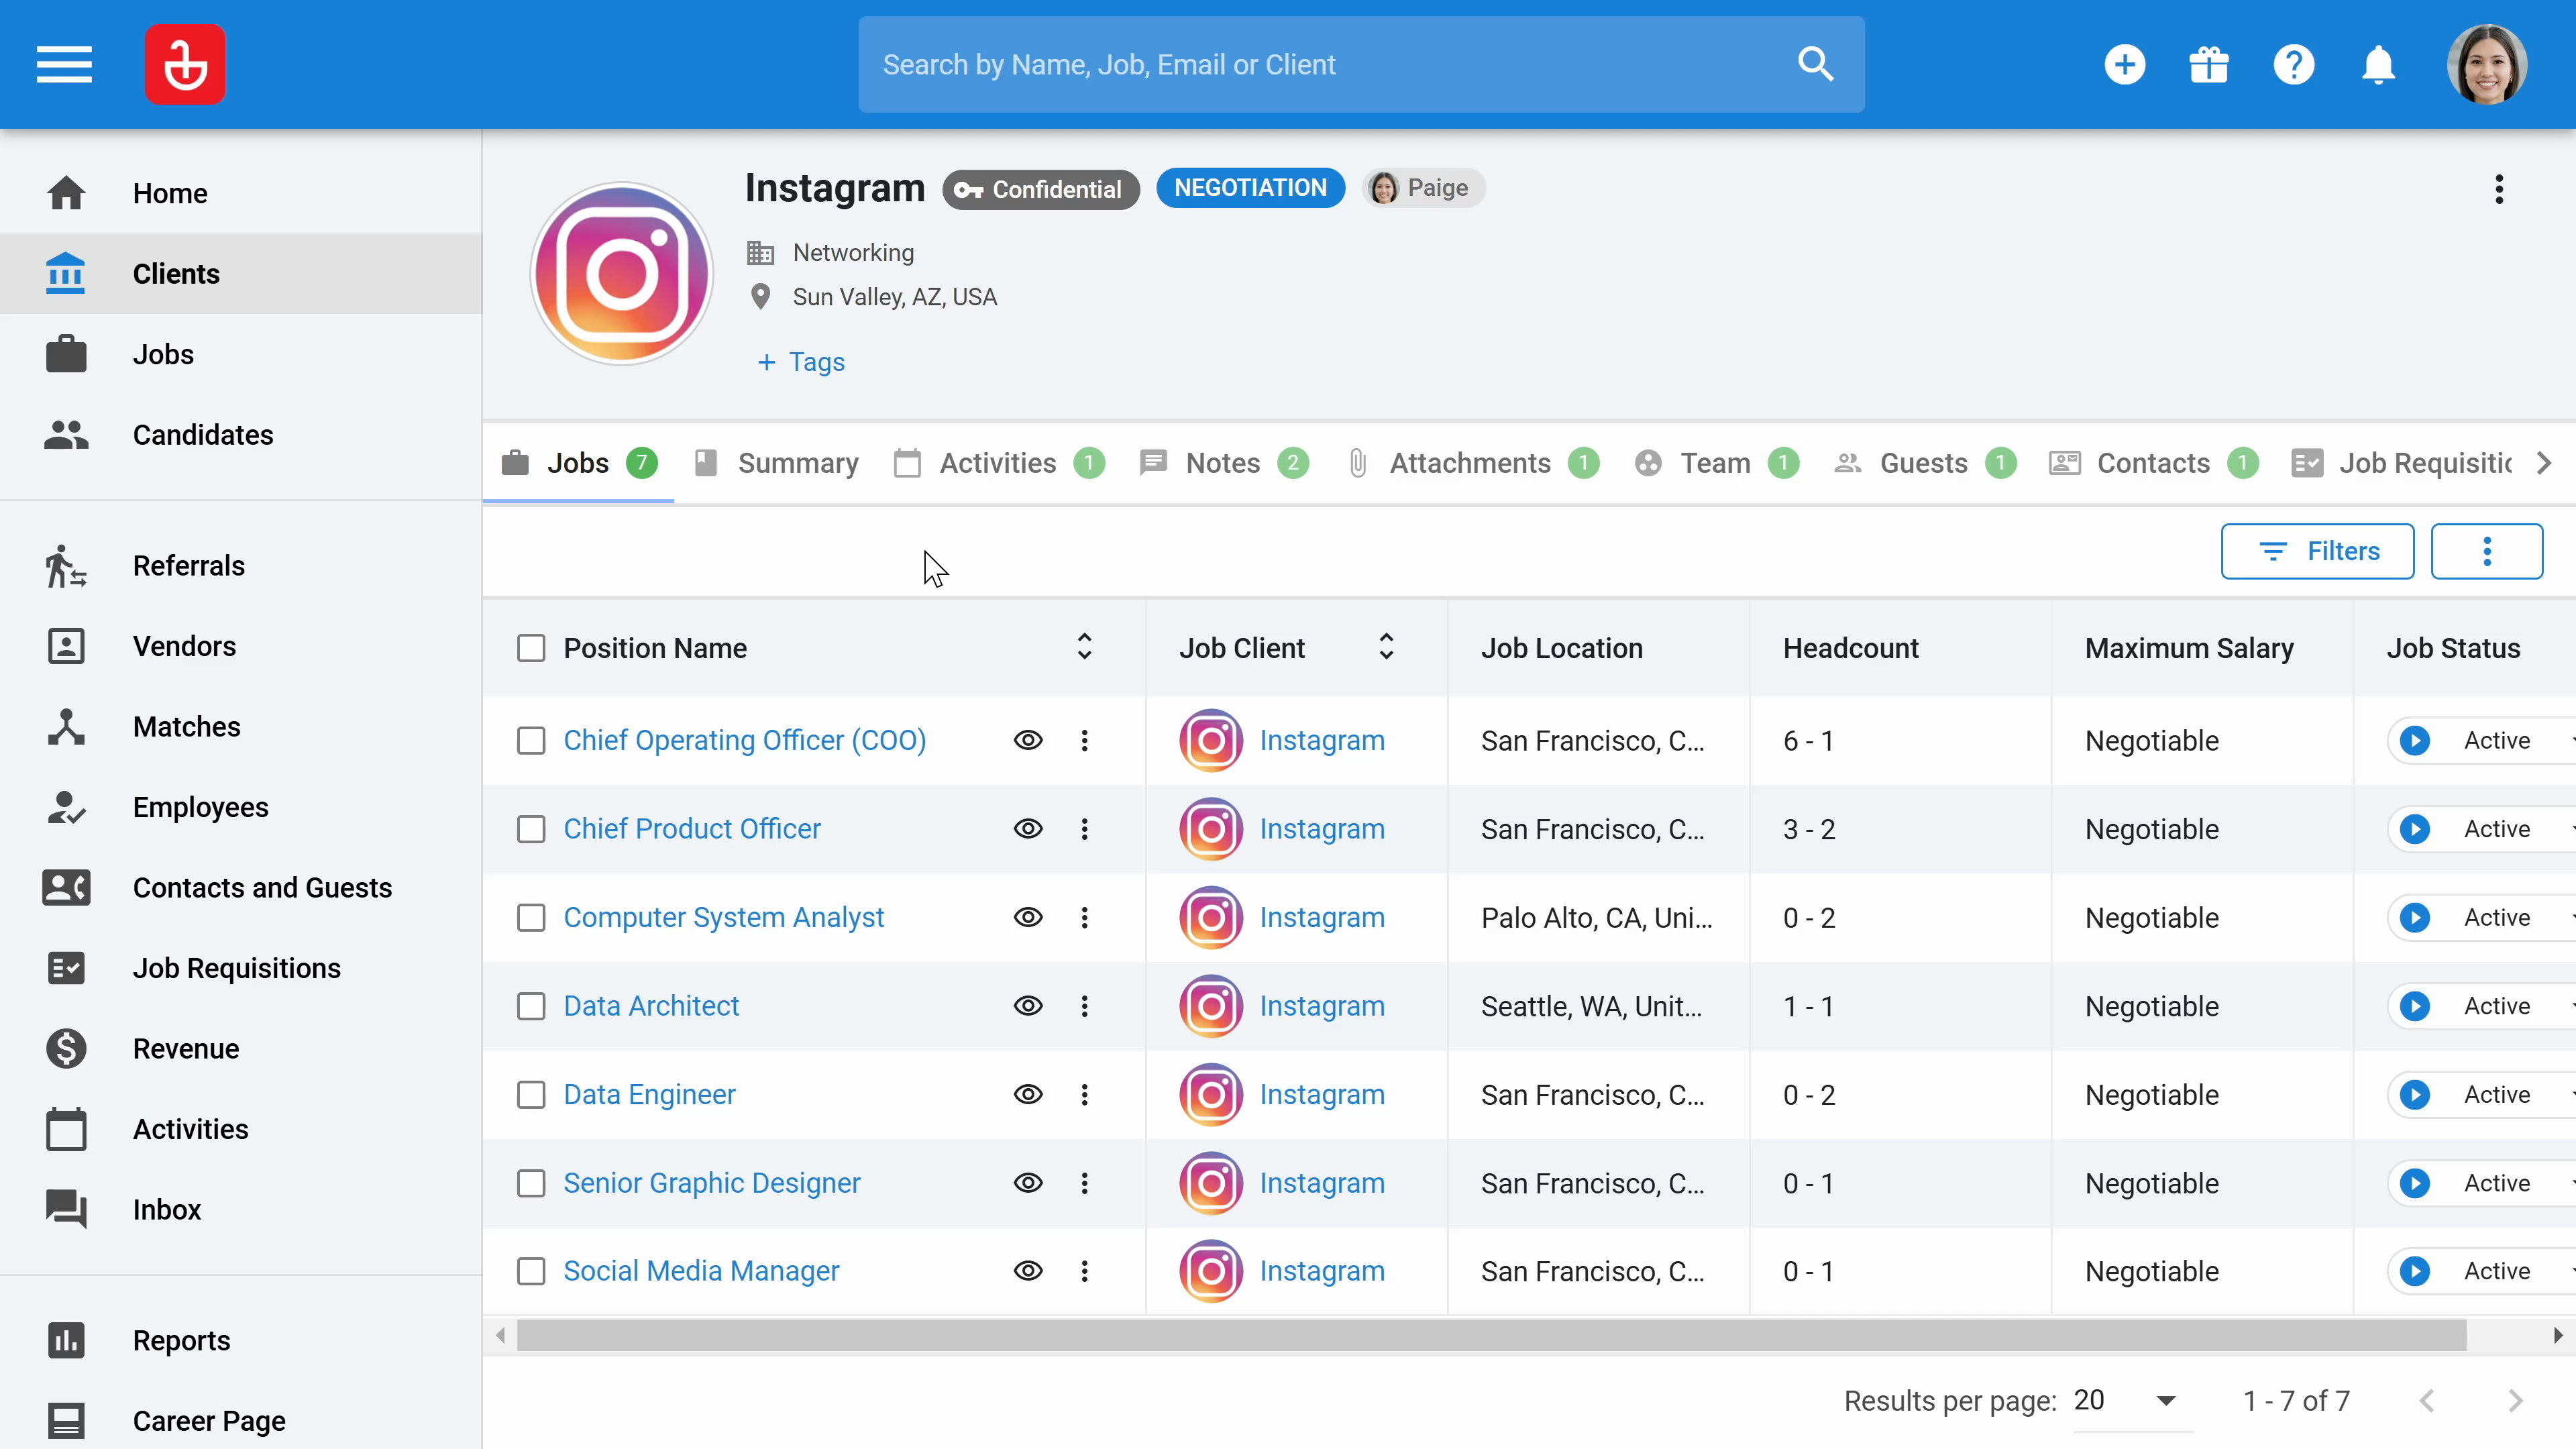
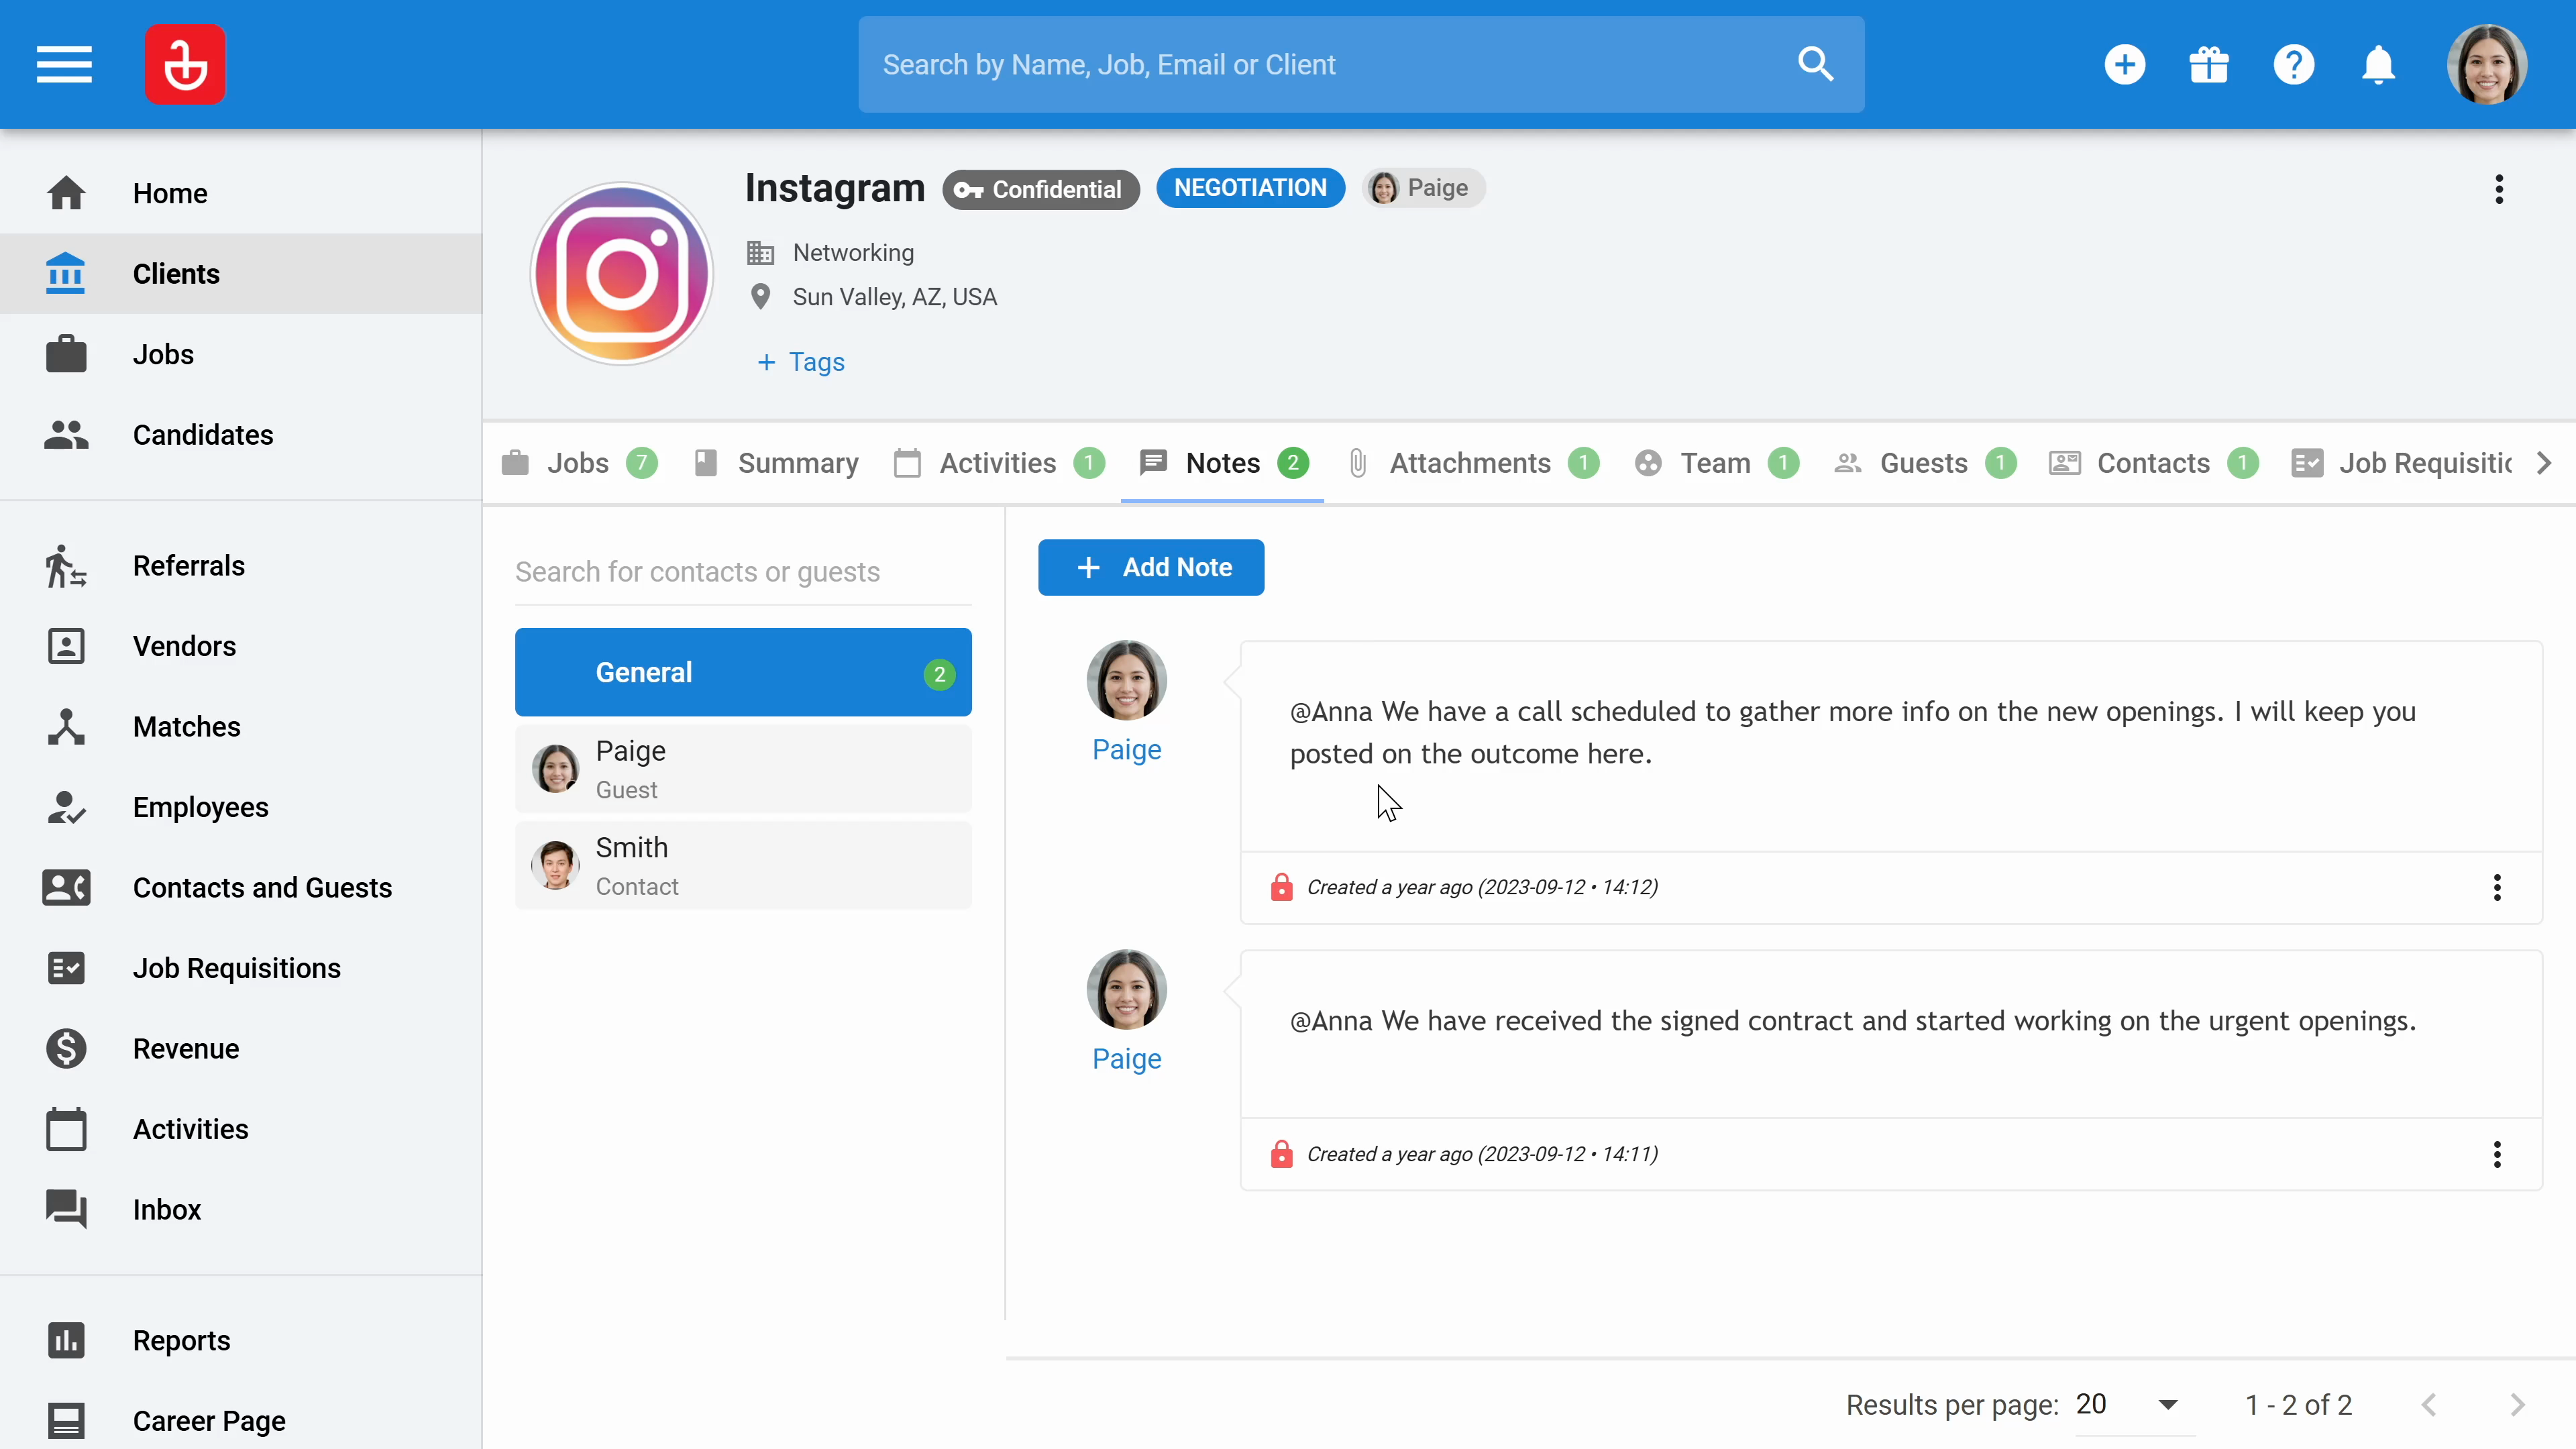
Step 7: Open the client's profile, for example "Instagram", to view all relevant information about this client. You'll see who is responsible for managing the client and how many jobs the client has provided for tracking.
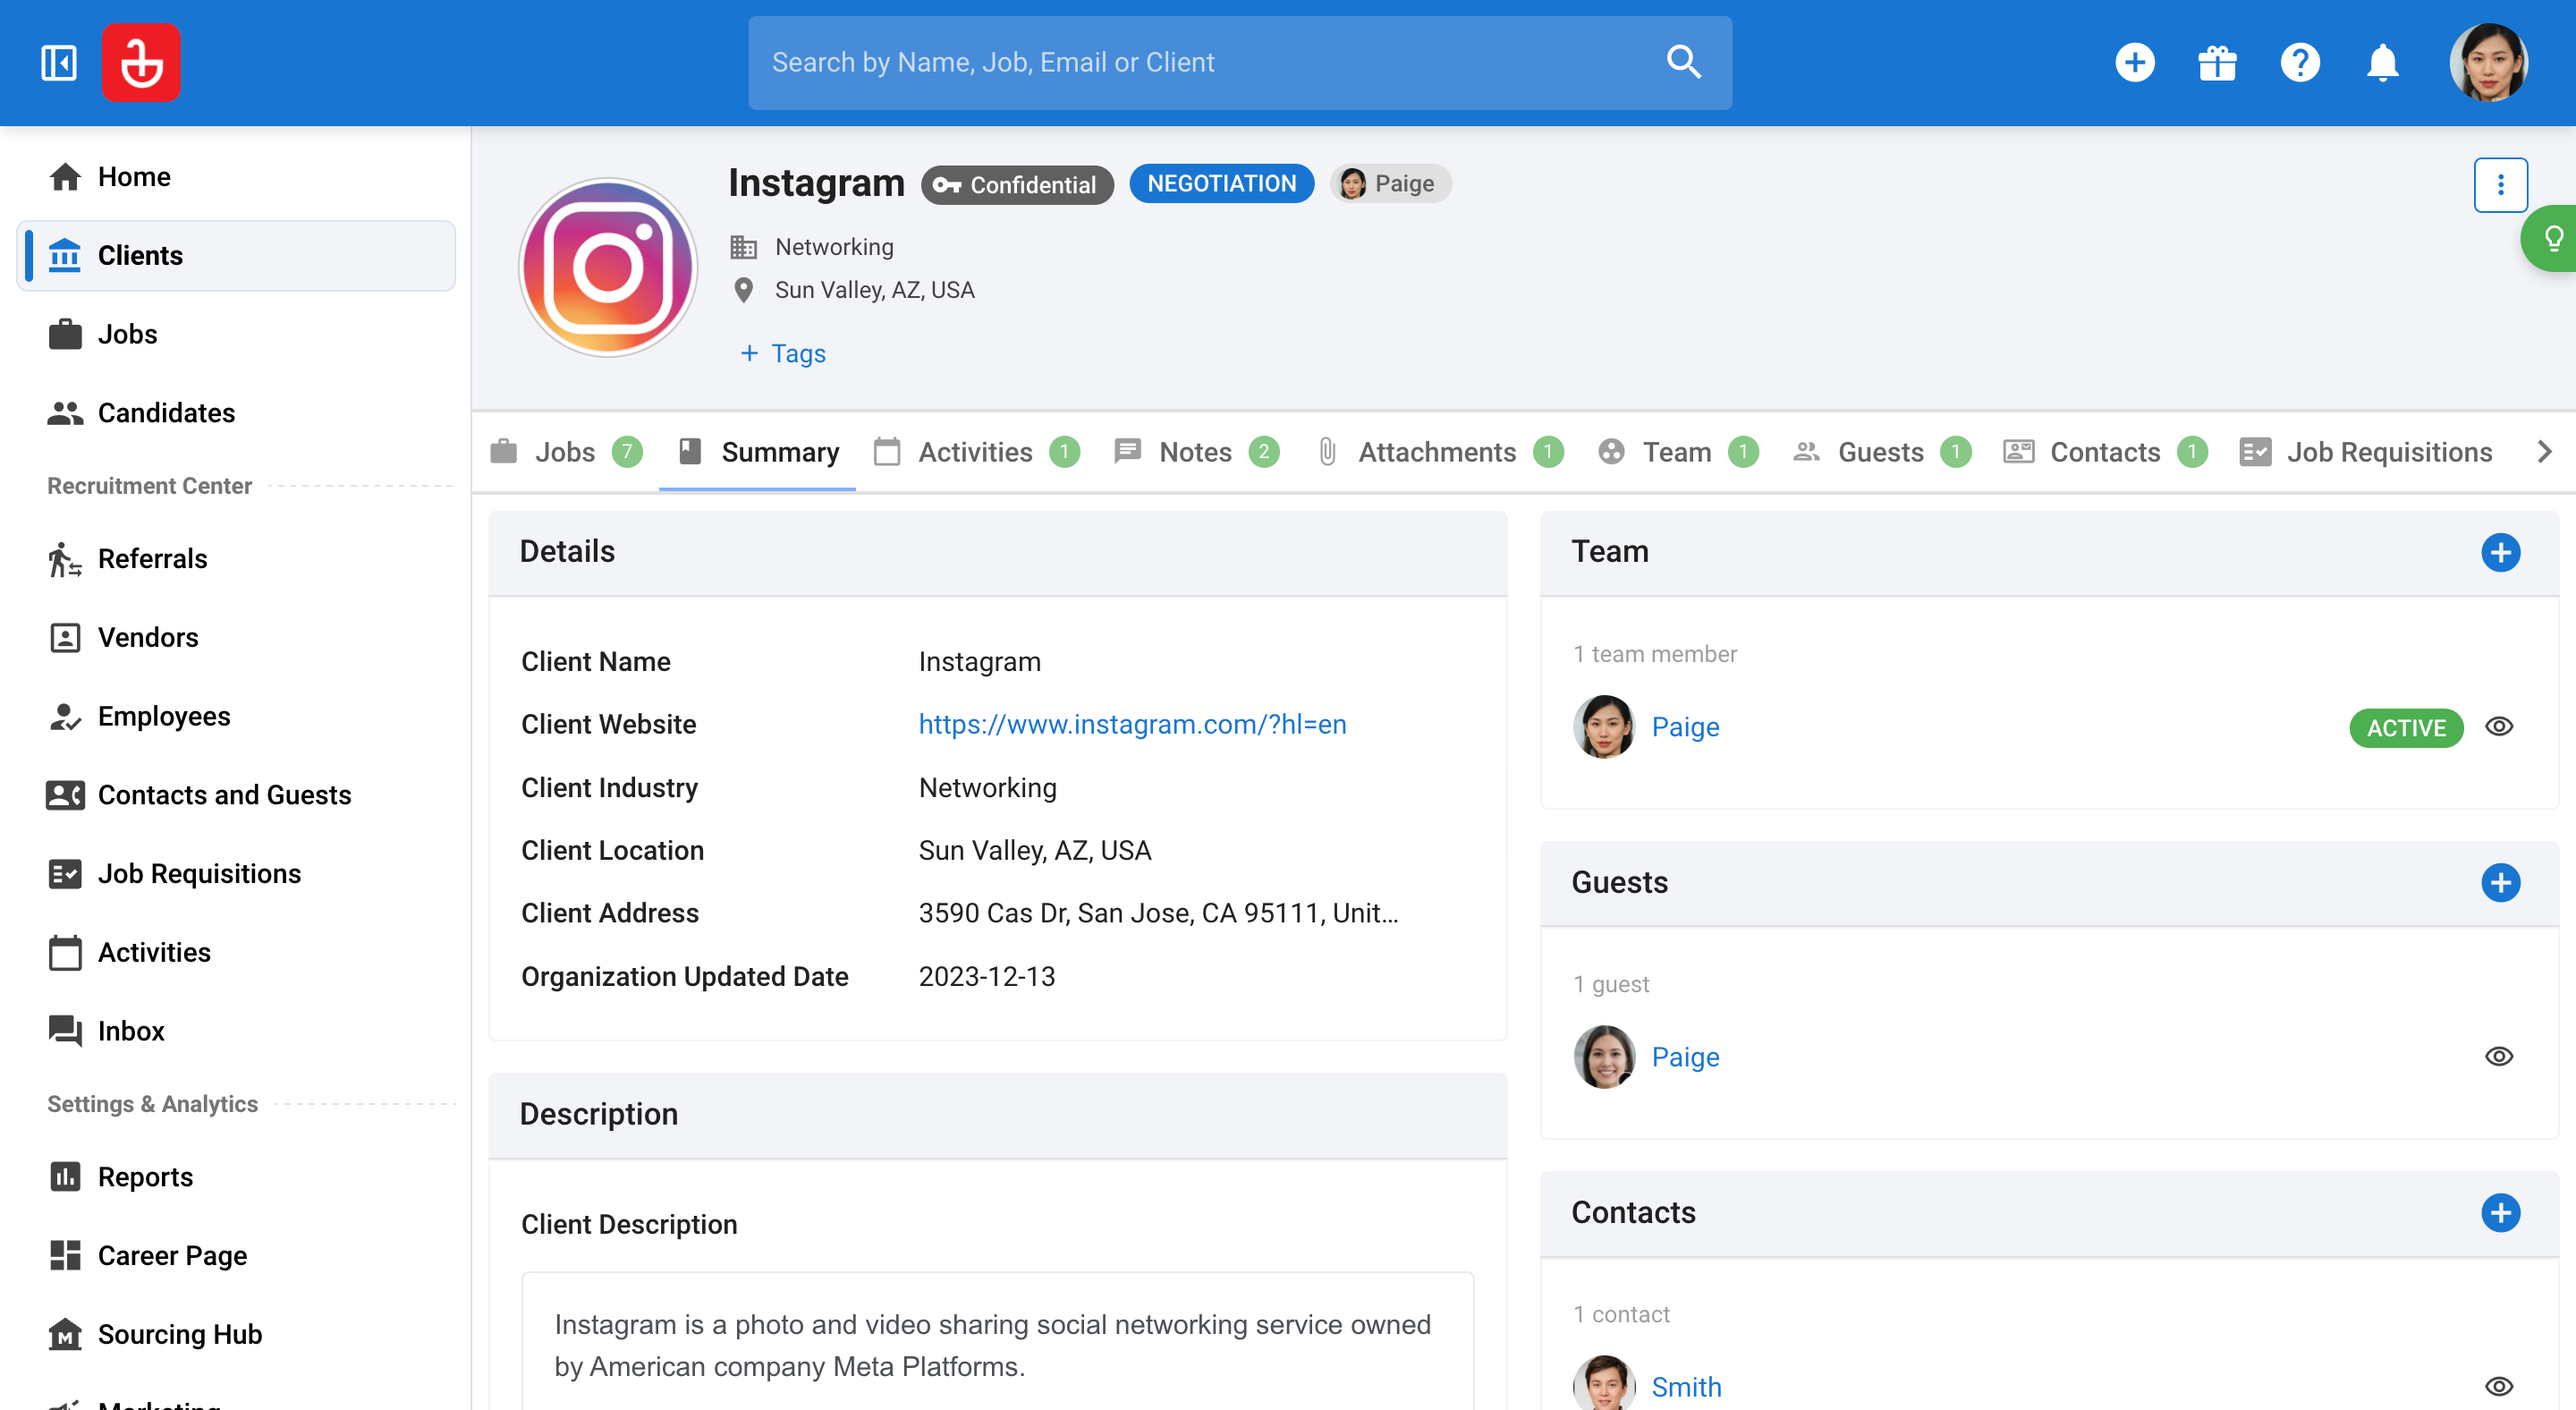
Step 8: Click on Summary to access detailed information about the client. The fields here are customizable and searchable using various filters.
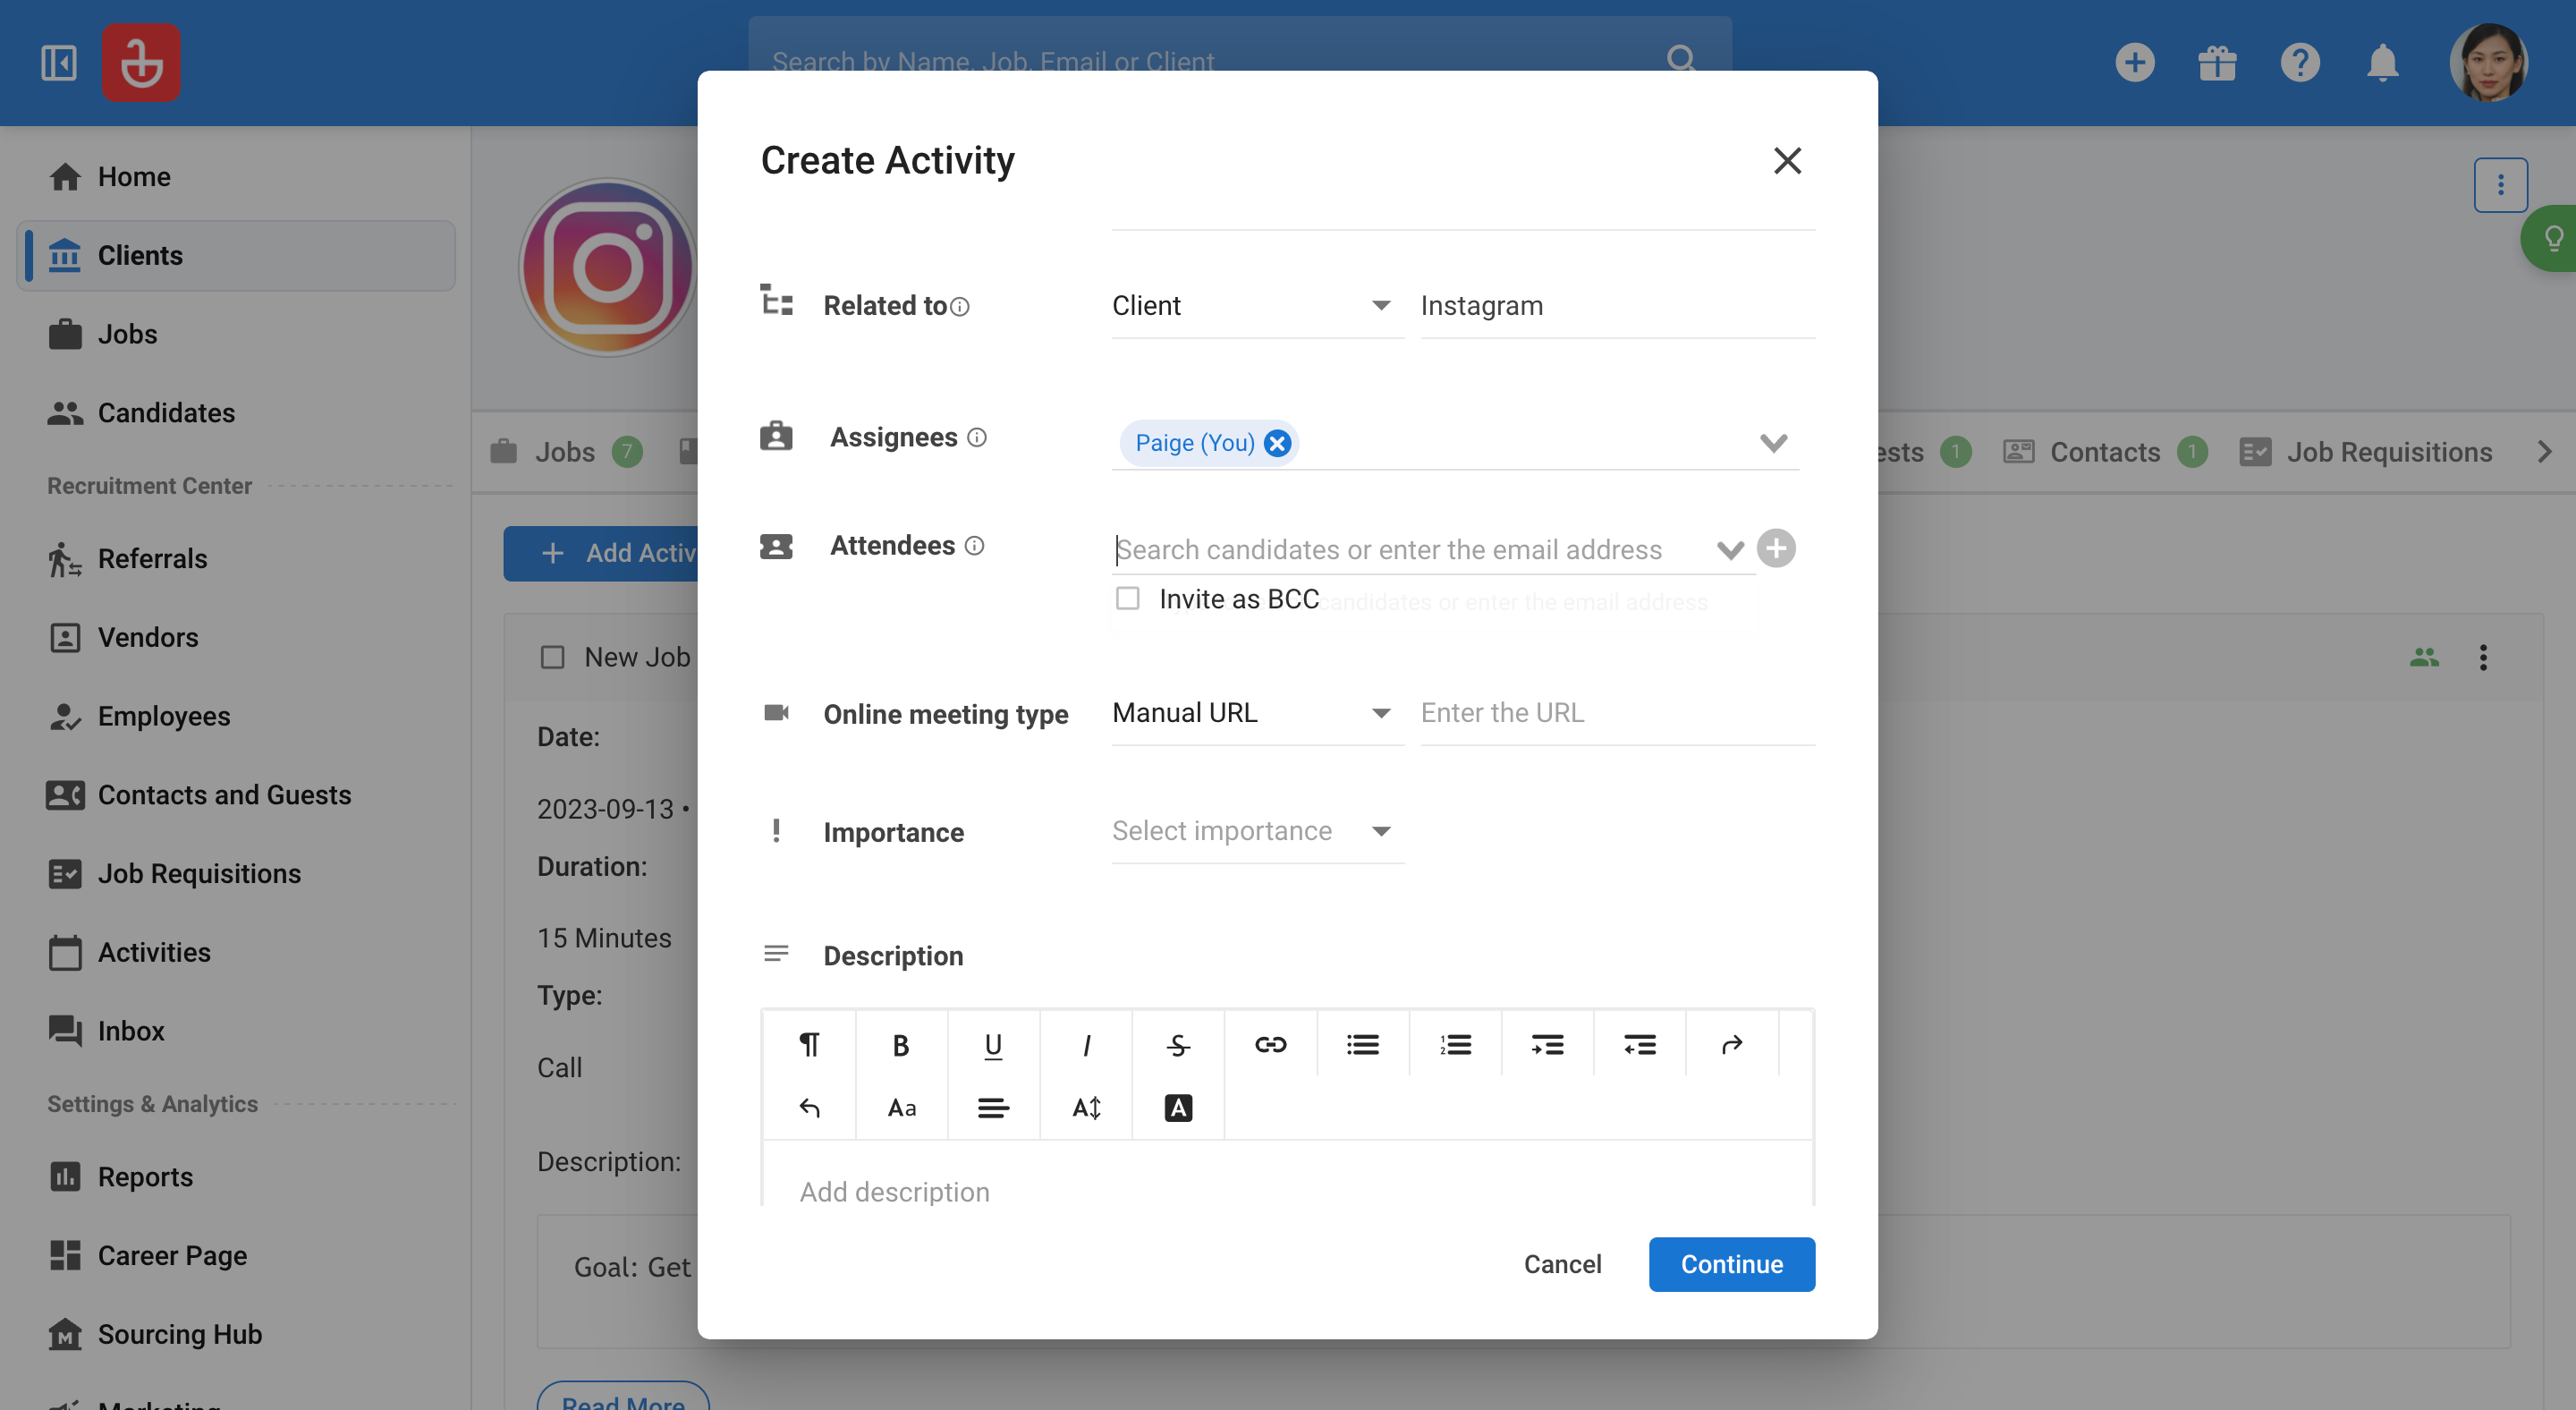
Step 9: Navigate to Activities. Here, you can schedule tasks or create meeting invites.

Step 10: To set up a meeting, enter the Title of the meeting.
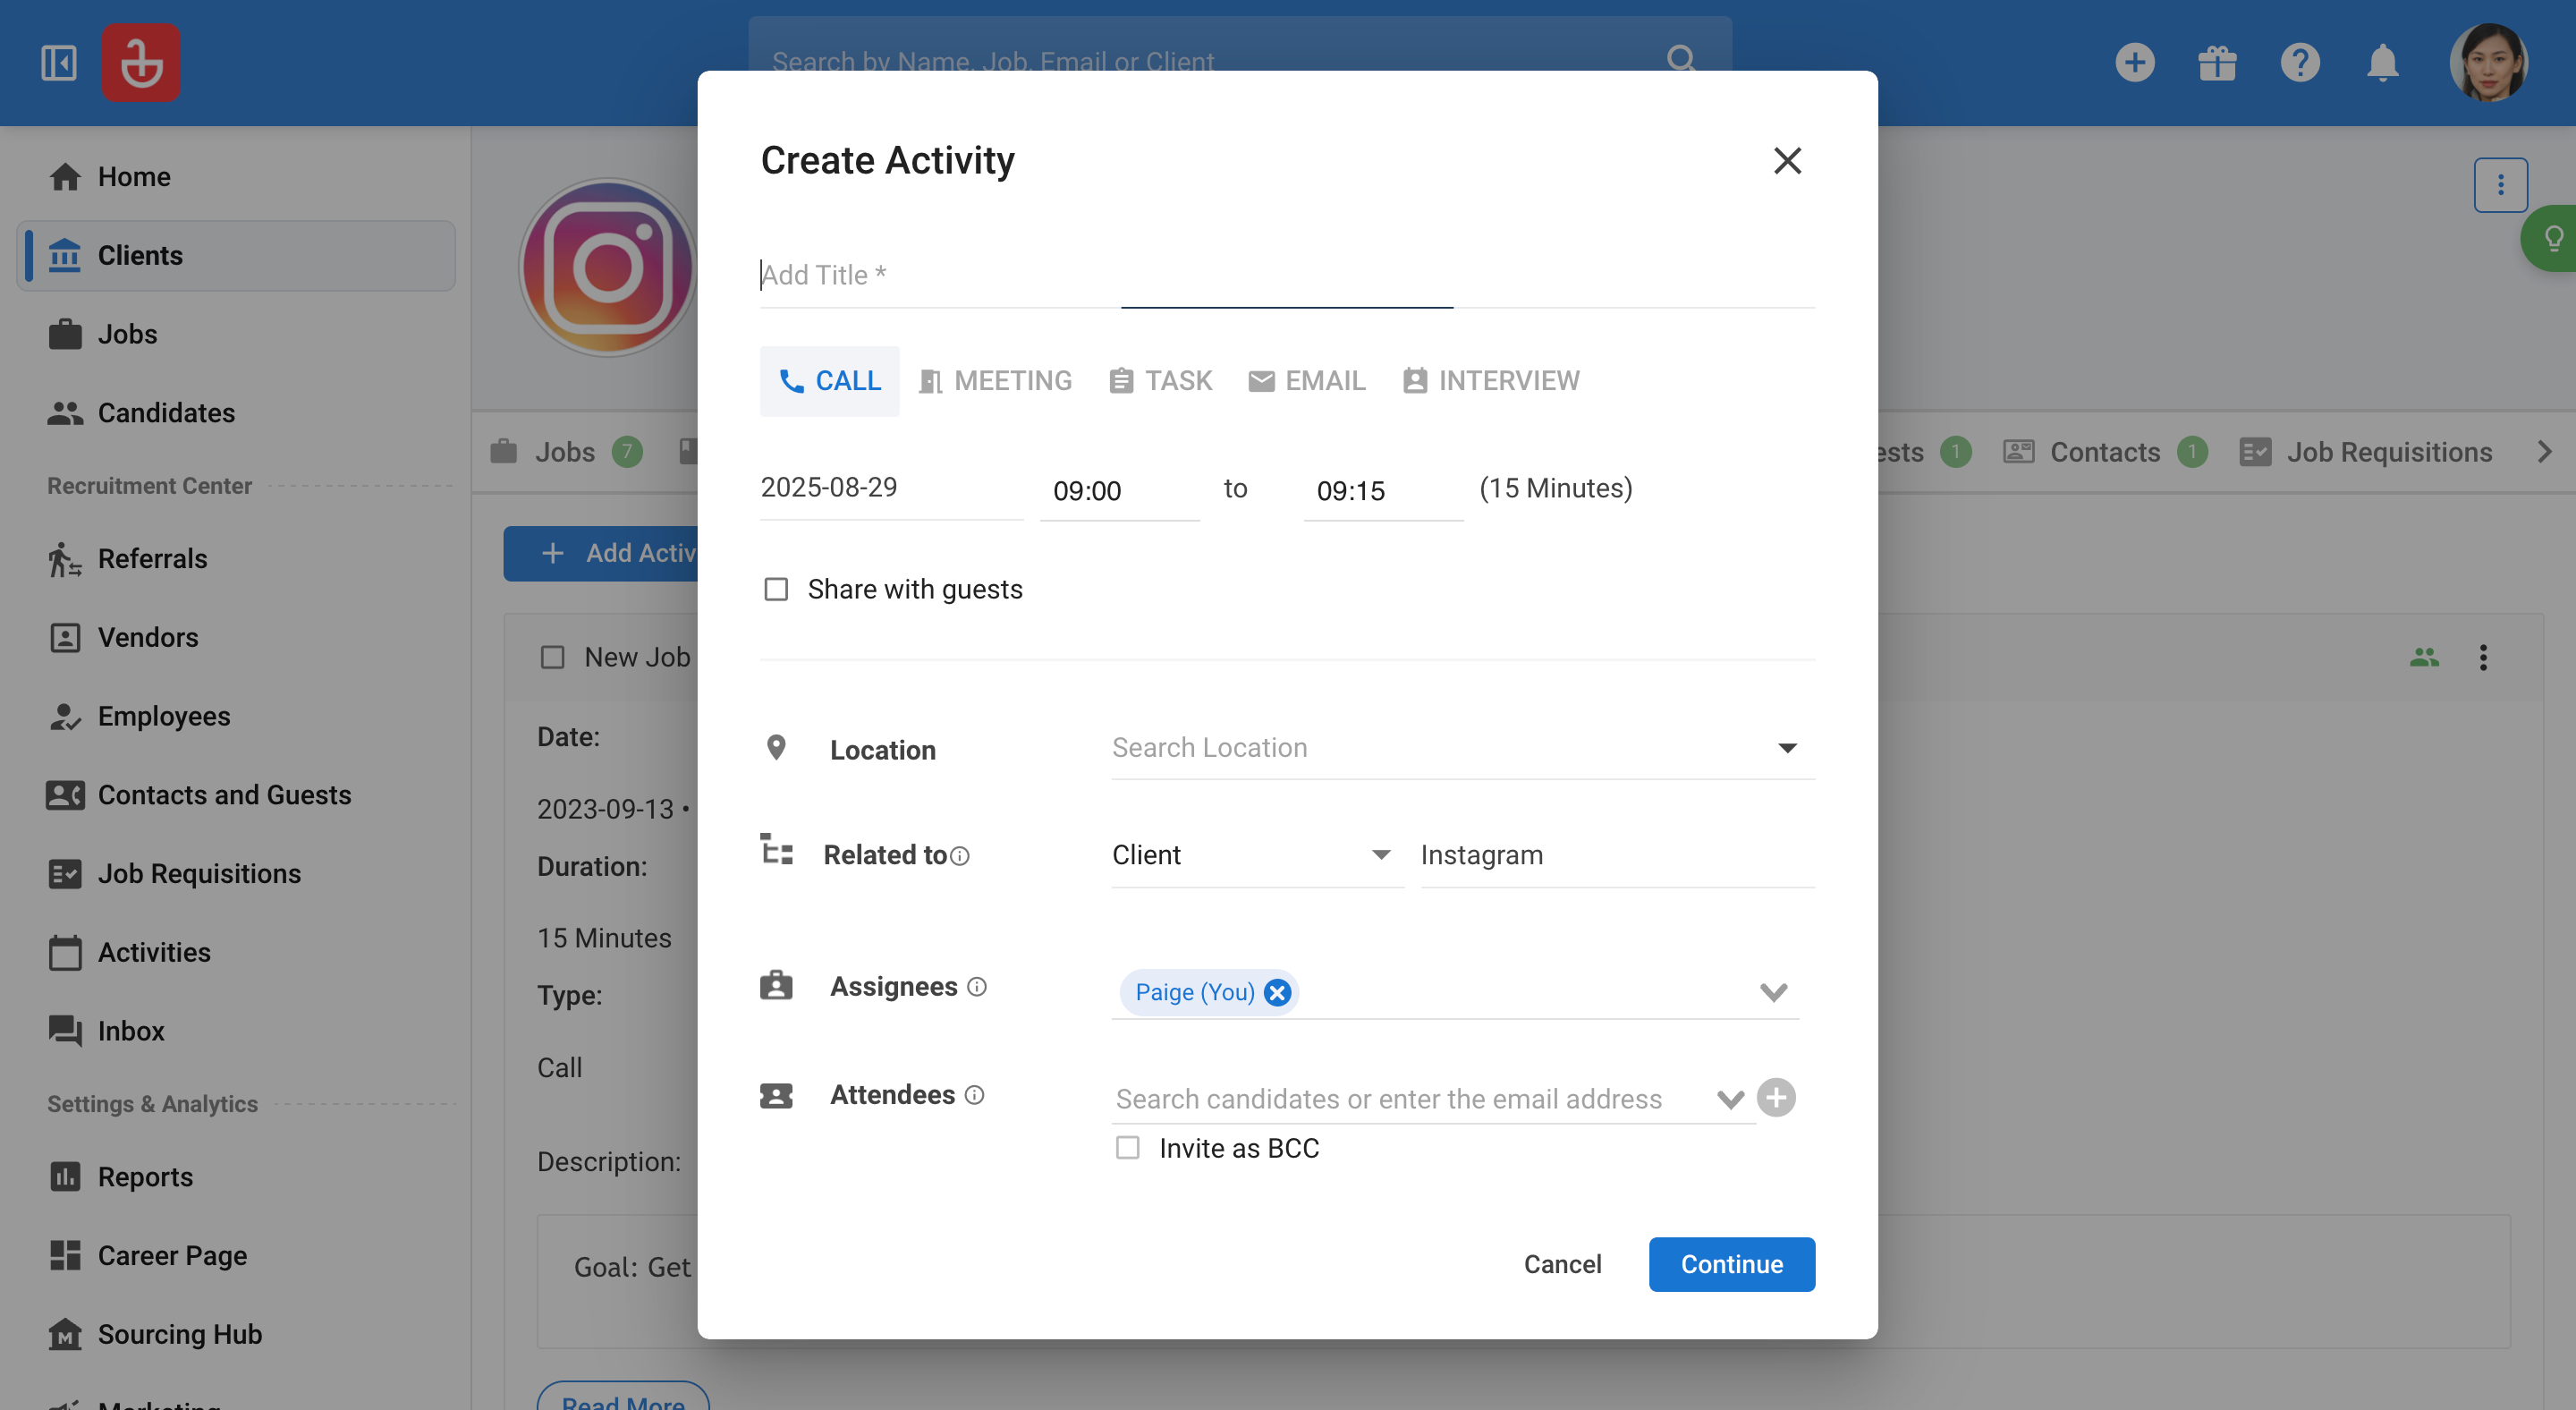
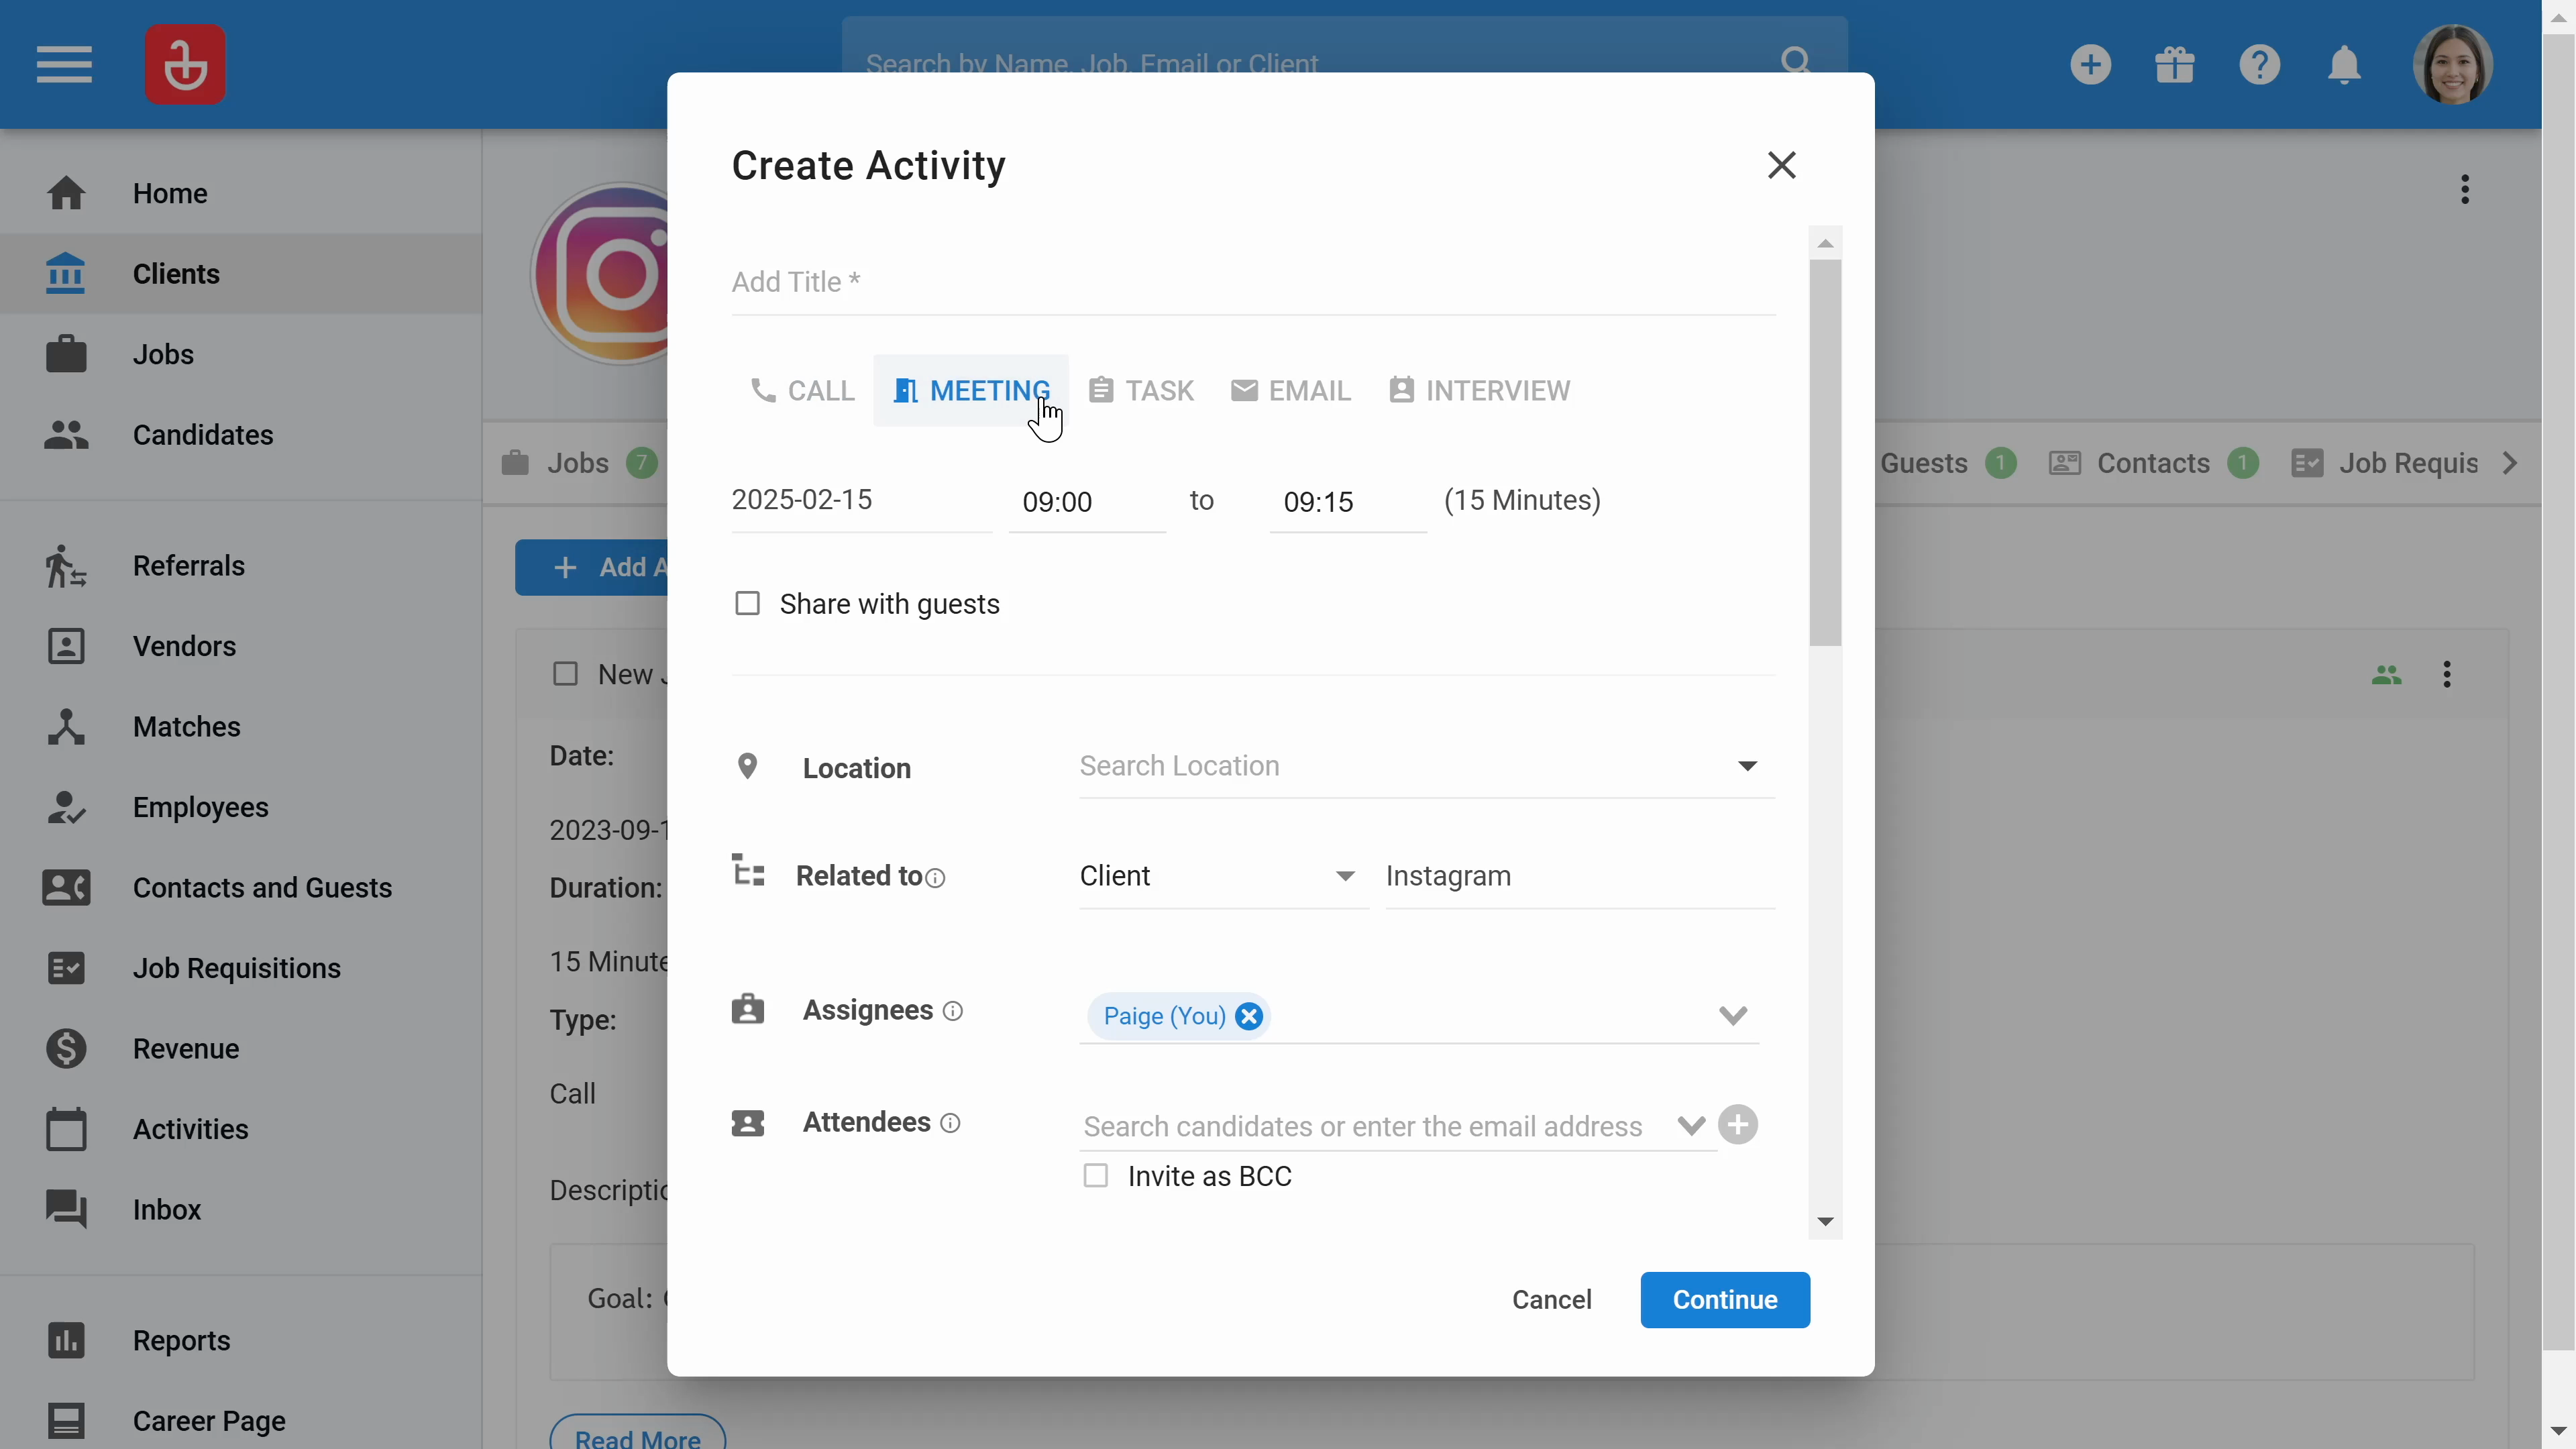
Step 11: Select the type of Meeting you are scheduling.
Step 12: Choose the Date and Time for the meeting.

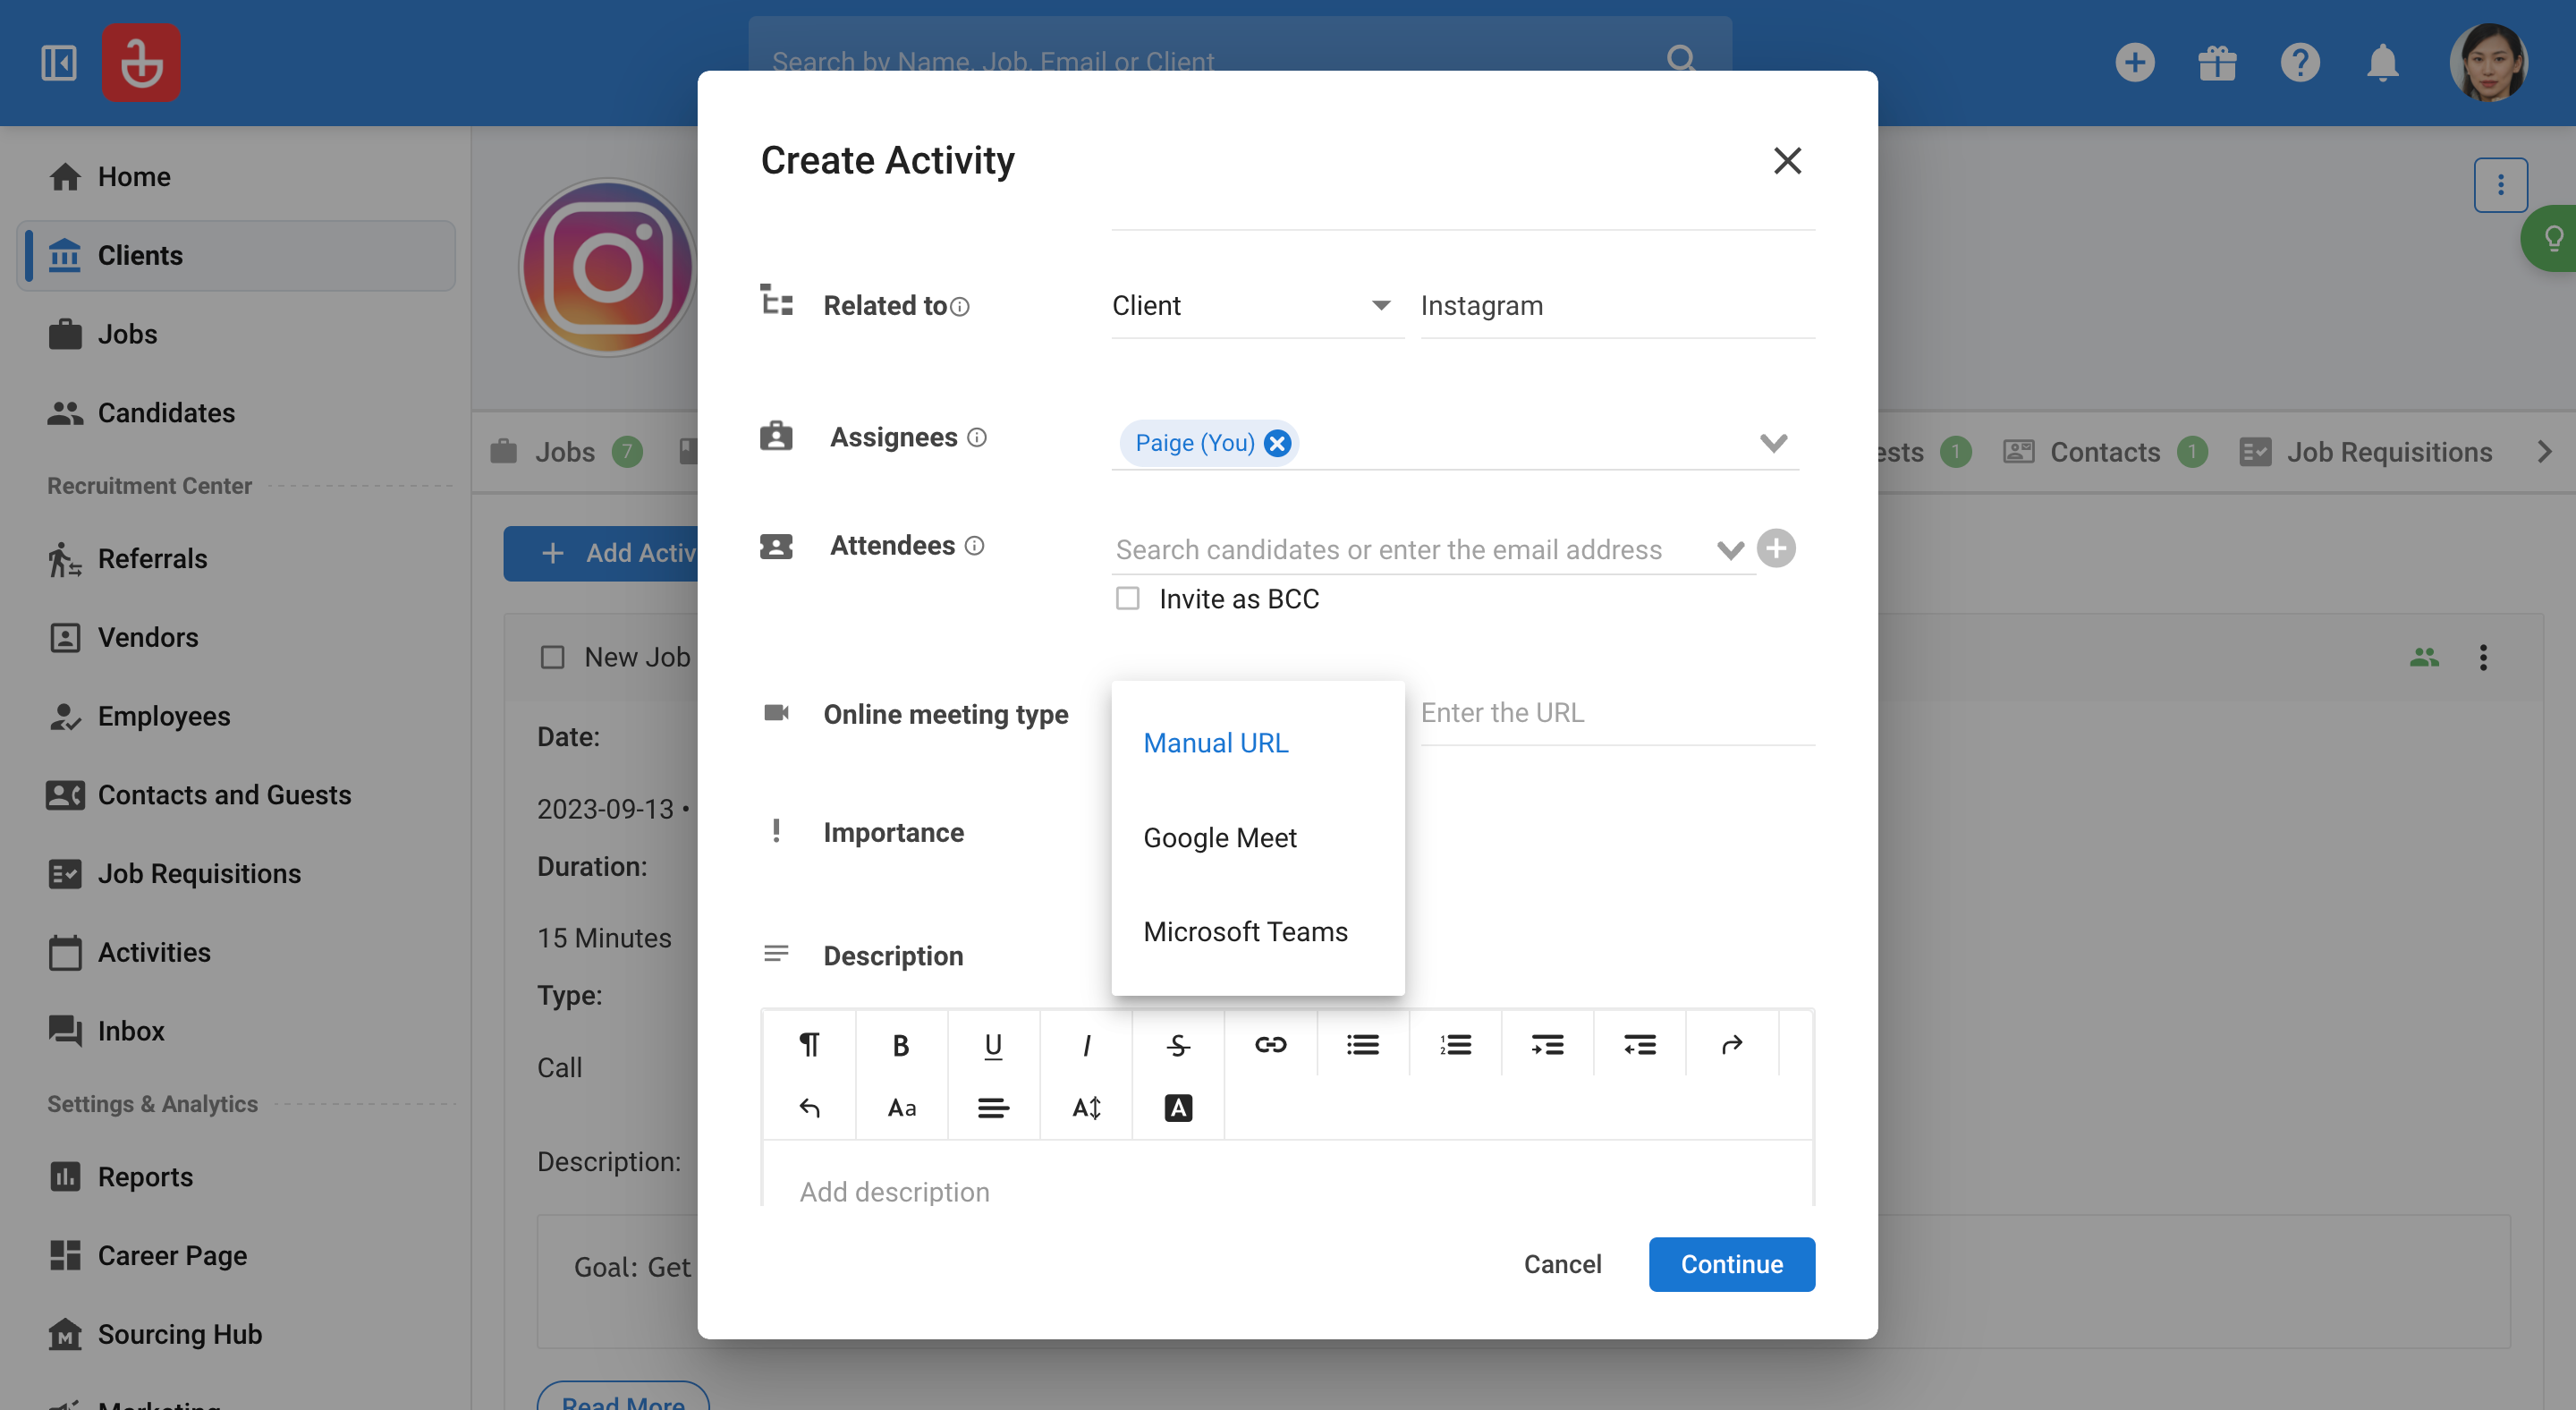
Step 13: Add Attendees to the meeting. You can also choose platforms like Google Meets or Microsoft Team for the meeting, and it will sync with both your calendar and the client’s calendar.
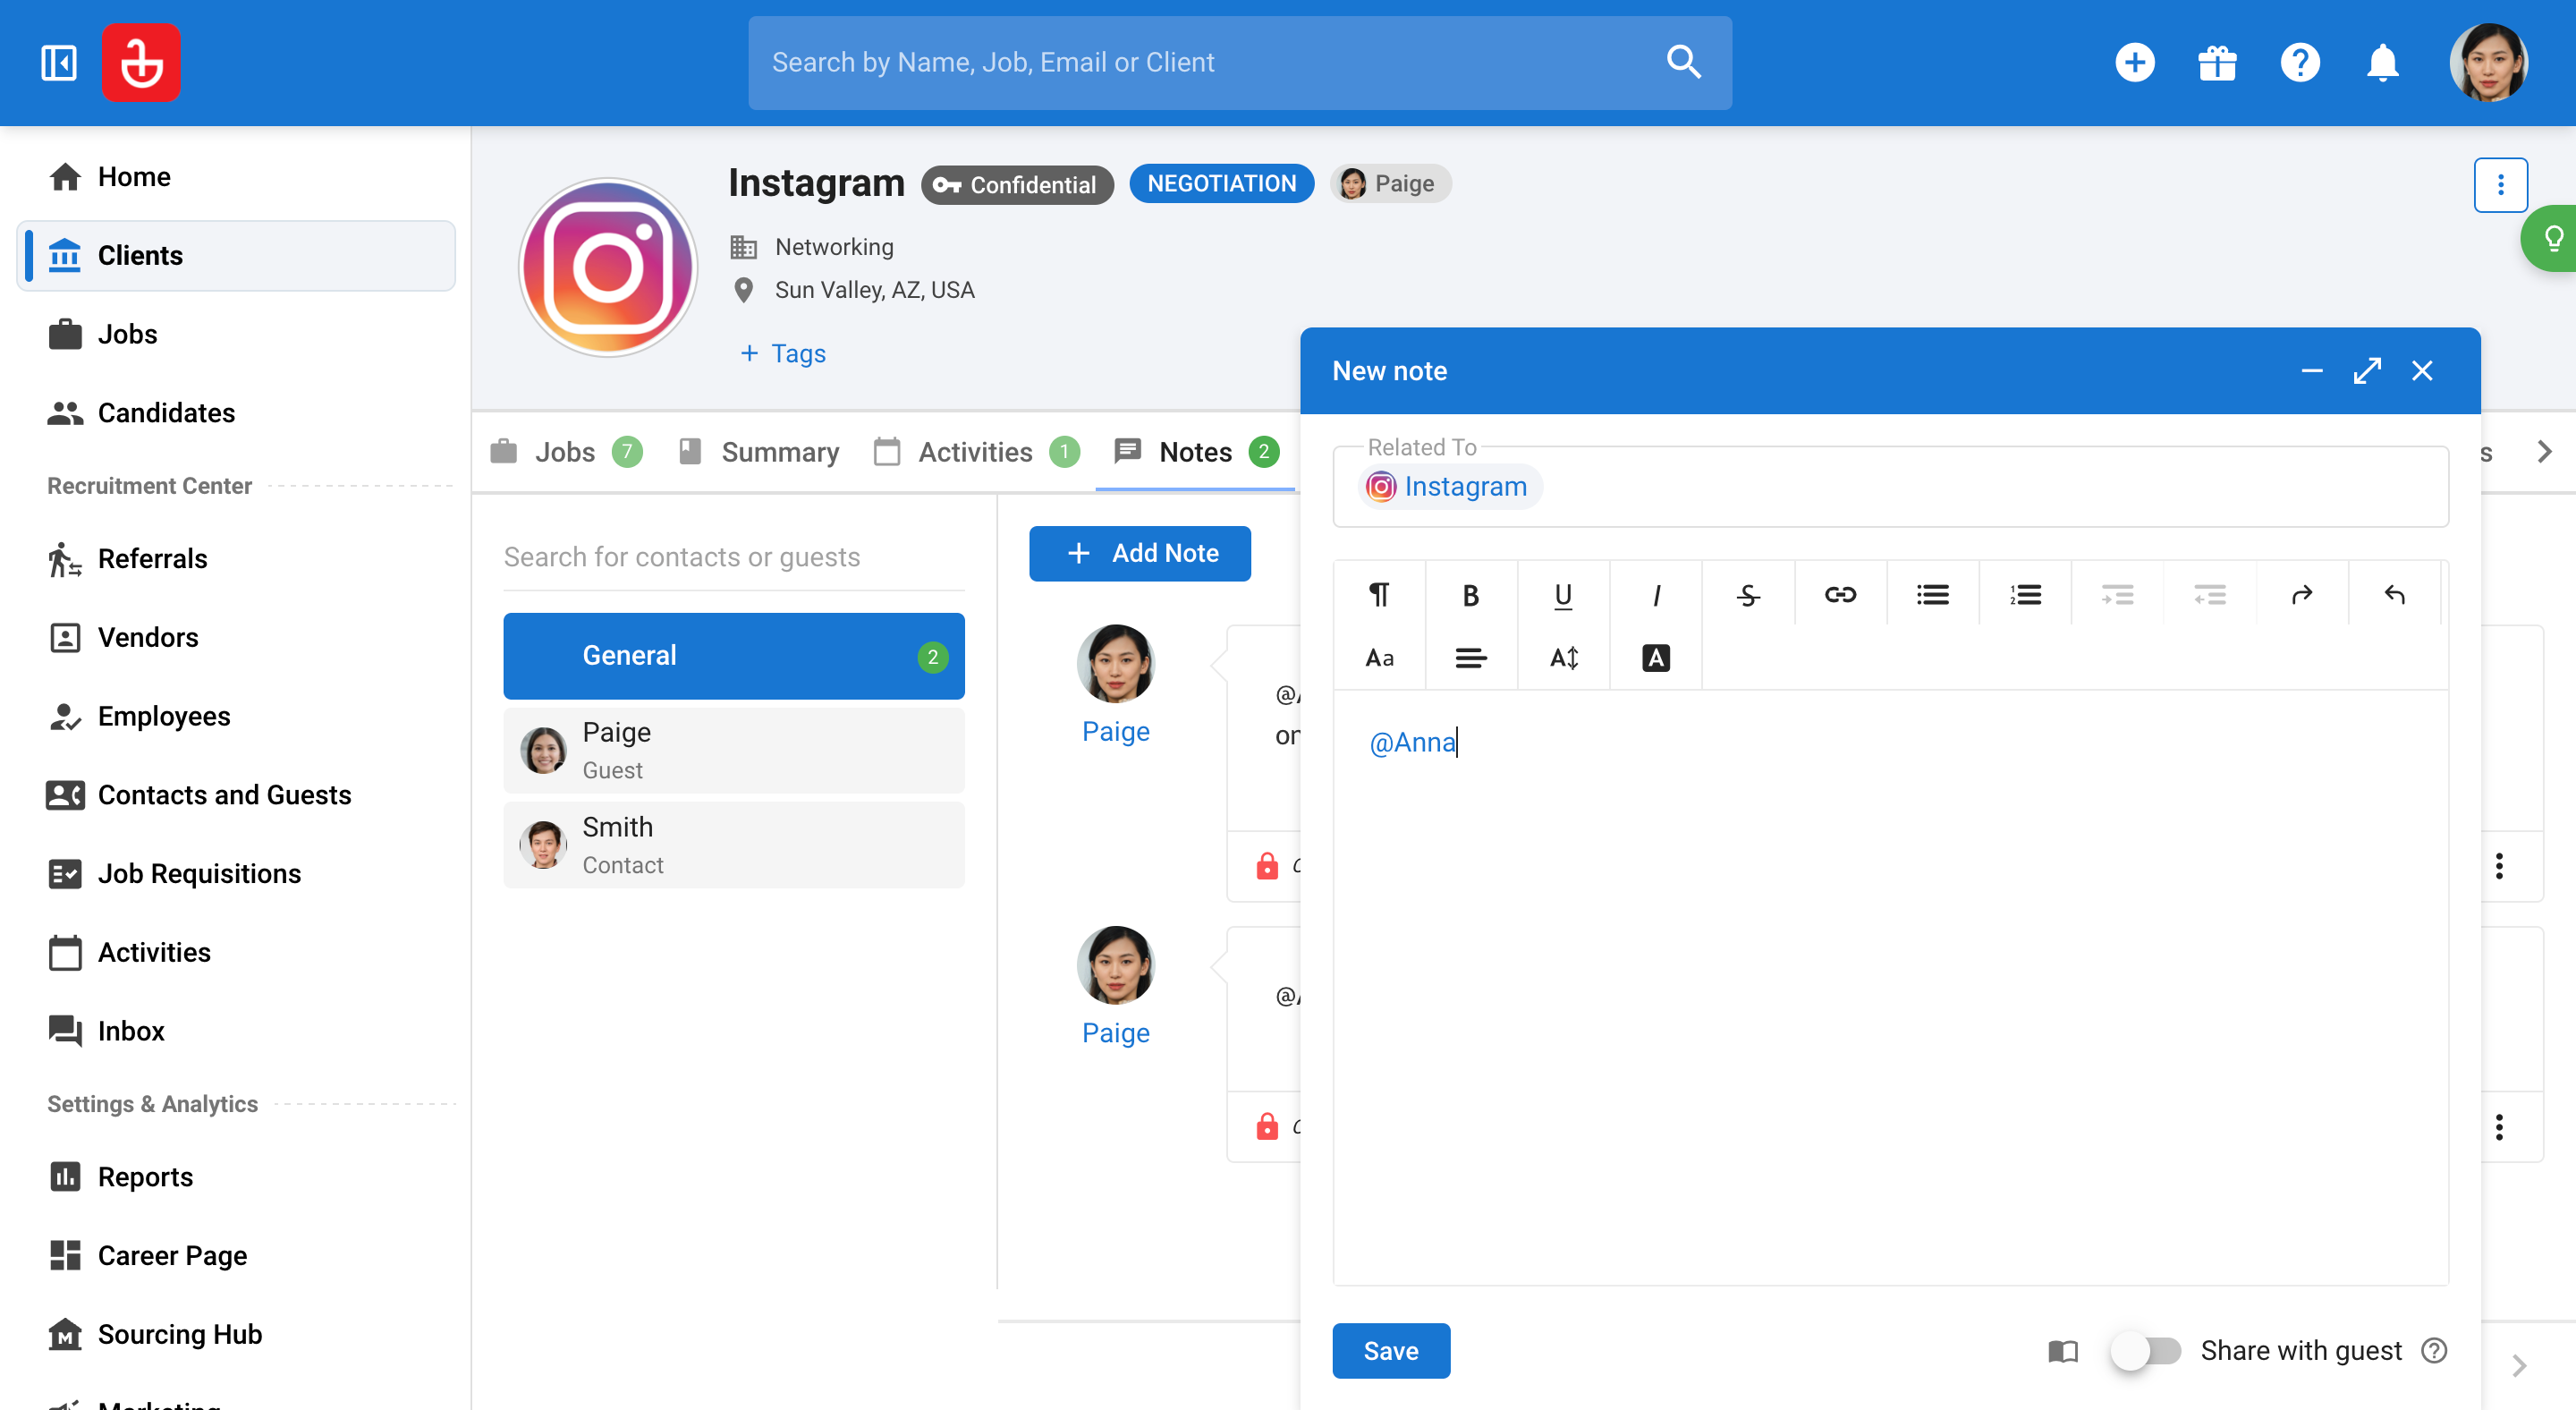
Step 14: Record any feedback or comments in the meeting notes. This section can also facilitate internal communication.
Step 15: You can tag team members to notify them directly within this platform. Type a Message to your team, which will trigger notifications once you tag team members.
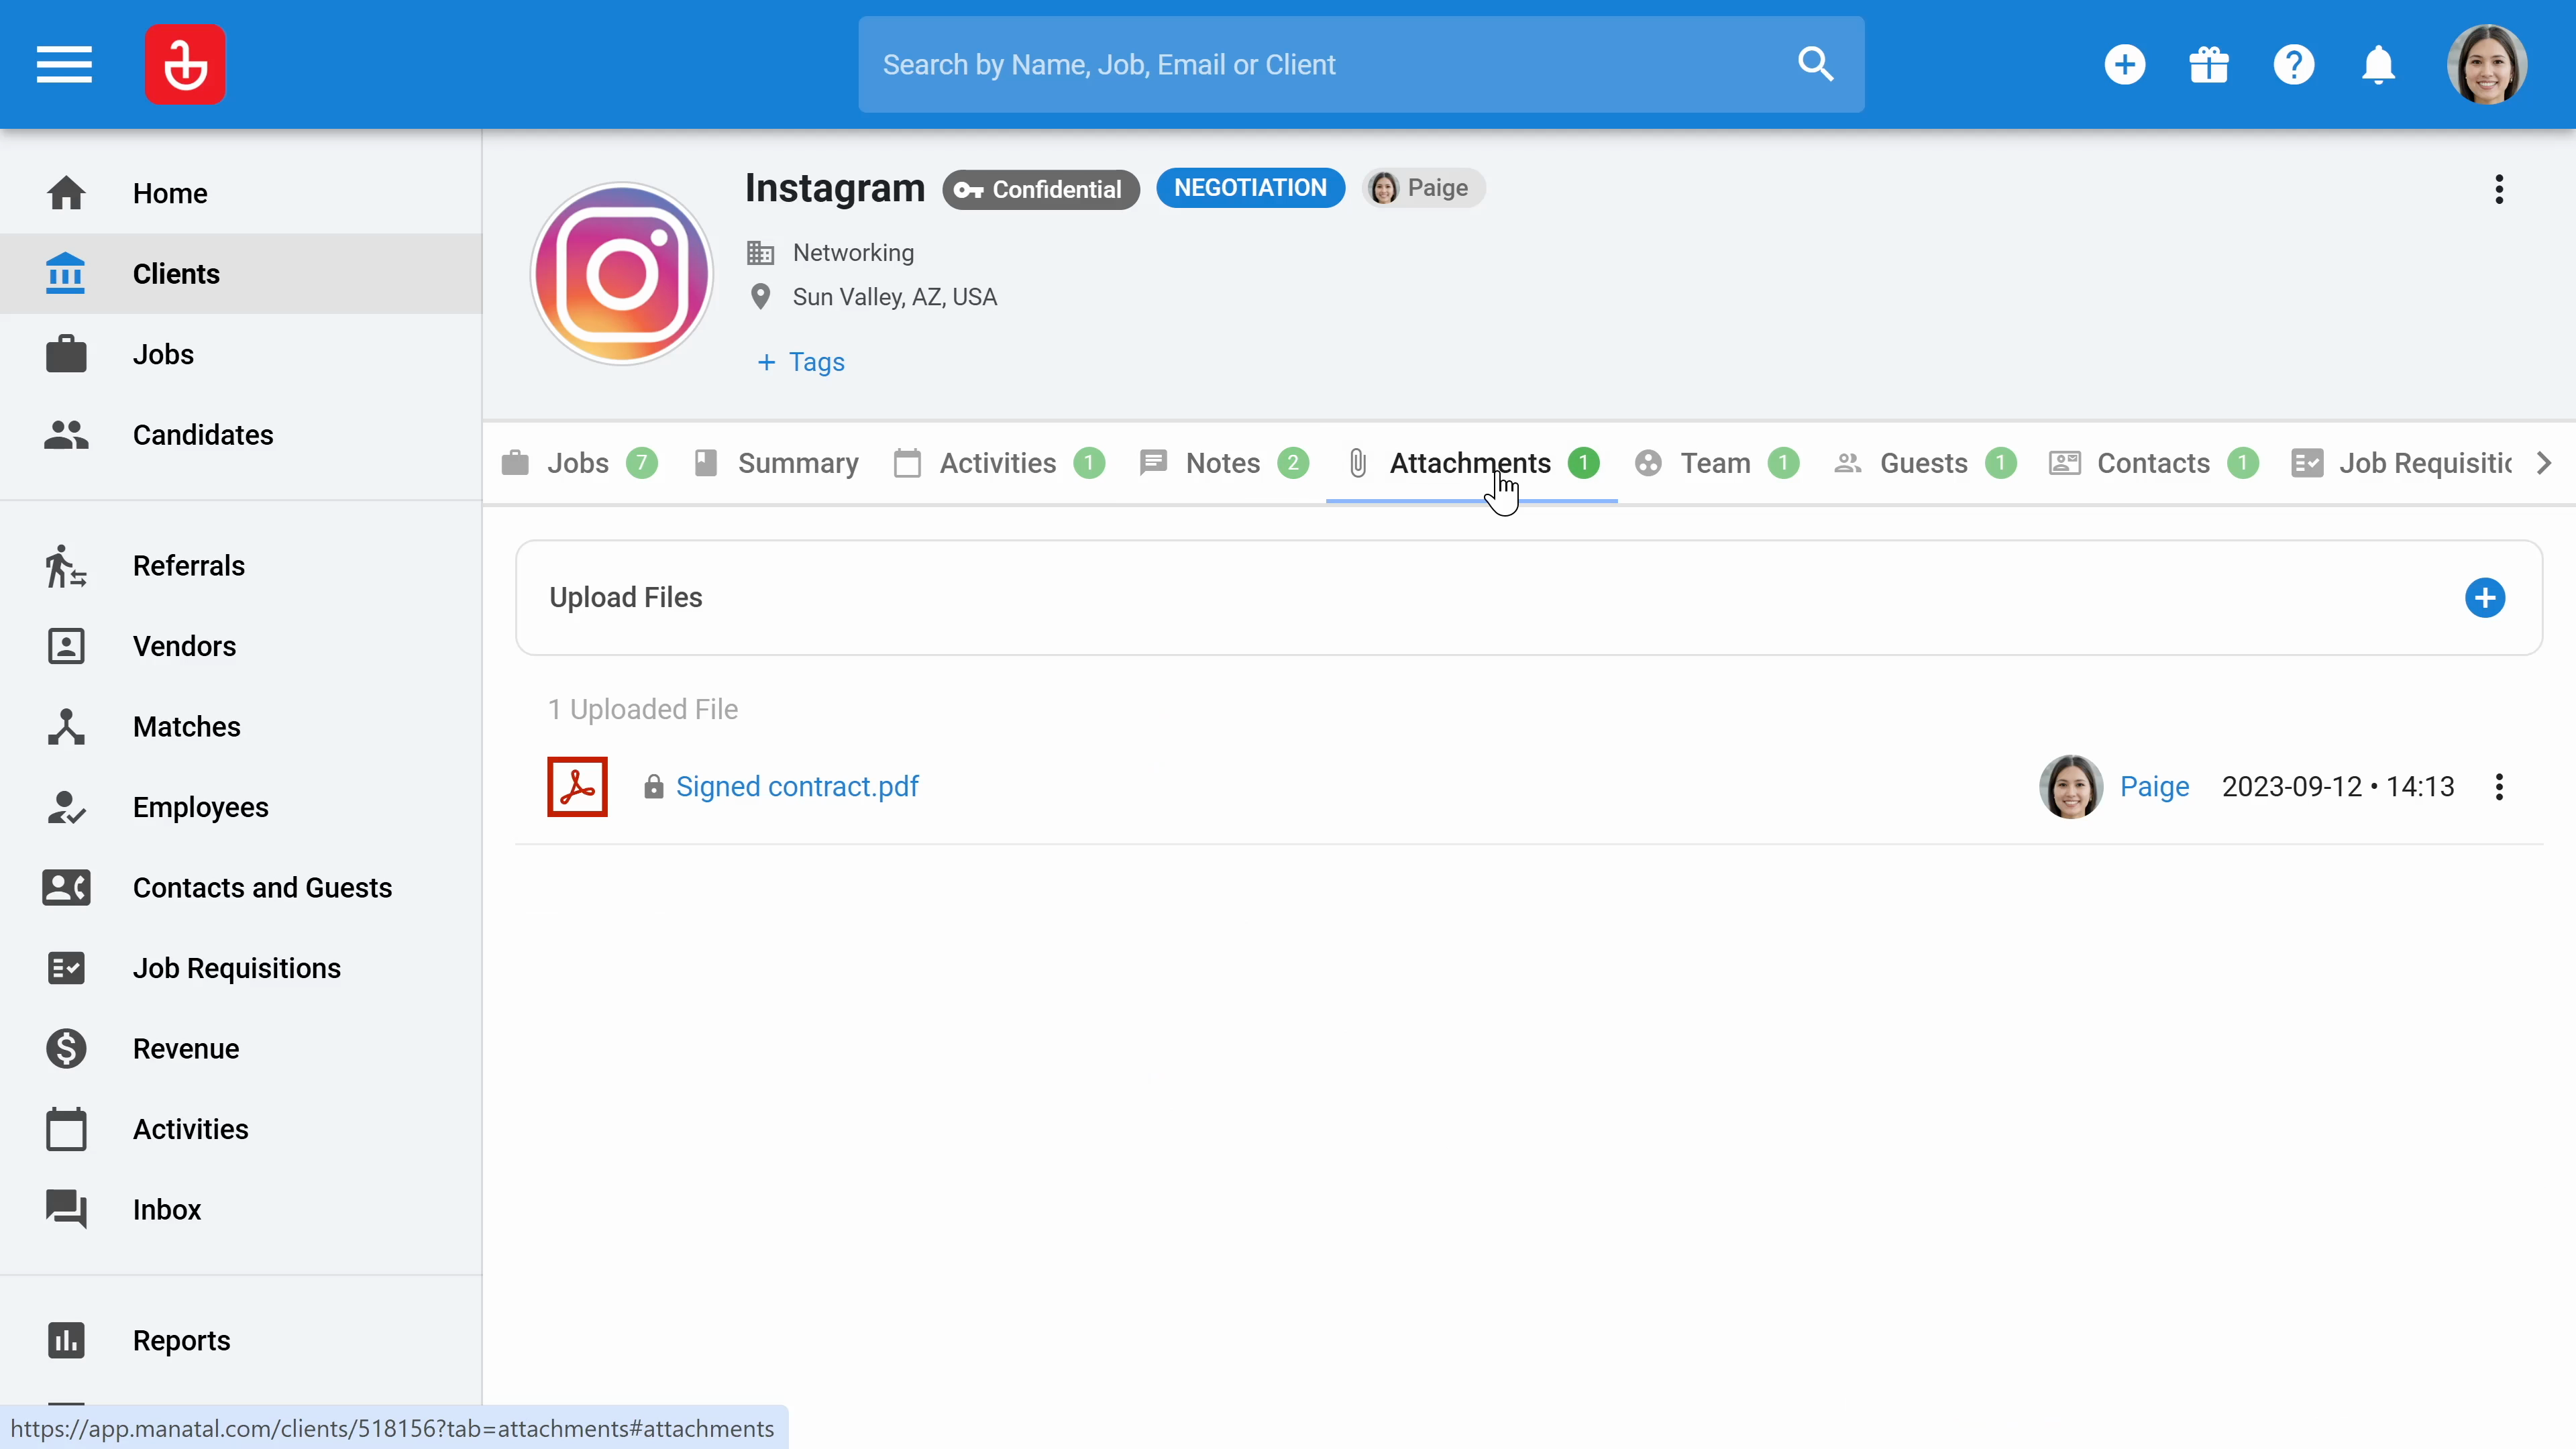
Step 16: In the Attachments section, upload files related to your client. The system supports multiple file formats and allows numerous uploads.
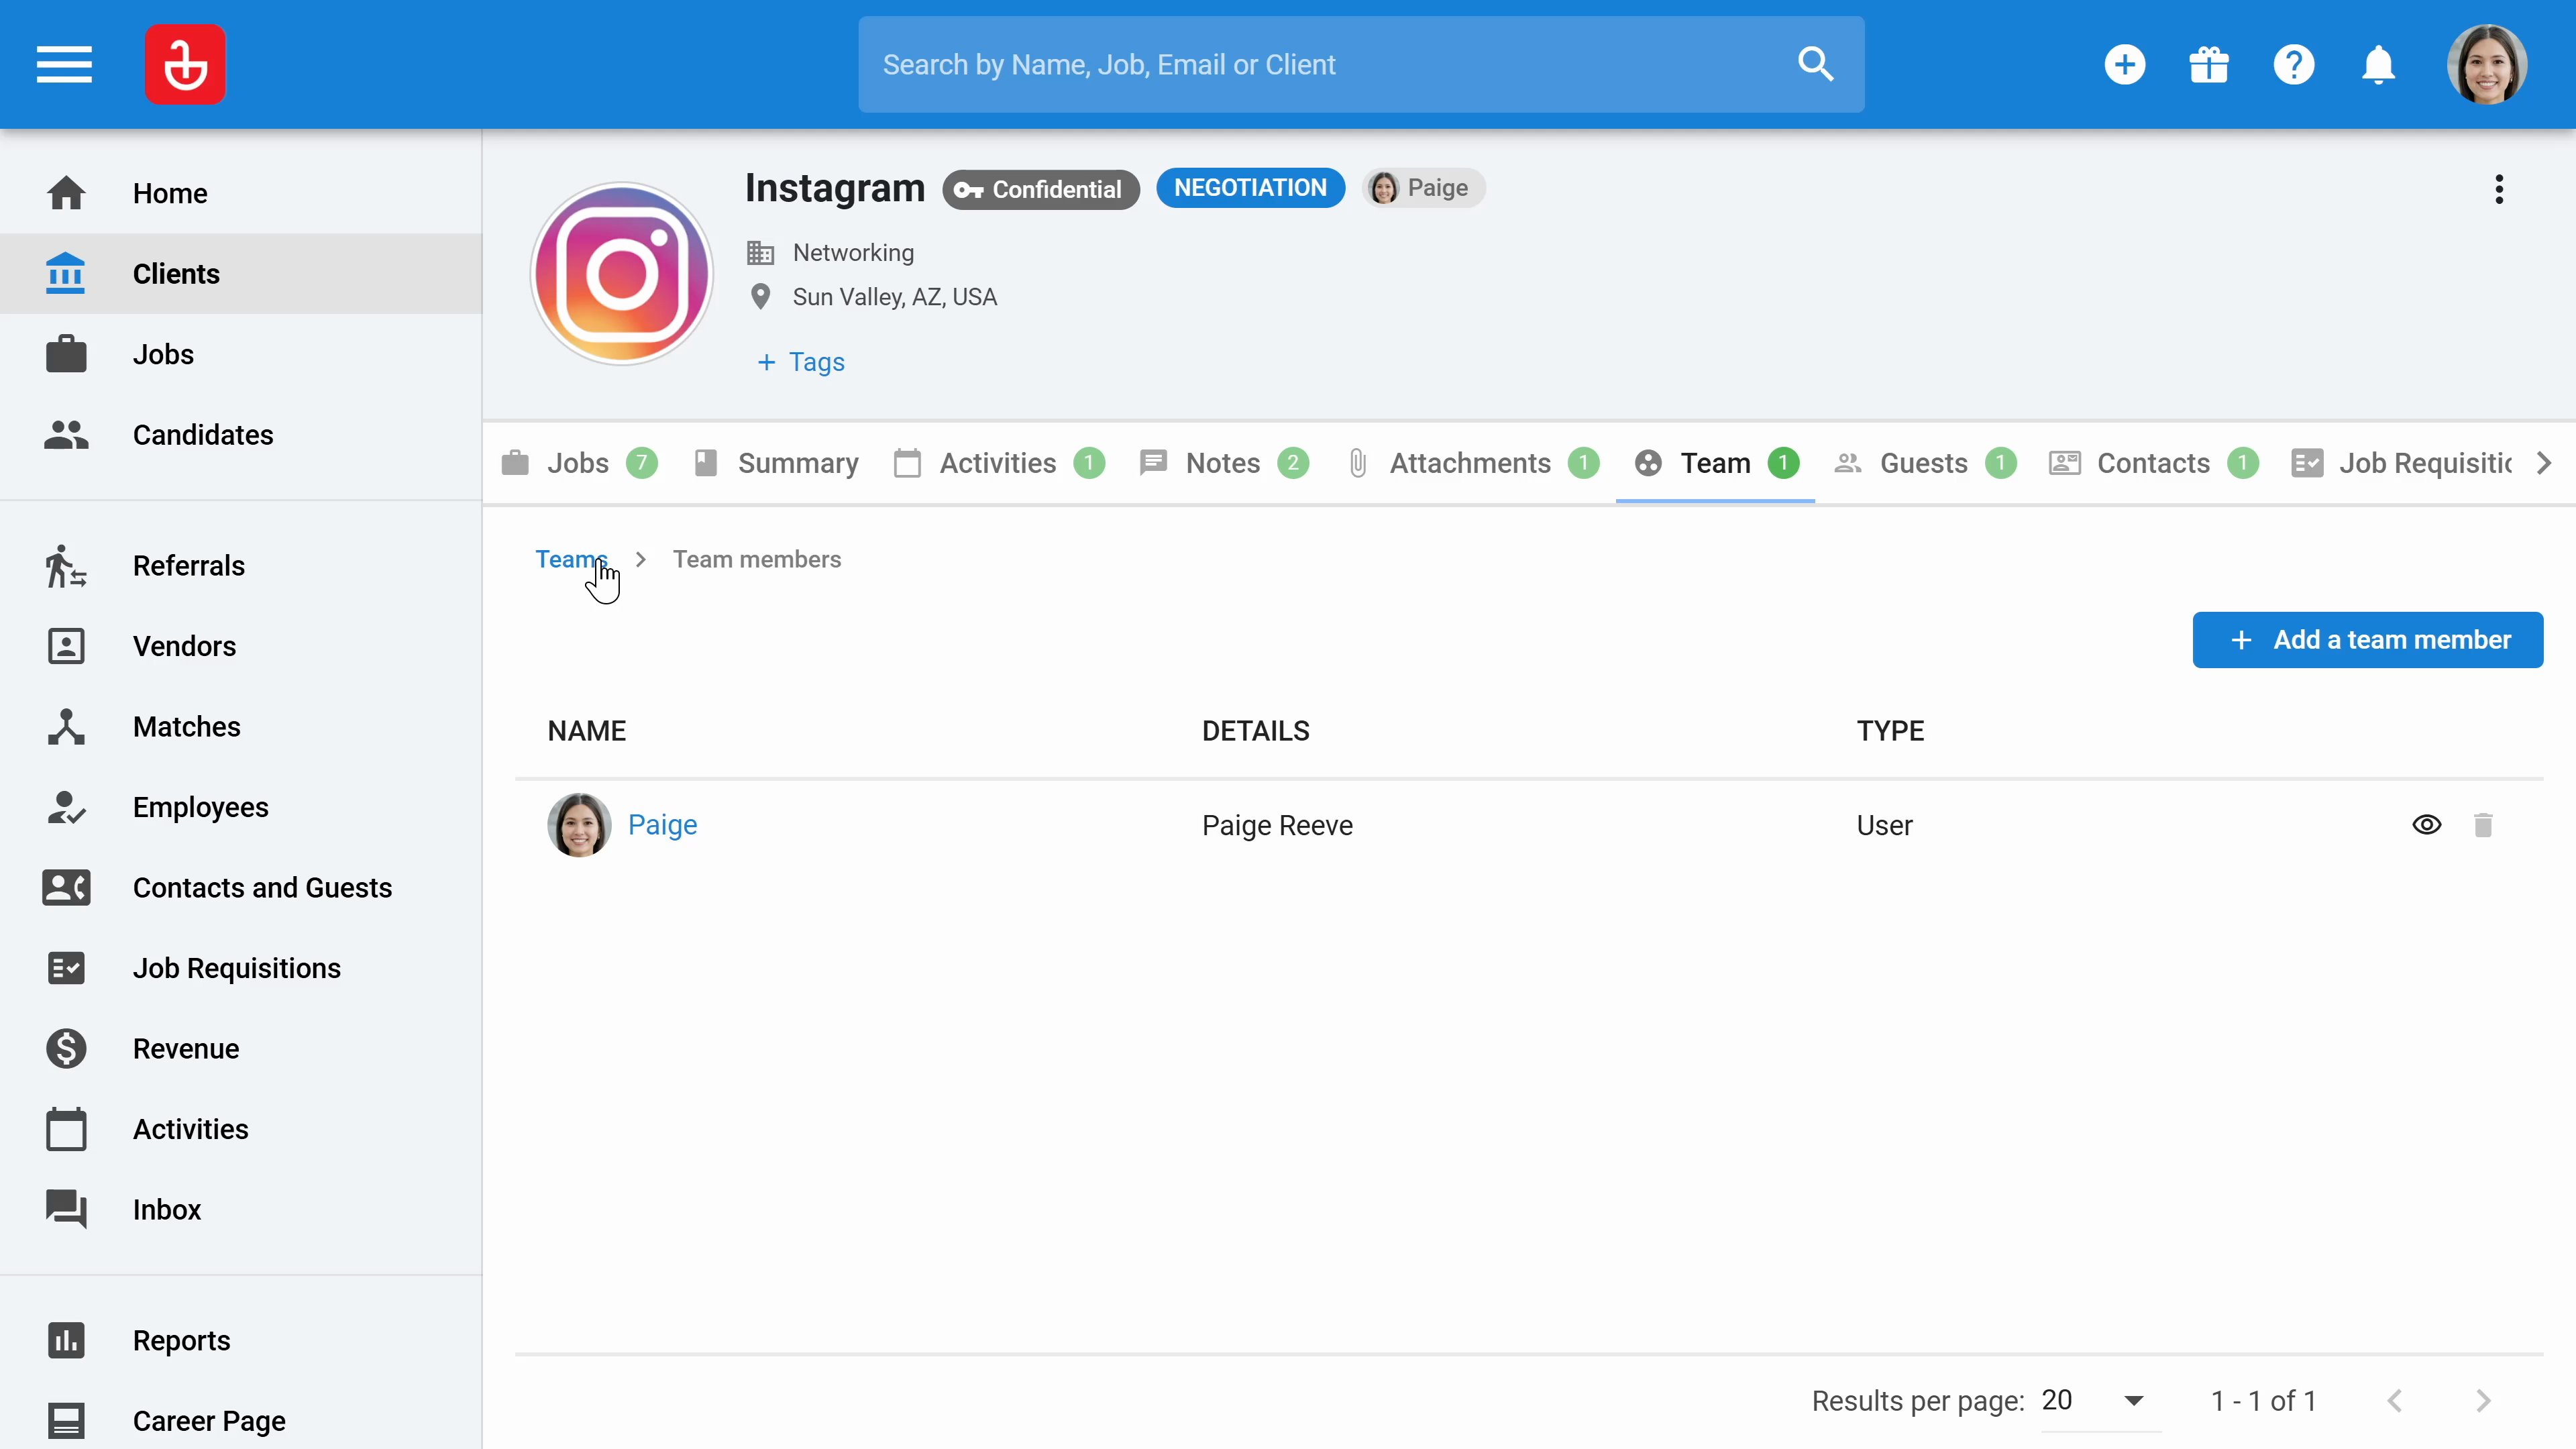
Step 17: In the Team section, specify which consultants can access this client's information.
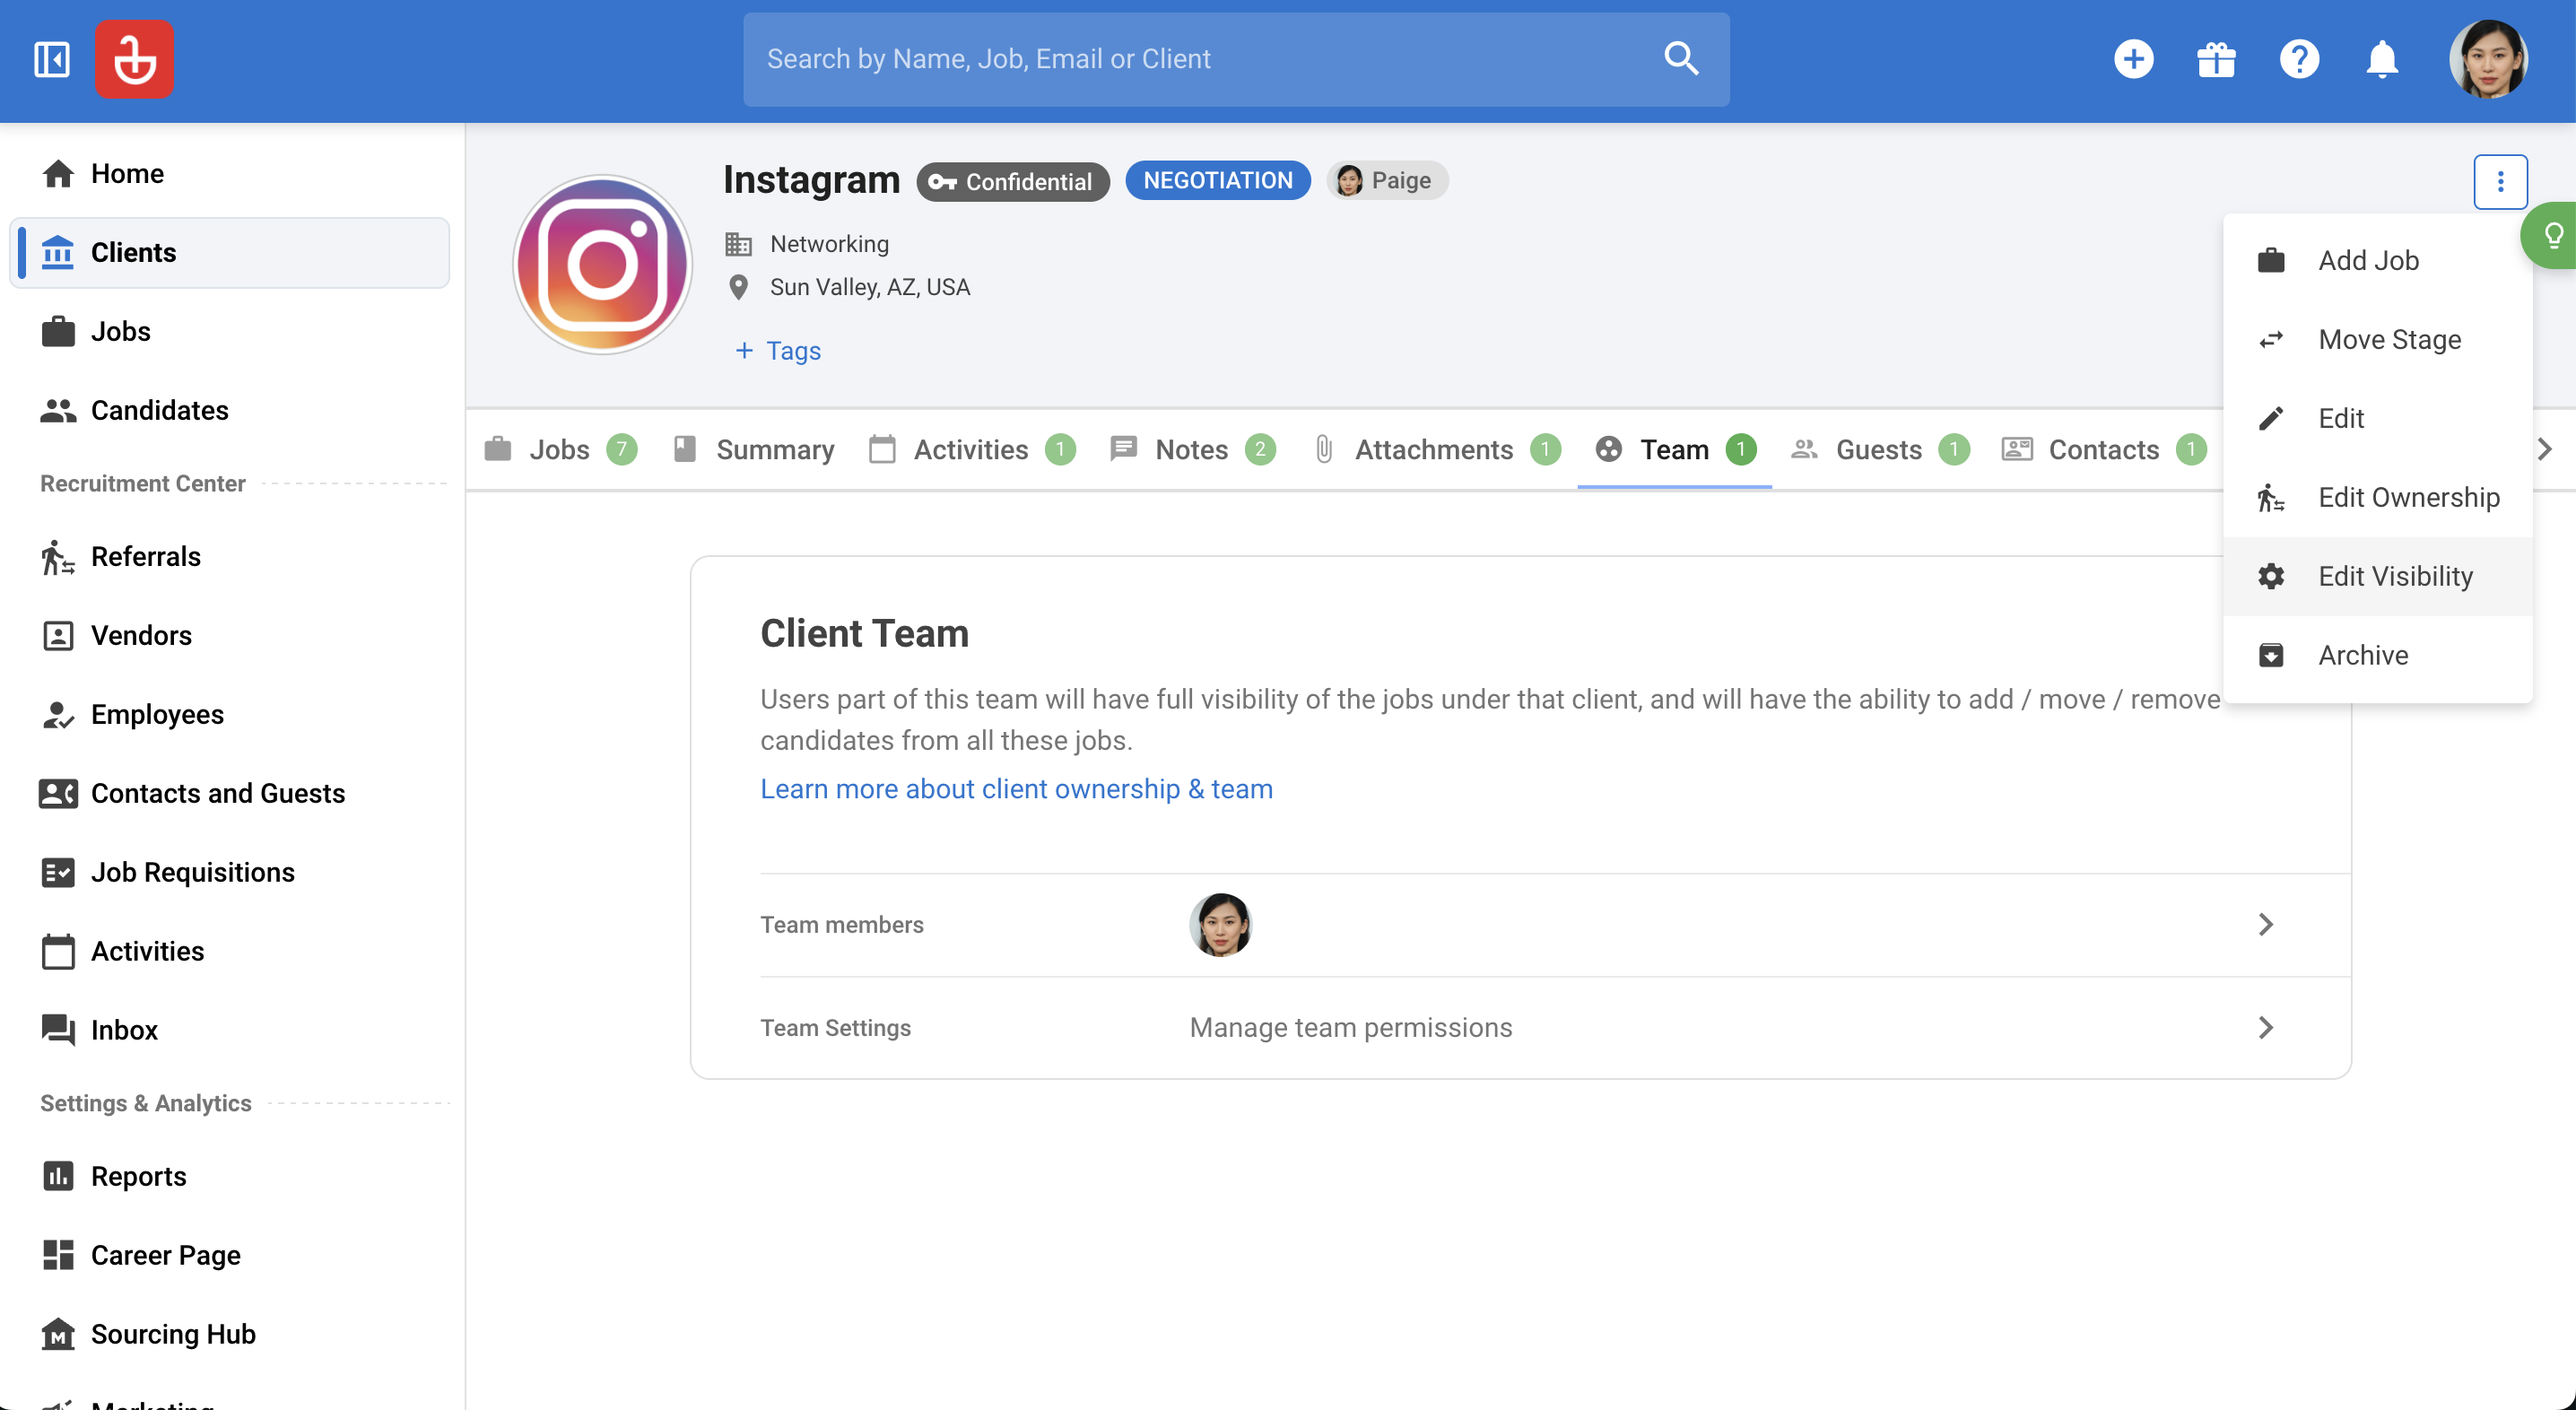
Step 18: Click on the three dots to edit visibility settings. You can set the client’s profile to confidential or private, restricting access to designated team members only.
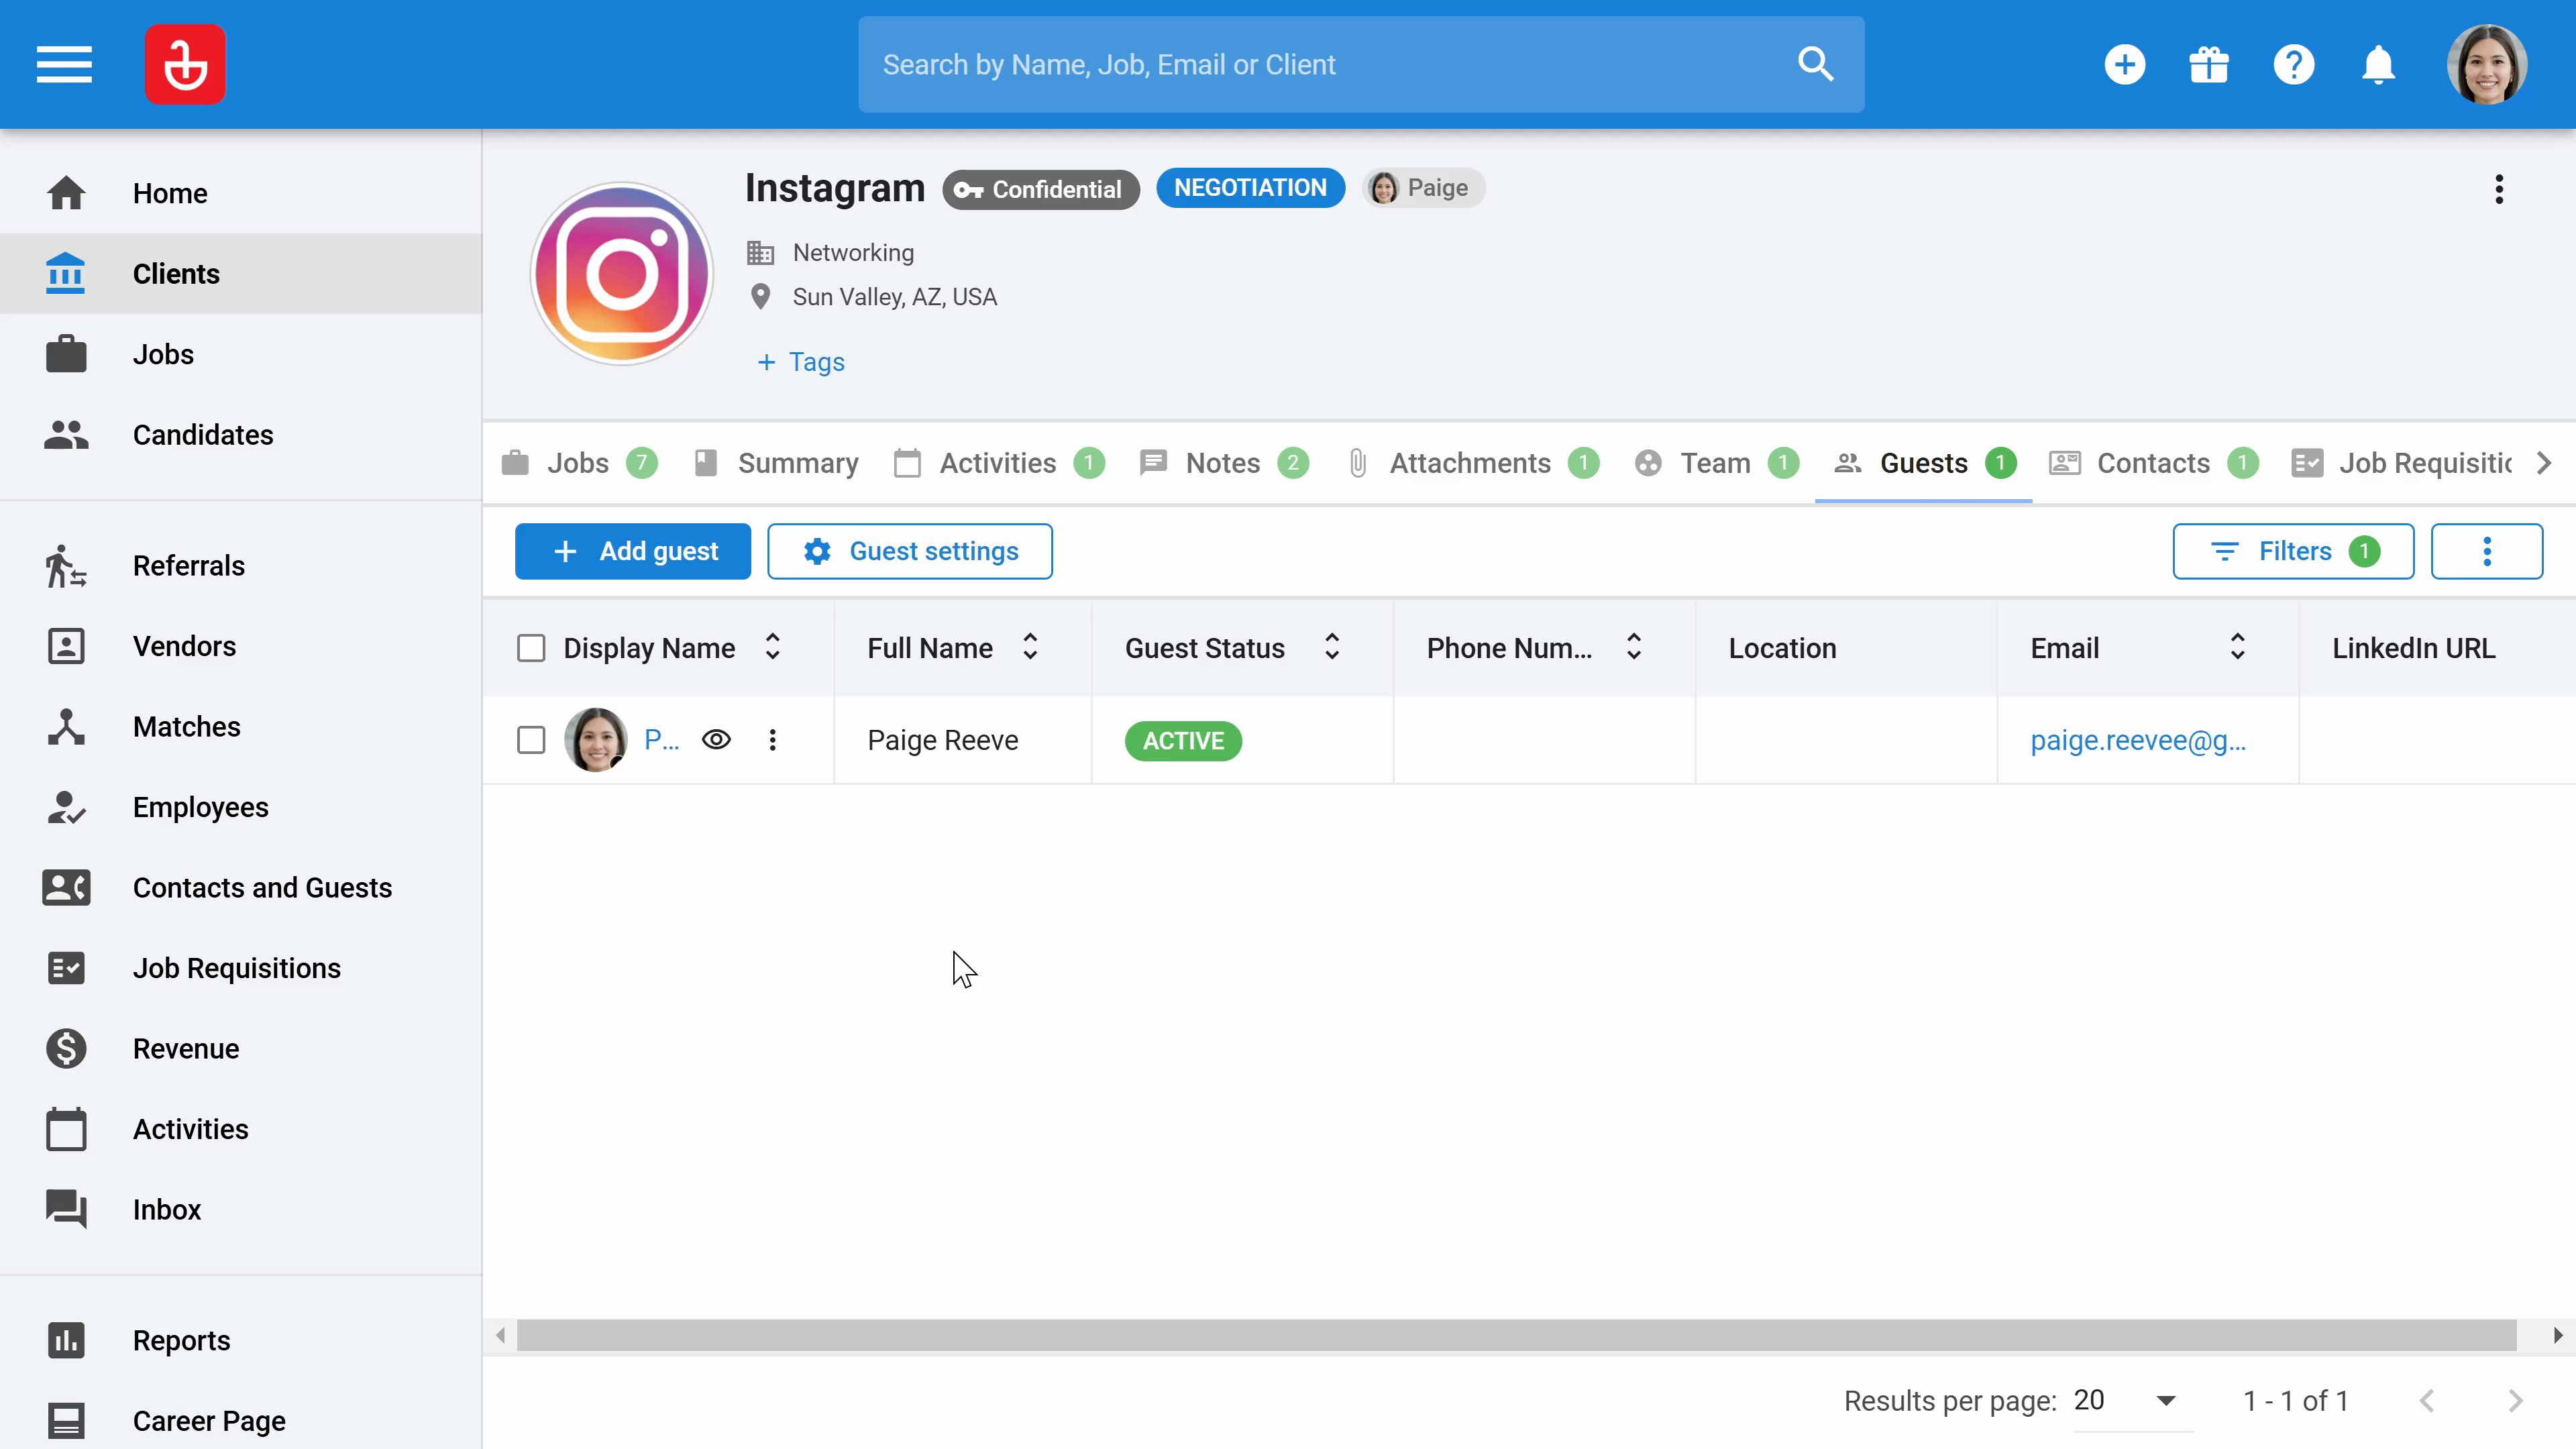
Step 19: Enable Guest Settings to allow guest access. This lets them review candidates that you have shortlisted without seeing all the details.
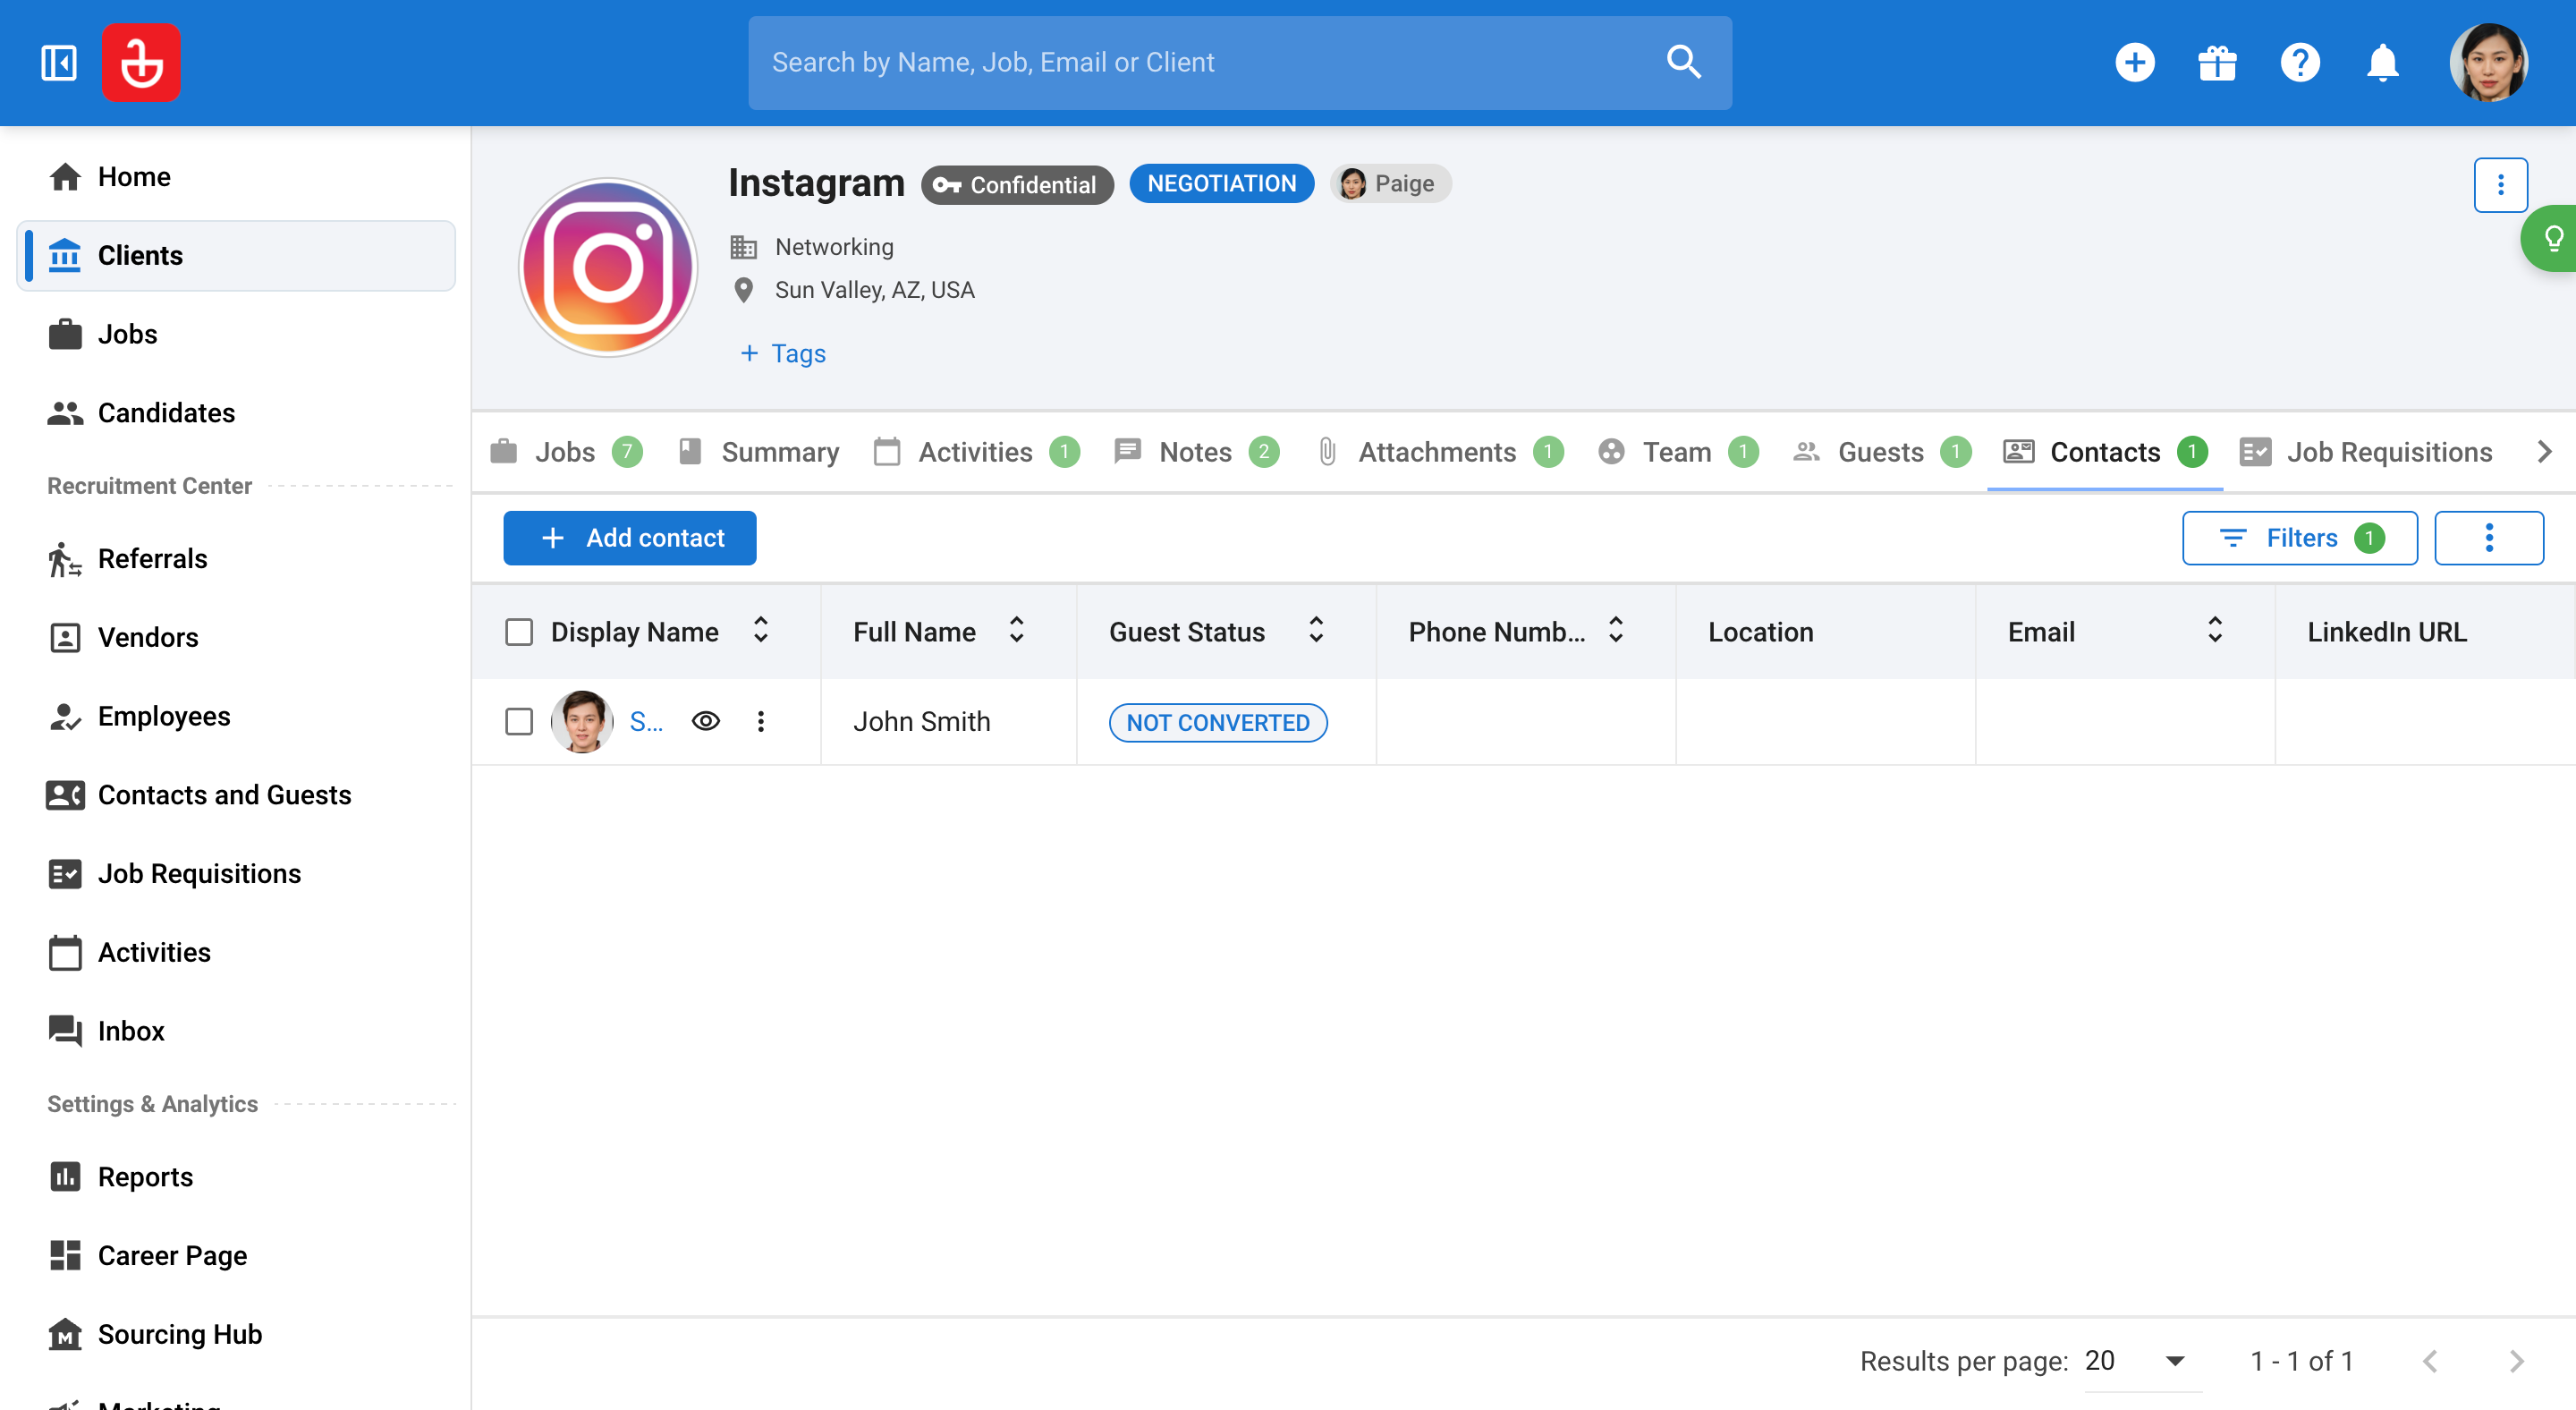
Step 20: Finally, in the Contacts section, add your contacts associated with this client. Once added, you can directly email them from the platform.
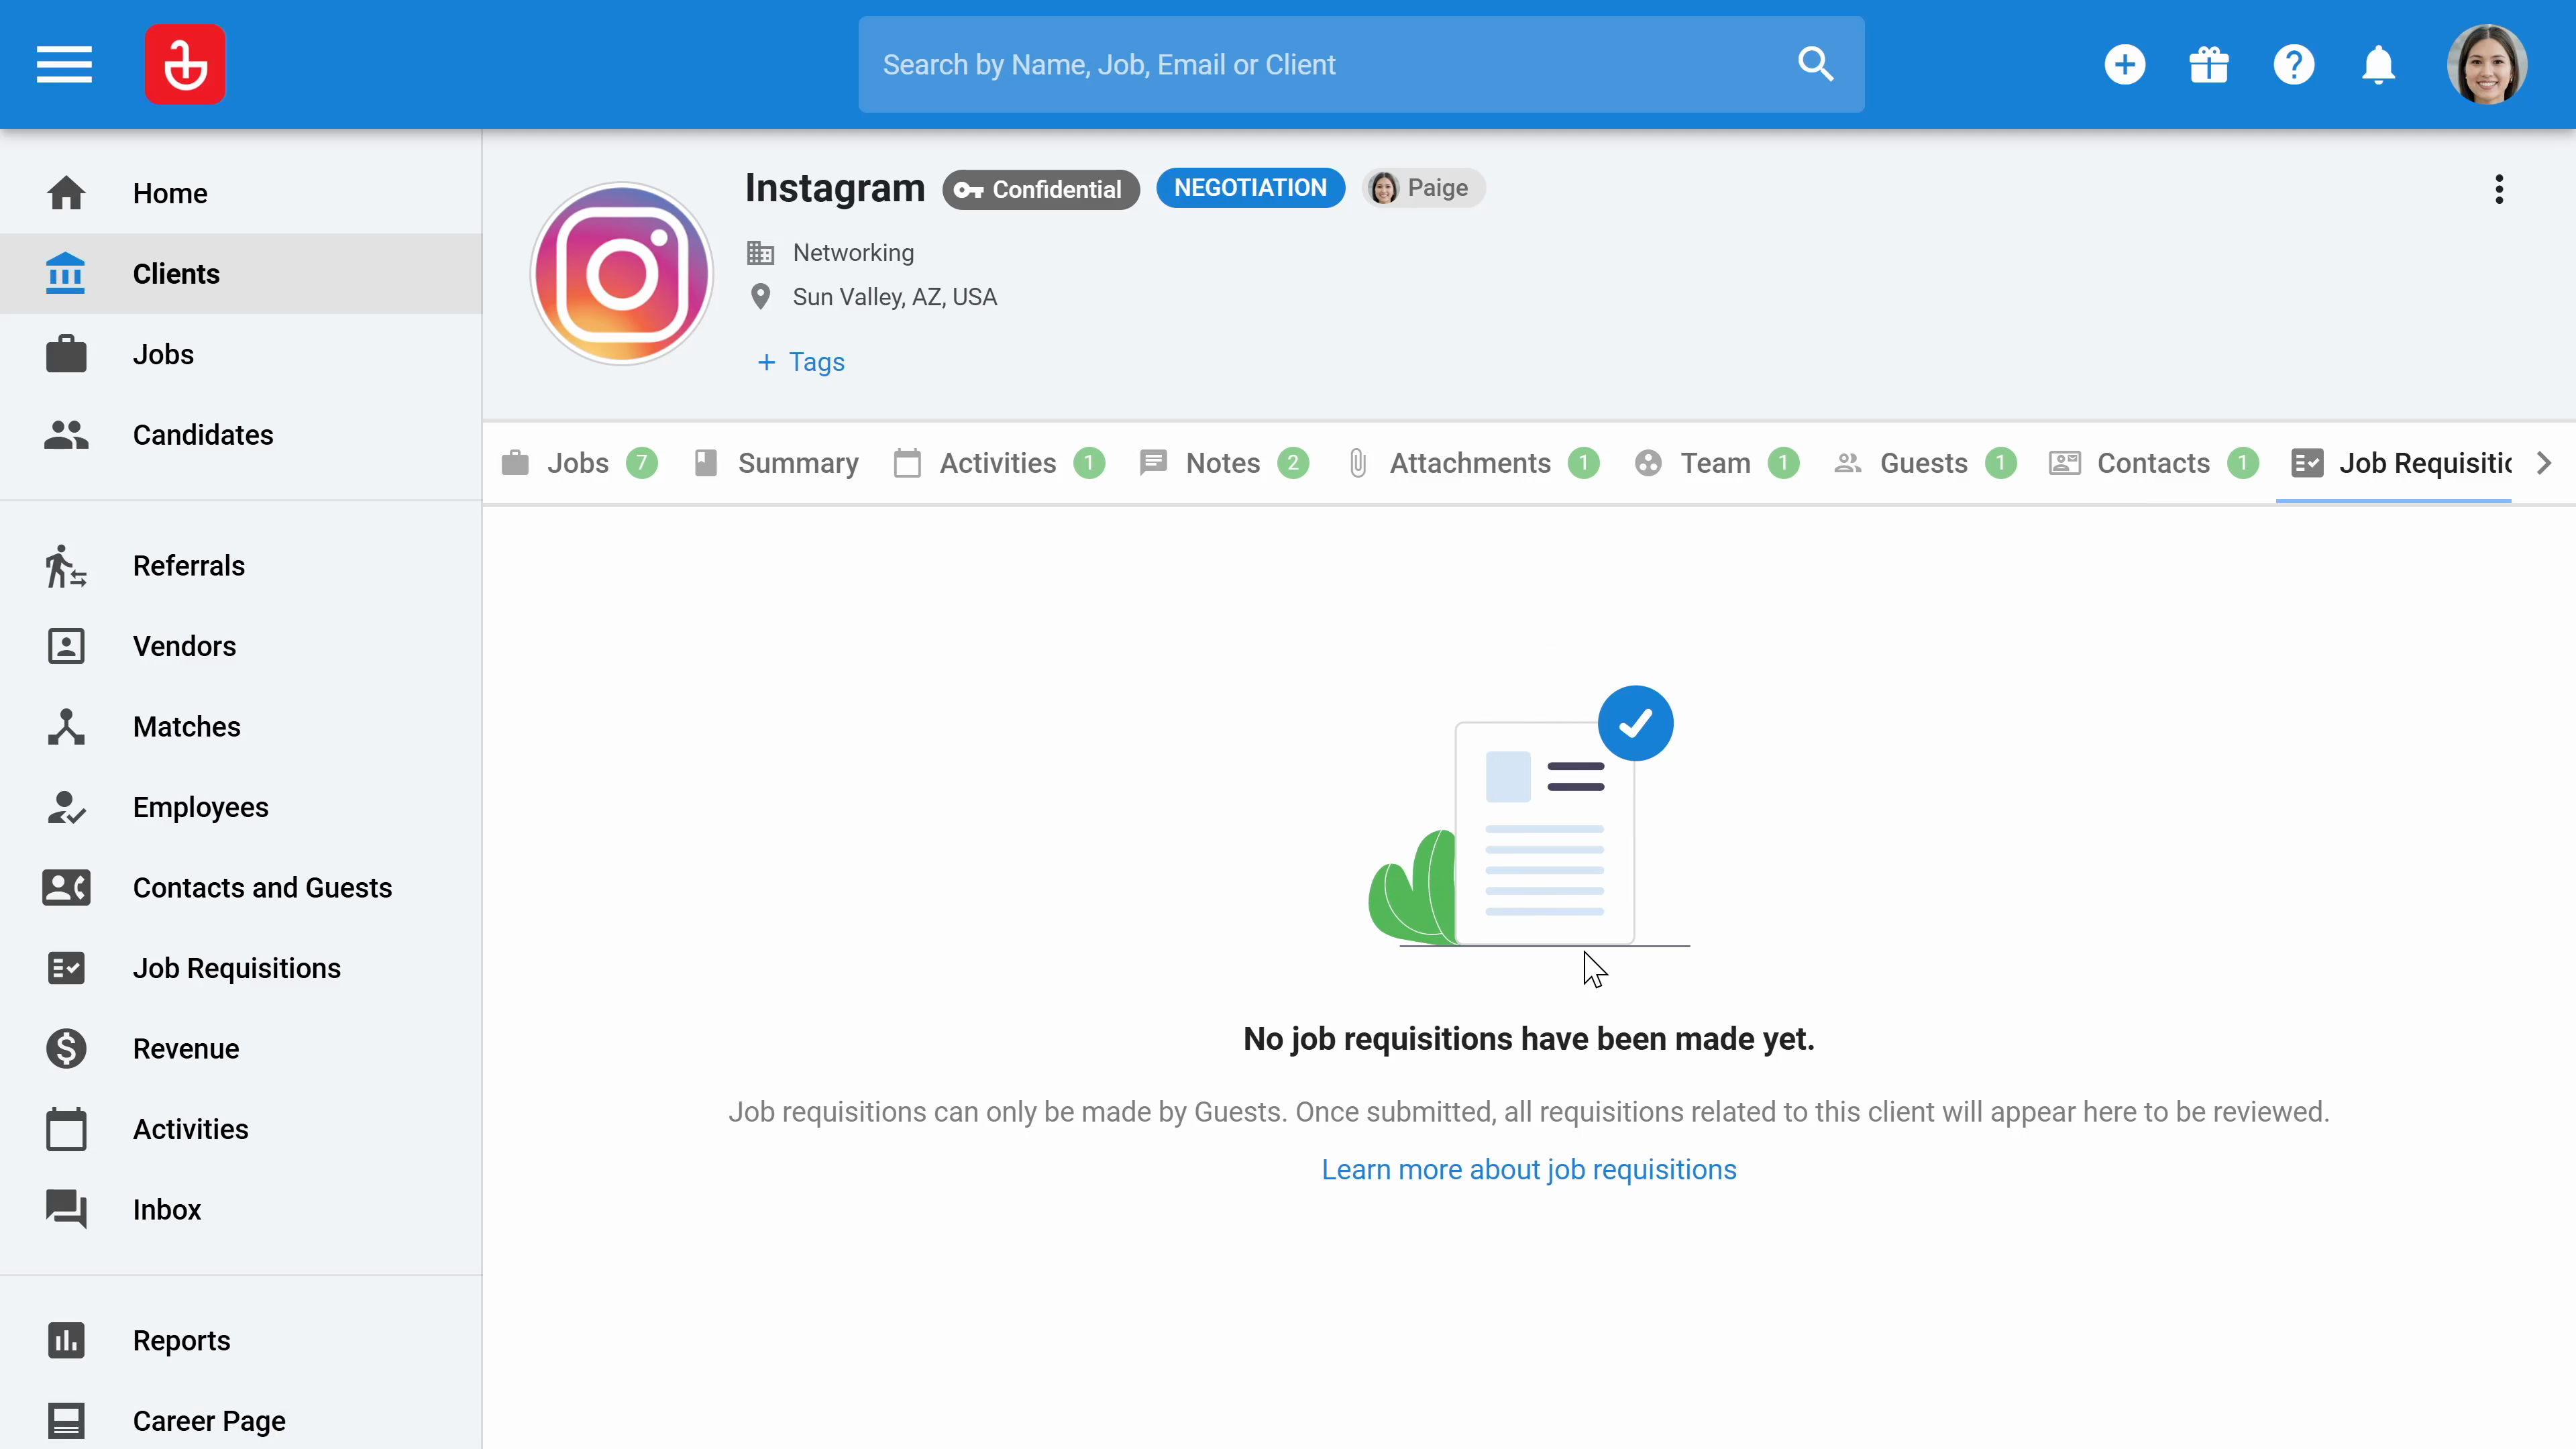
Step 21: Familiarize yourself with the Job Requisition feature accessible from the guest portal, where clients can independently create job requisitions. Once a job requisition is submitted by a client, find it displayed in the designated area of the platform.
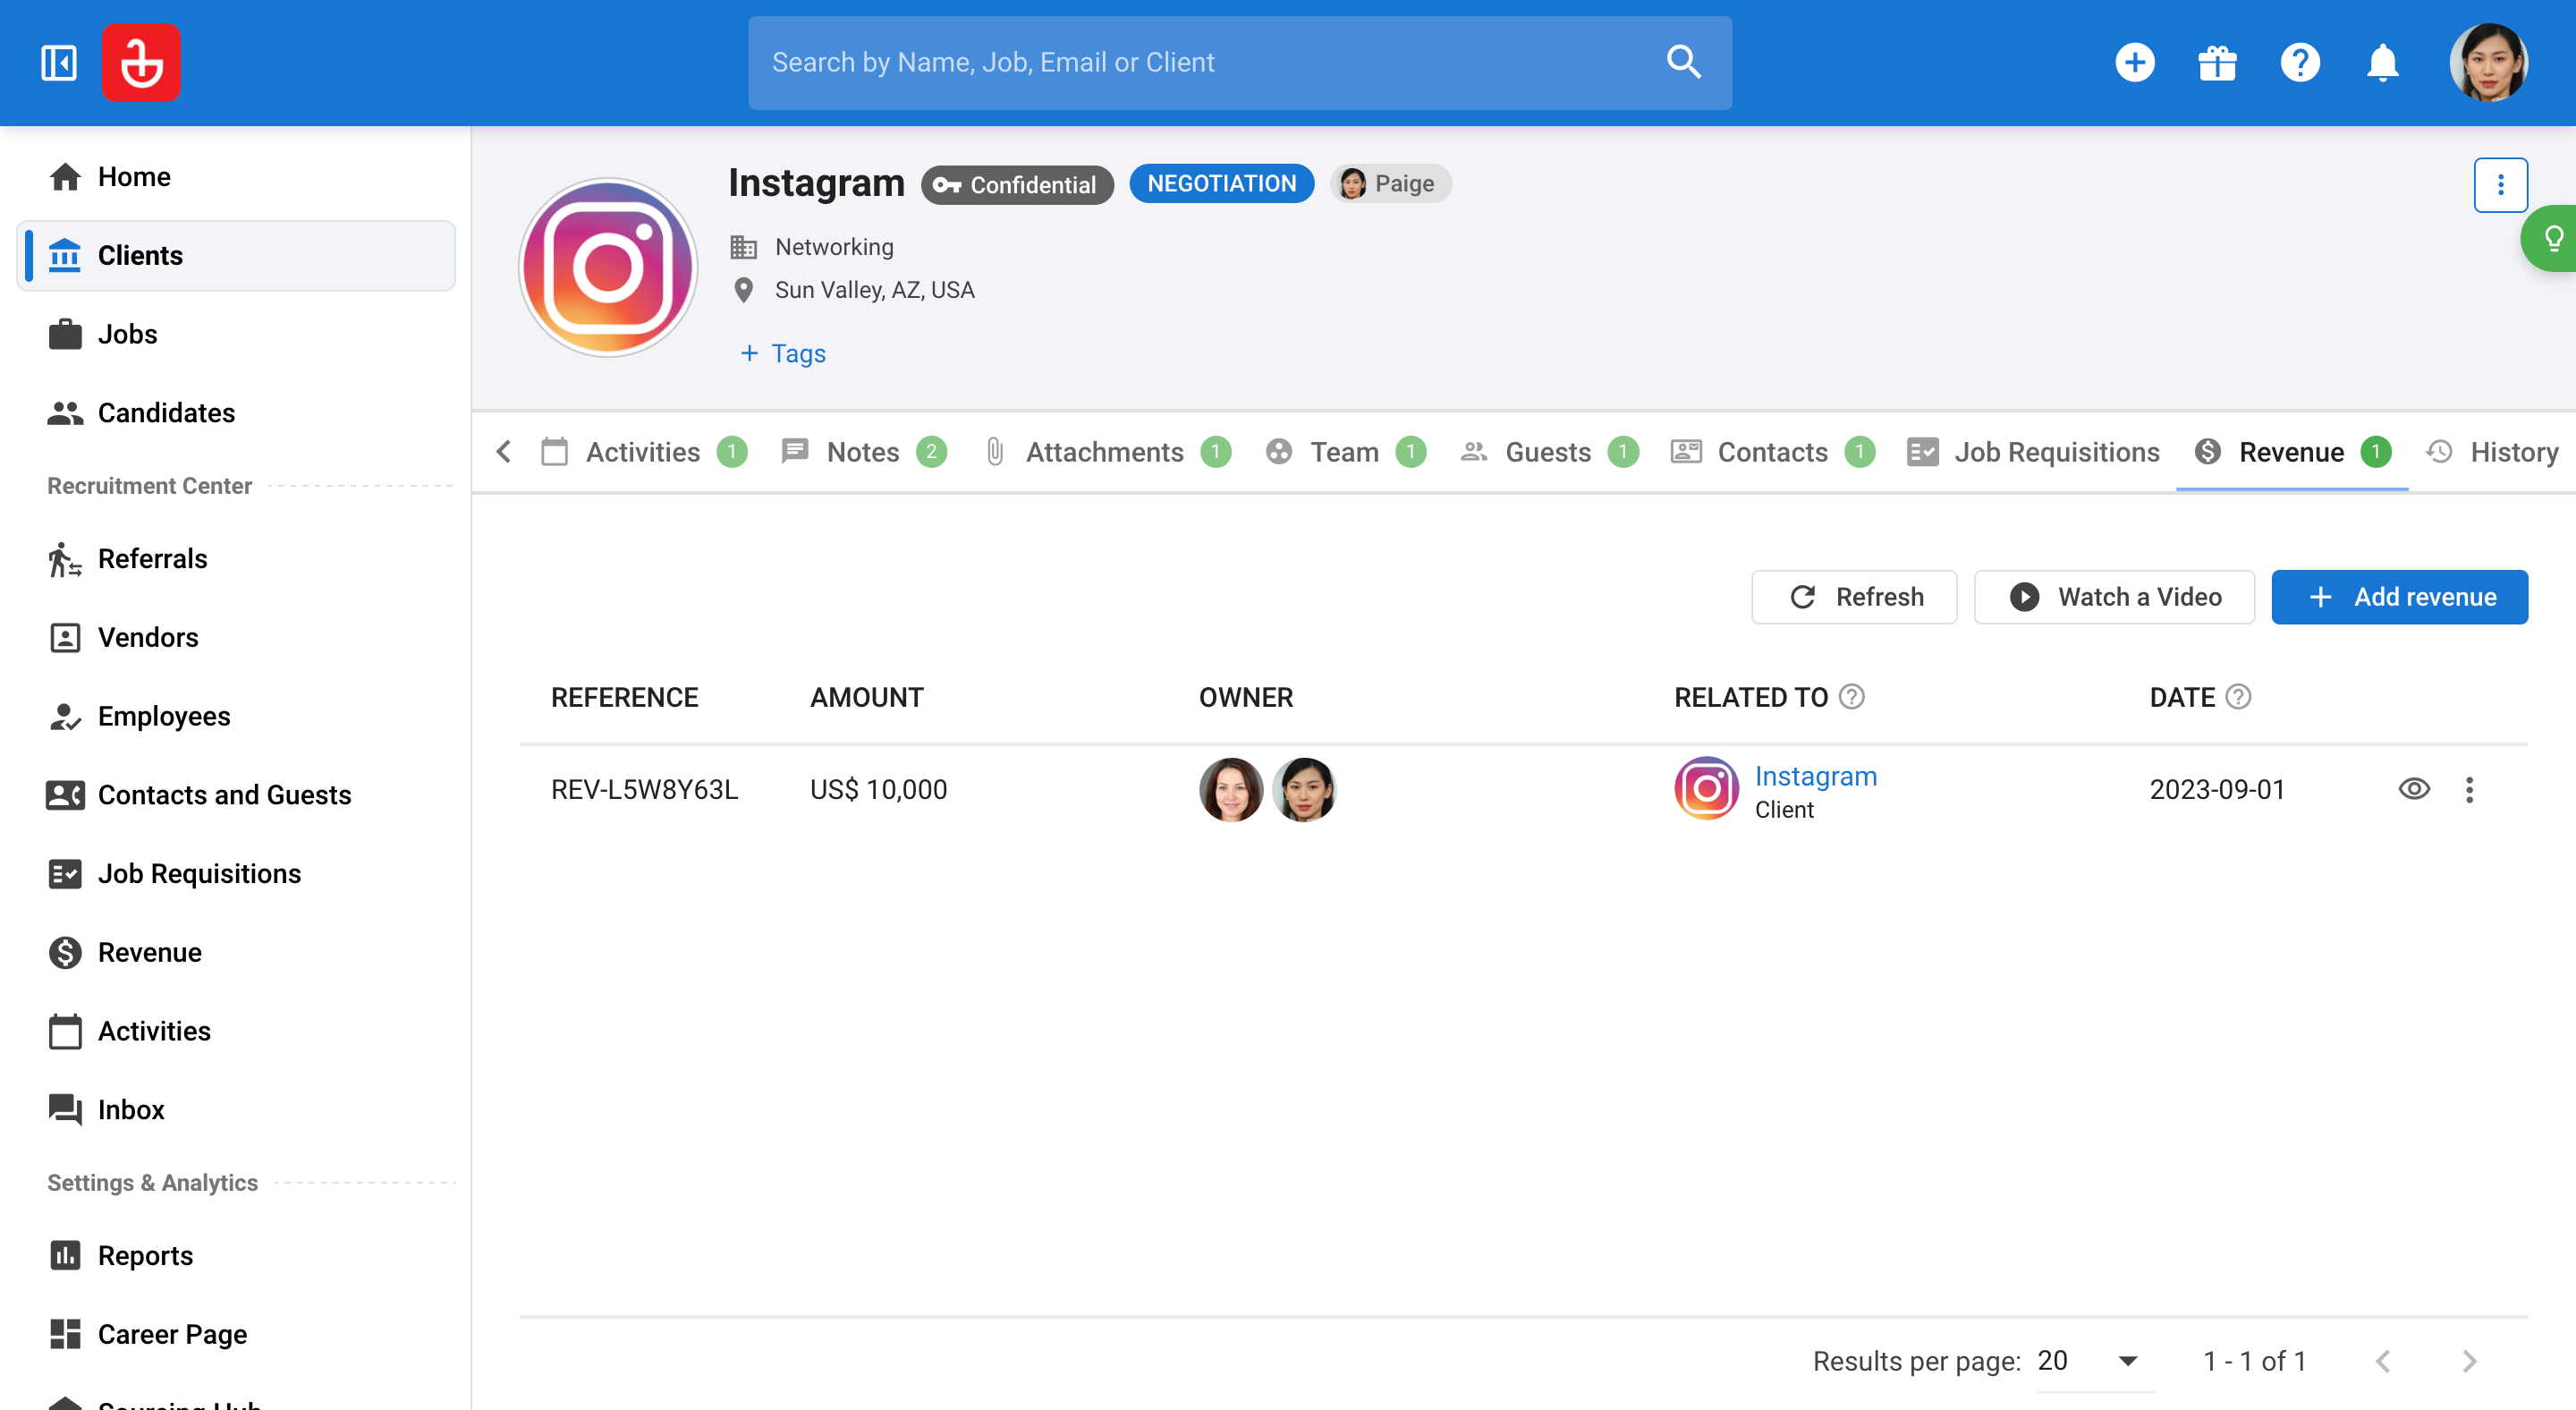
Step 22: Explore the Revenue Management section, where you can add and distribute revenue generated from placing a candidate among up to three consultants, and utilize this data in reports for further analysis.
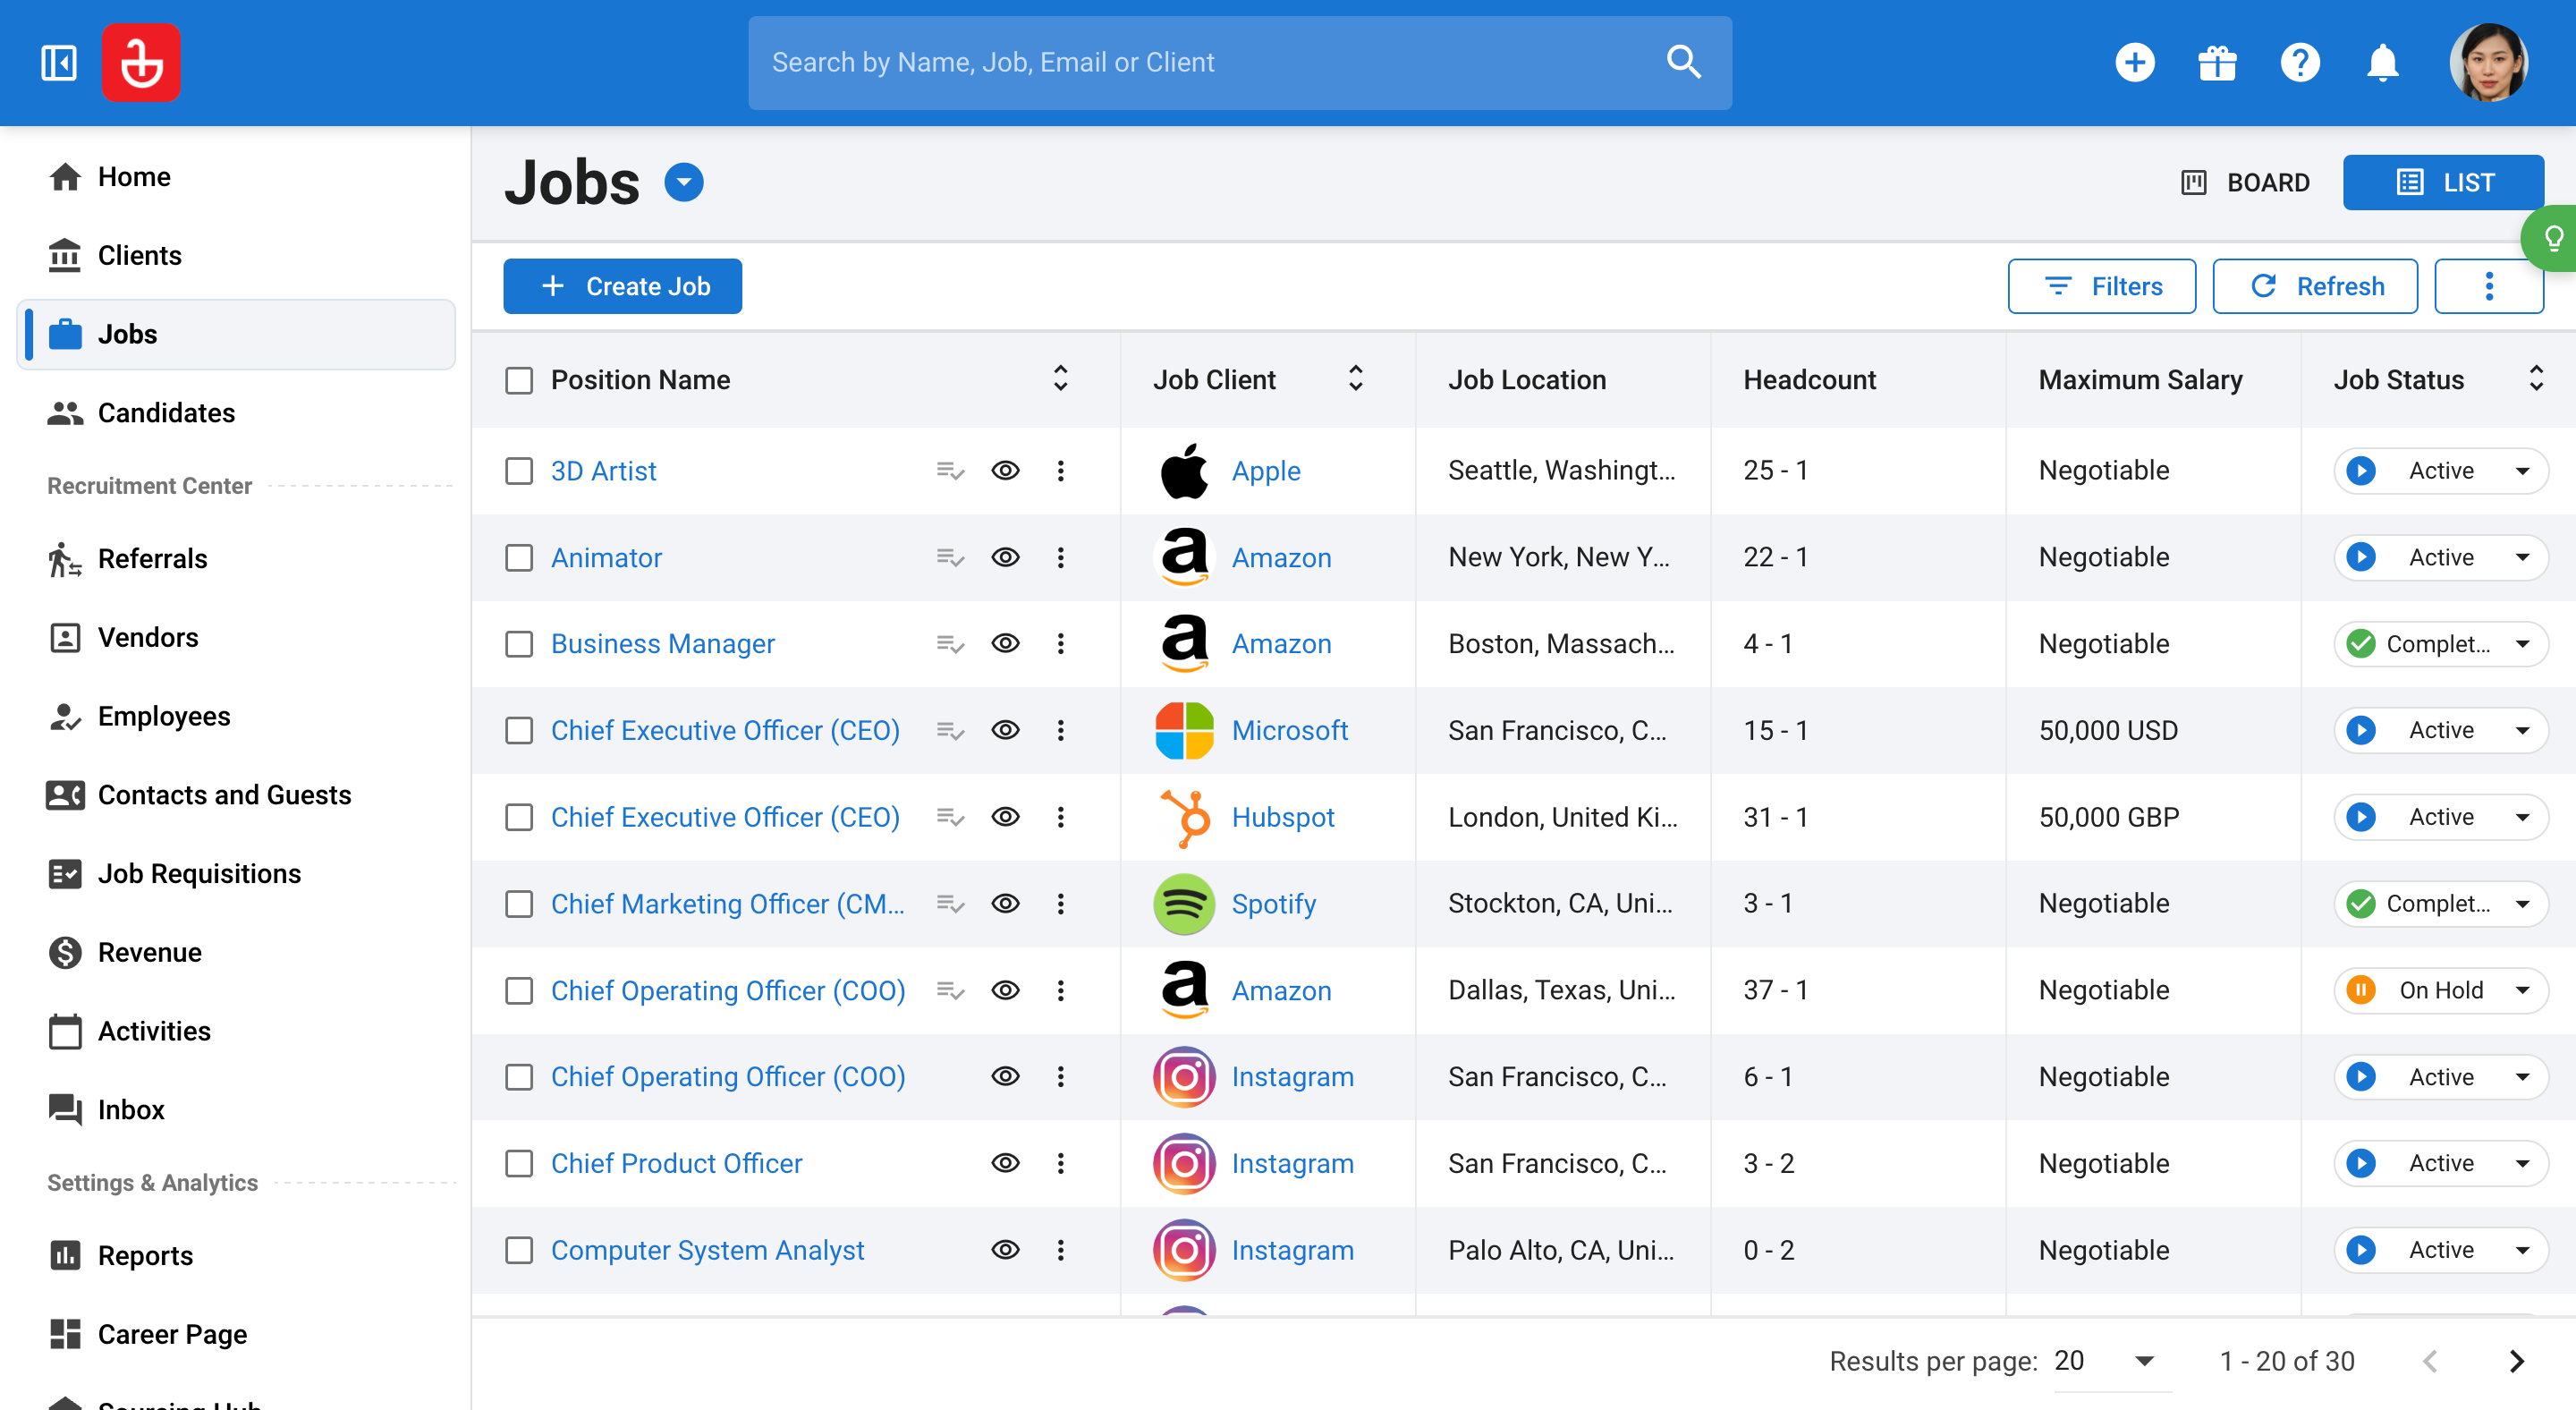
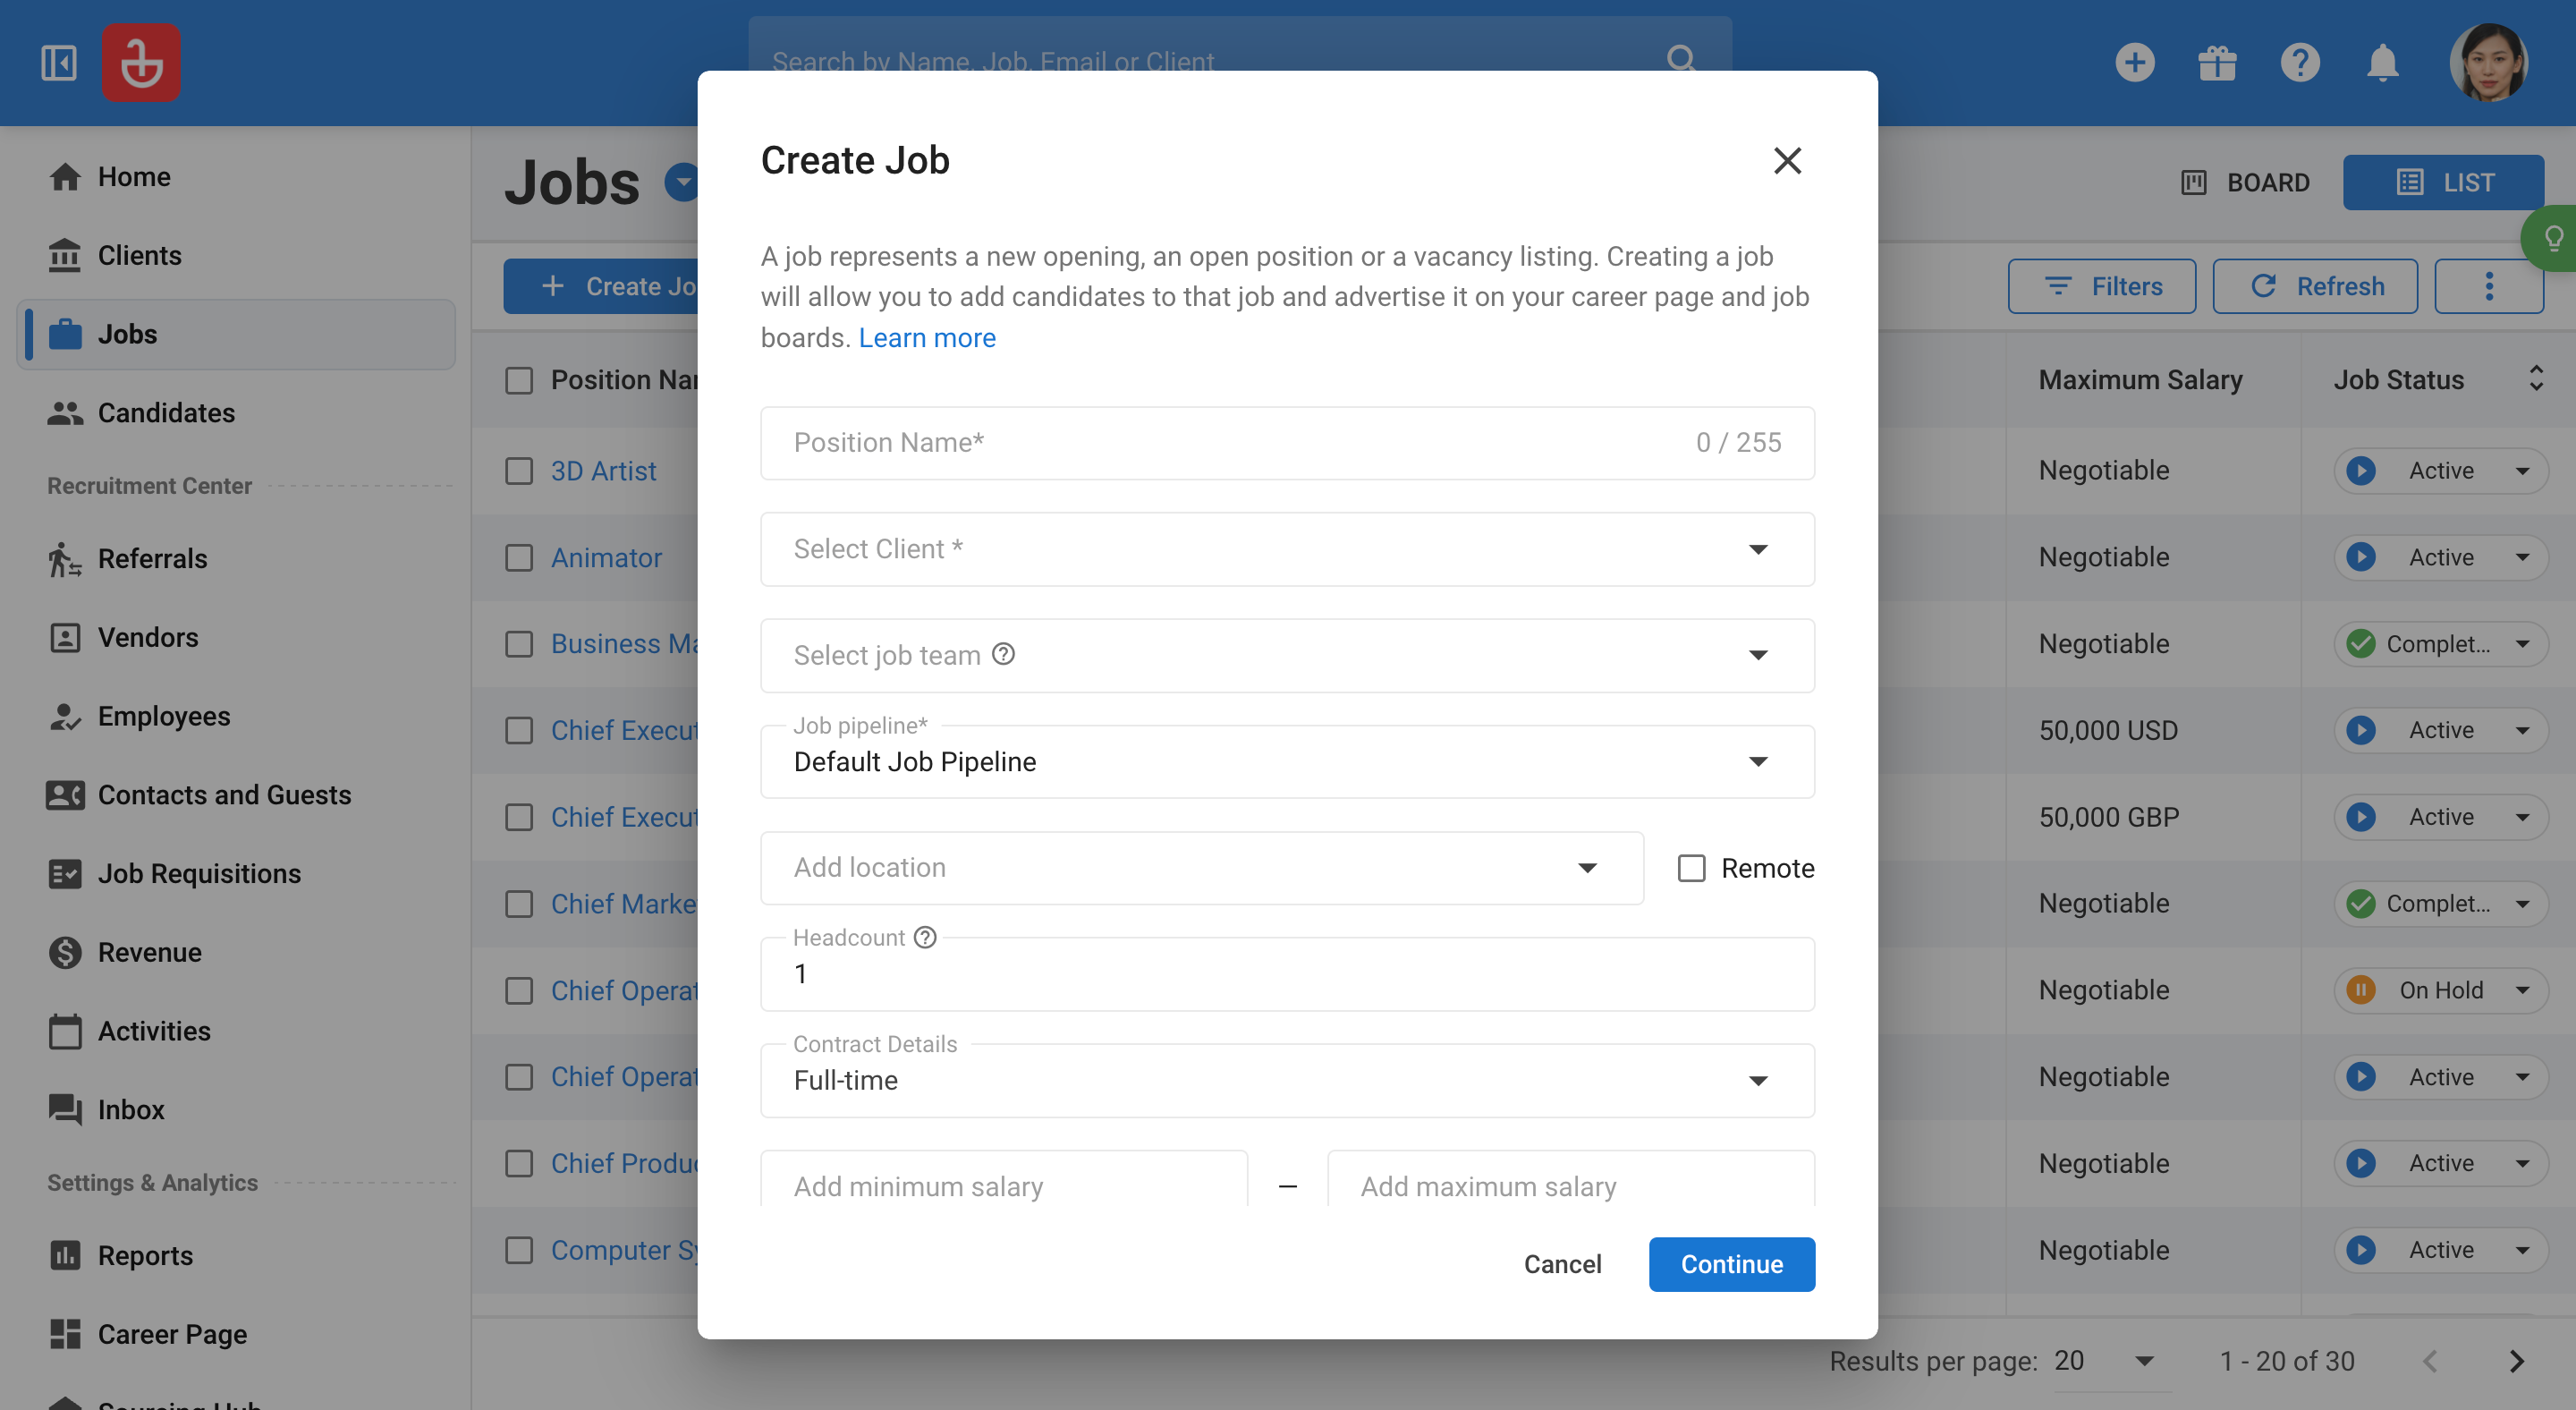
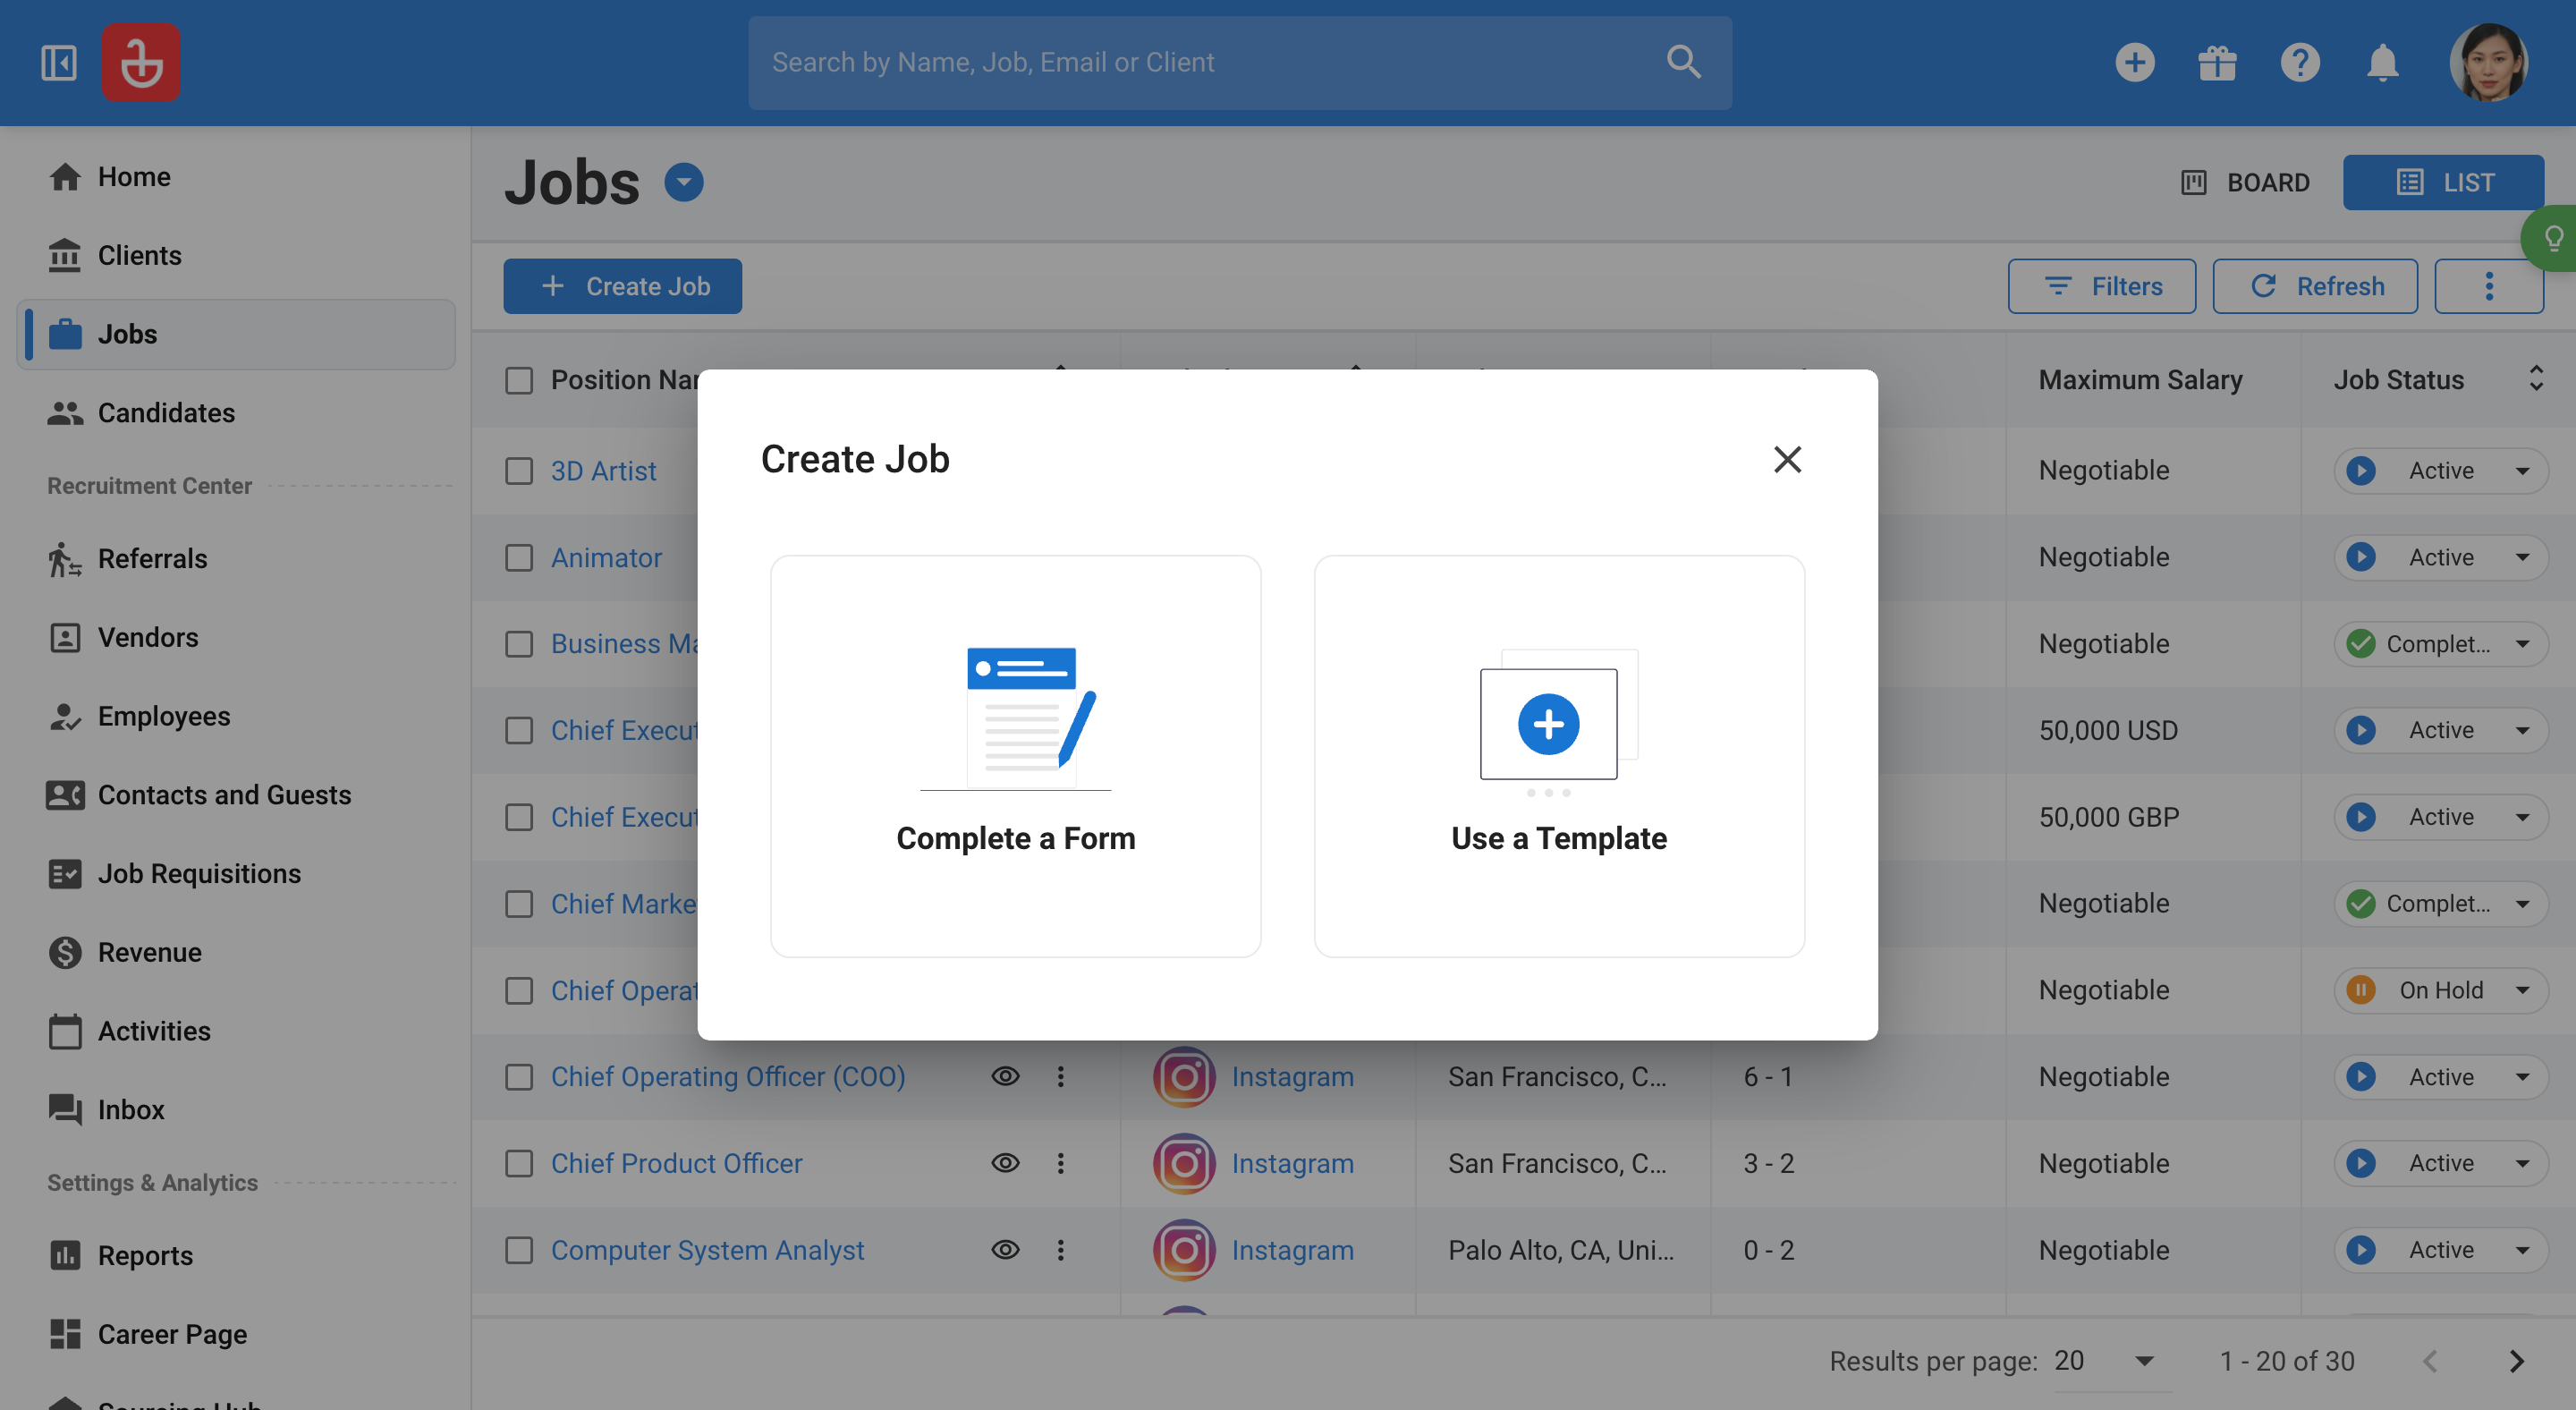
Step 23: Learn how to manually create a job by navigating to the job section in the left menu if a client submits a new job requisition.
Step 24: Complete the job creation form, noting that the only mandatory fields are the position name, the client's name, job pipelineand the job description.
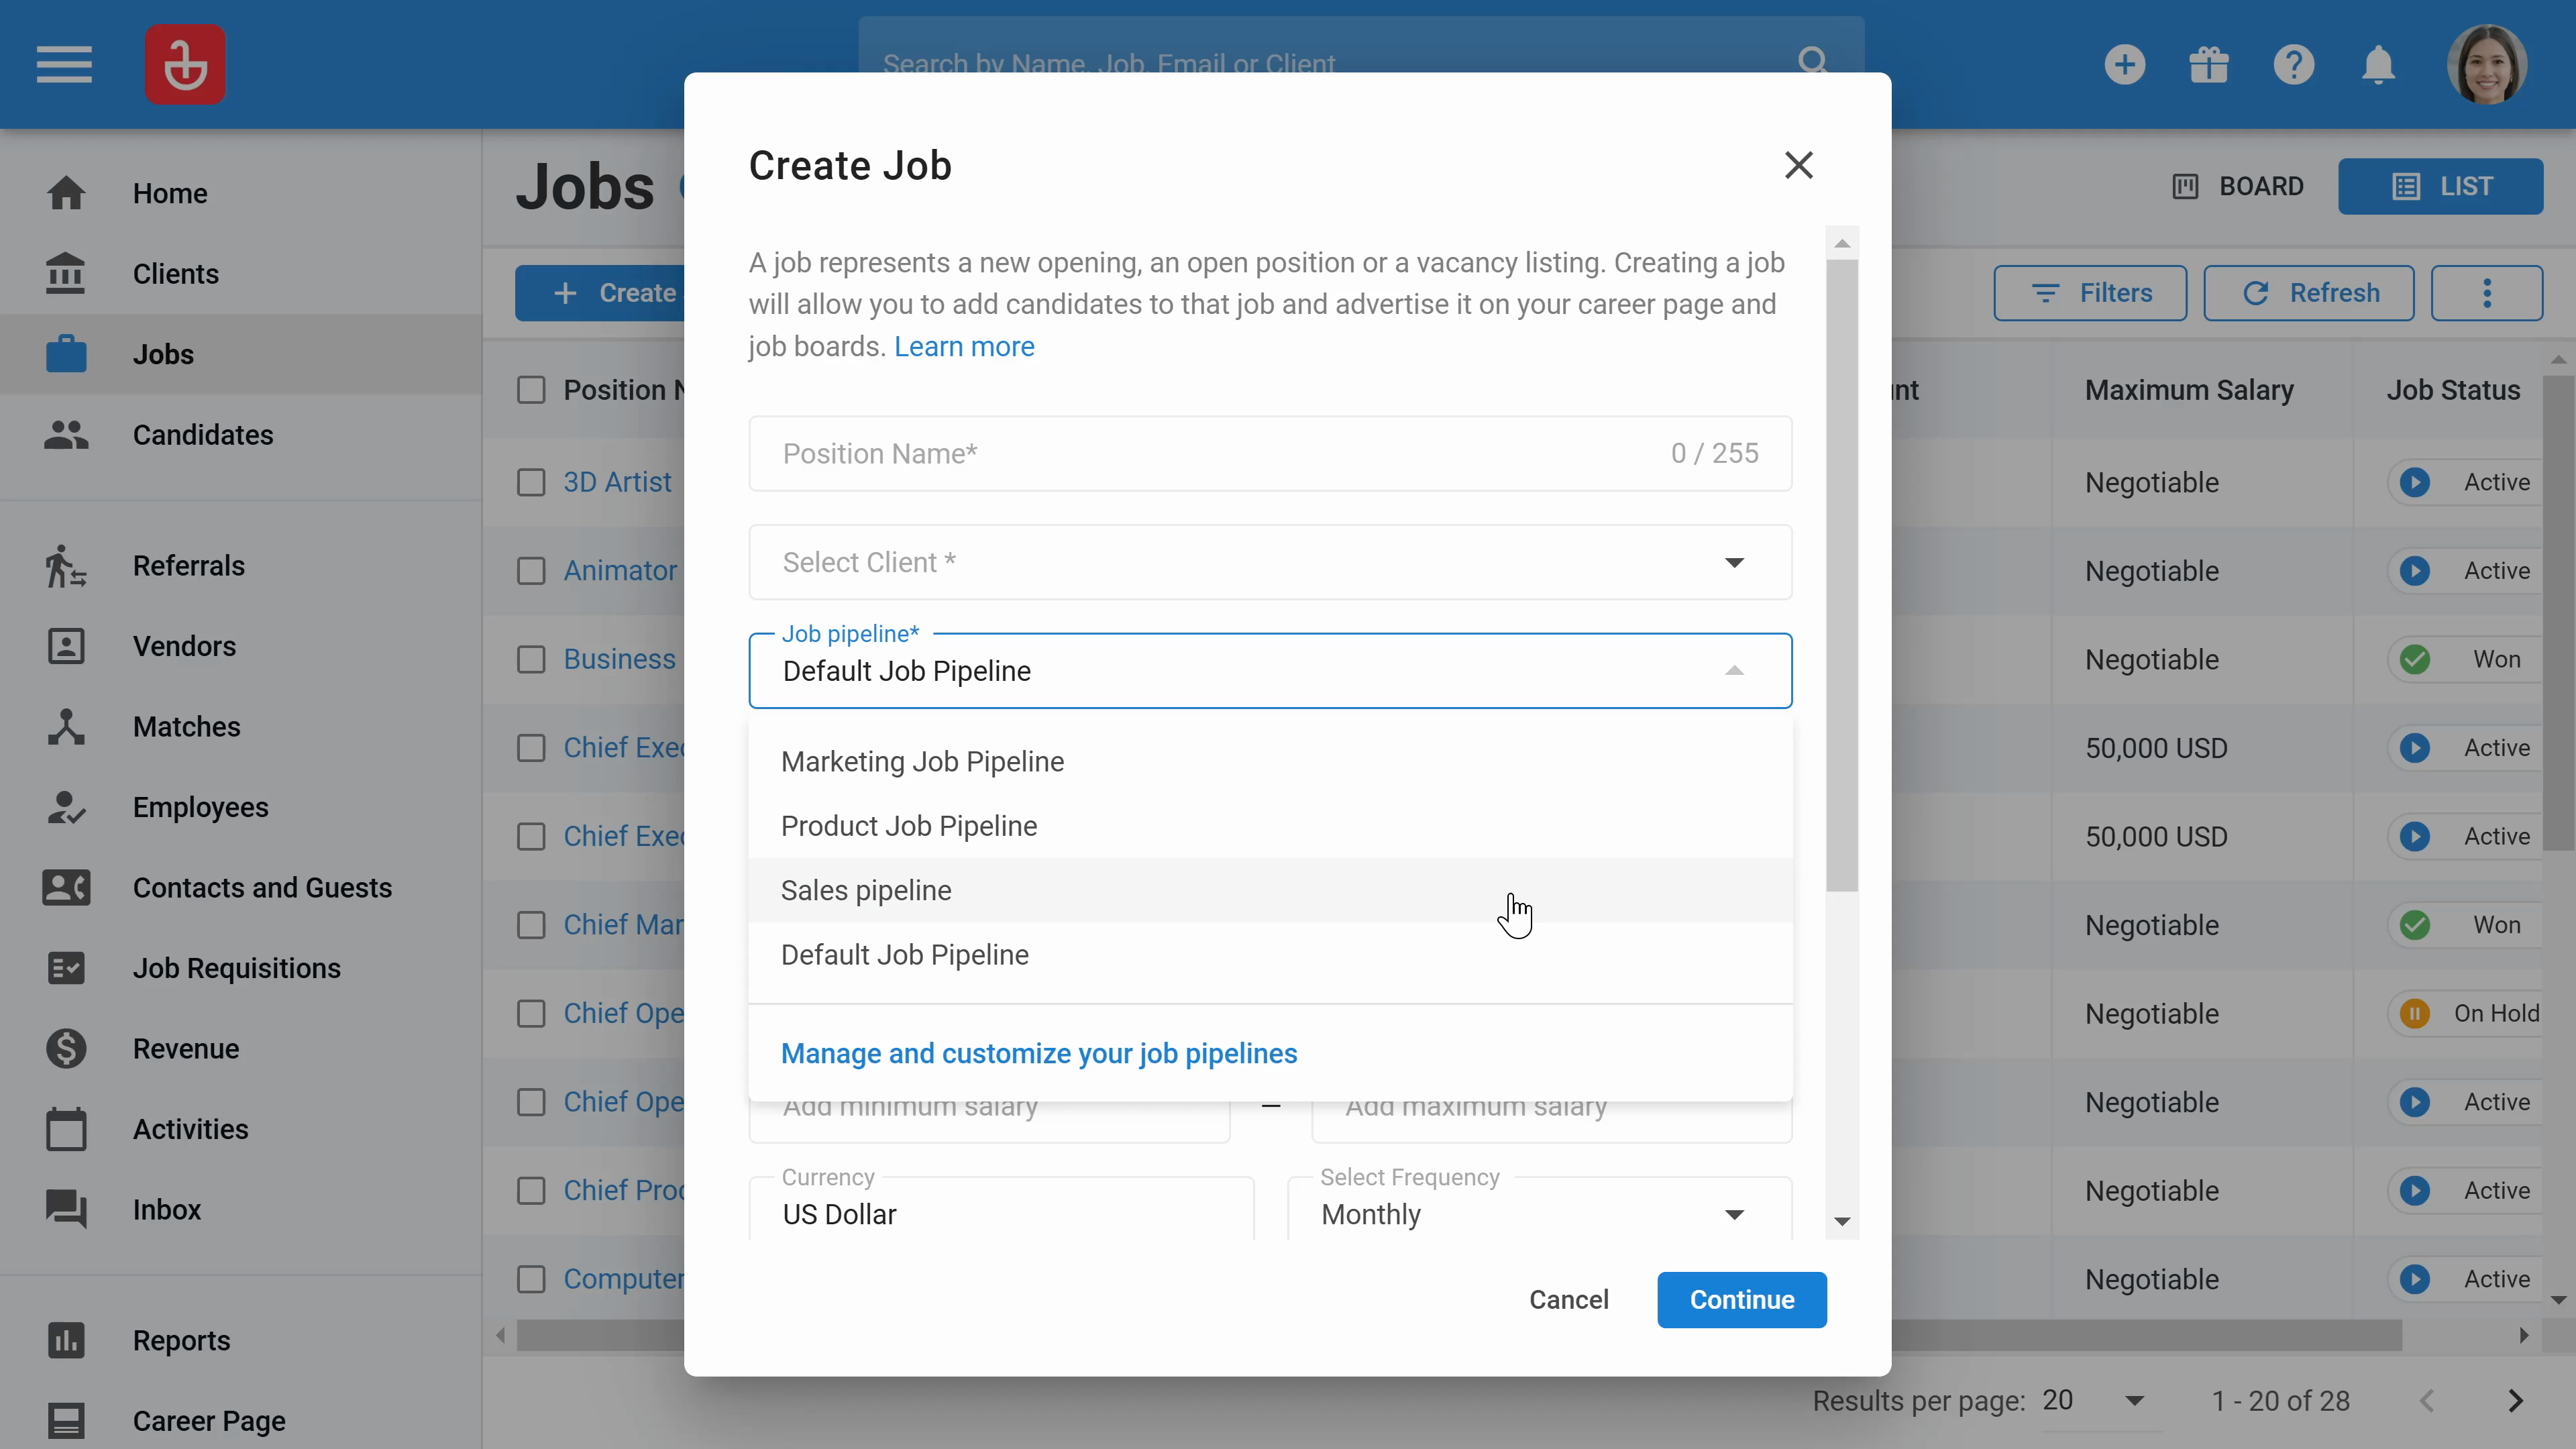
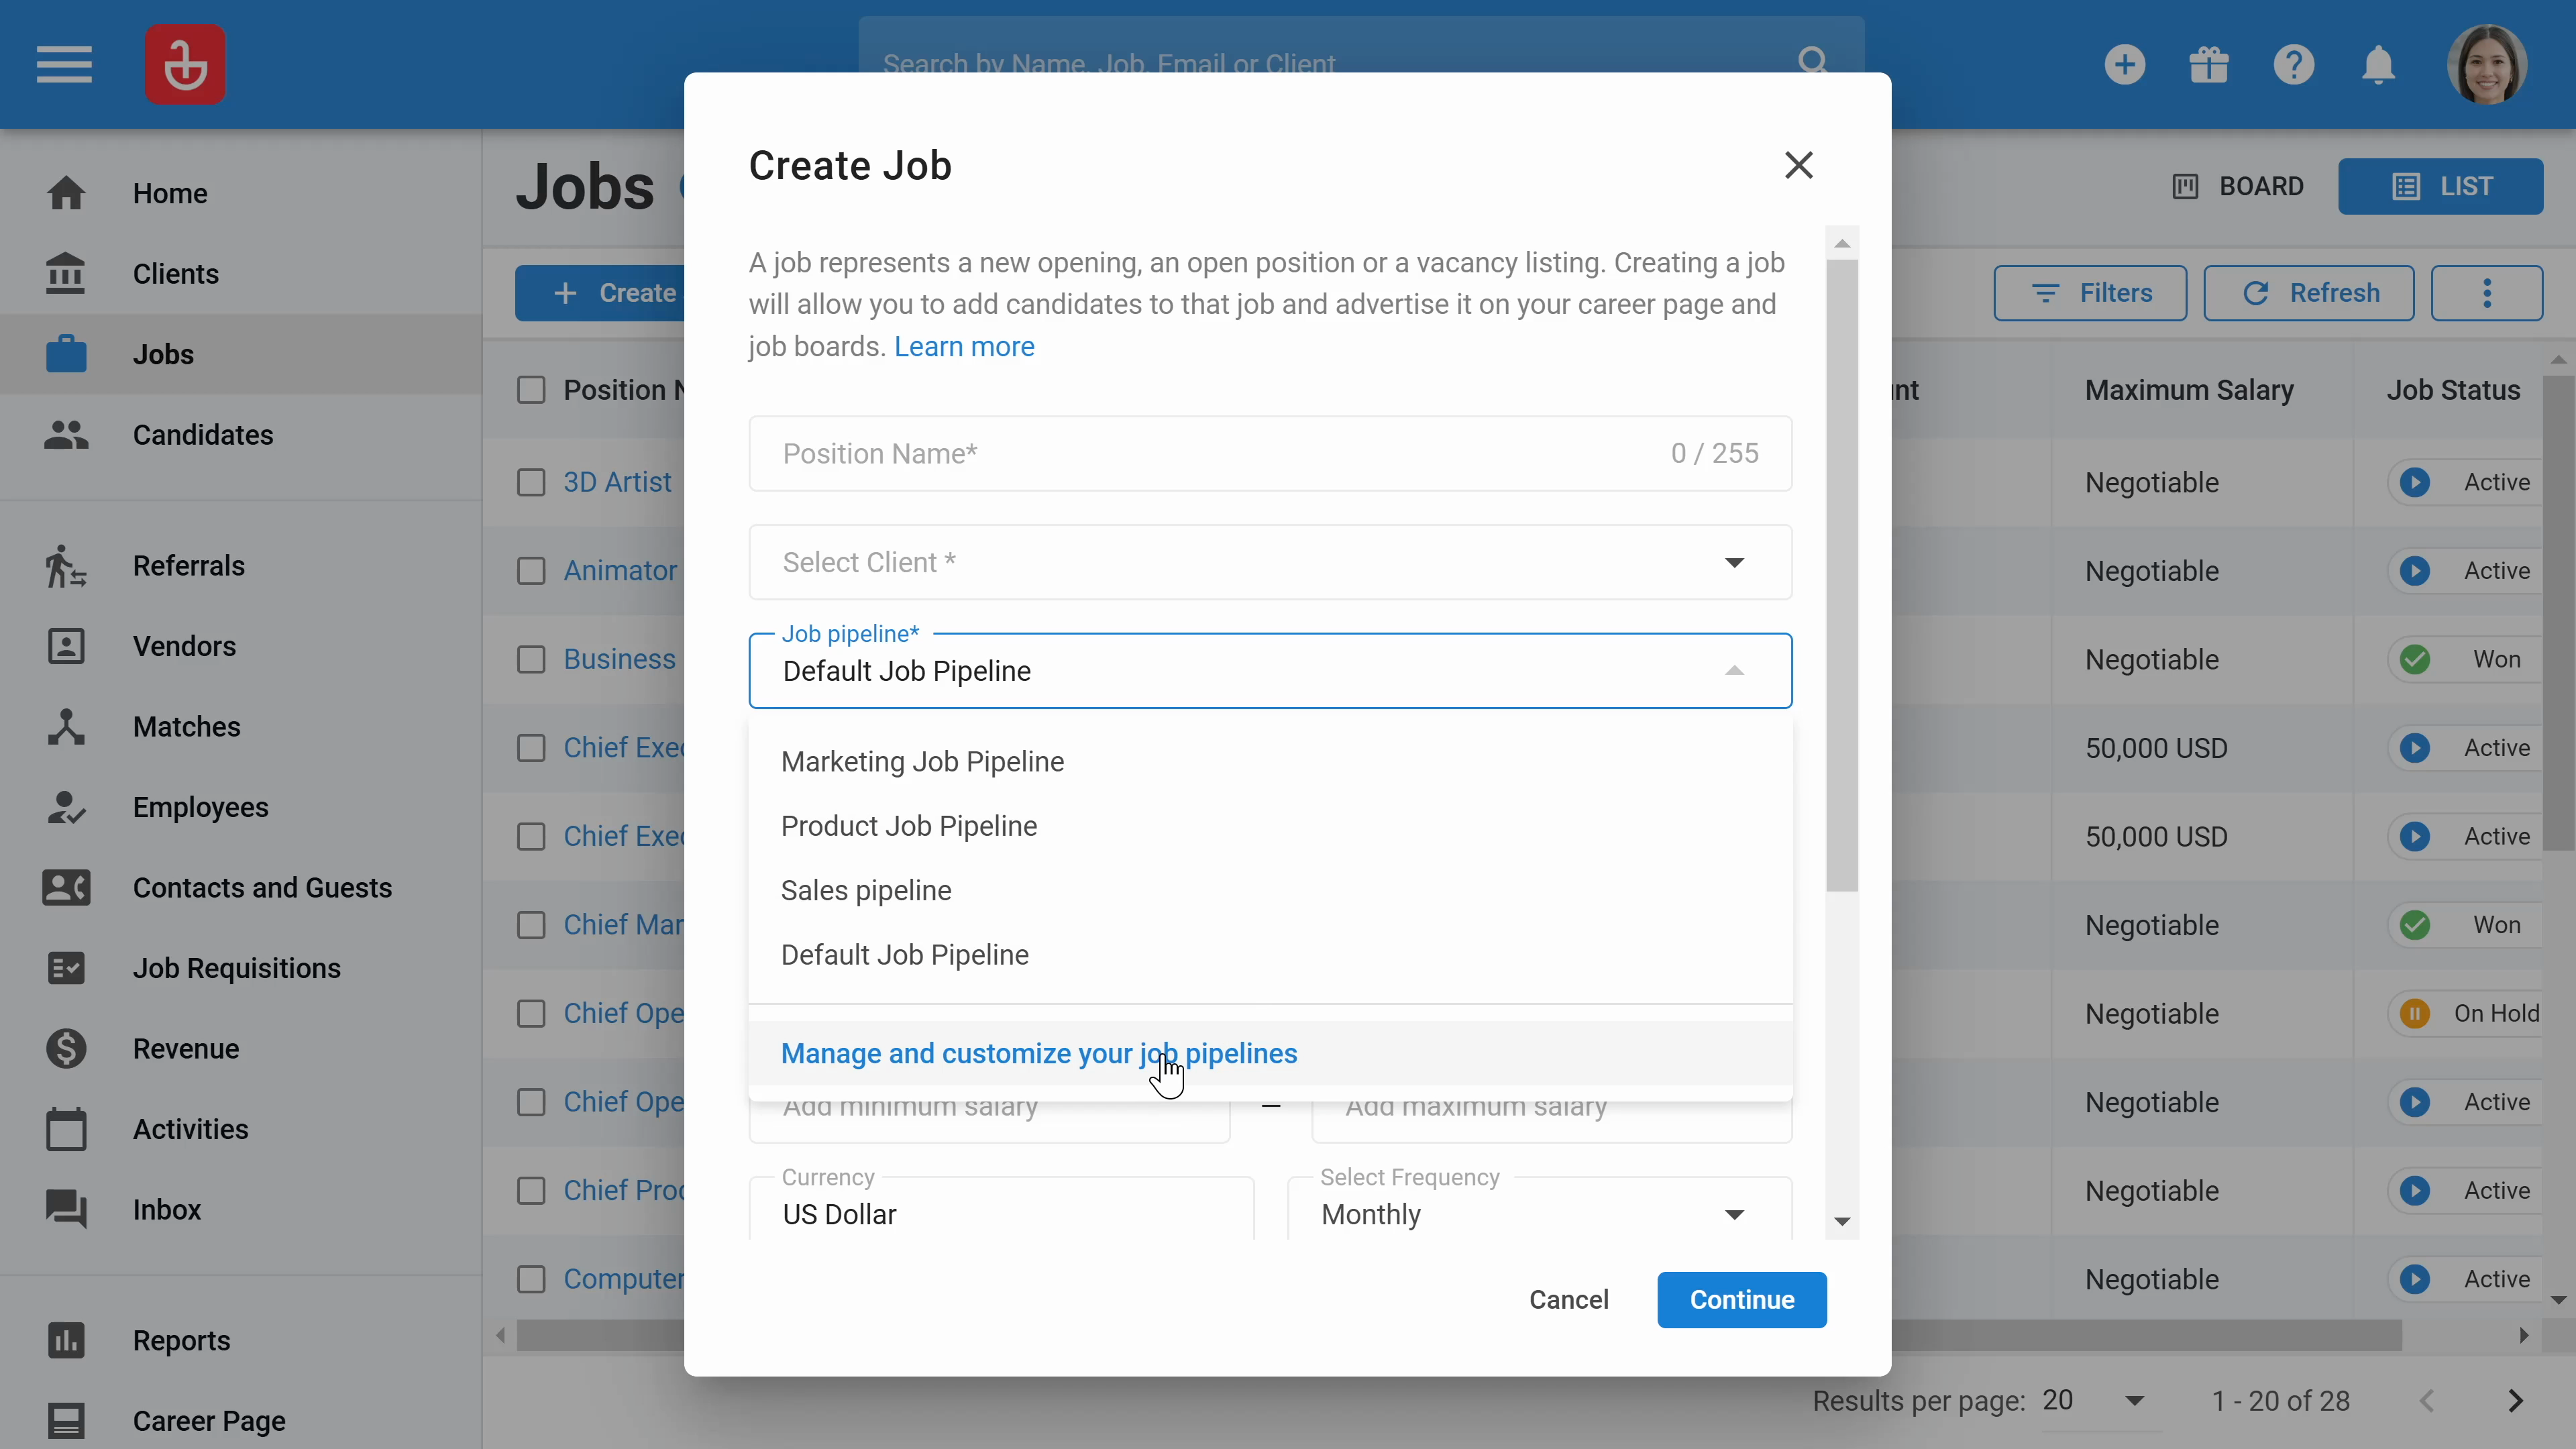
Step 25: Select the appropriate pipelines for the job, which can be customized to specific clients.
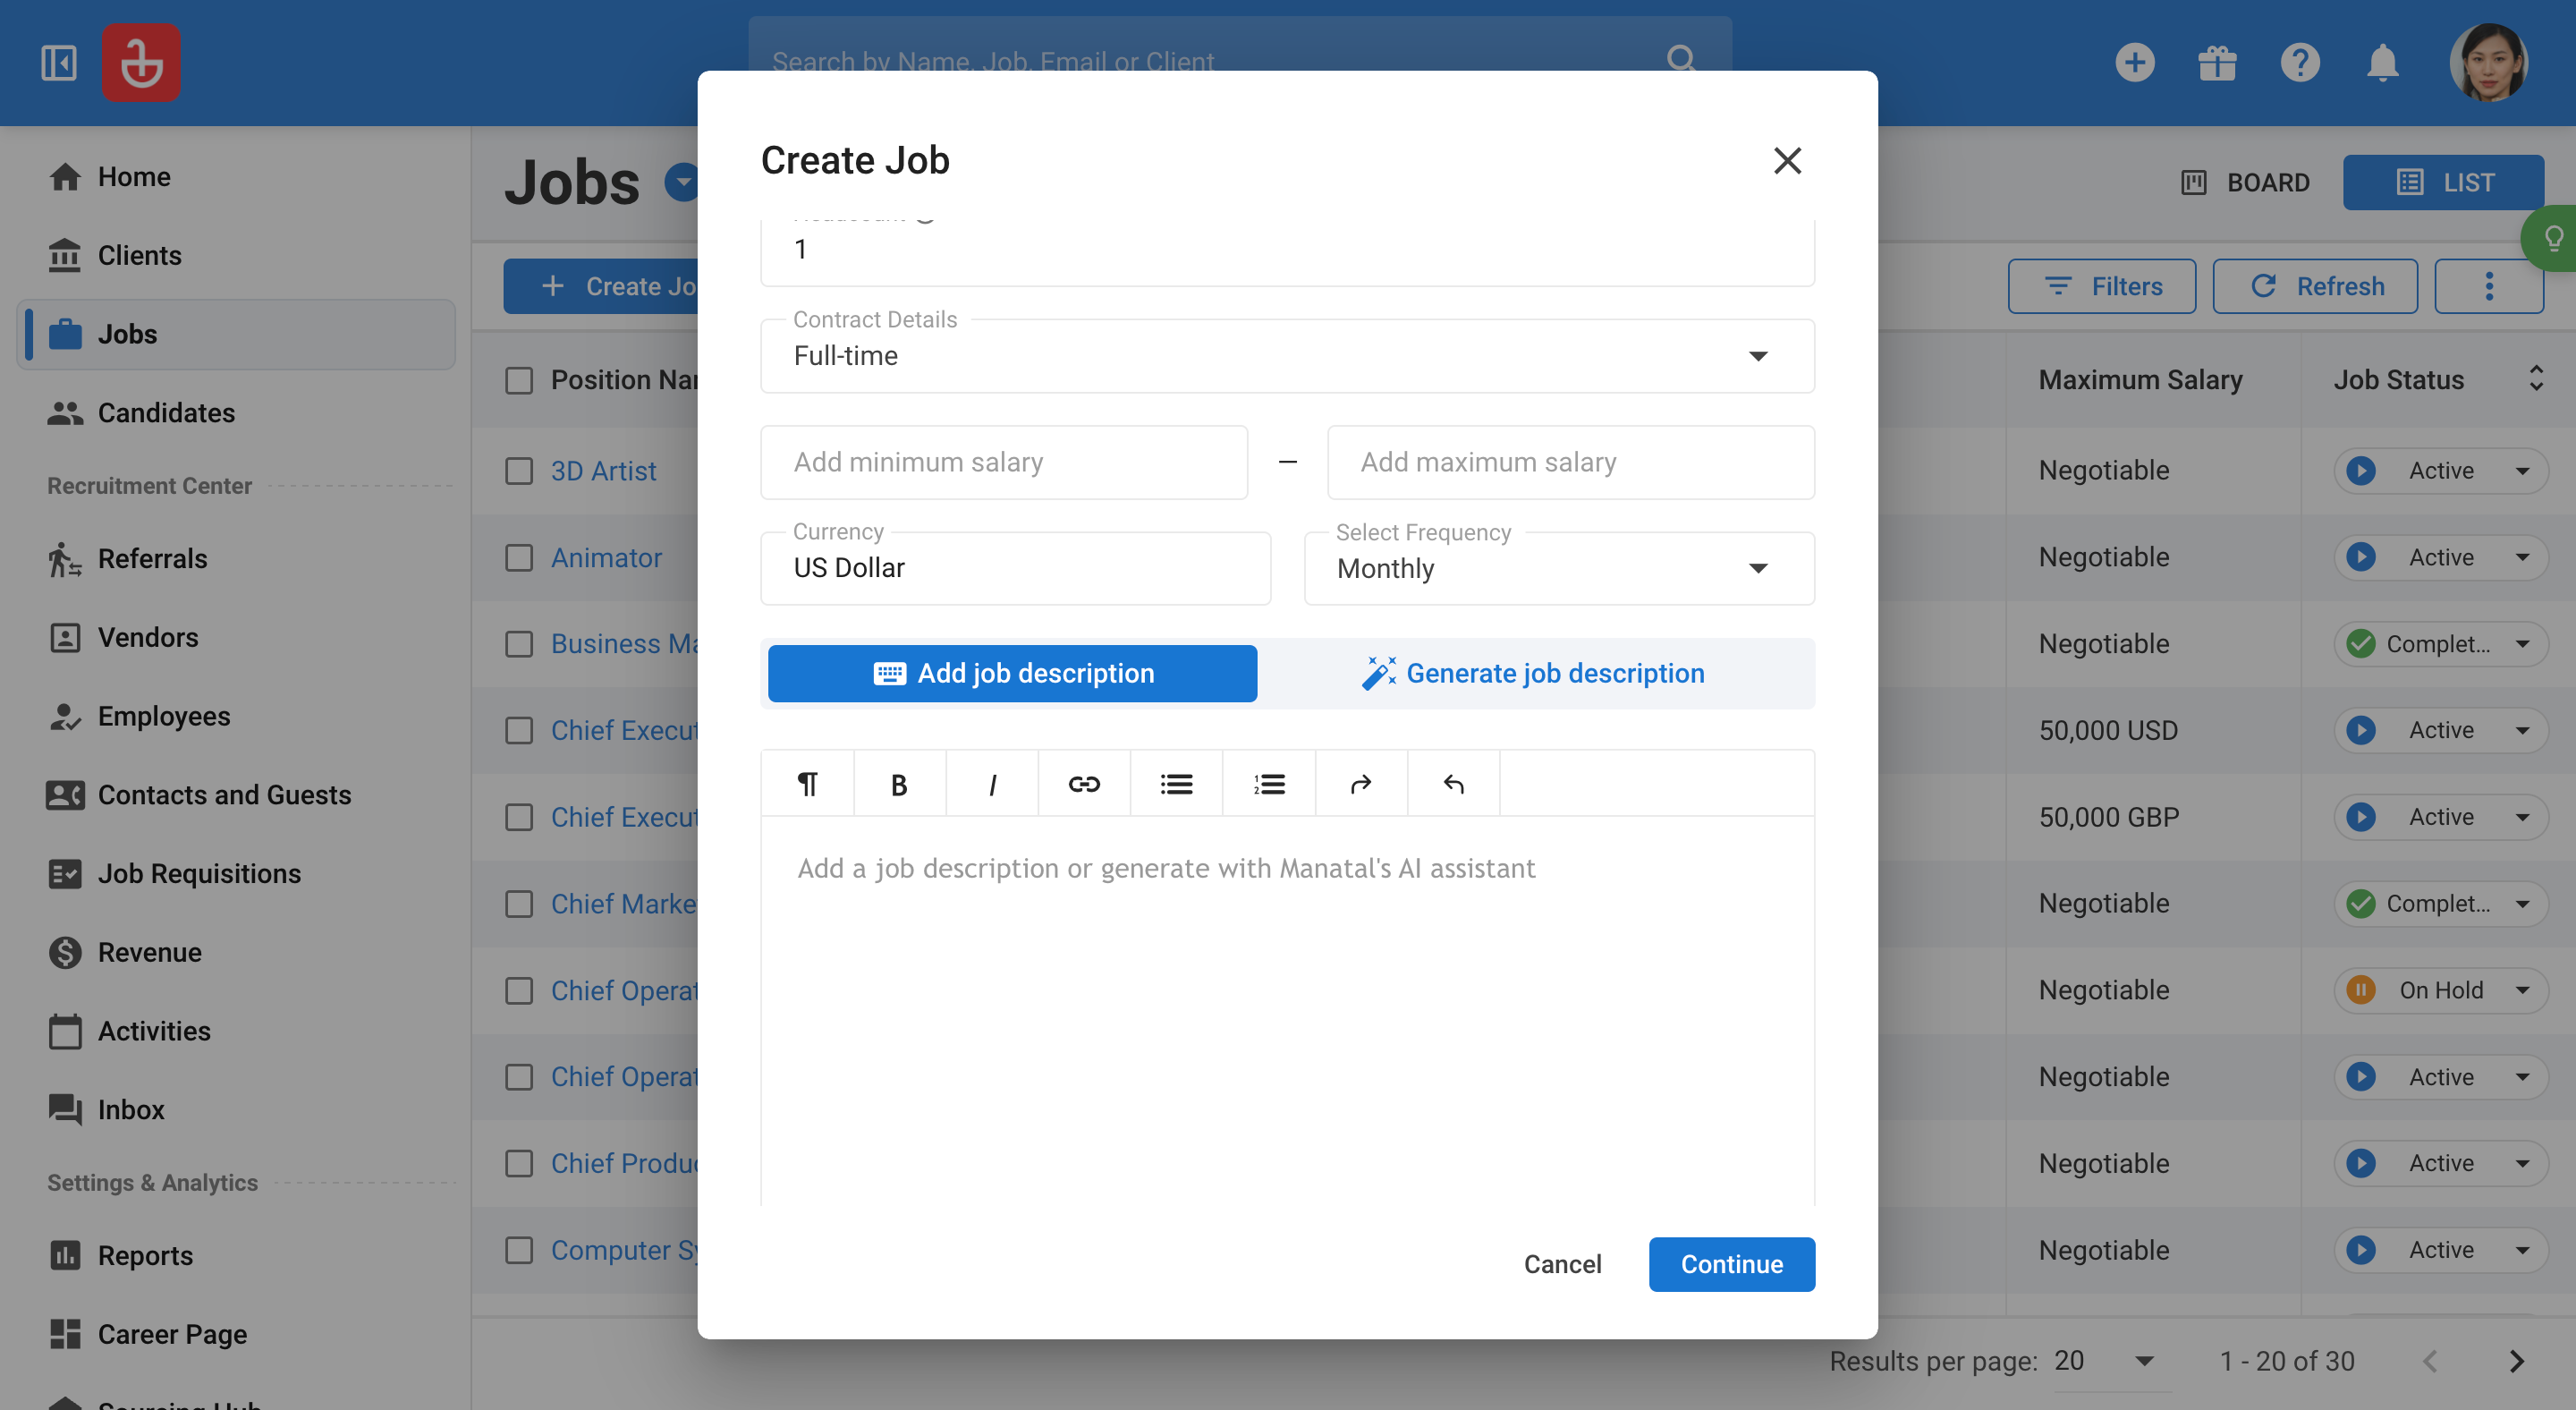
Step 26: Opt to either manually add a job description or use AI to generate it automatically.
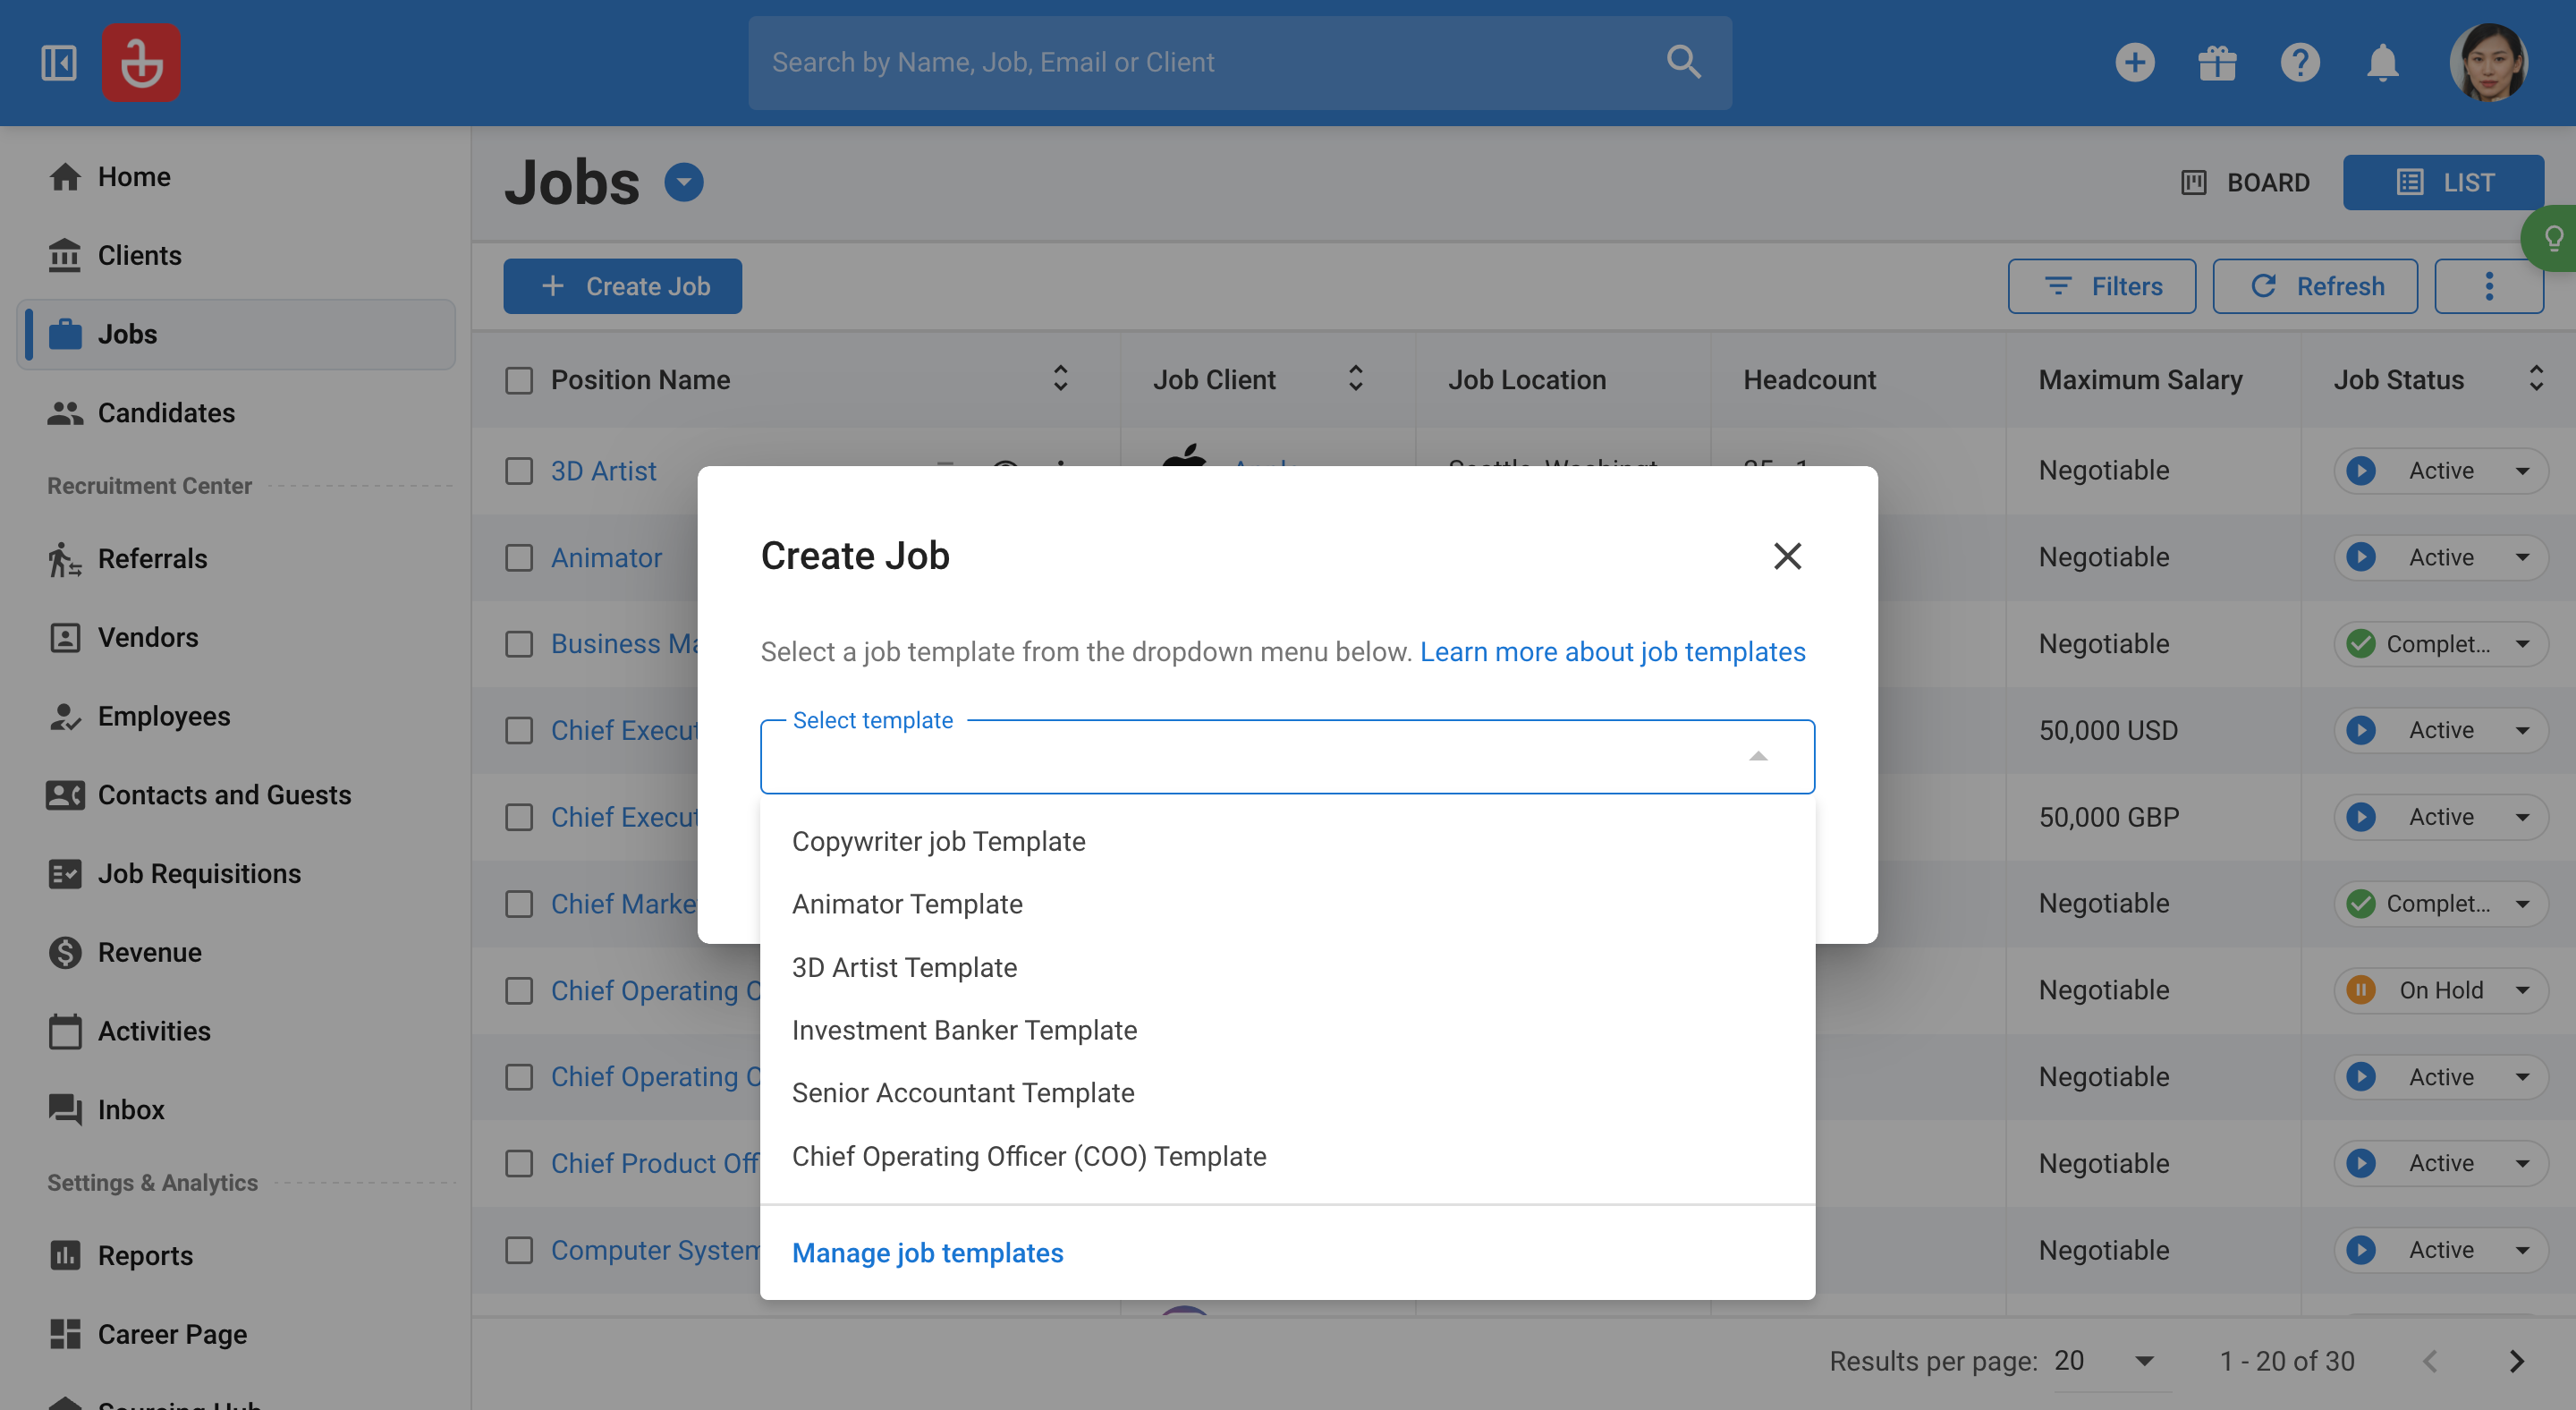
Step 27: Use templates to streamline the job creation process, allowing for quick selection that auto-fills the job details based on the chosen template.
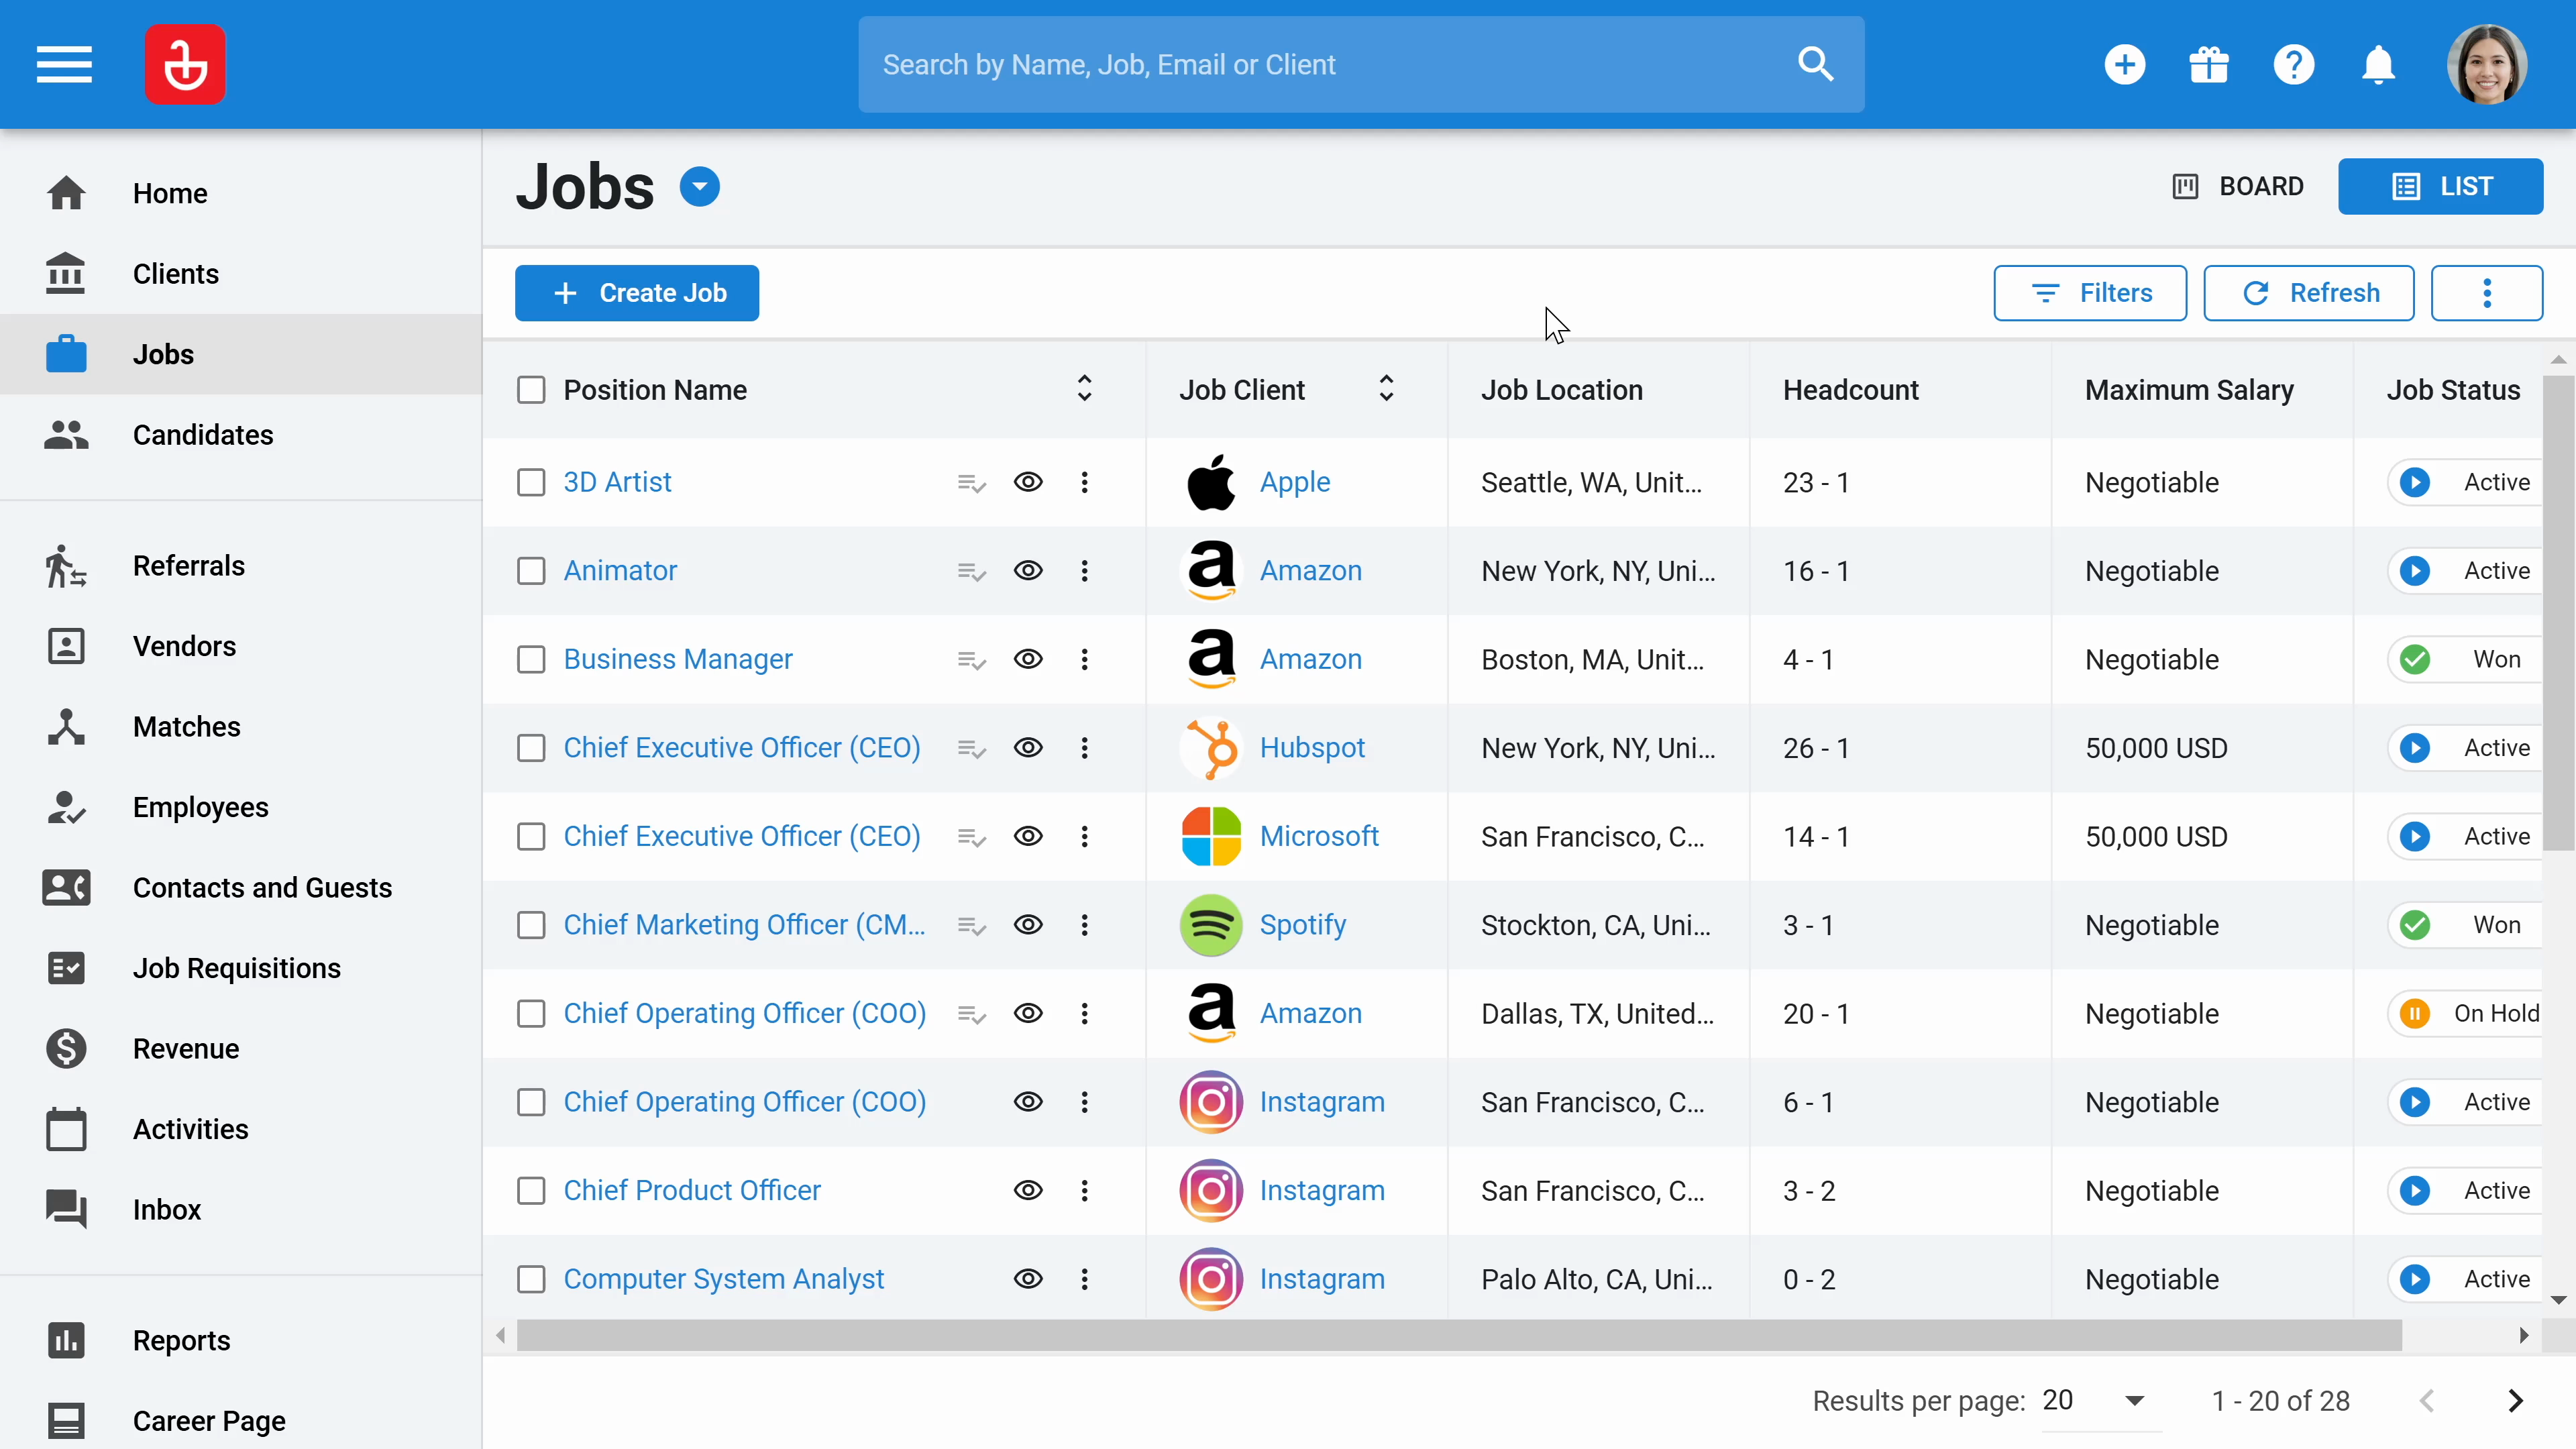
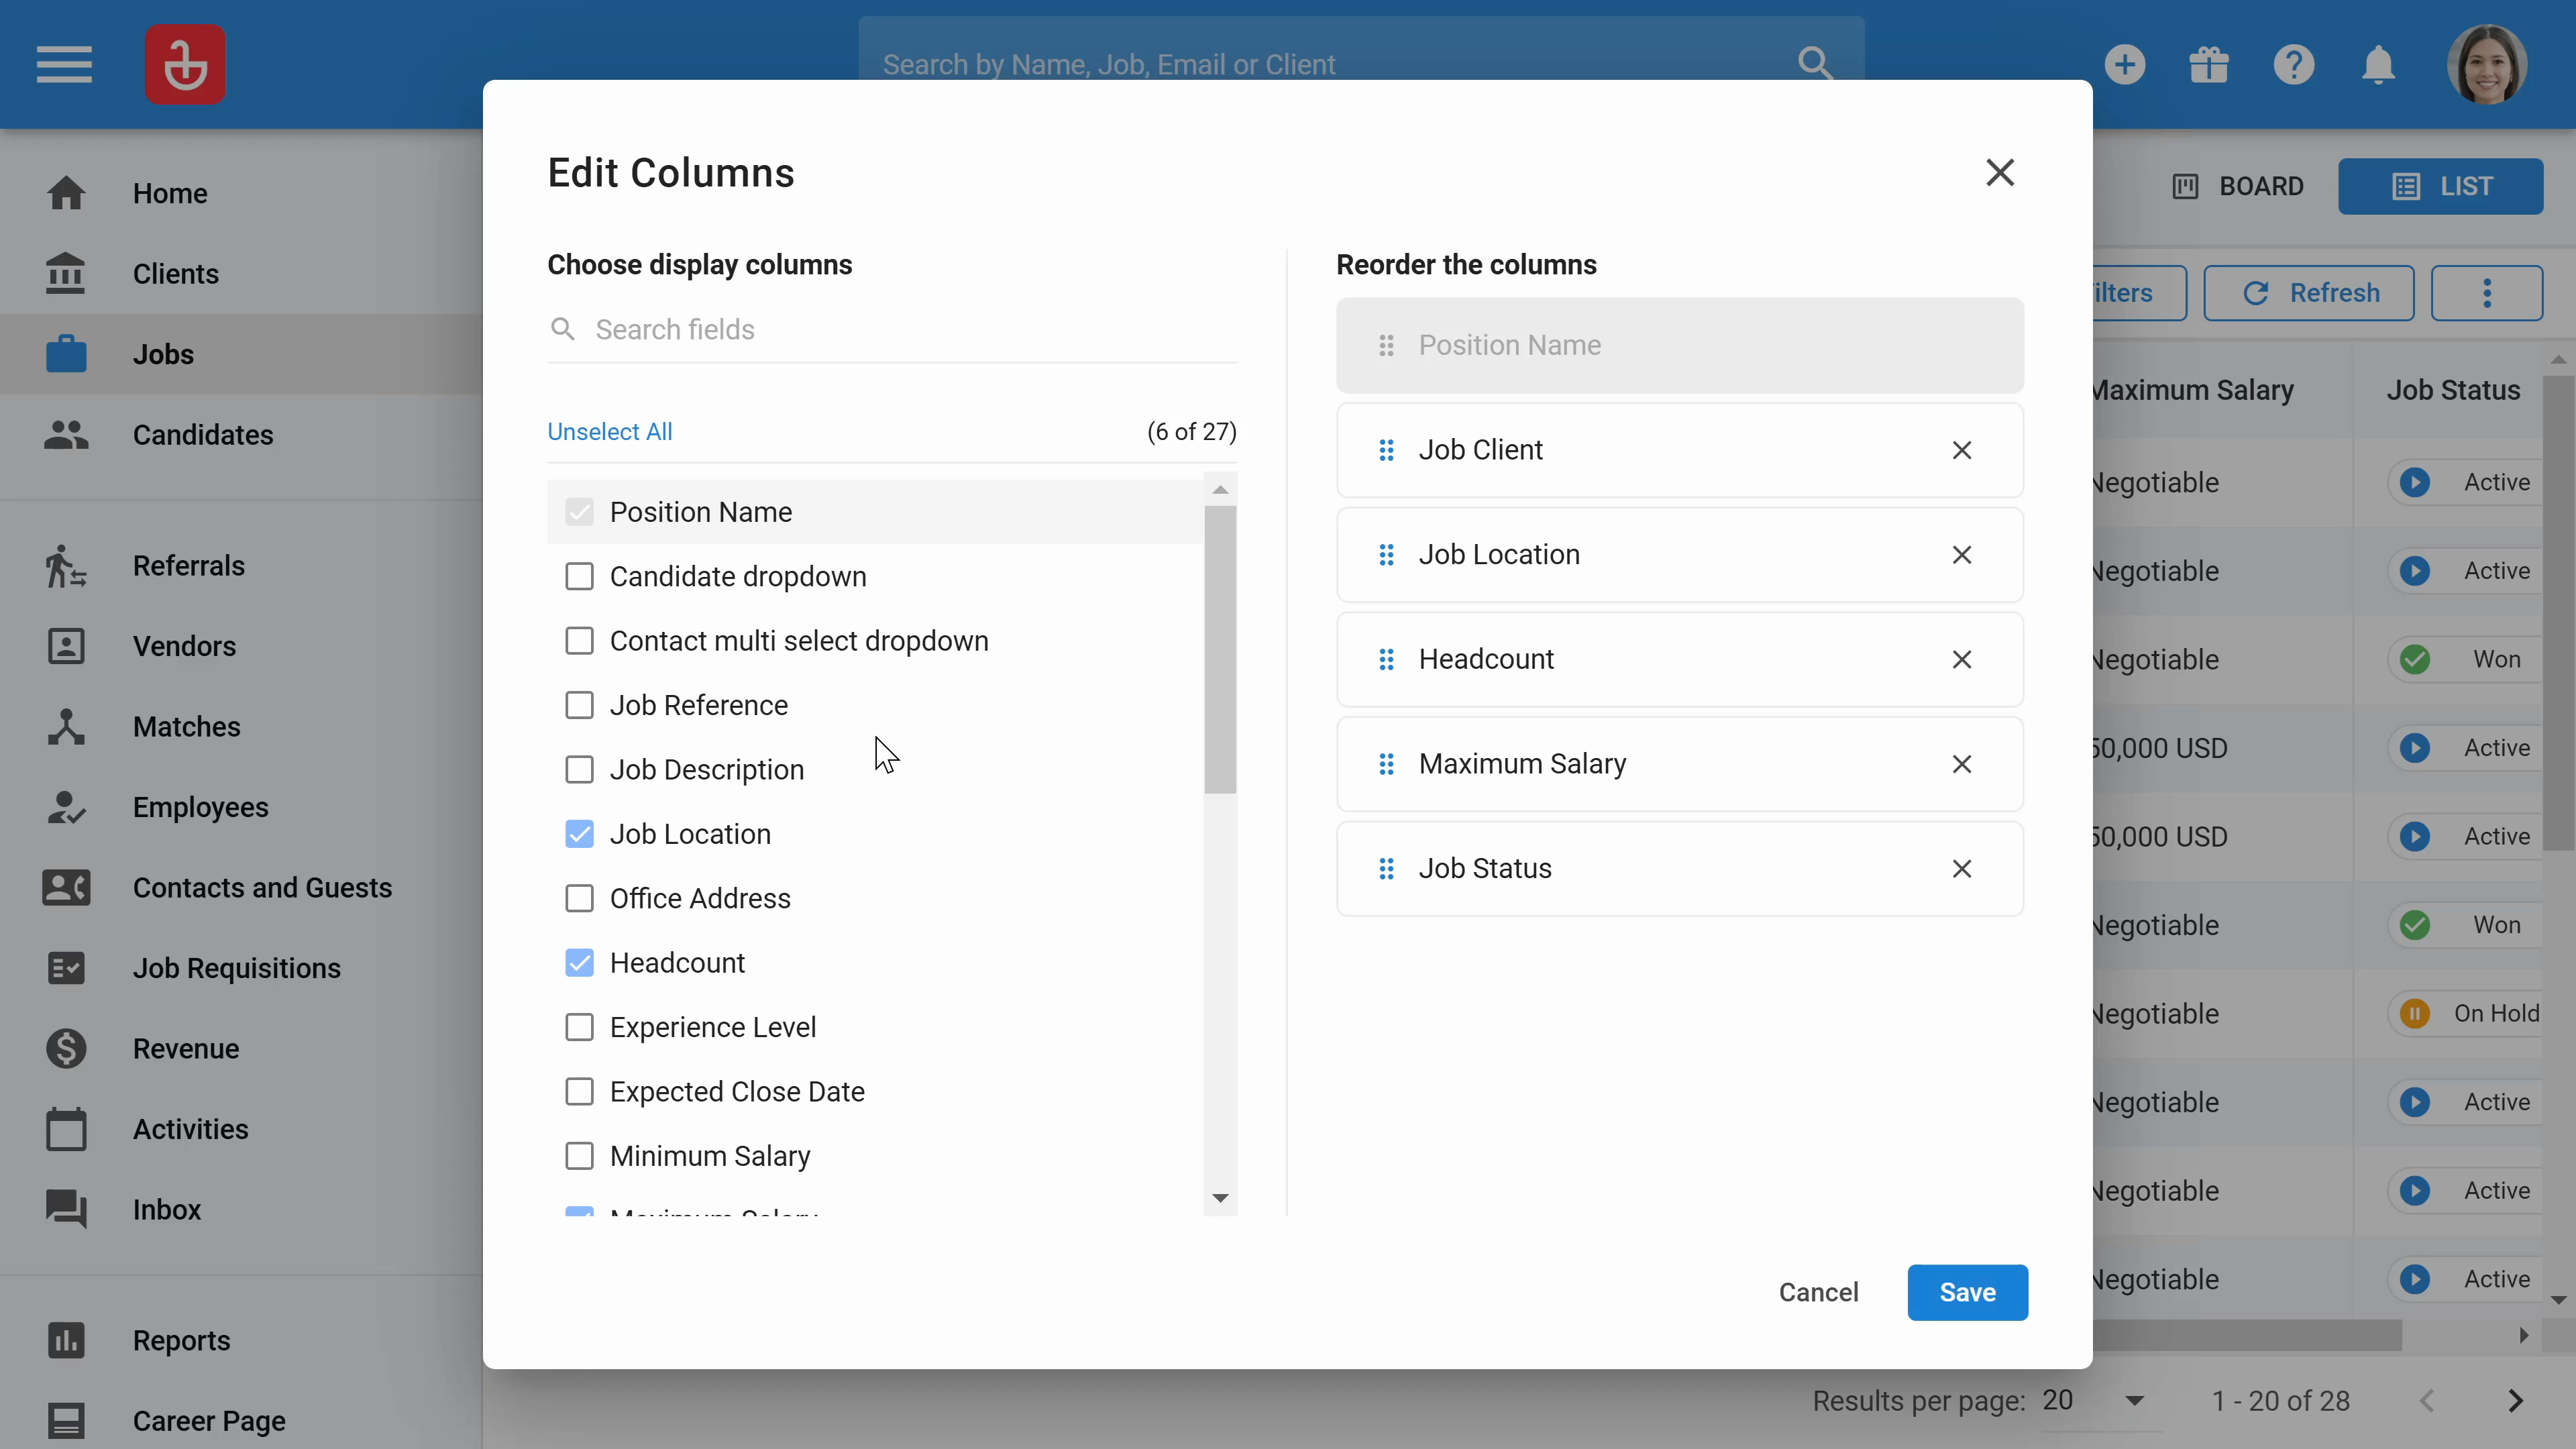
Step 28: Customize the jobs dashboard similarly to the client's dashboard to fit specific needs and preferences.
Step 29: Click on the three dots to open the "Edit column" option. This lets you customize the columns displayed on your dashboard.
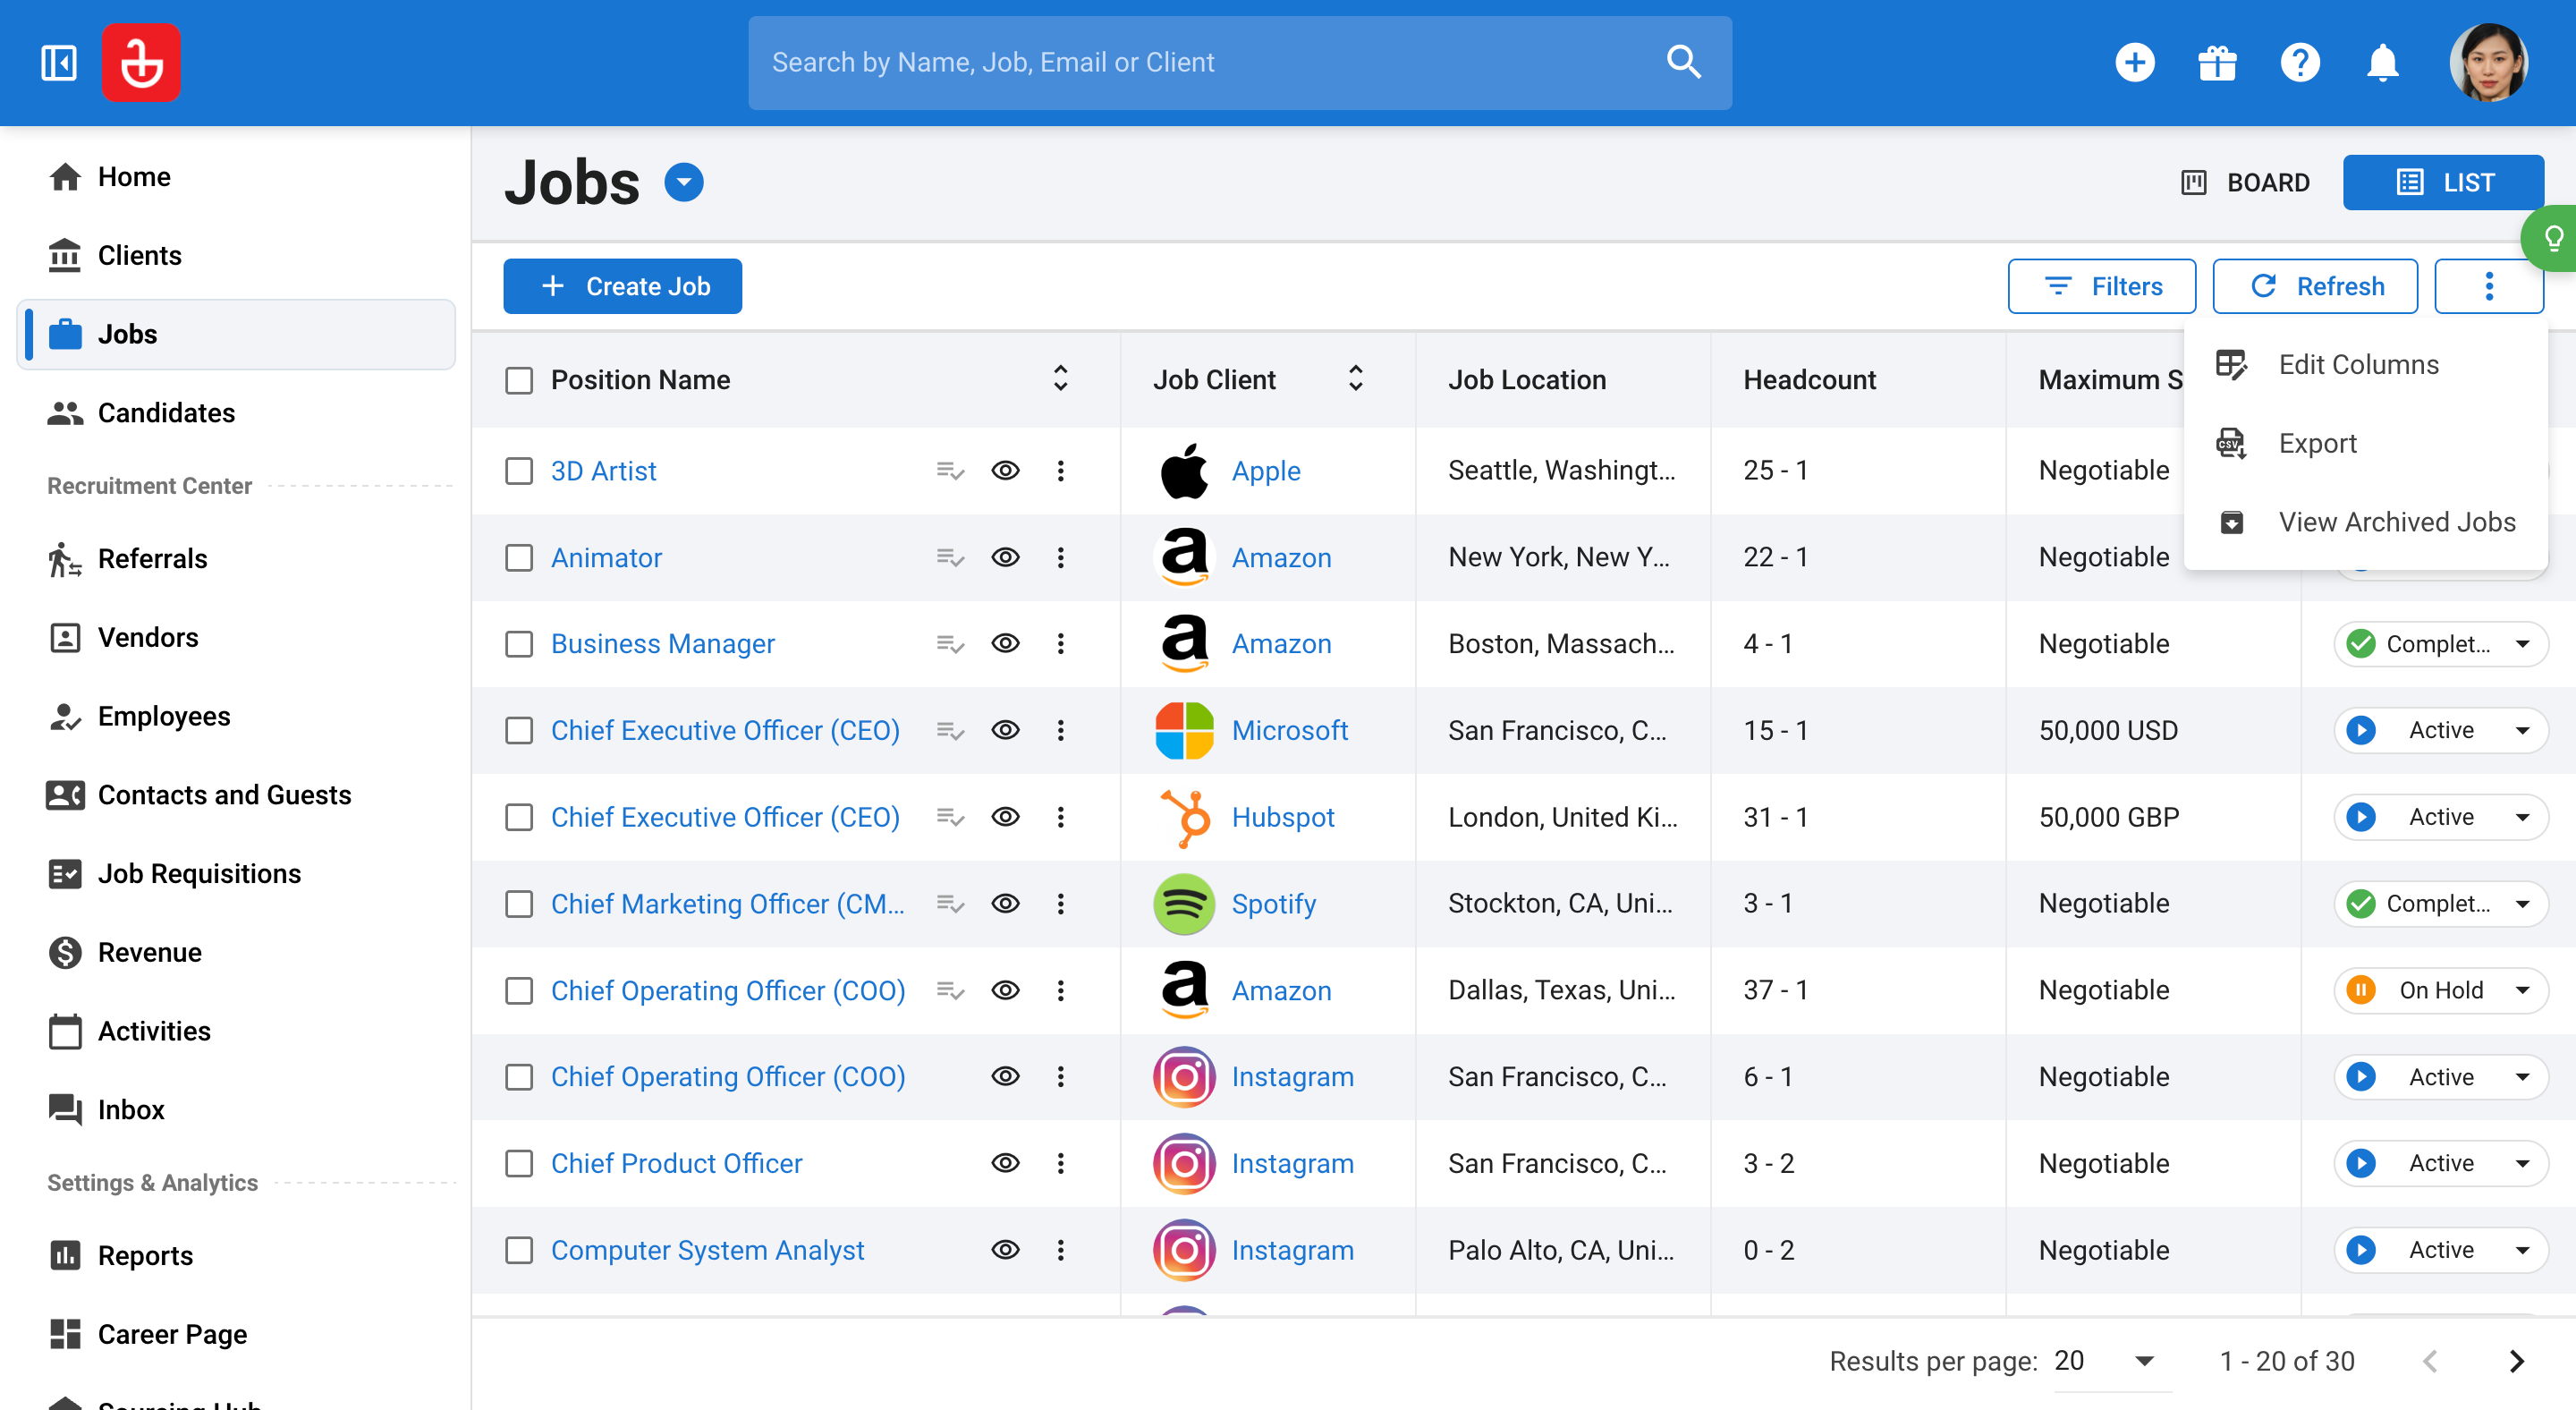
Step 30: Choose the columns you wish to display. You can also create a new column by selecting "Create new column". For instance, if you want to add a "Job ID" column, create a new field and select it as a column. Additionally, reorder the columns as needed.
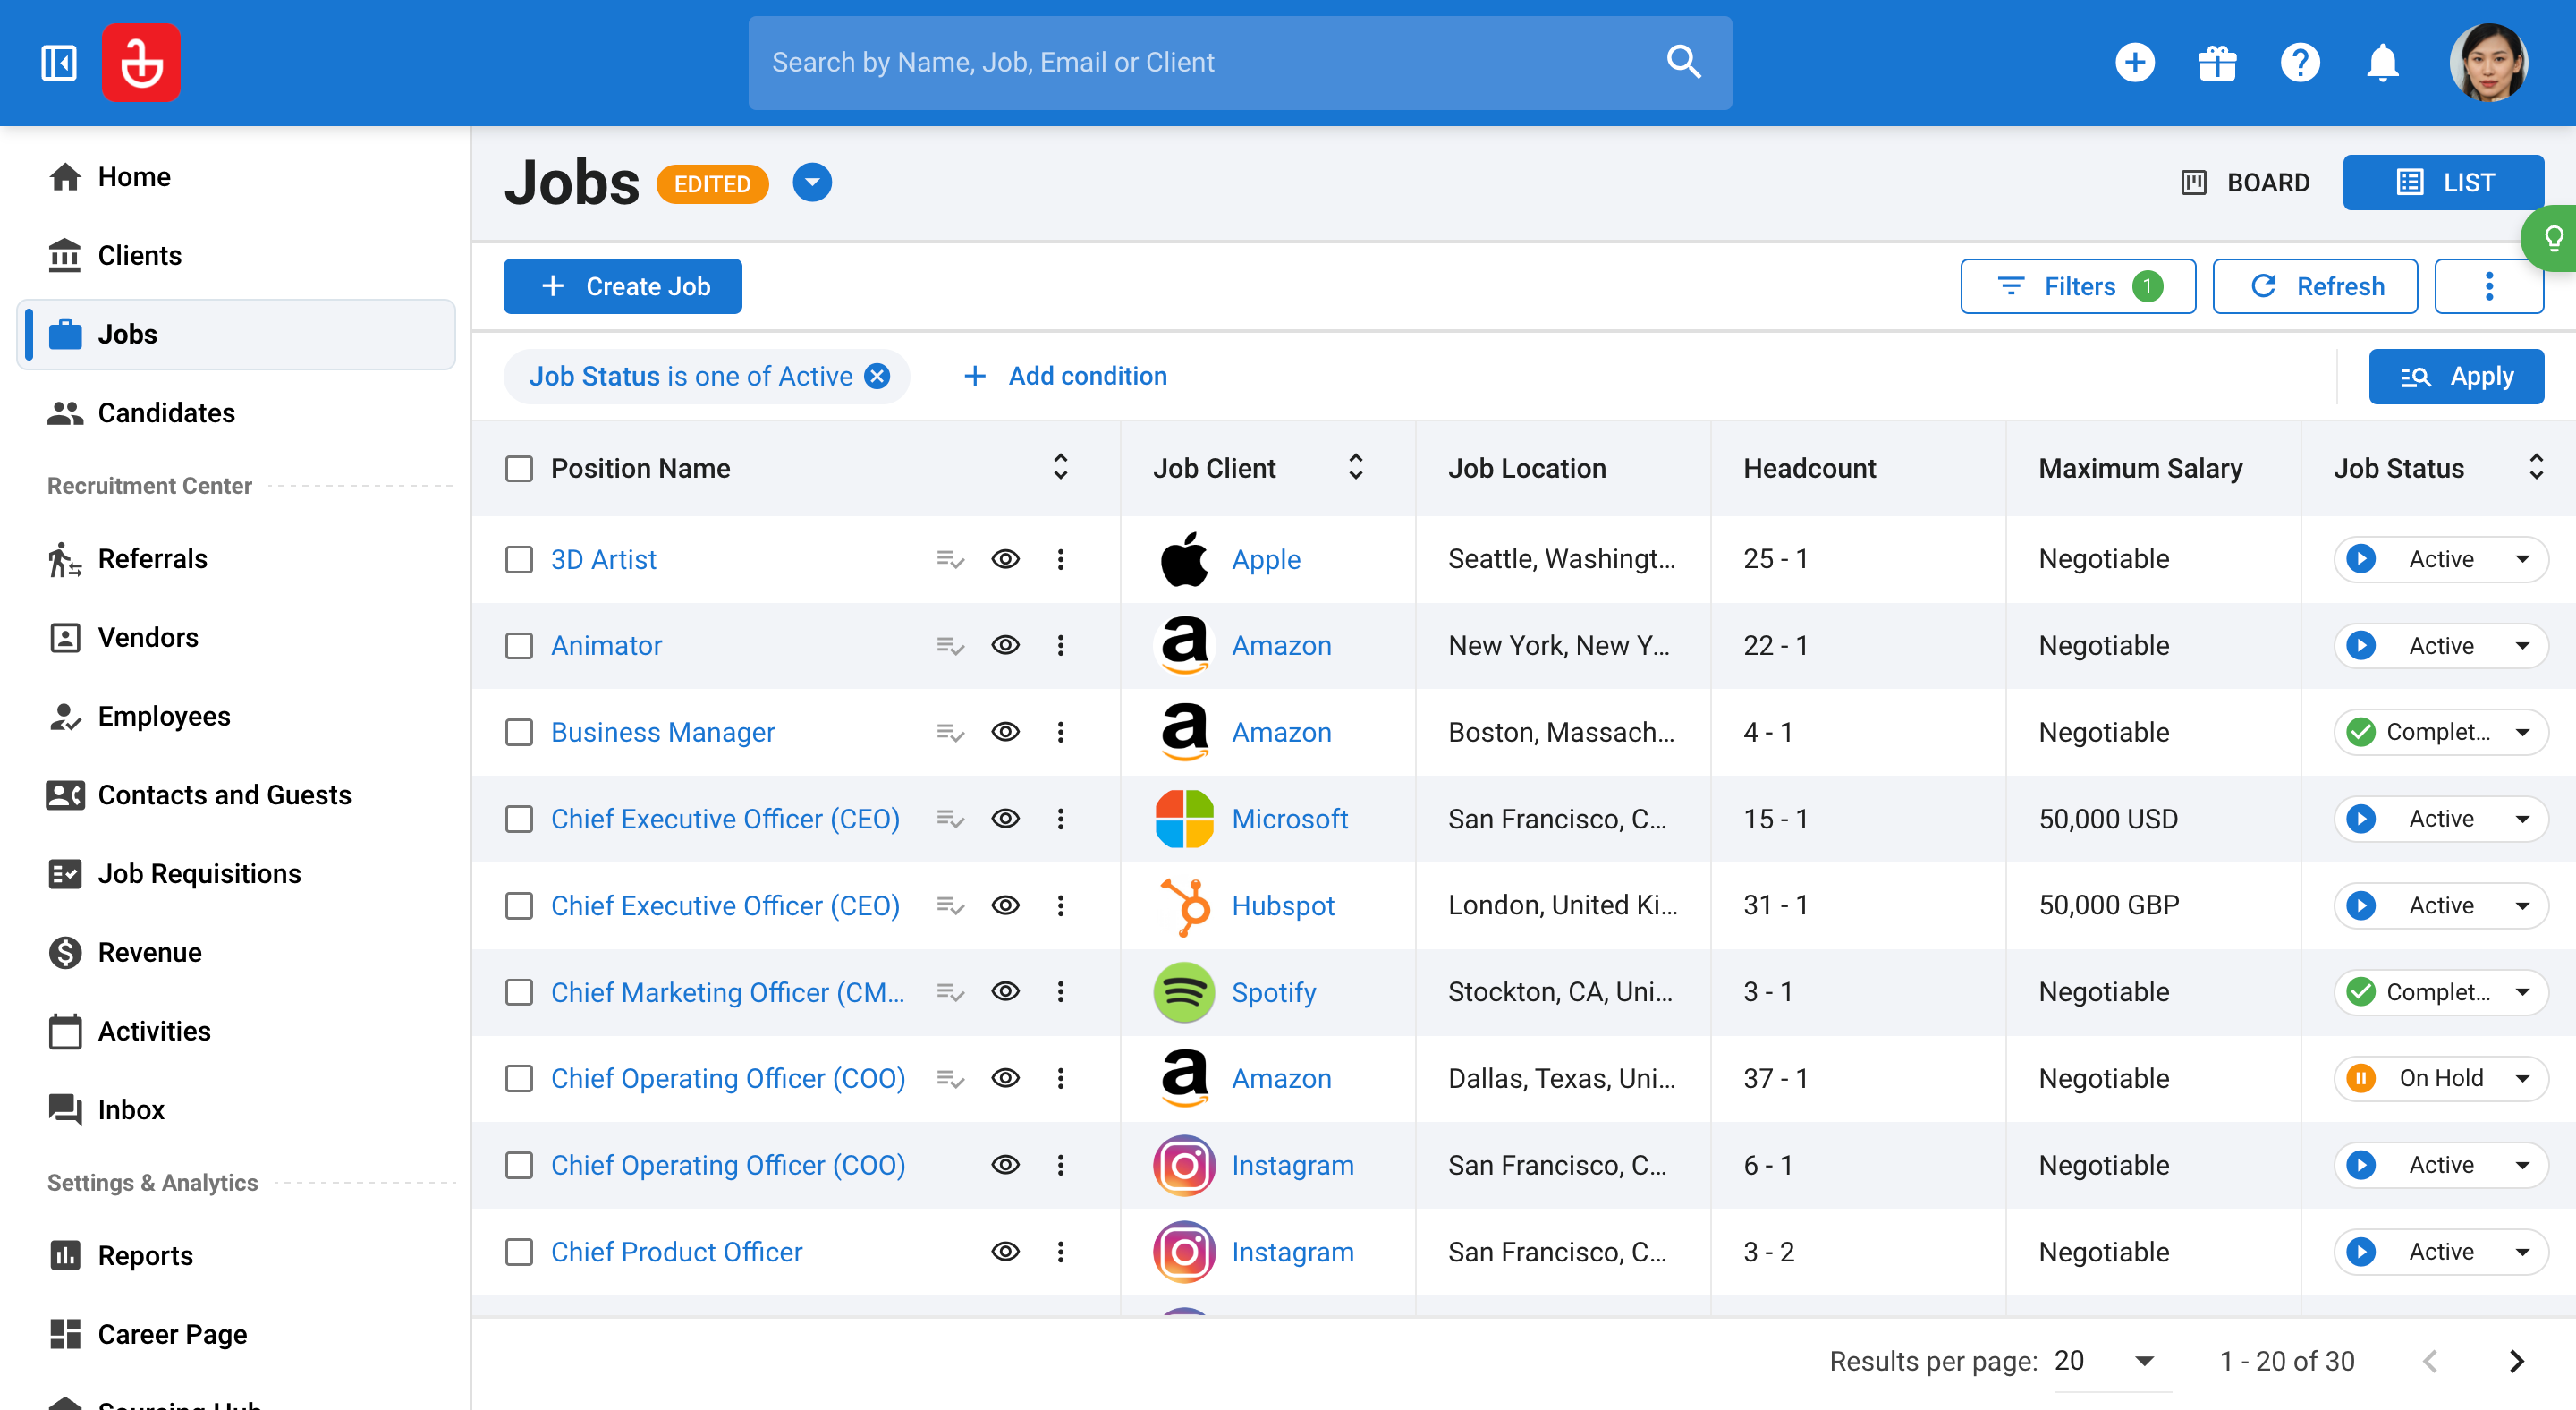
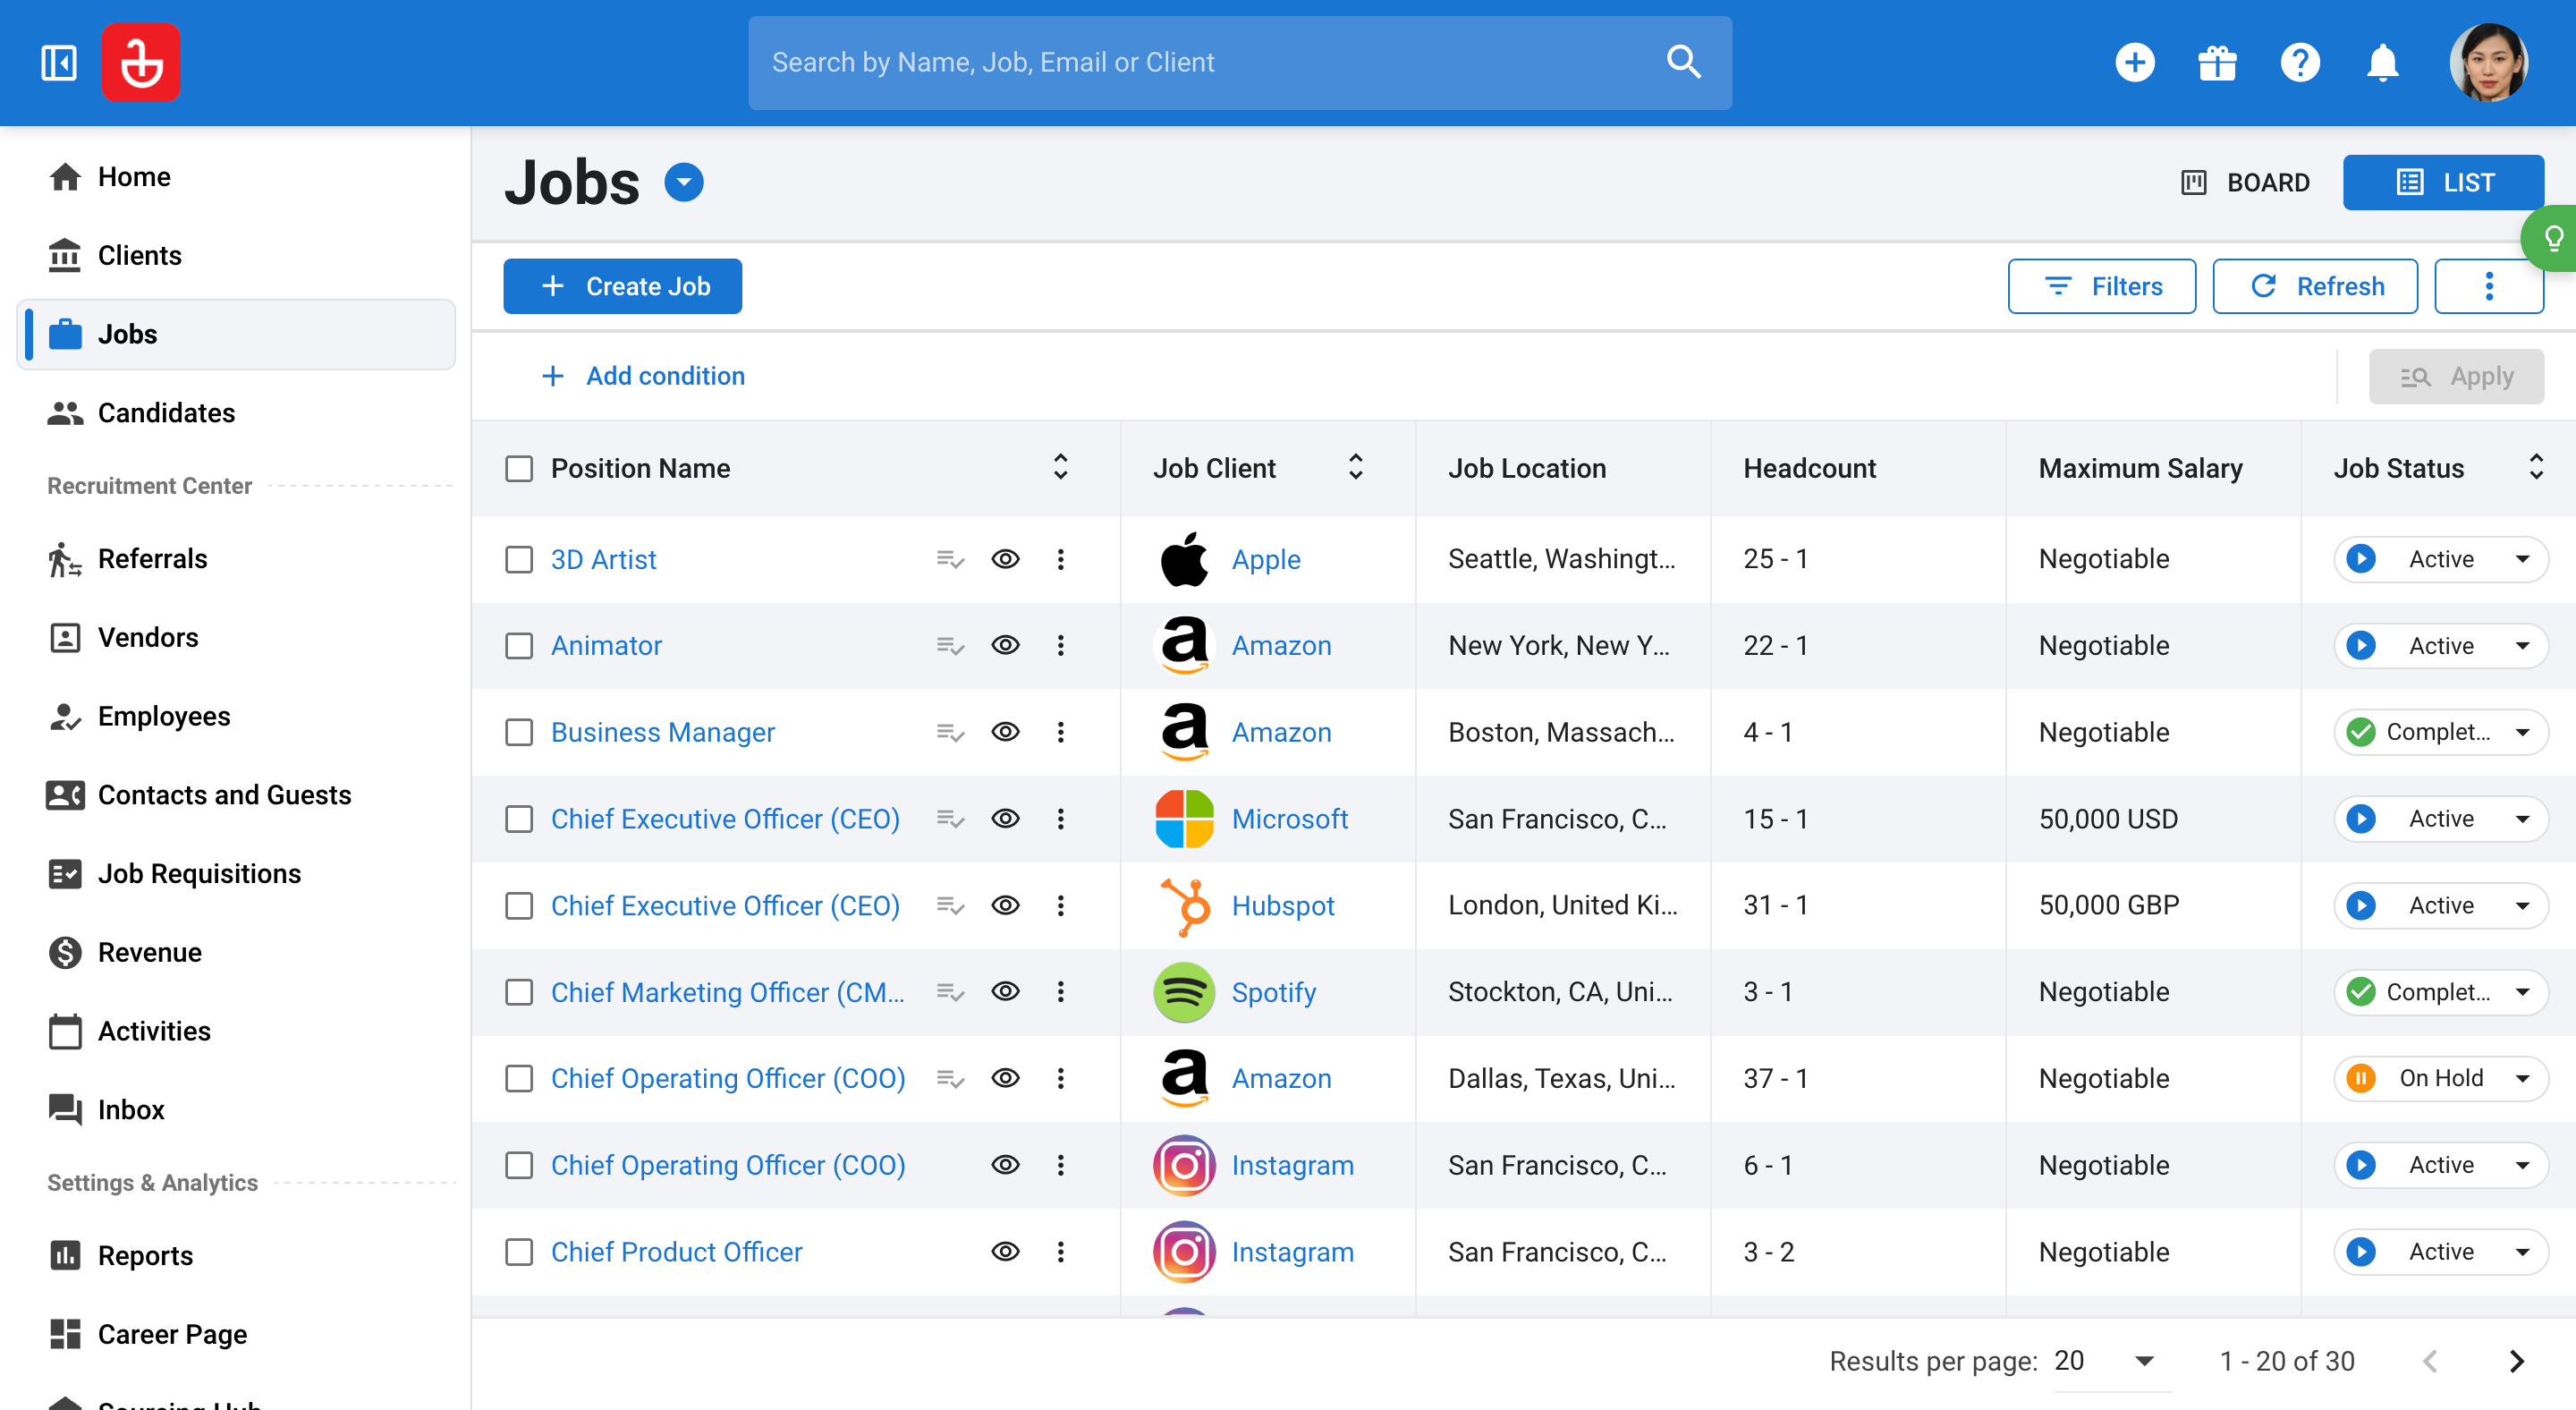
Step 31: Filter the "Jobs" dashboard to display only the jobs you're interested in. For example, to view only active jobs, search for "Status" and then select "Active".
Step 32: To view detailed information about a specific job, such as a "CEO" position, open the job. The first page you'll see is the "Candidates" page. Observe the number of candidates in various recruitment stages for the selected job. These stages are customizable.
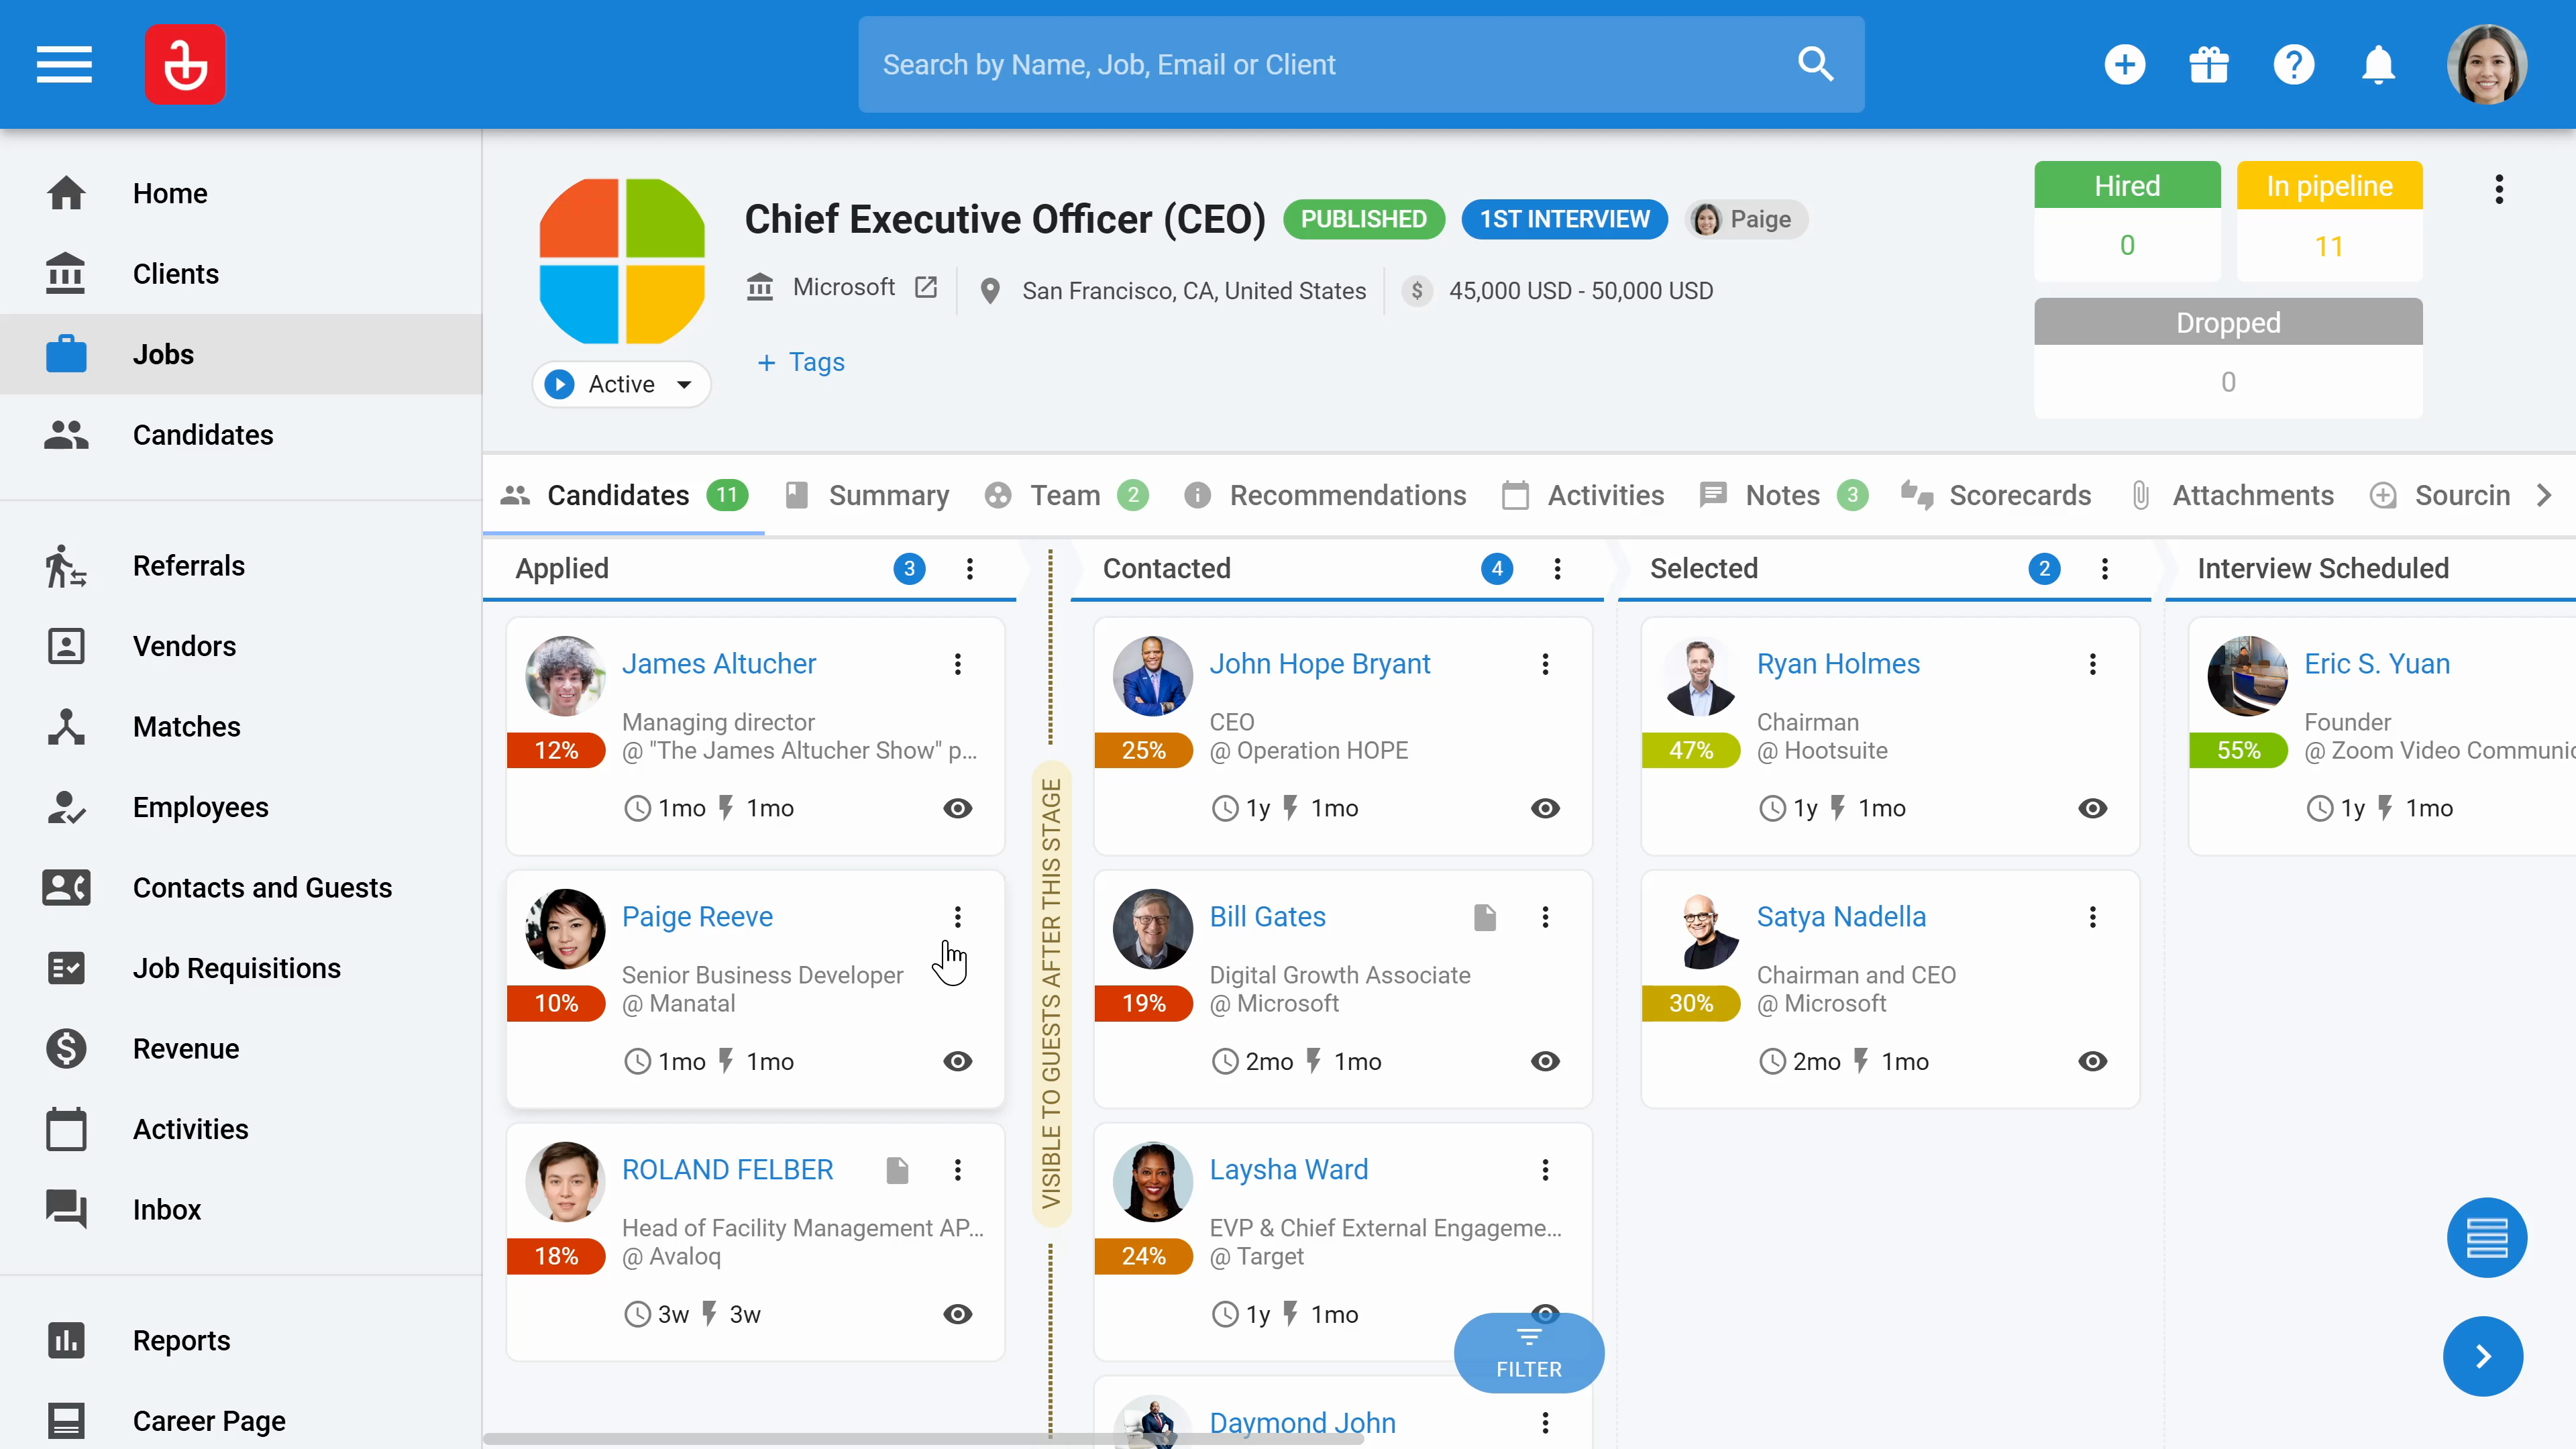
Step 33: To review a candidate's details, click on the eye button.
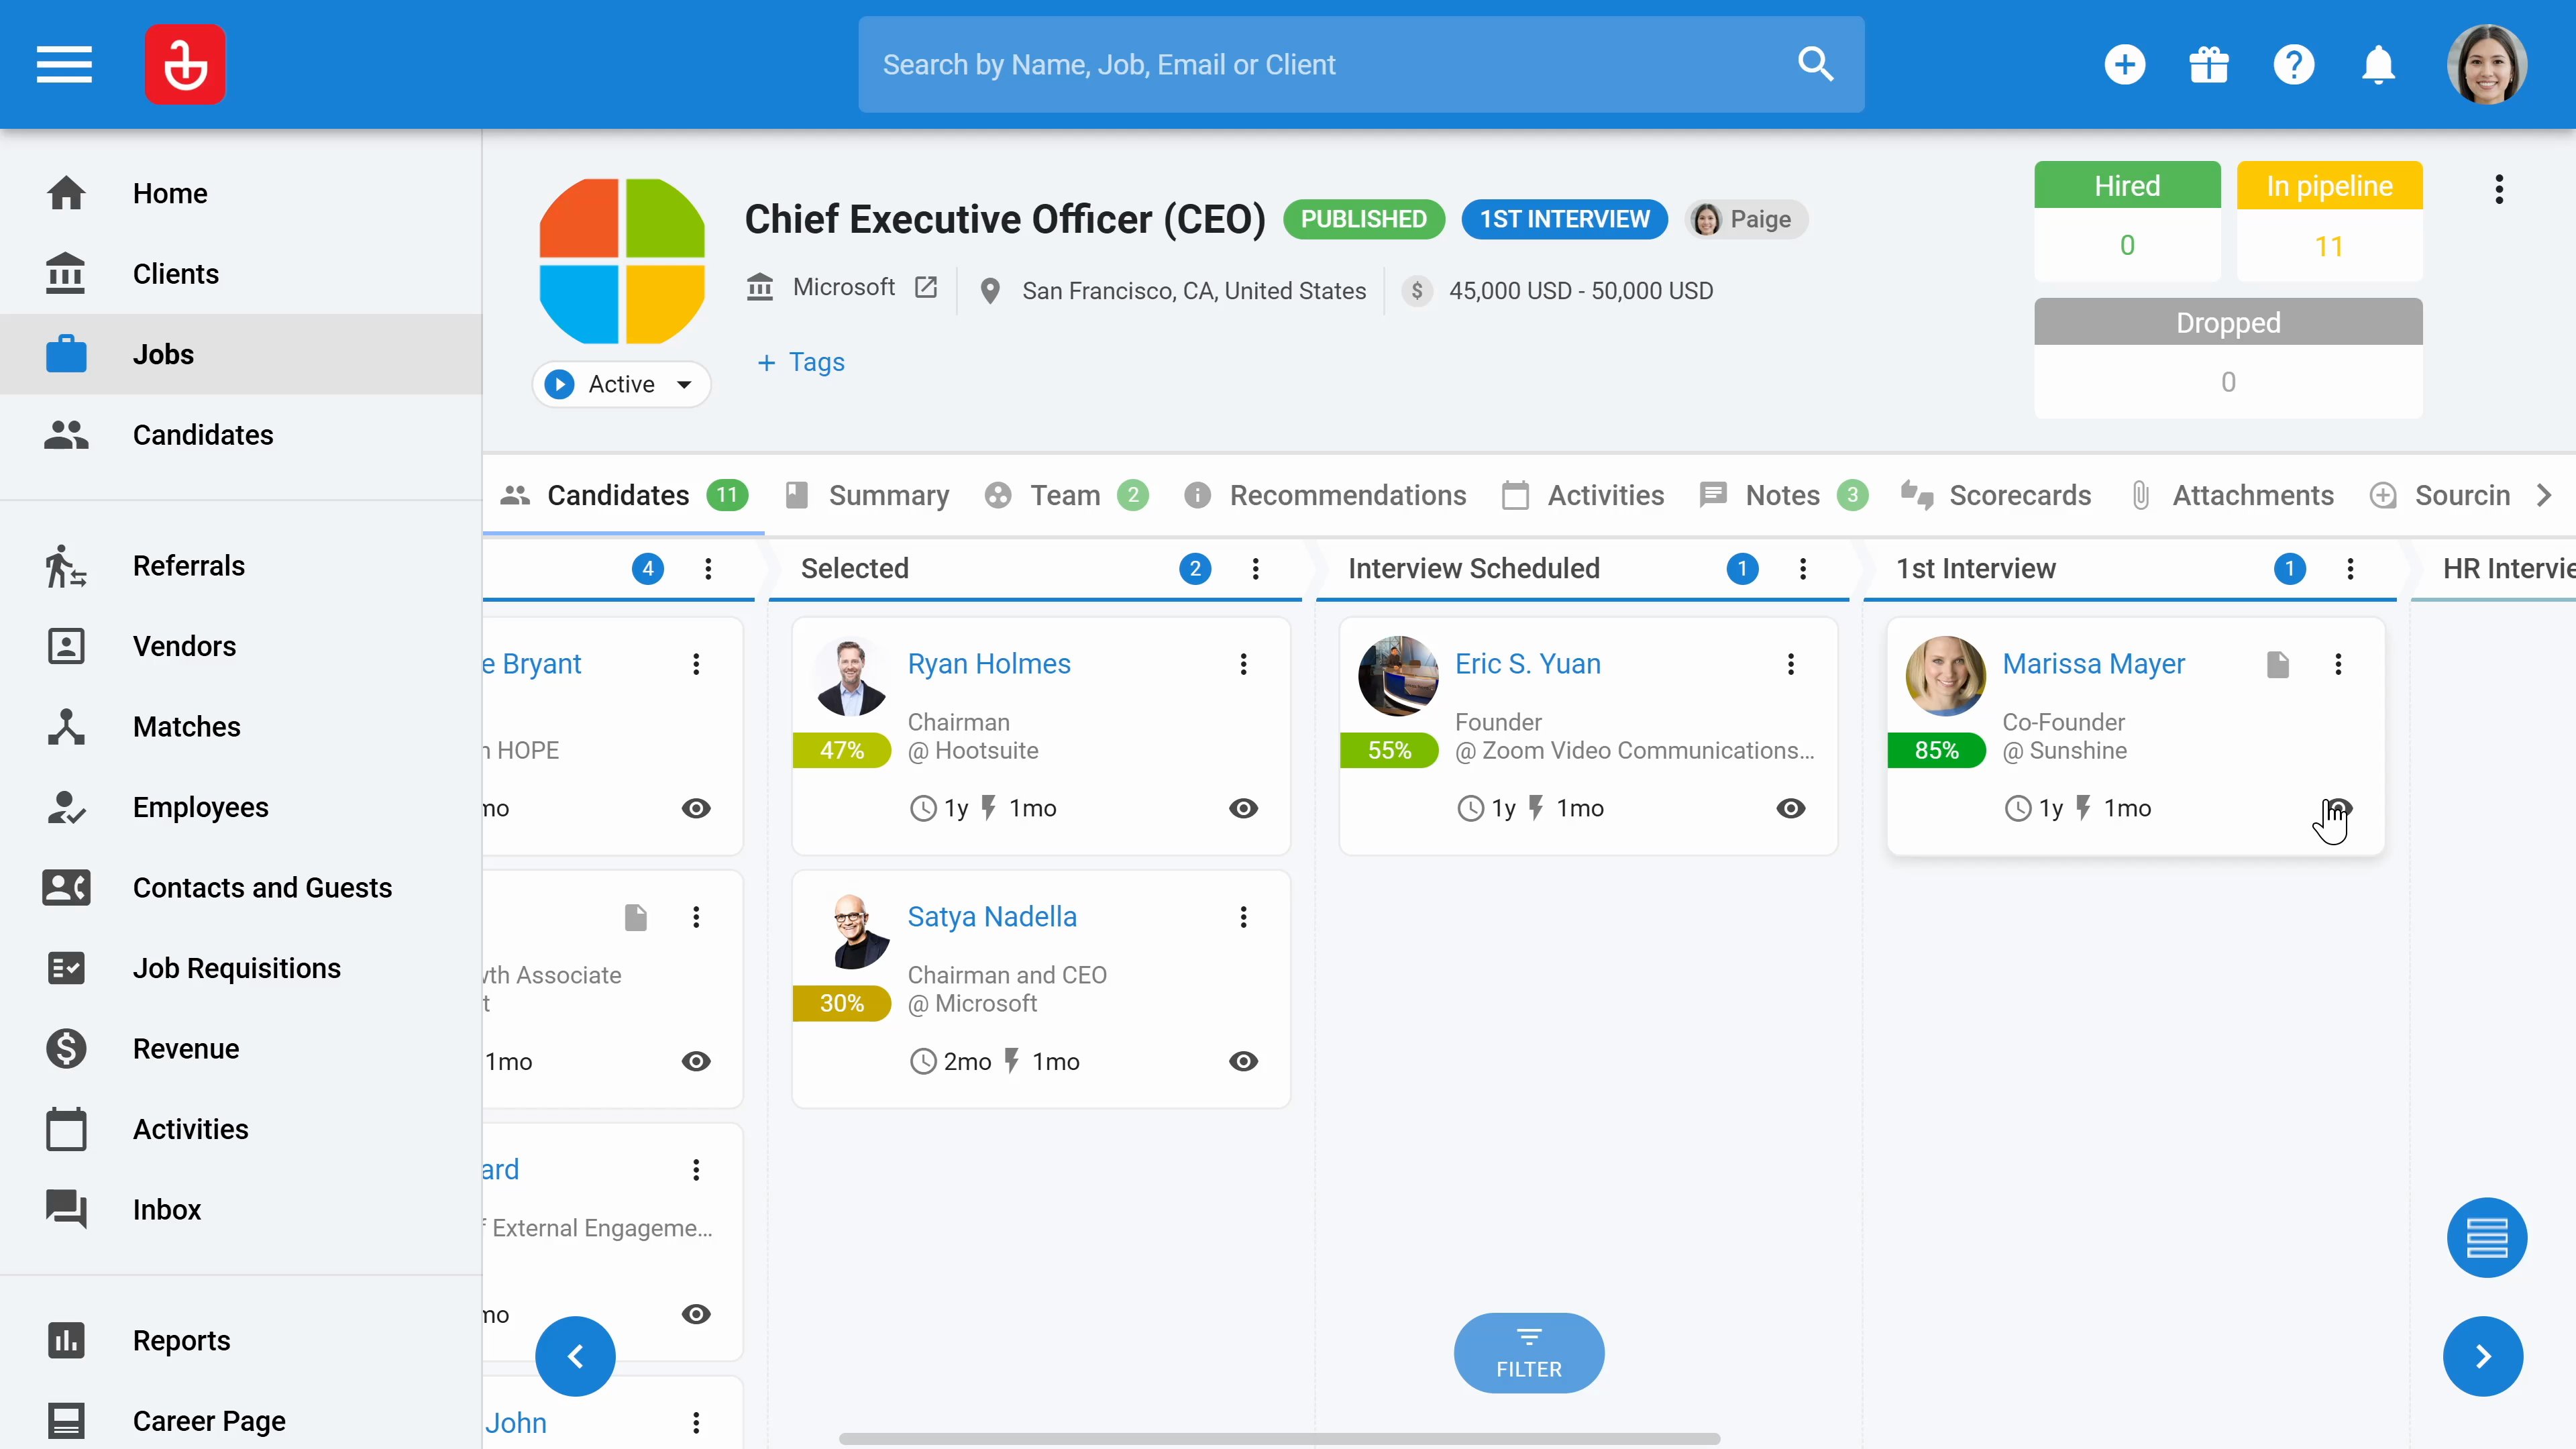
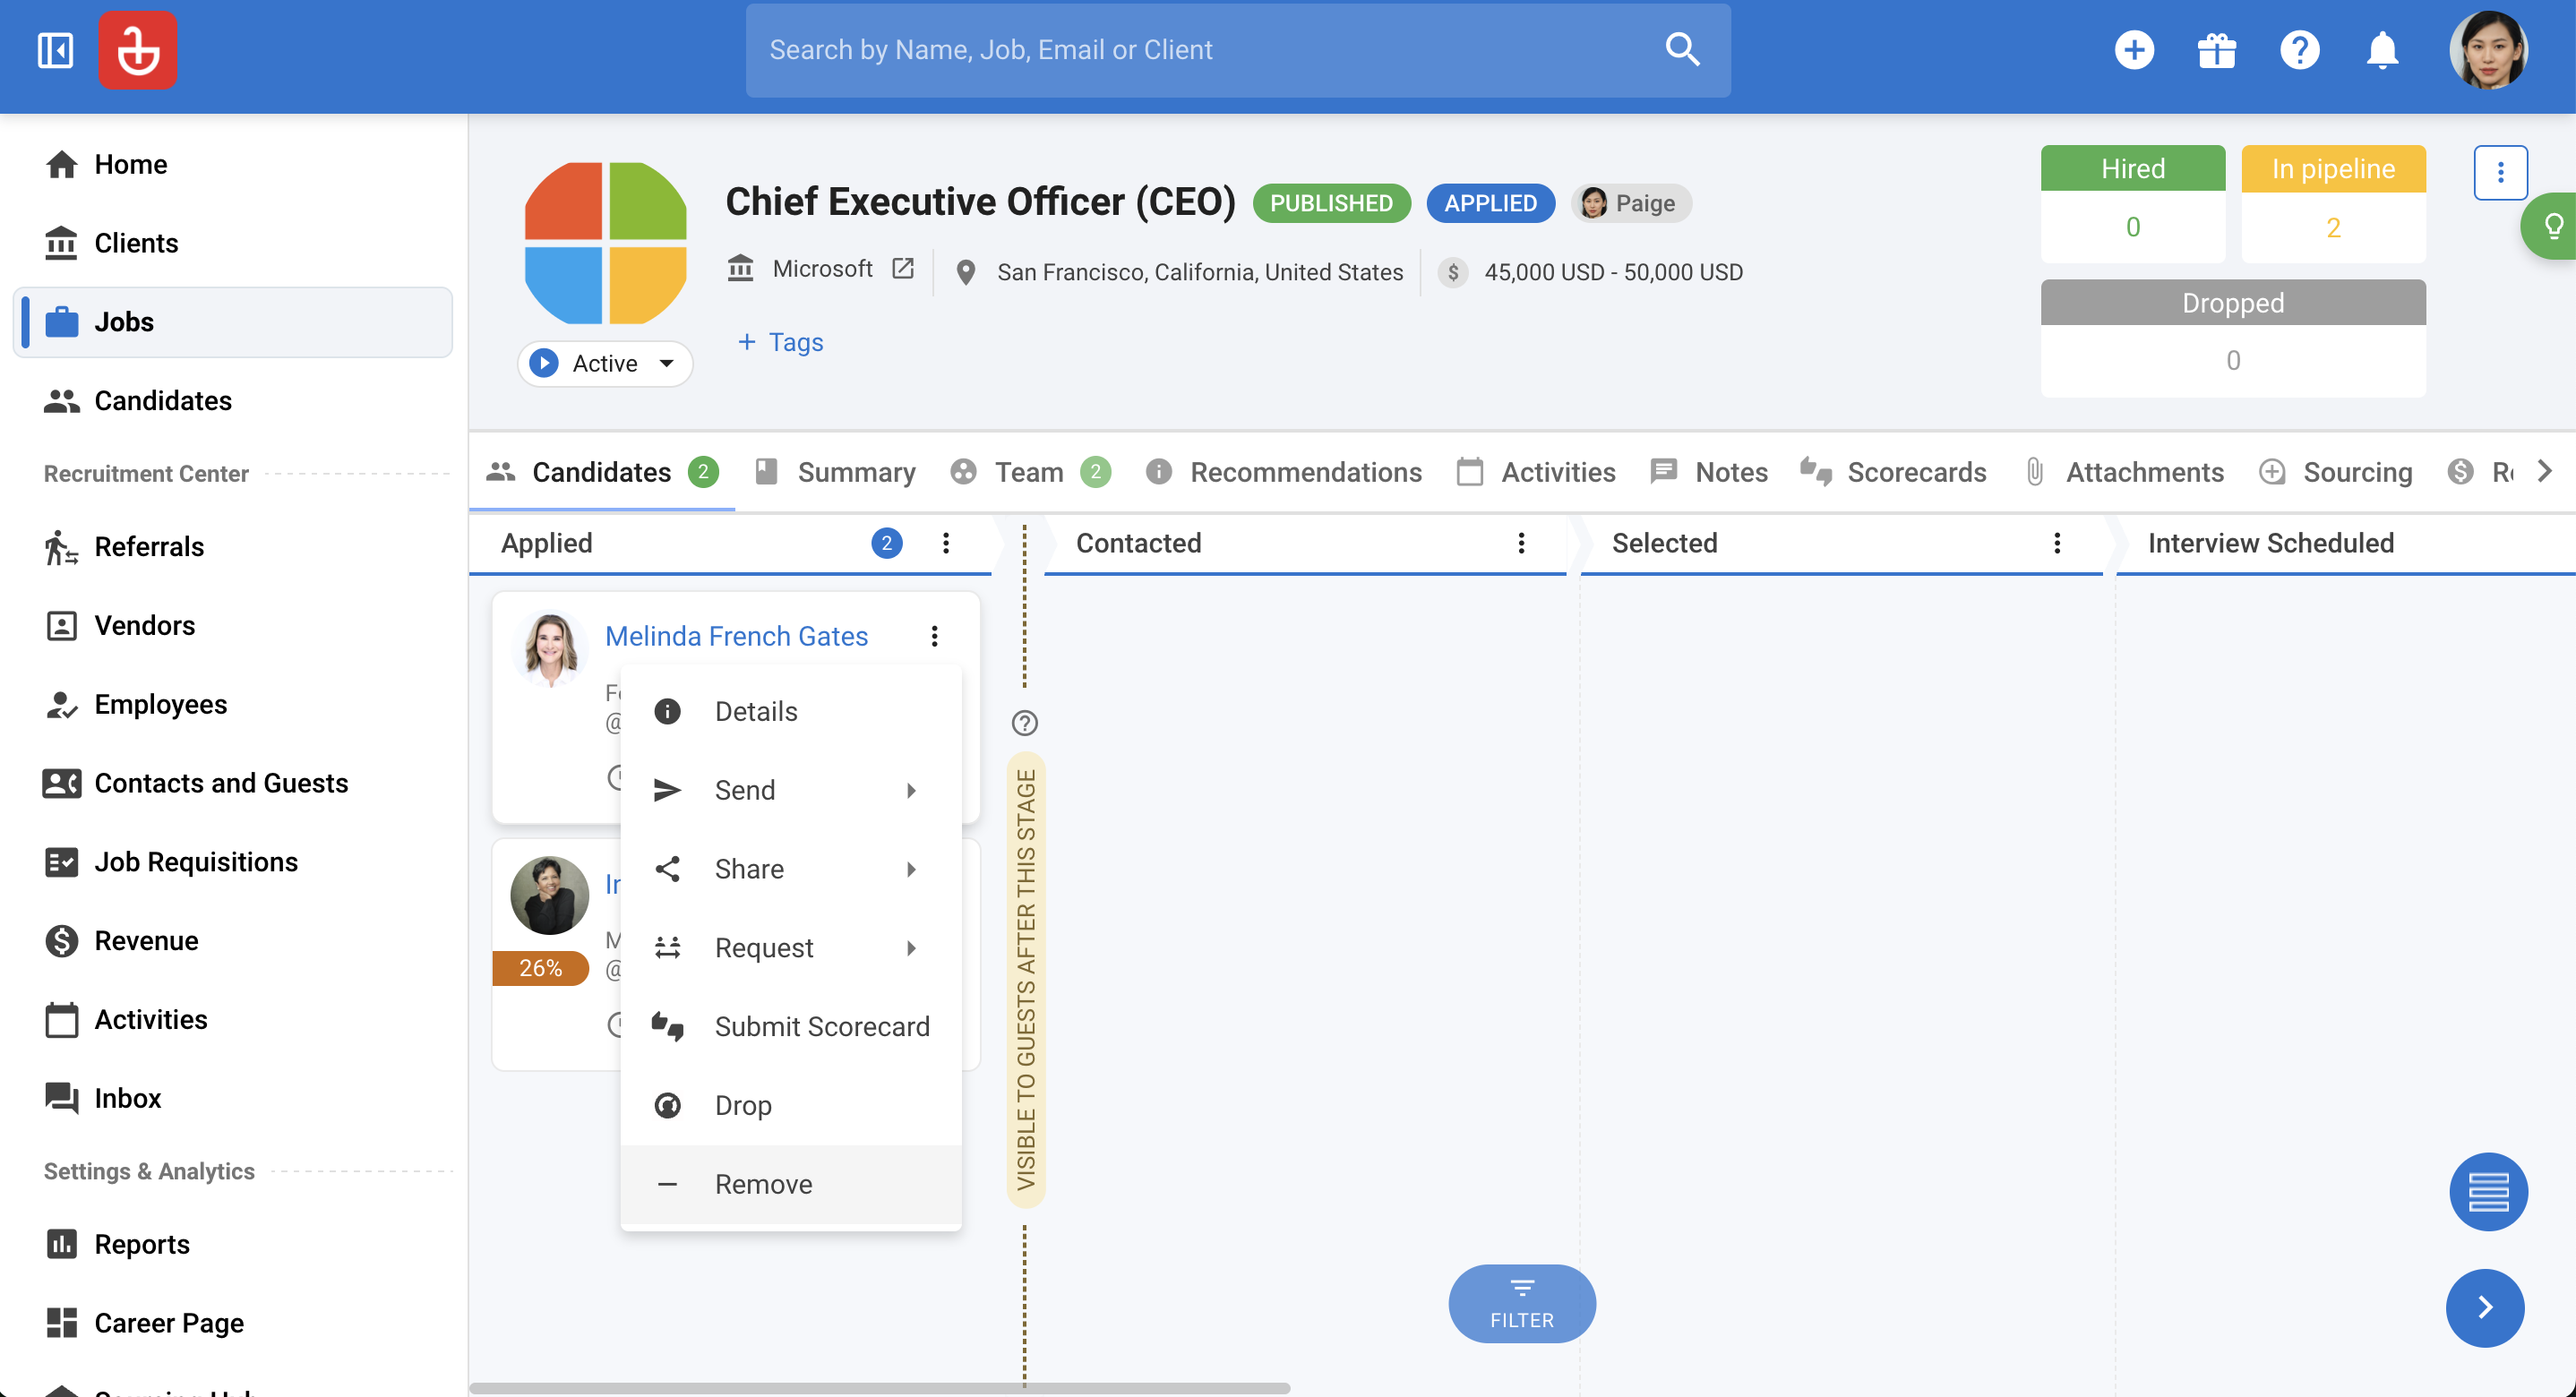
Step 34: If you need to remove candidates from consideration, click on the three dots button.
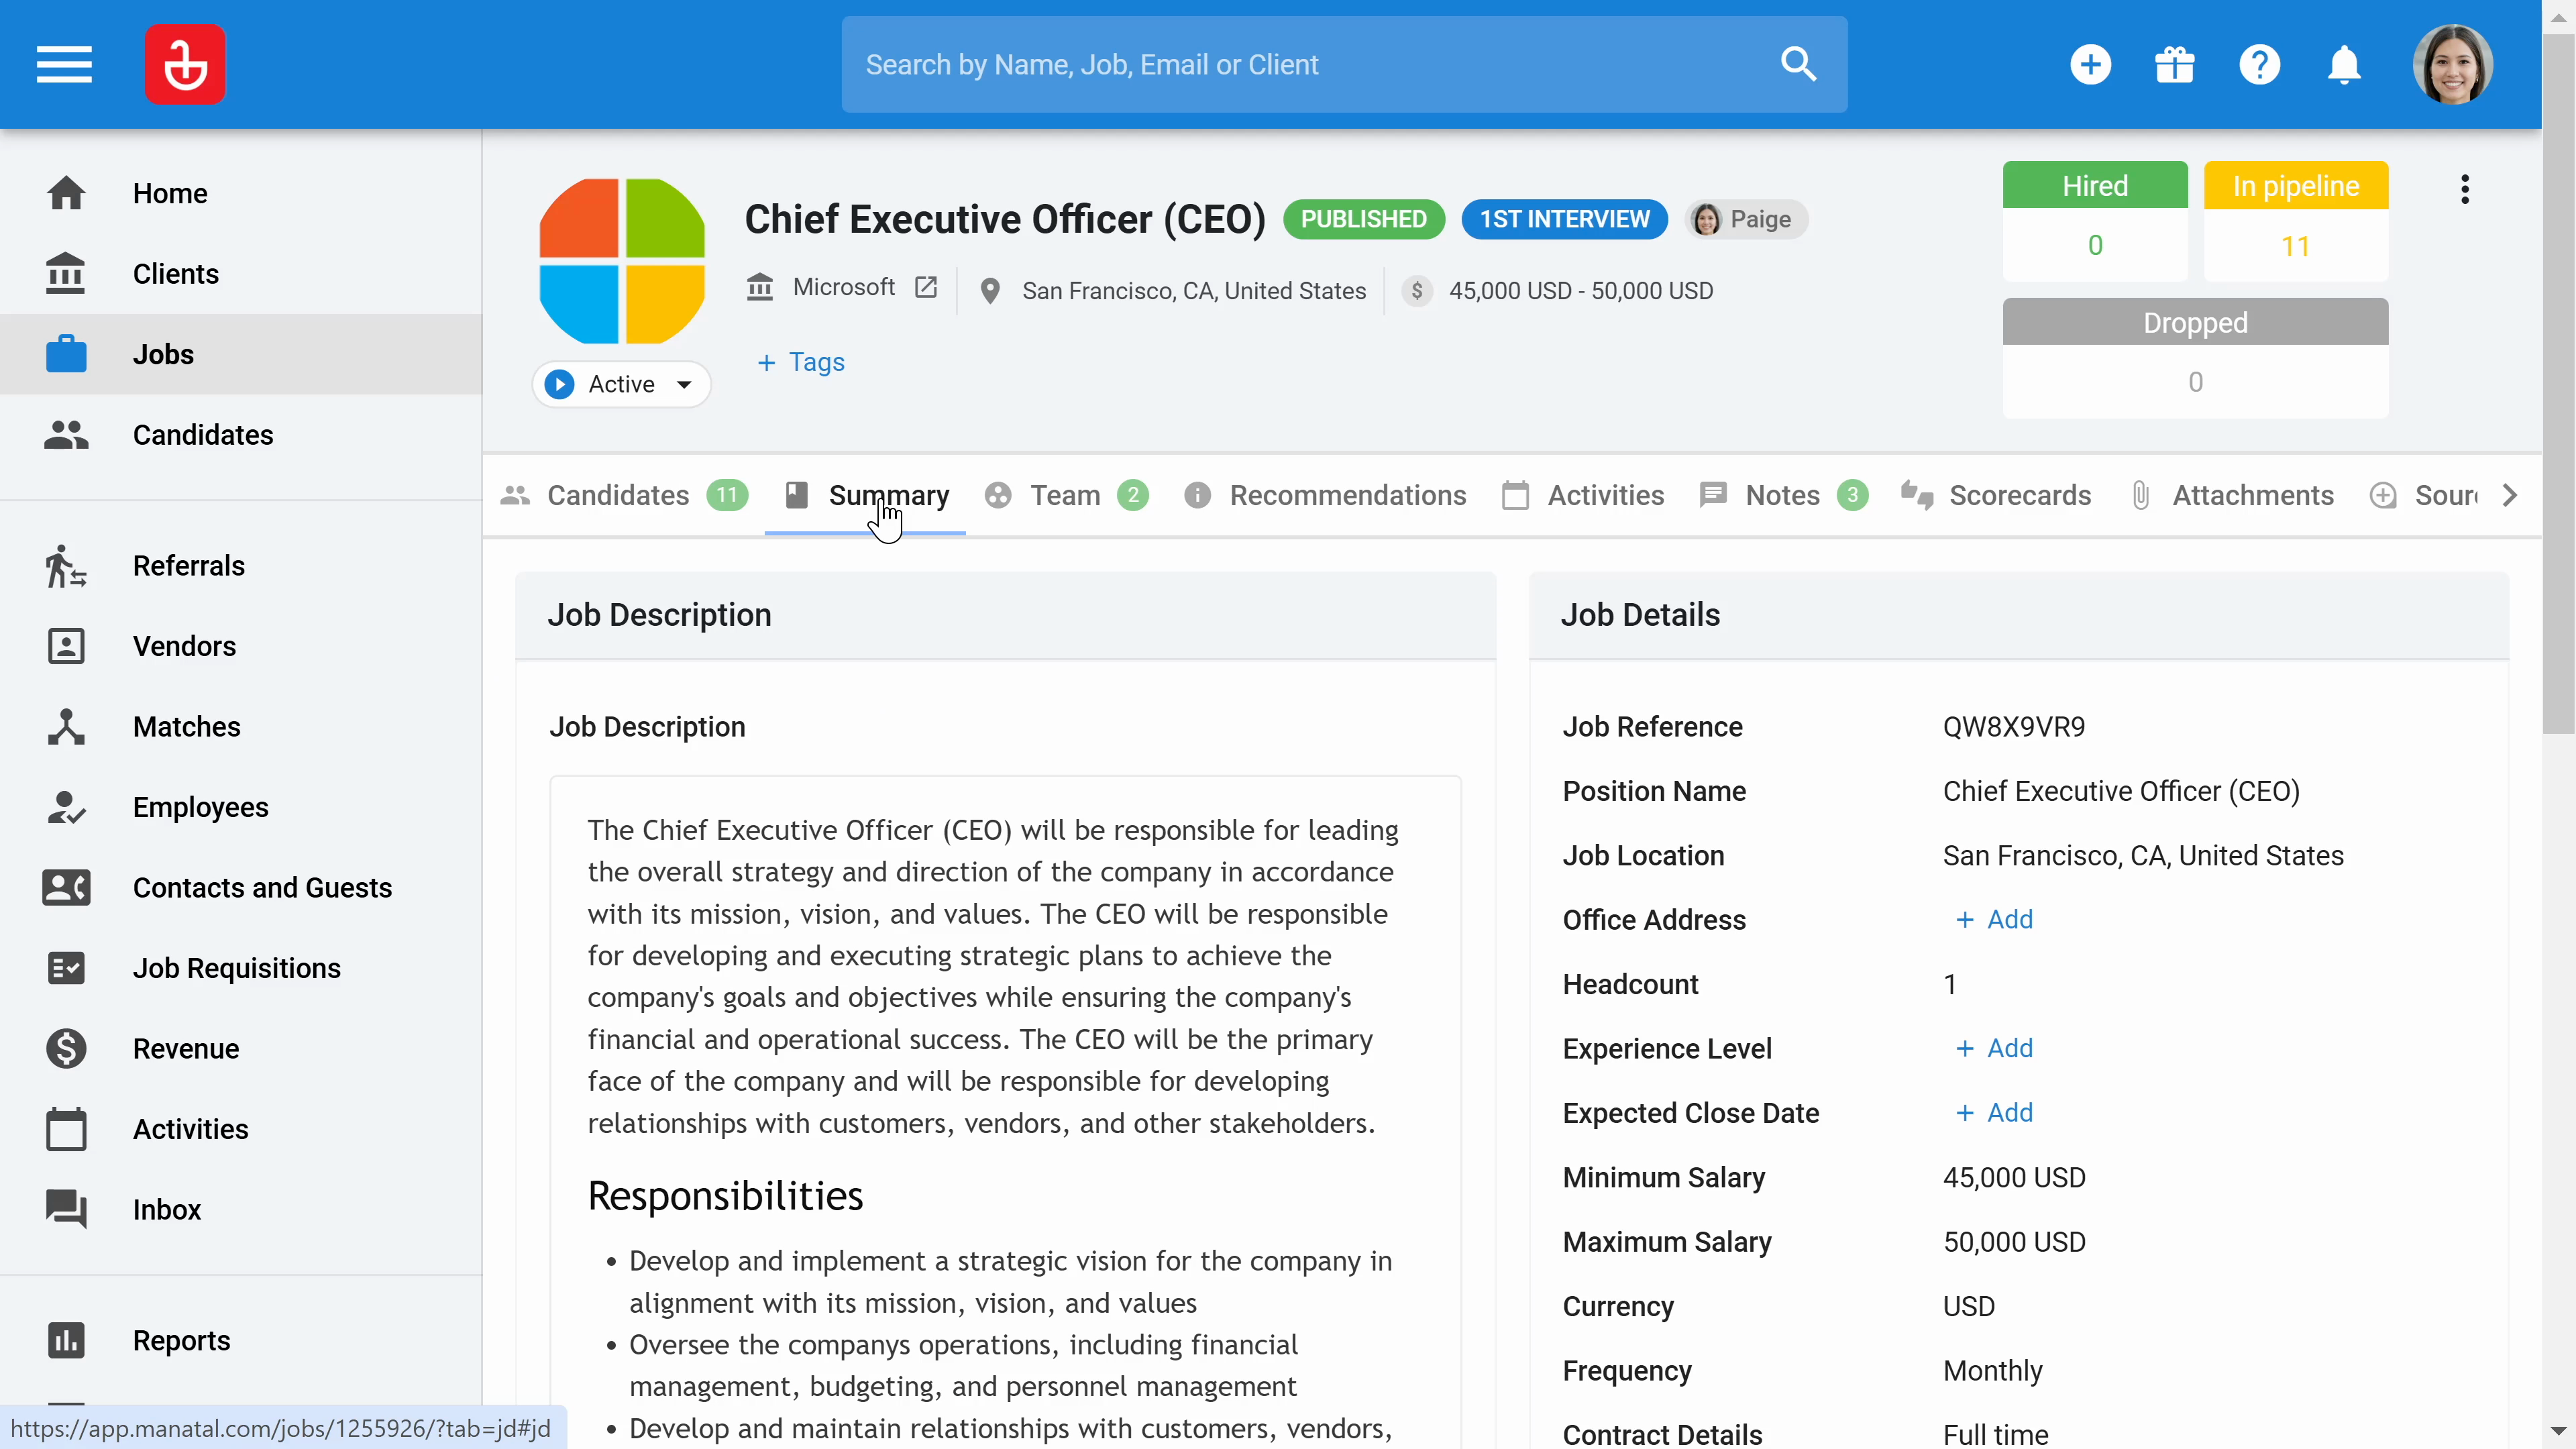
Step 35: Click on the Summary to review the job description, either the one you added or the one generated by AI. You can edit this information as needed. Add or modify job details. The fields are customizable and searchable, which helps in tailoring the job specifications.
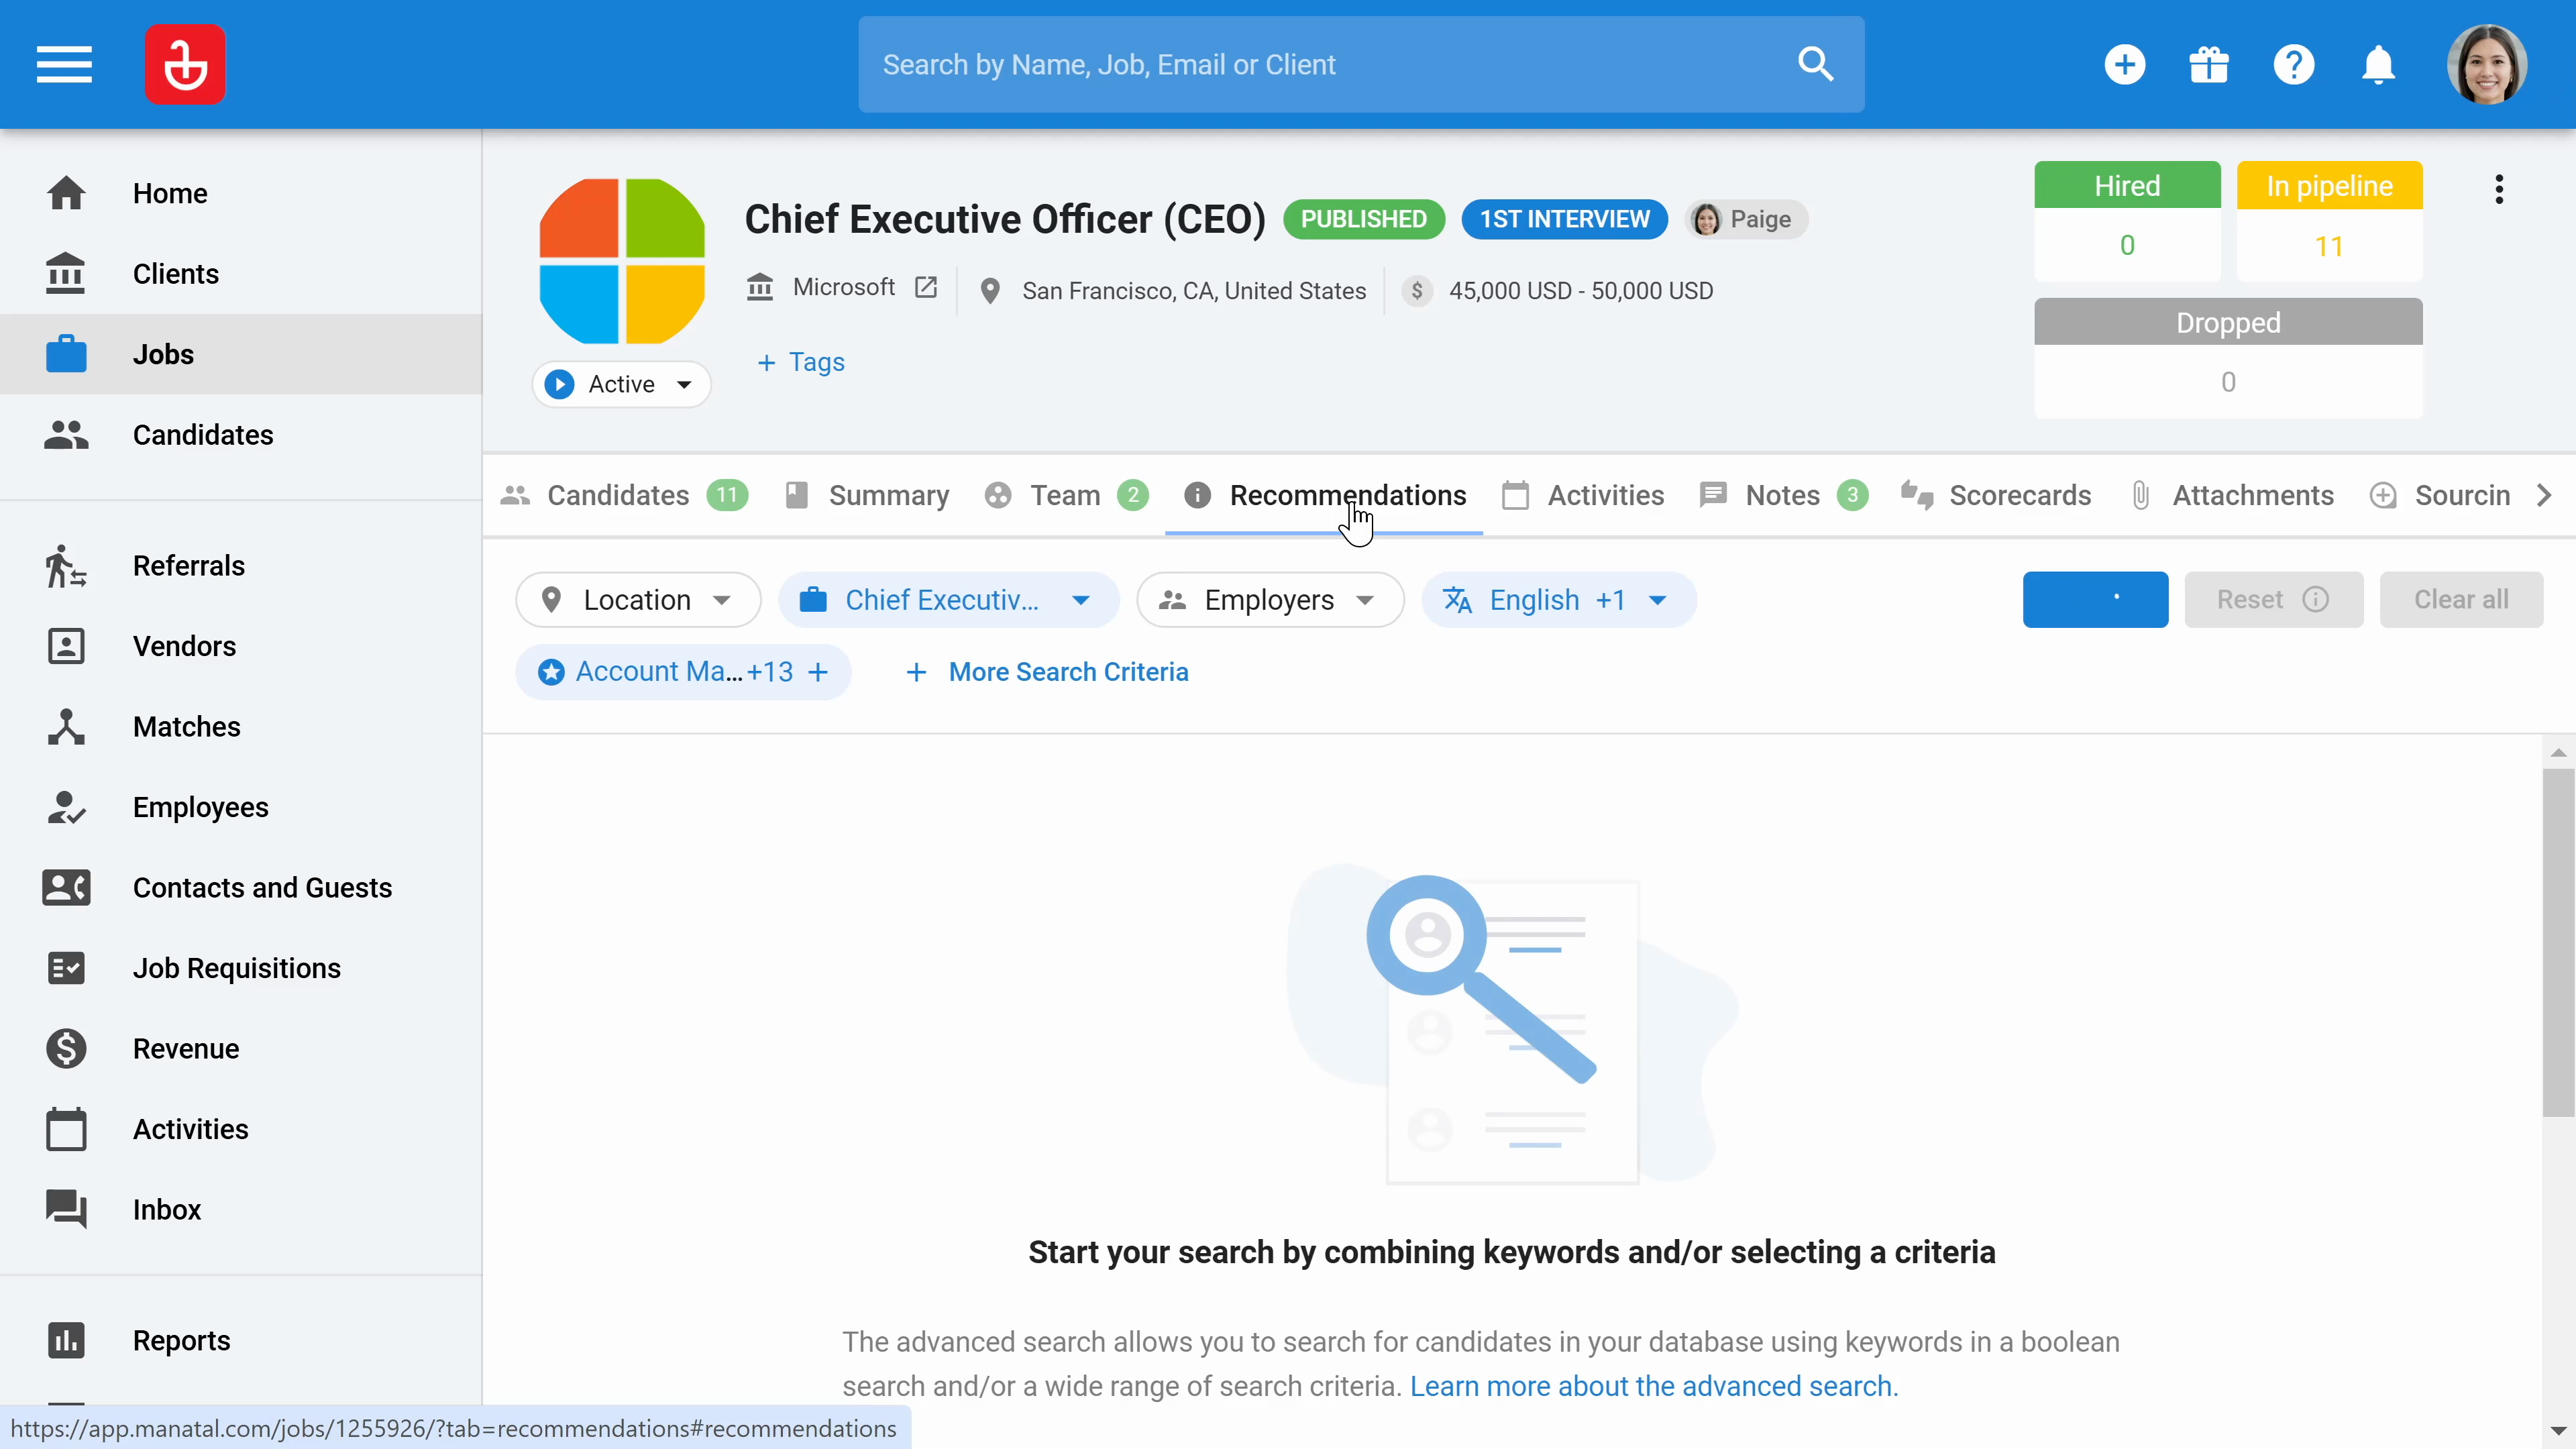
Step 36: In the recommendations section, view all suitable candidates already in your database for the job. Modify the criteria for candidate recommendations if necessary. If some candidates match the updated criteria, select and add them to the job. You can also see the percentage matches for each candidate.
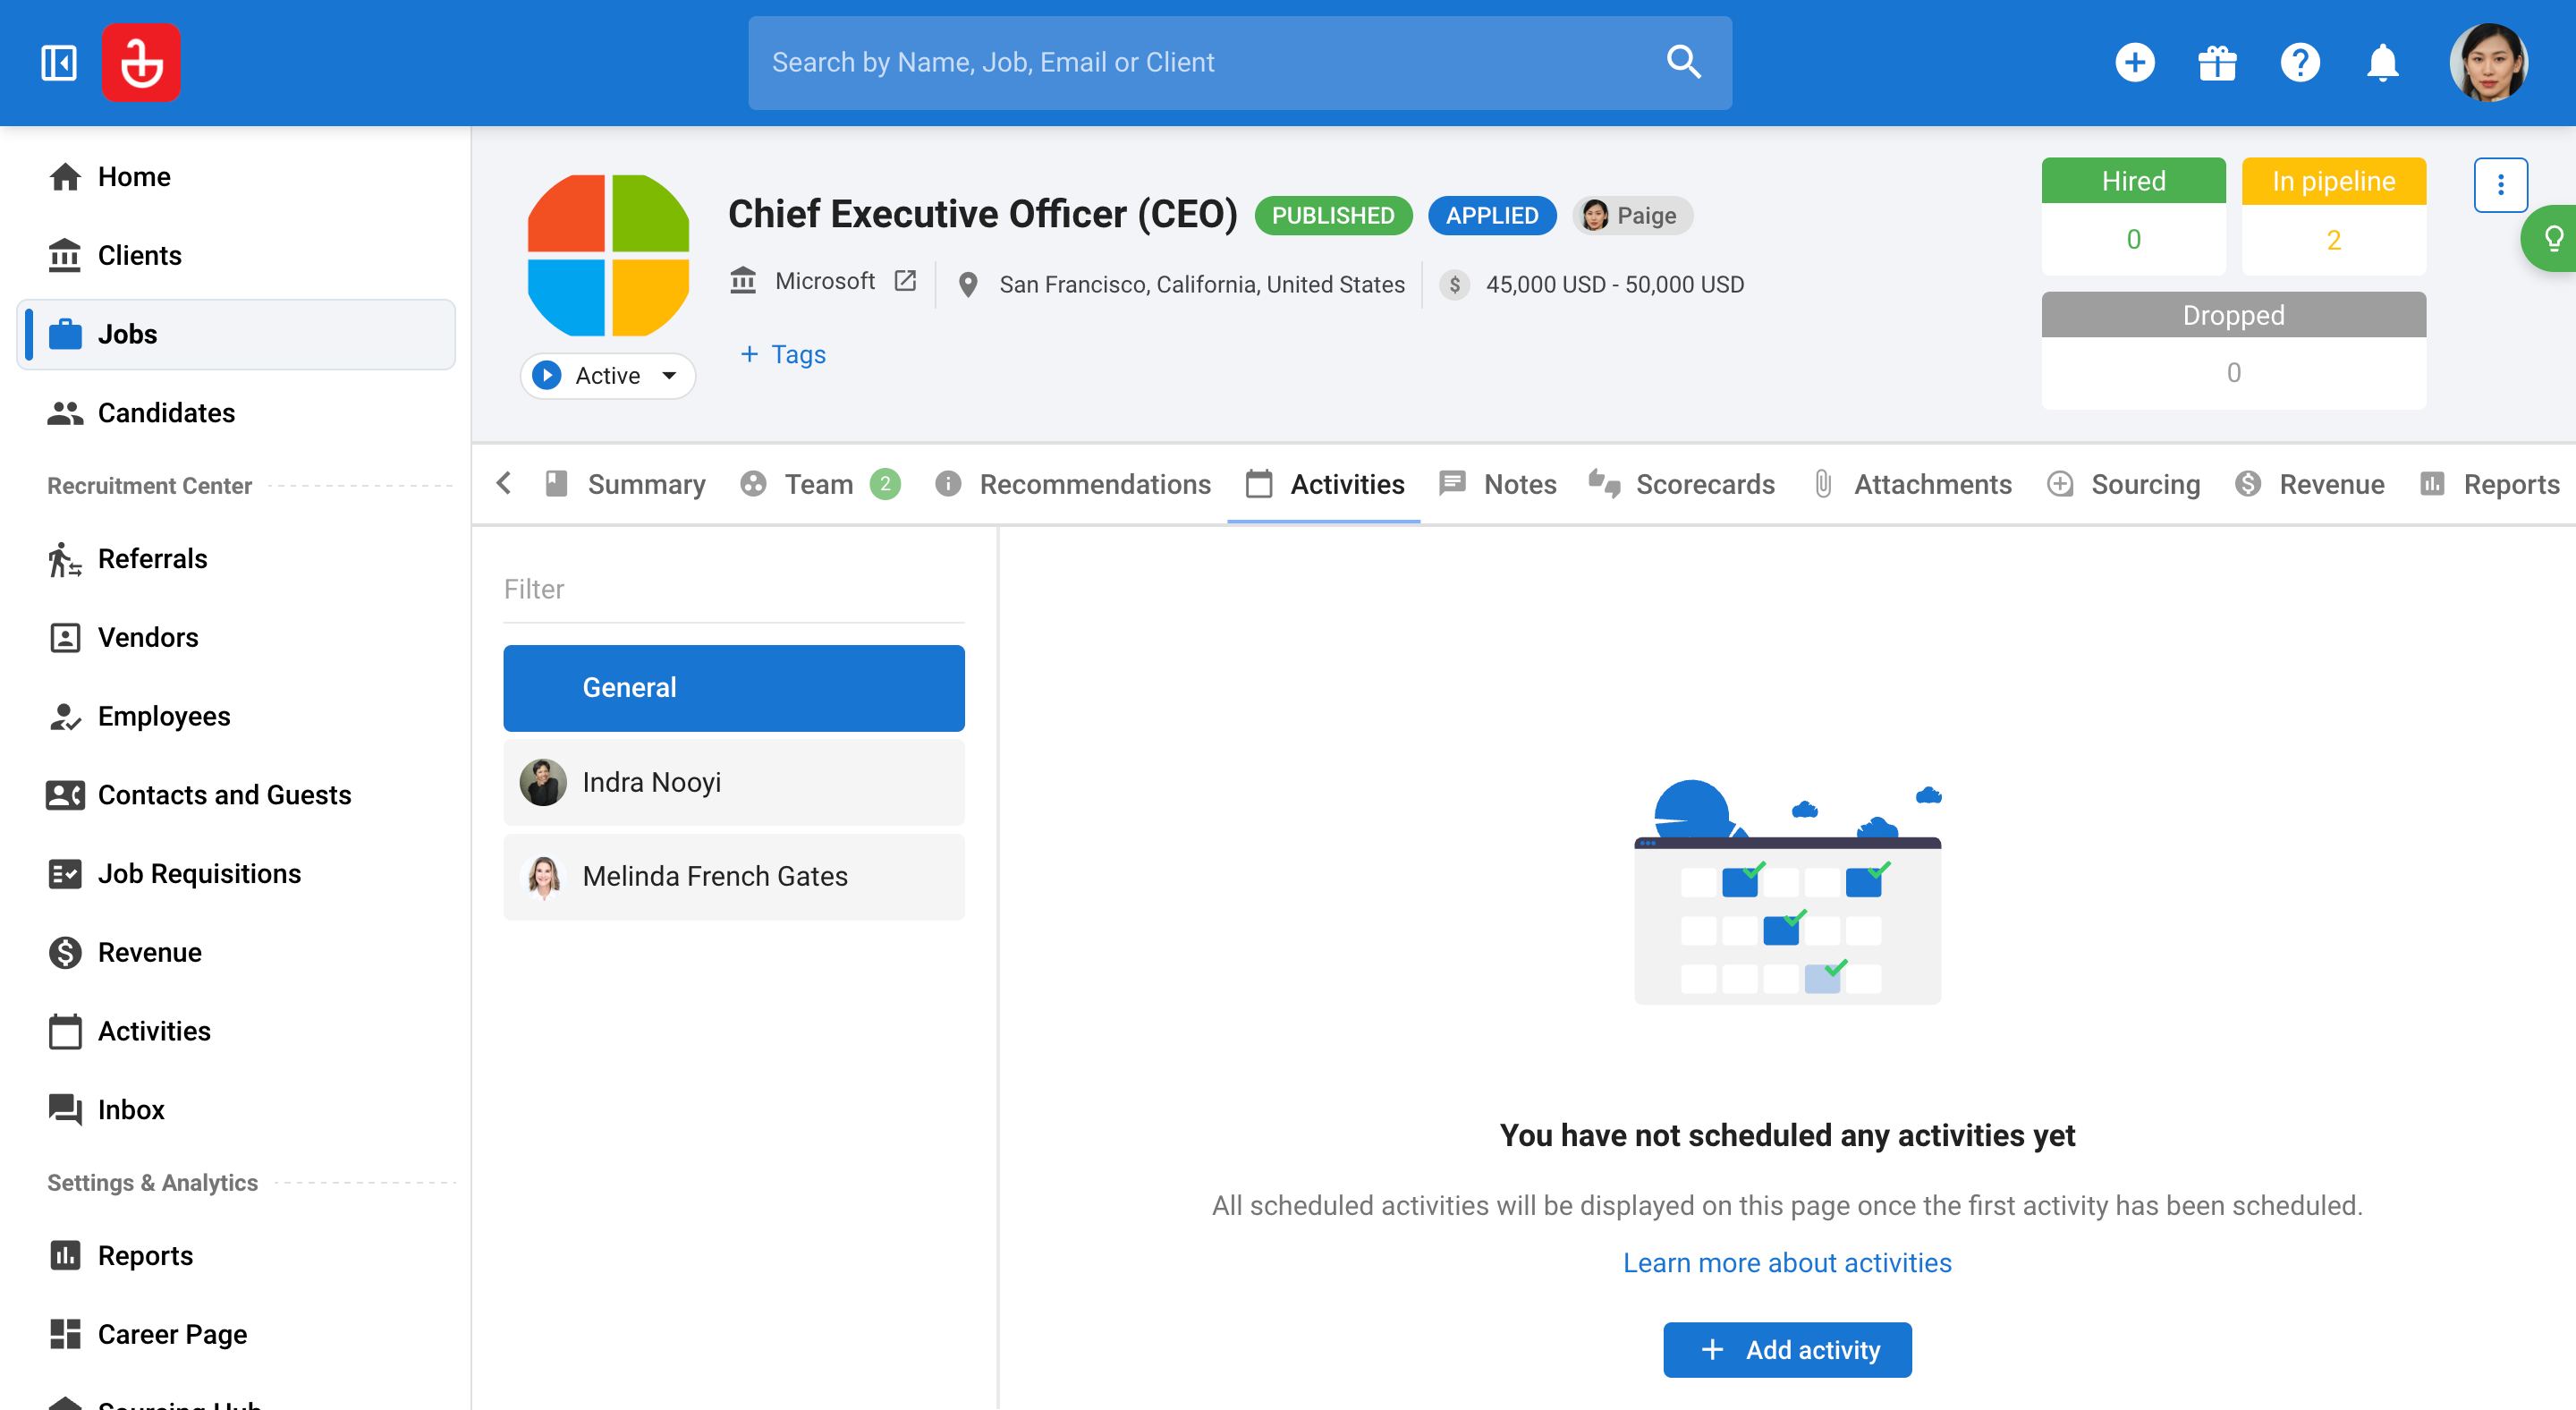
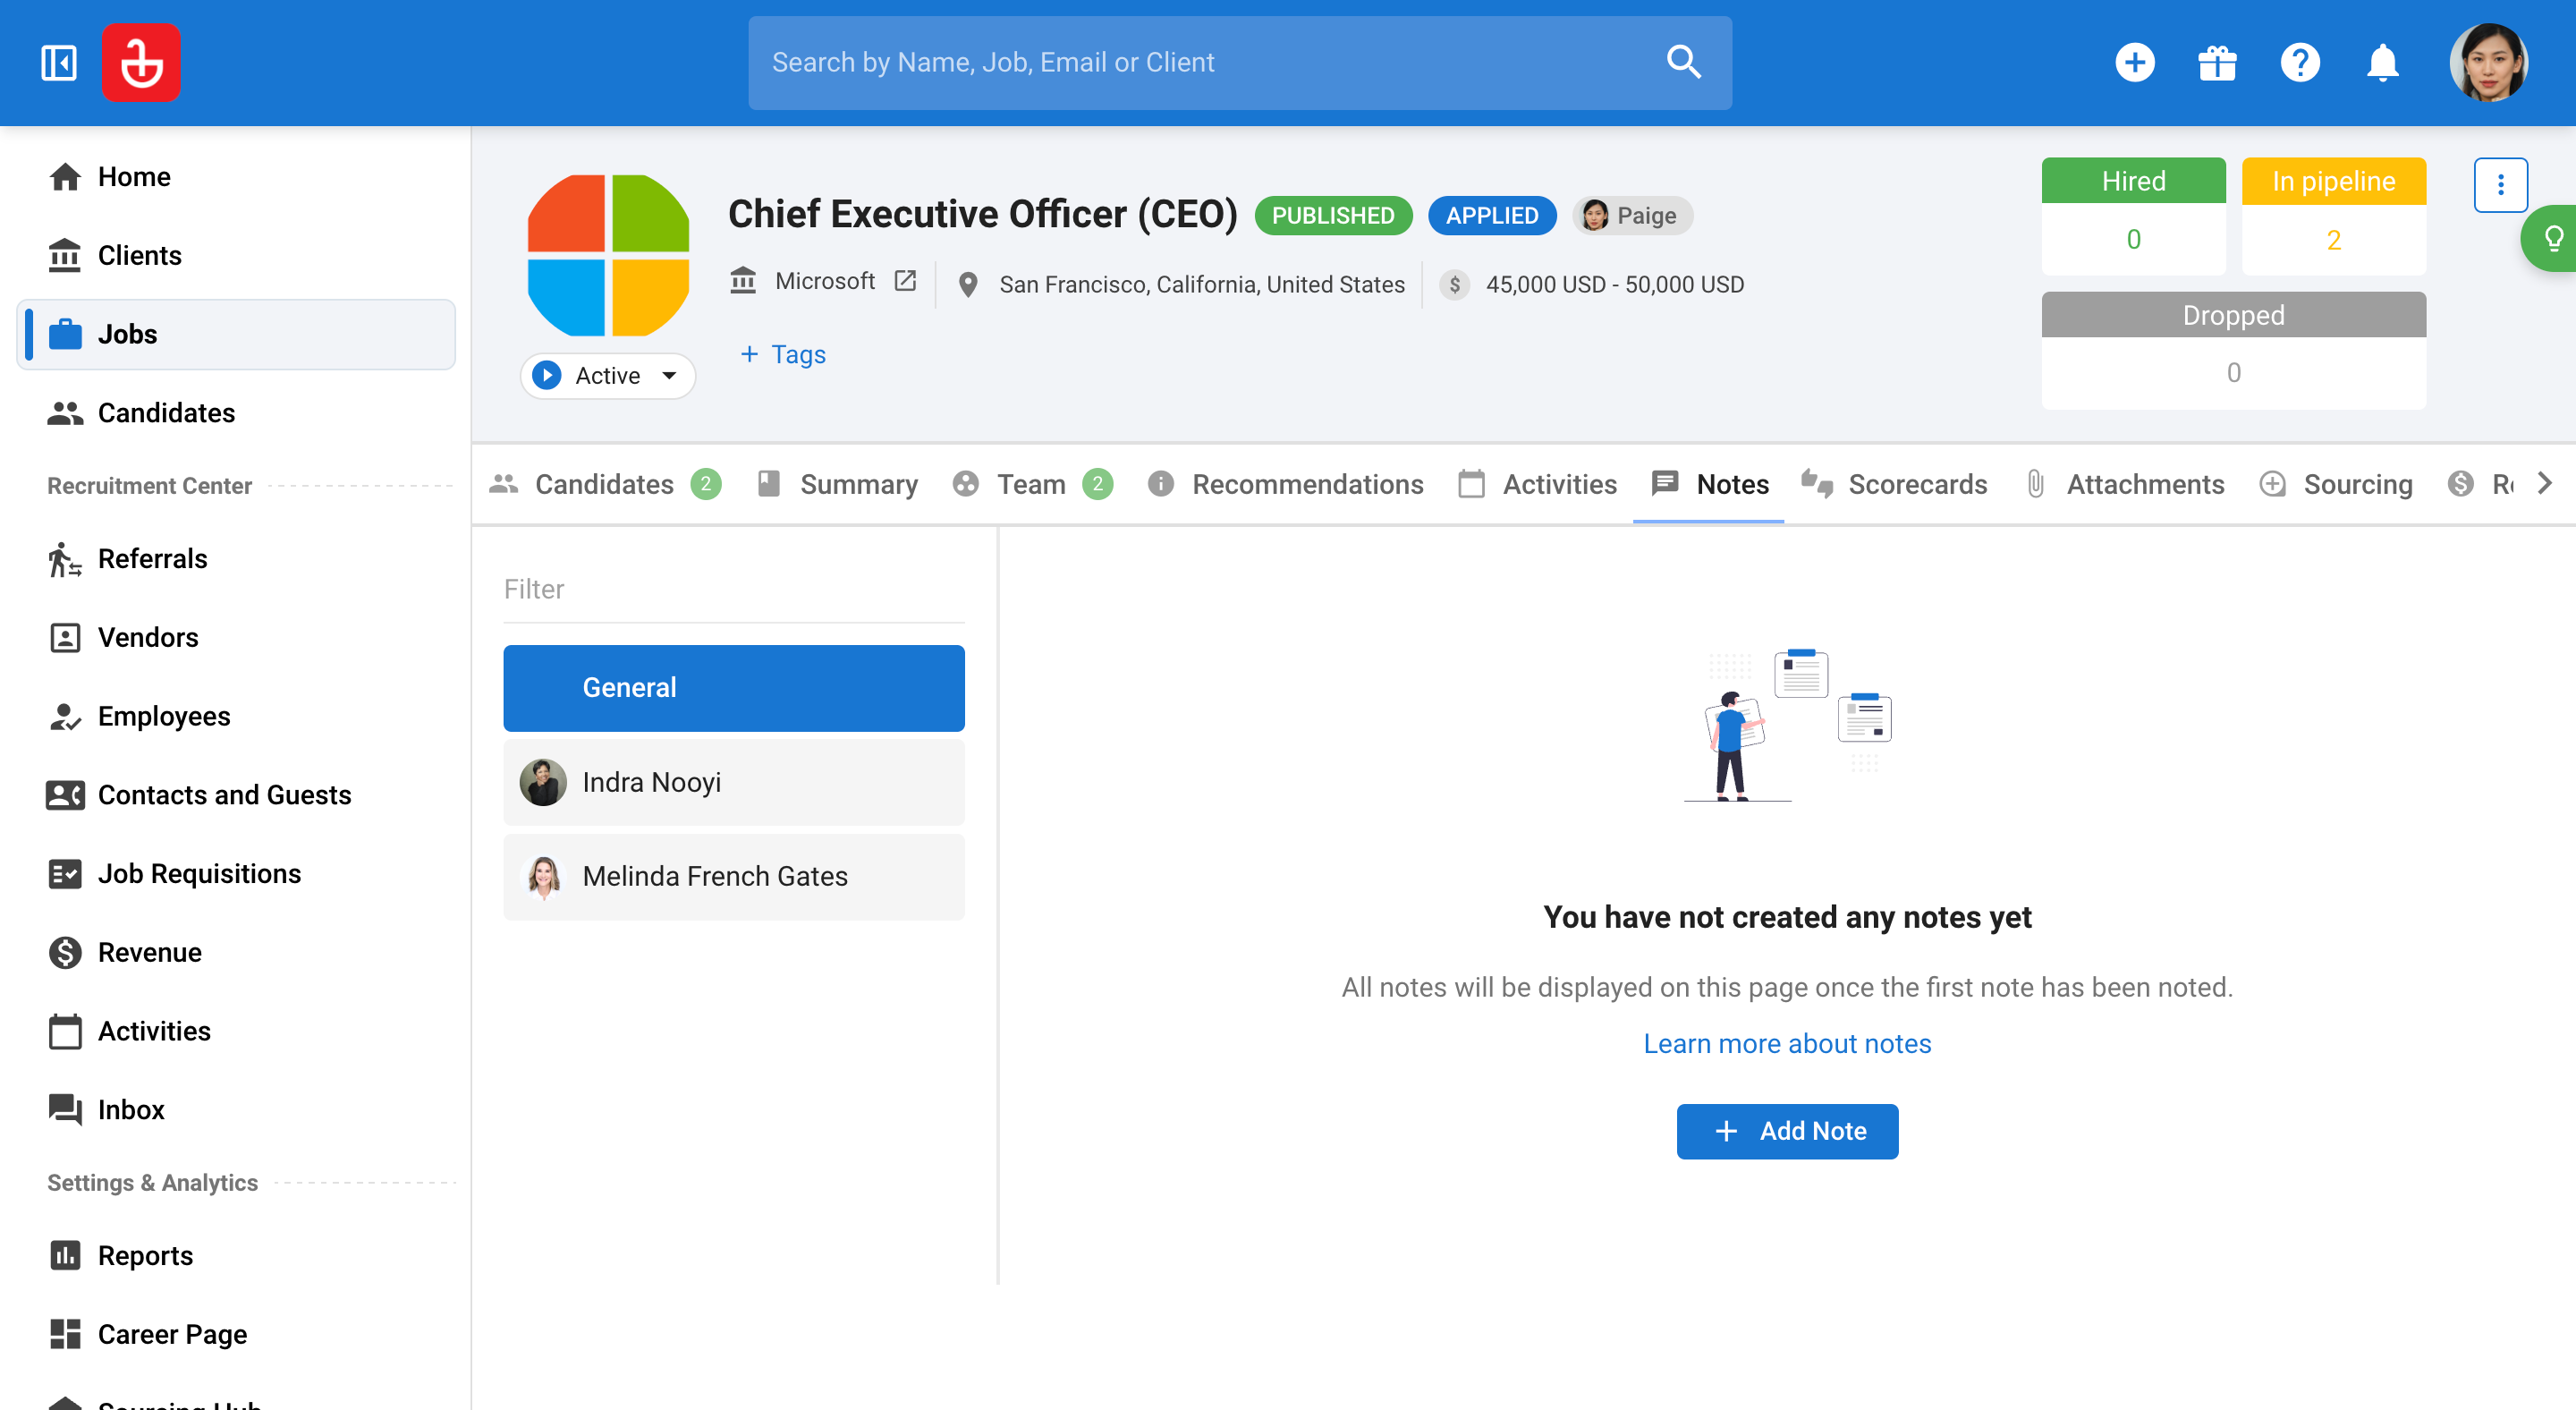
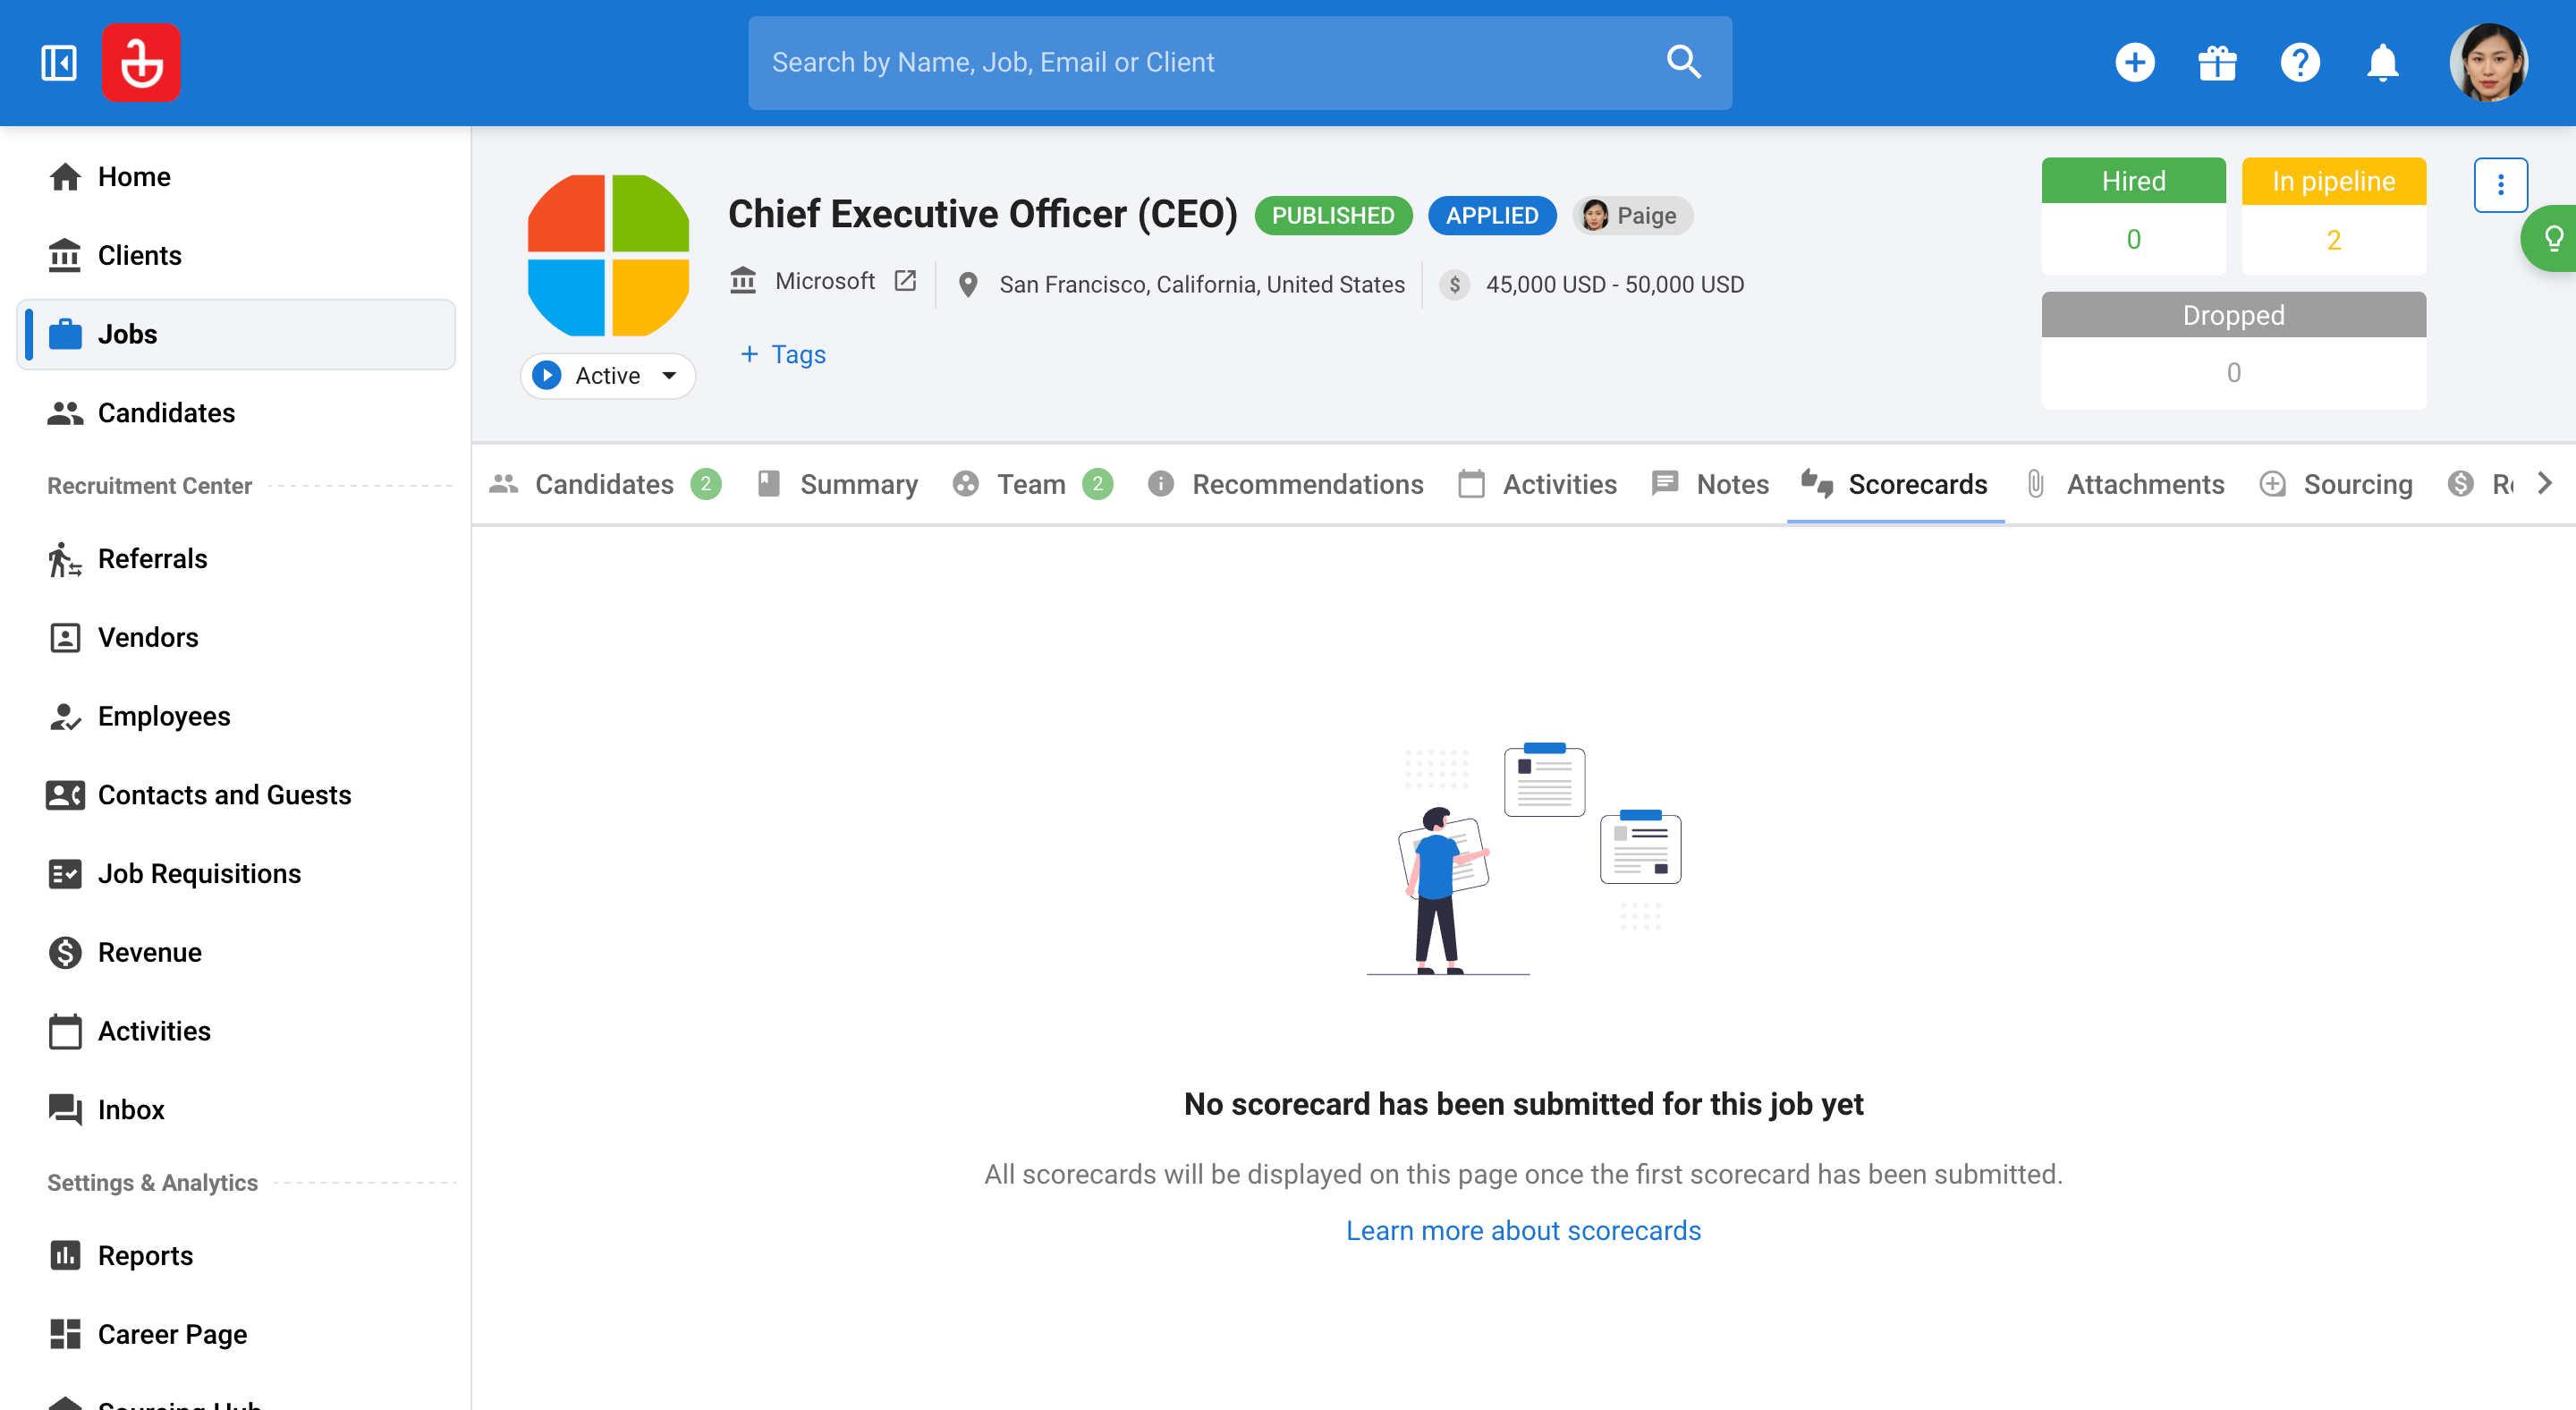
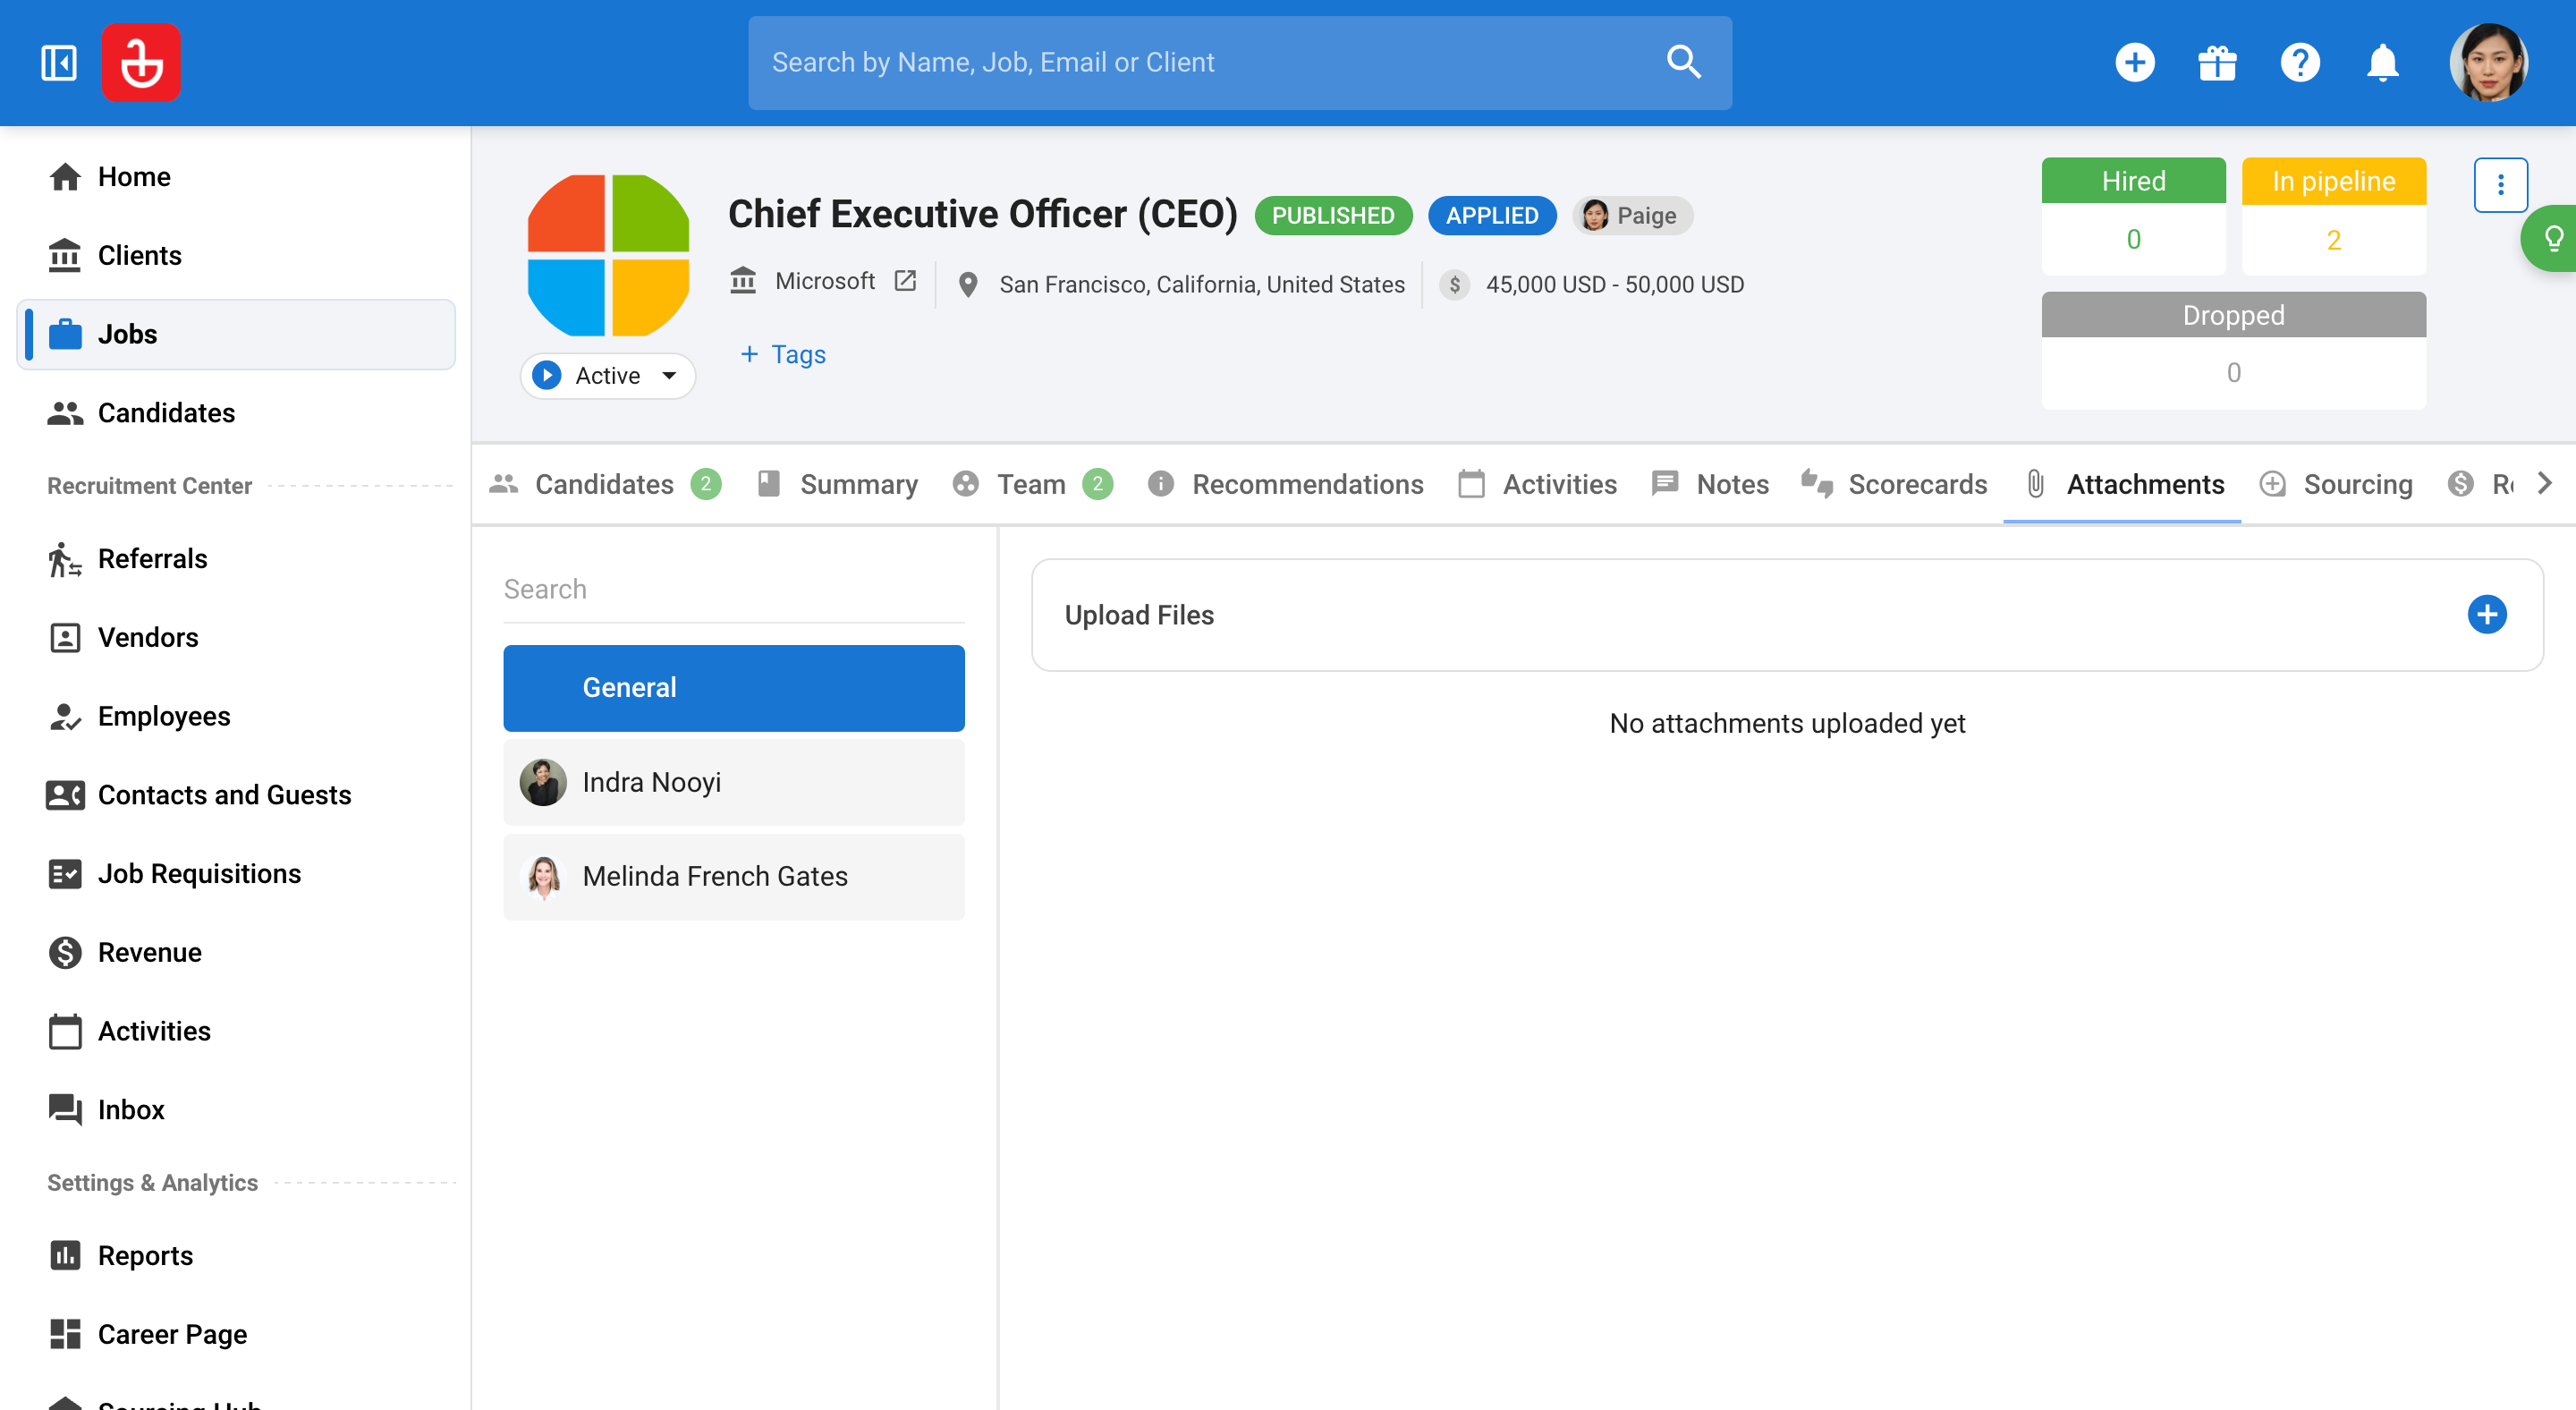
Step 37: View all activities you've created related to jobs, along with any notes, scorecards, or additional documents in the respective sections. These elements help in managing the job efficiently.
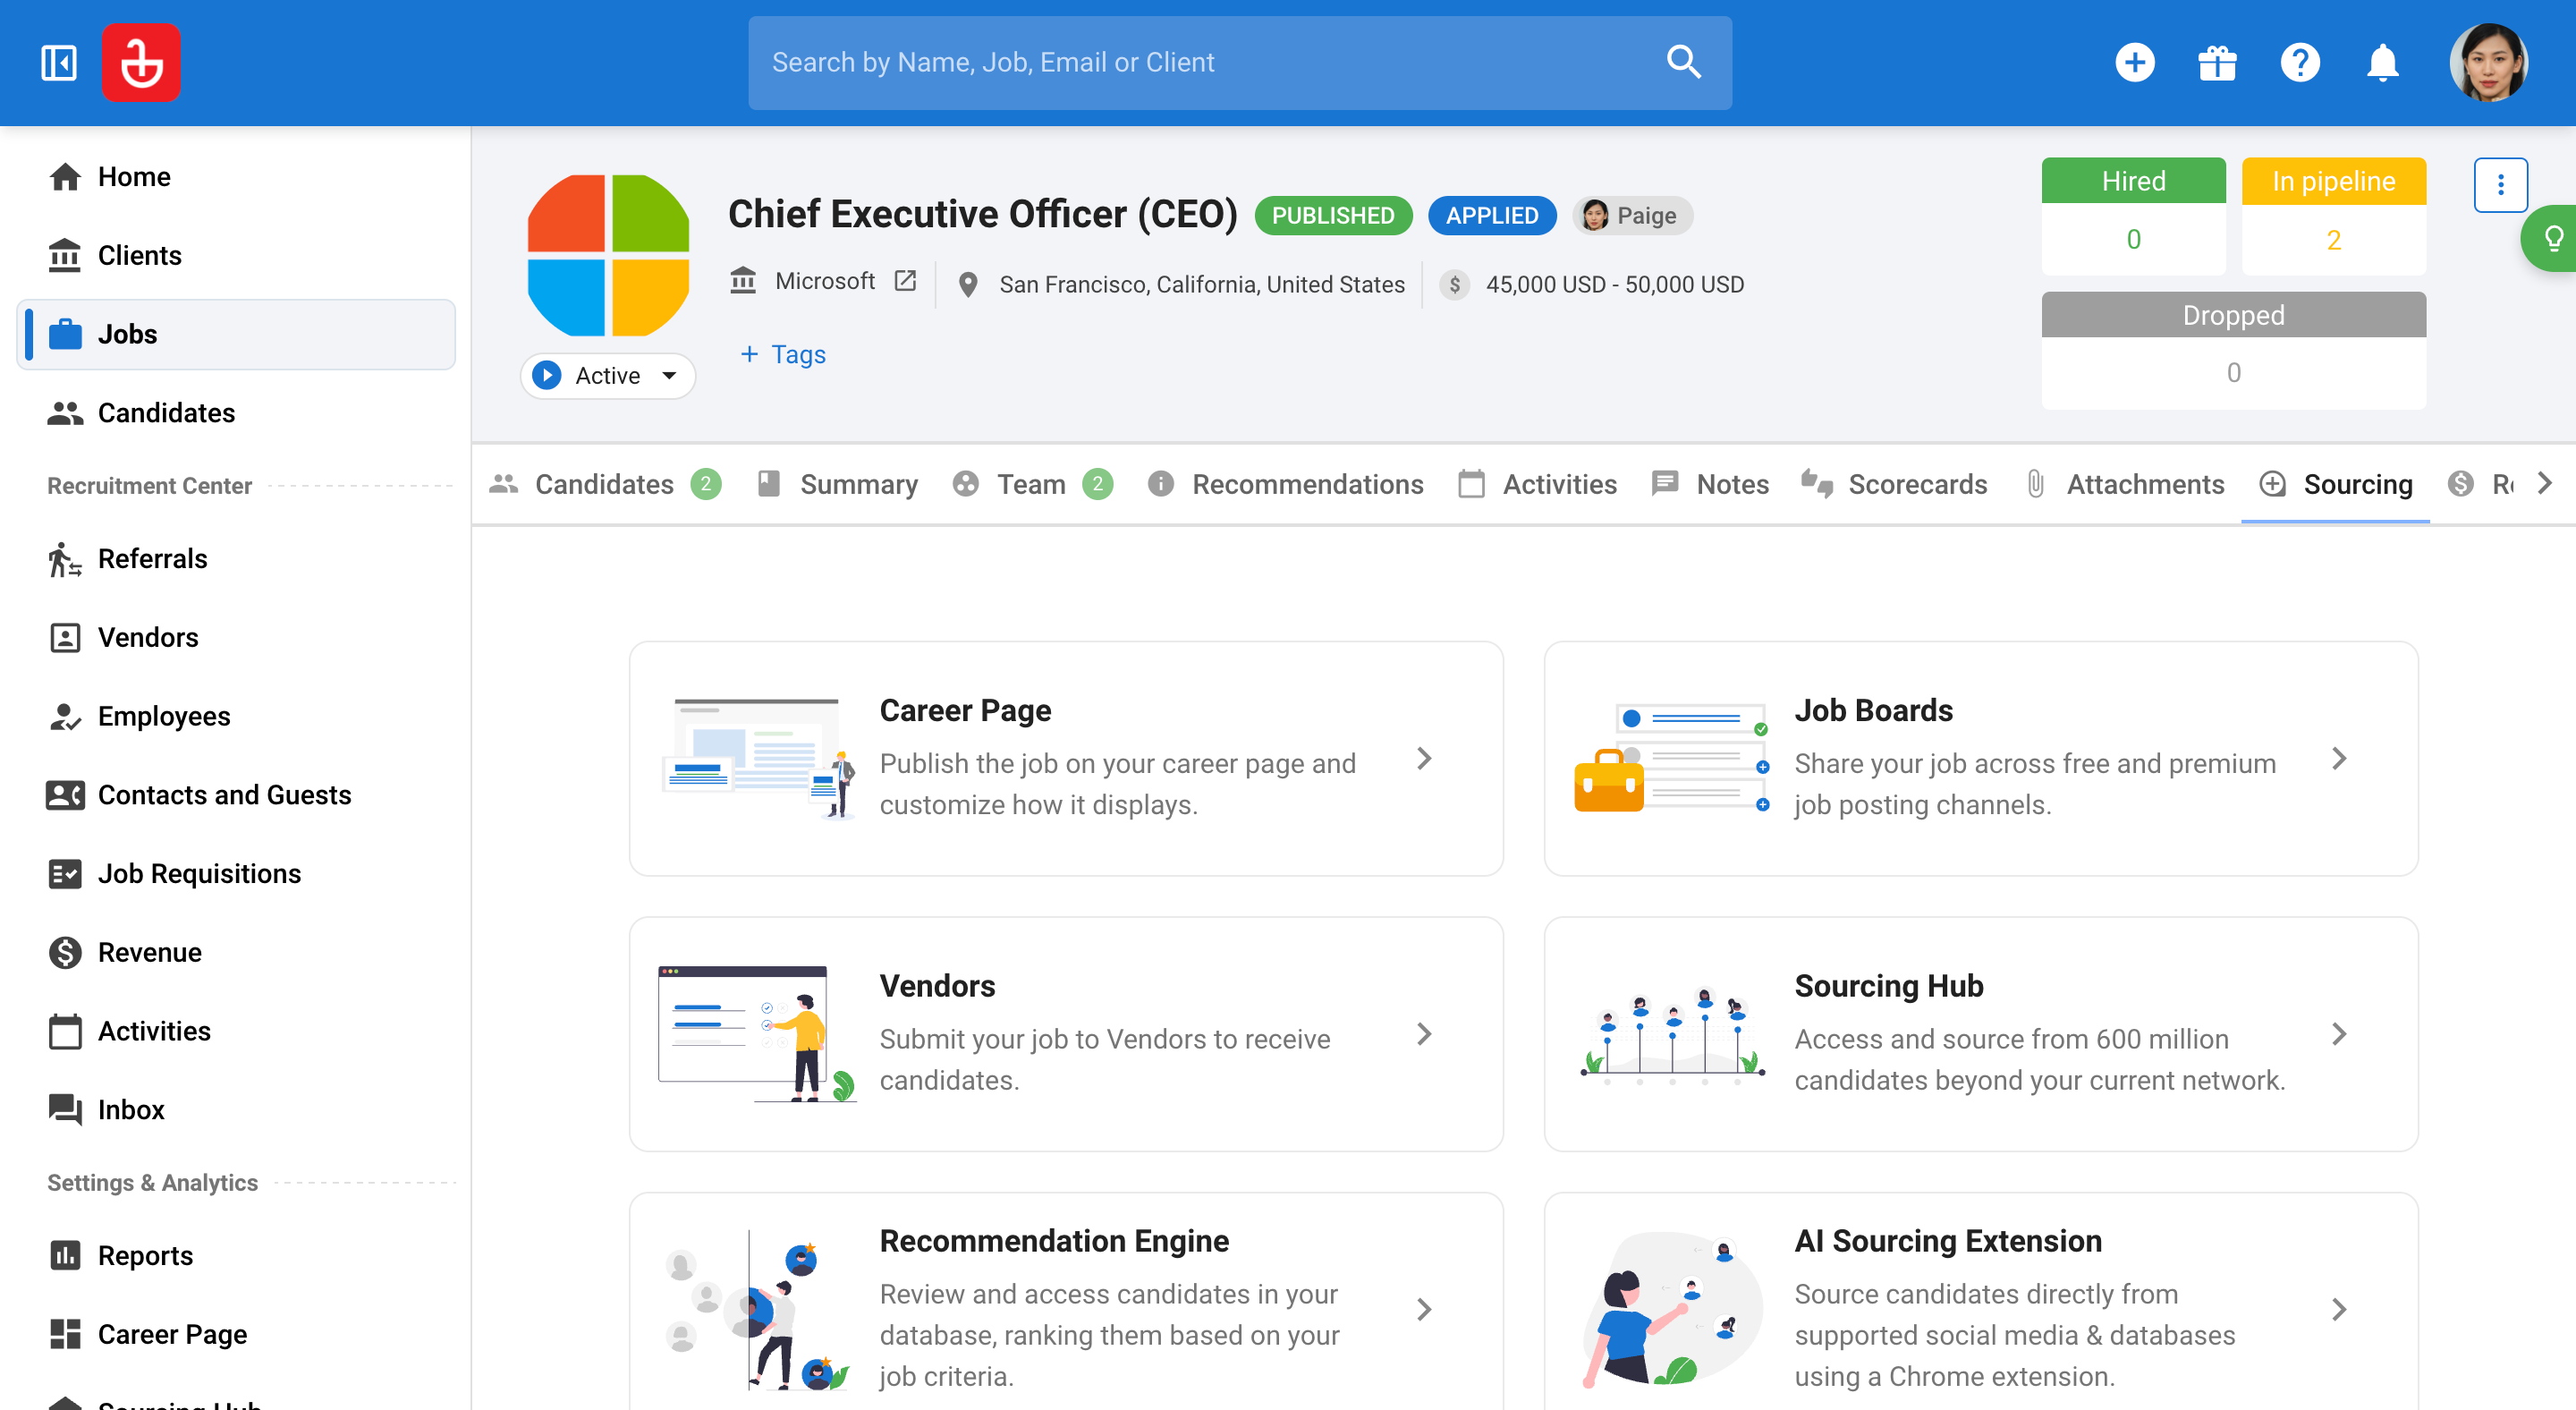
Step 38: Utilize the sourcing tab to find candidates. This feature allows for a comprehensive search across various platforms. Search for candidates using multiple channels such as career page job boards, the Vendor Sourcing Hub, headhunting on LinkedIn, or adding candidates manually. This multifaceted approach ensures a wider selection of potential candidates.
Step 39: Each job generates unique reports, which are crucial for tracking progress and outcomes. This allows for effective management of both clients and jobs.