In this guide, we'll guide you through account setup and customization on Manatal. You'll learn how to manage users, integrate your email, customize stages, and much more.
Step 1: Begin by clicking on the Administration option. Note that only admin users can access this feature.
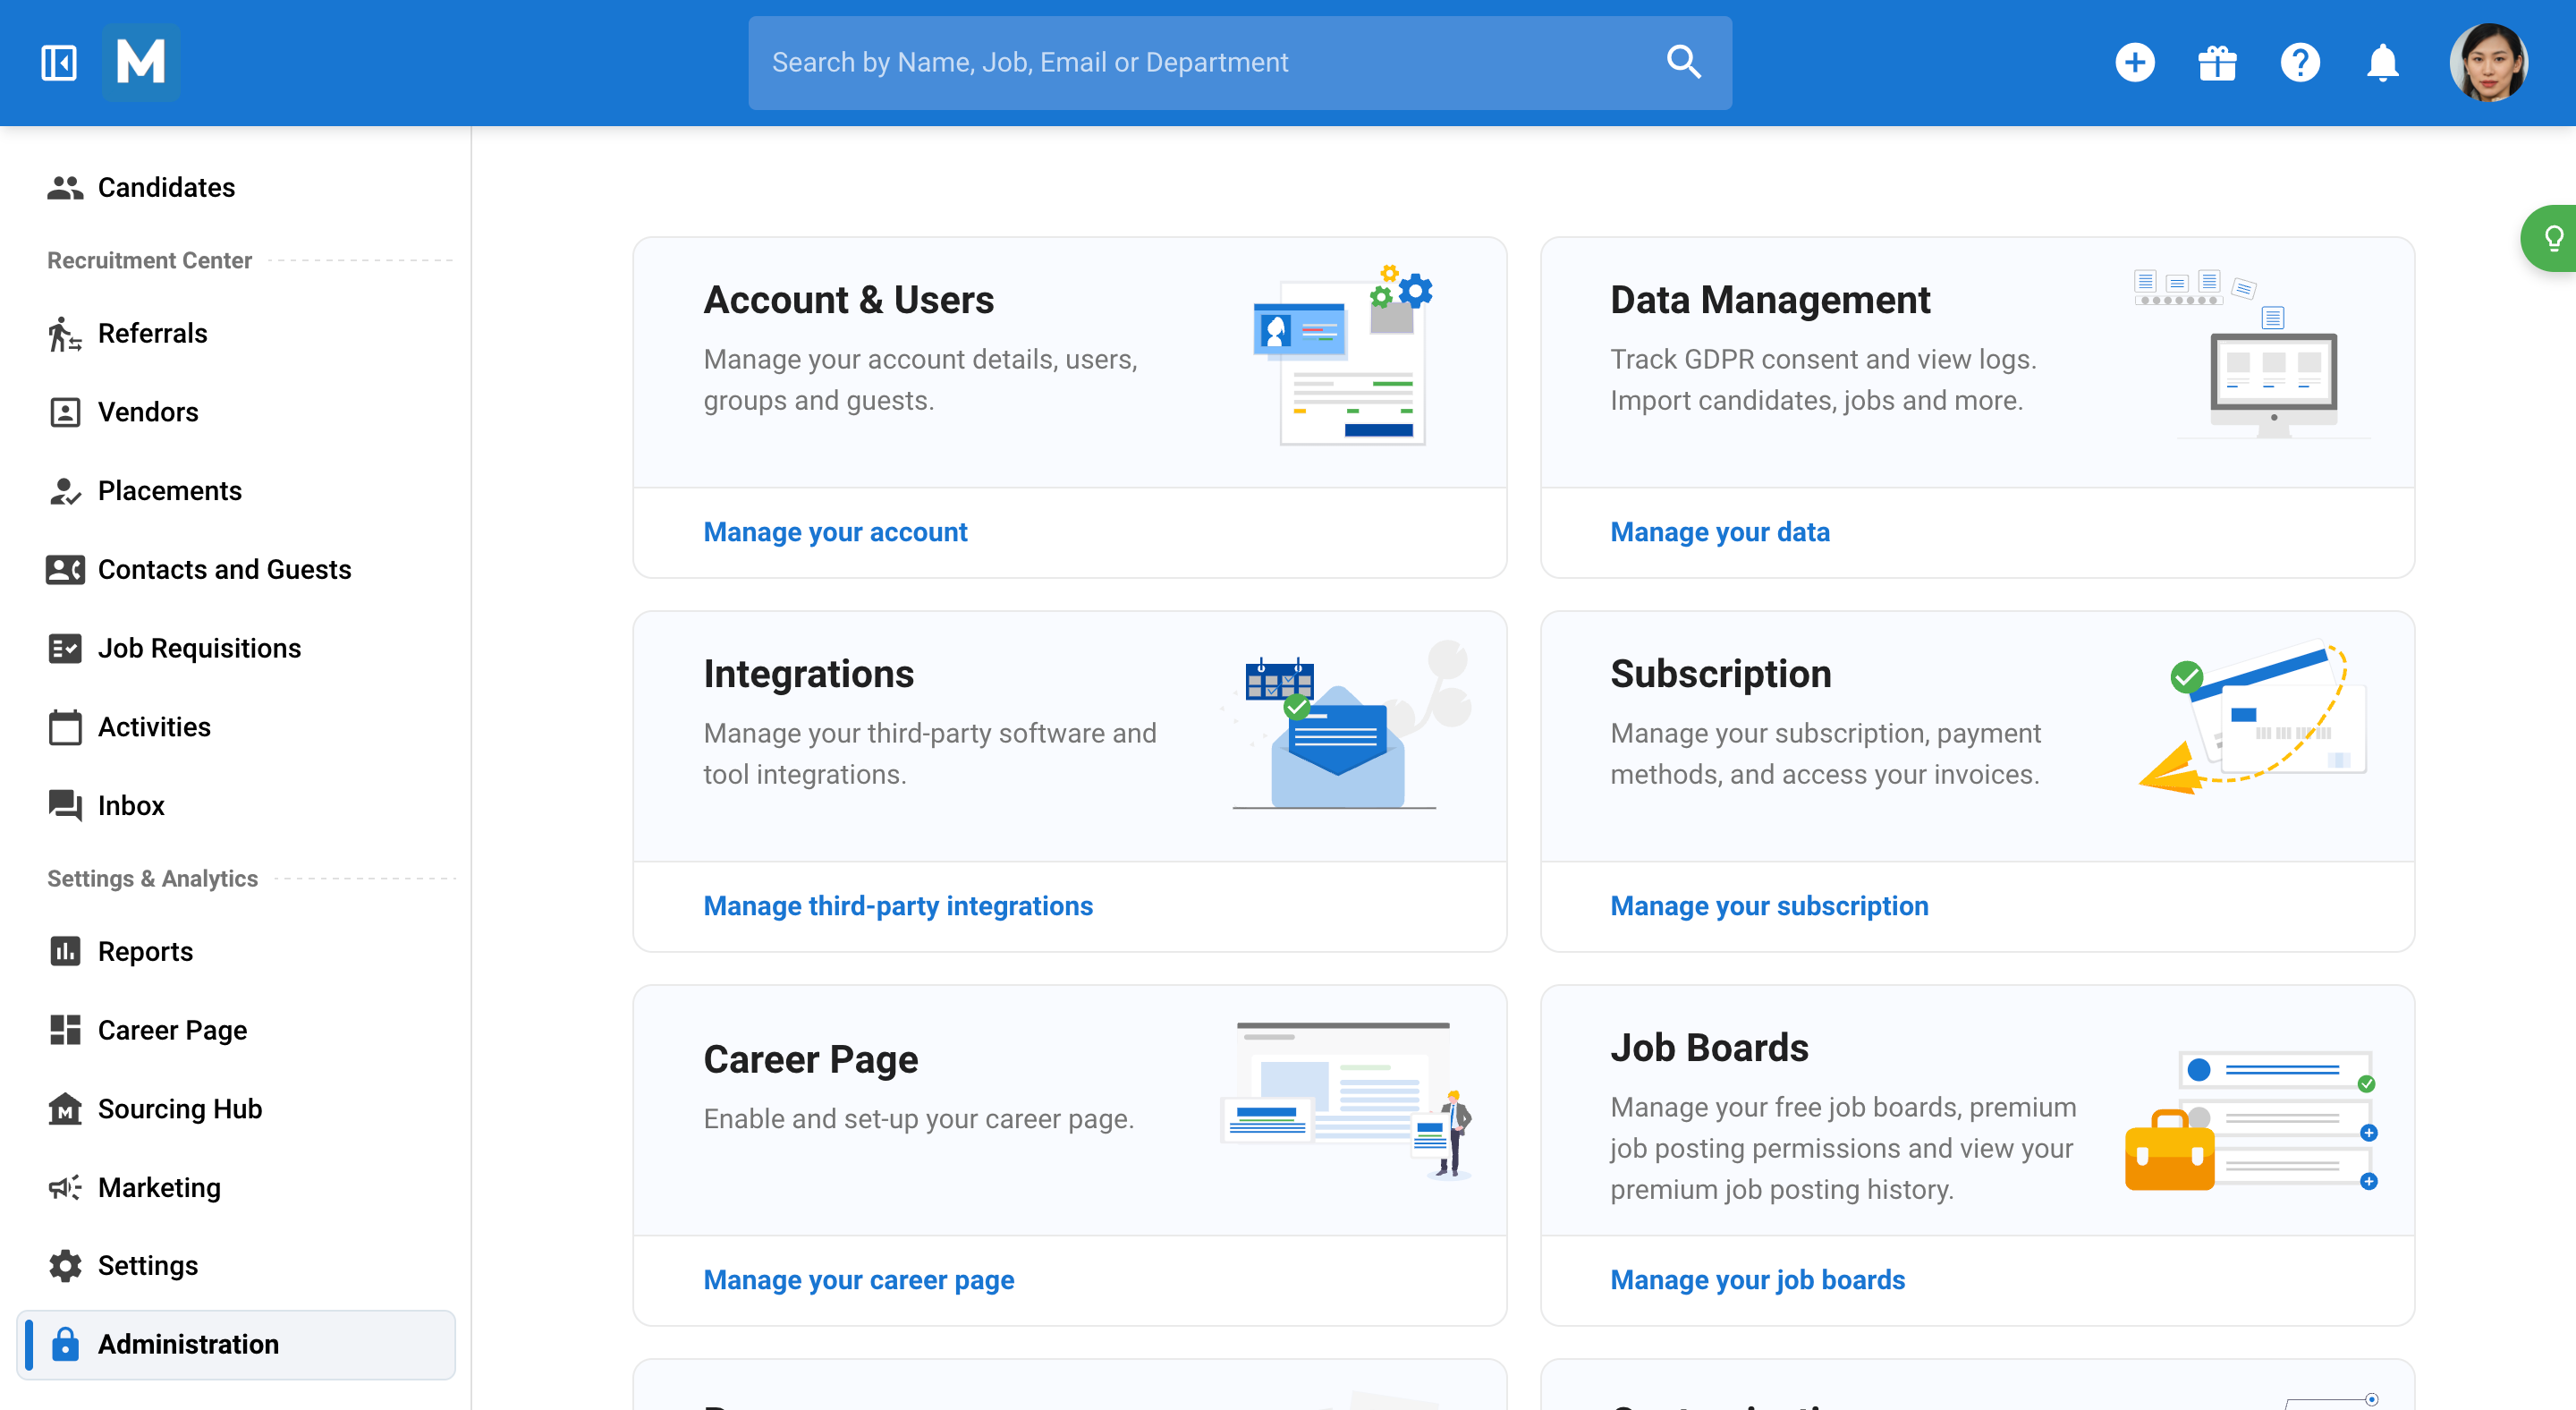
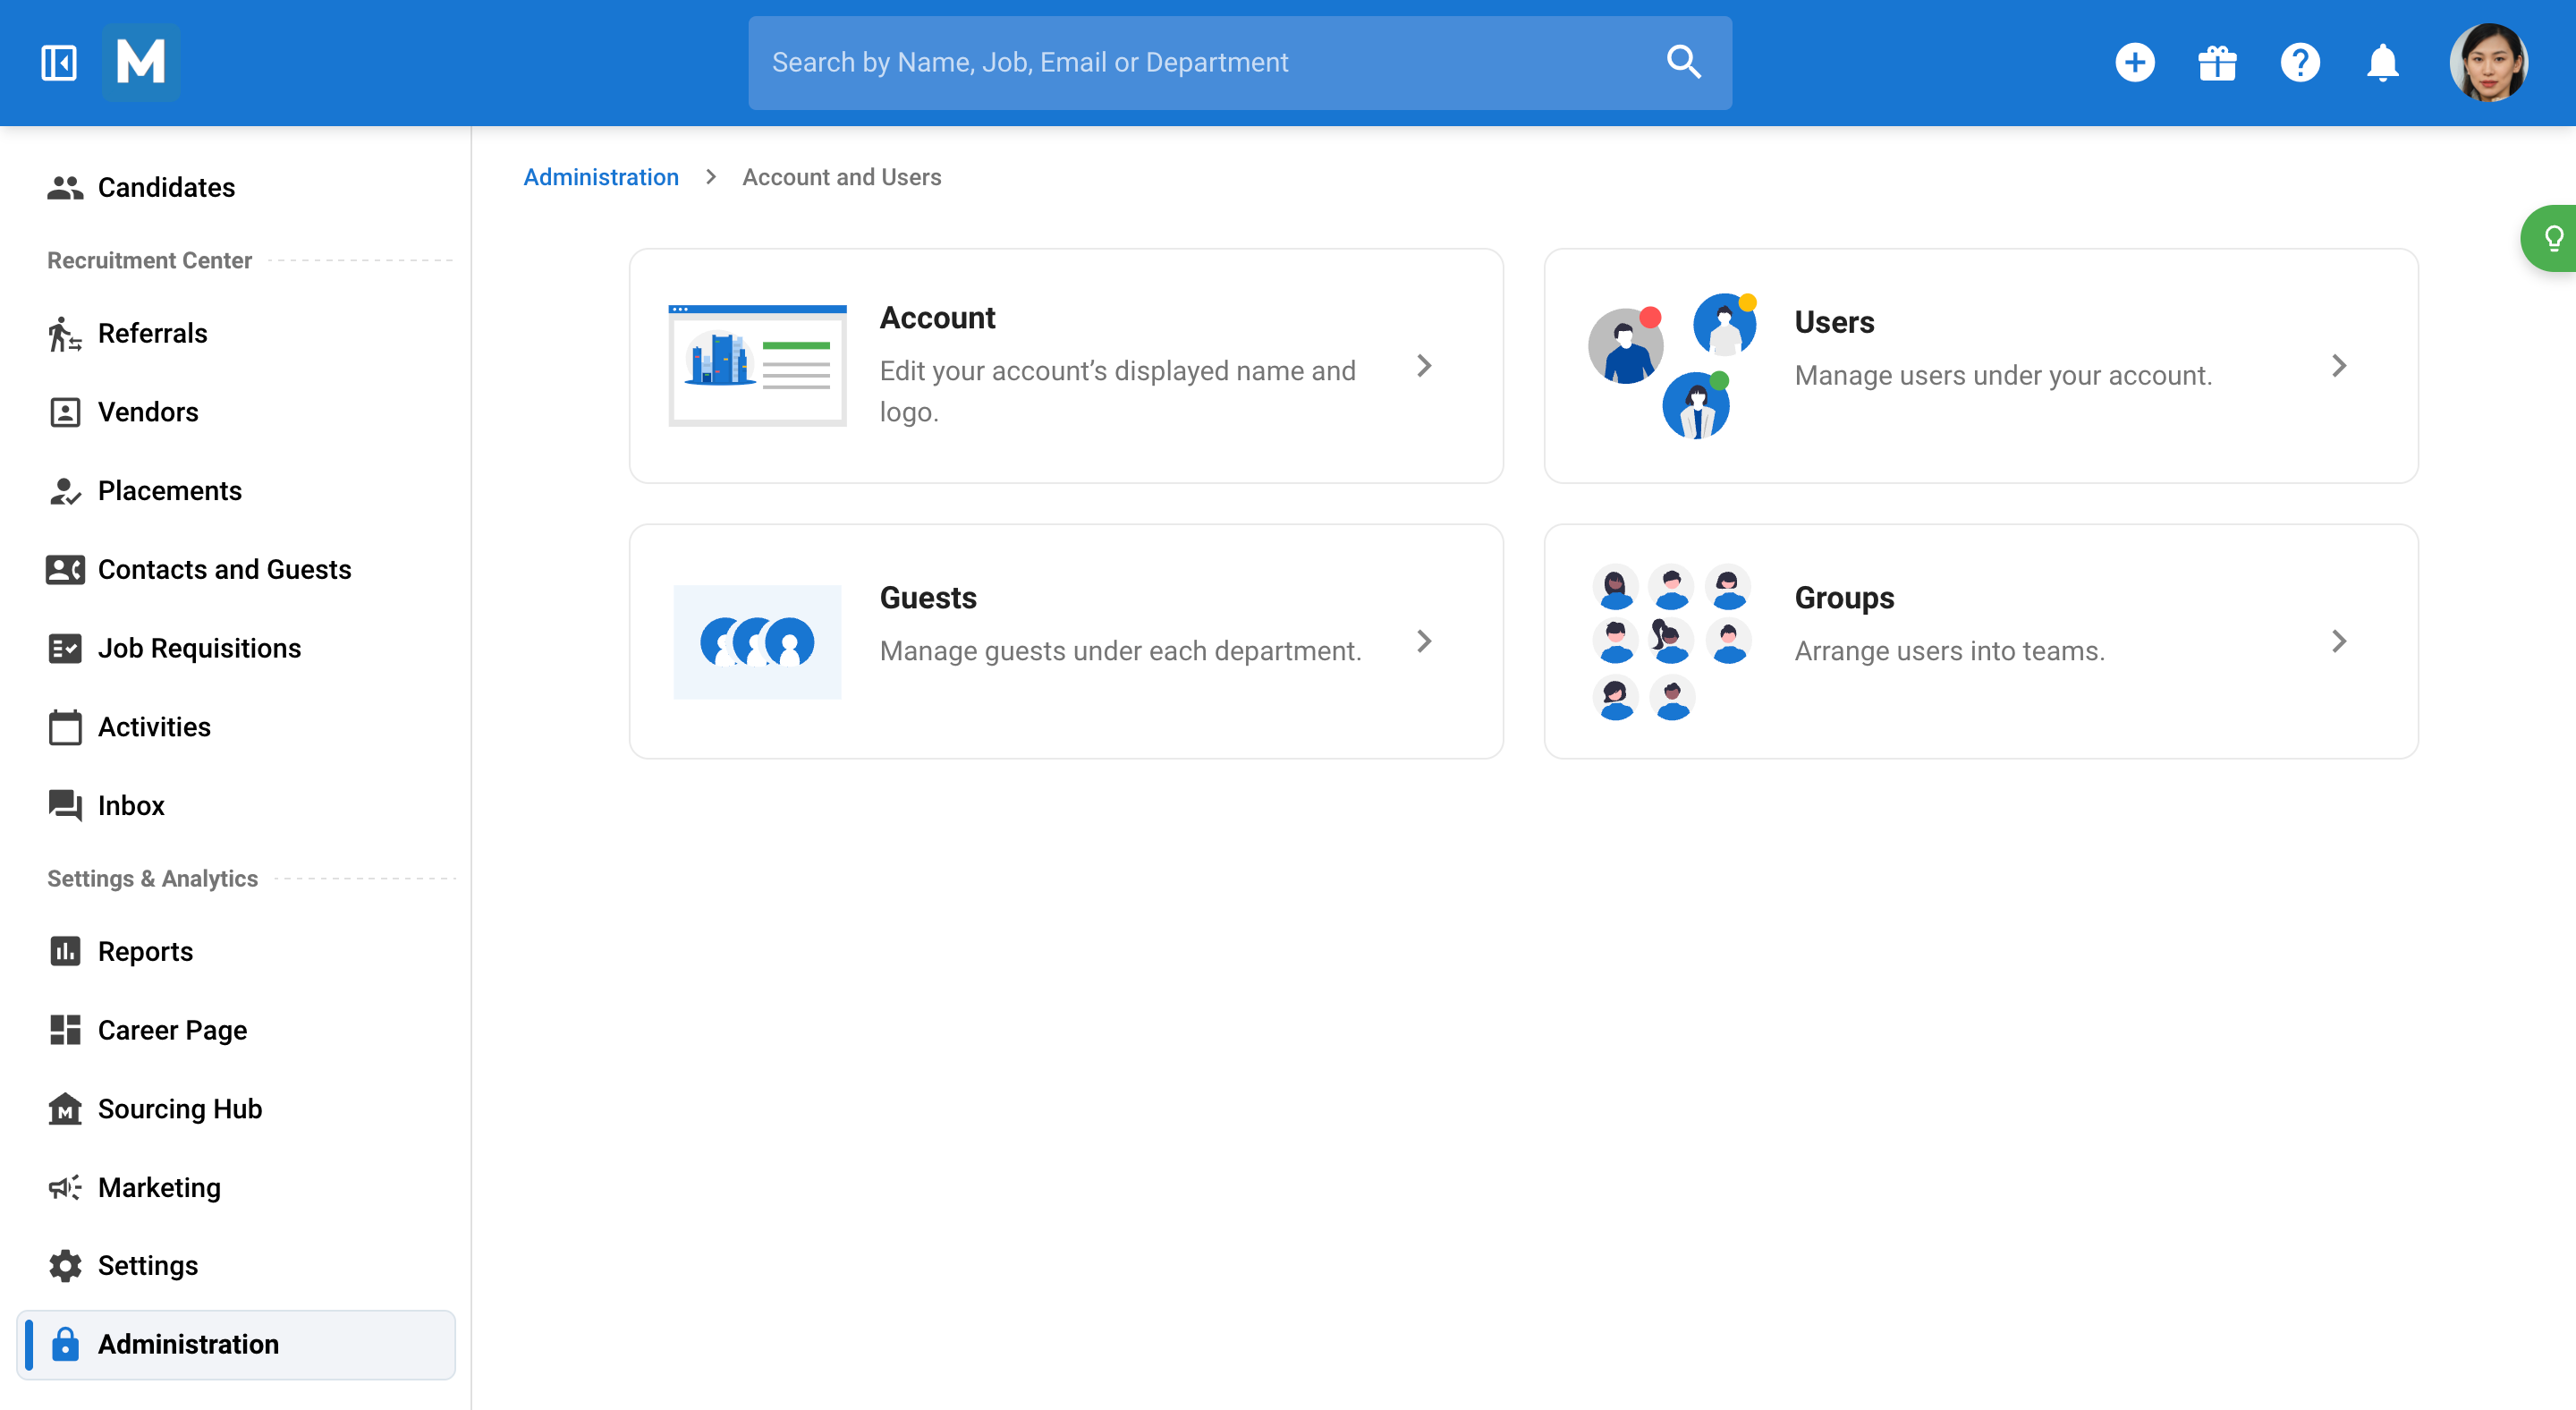
Step 2: Click on Account and Users. Here, you're able to edit your account name and logo, manage users, and handle guest users for each department.

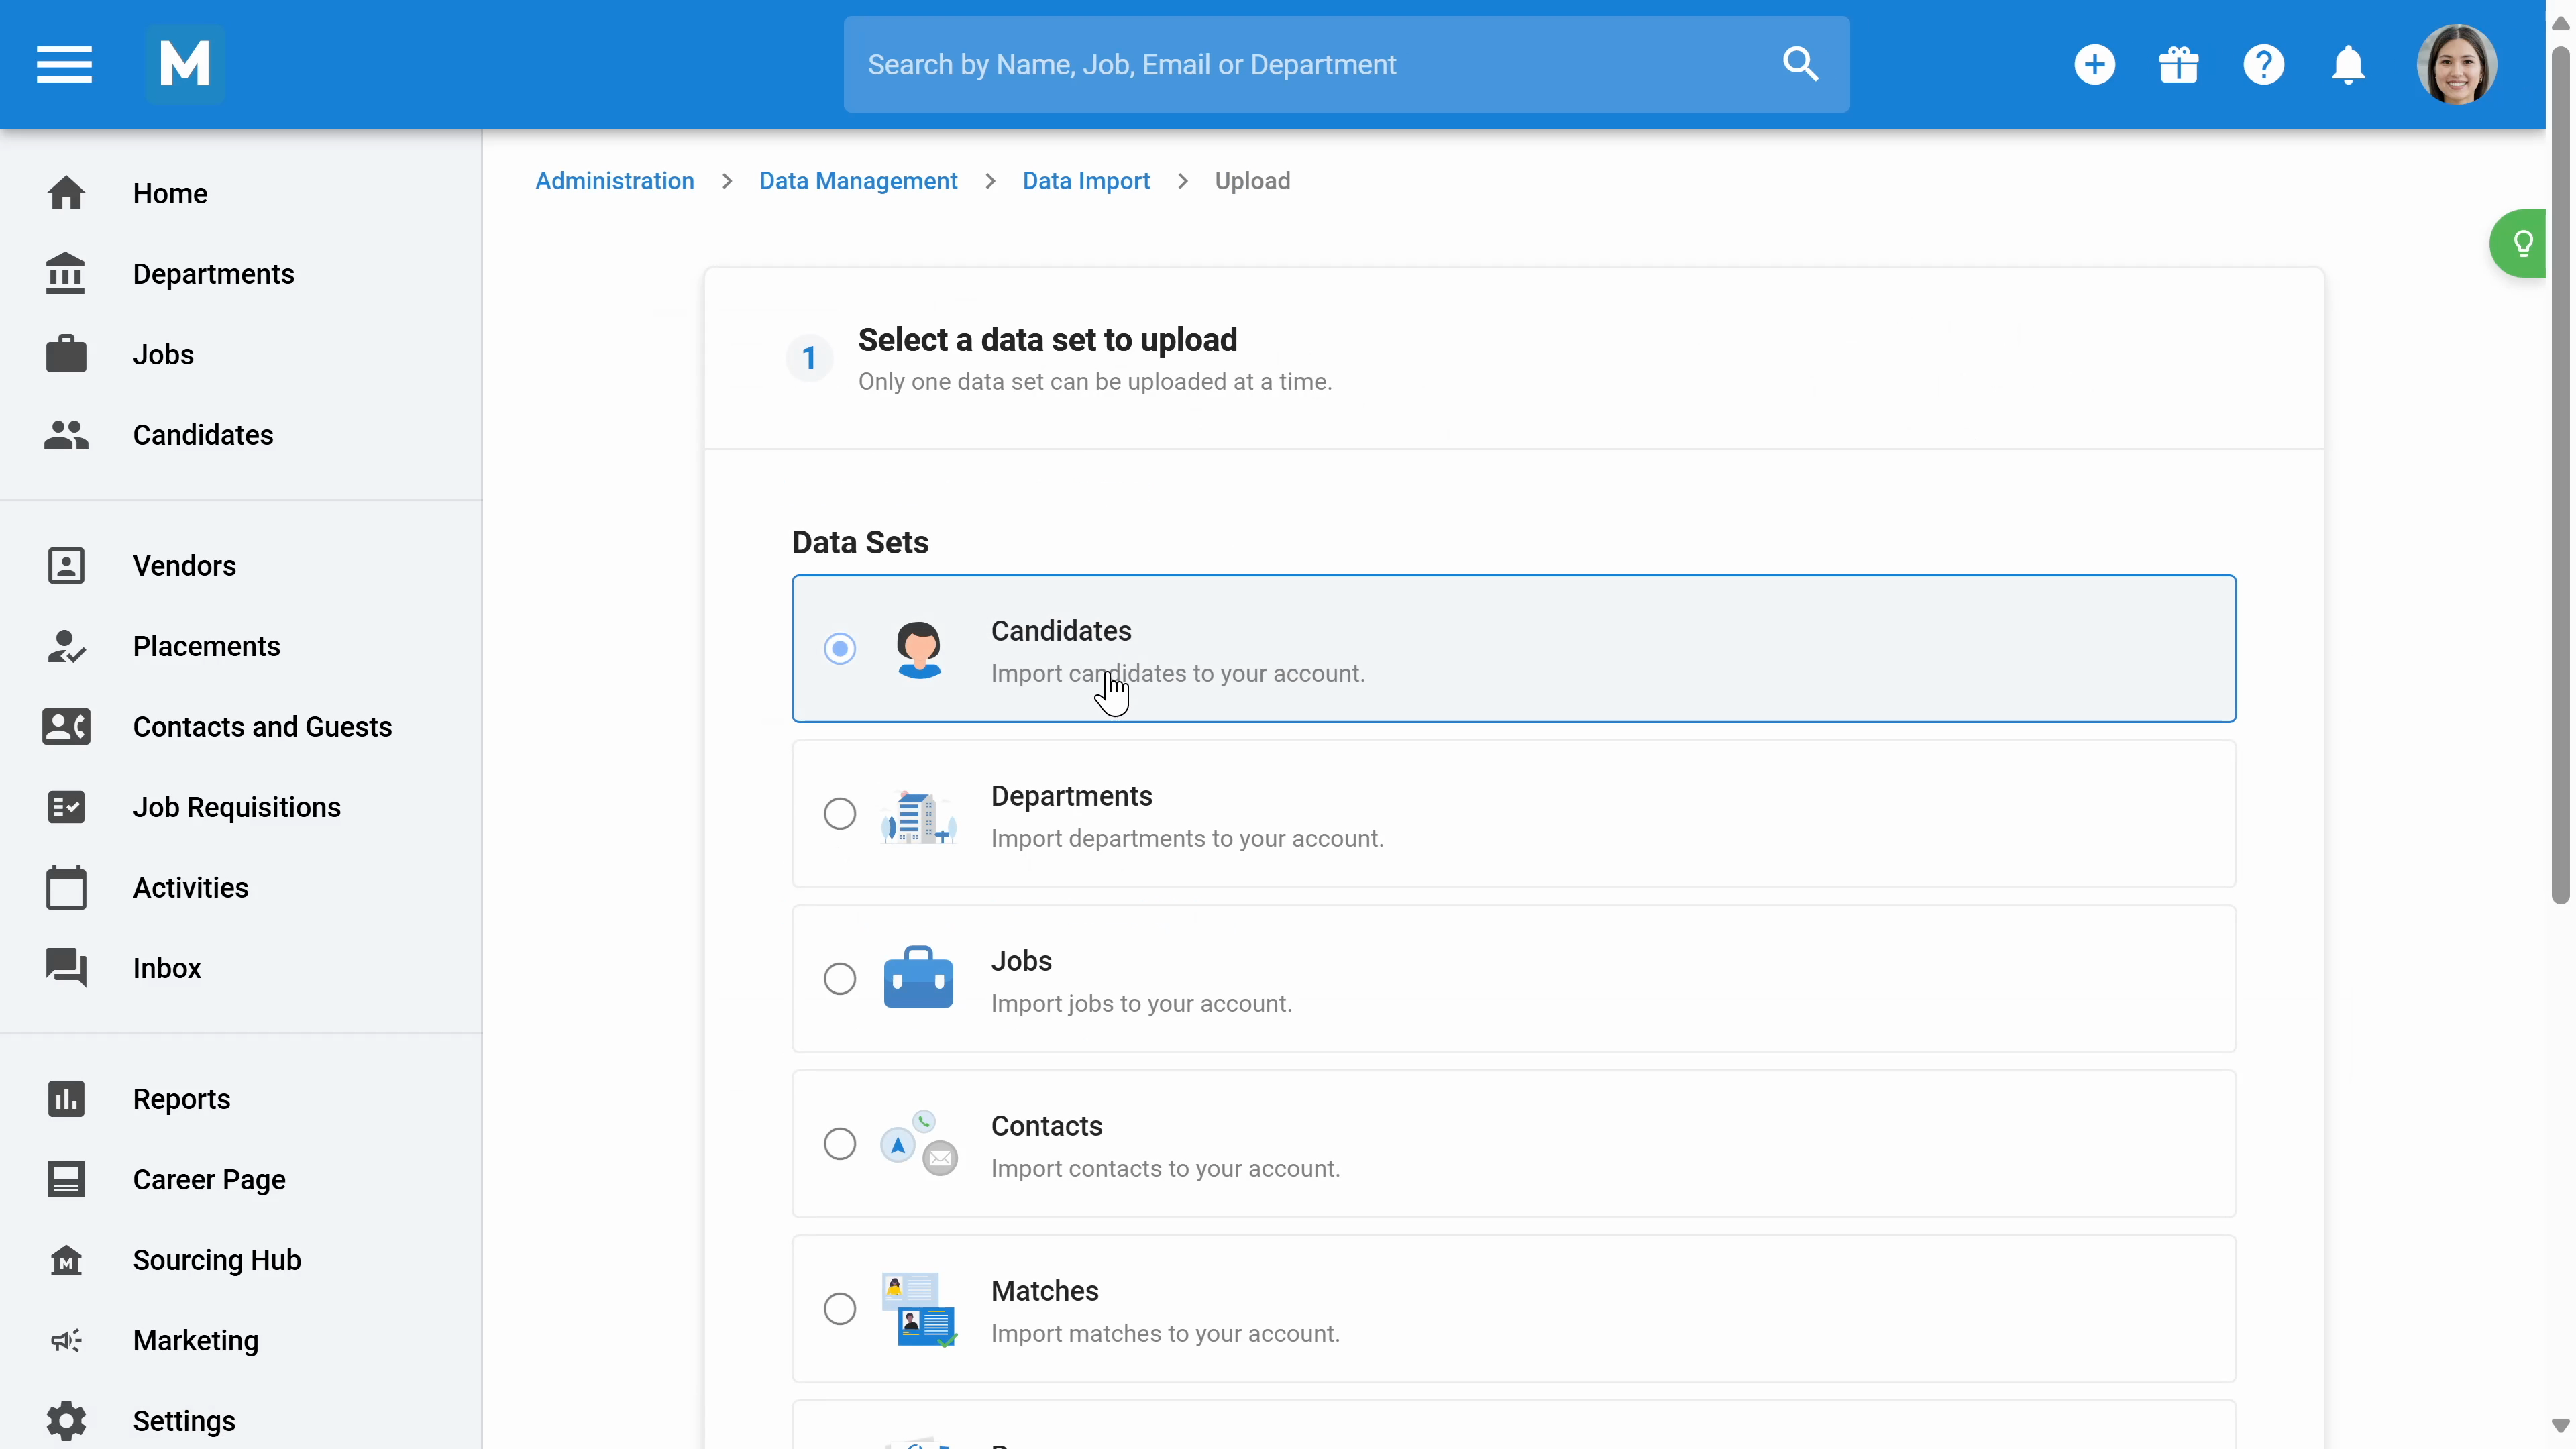
Step 3: Navigate to Data Management. In the Data import section, you'll be able to import your existing database, including candidates, departments, job contacts, matches, and resumes.
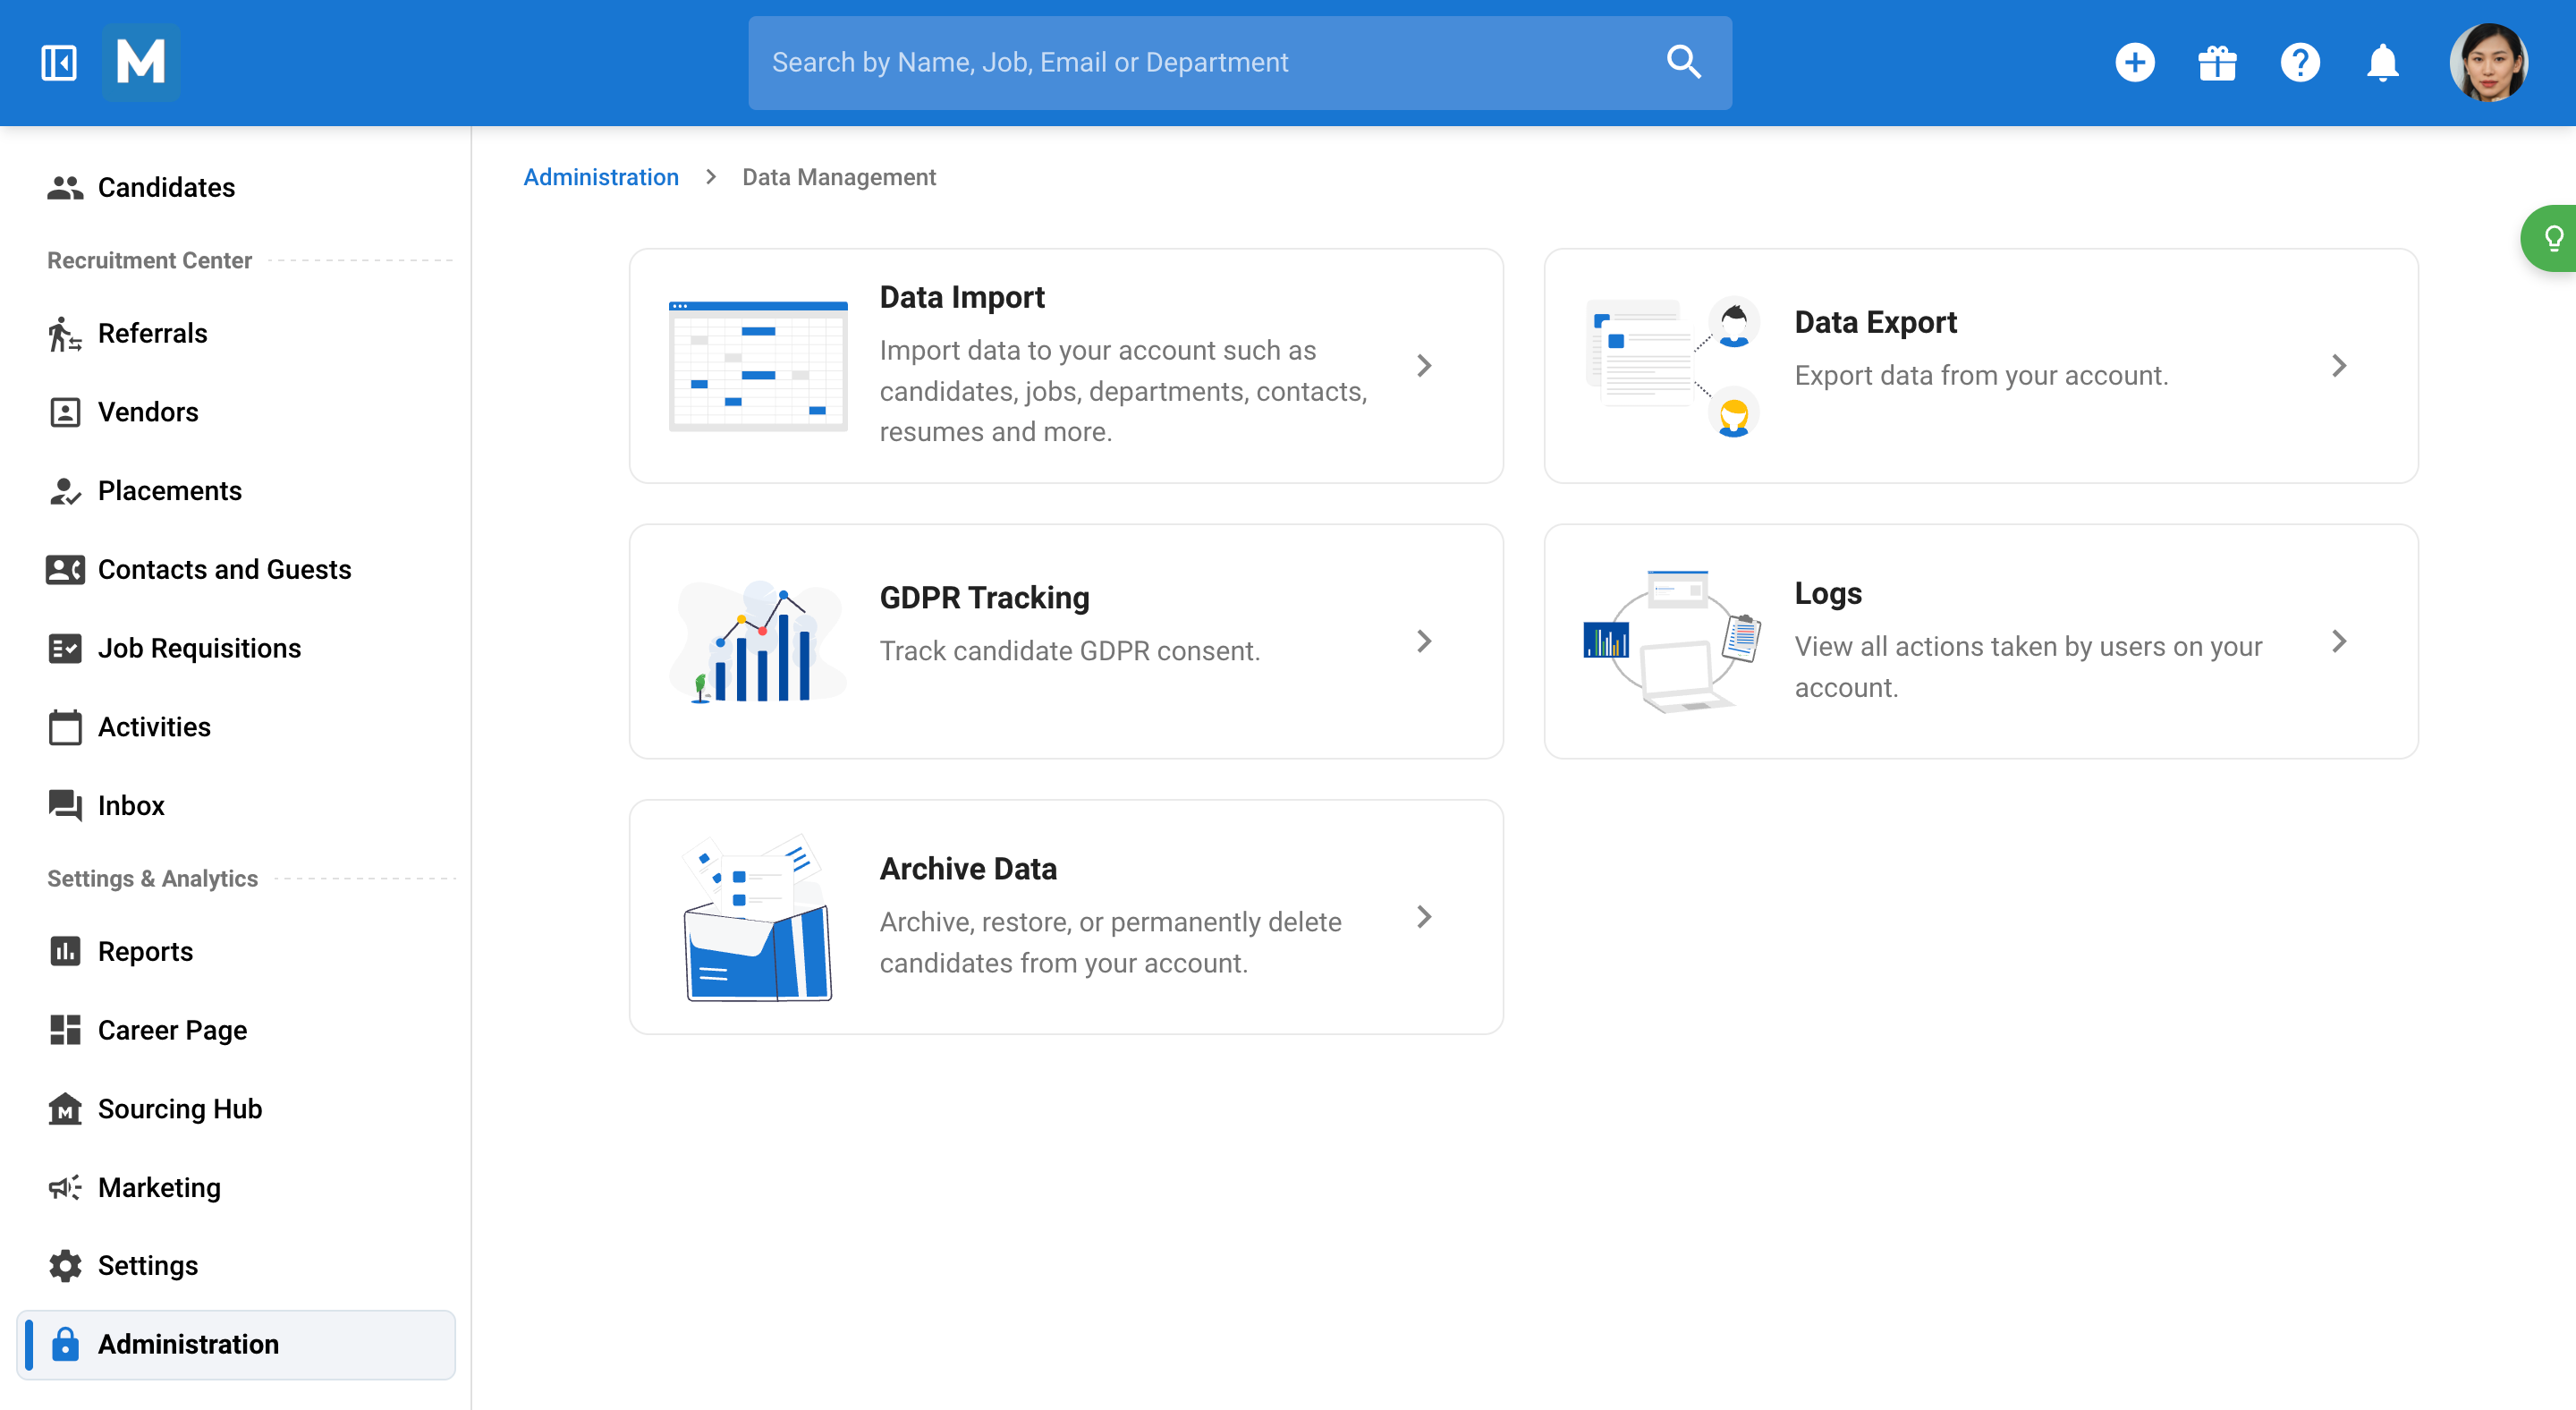
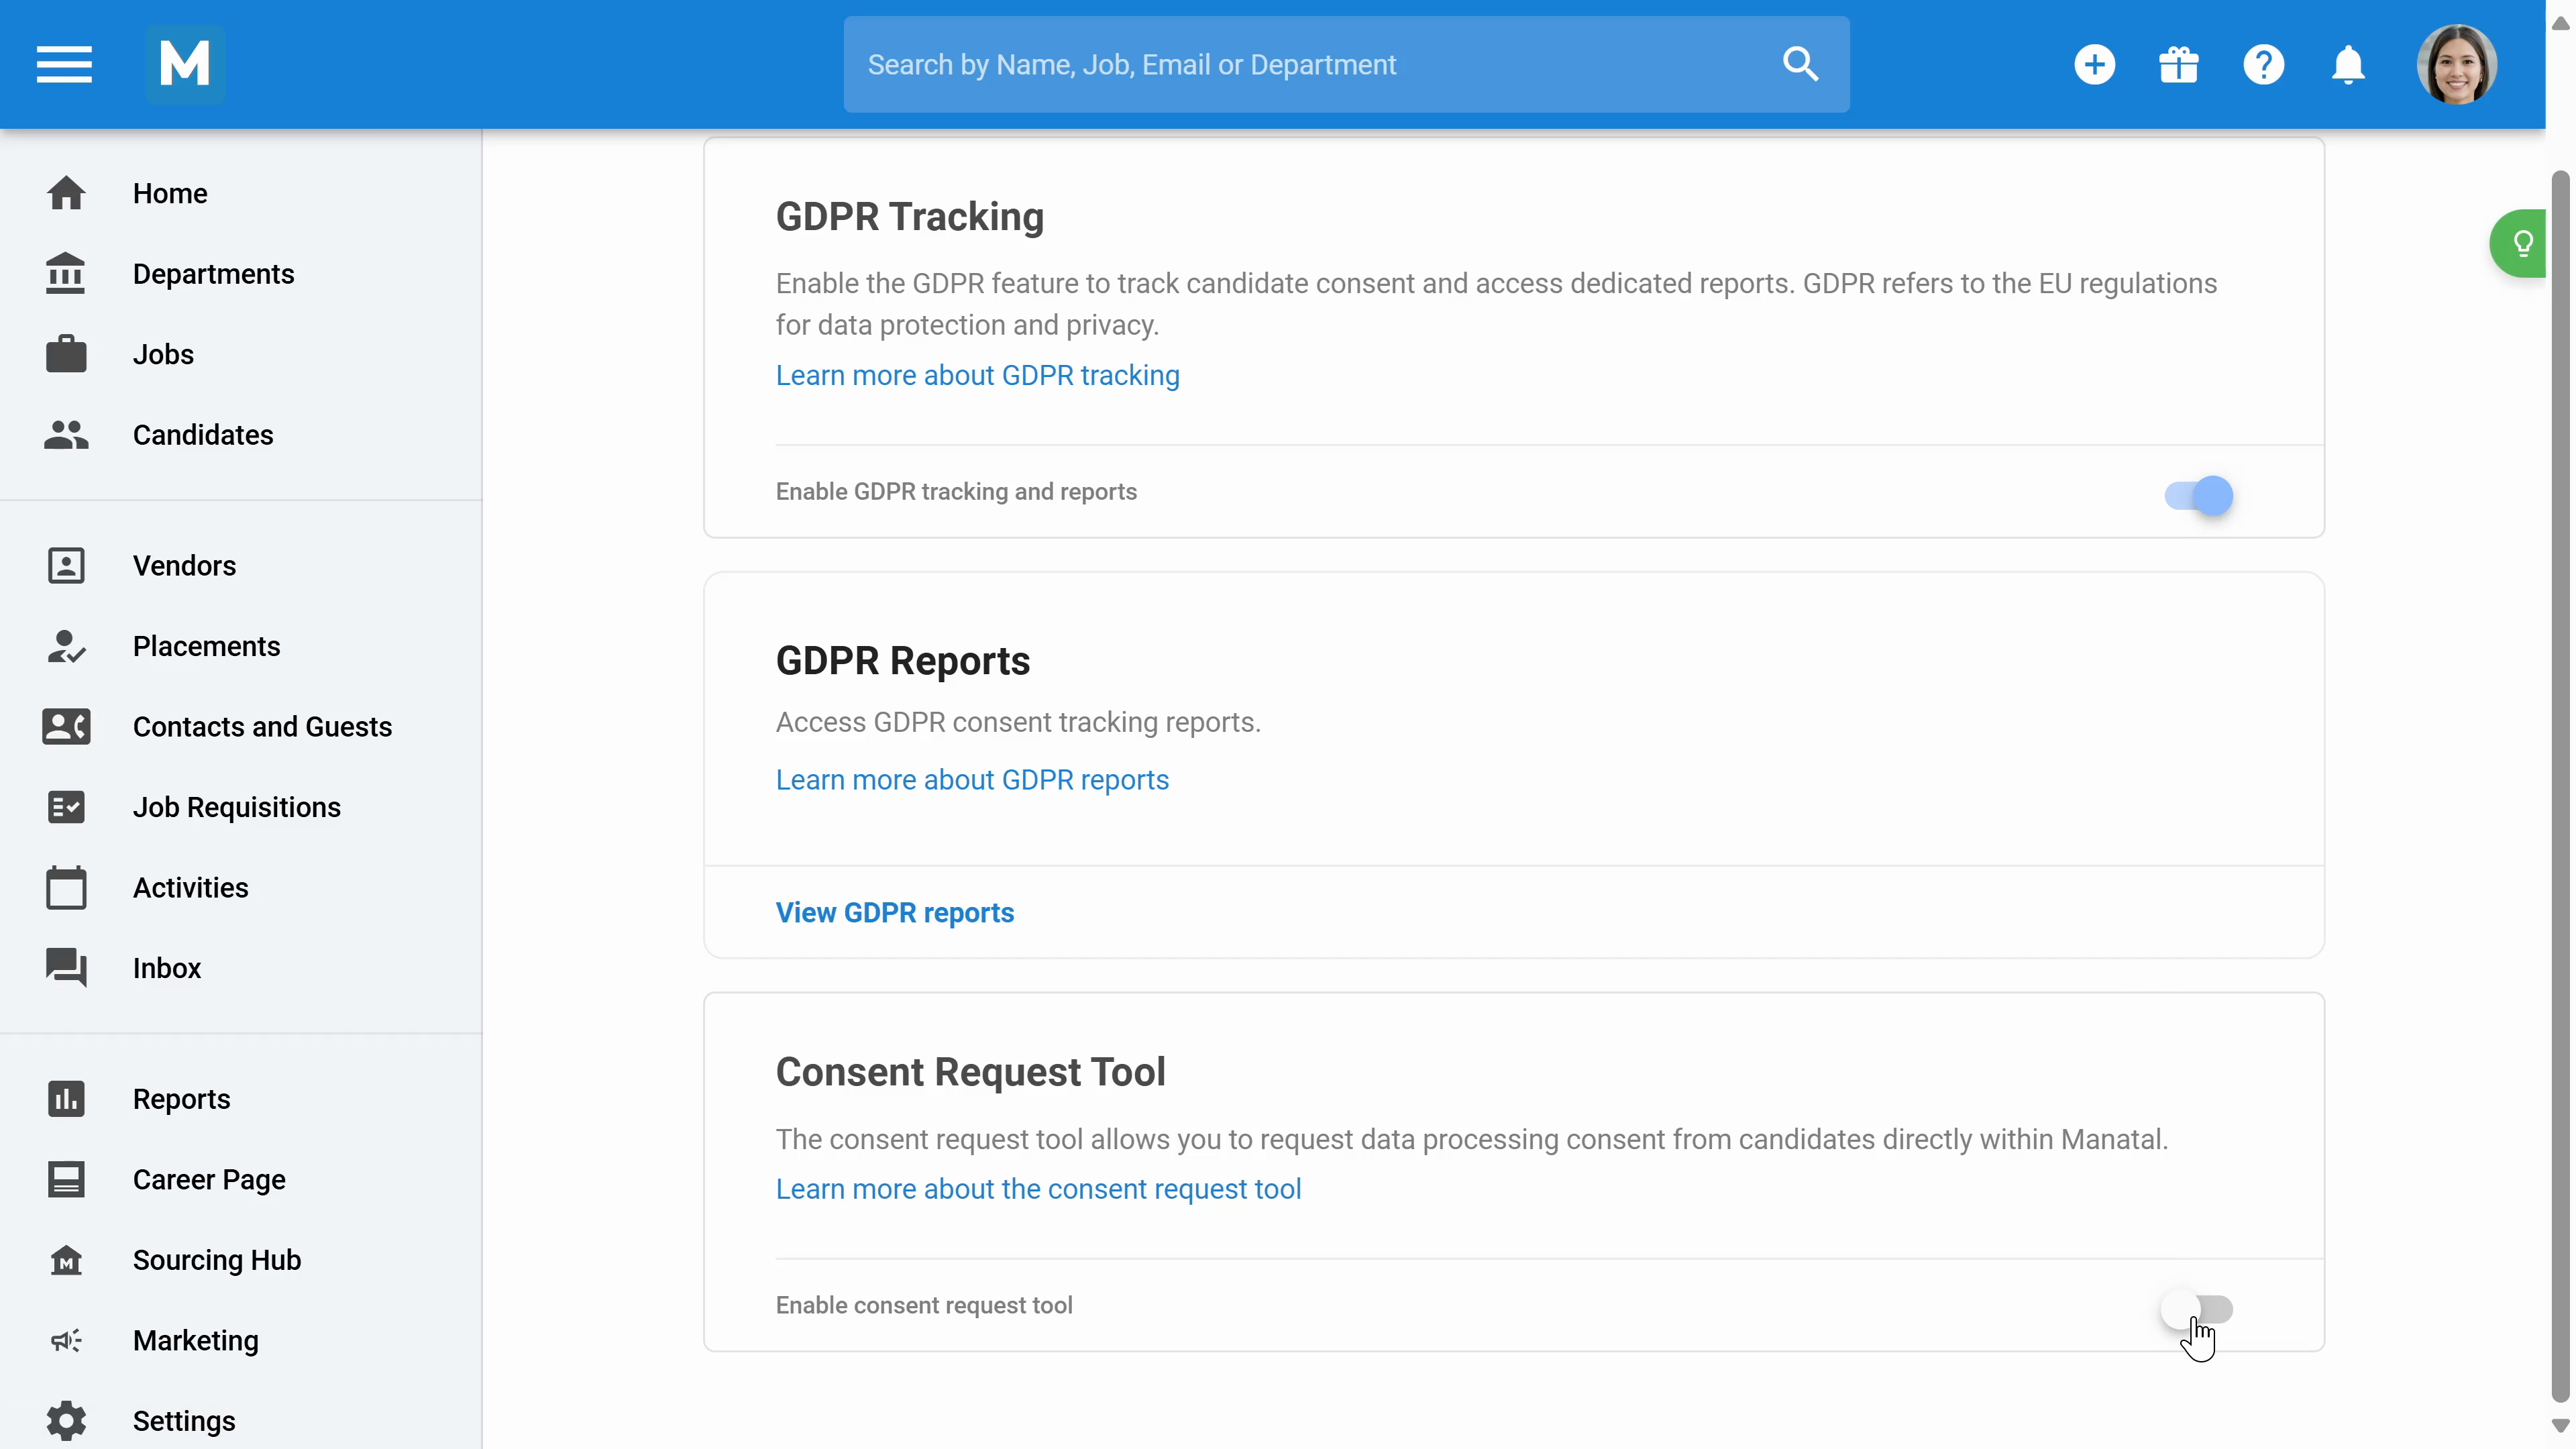
Step 4: In the GDPR Tracking section, you can enable GDPR tracking and view GDPR reports.

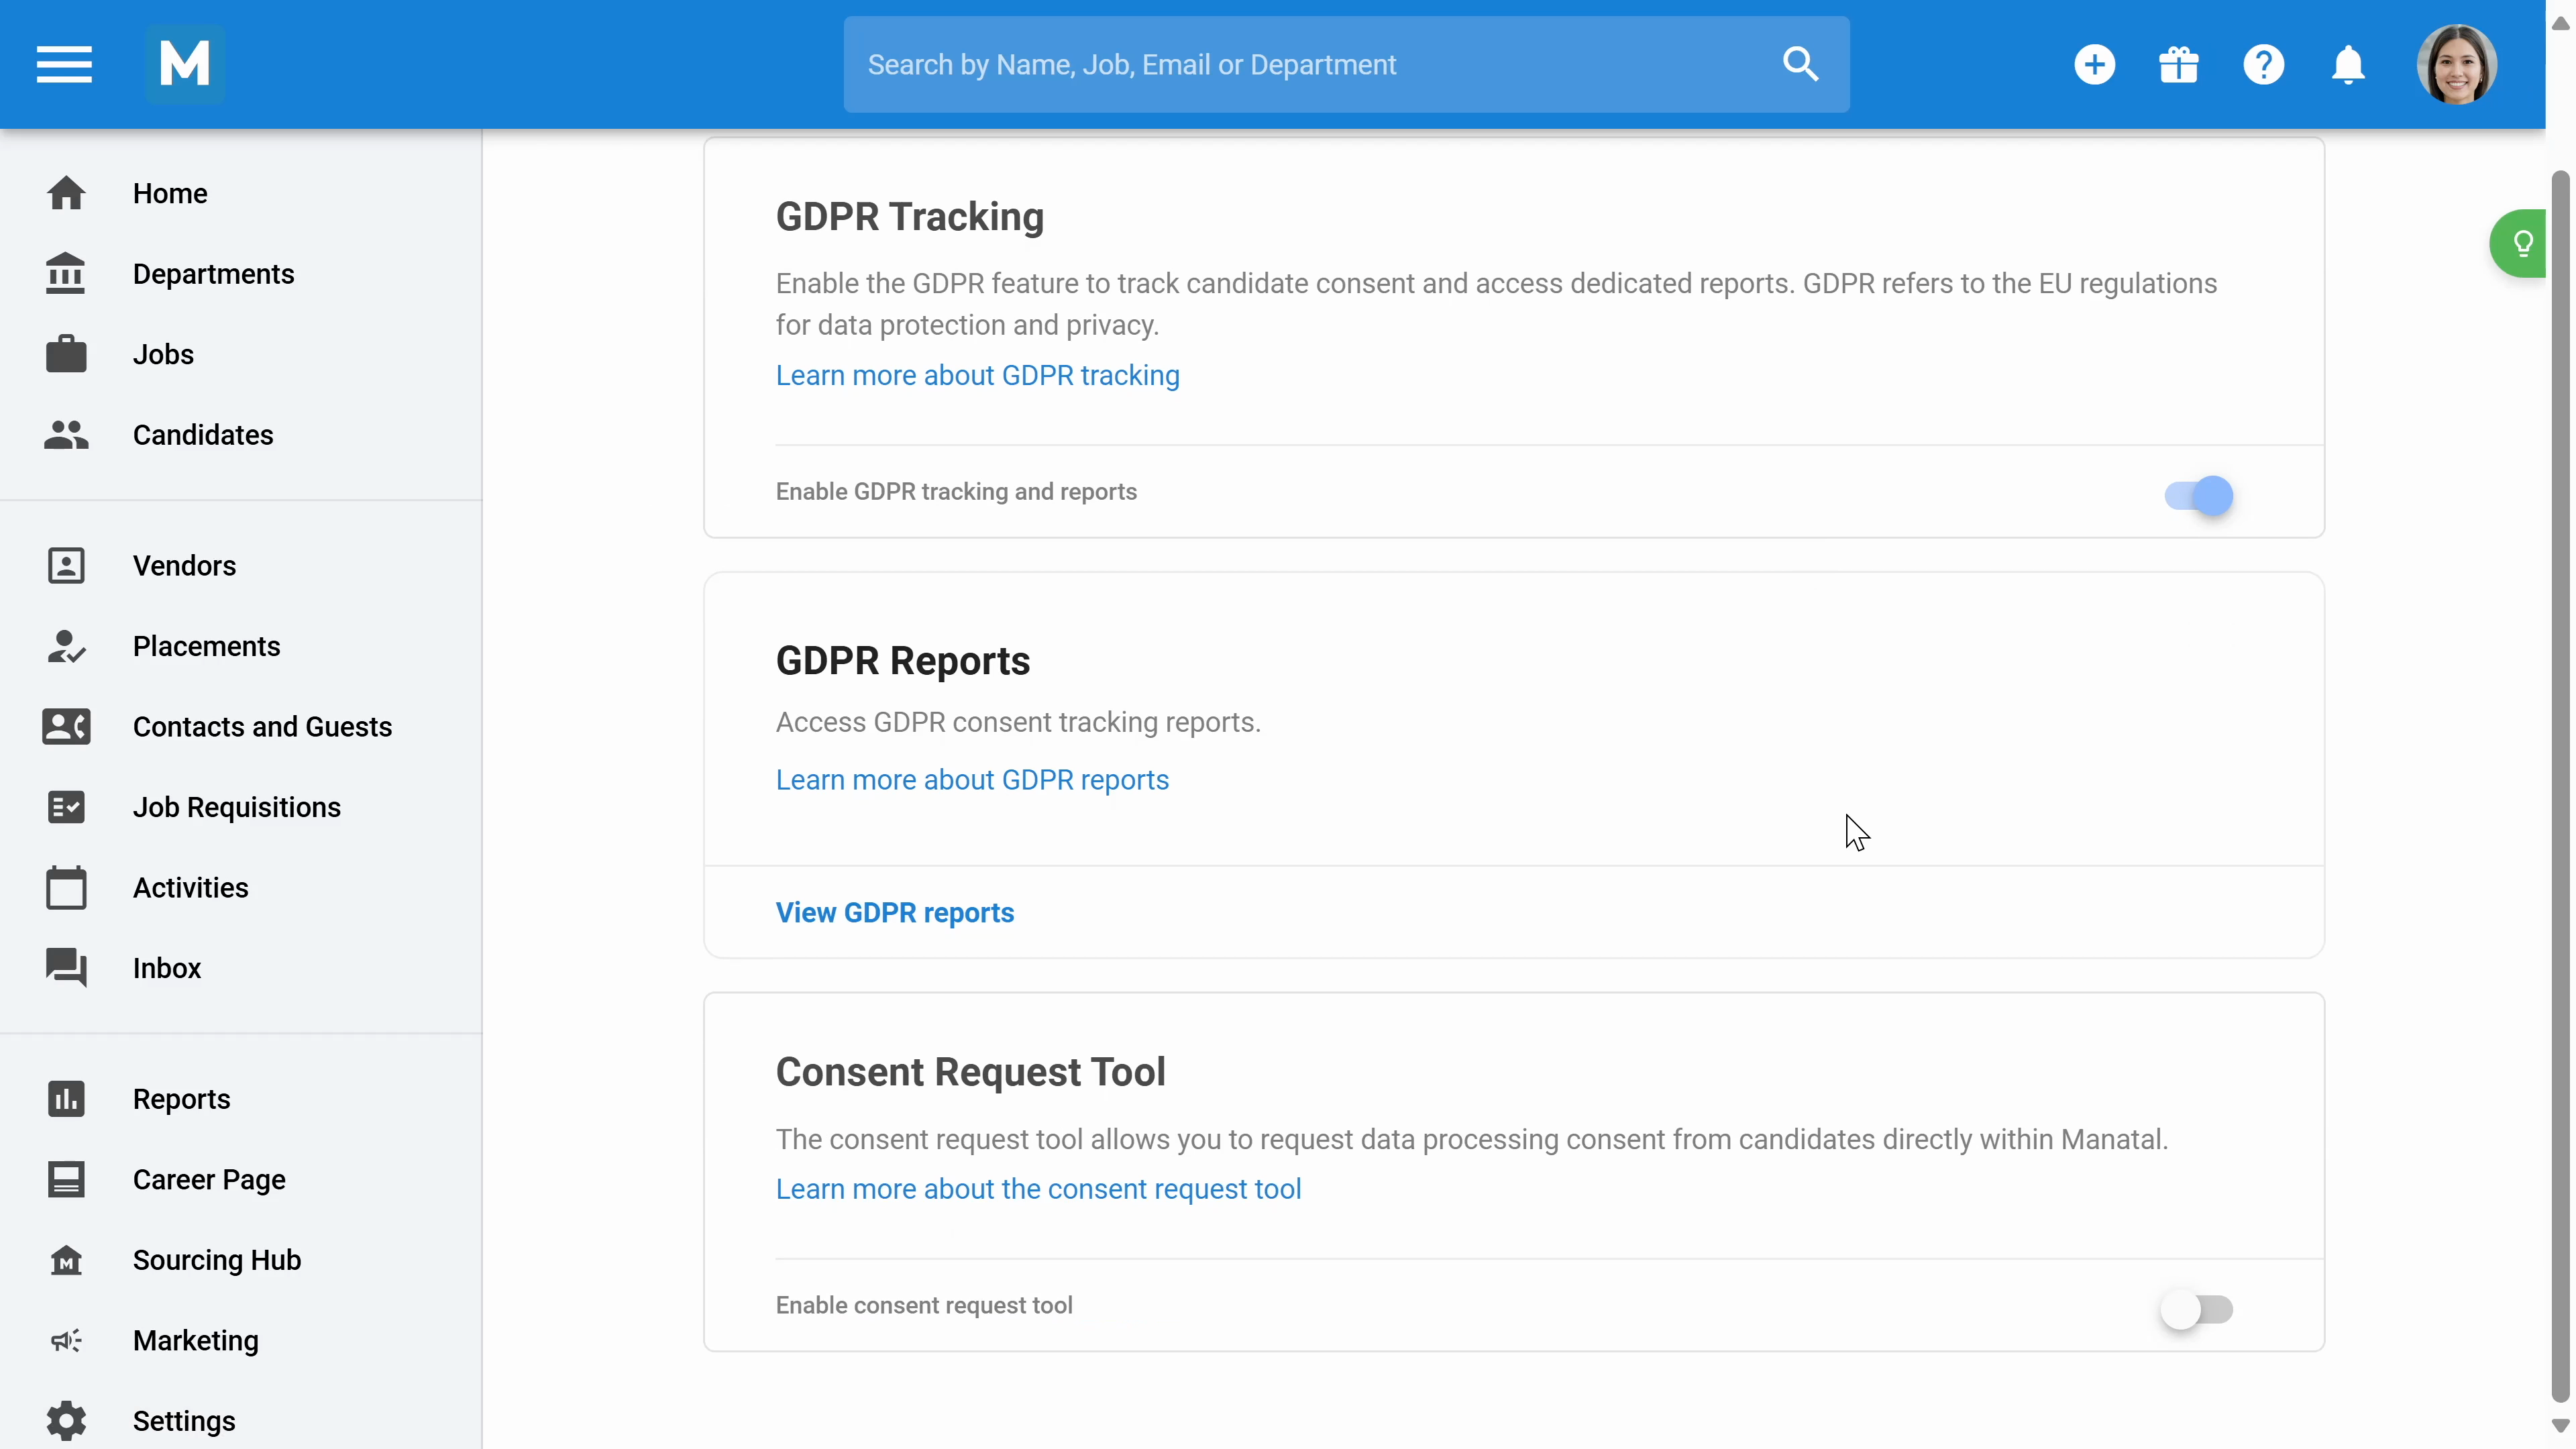
Step 5: Enable the Consent Request Tool. Once enabled, the system will automatically send GDPR consent request emails to candidates.
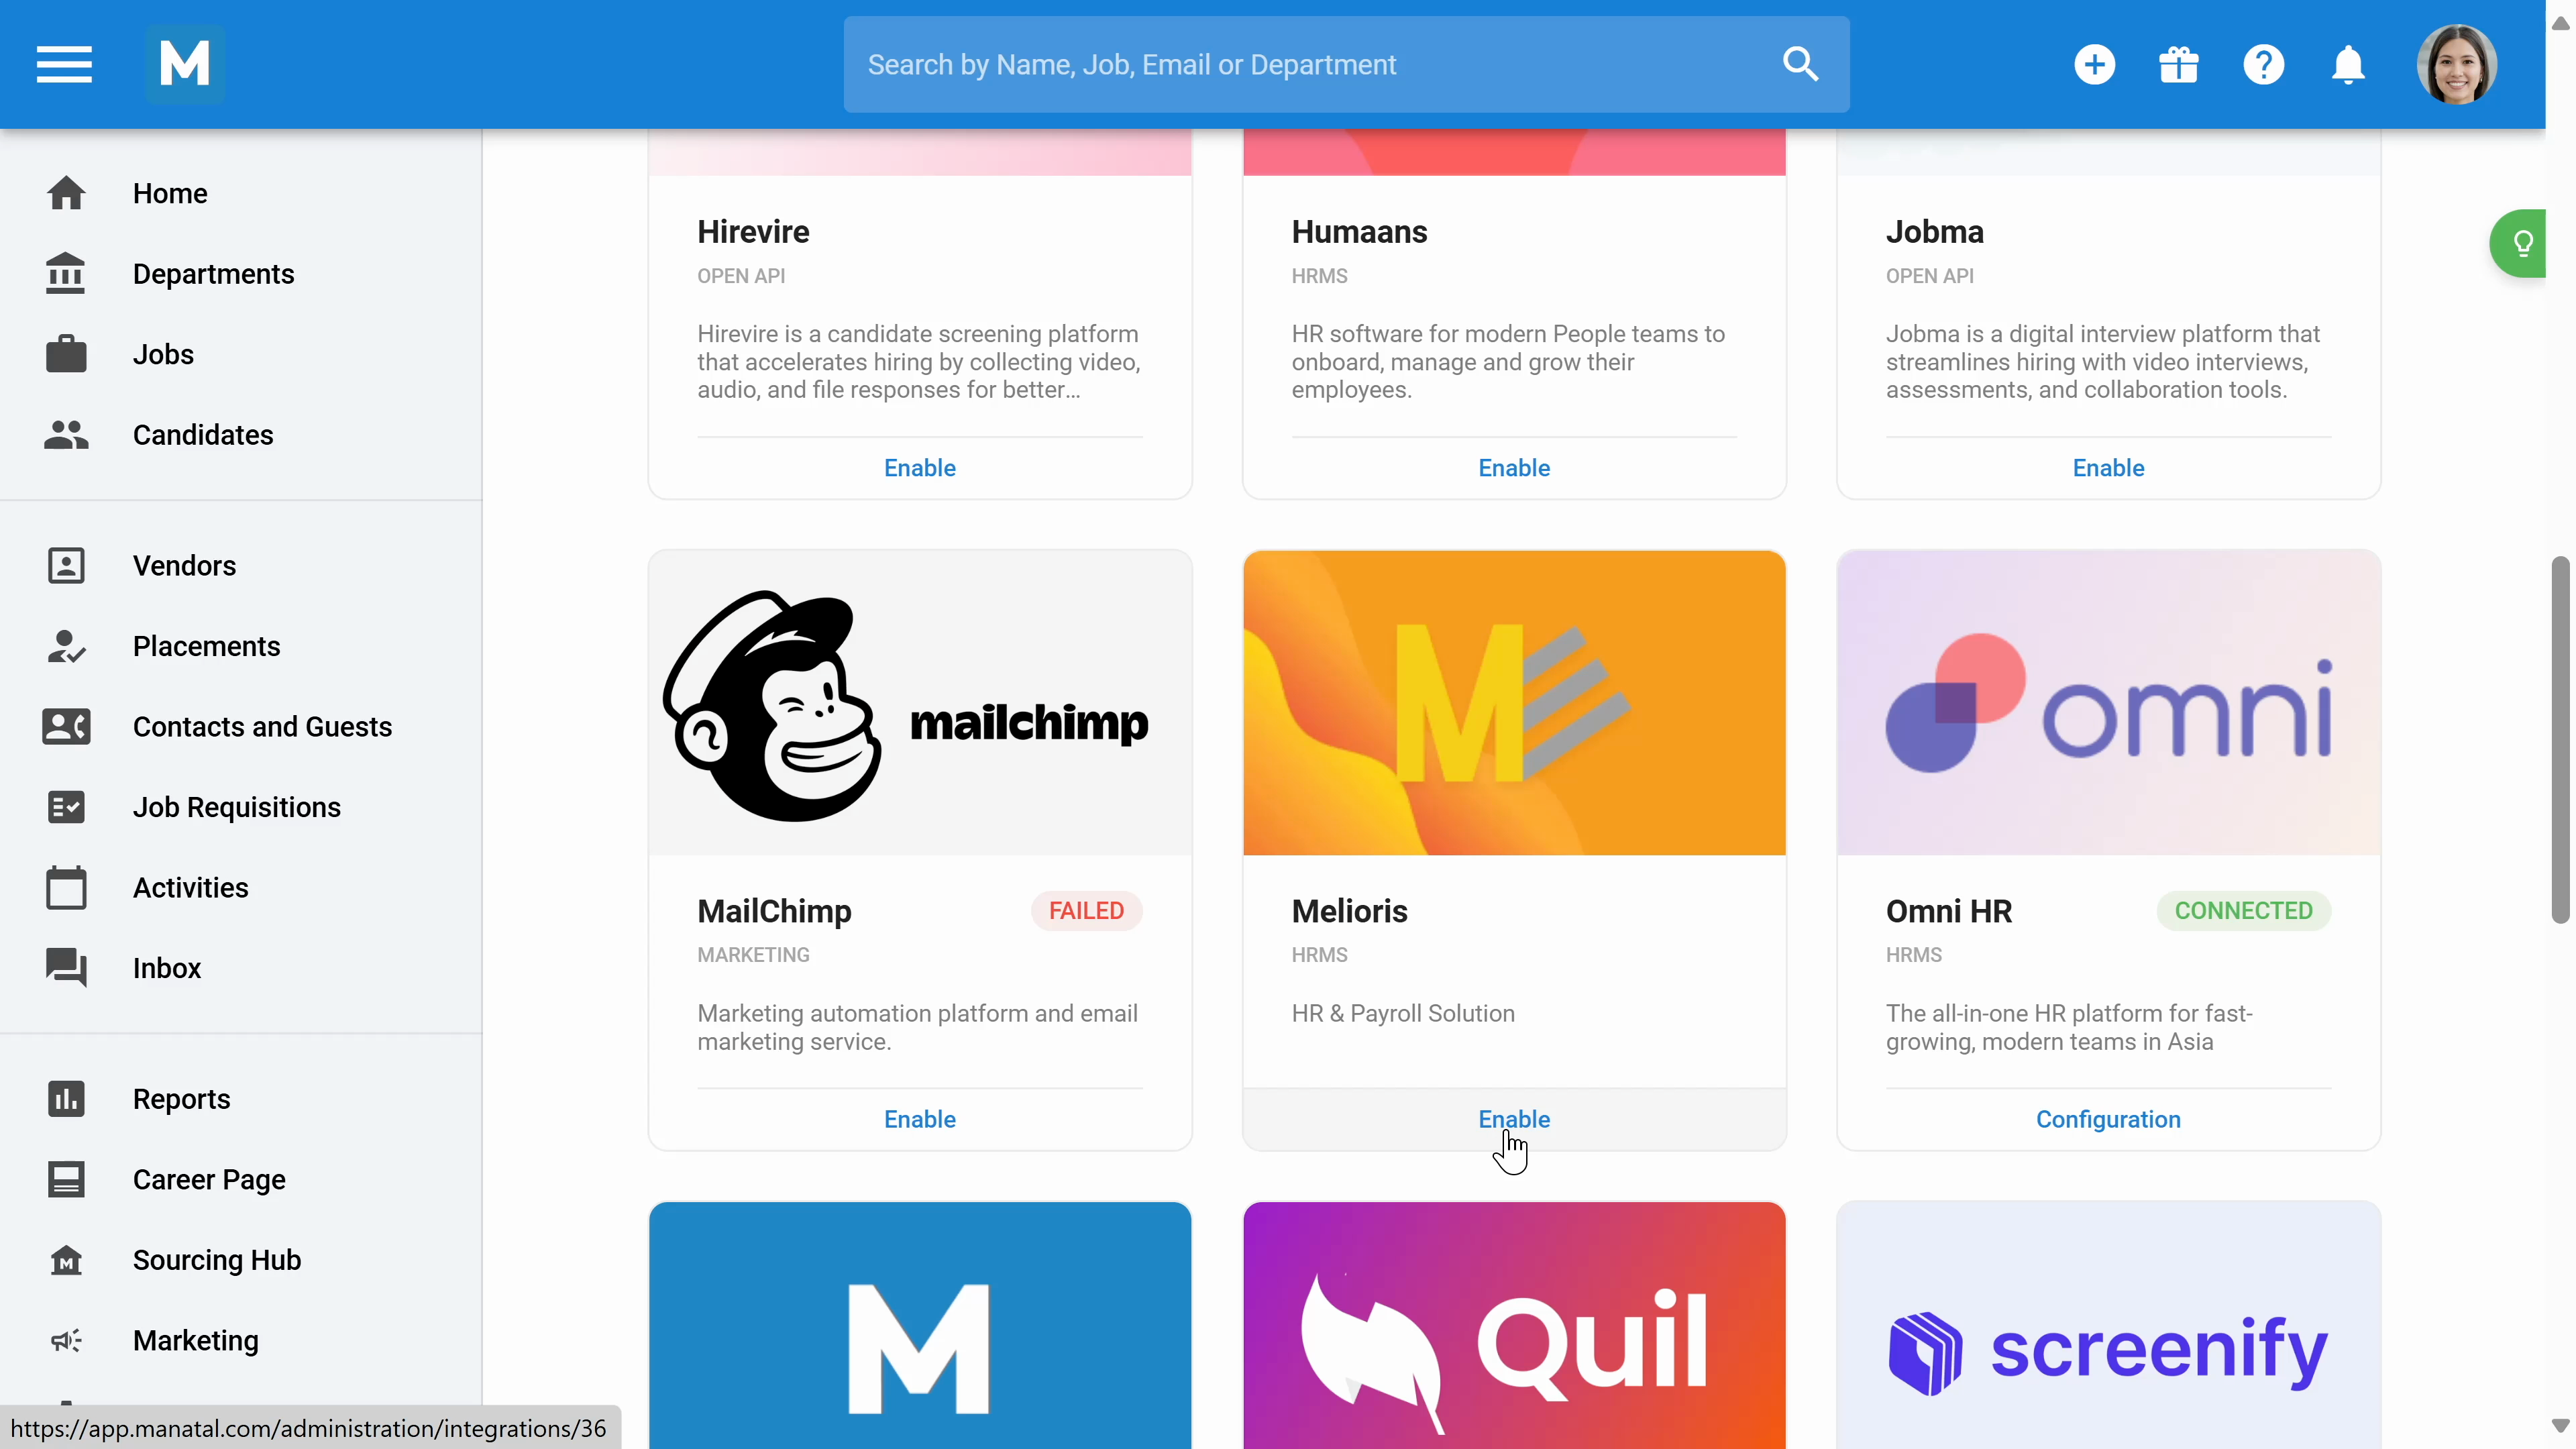
Step 6: Click on Integrations to manage third-party integrations. To integrate with any system, simply click Enable.
Step 7: Access your Subscription to view invoices, change payment methods, and upgrade your package.
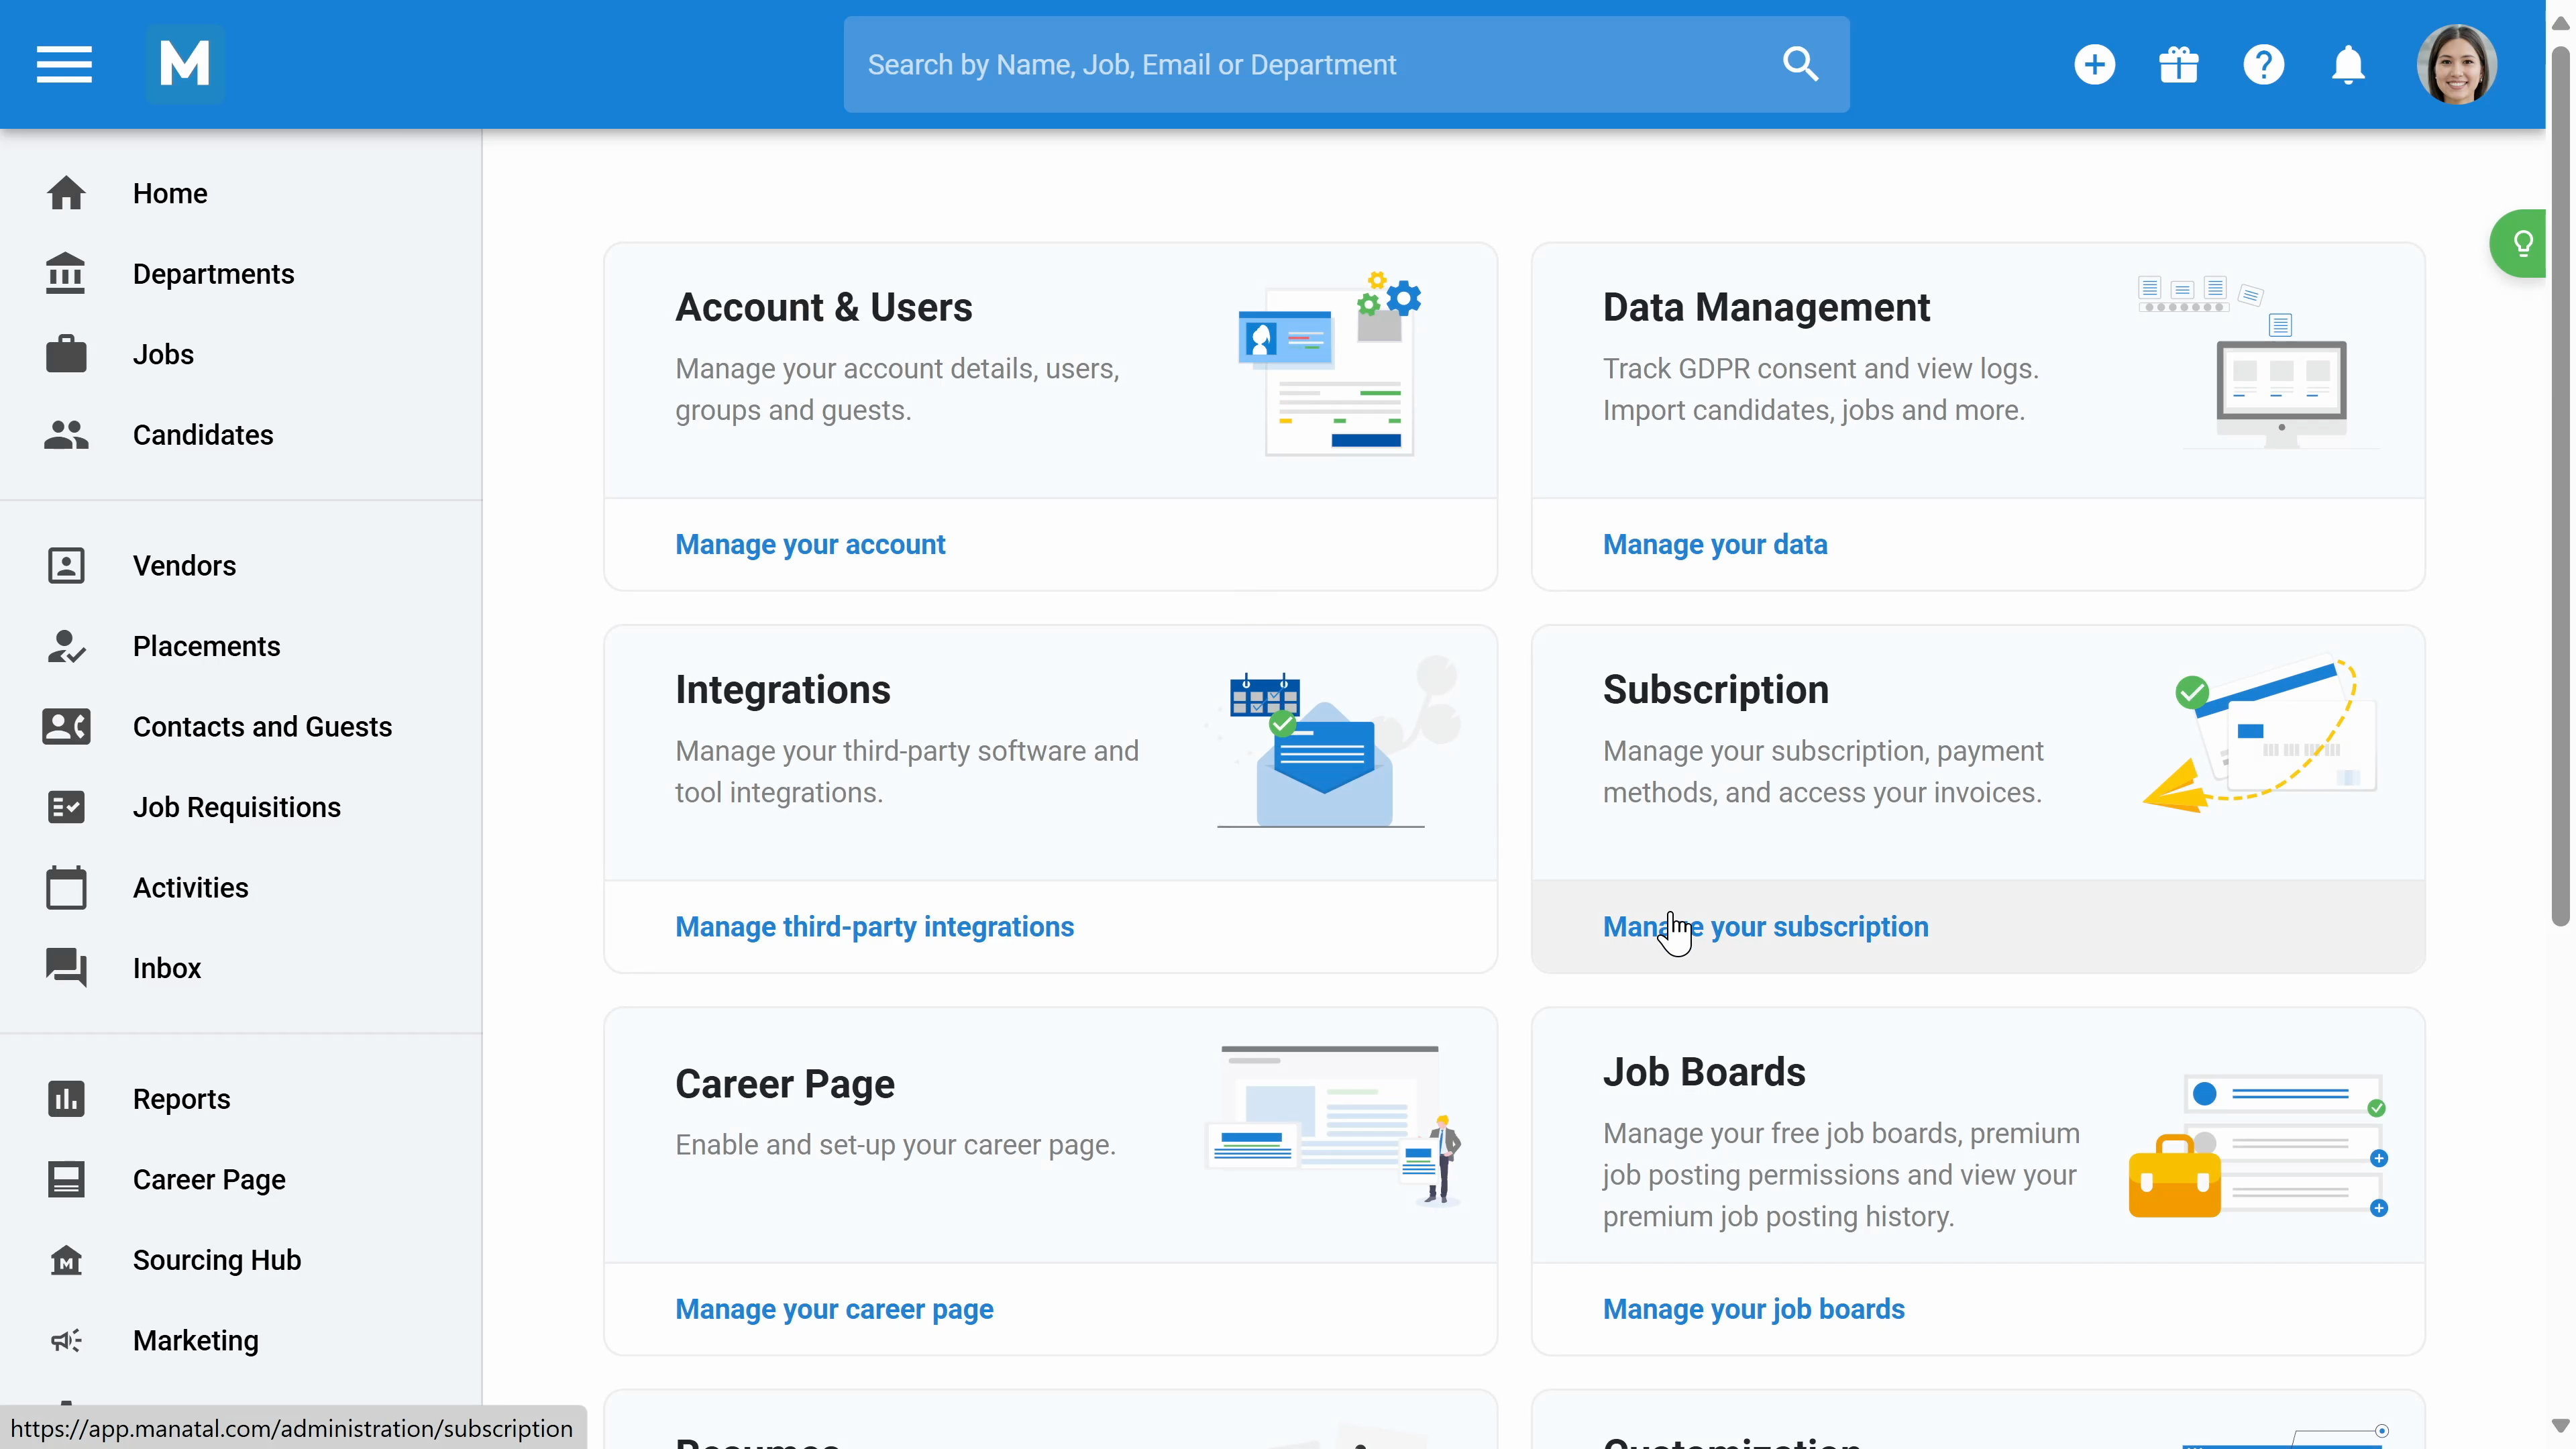
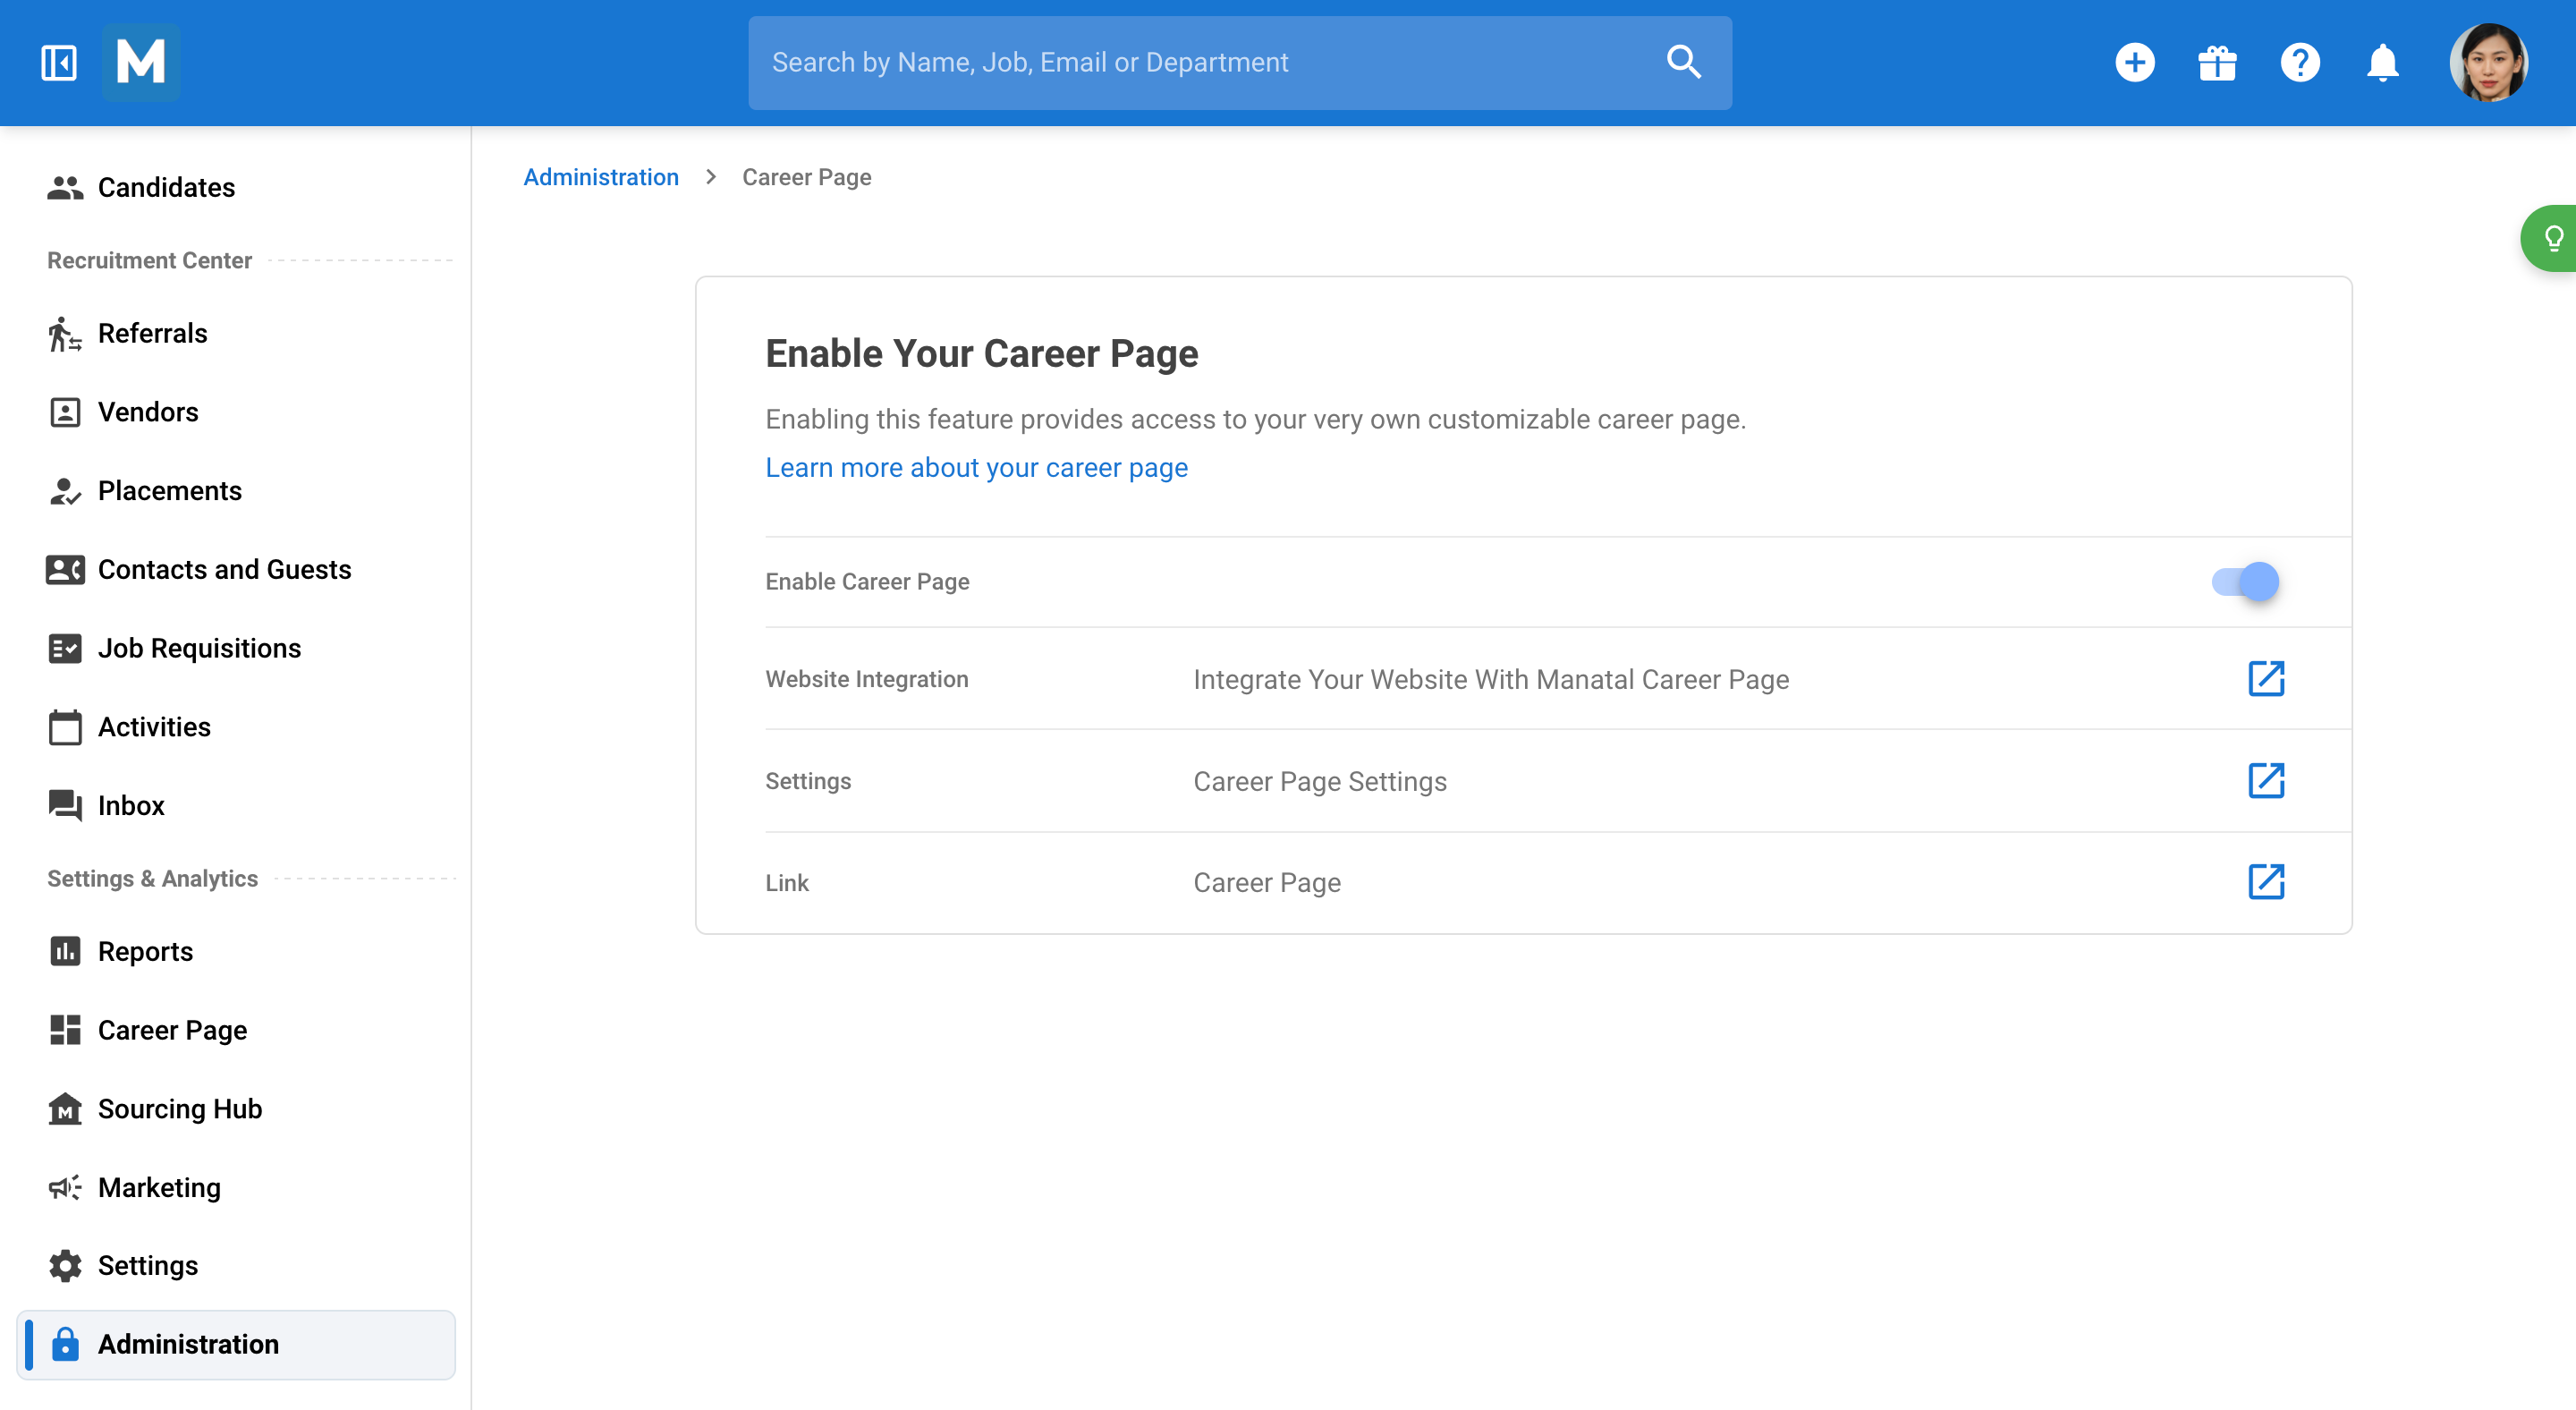
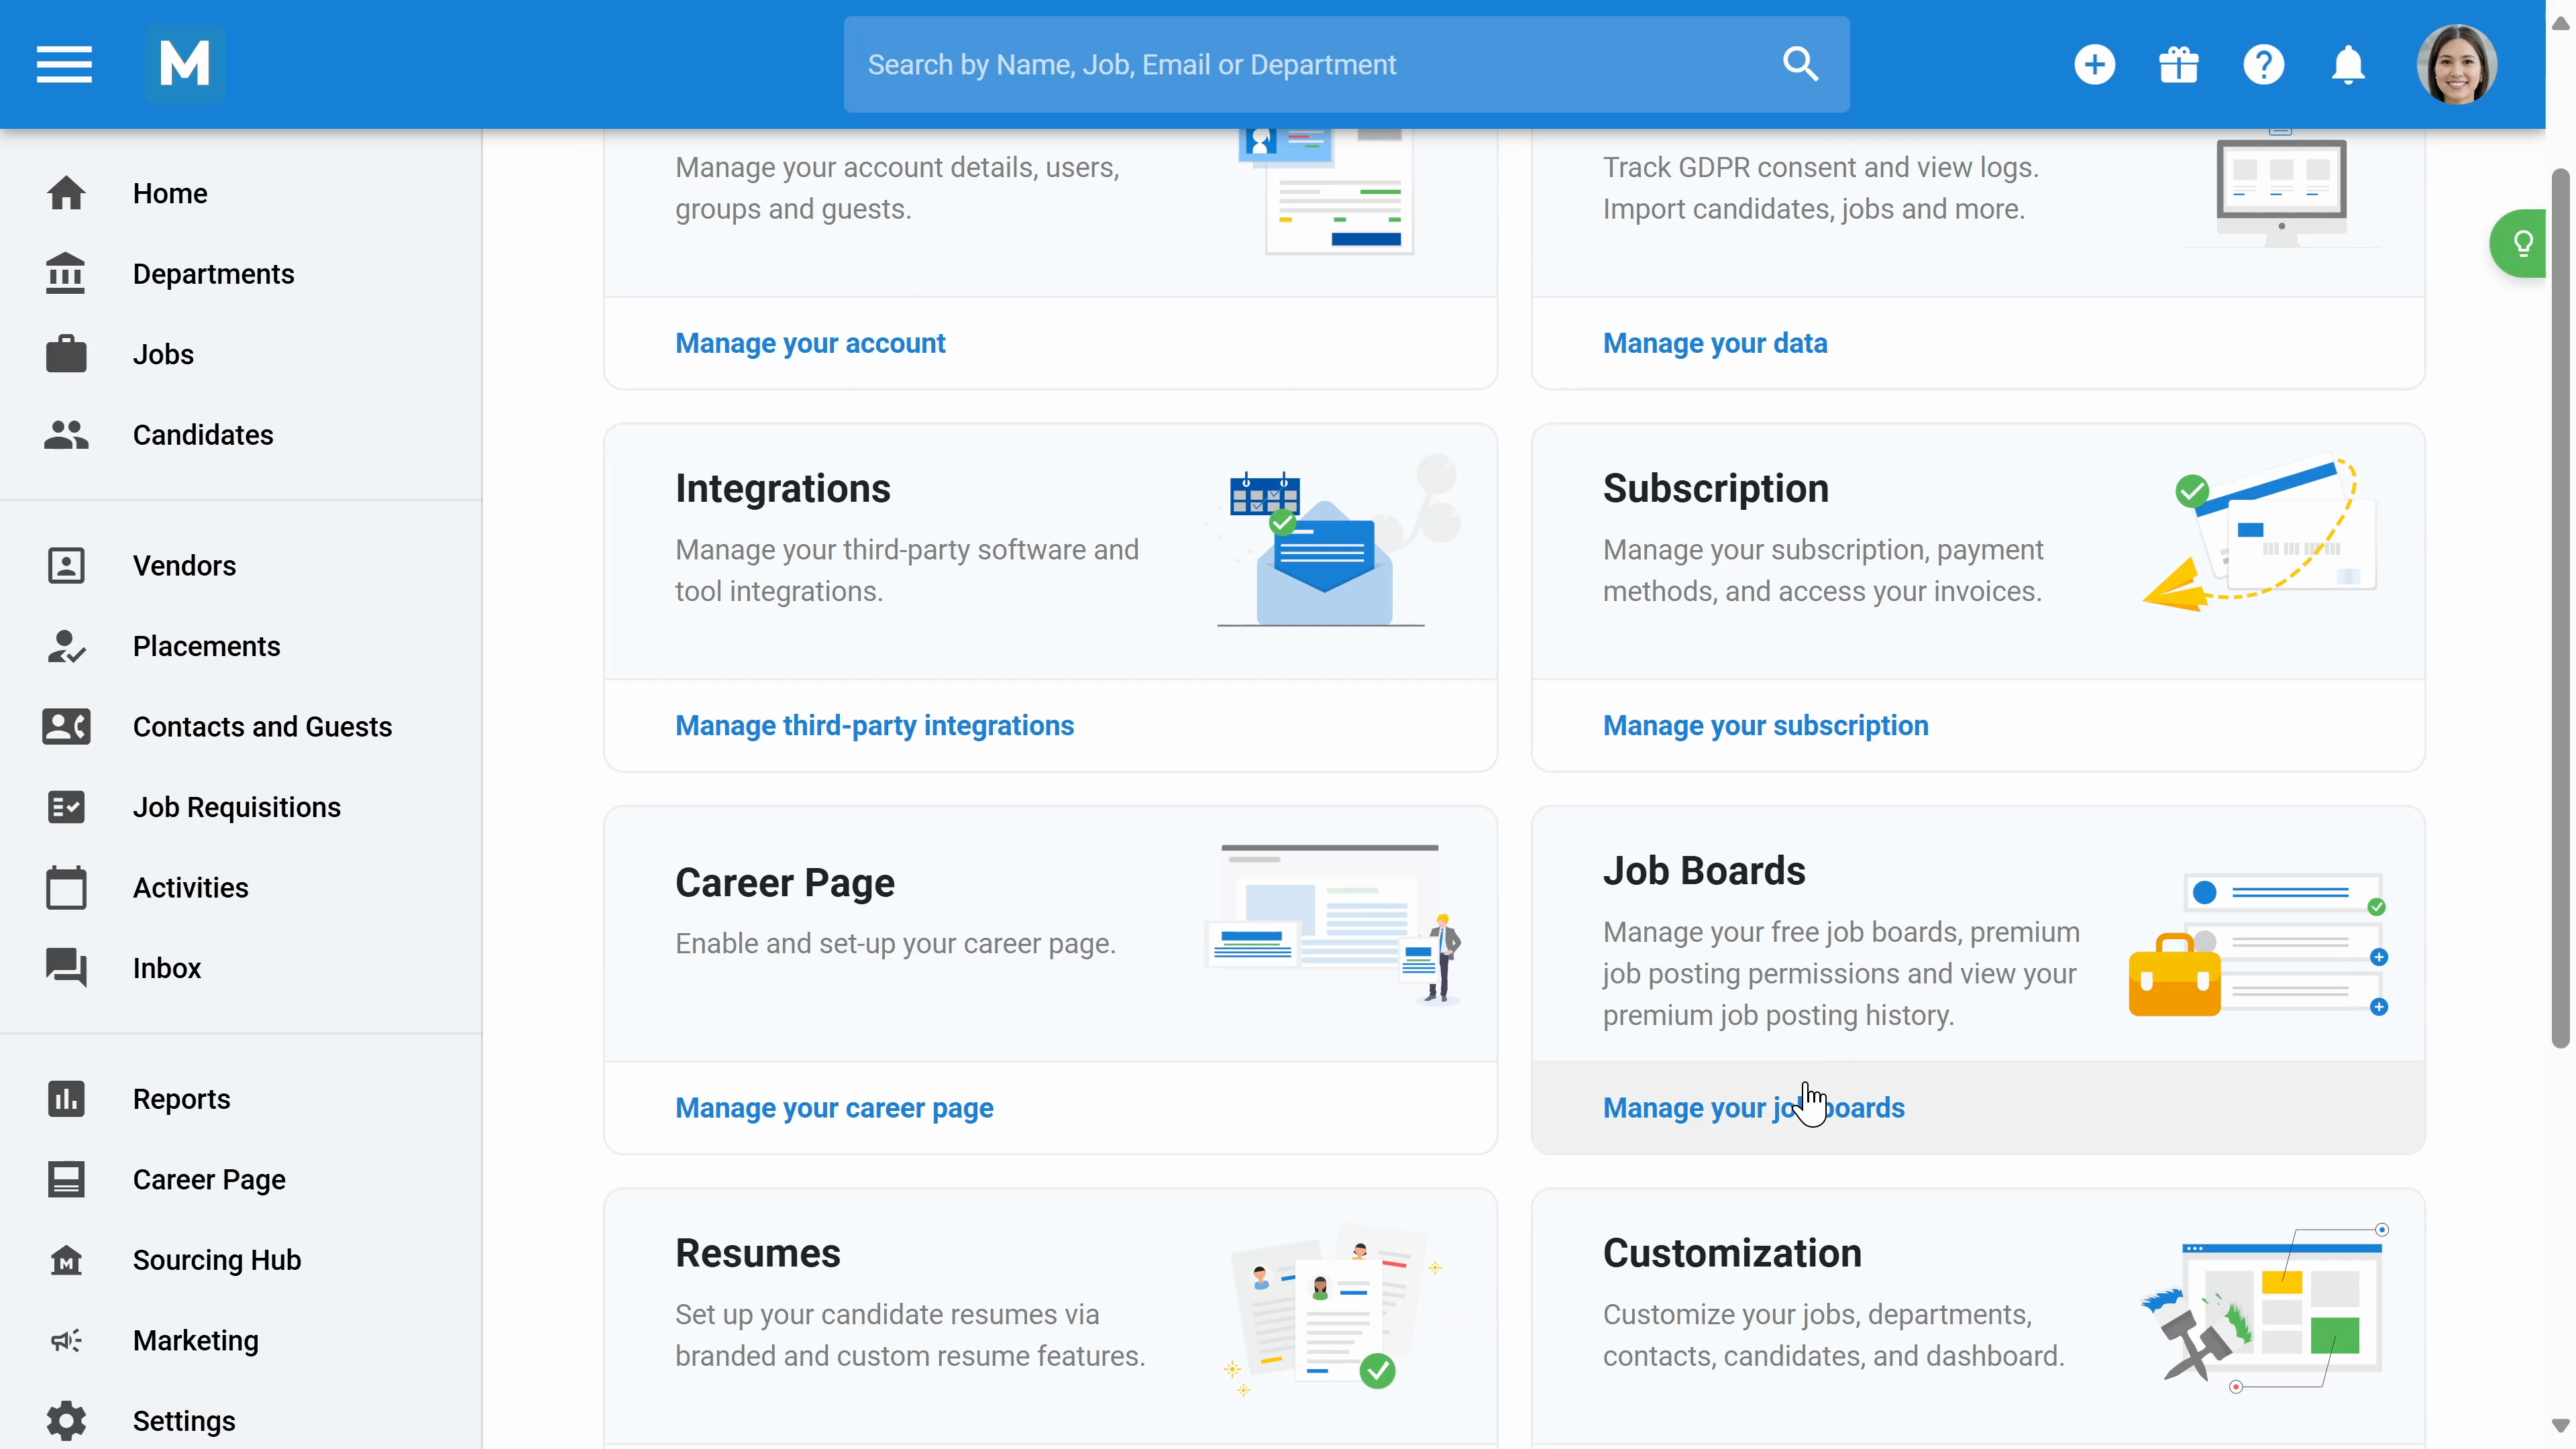
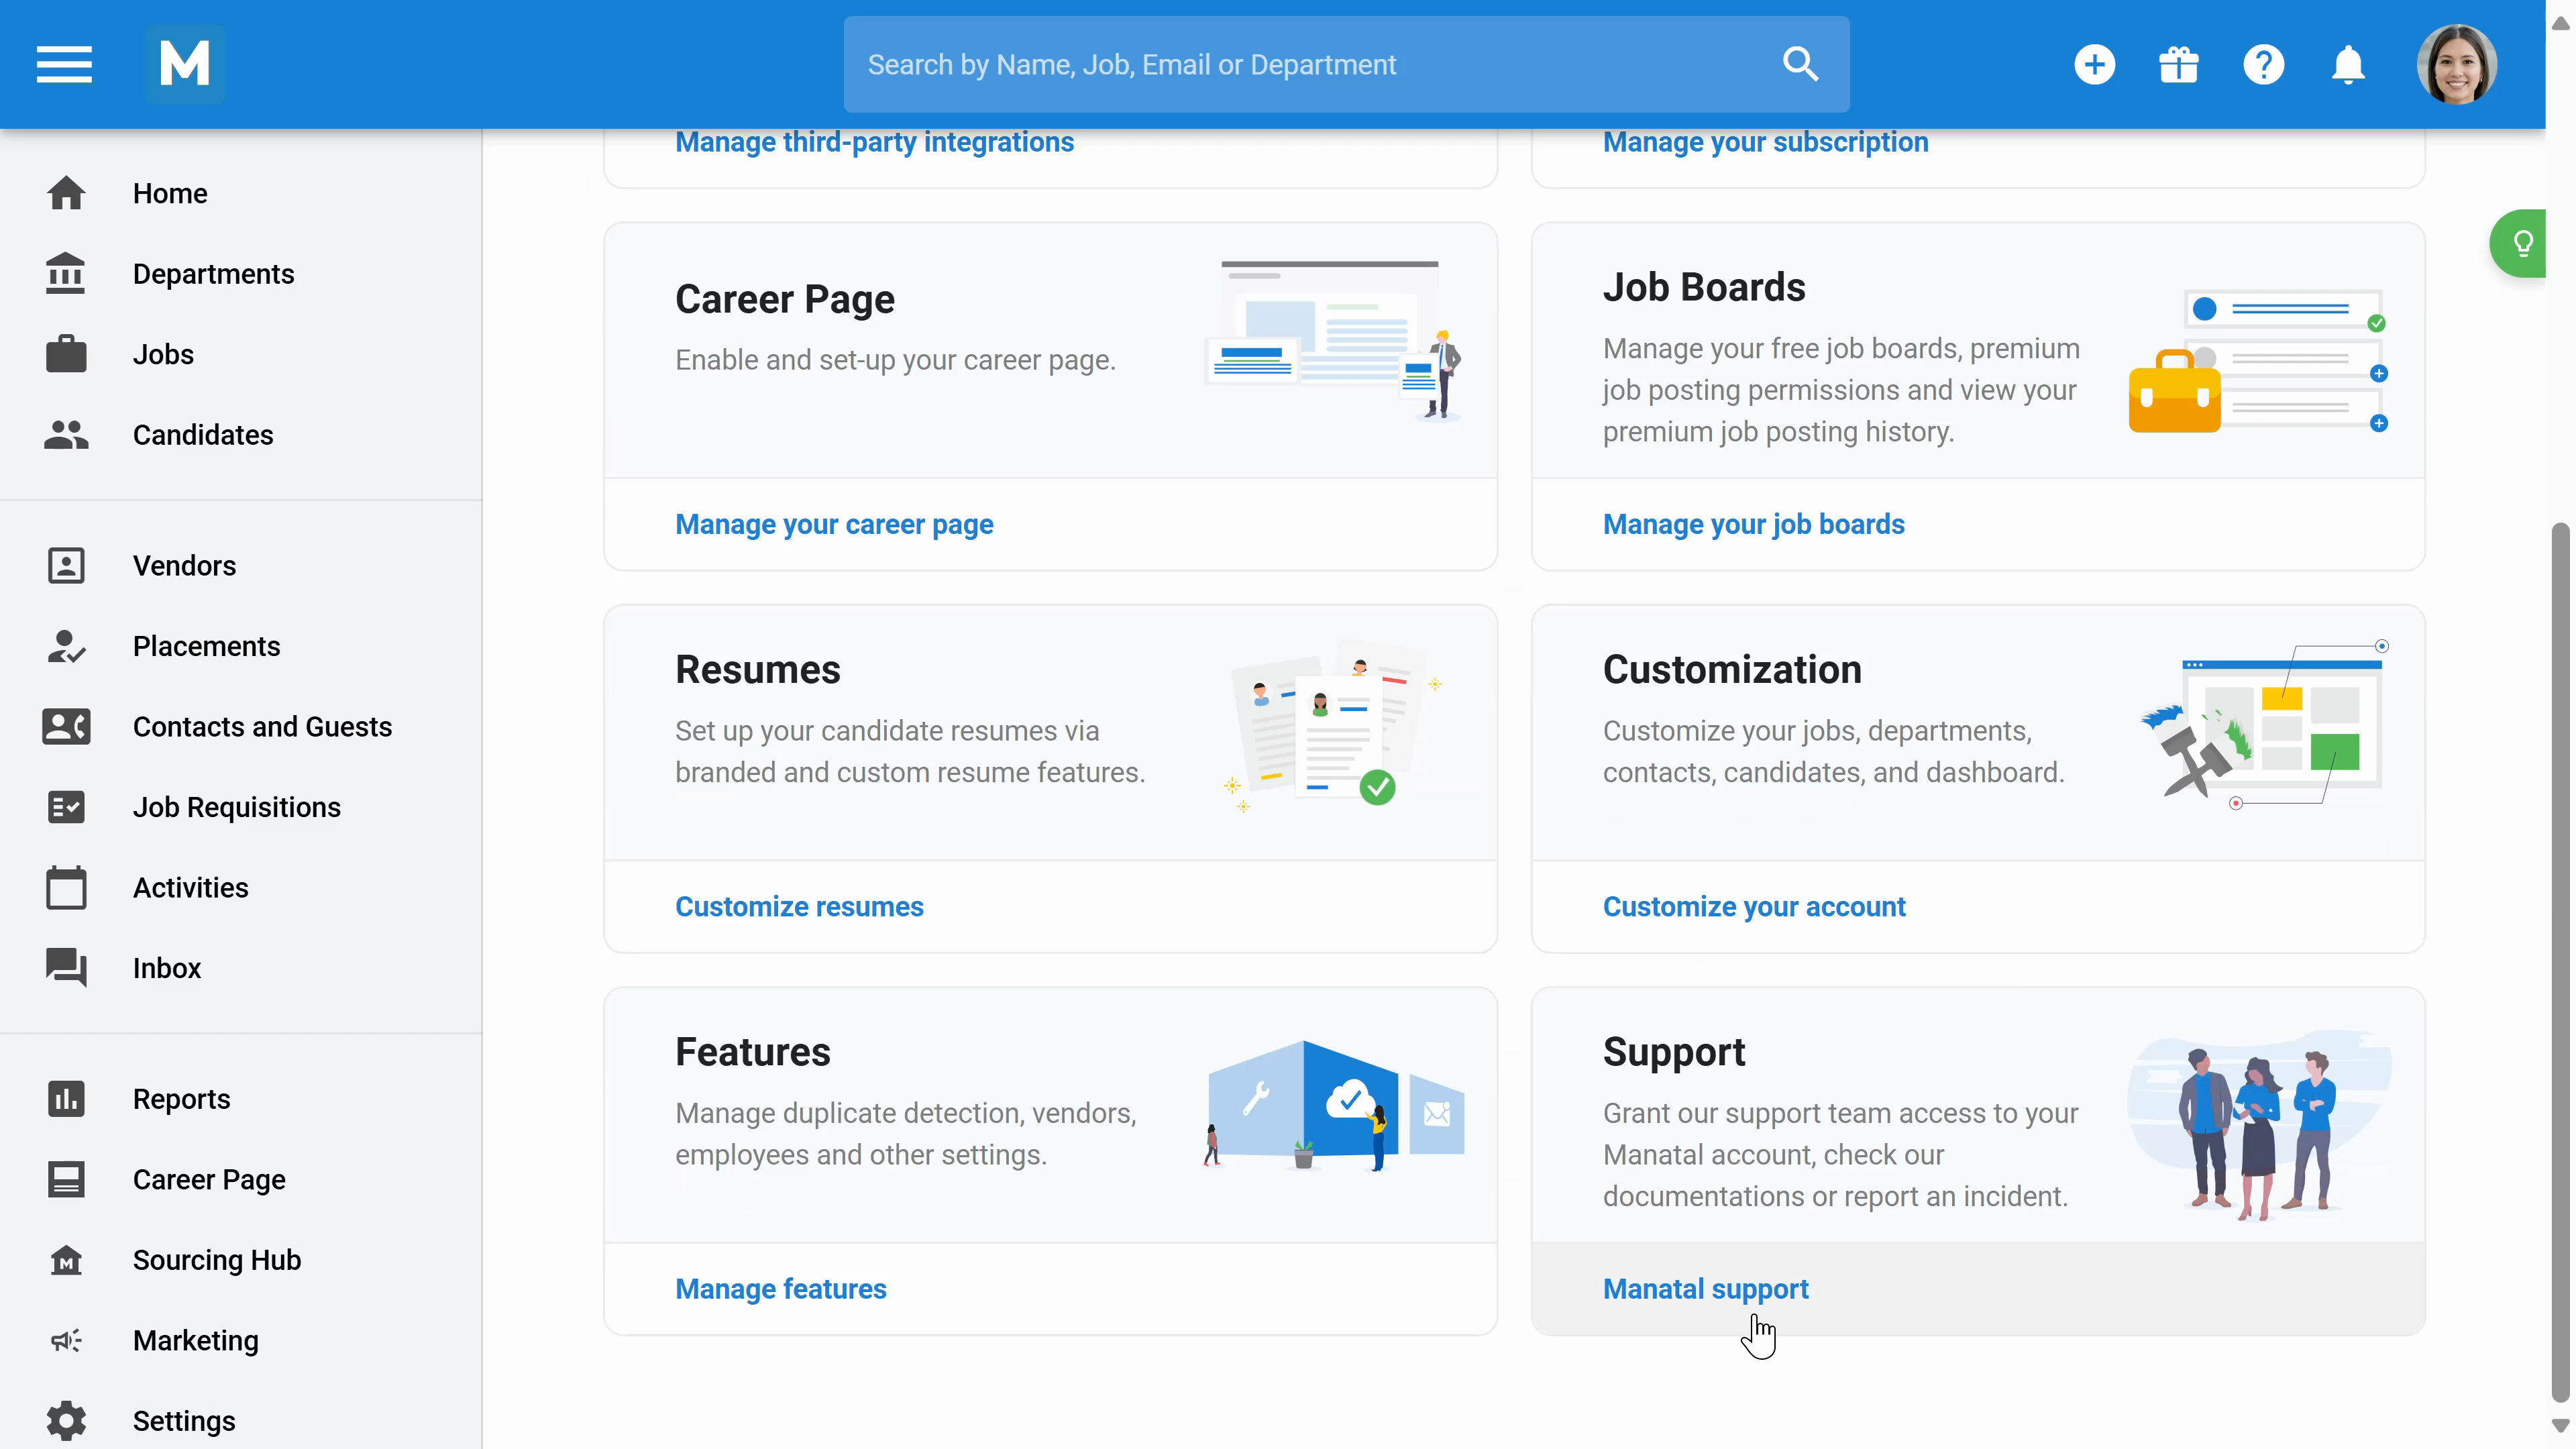
Step 8: Enable your Career Page and learn how to integrate it with your website. You can also modify the page directly from here.
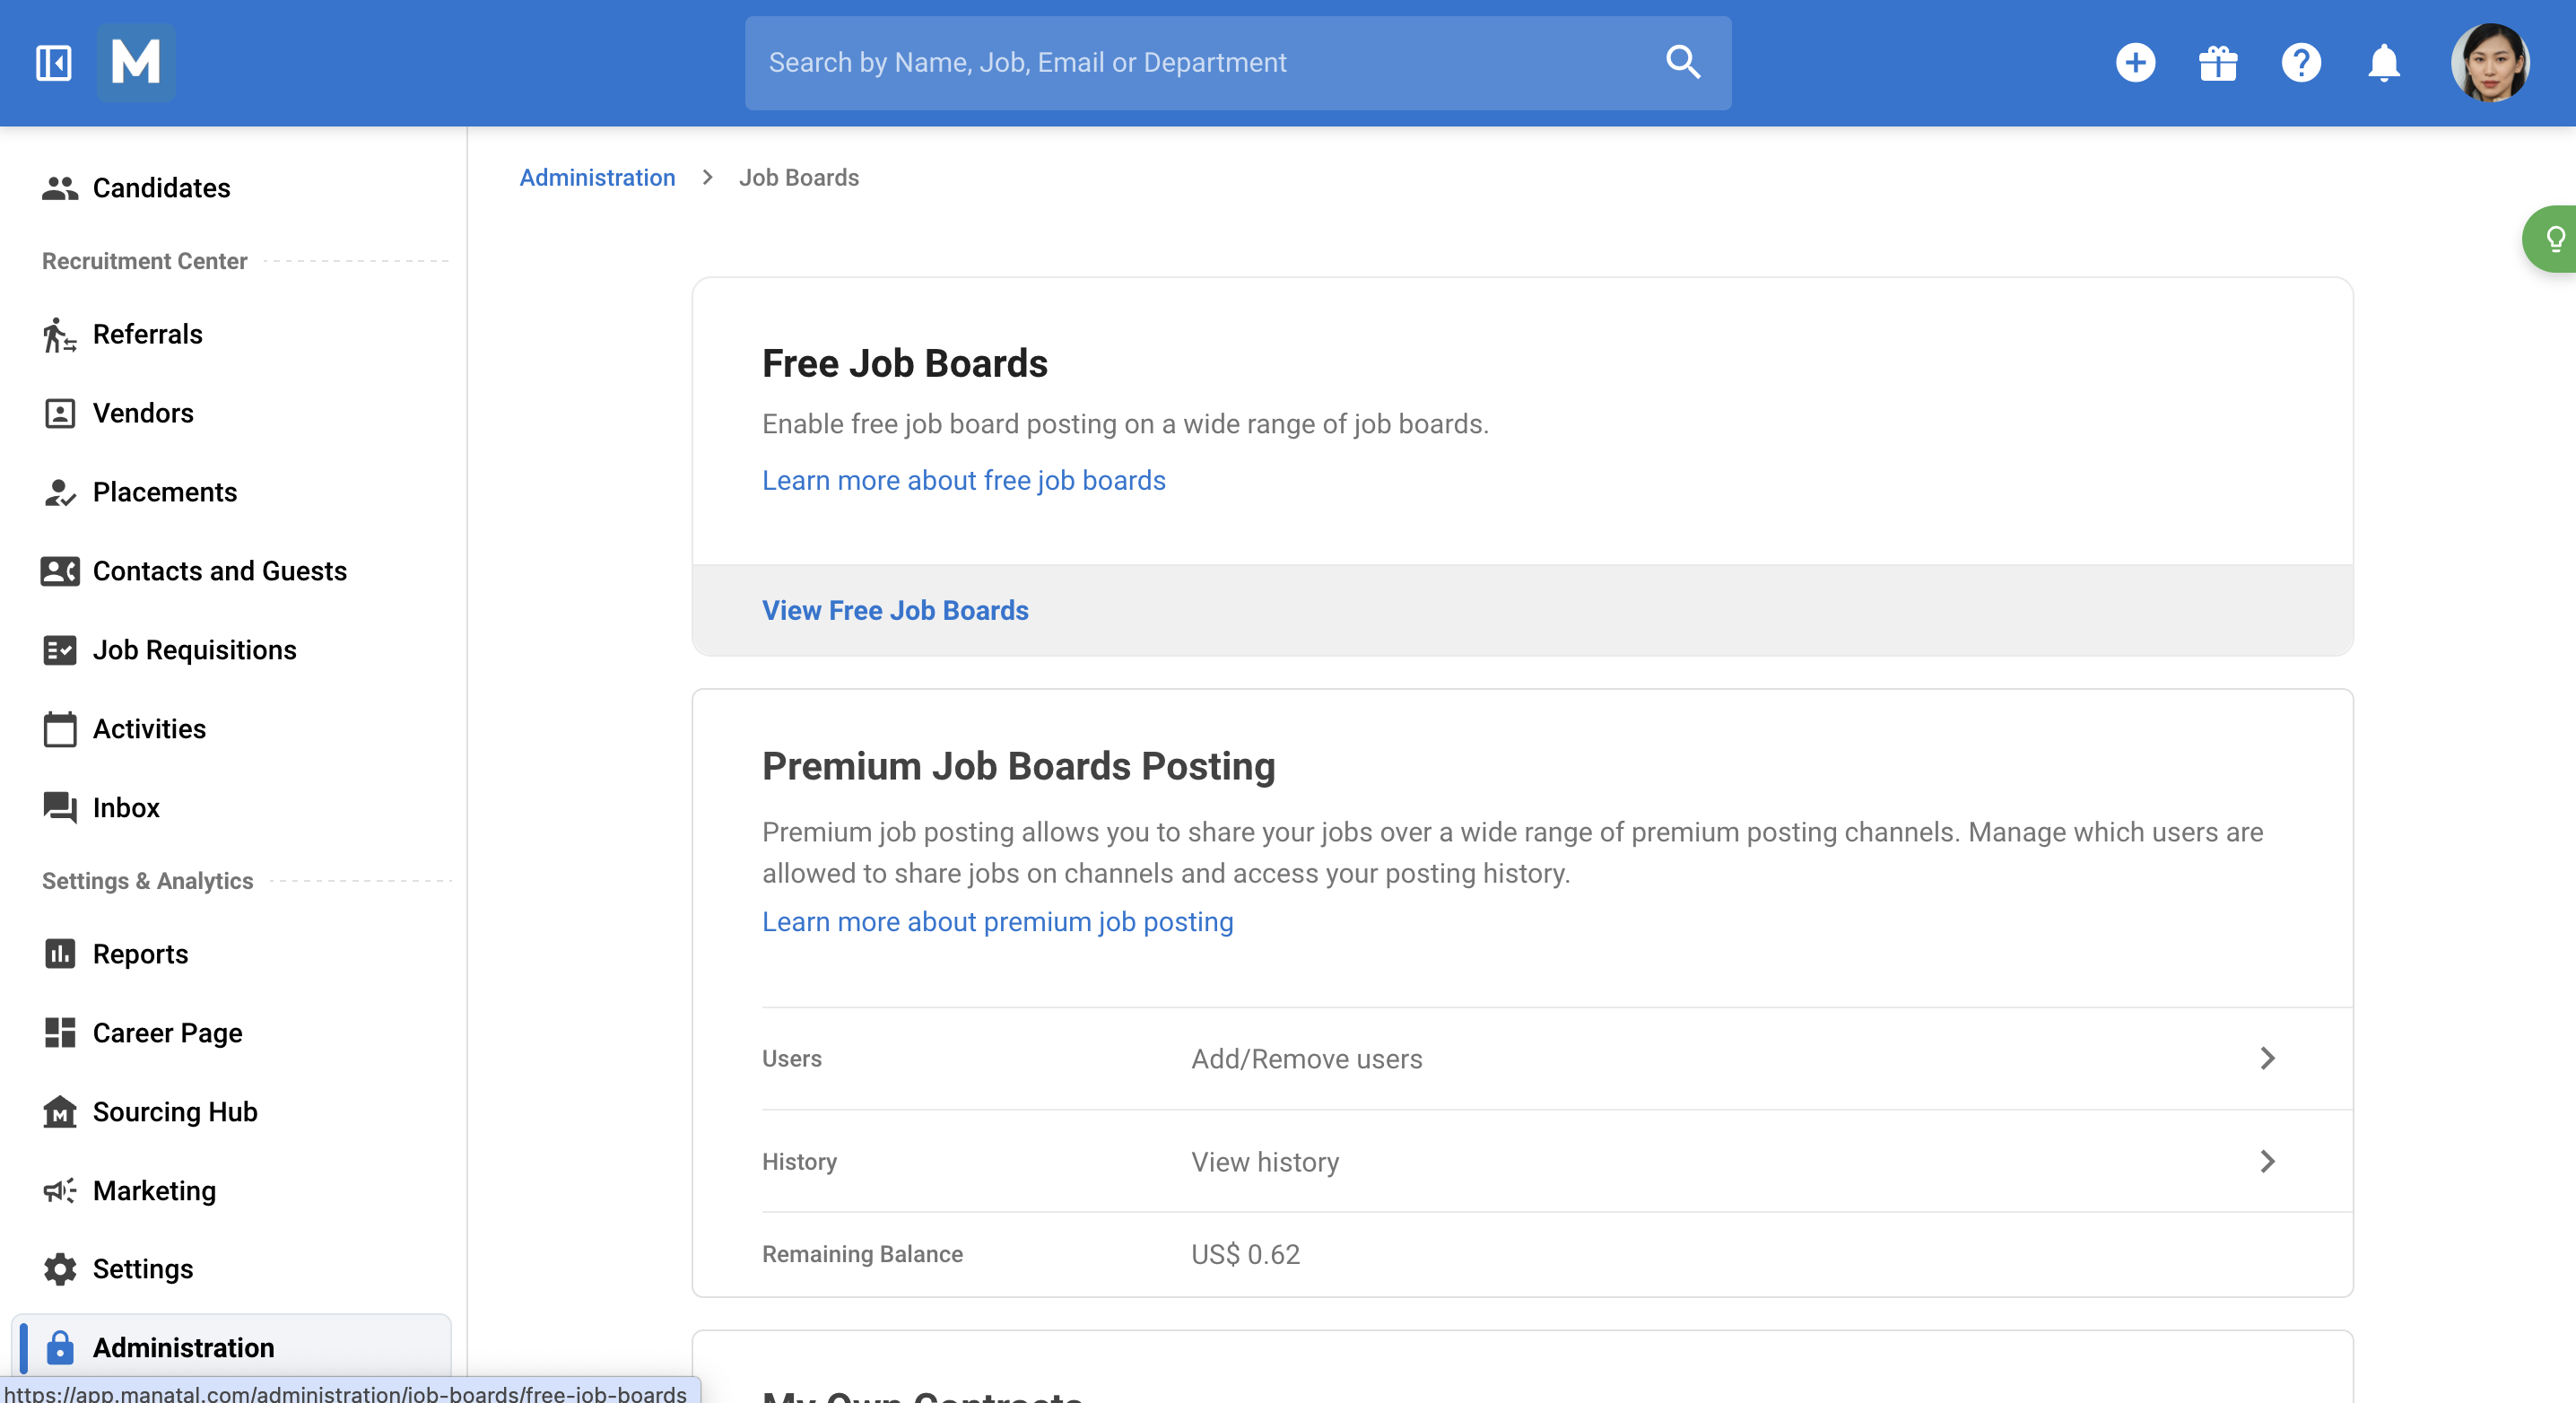
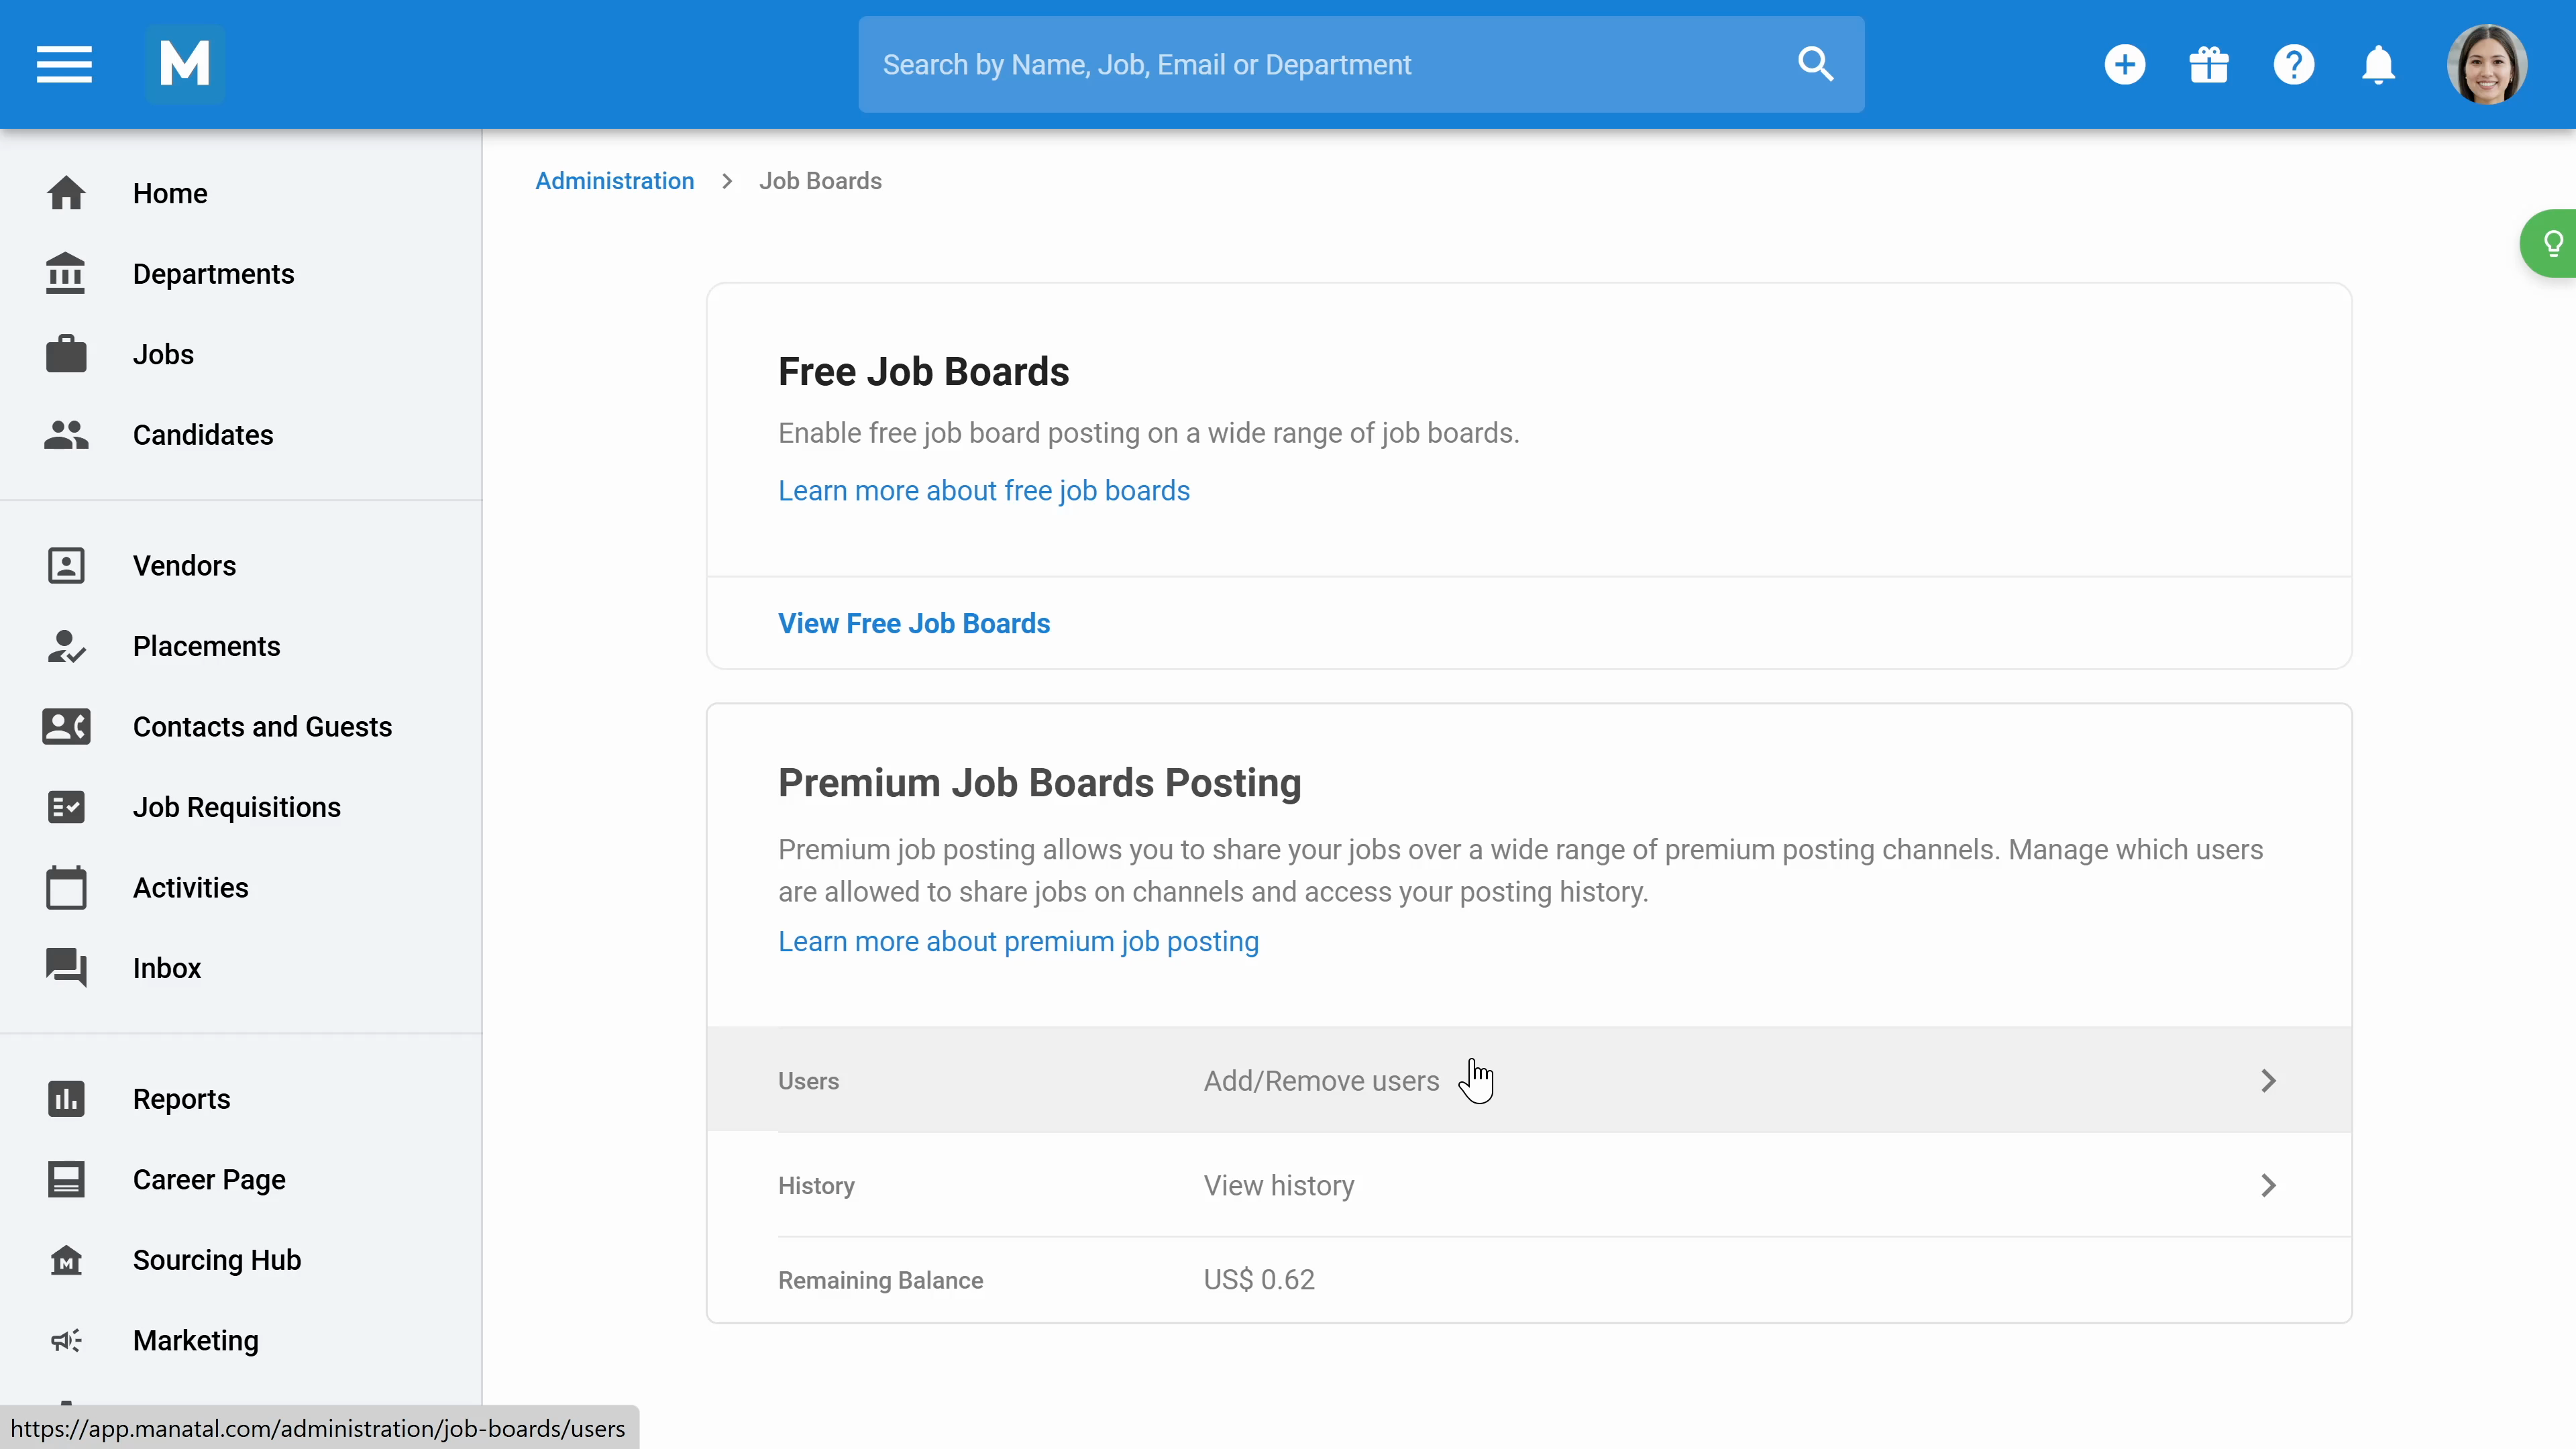
Step 9: Enable free Job Boards to post jobs on any of the 40 platforms for free. You can also give other users access to premium job board posting.
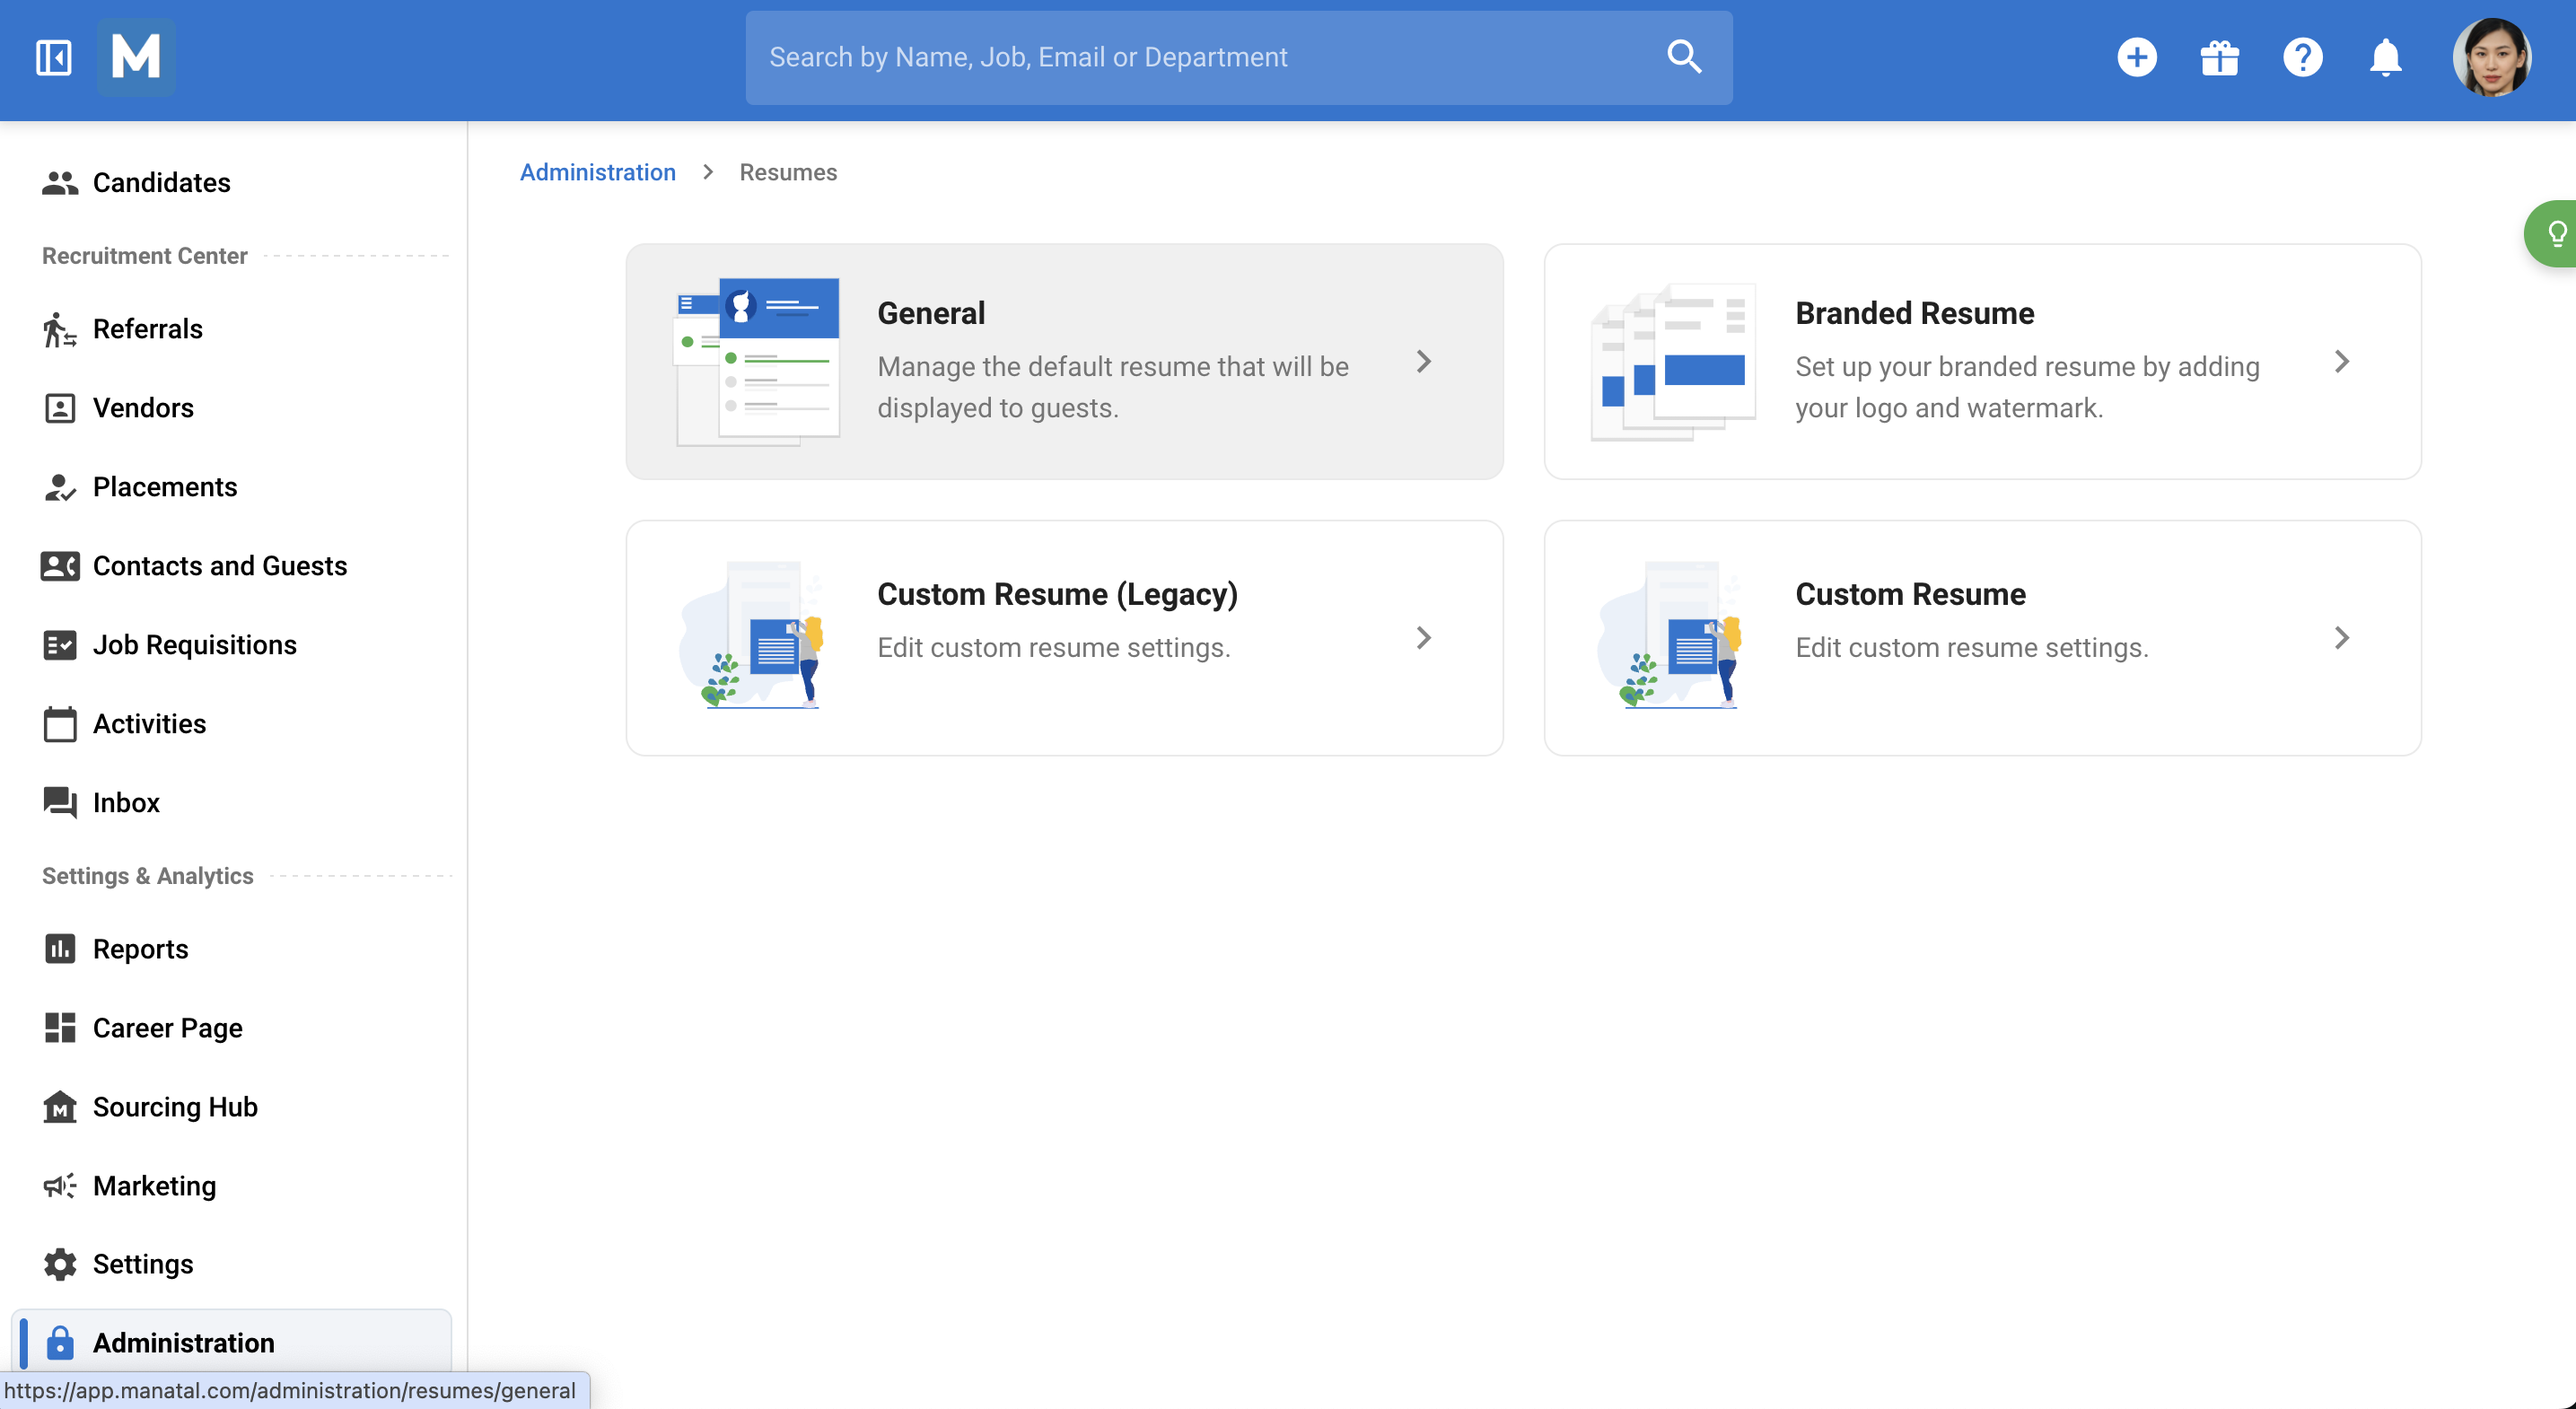
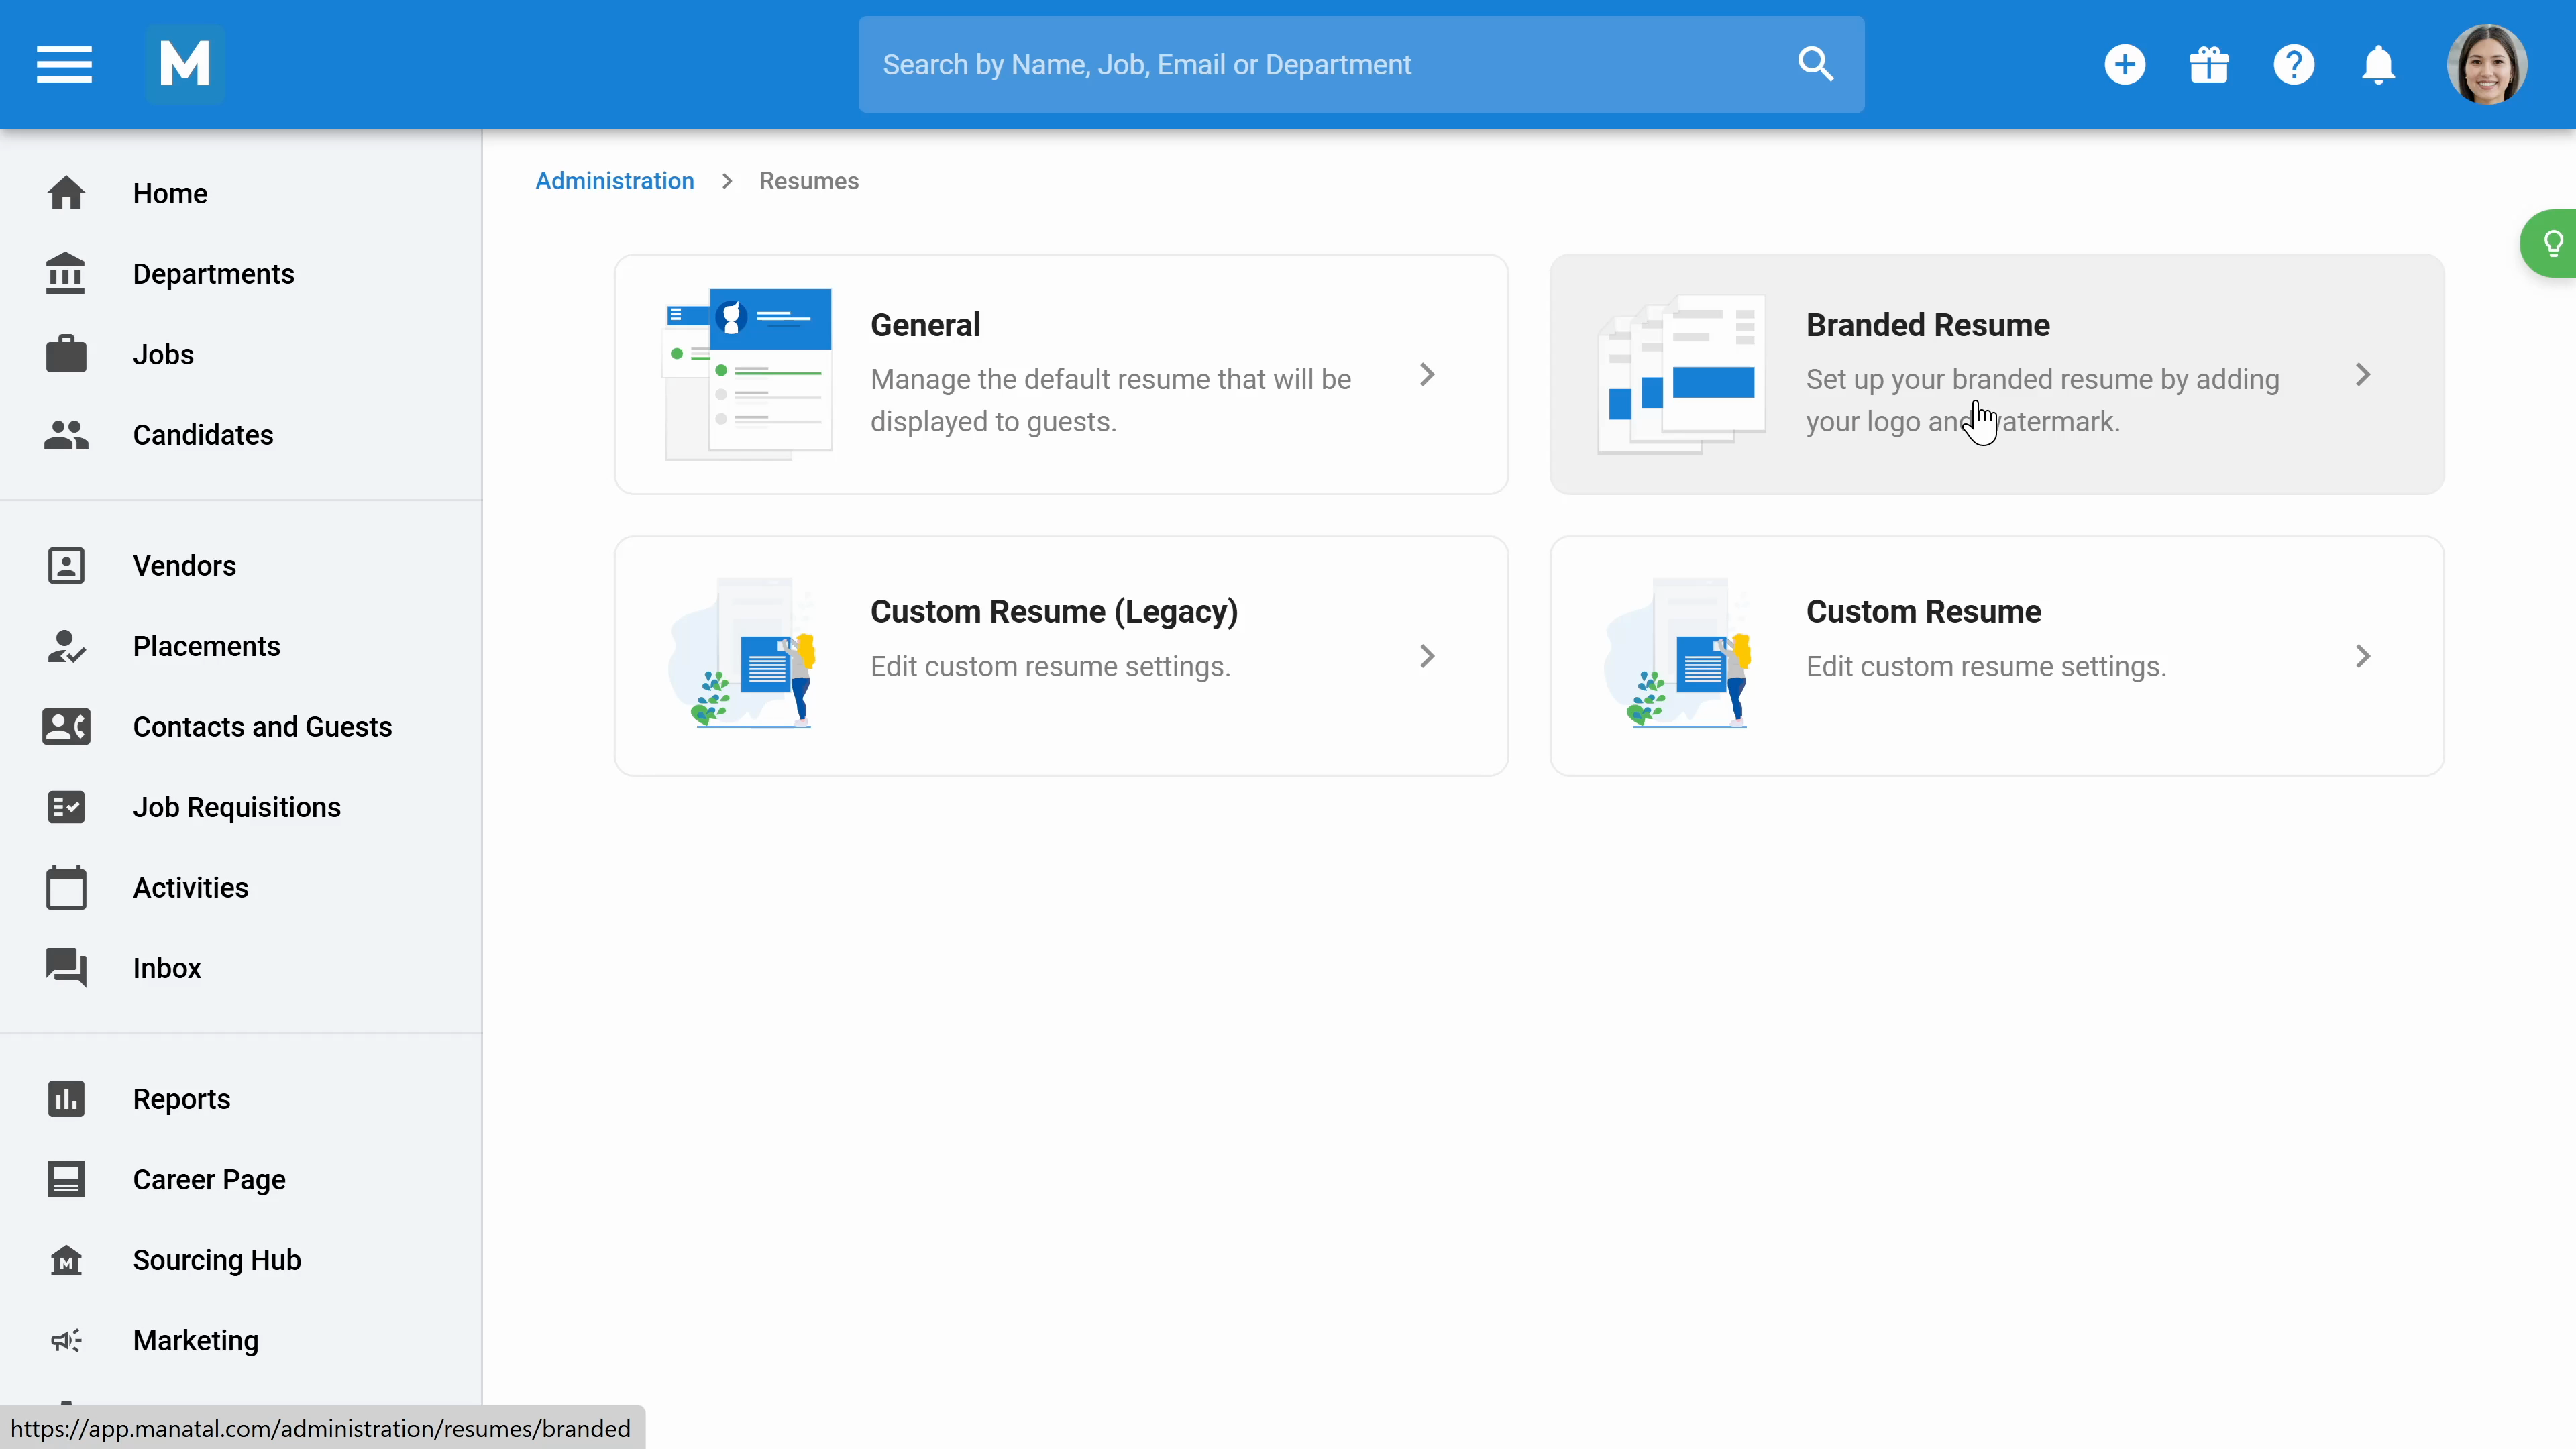
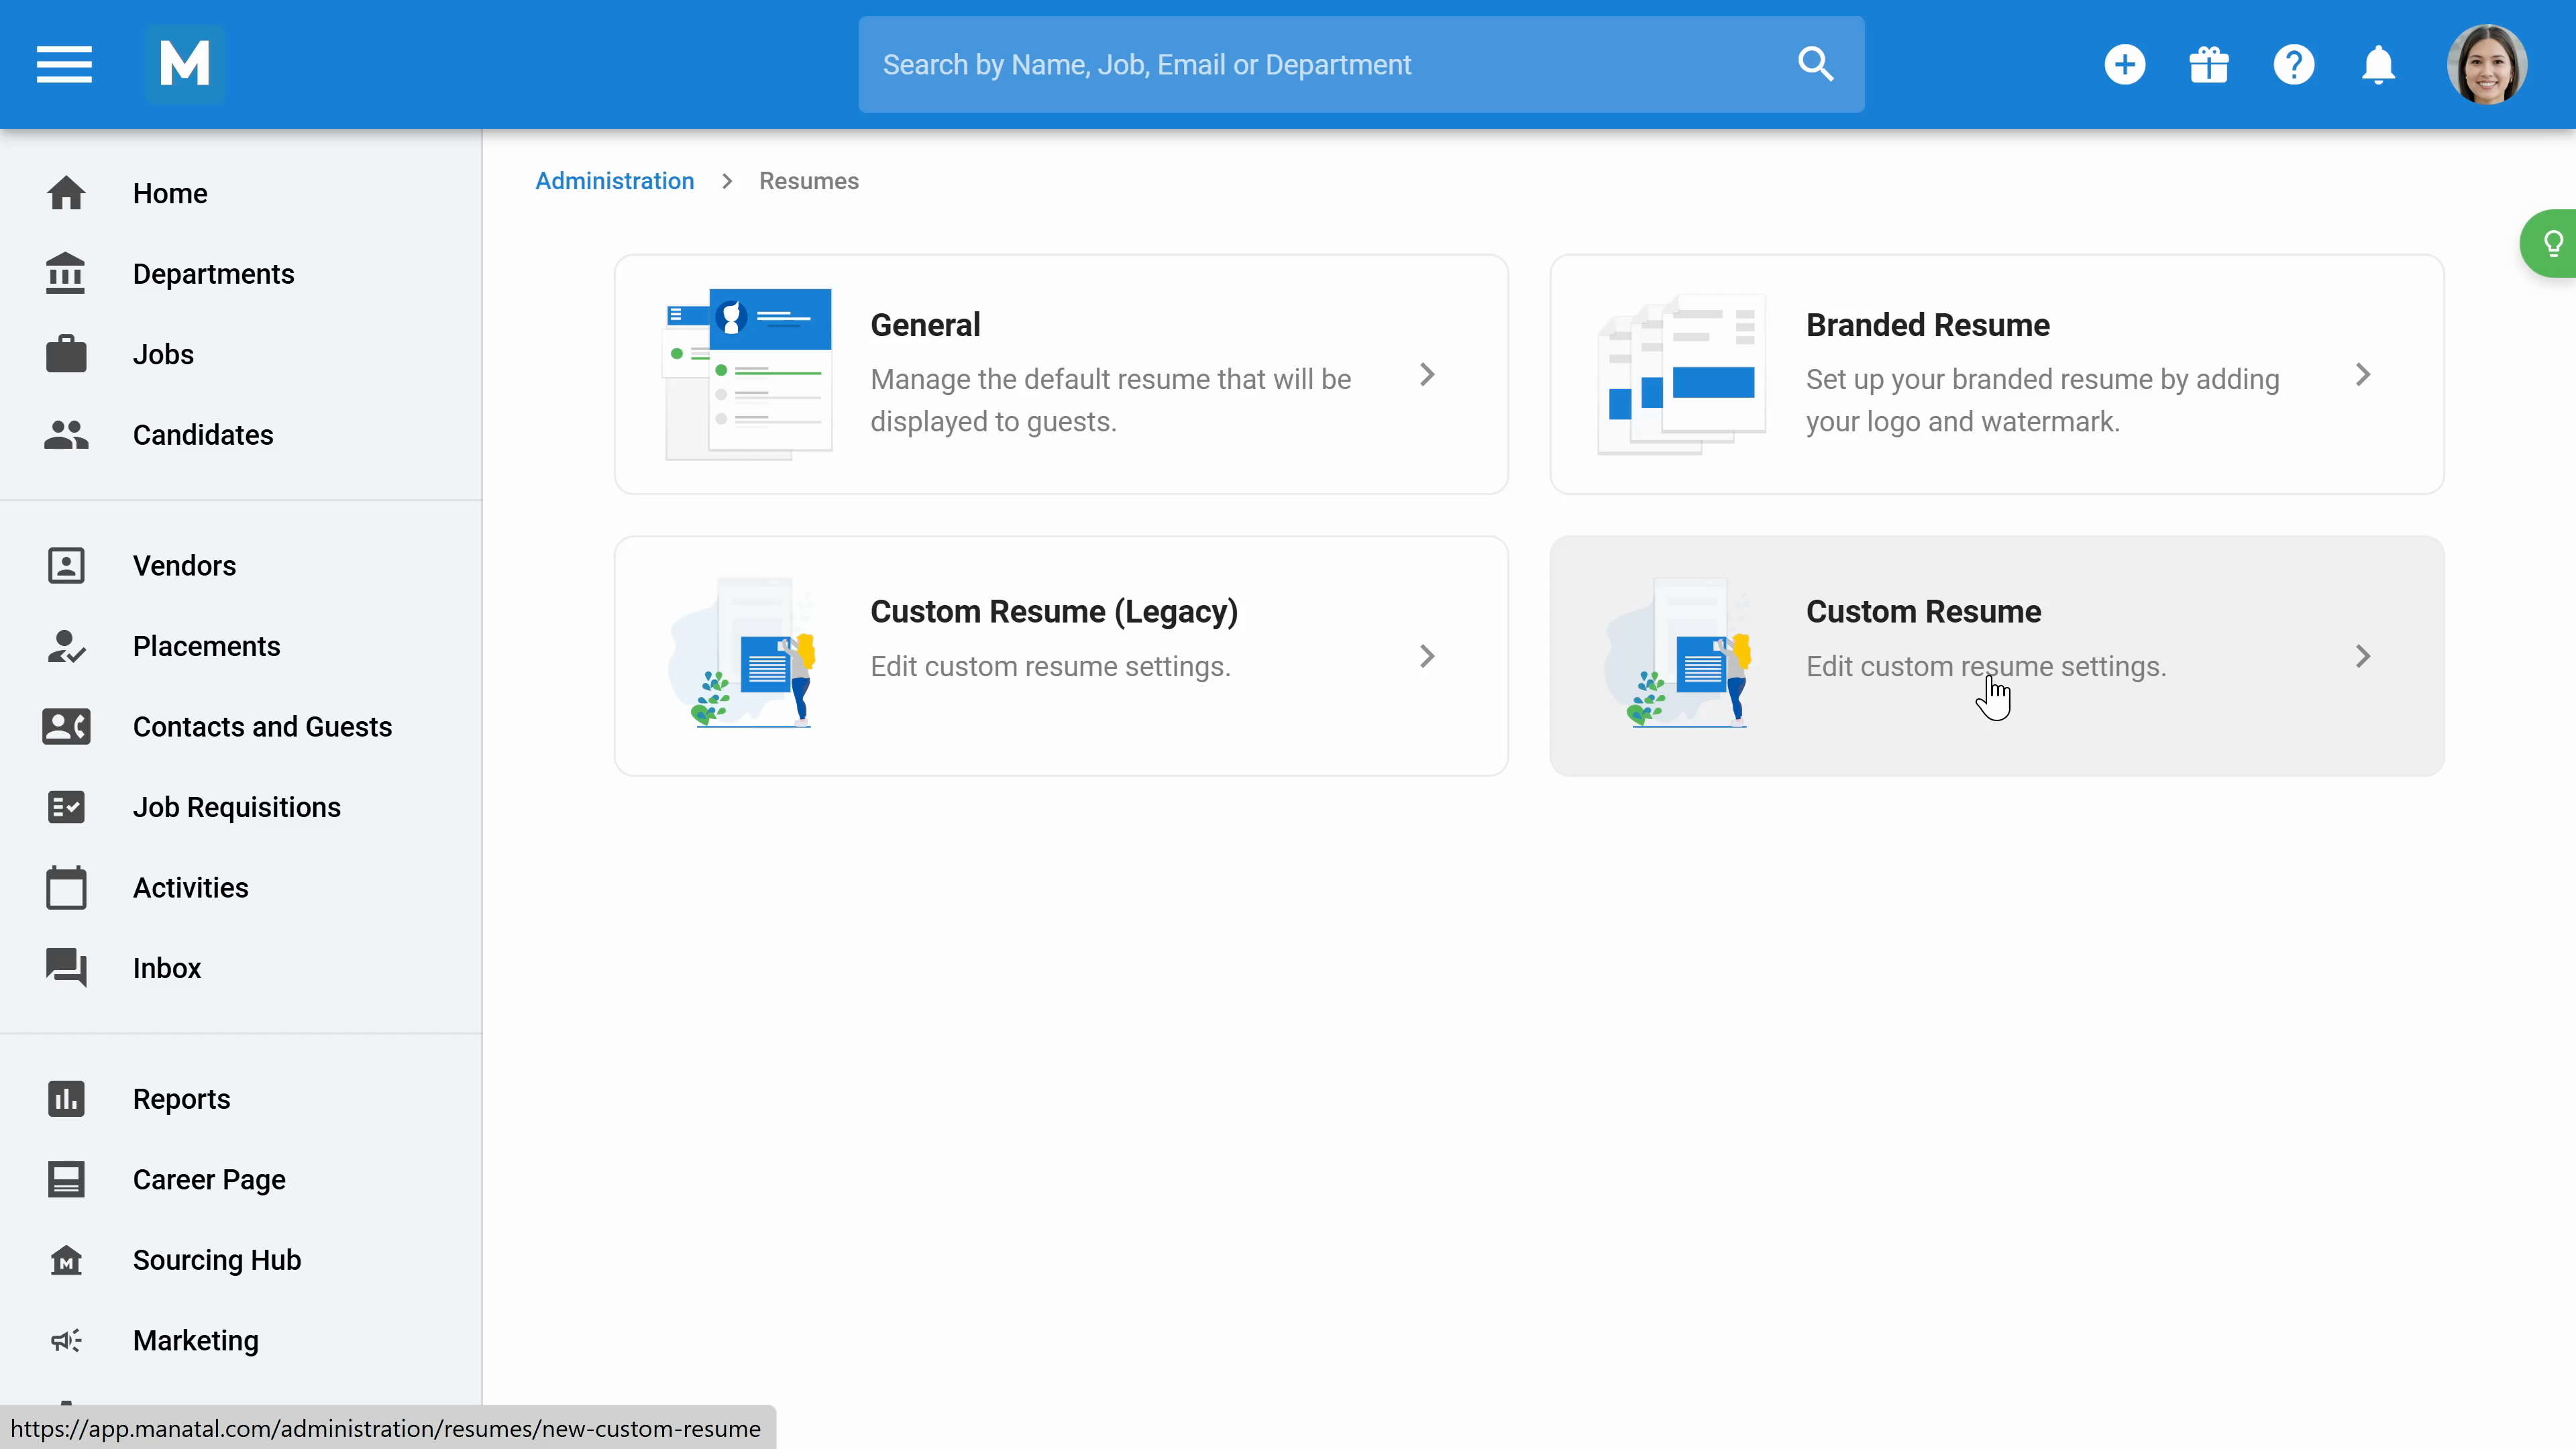
Step 10: You can define which resume will be visible to a guest in the Resumes section. You can also brand the resume and set up a custom resume template.
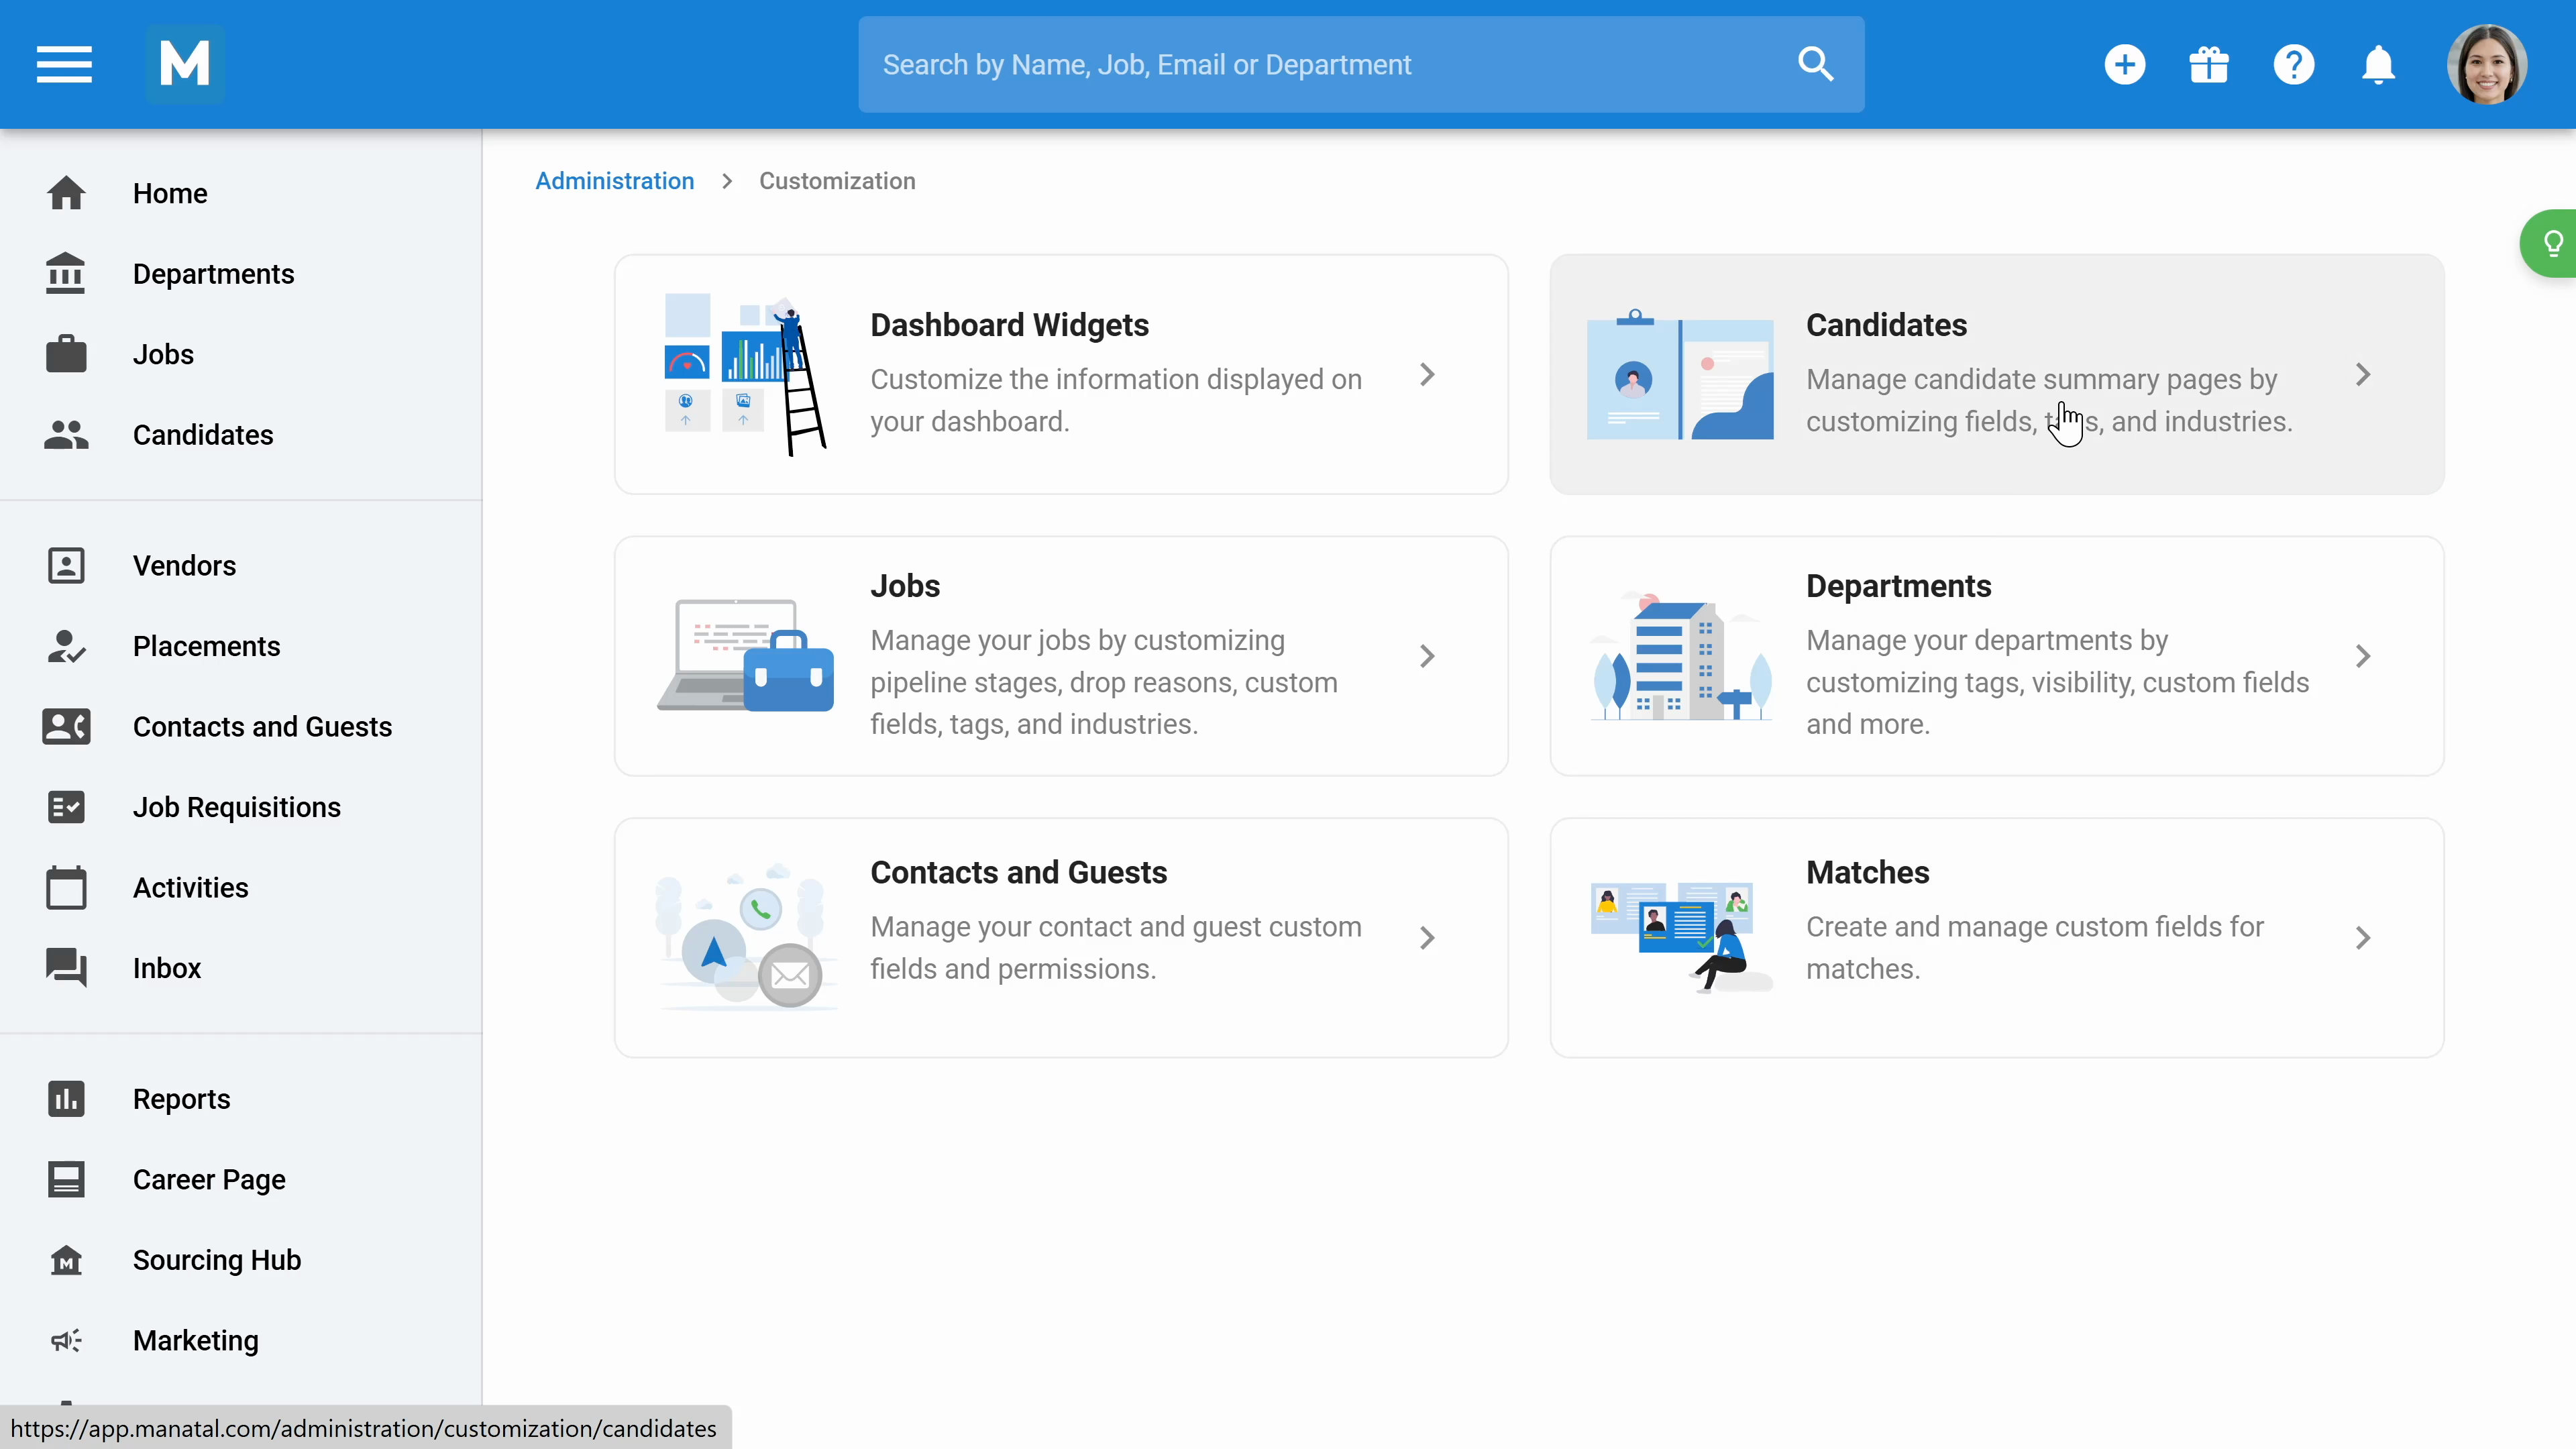
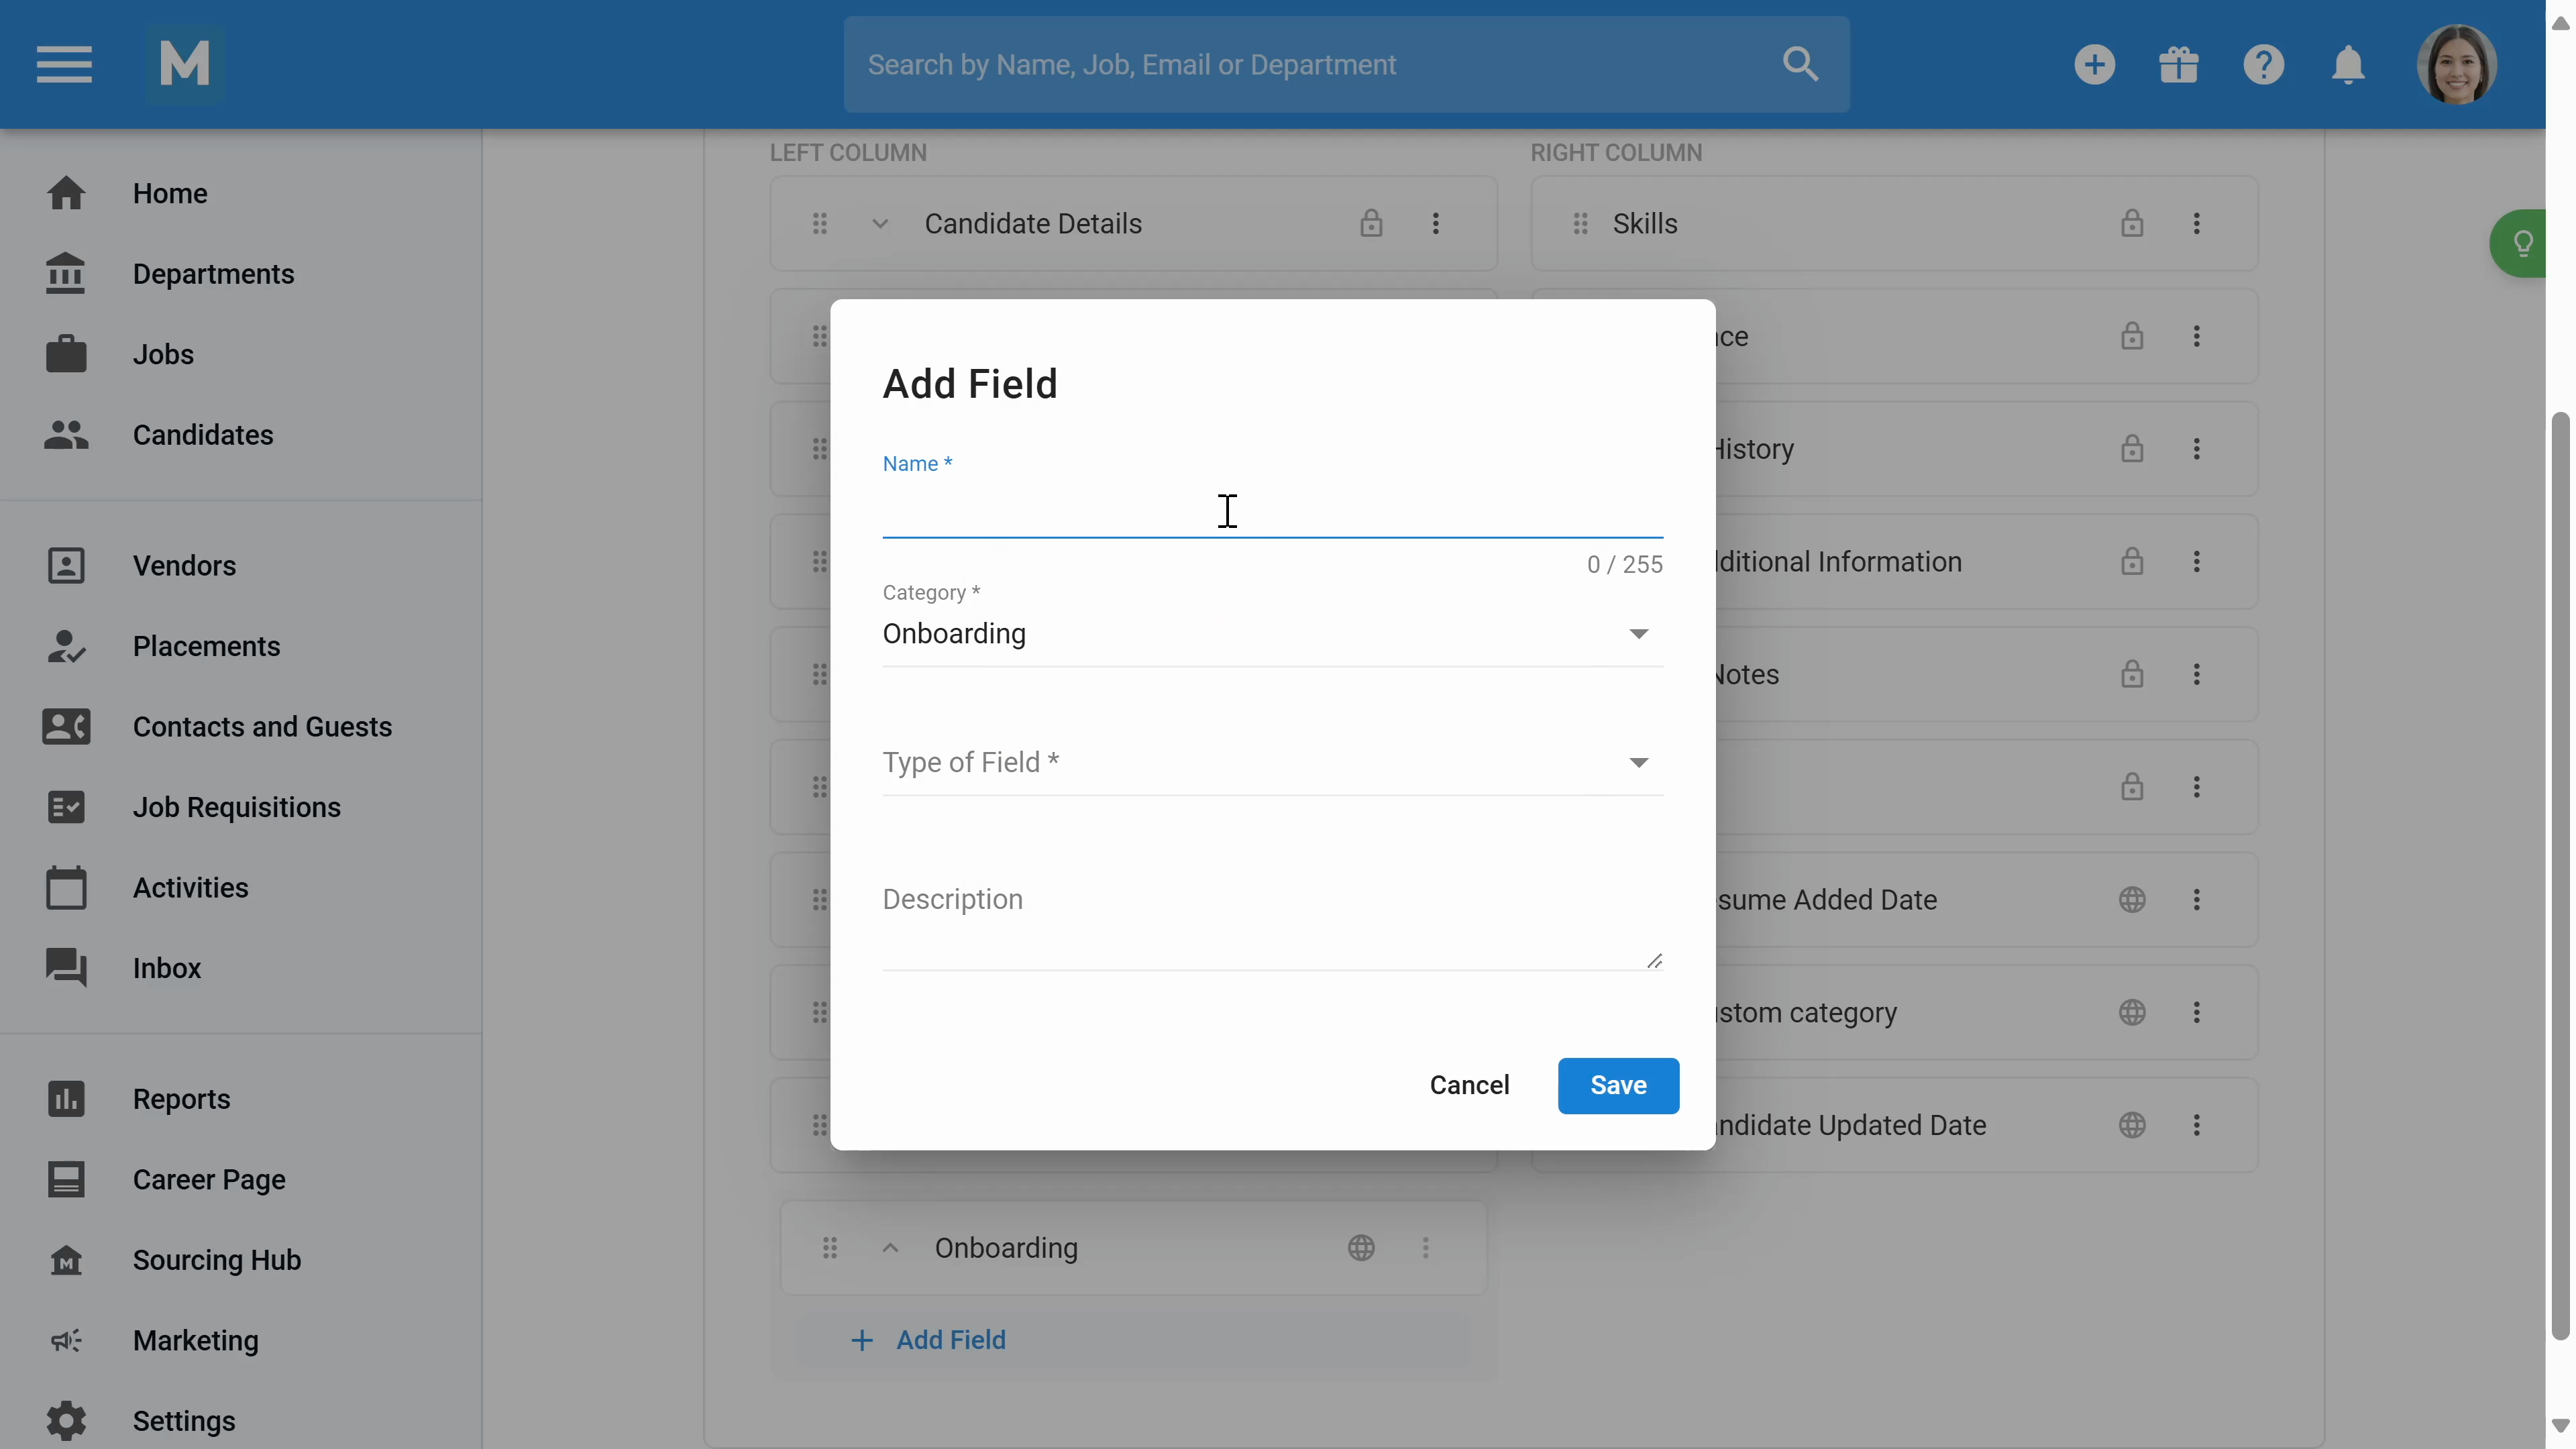
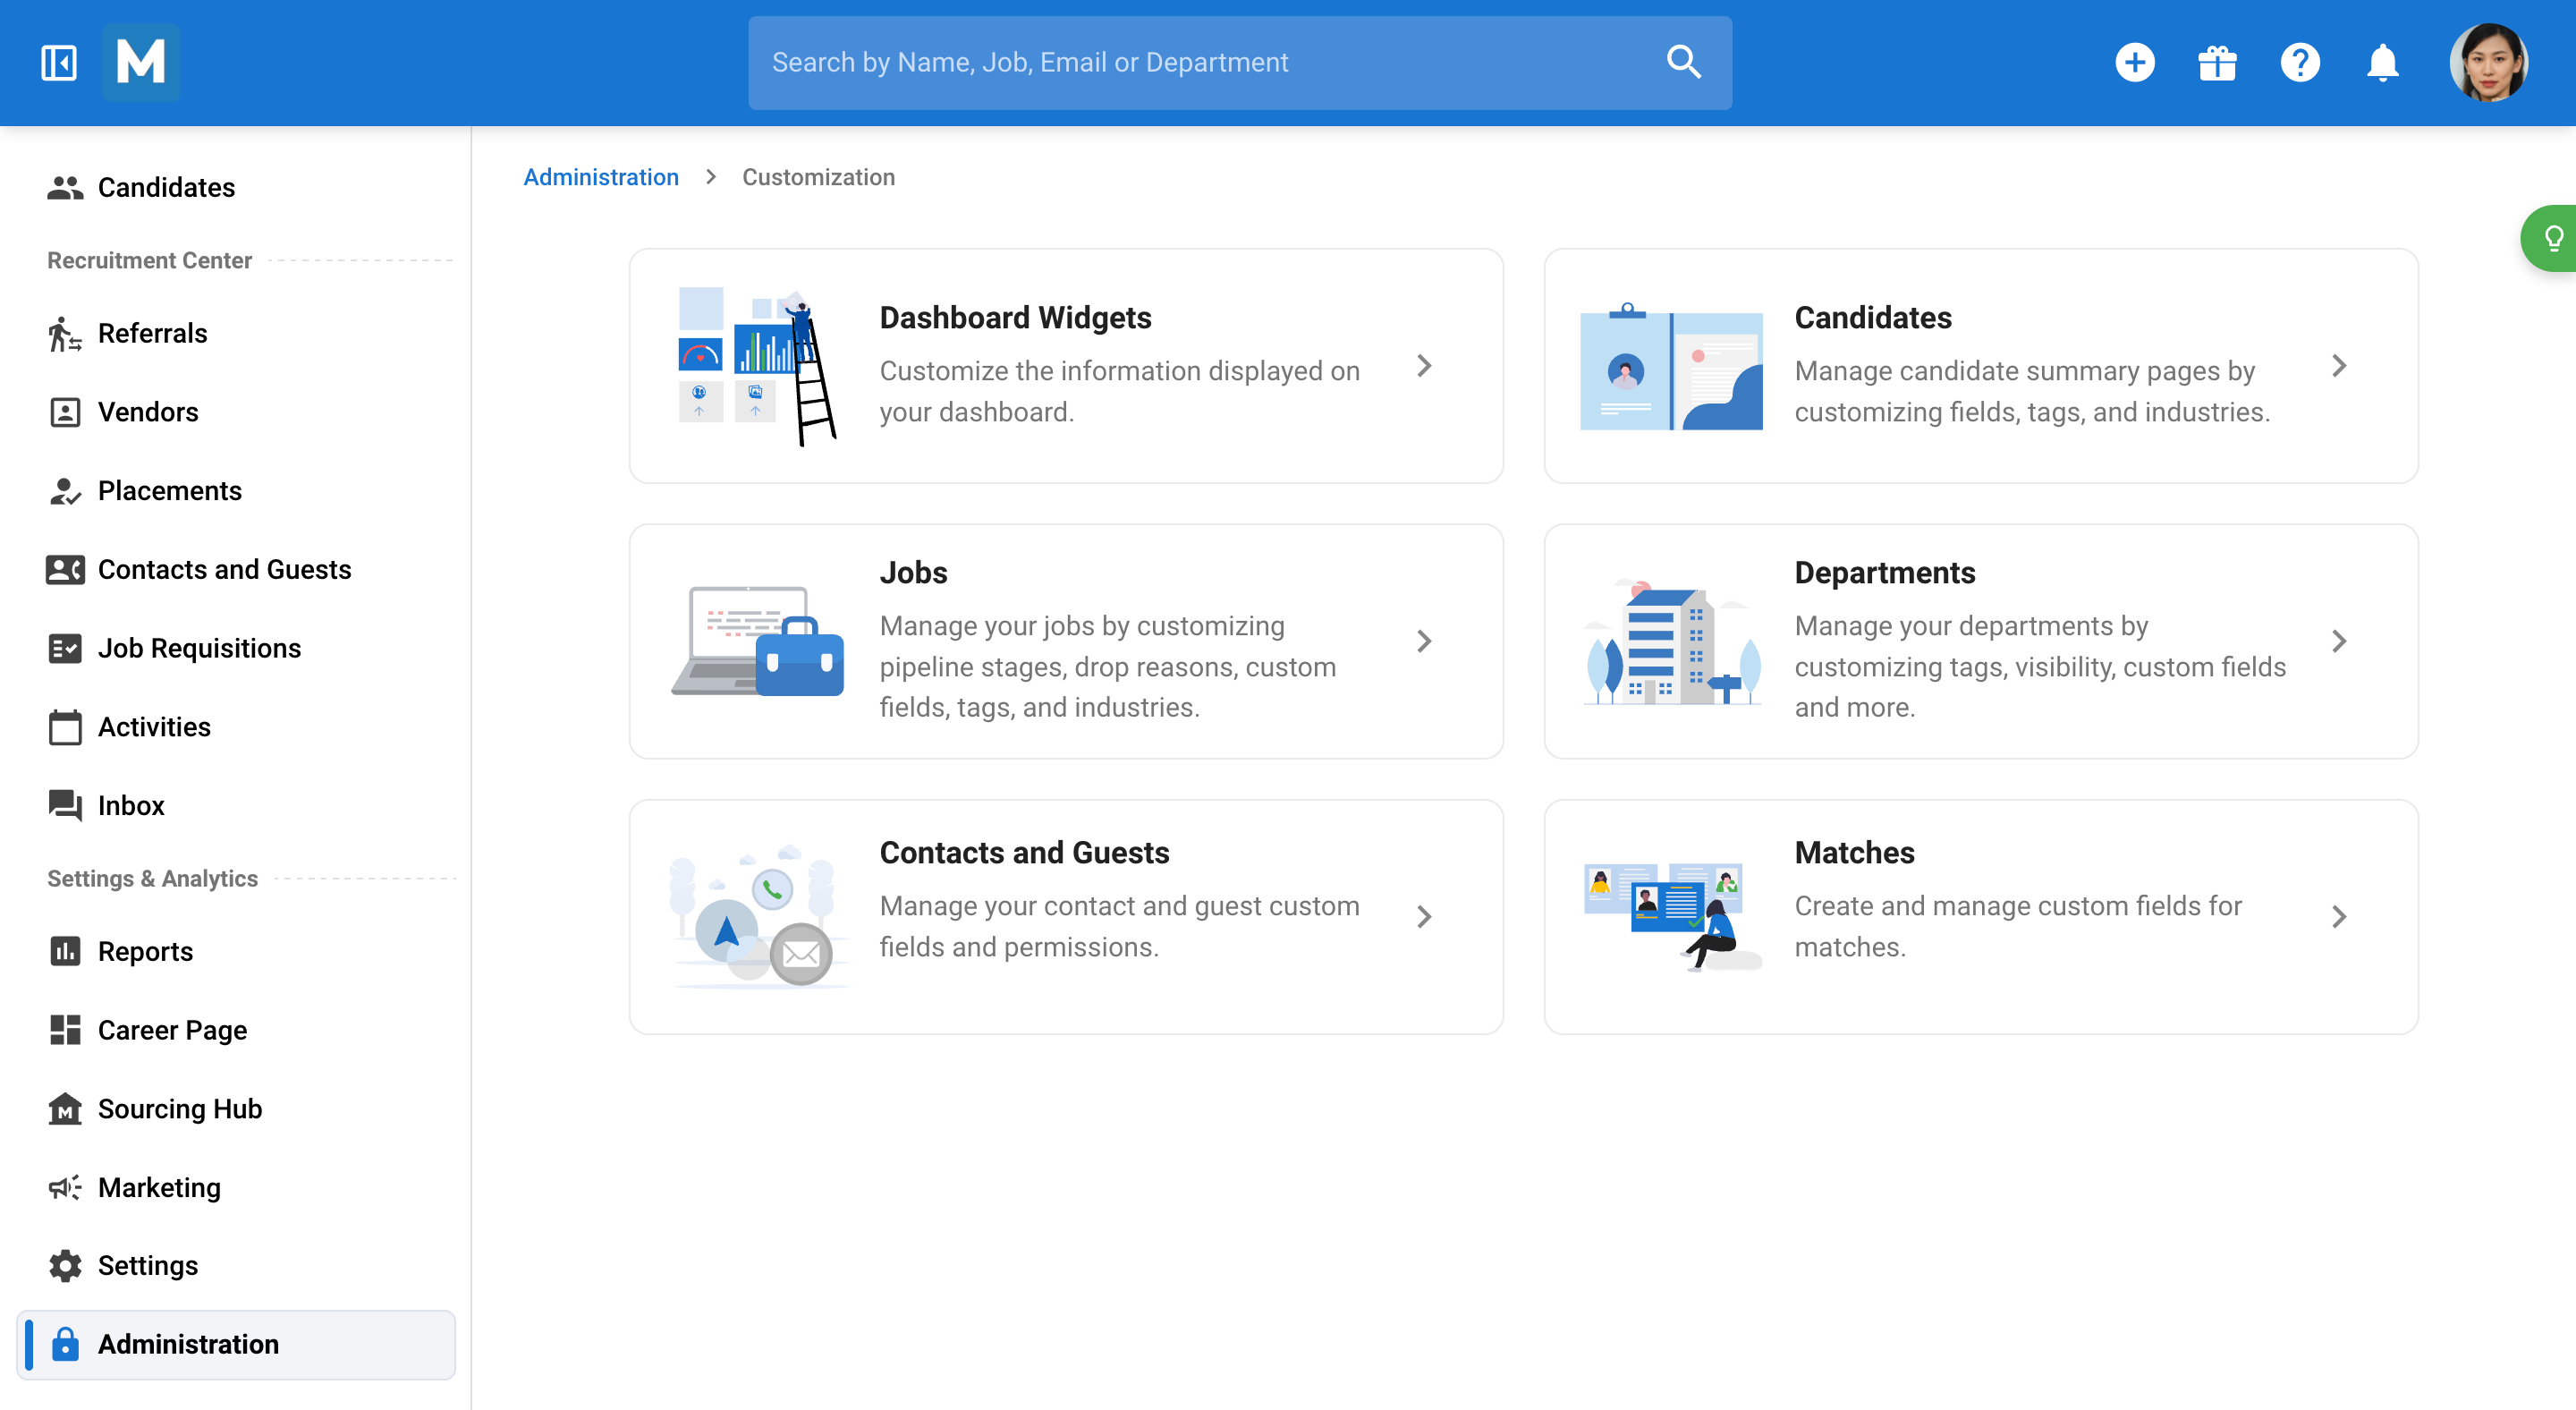
Step 11: Customize your account in the Customization section. Here, you can modify candidates, create custom fields, and add existing fields to an existing category.
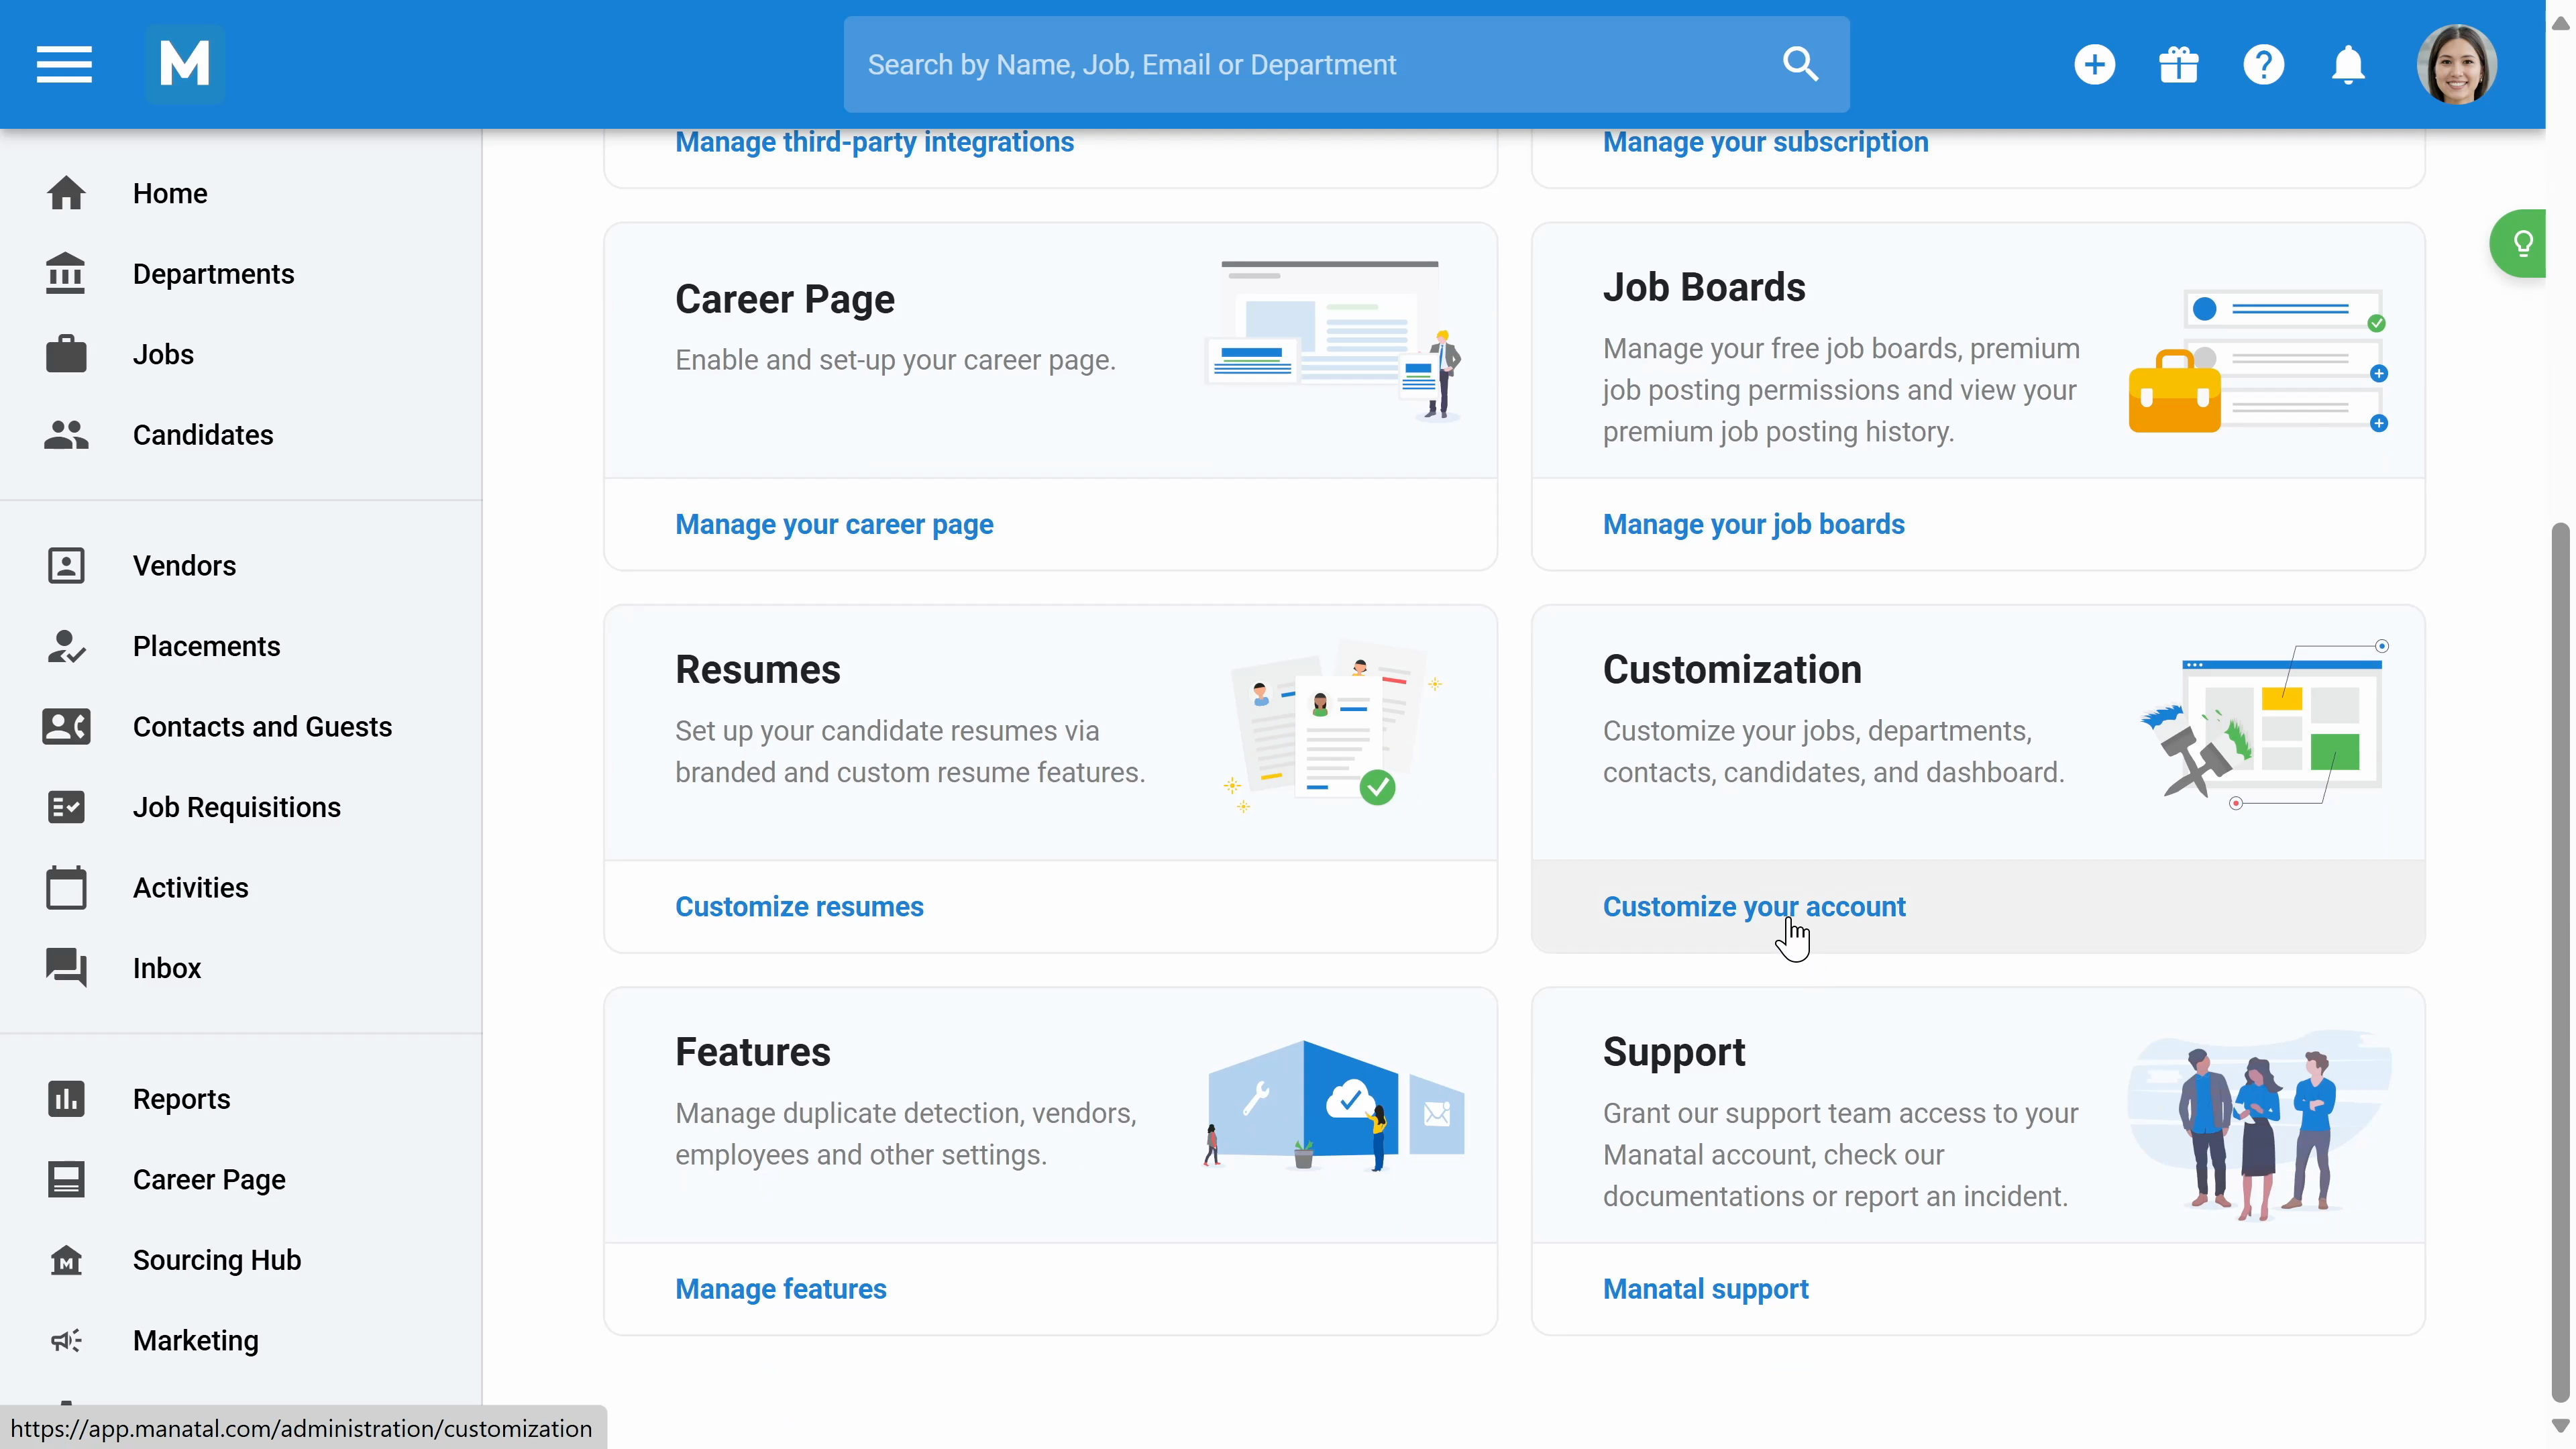
Step 12: Customize jobs, departments, contacts, and guests. You can manage the visibility of each department, set up key pipeline stages, and create custom fields.
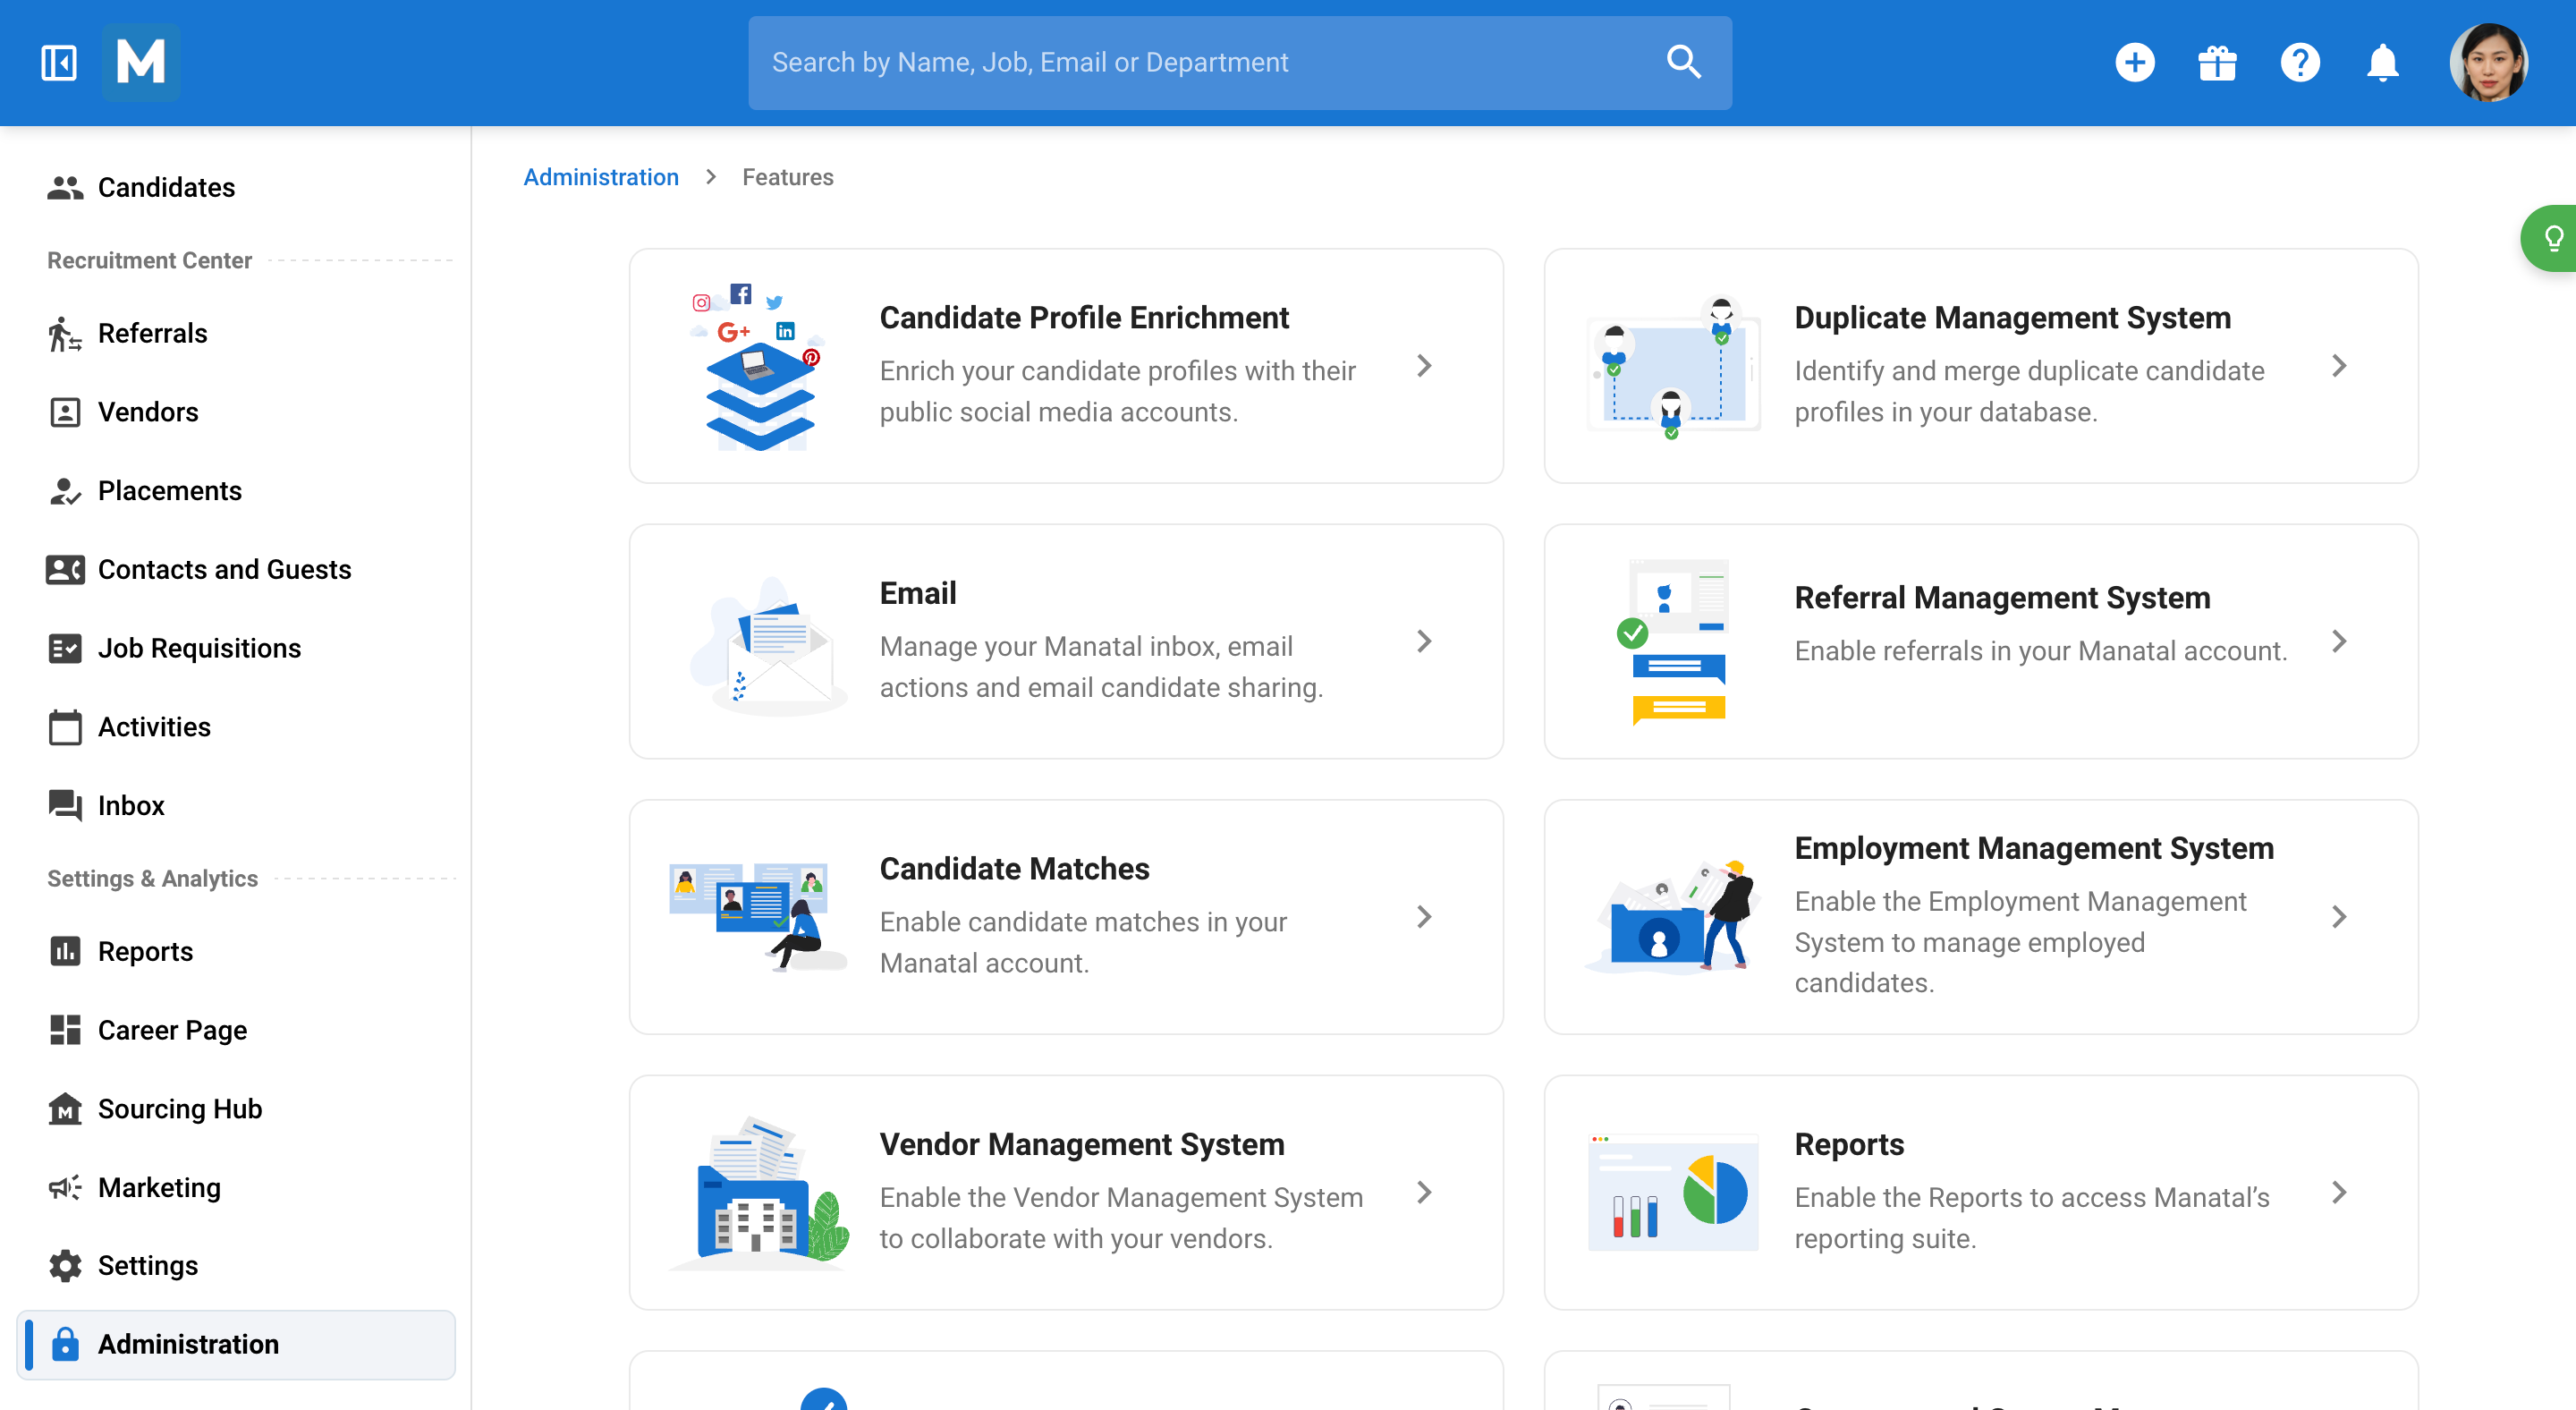
Step 13: In the Features section, you can enable the features such as the duplicate management system, referral management, and Manatal AI Candidate Scorecards.
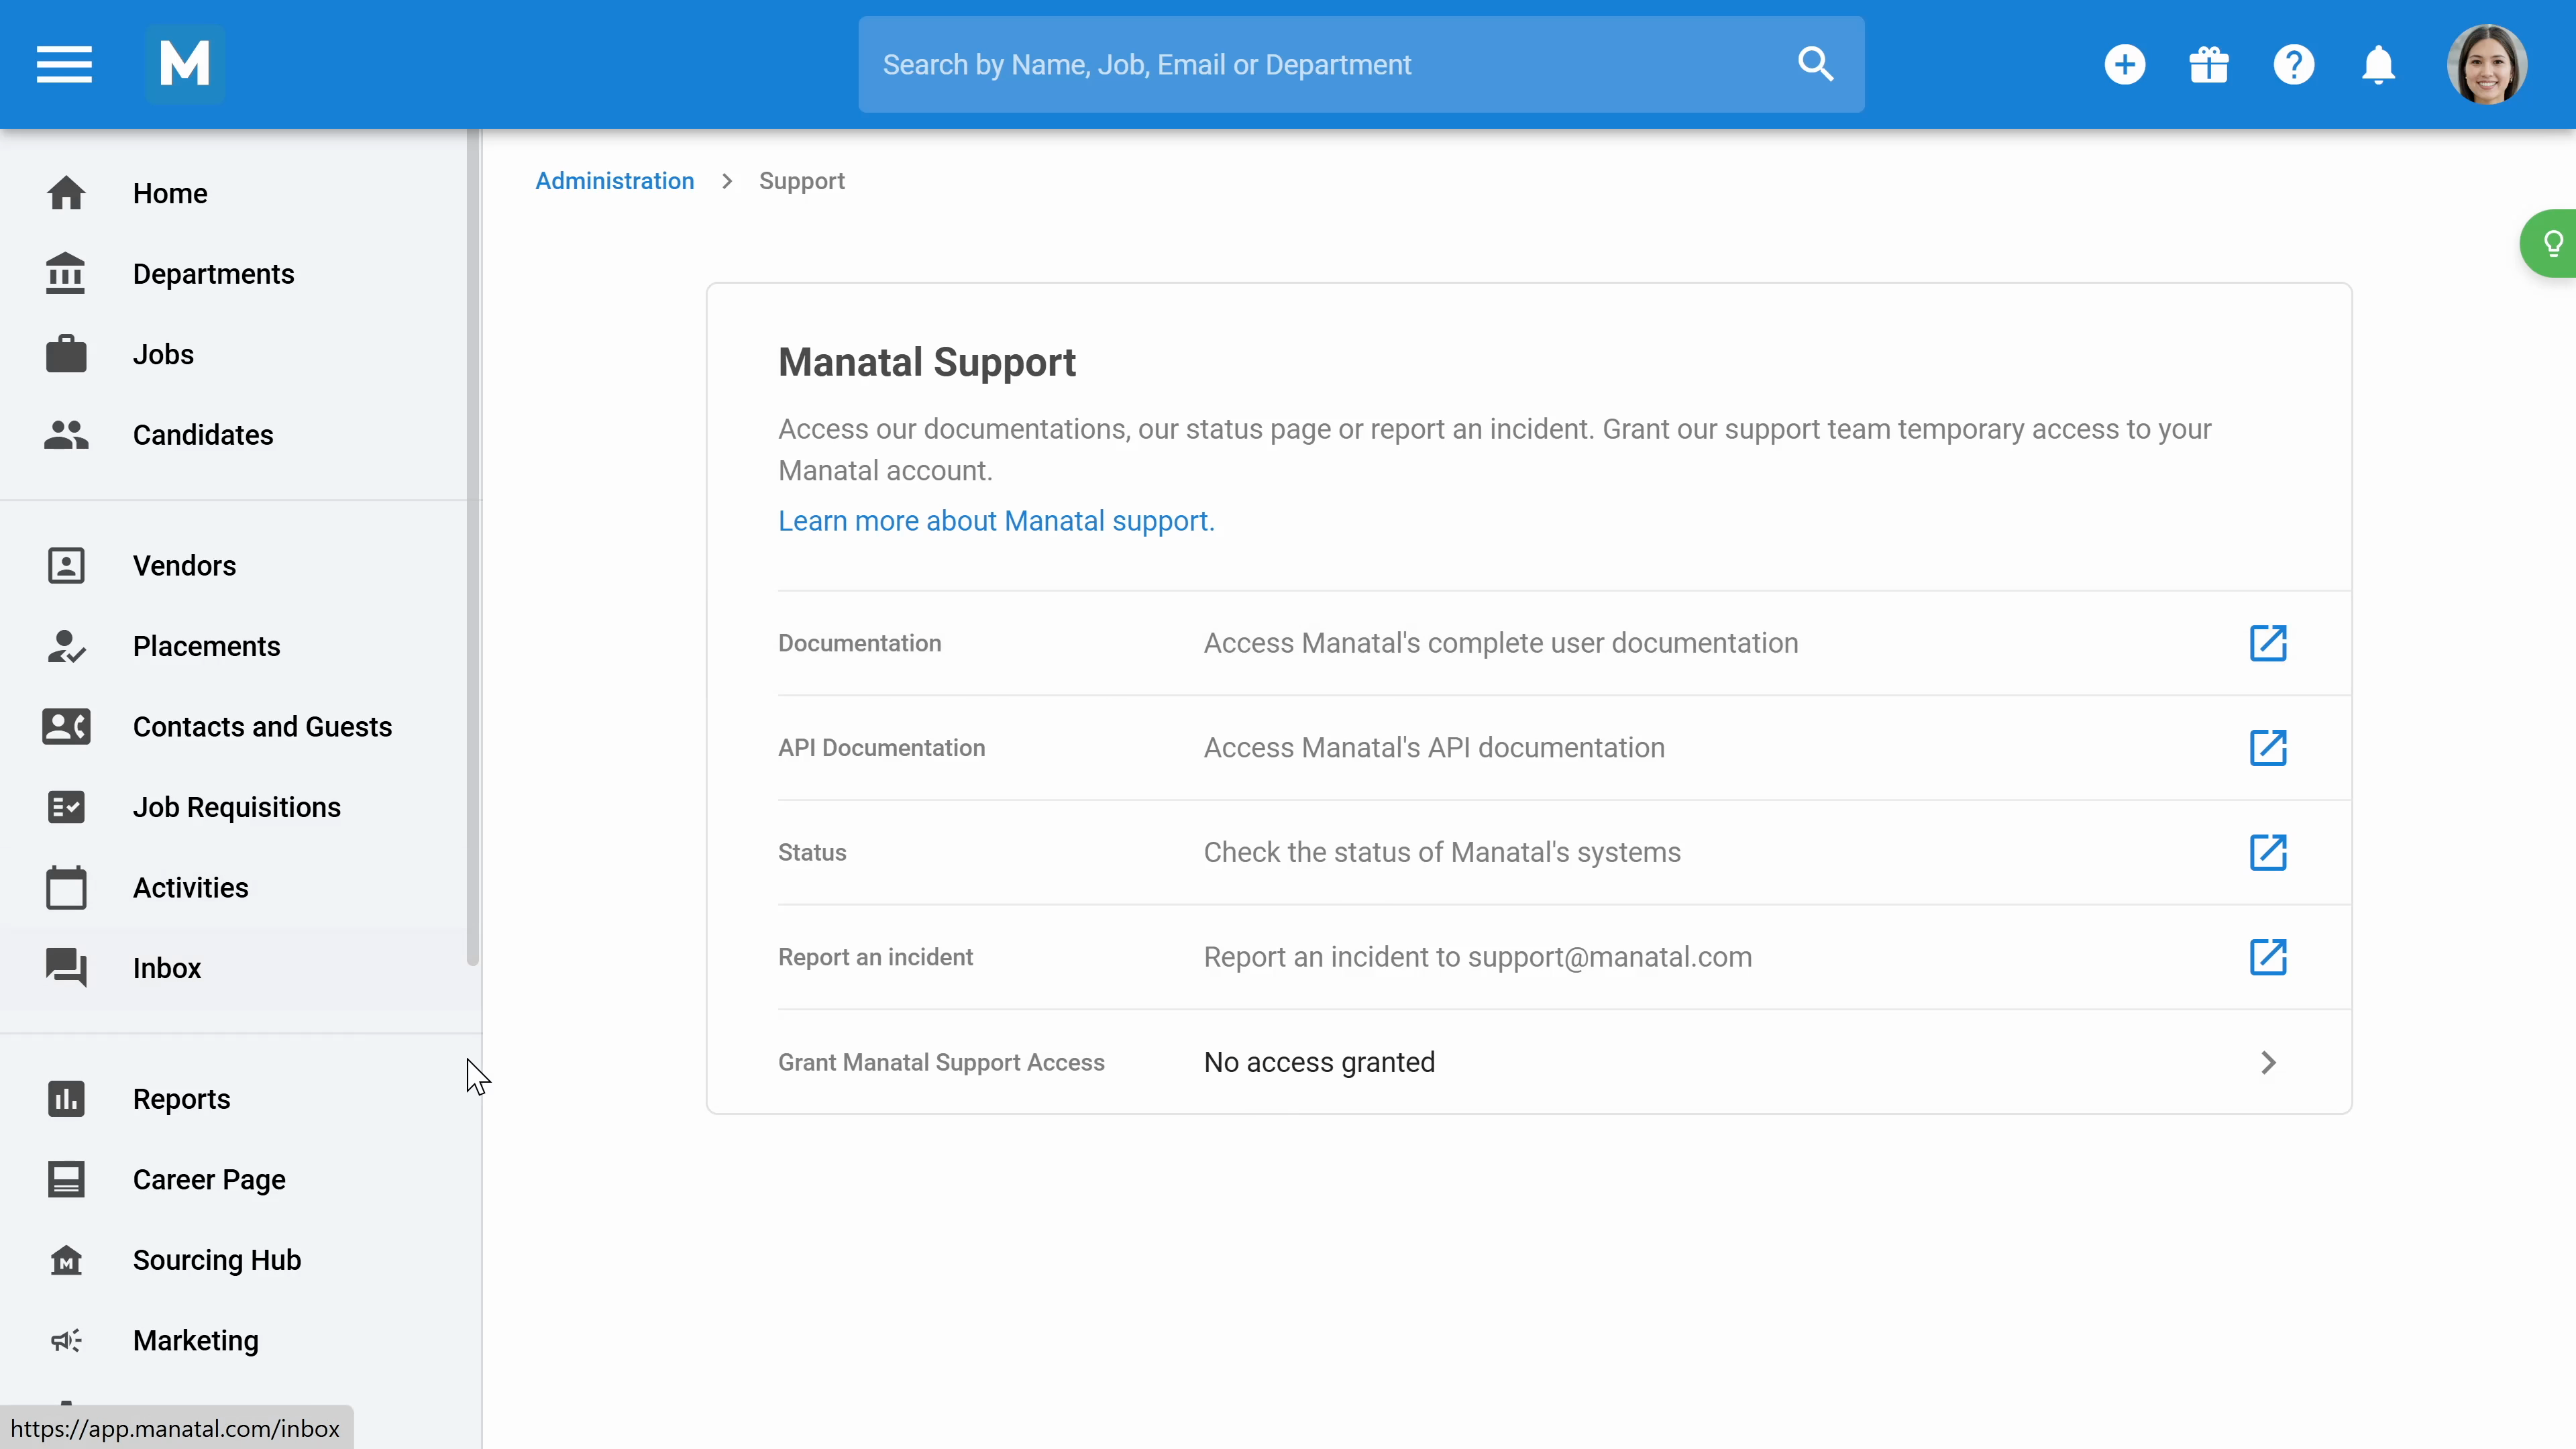
Step 14: Access Support to report an incident or access documentation.
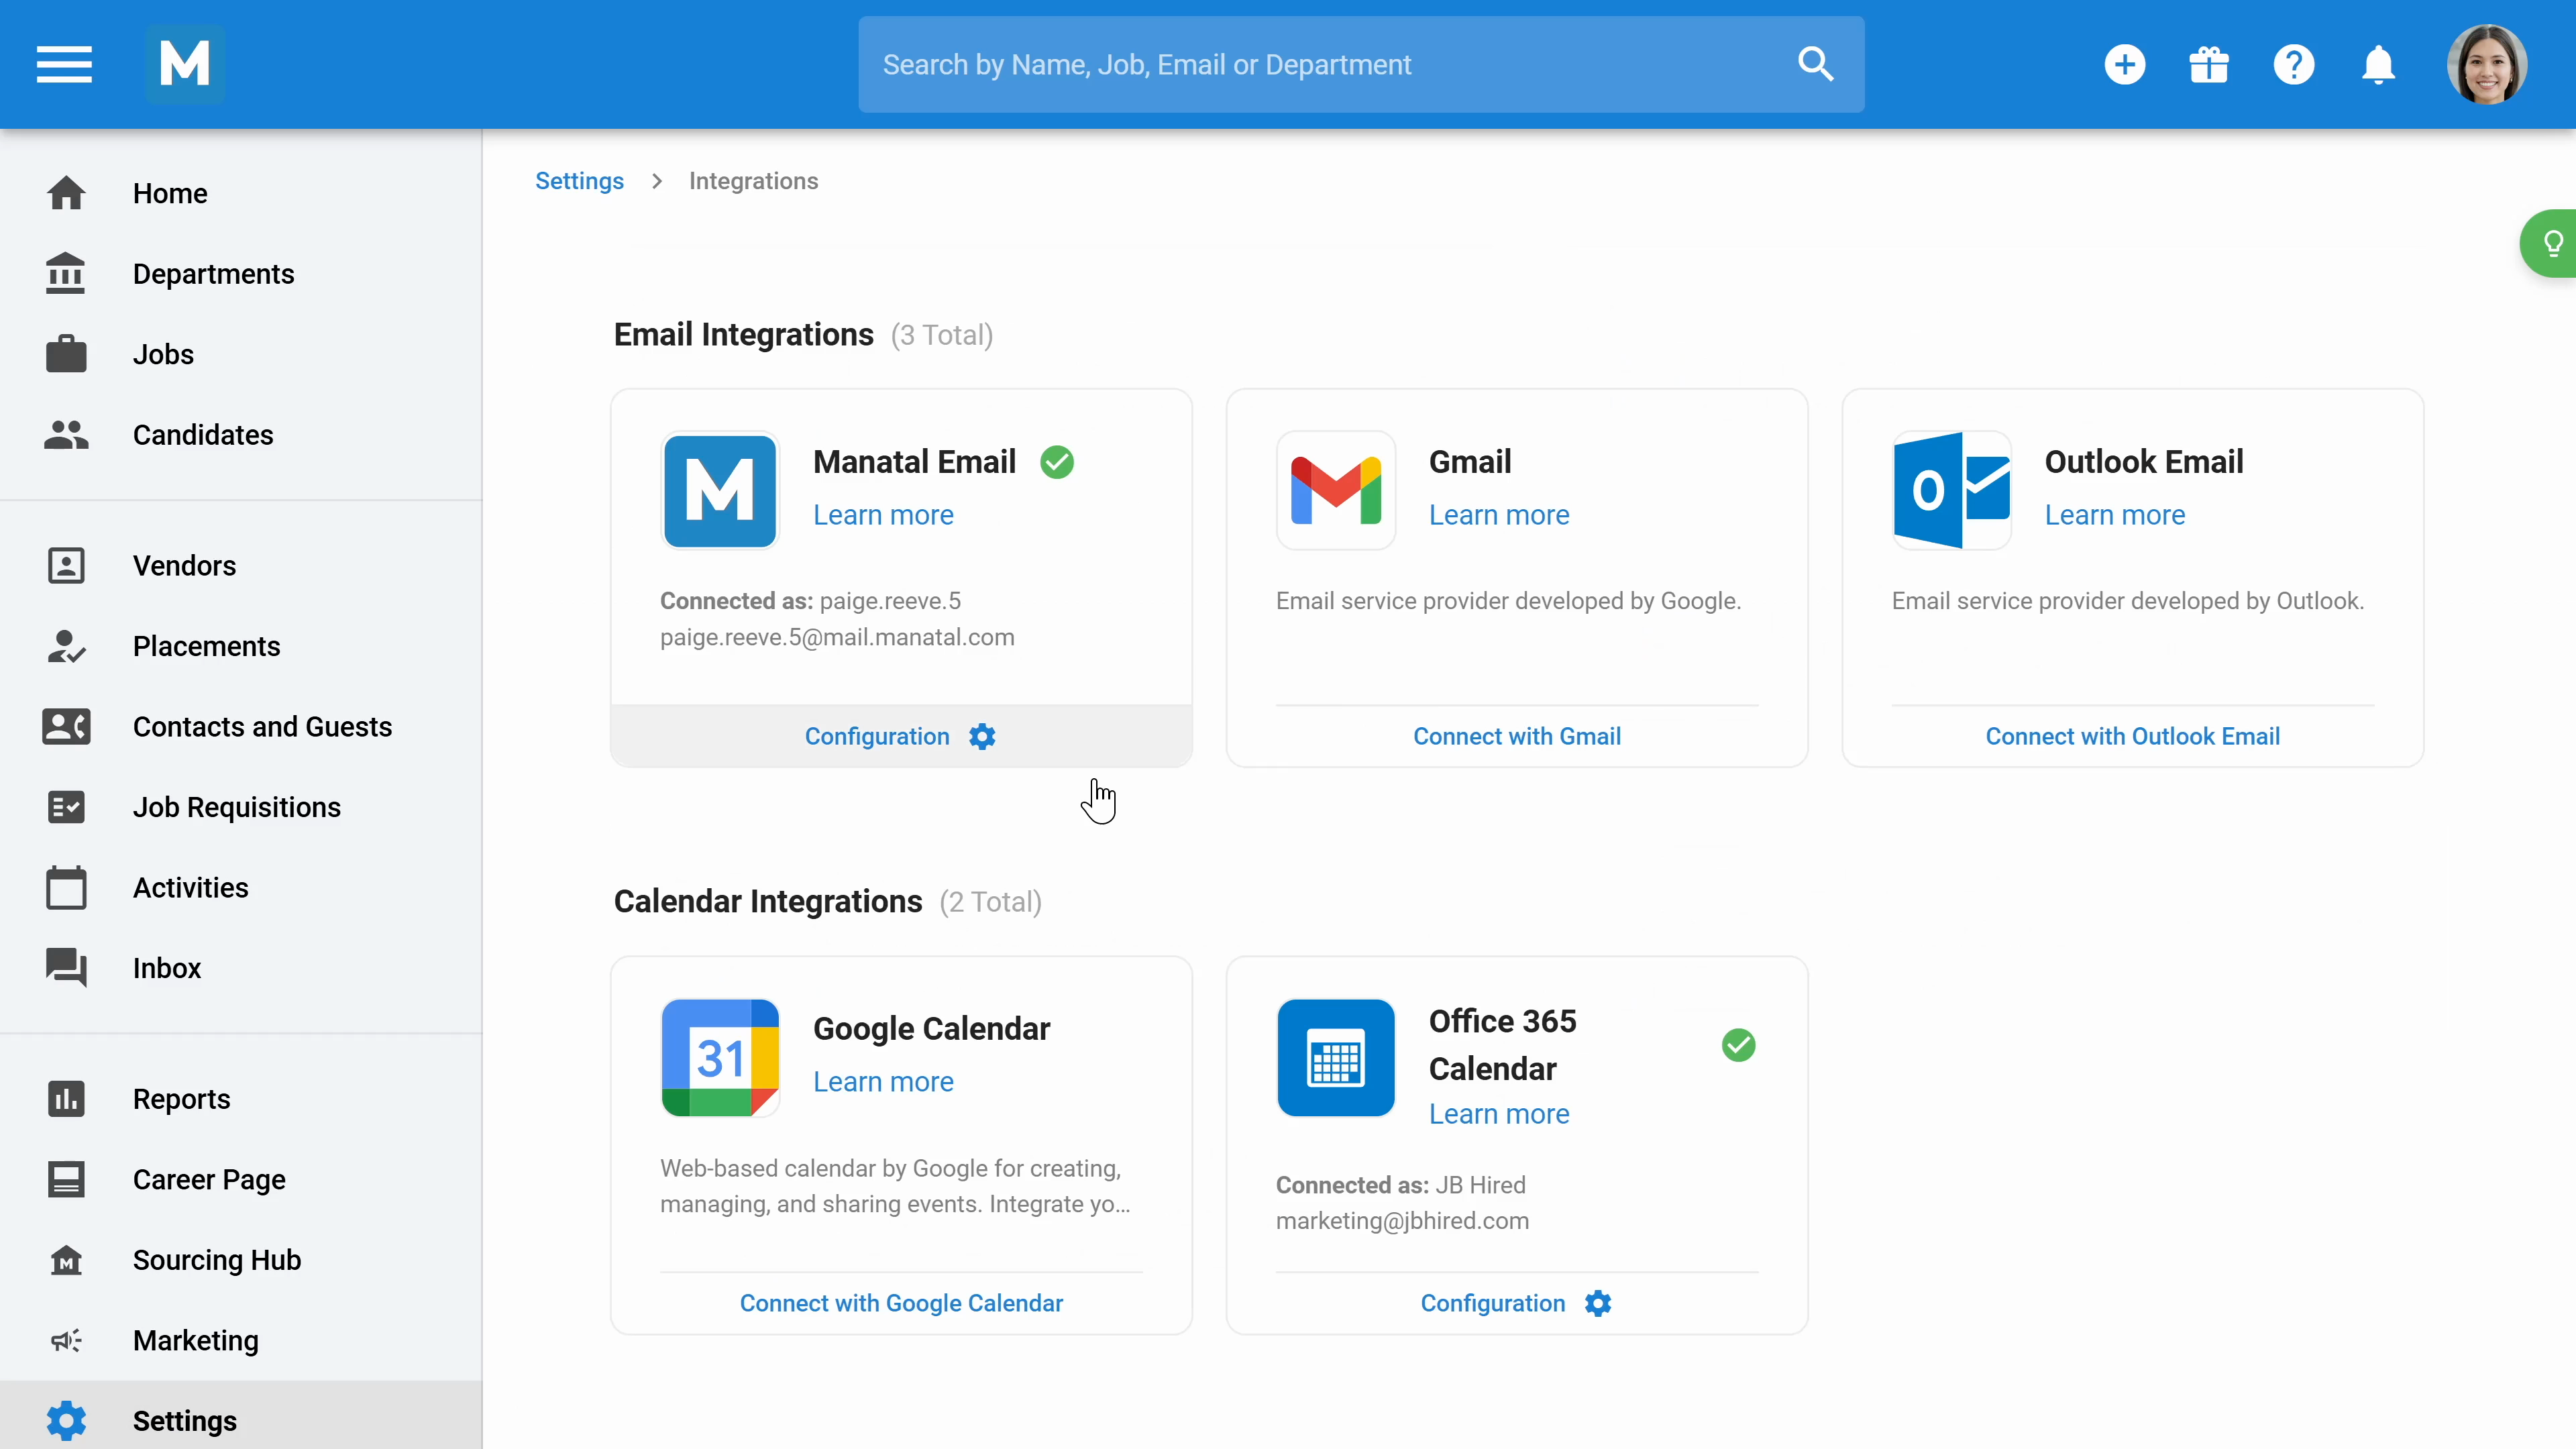
Step 15: Click on Settings in the left menu, which can be accessed by any user. You can integrate your email and calendar.
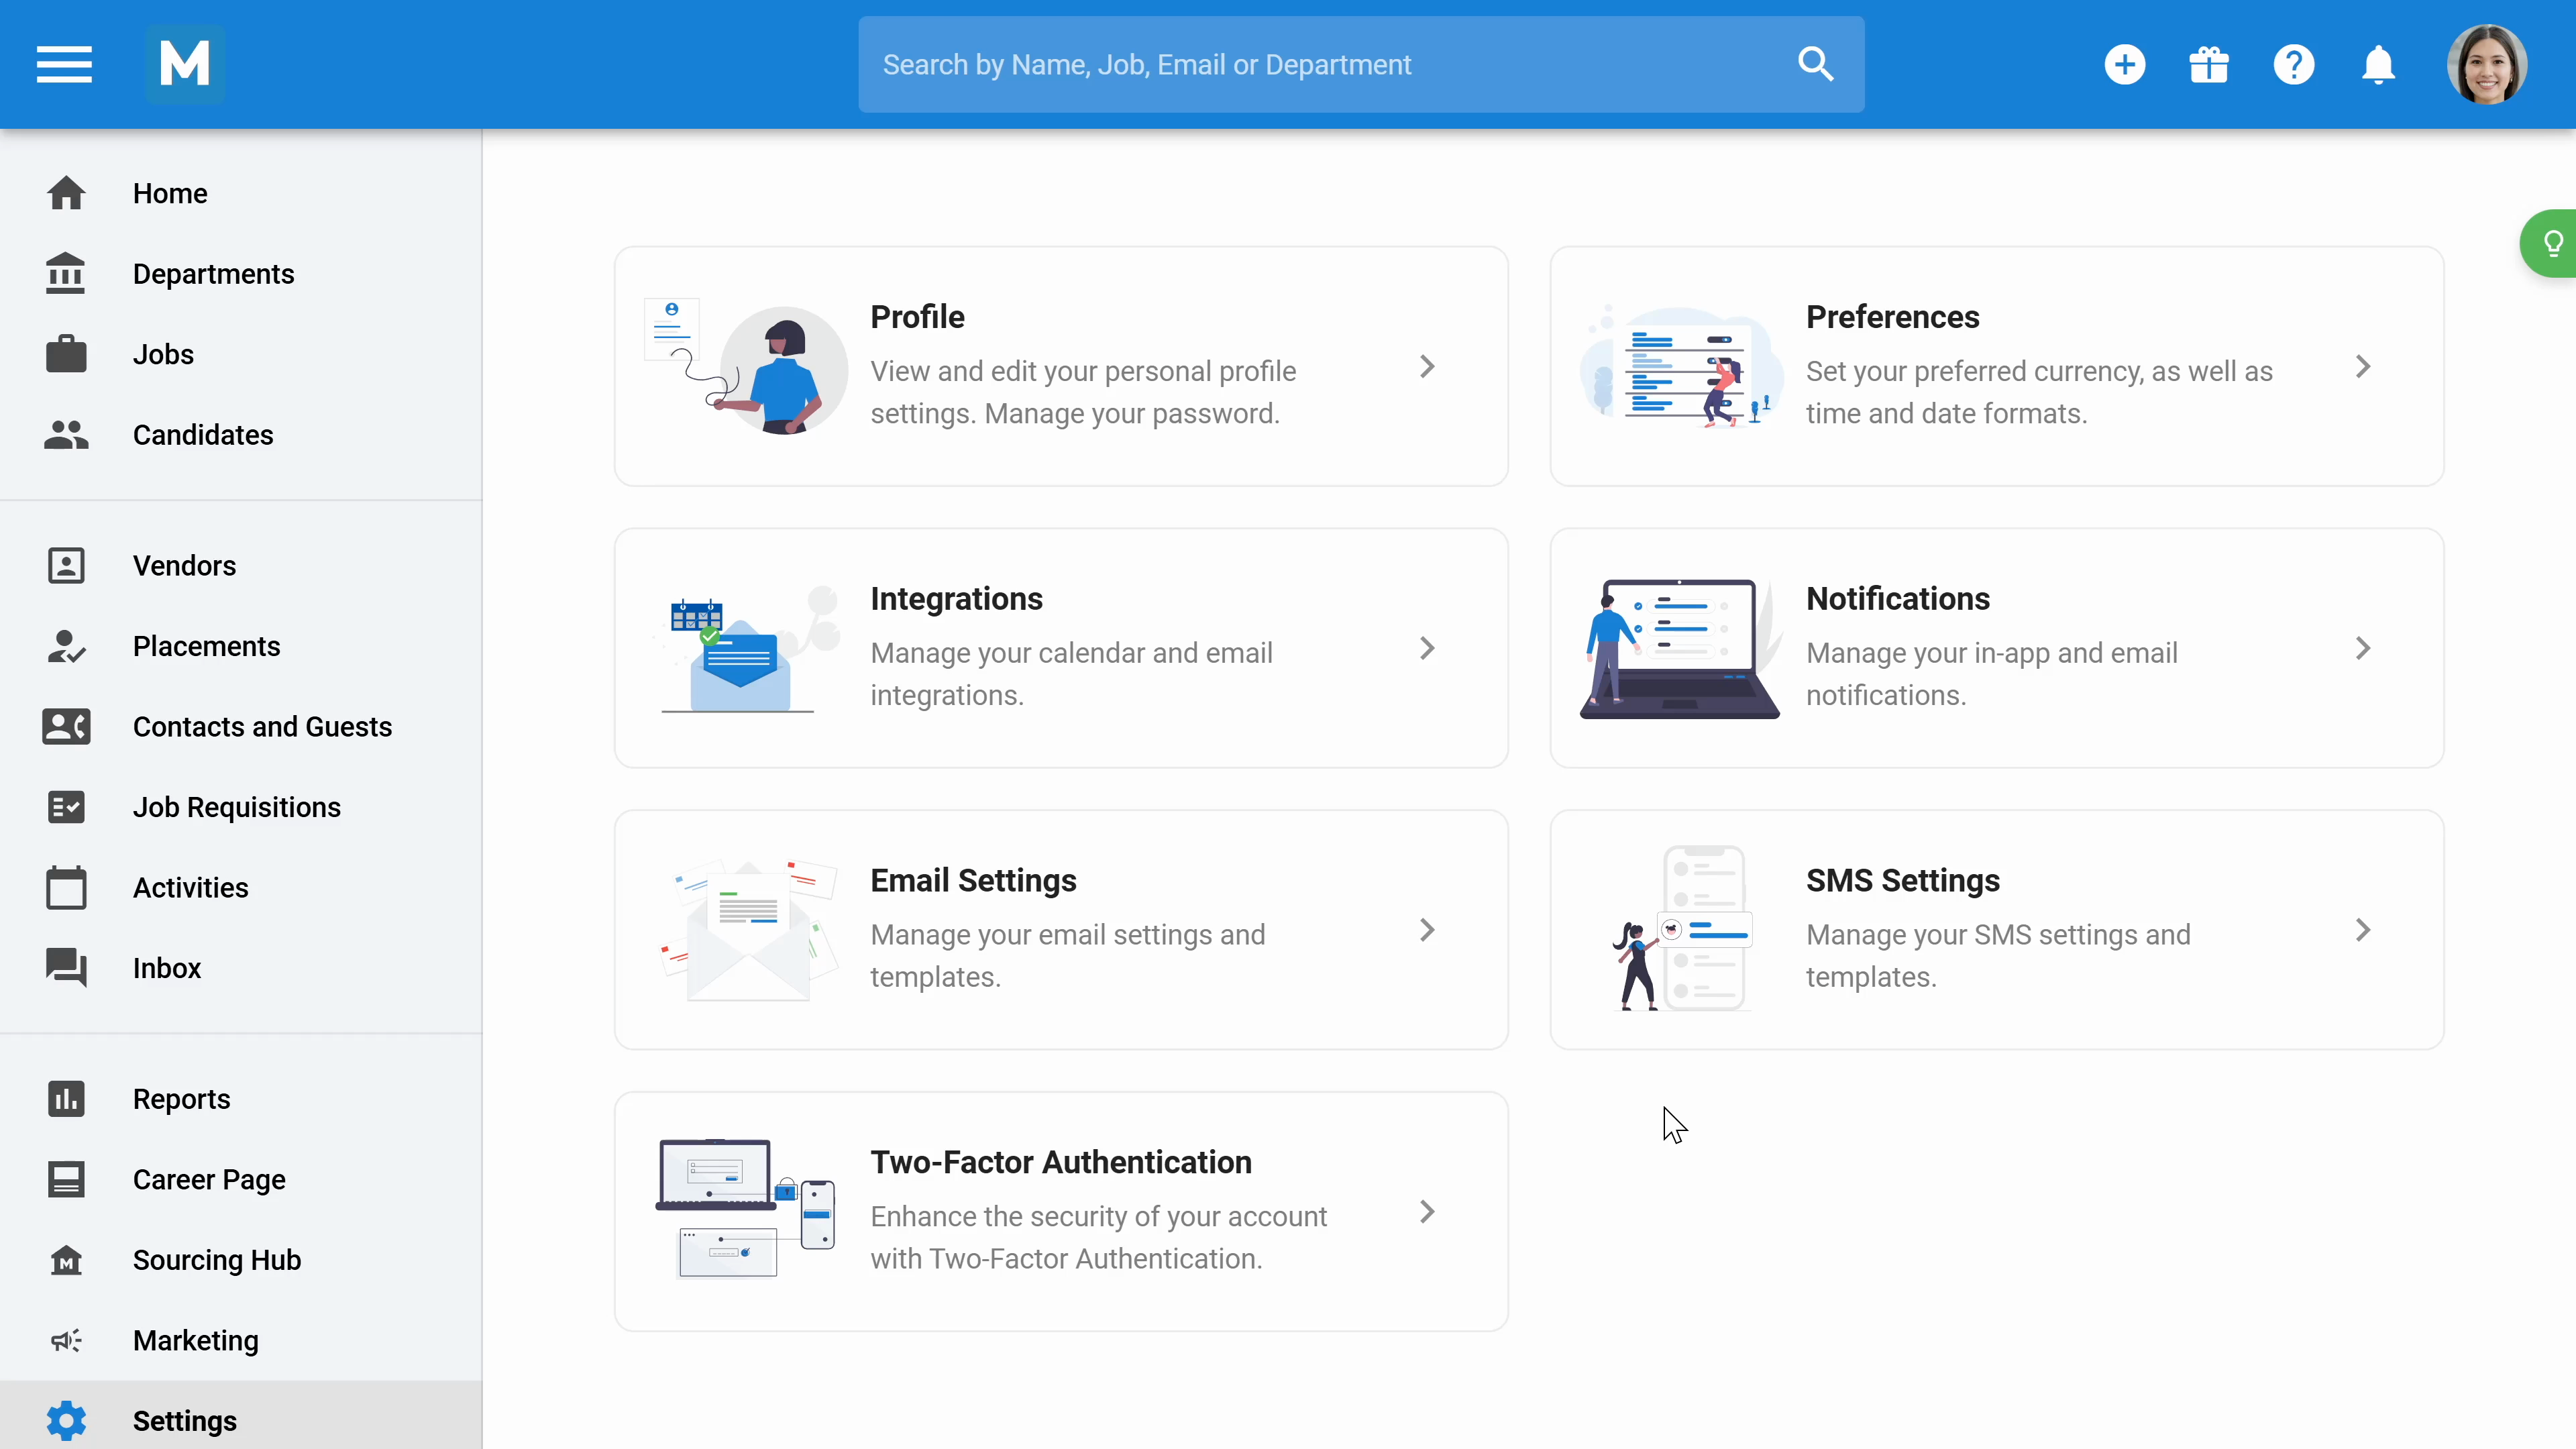
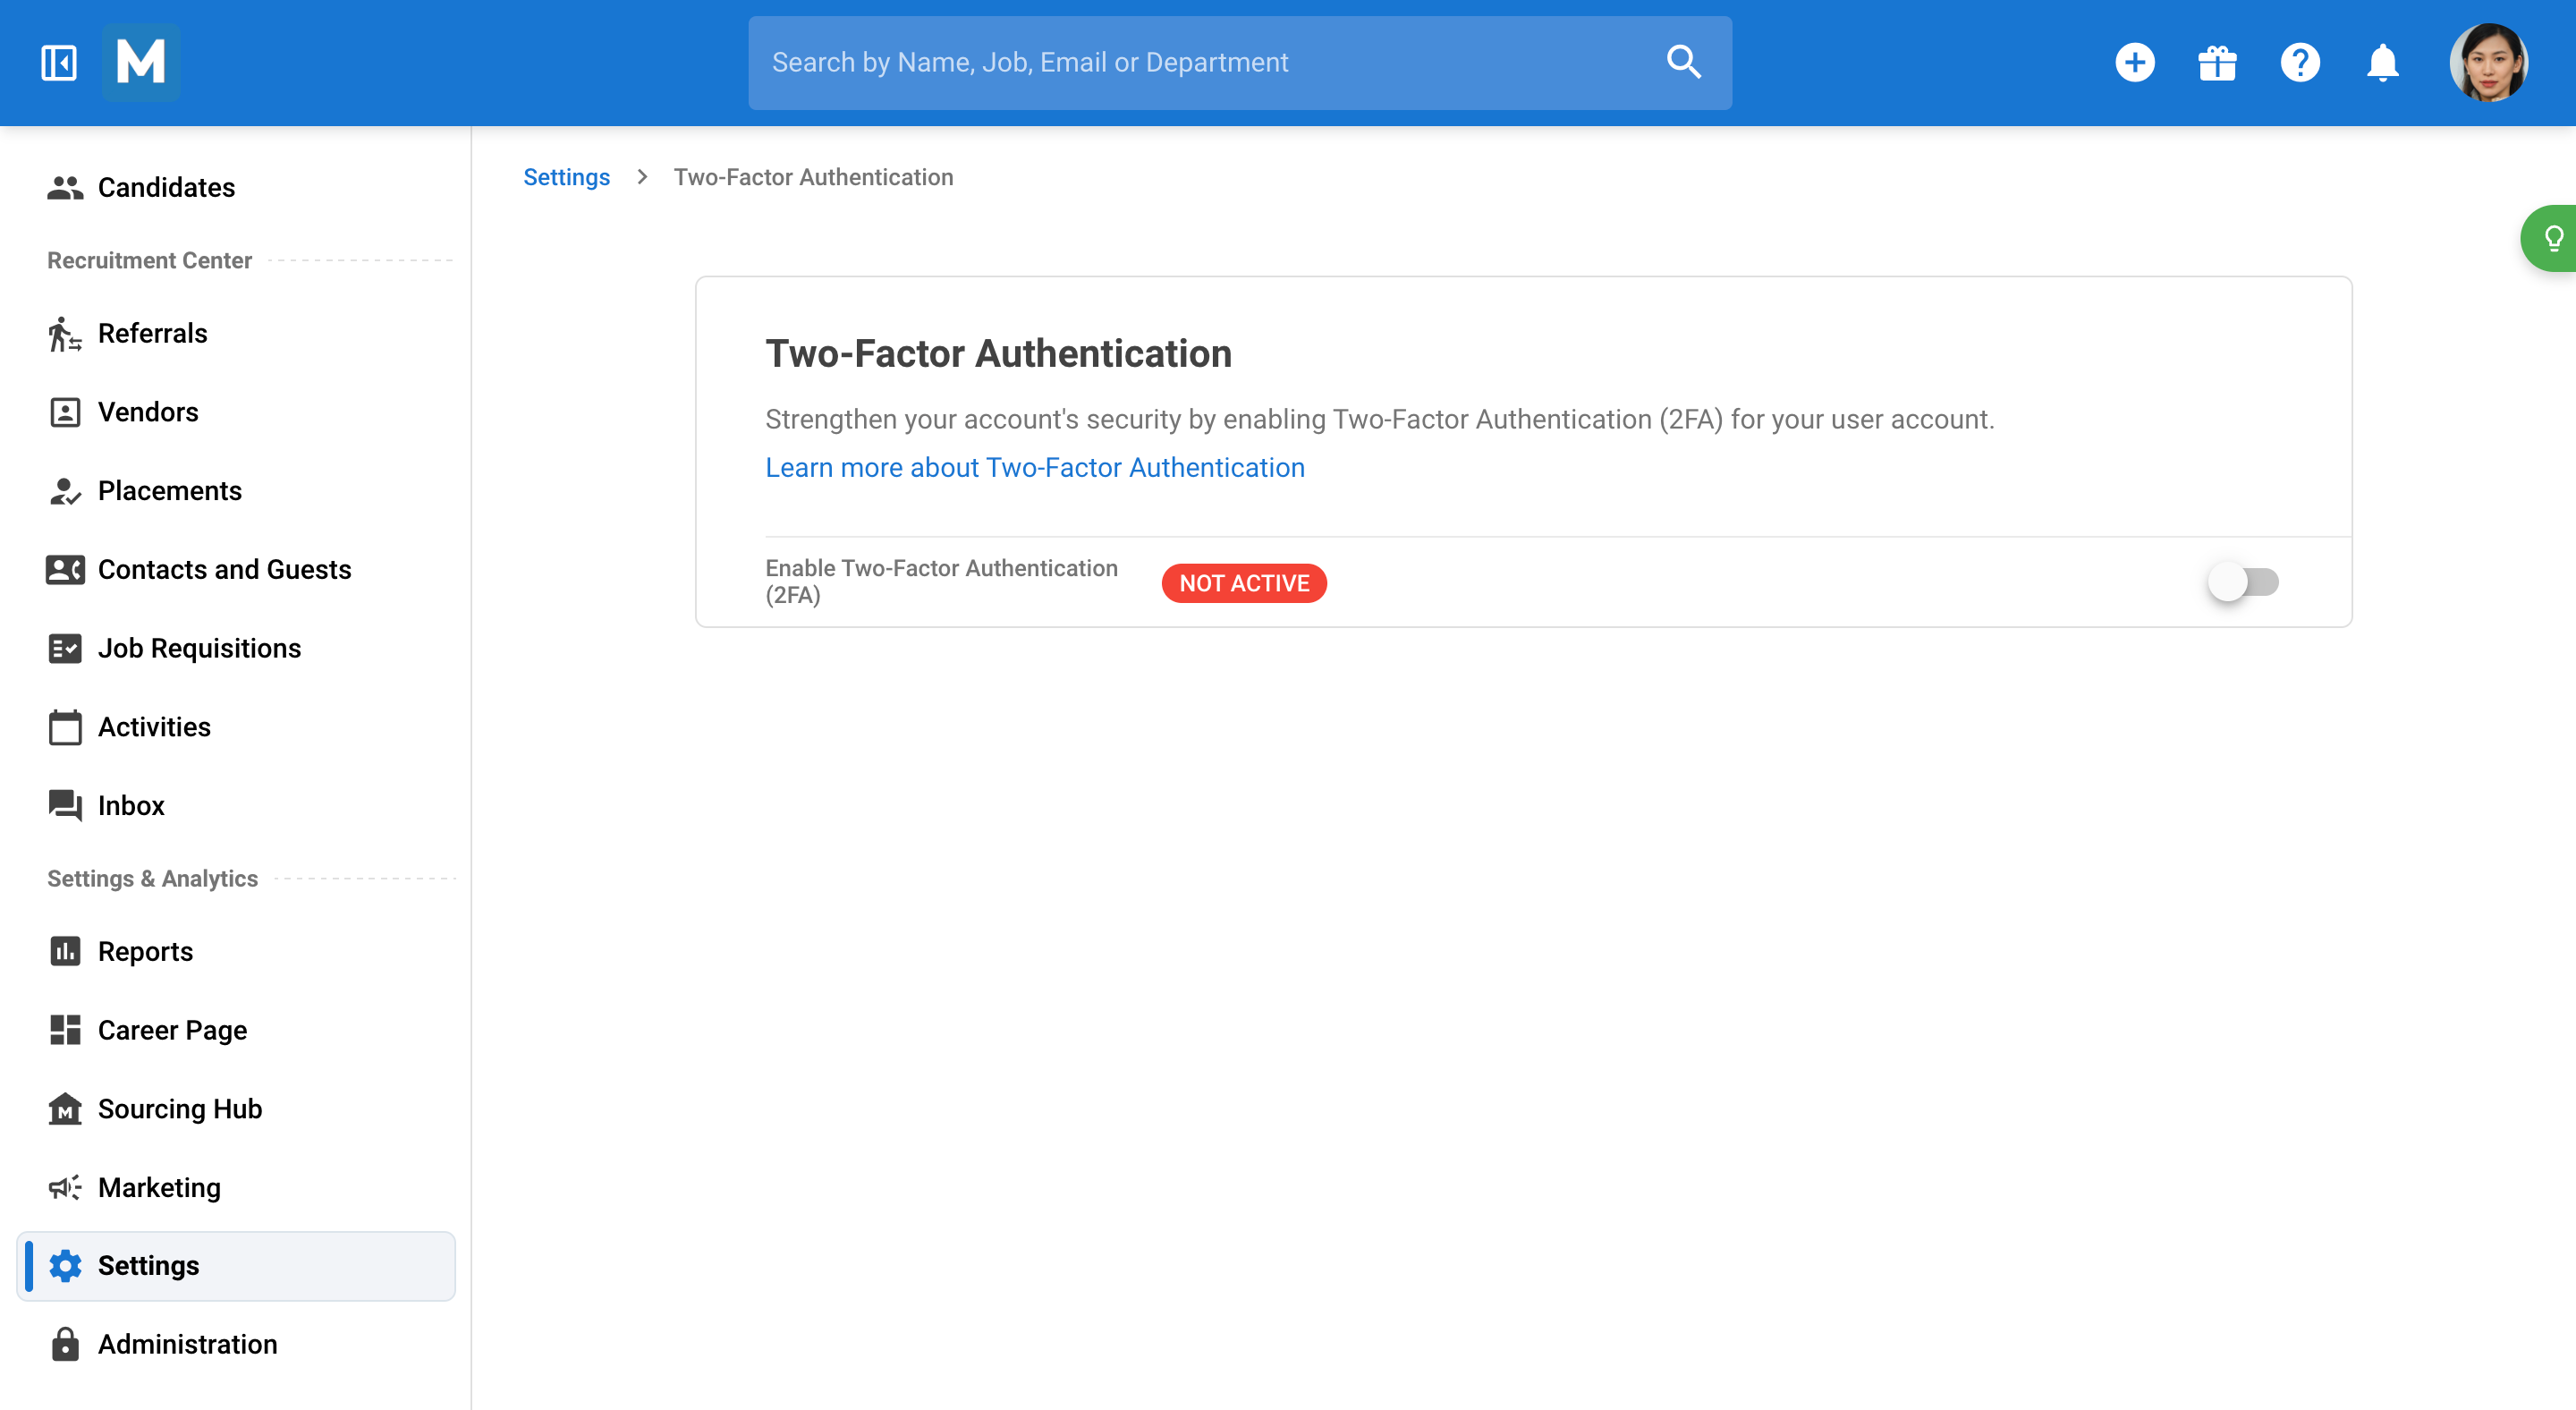
Step 16: In Email Settings, create email templates and add your email signature. In the Settings, you can also set up 2-factor authentication.
Step 17: Set up your preferred date, time, currency, and languages in Preferences.

Step 18: Customize your notifications in the Notifications section.
