This article will guide you through the process of generating, setting up, and sharing a custom resume to better present your candidates.
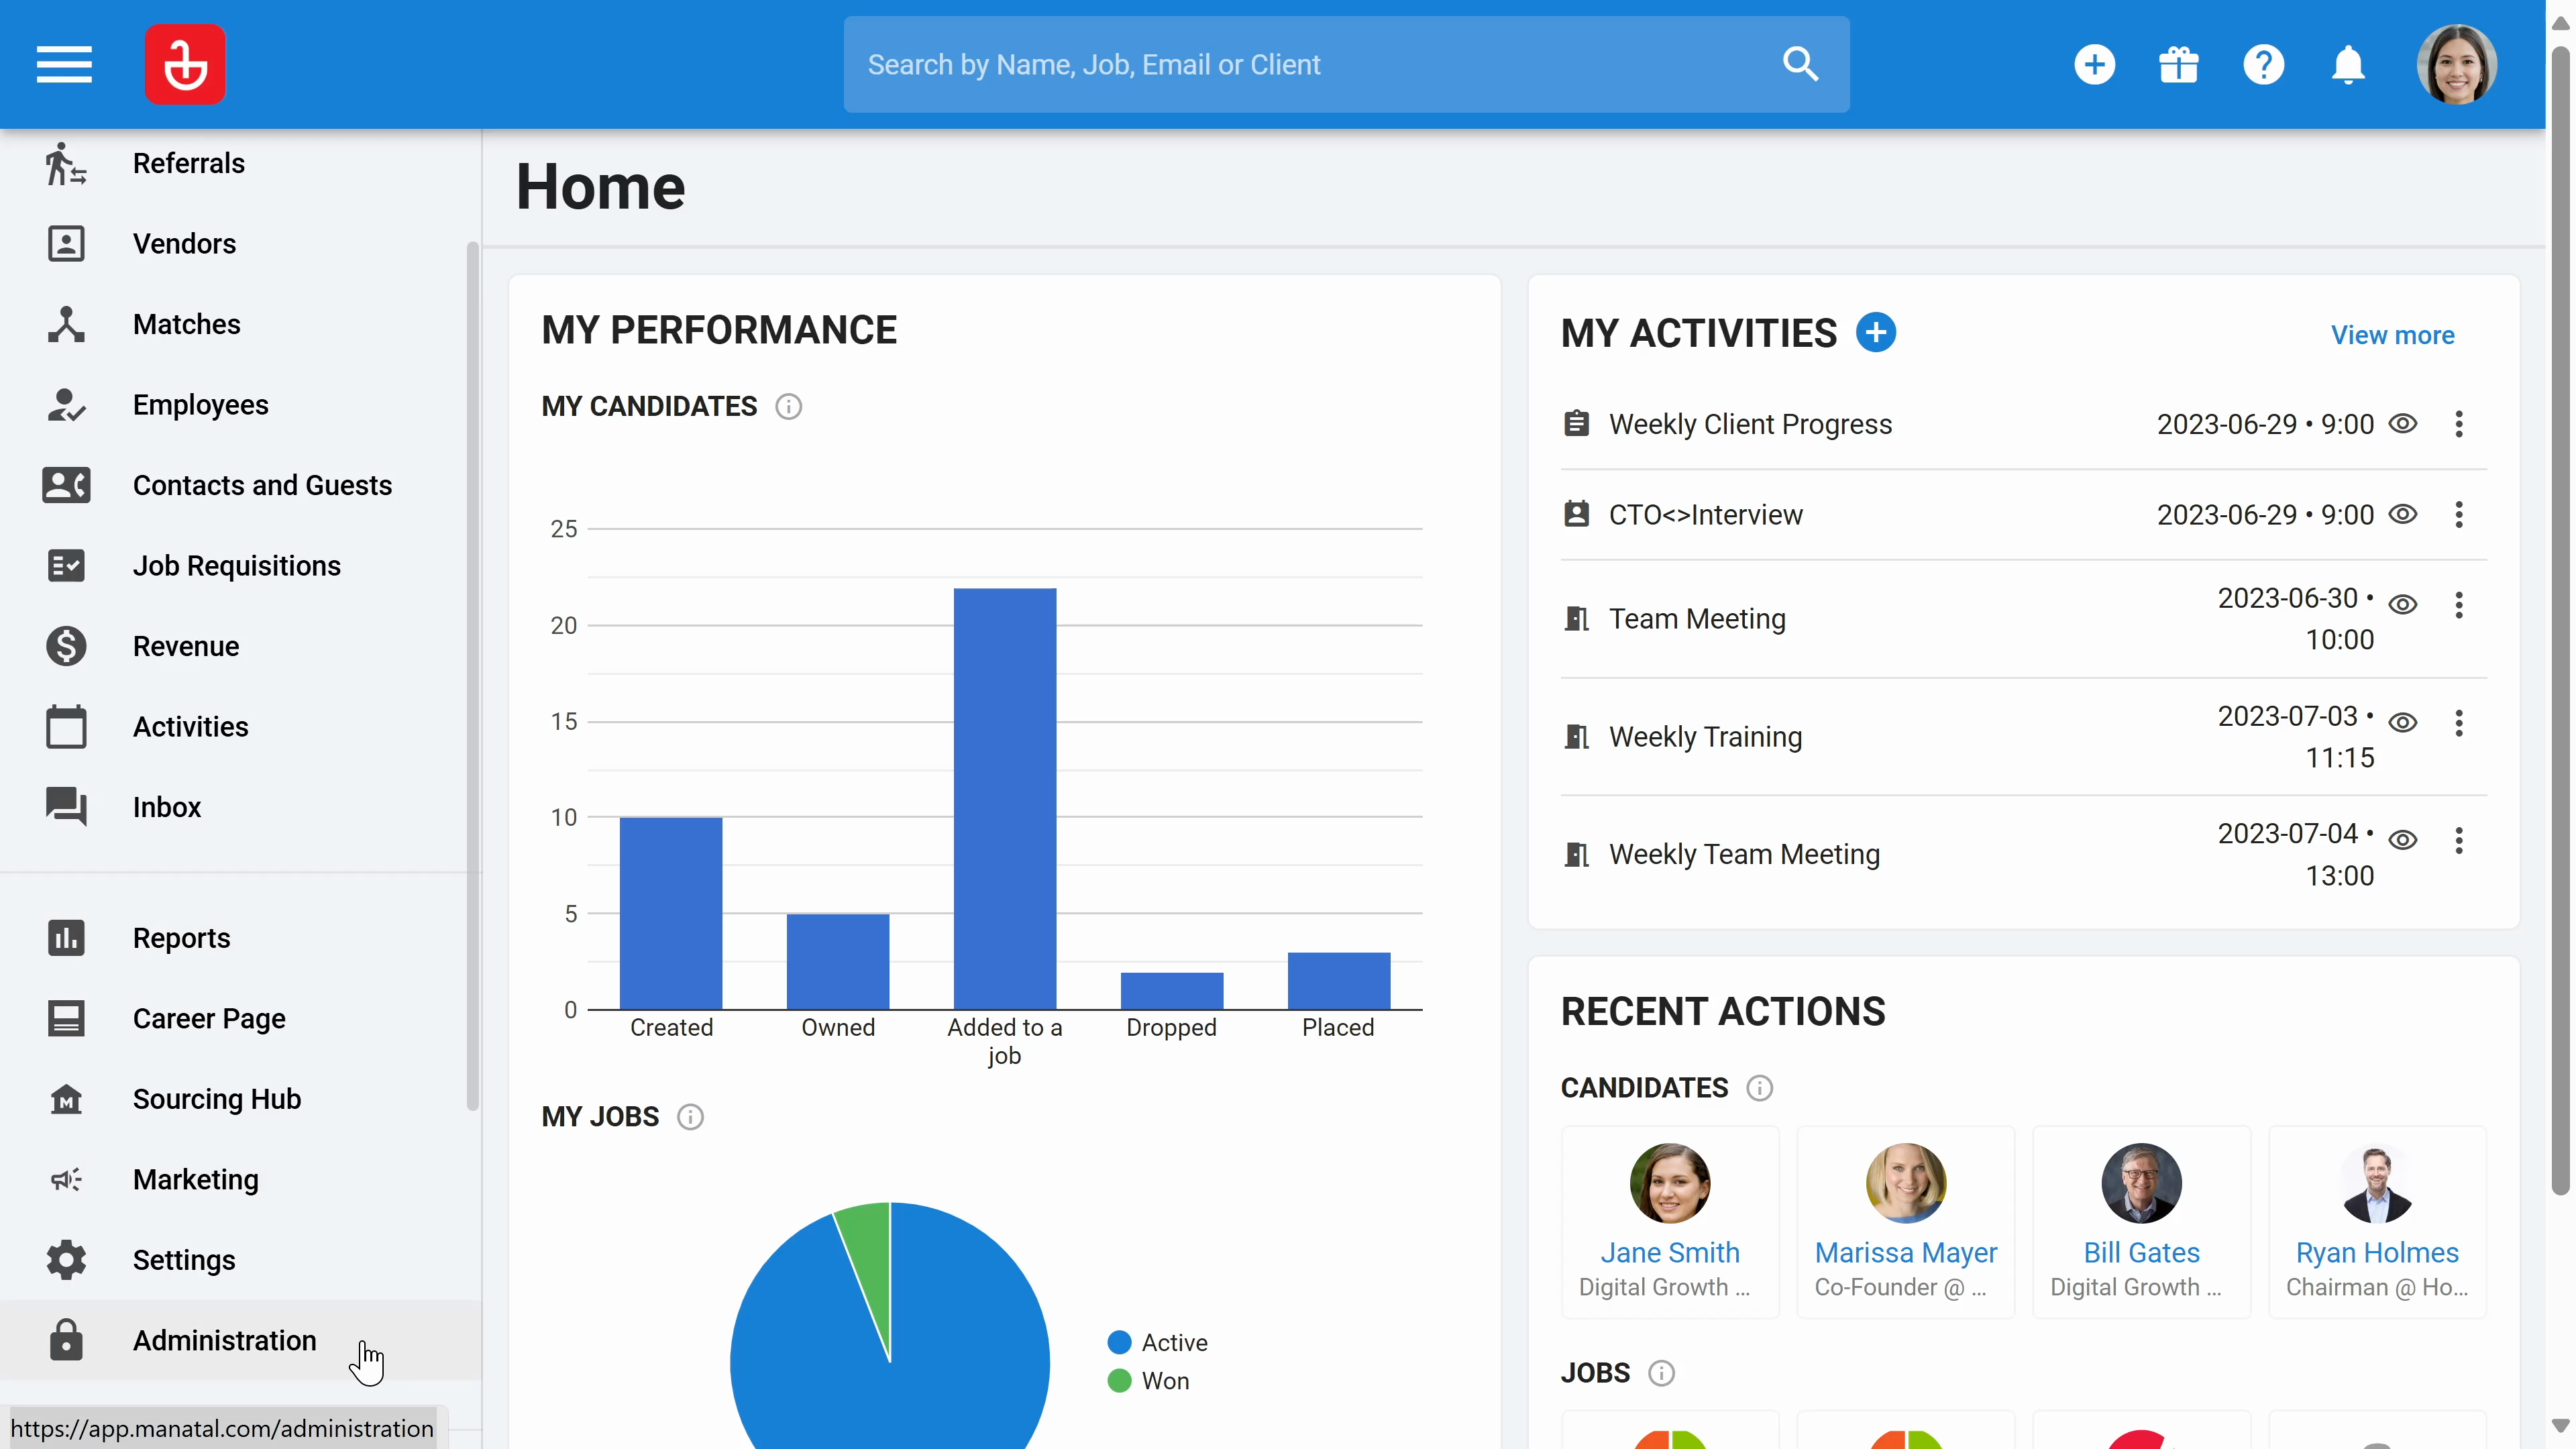
Step 1: Navigate to the Administration section. This is accessible only to admin users.
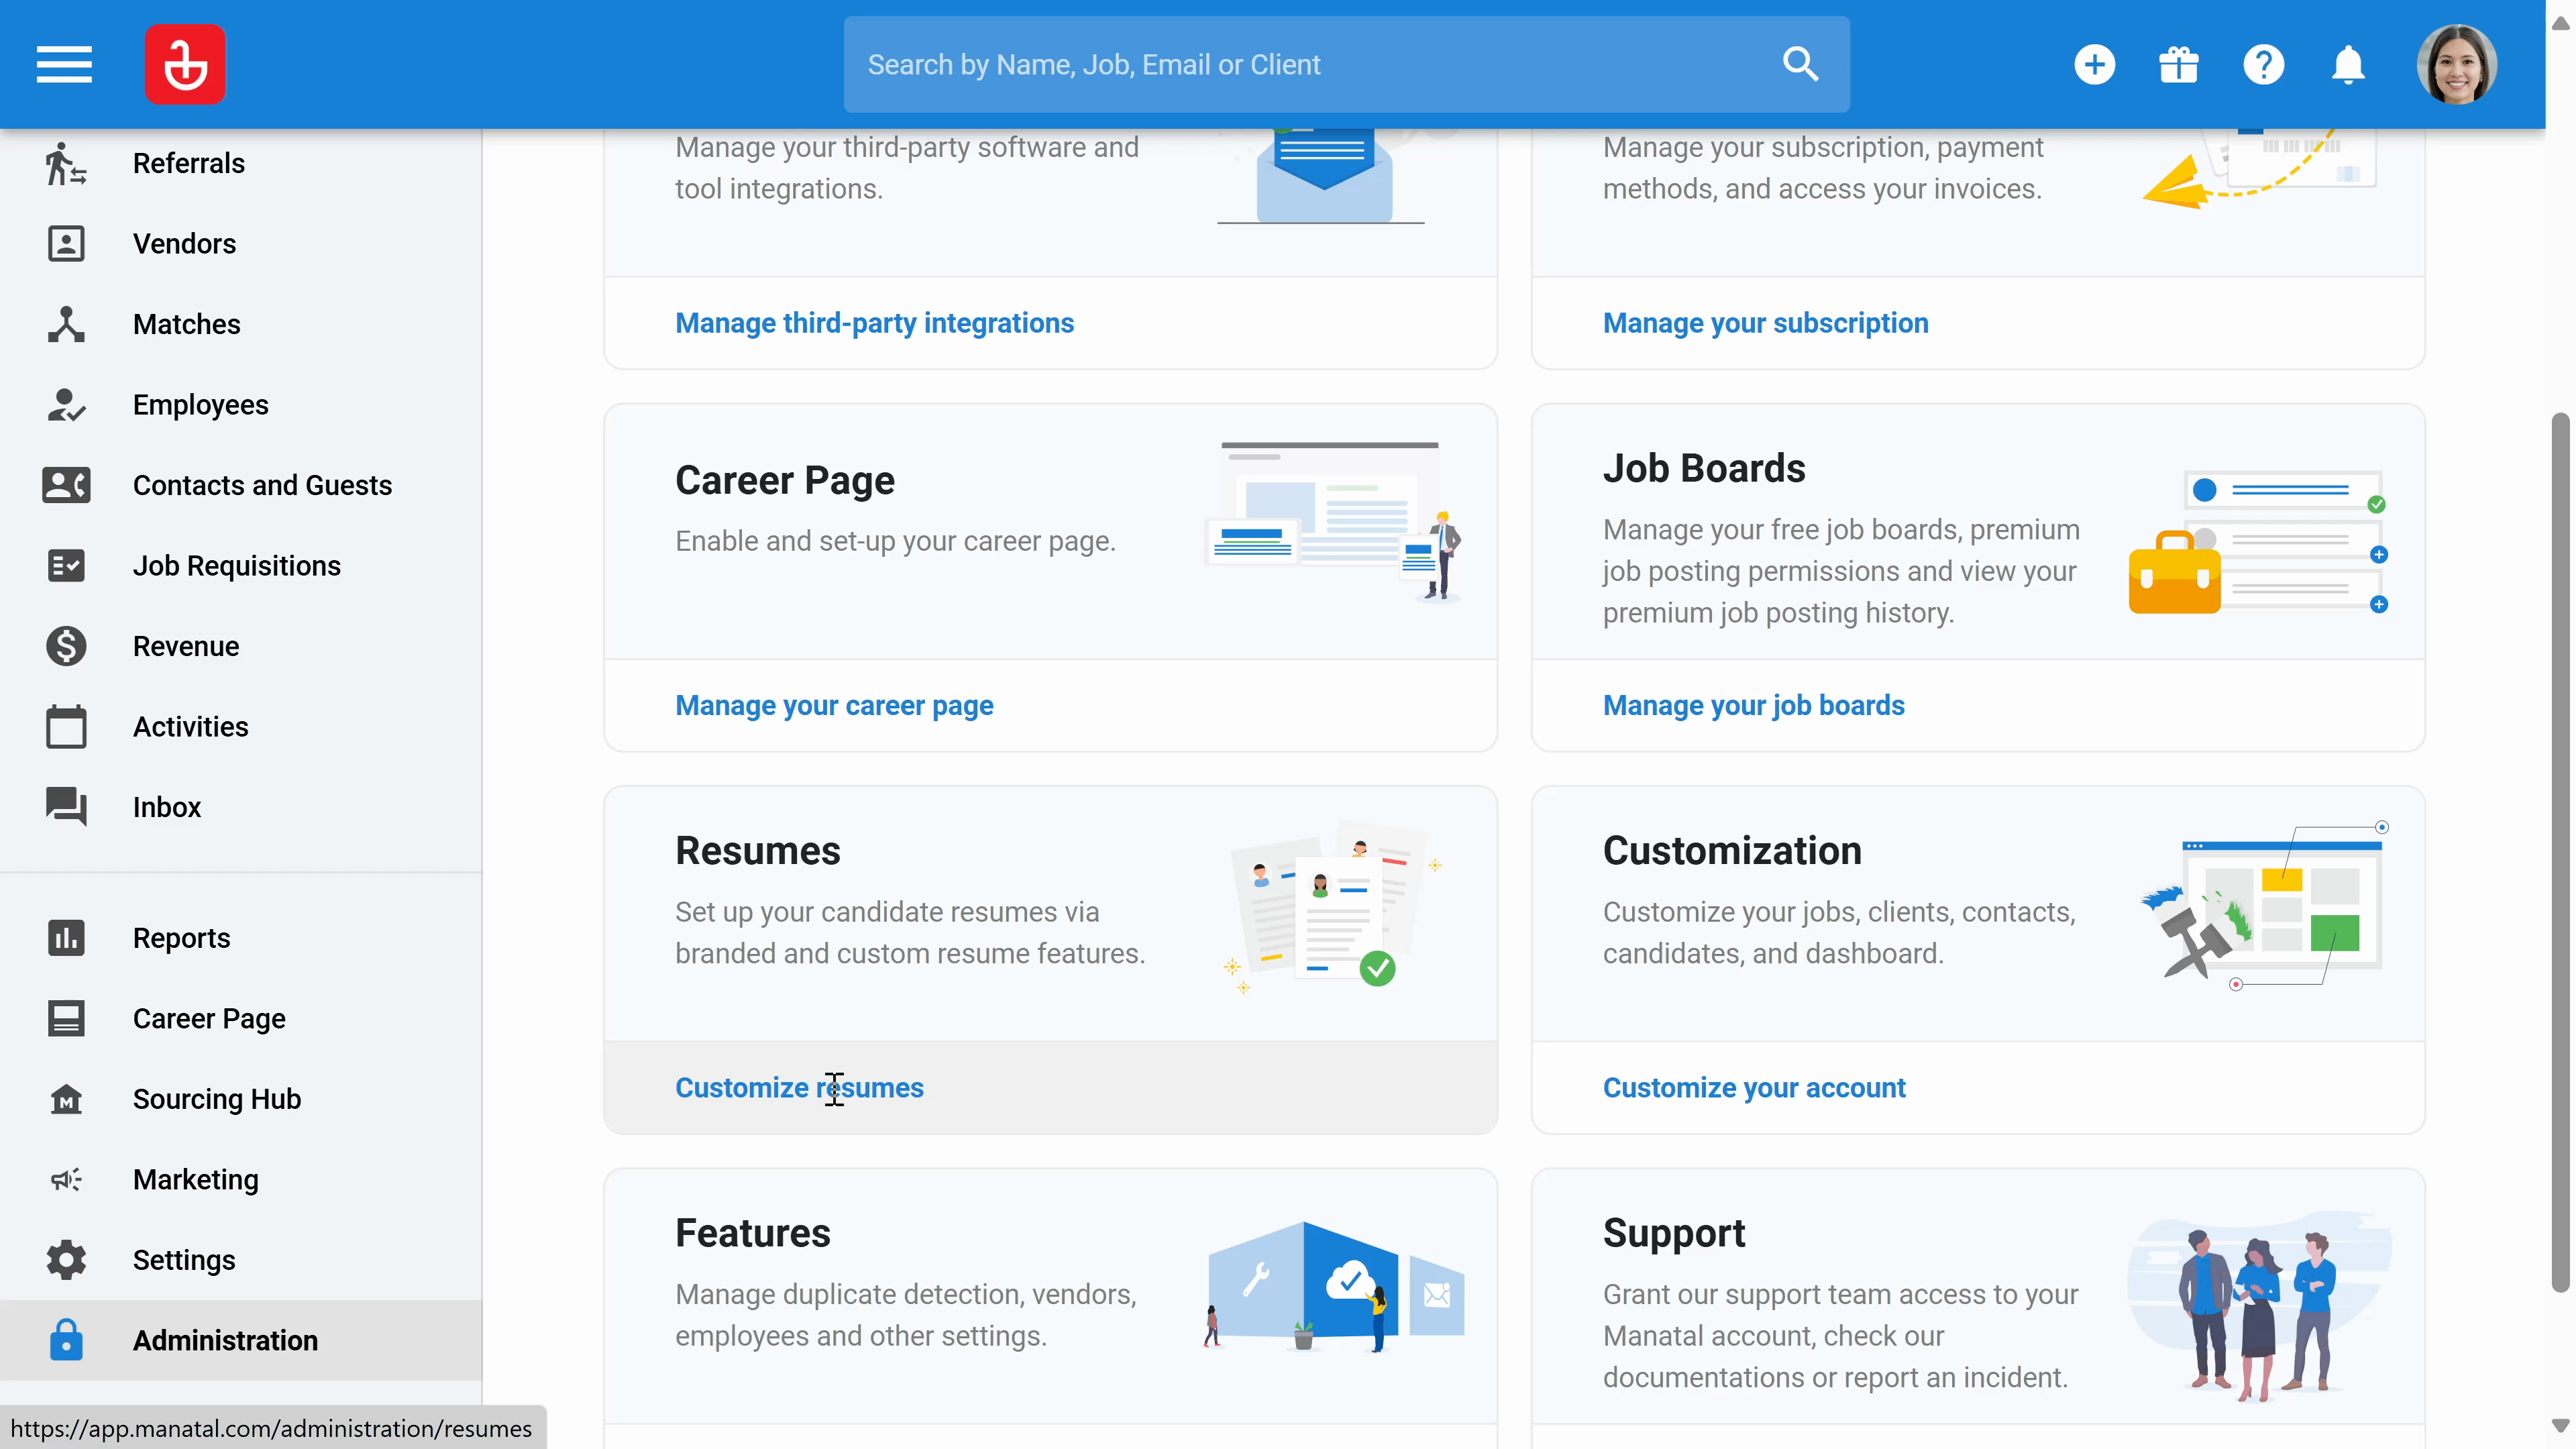
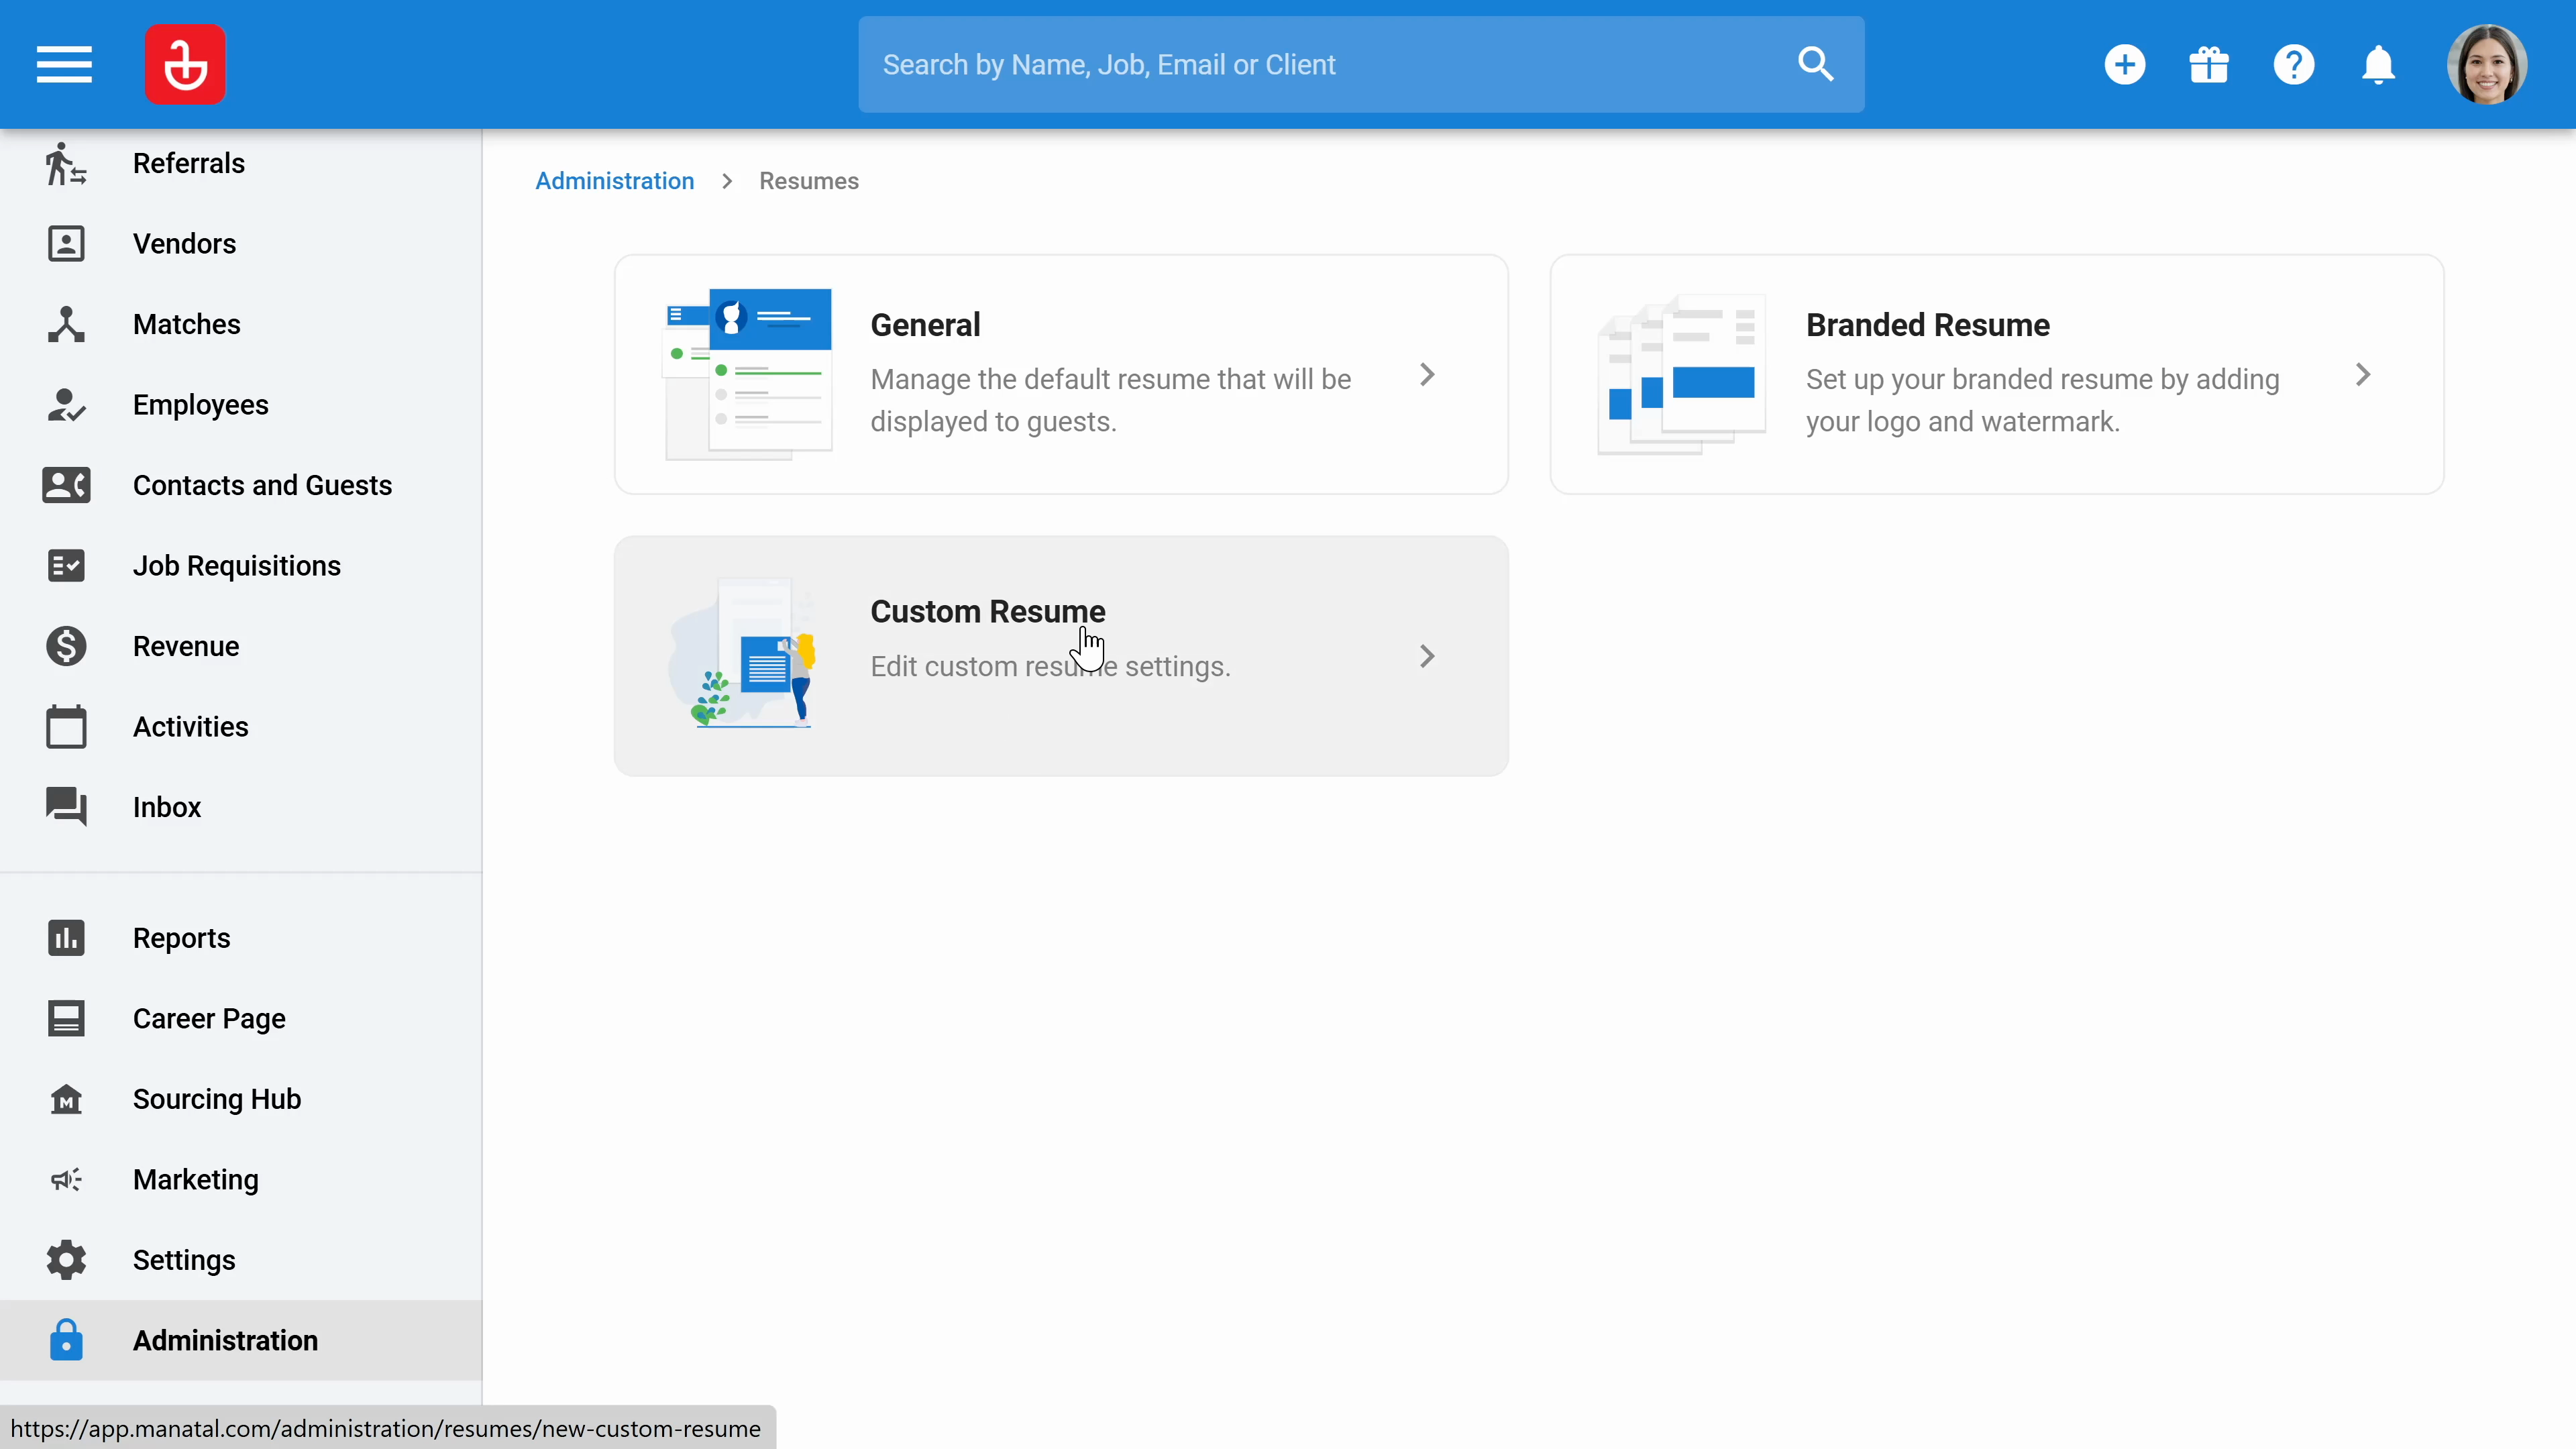
Step 2: Click on resume and then custom resume.
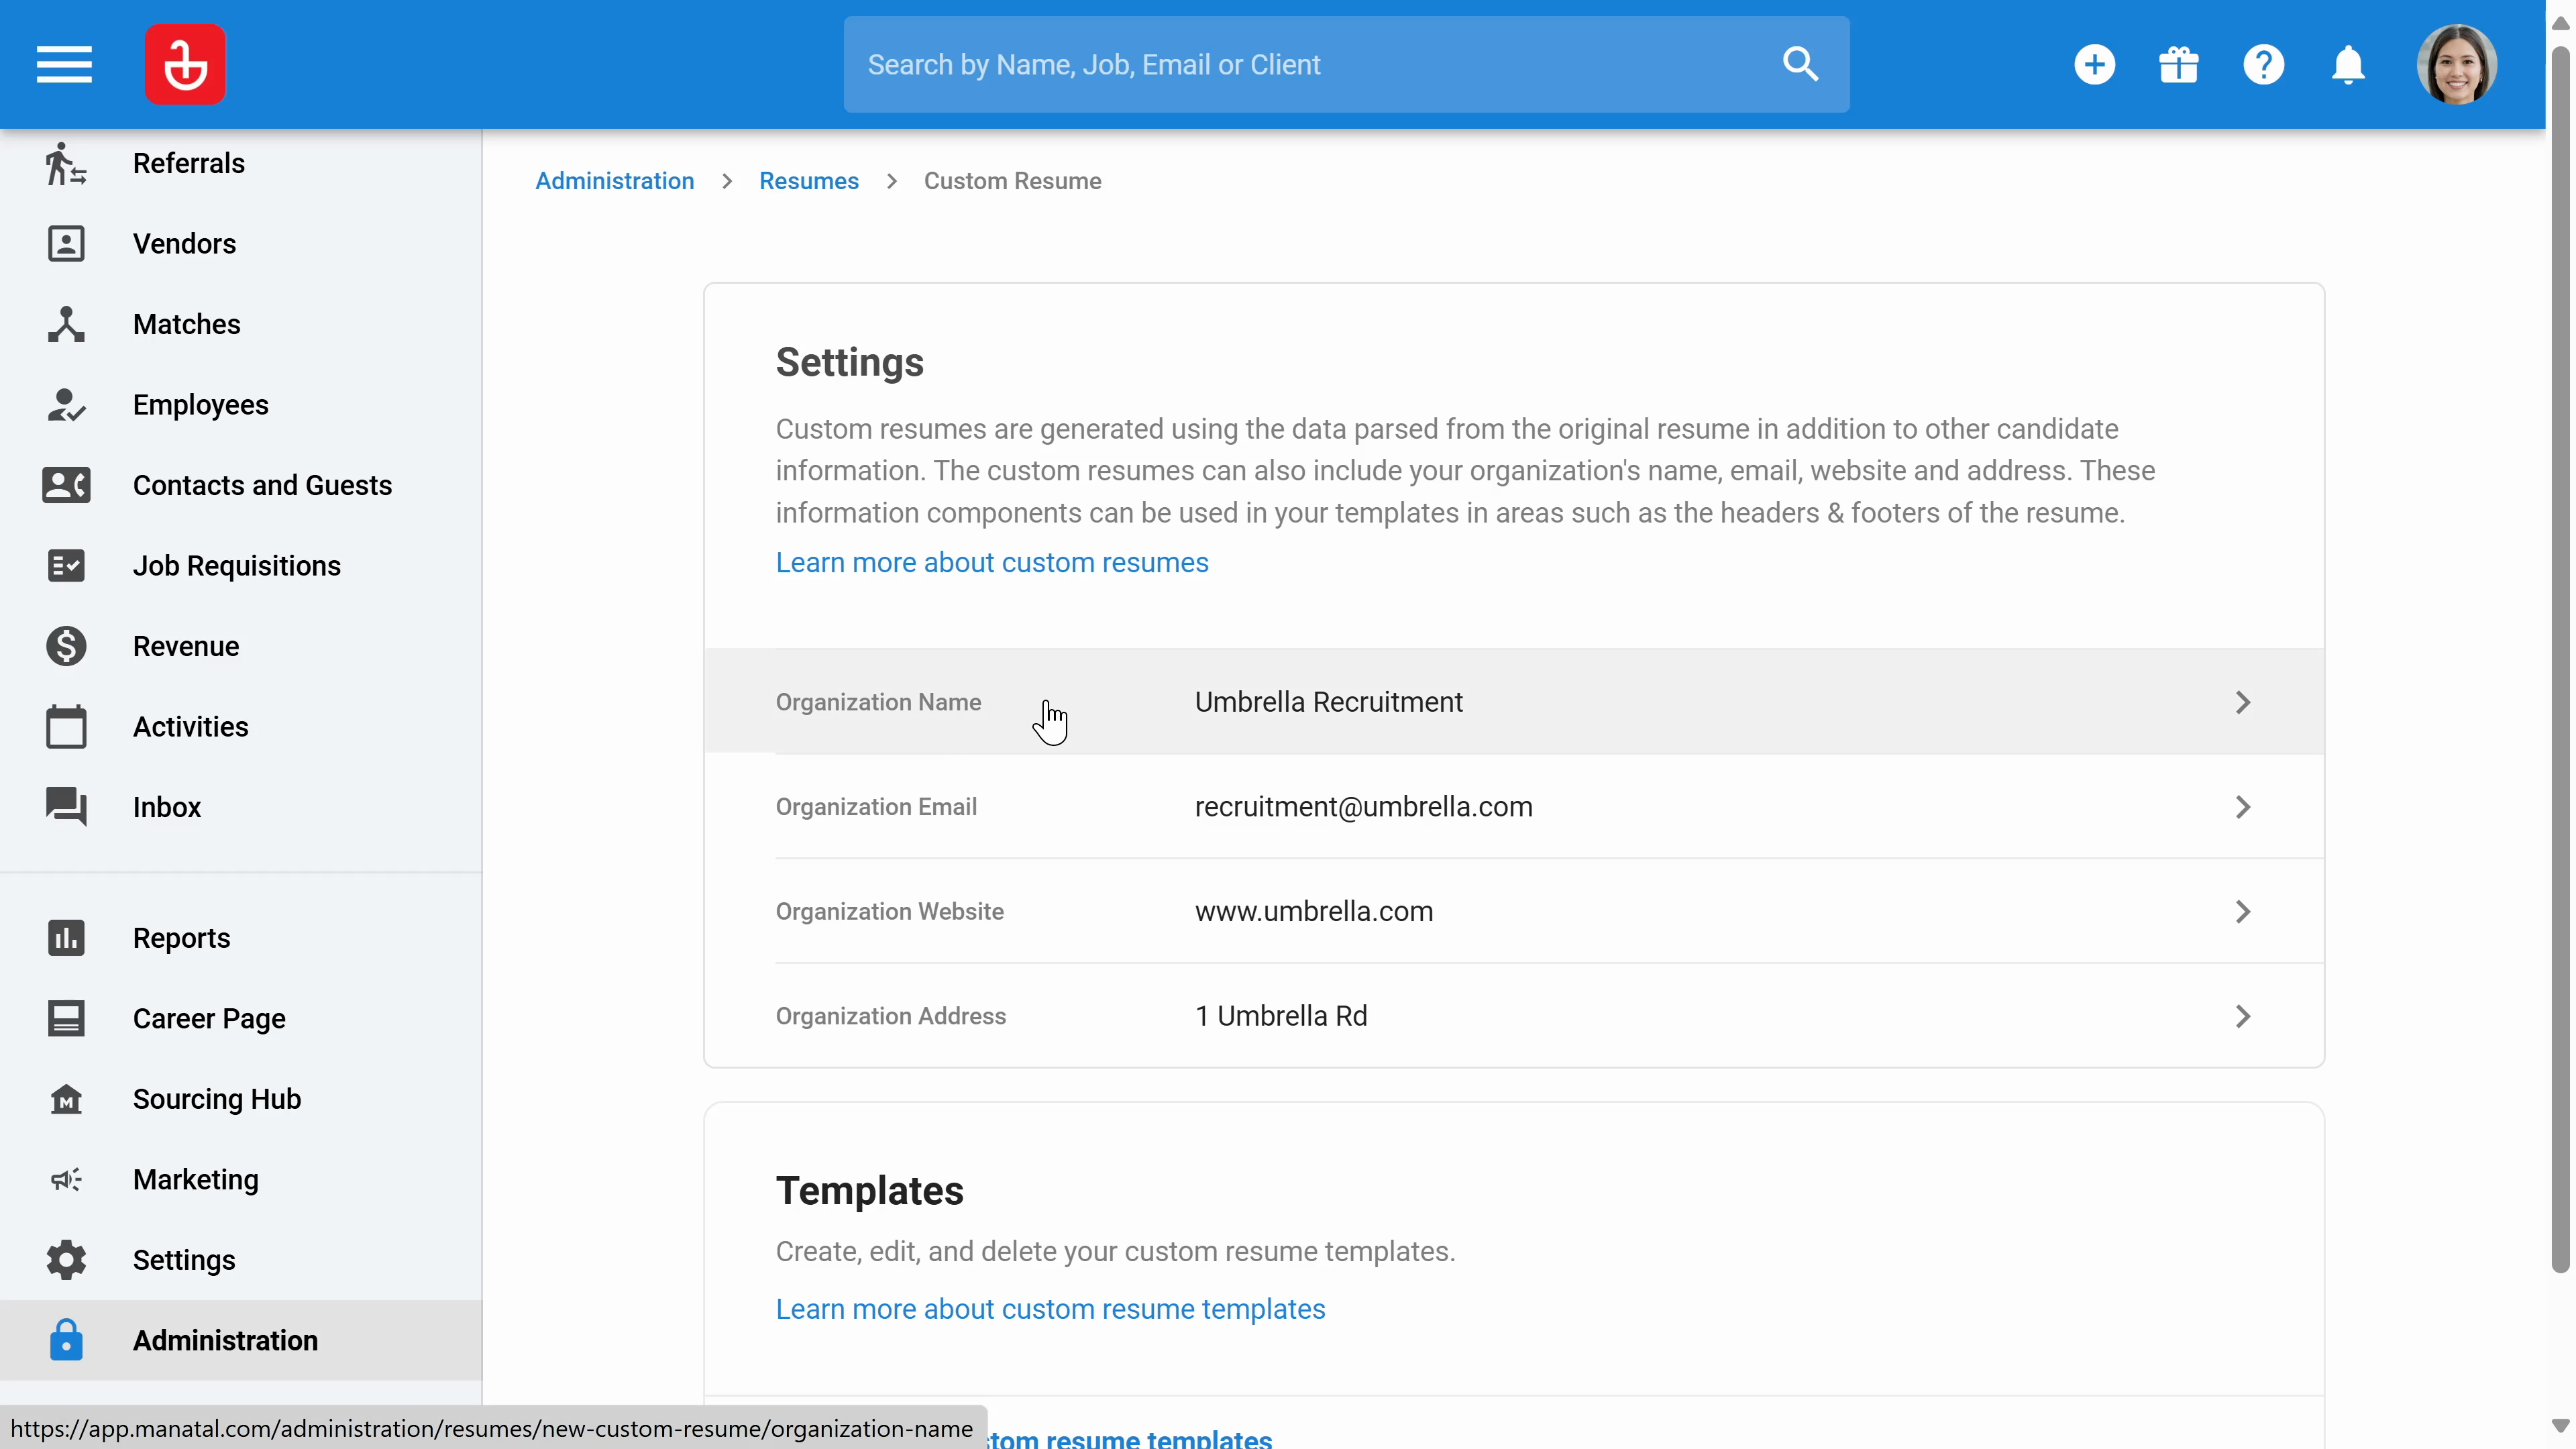
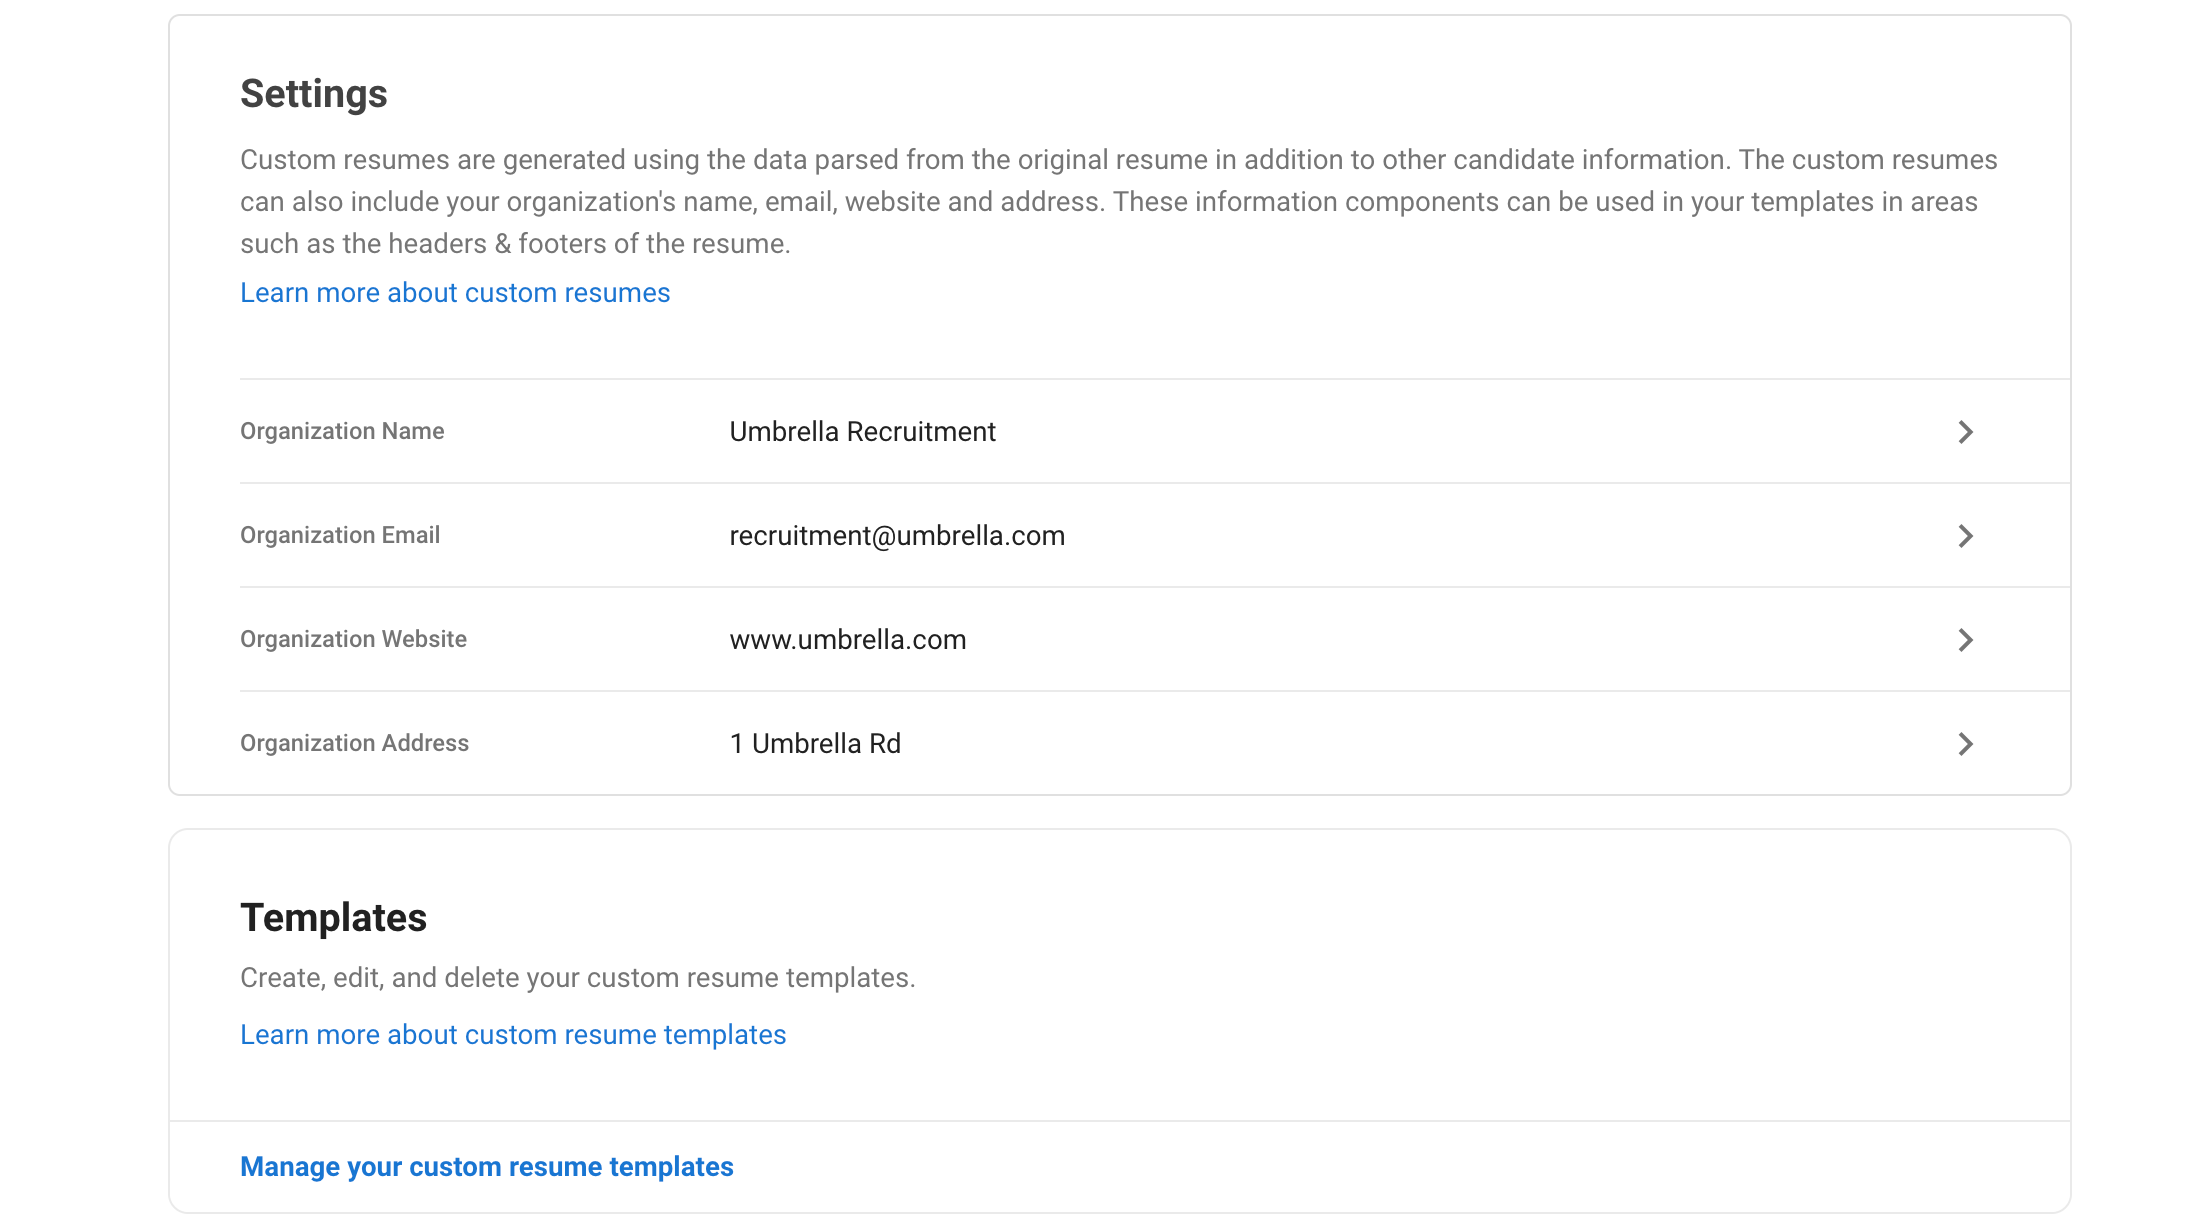
Step 3: Add your organization's details such as the name, email, website , and address.
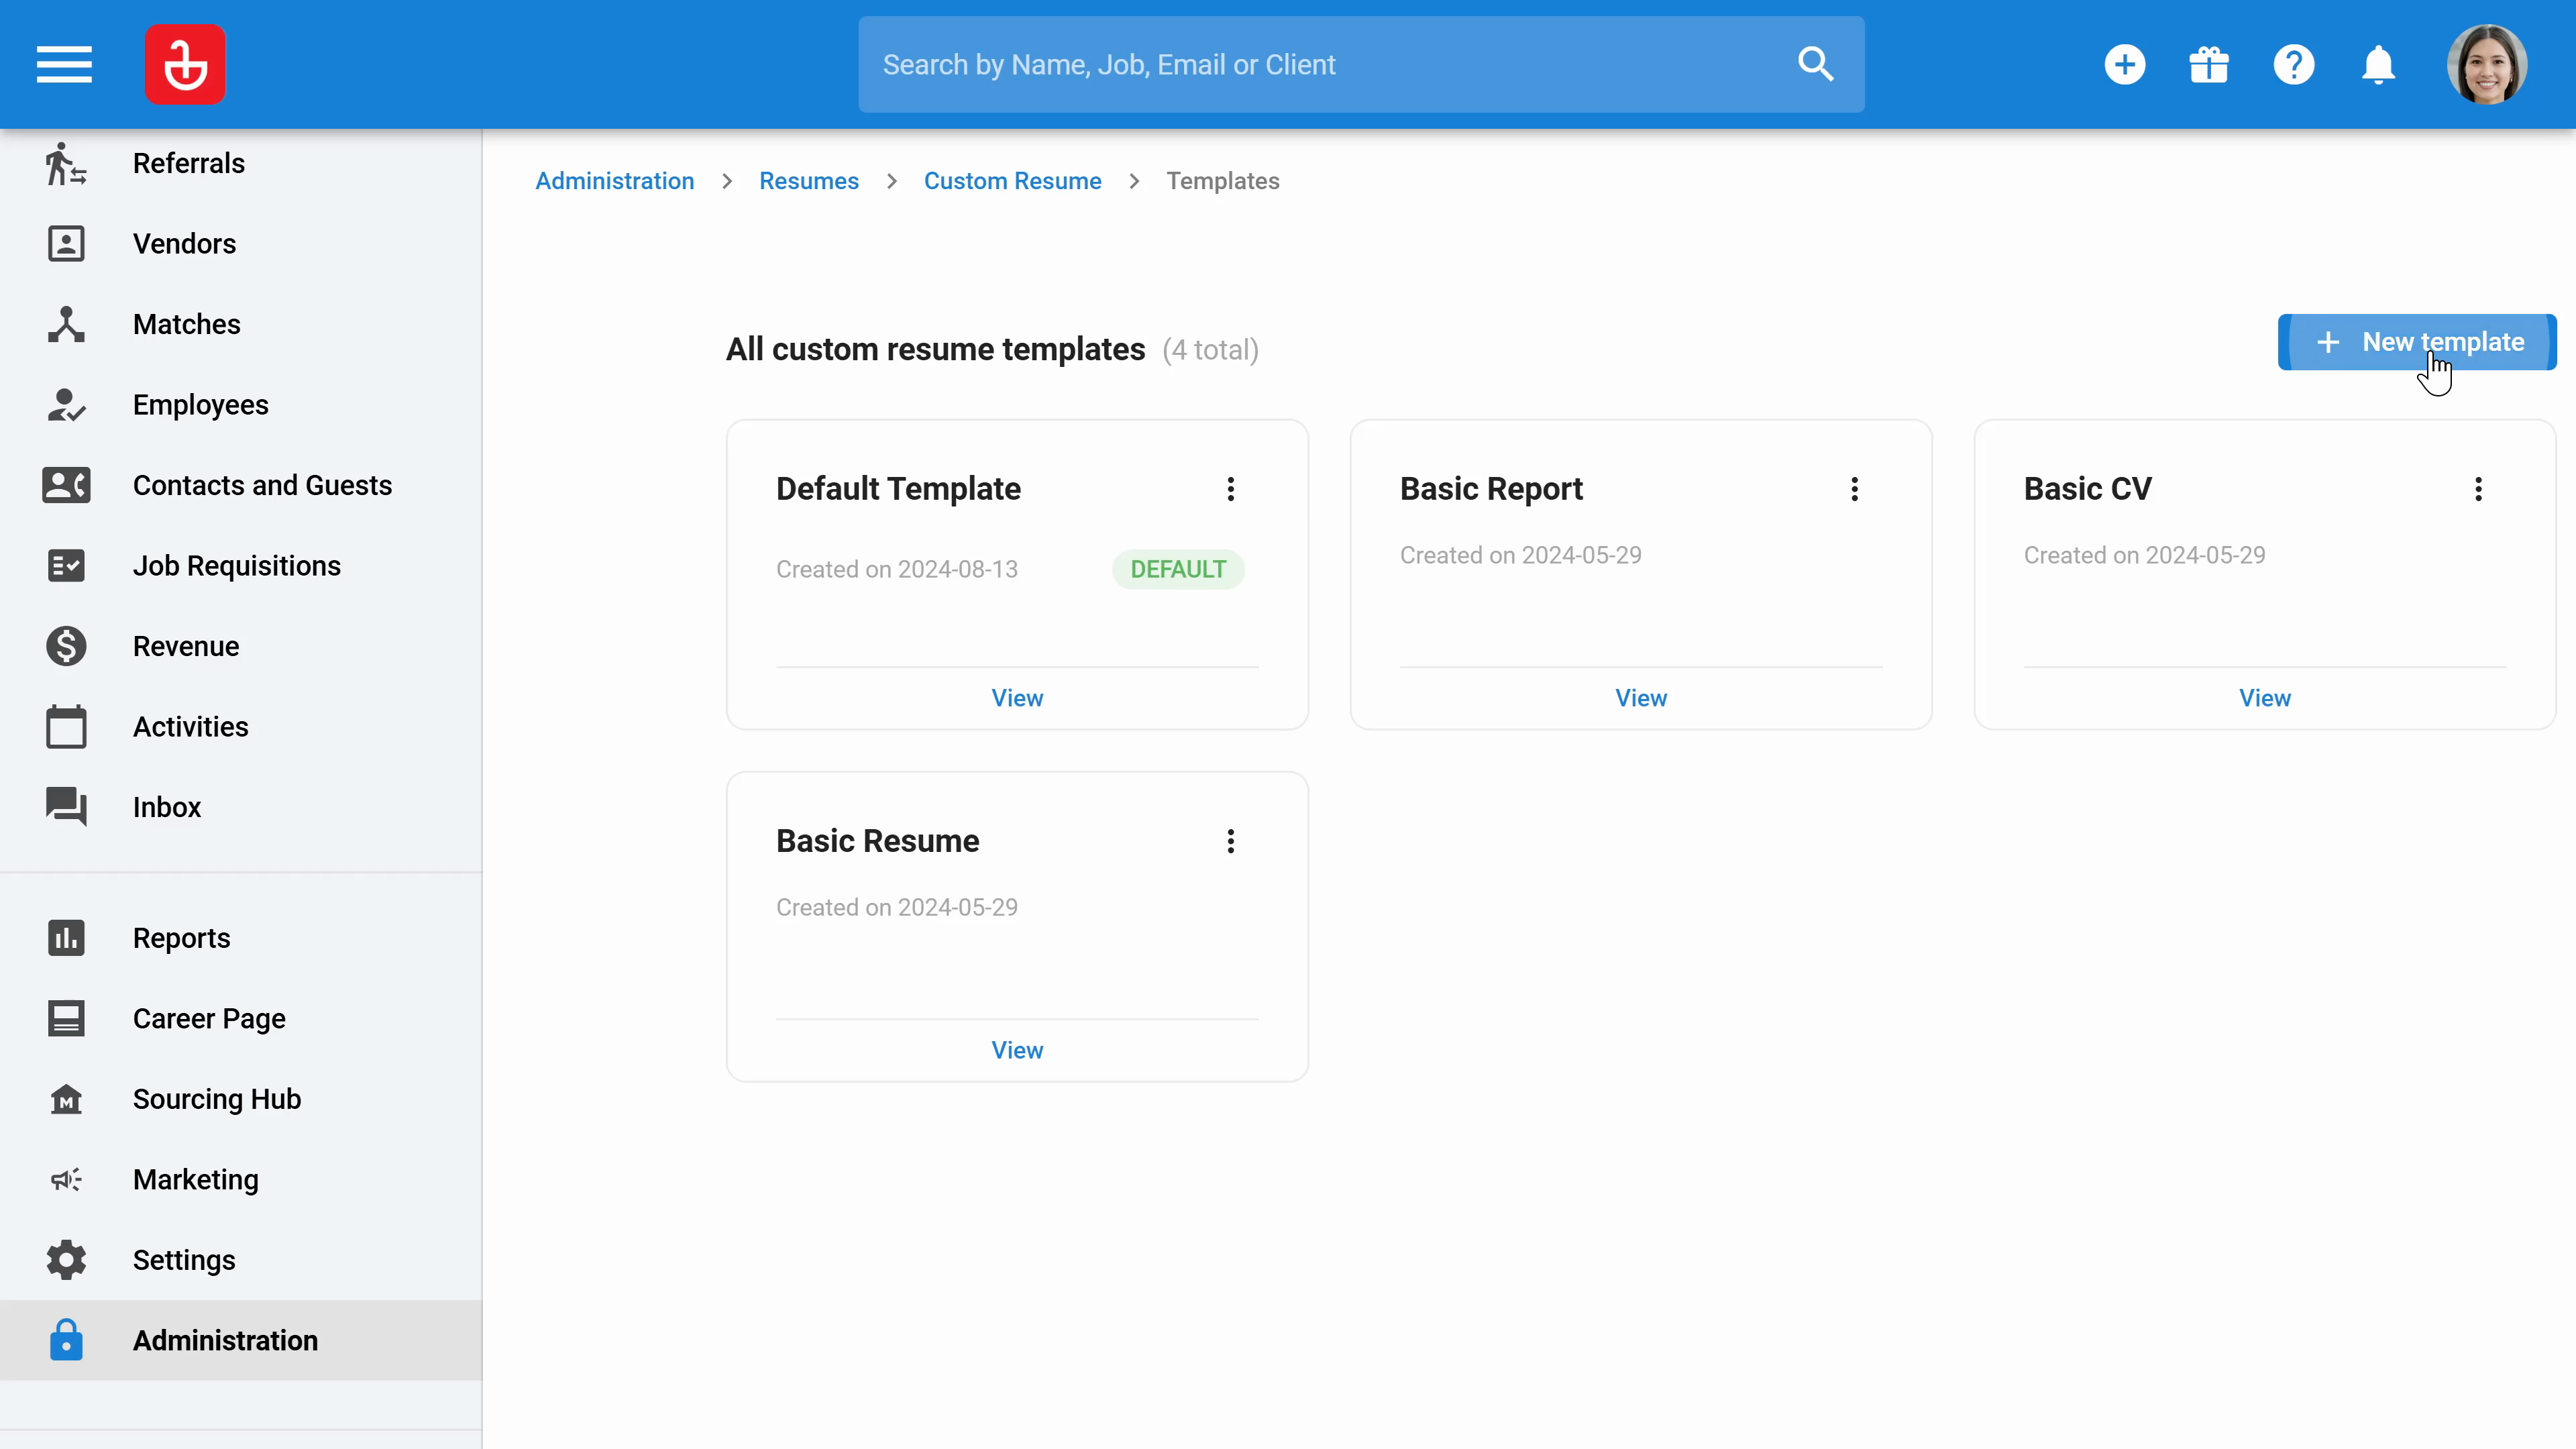
Step 4: Click on templates.
Step 5: Here, you'll be able to modify an existing template or create a new one. Name your new template. For instance, "custom resume for Tesla".
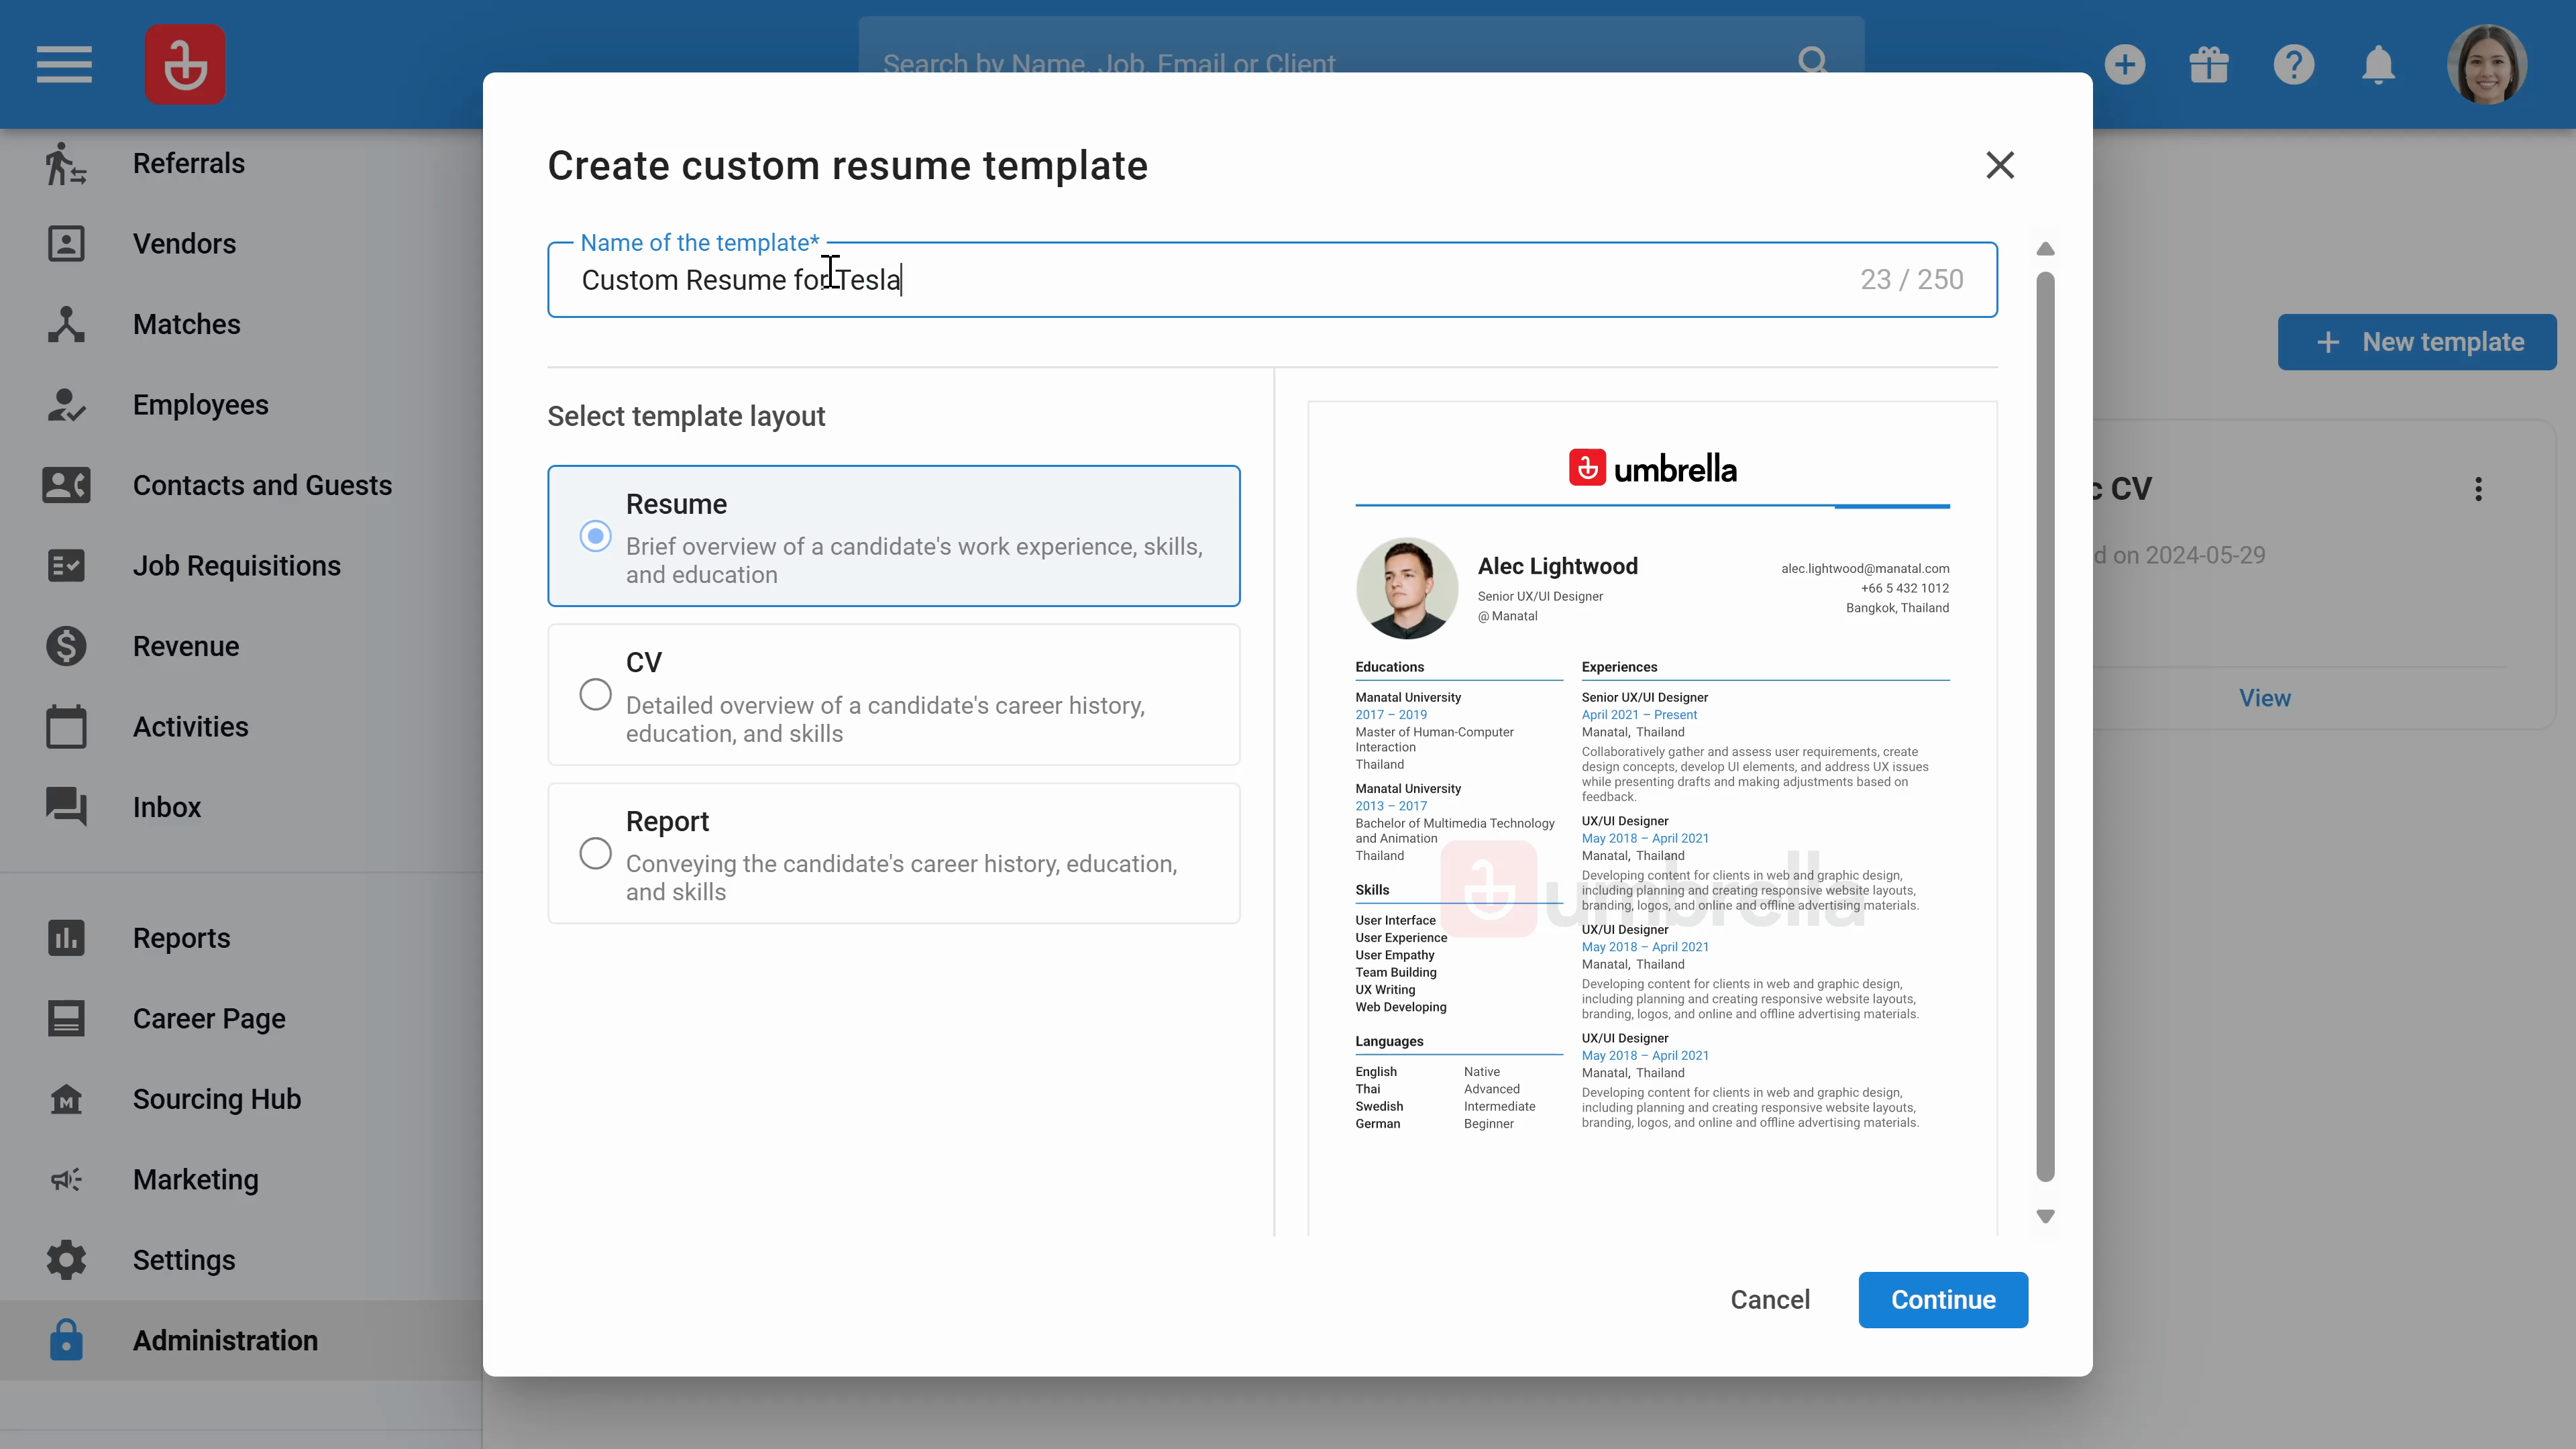
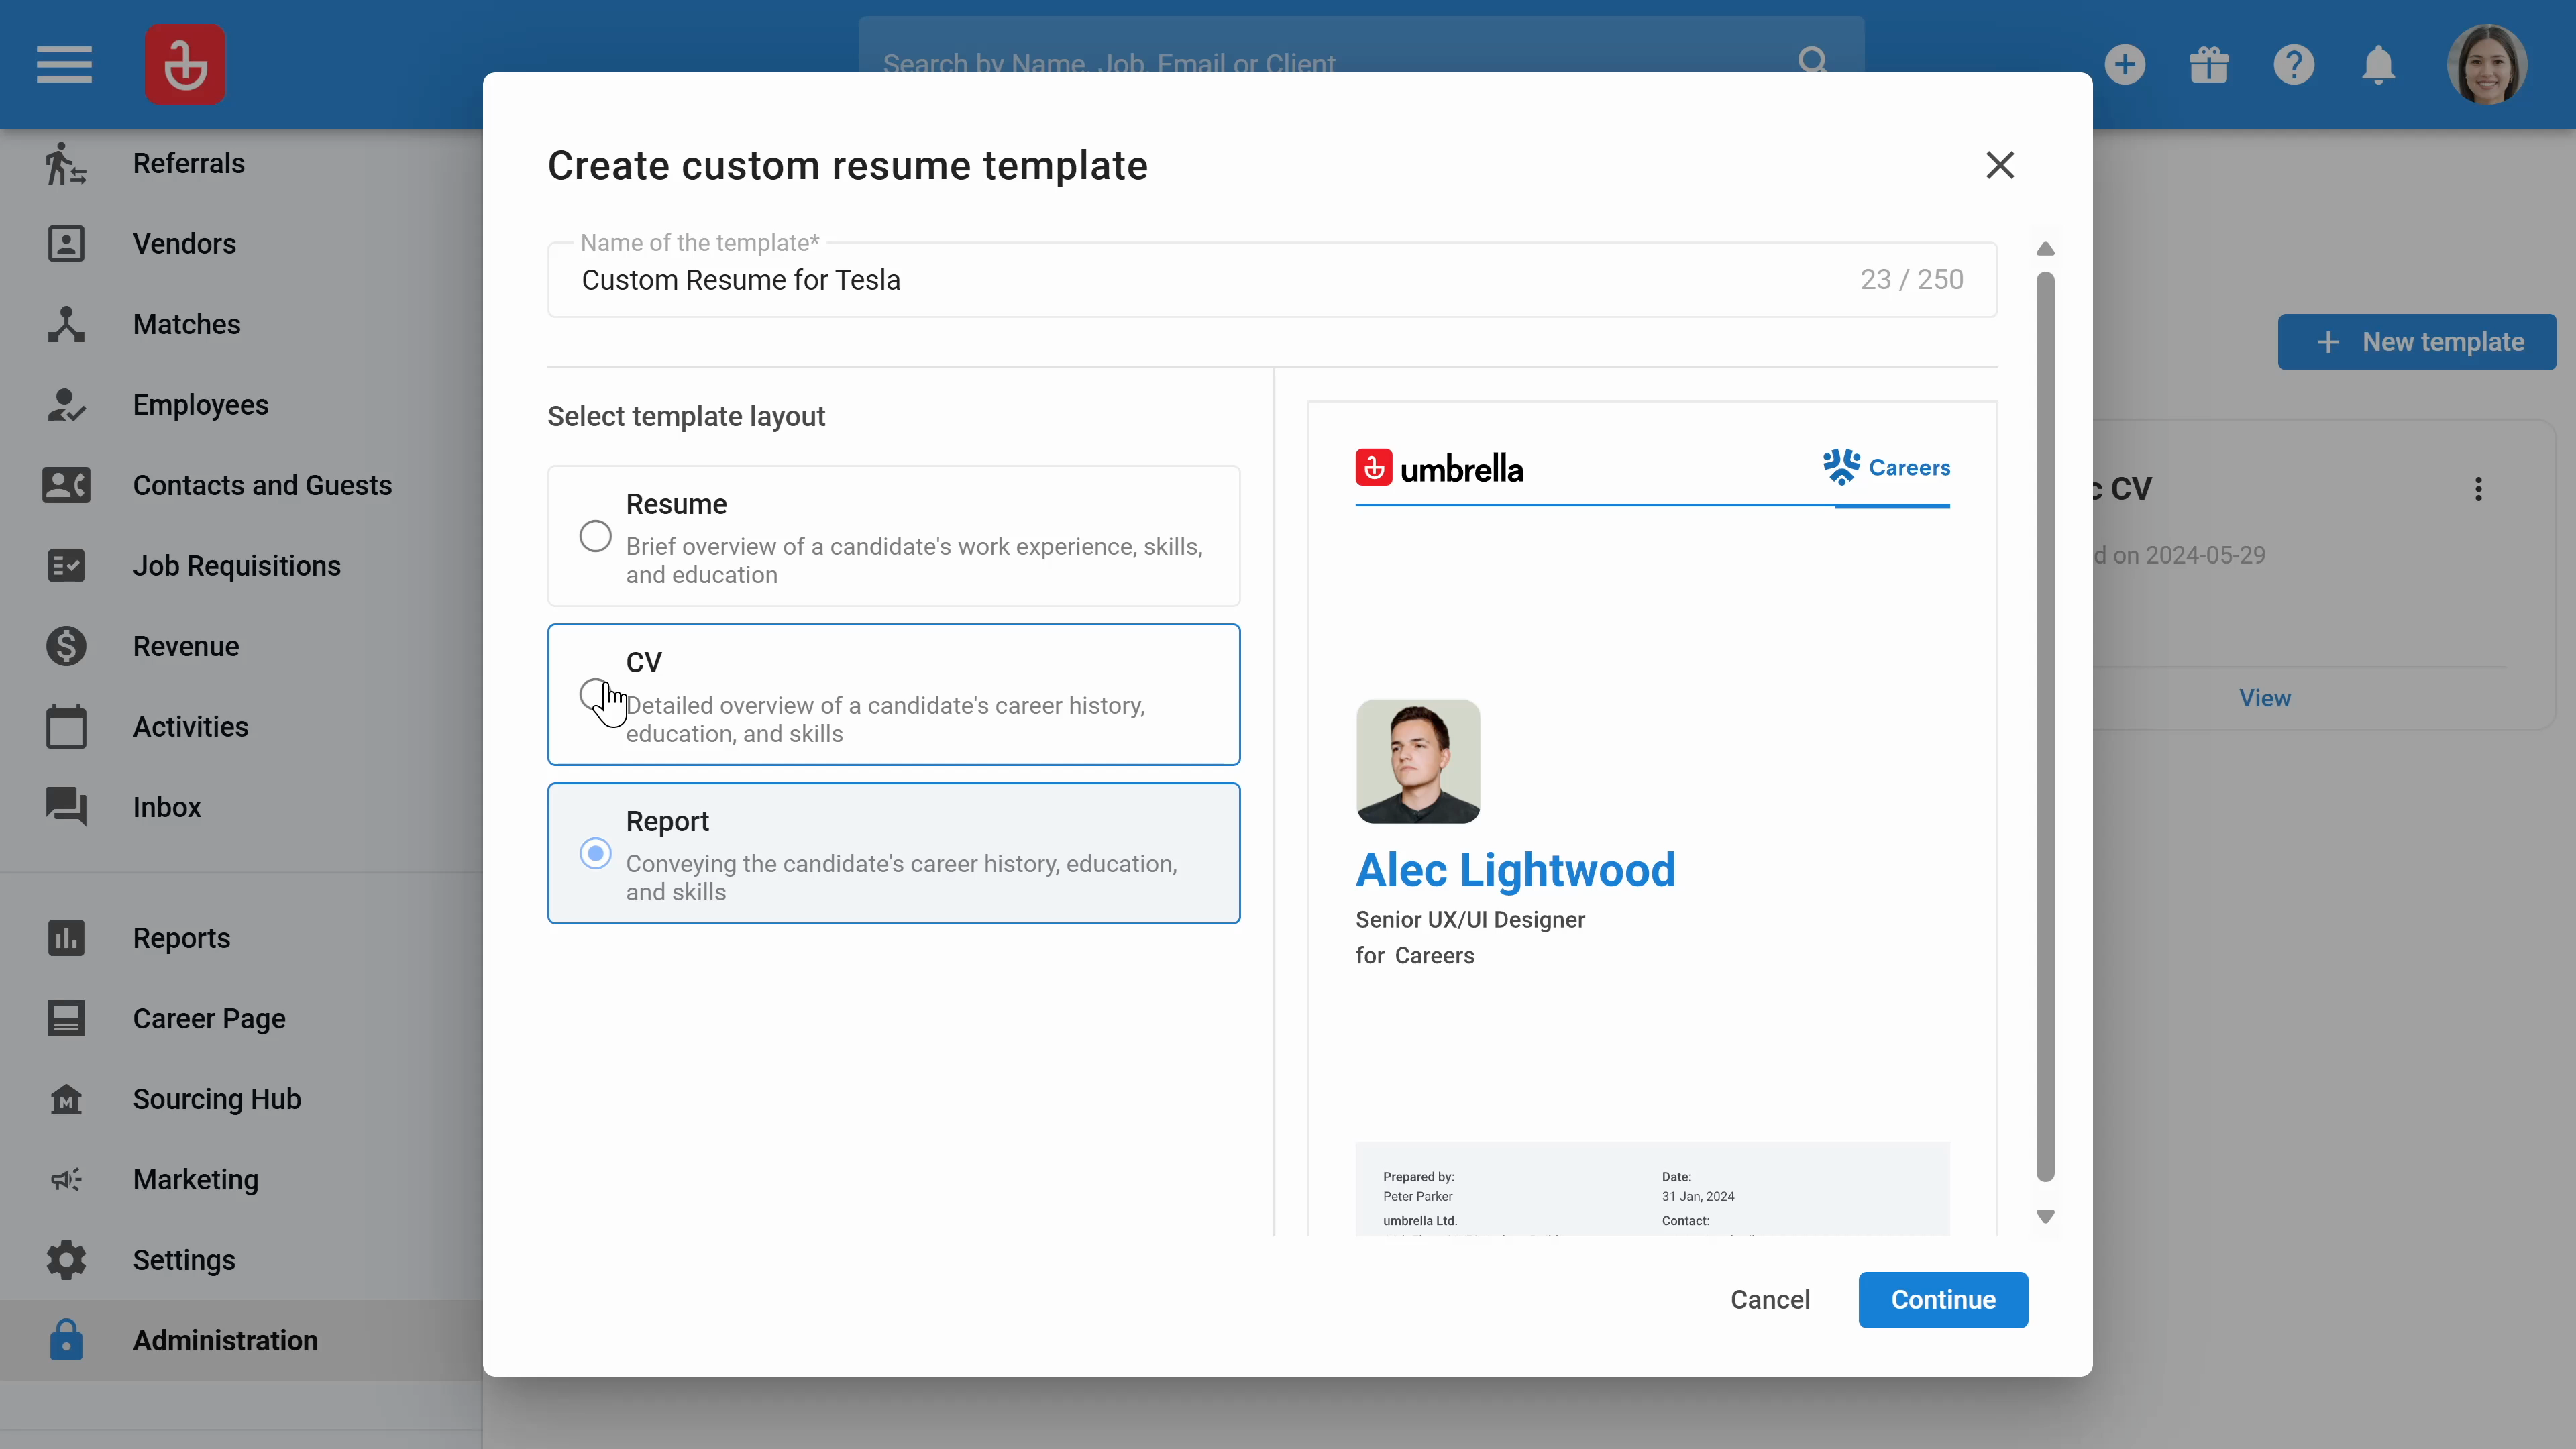
Step 6: Select the layout you prefer. Options include a resume layout, a CV layout, or a report layout with a cover page.
Step 7: Modify the global content and the resume content. In the global content, decide if you want to display the candidate's photo, watermark and upload the watermark if needed.
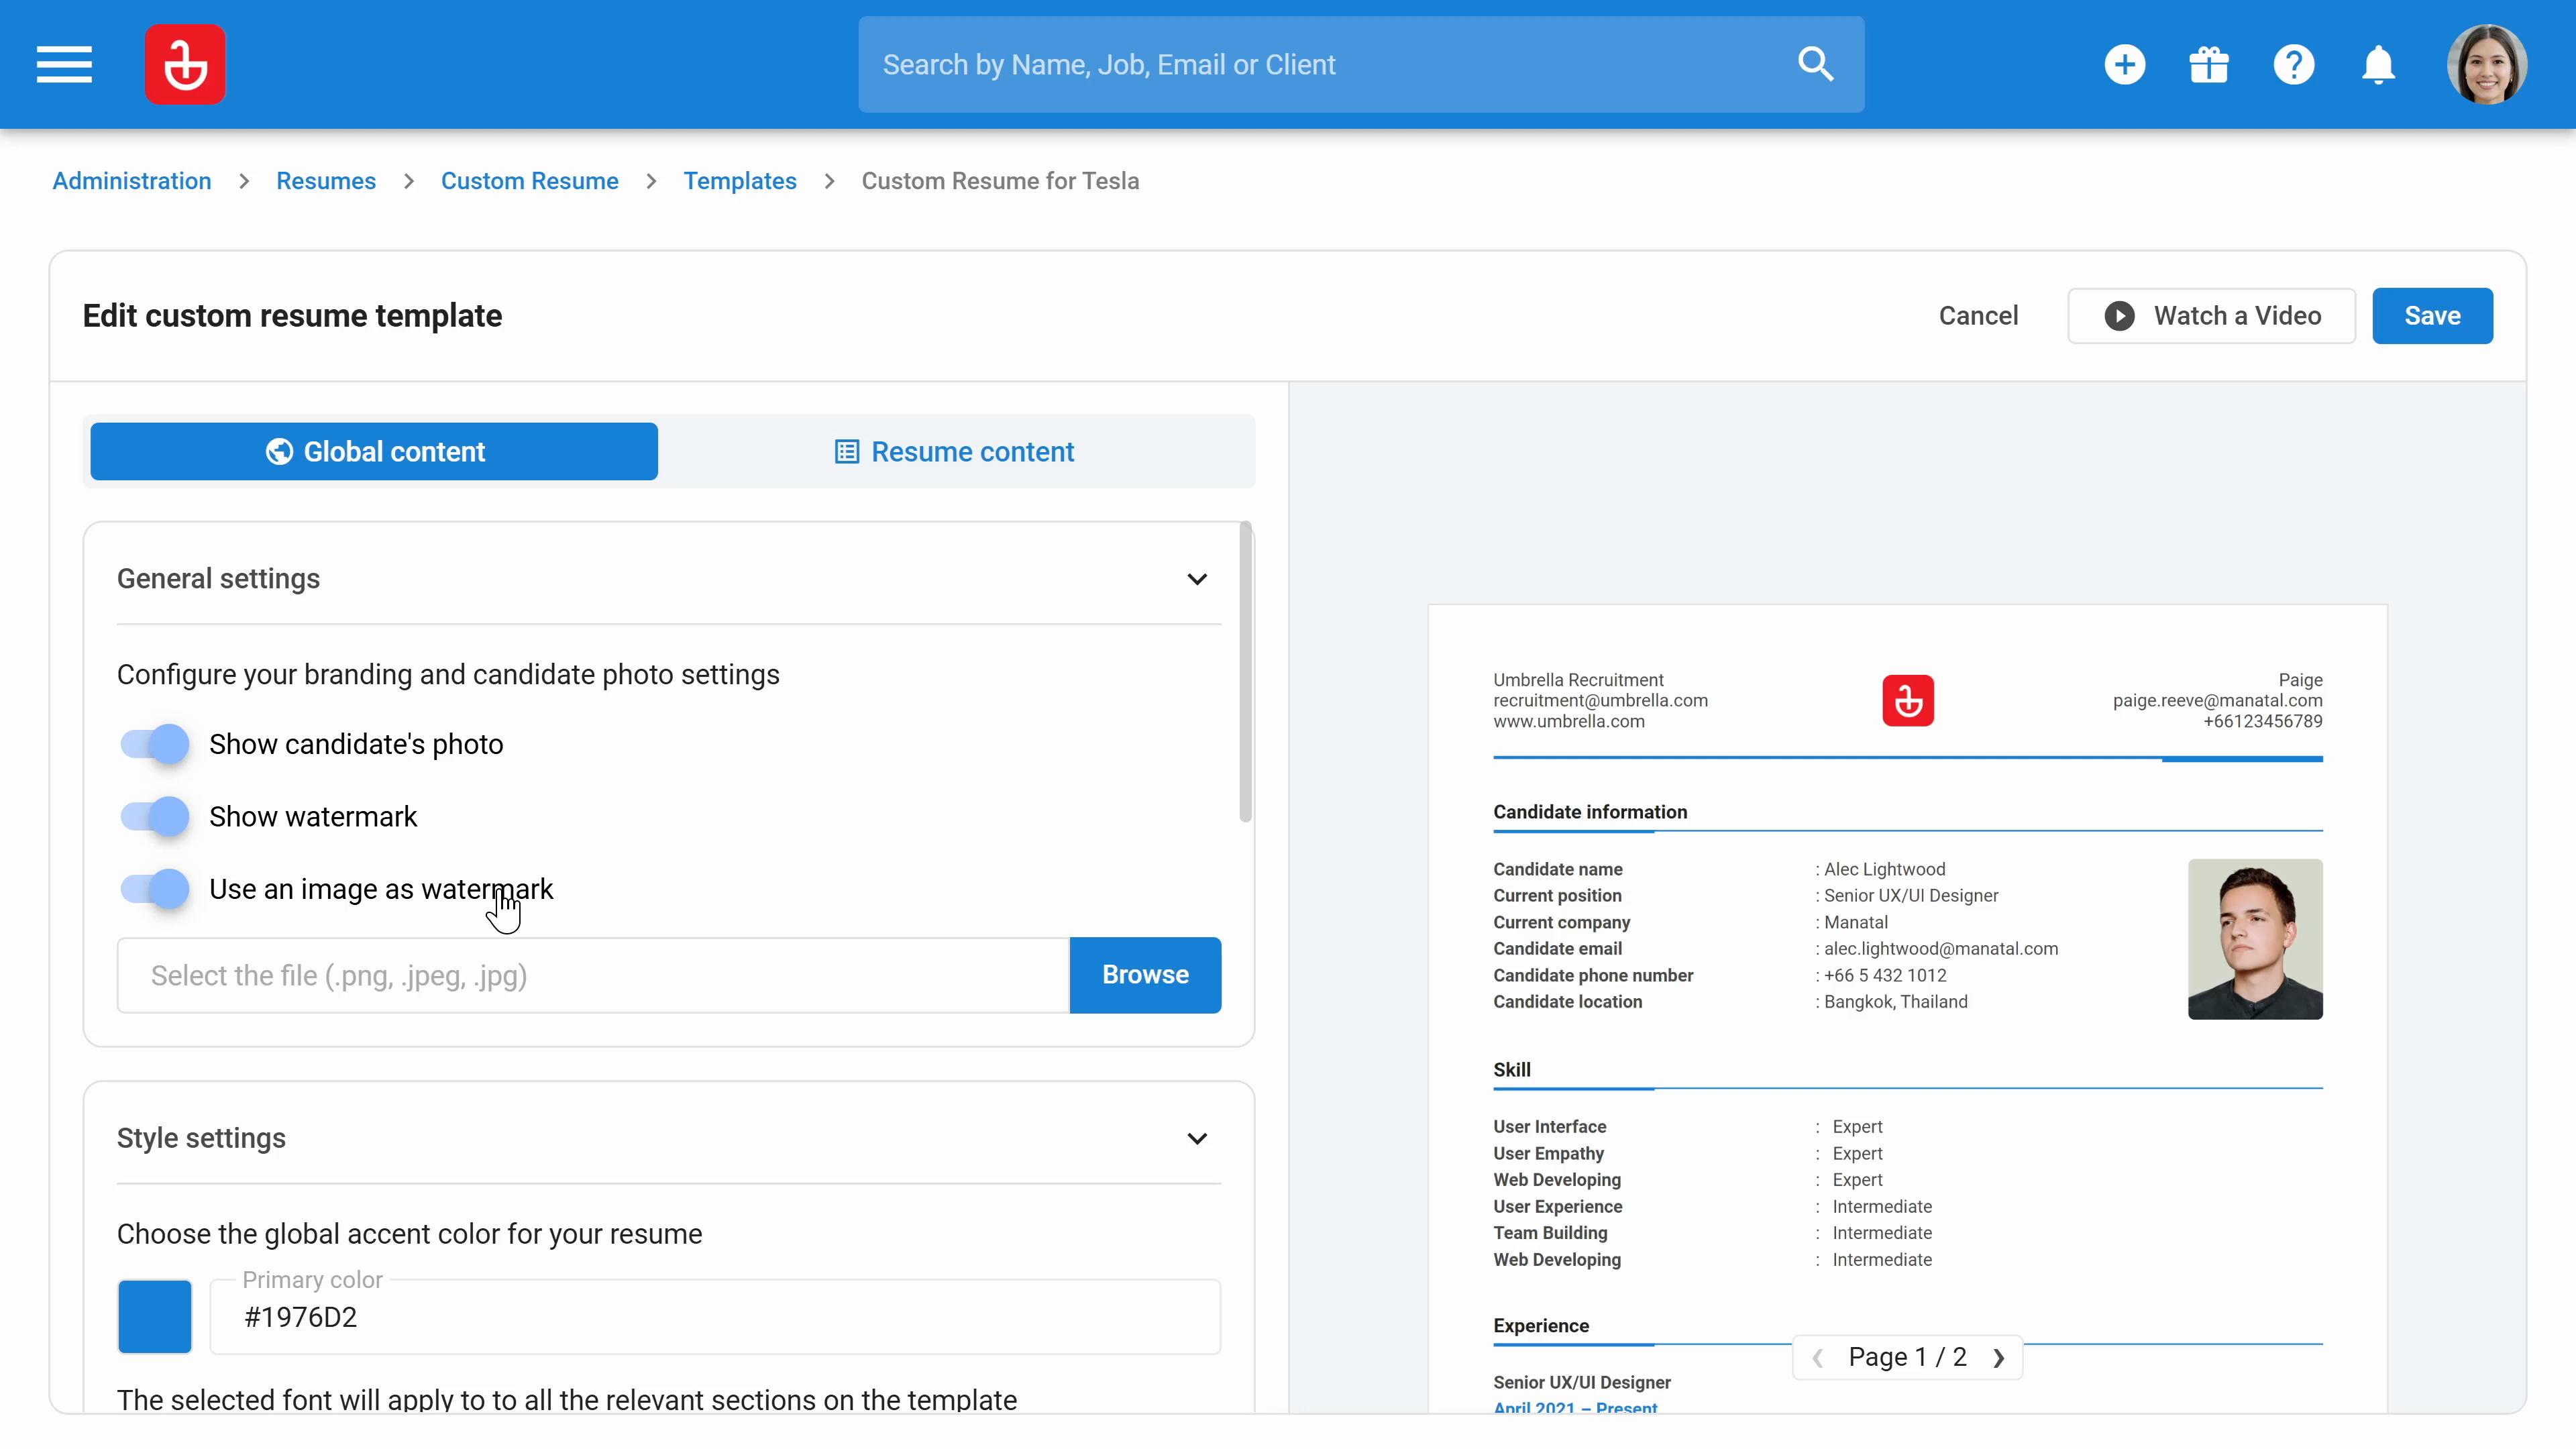
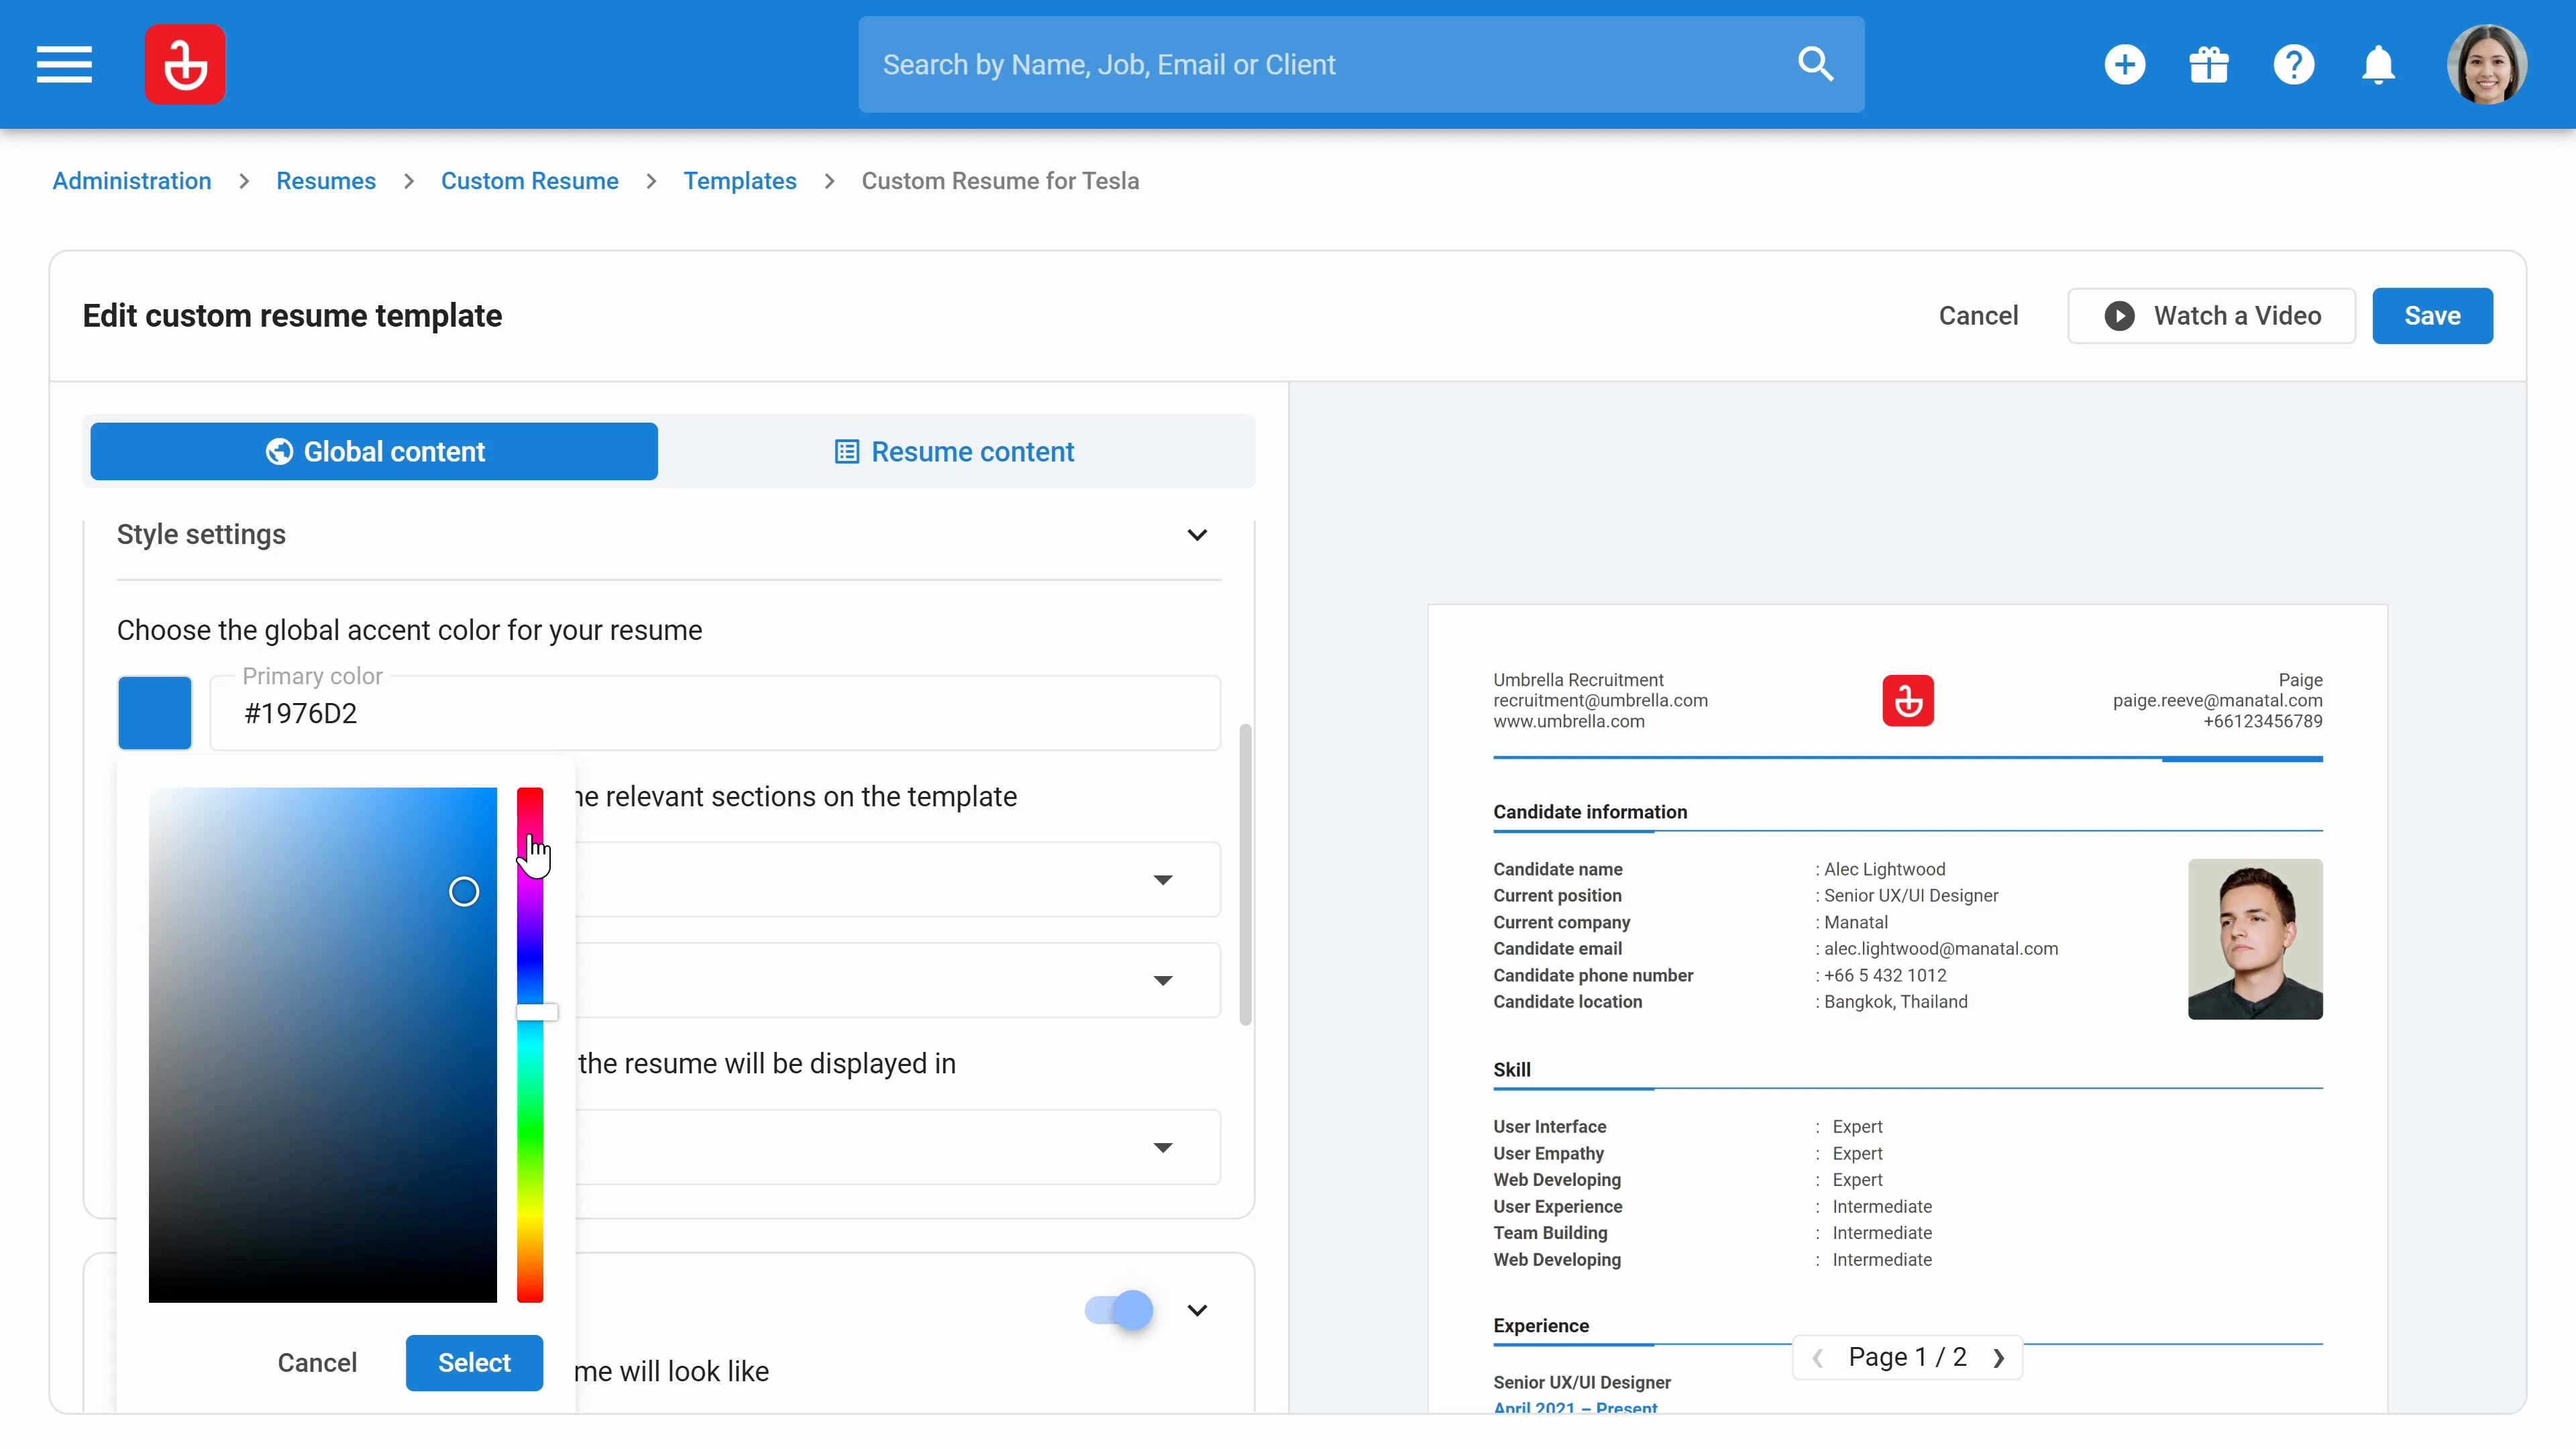
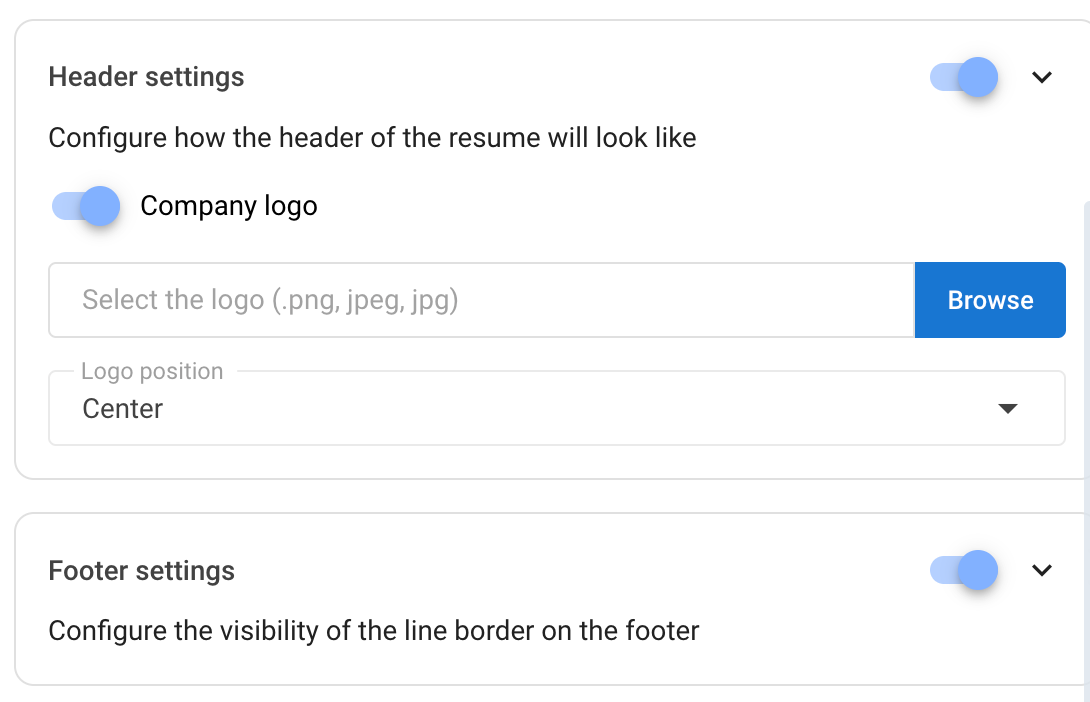
Step 8: Customize the font and lines color. Decide what information will be visible on the header and footer.
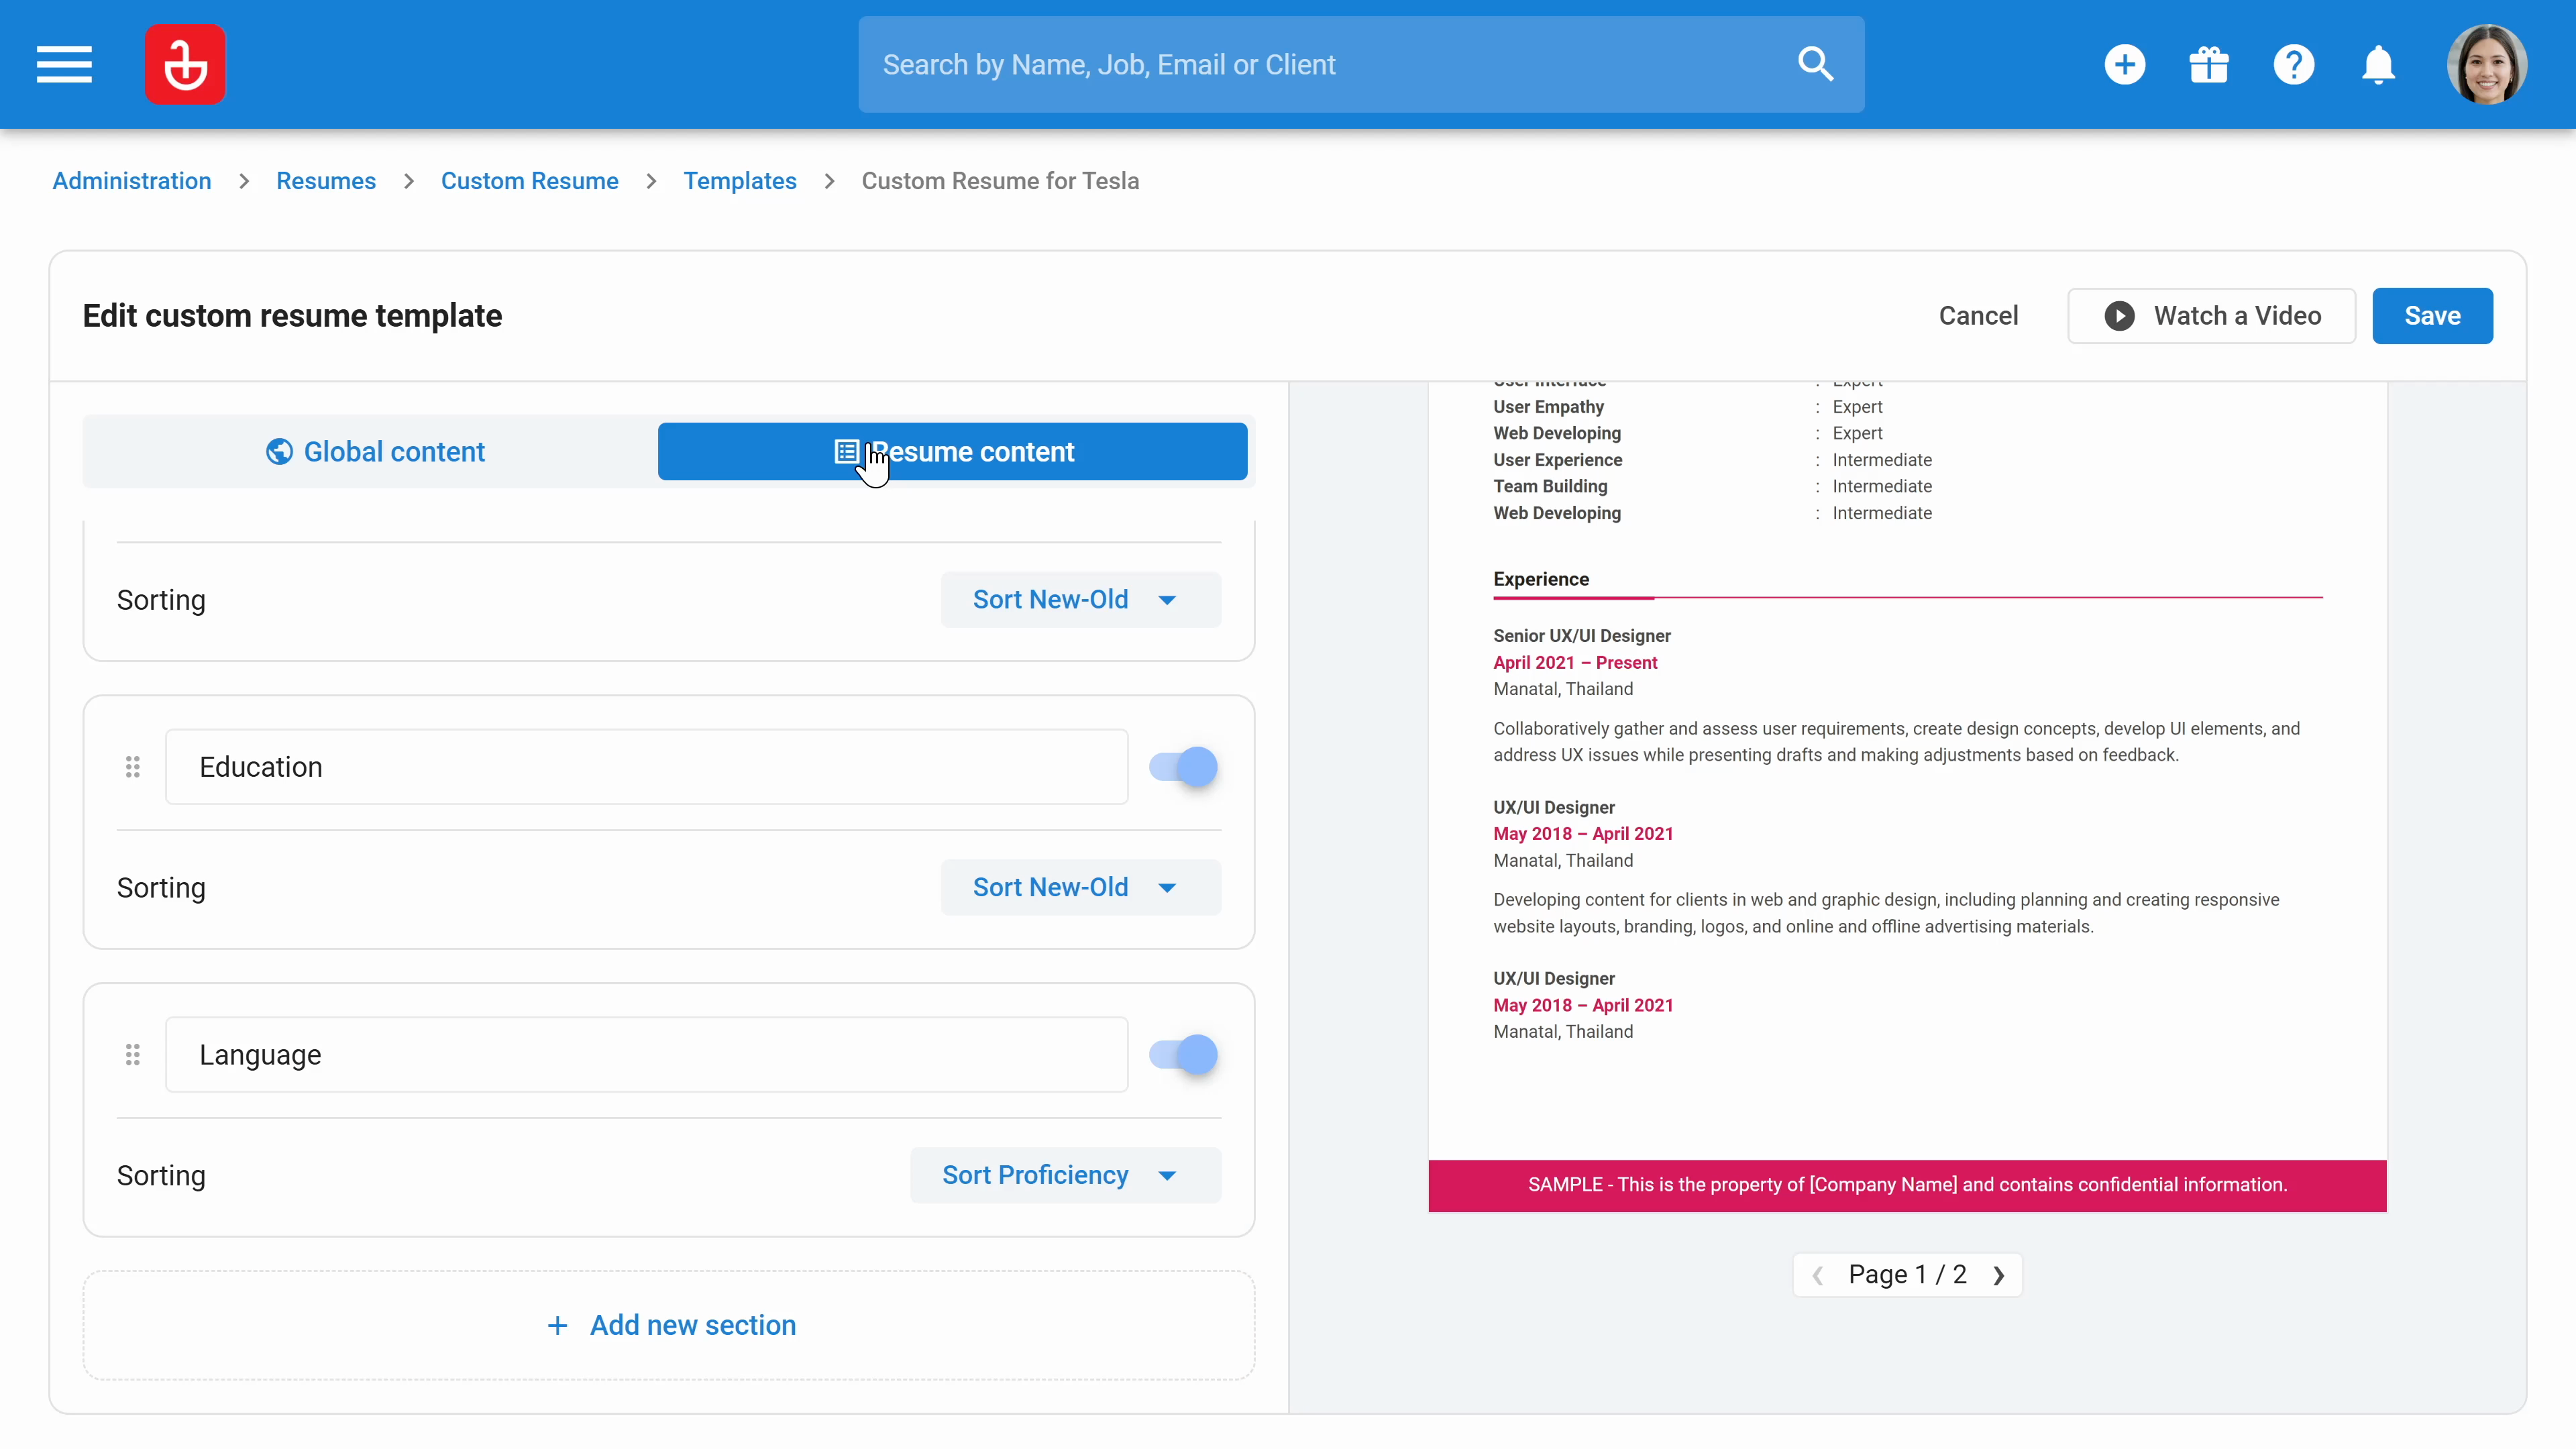
Step 9: Click on resume content. You can hide sections or fields like the candidate's email or phone number, and adjust the order of the fields or sections.
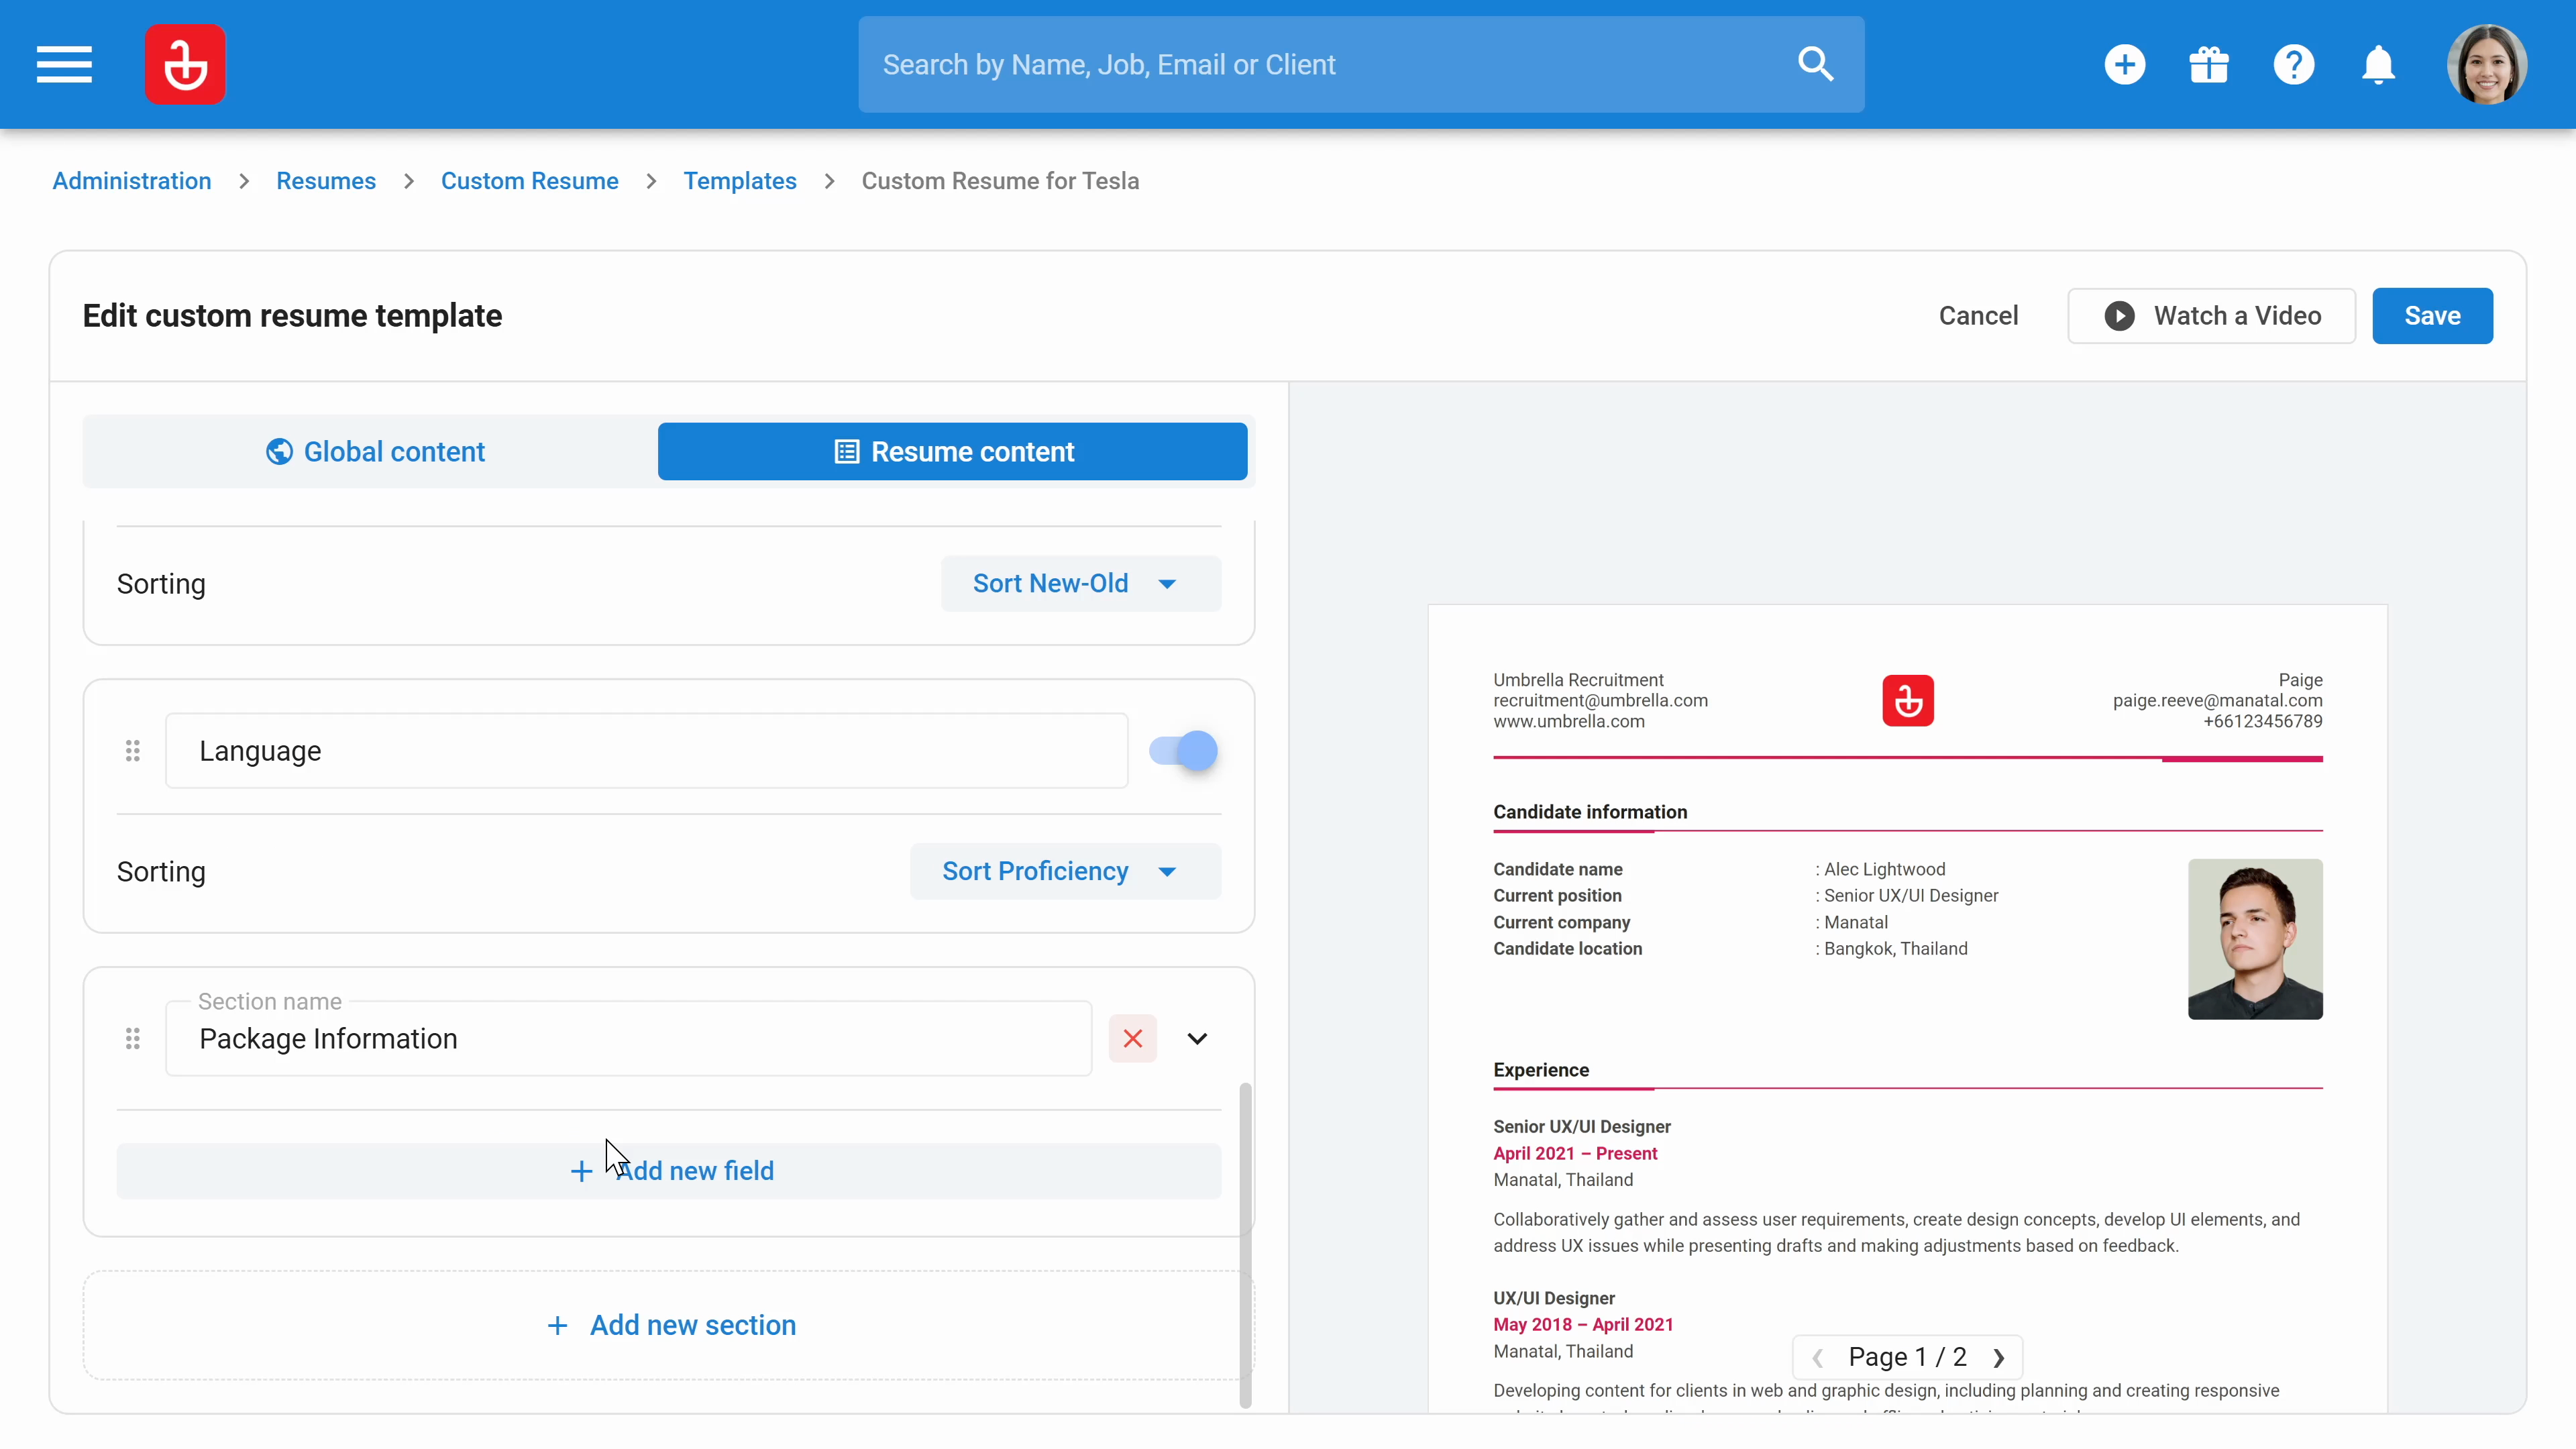
Step 10: Create a new section and add a new field. You can add native fields or custom fields.
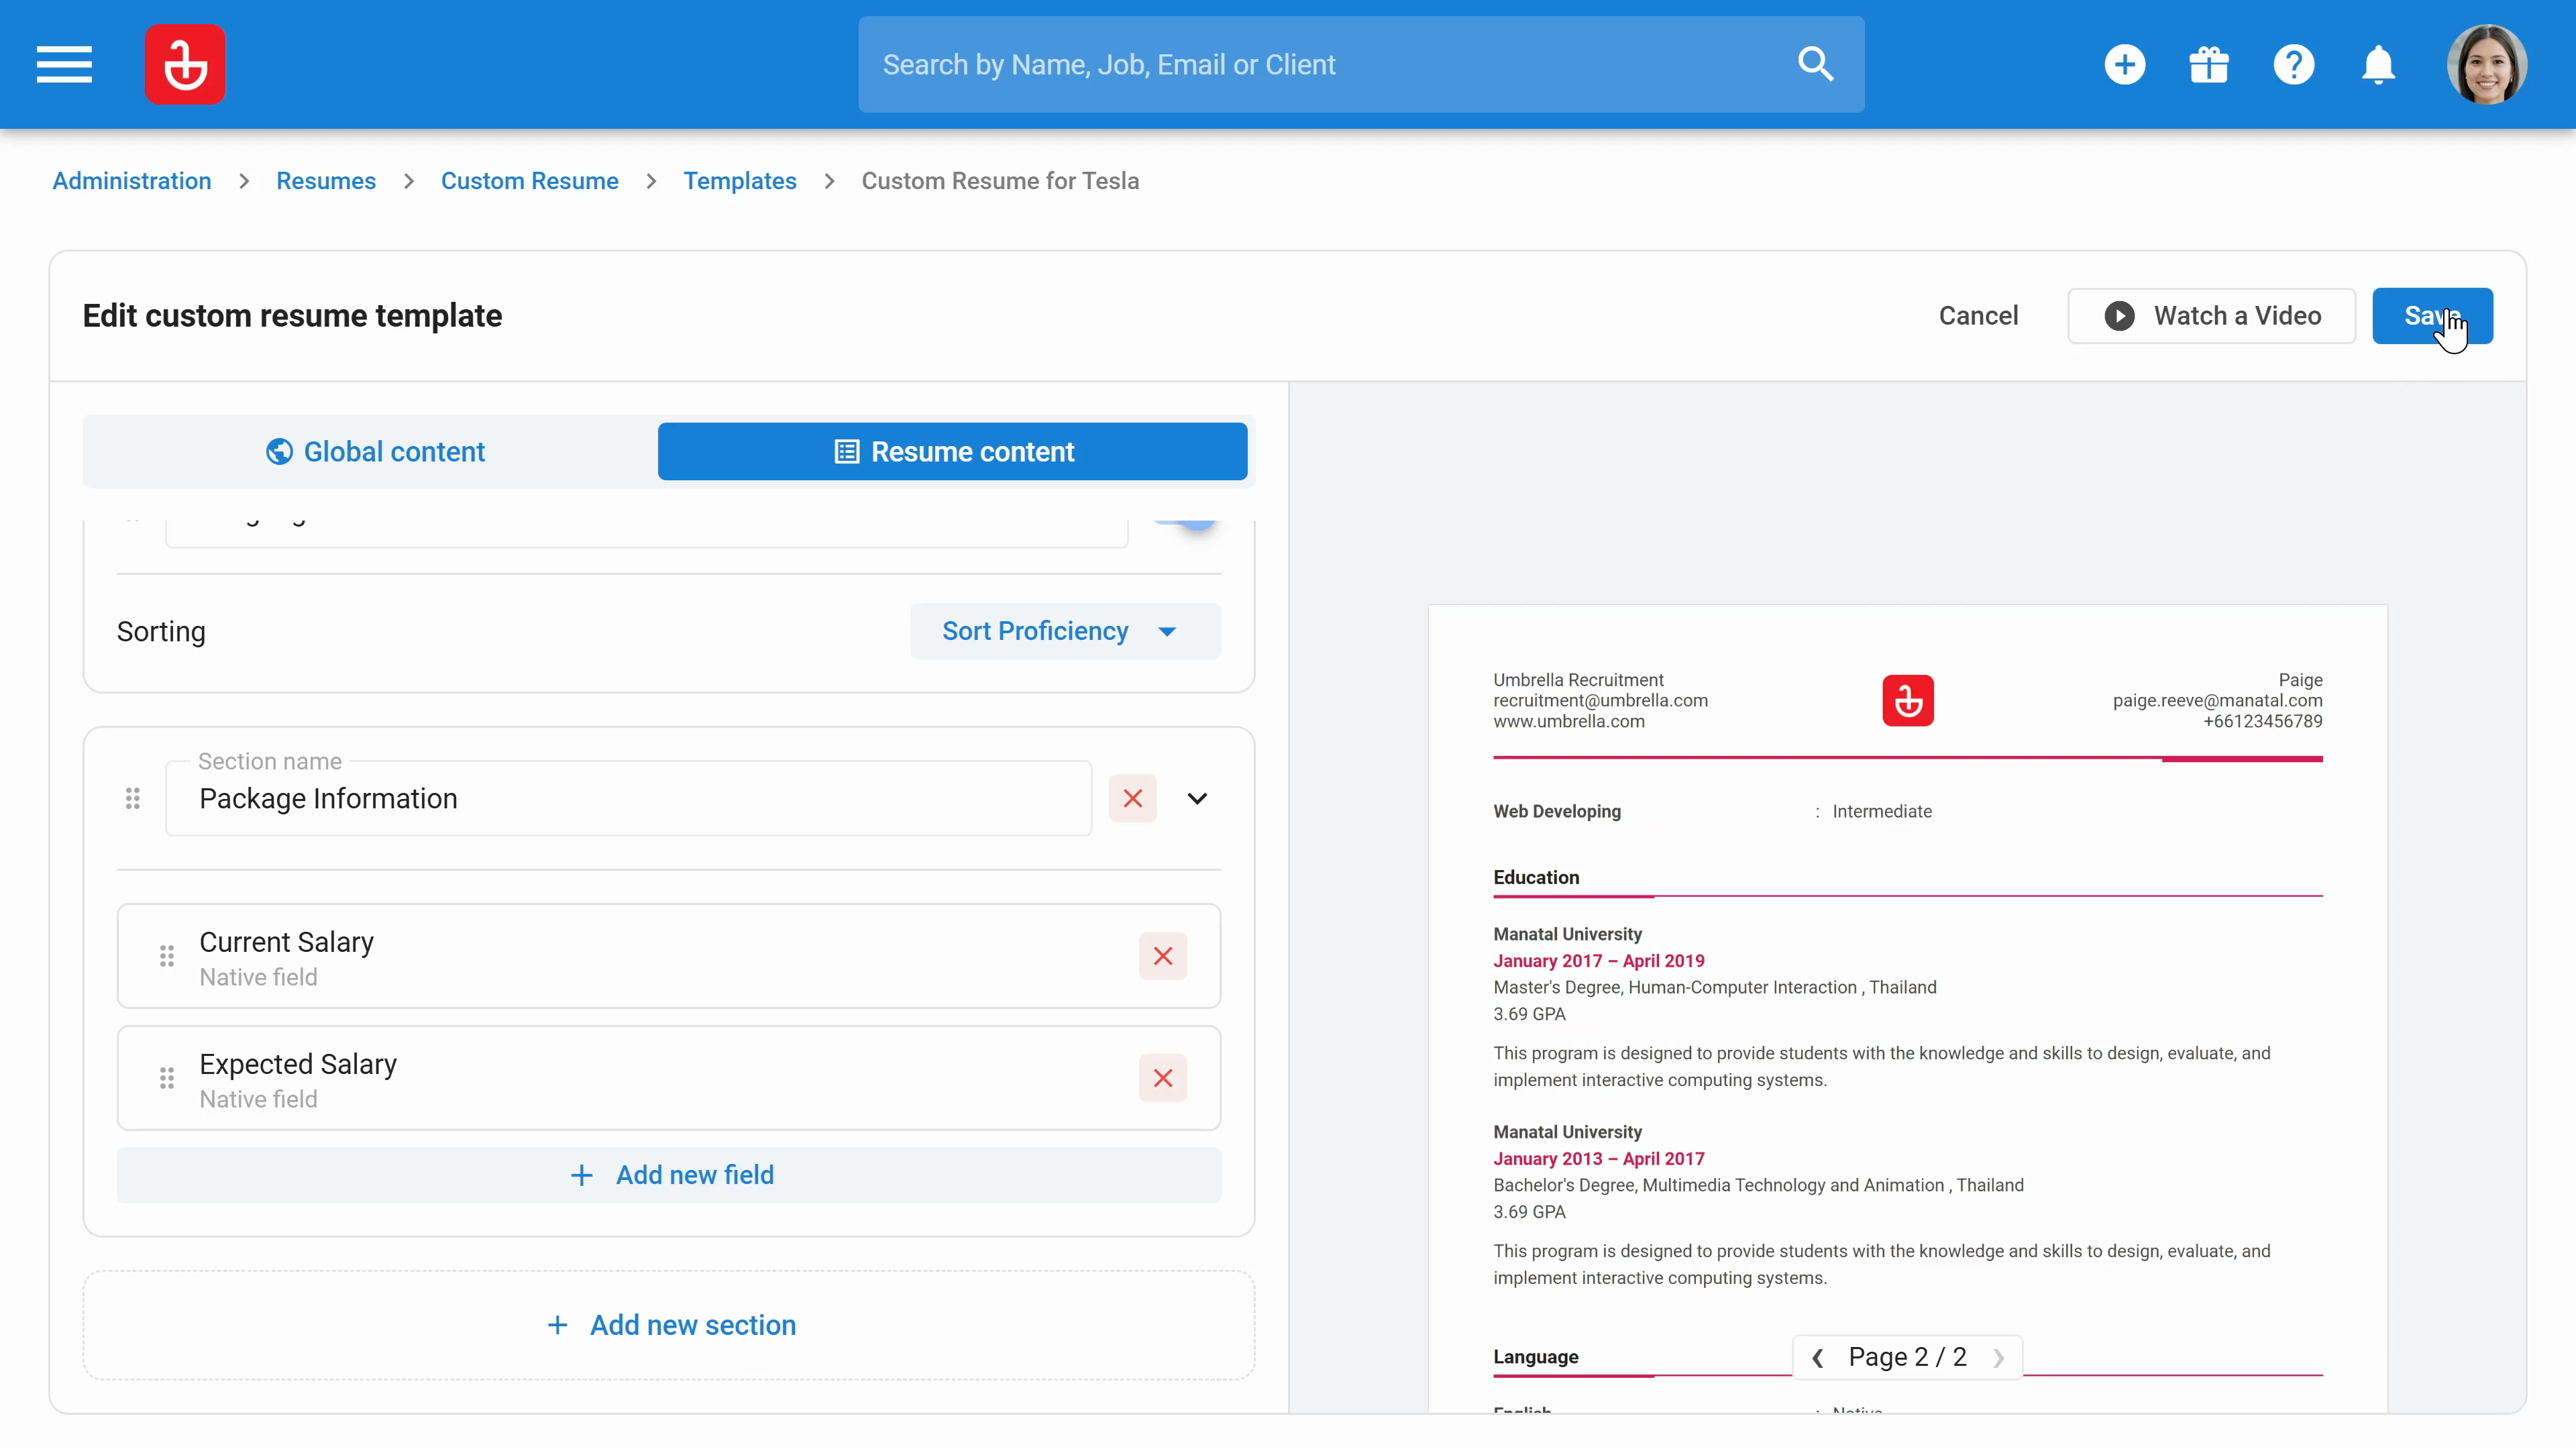
Step 11: Click save after modifying the template.
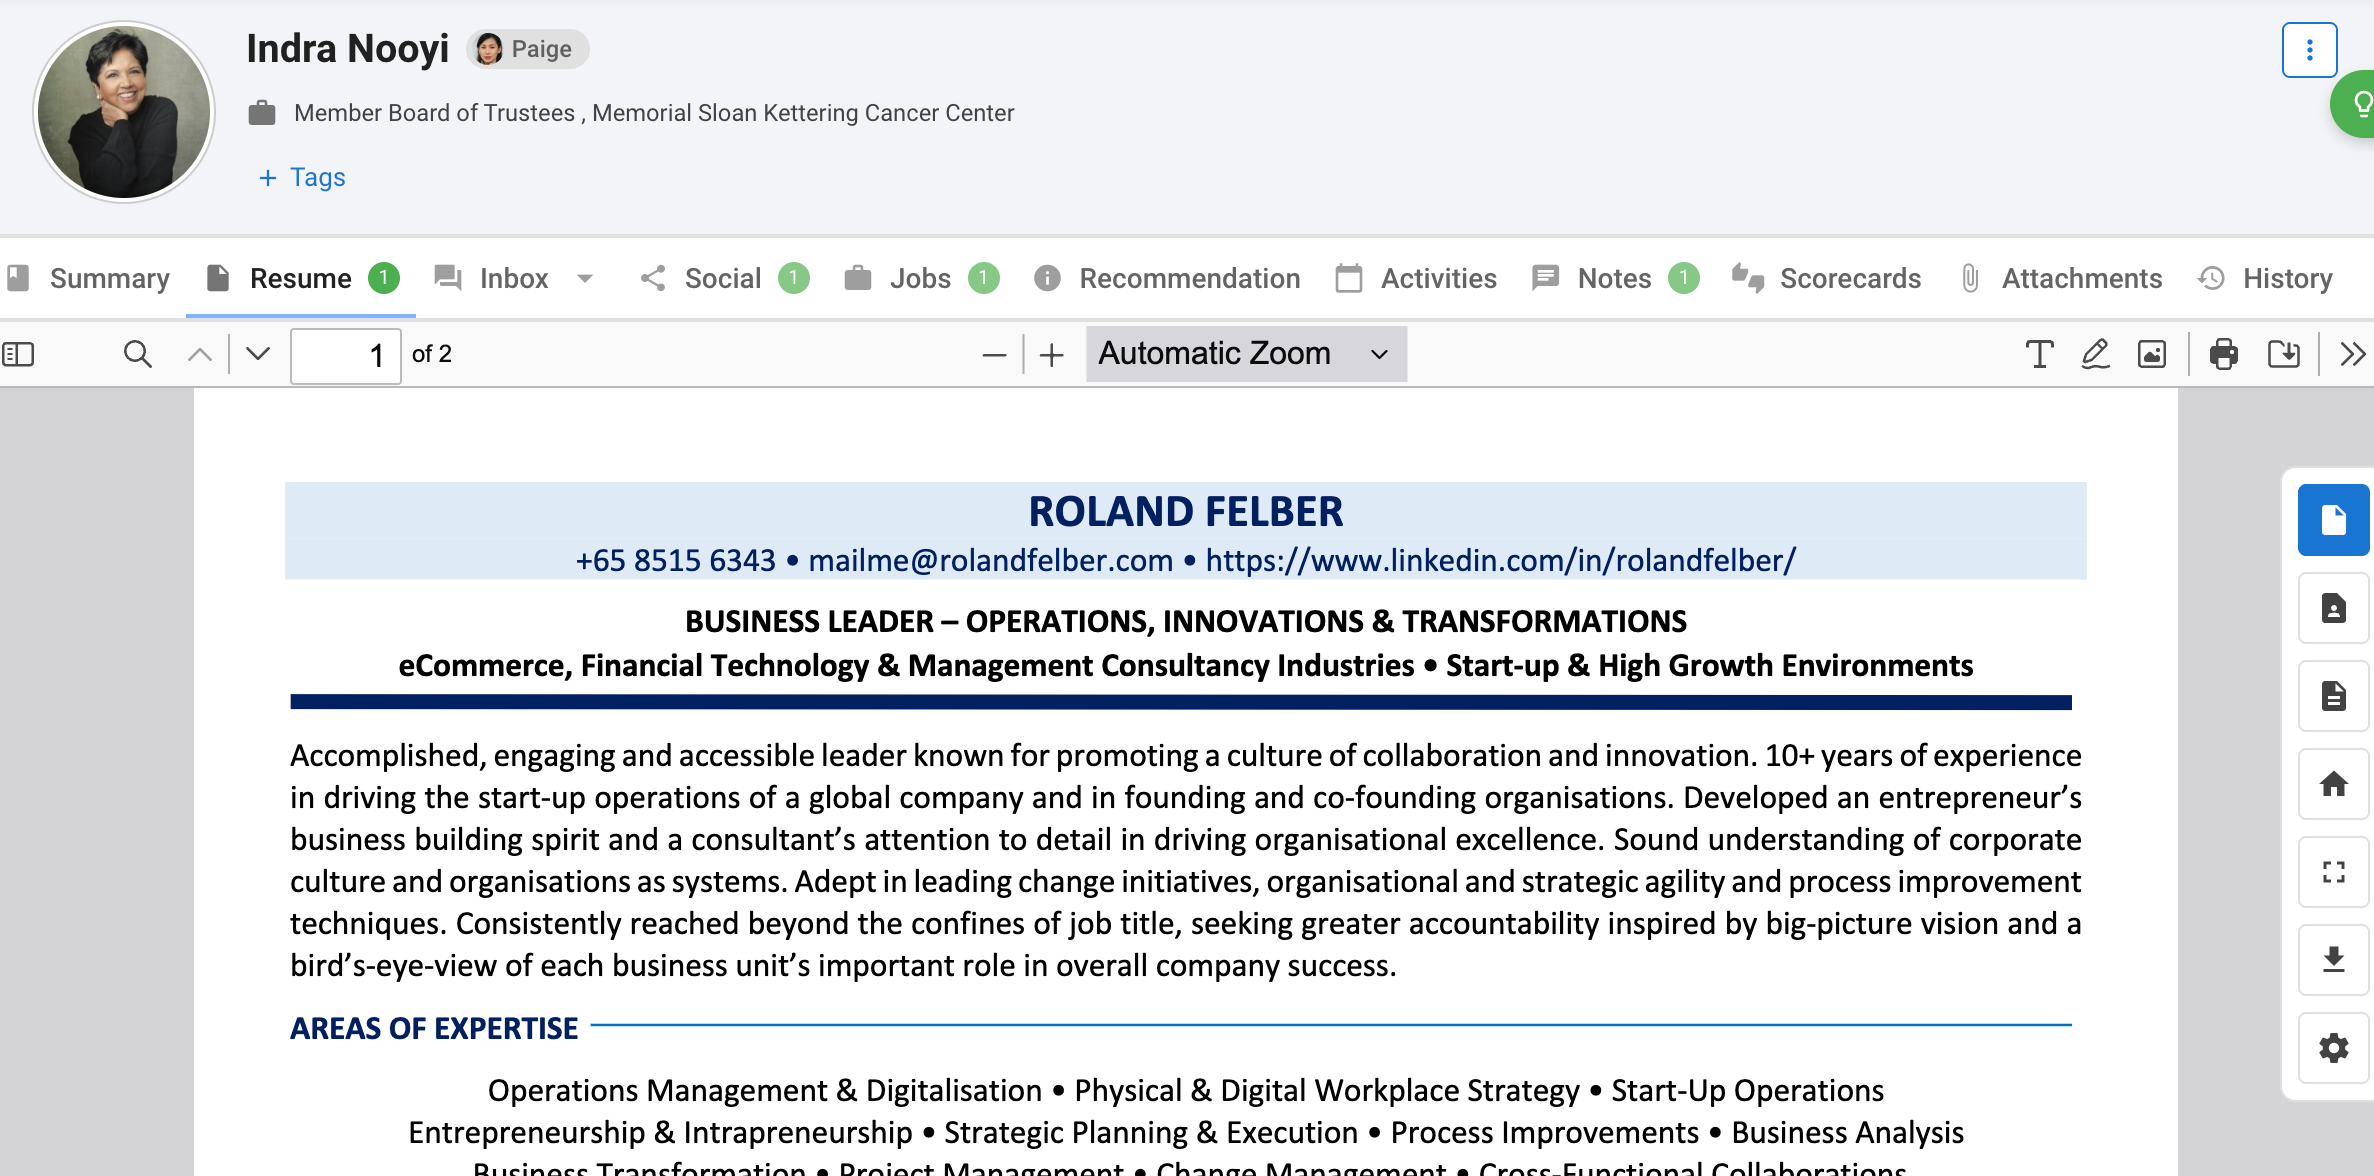
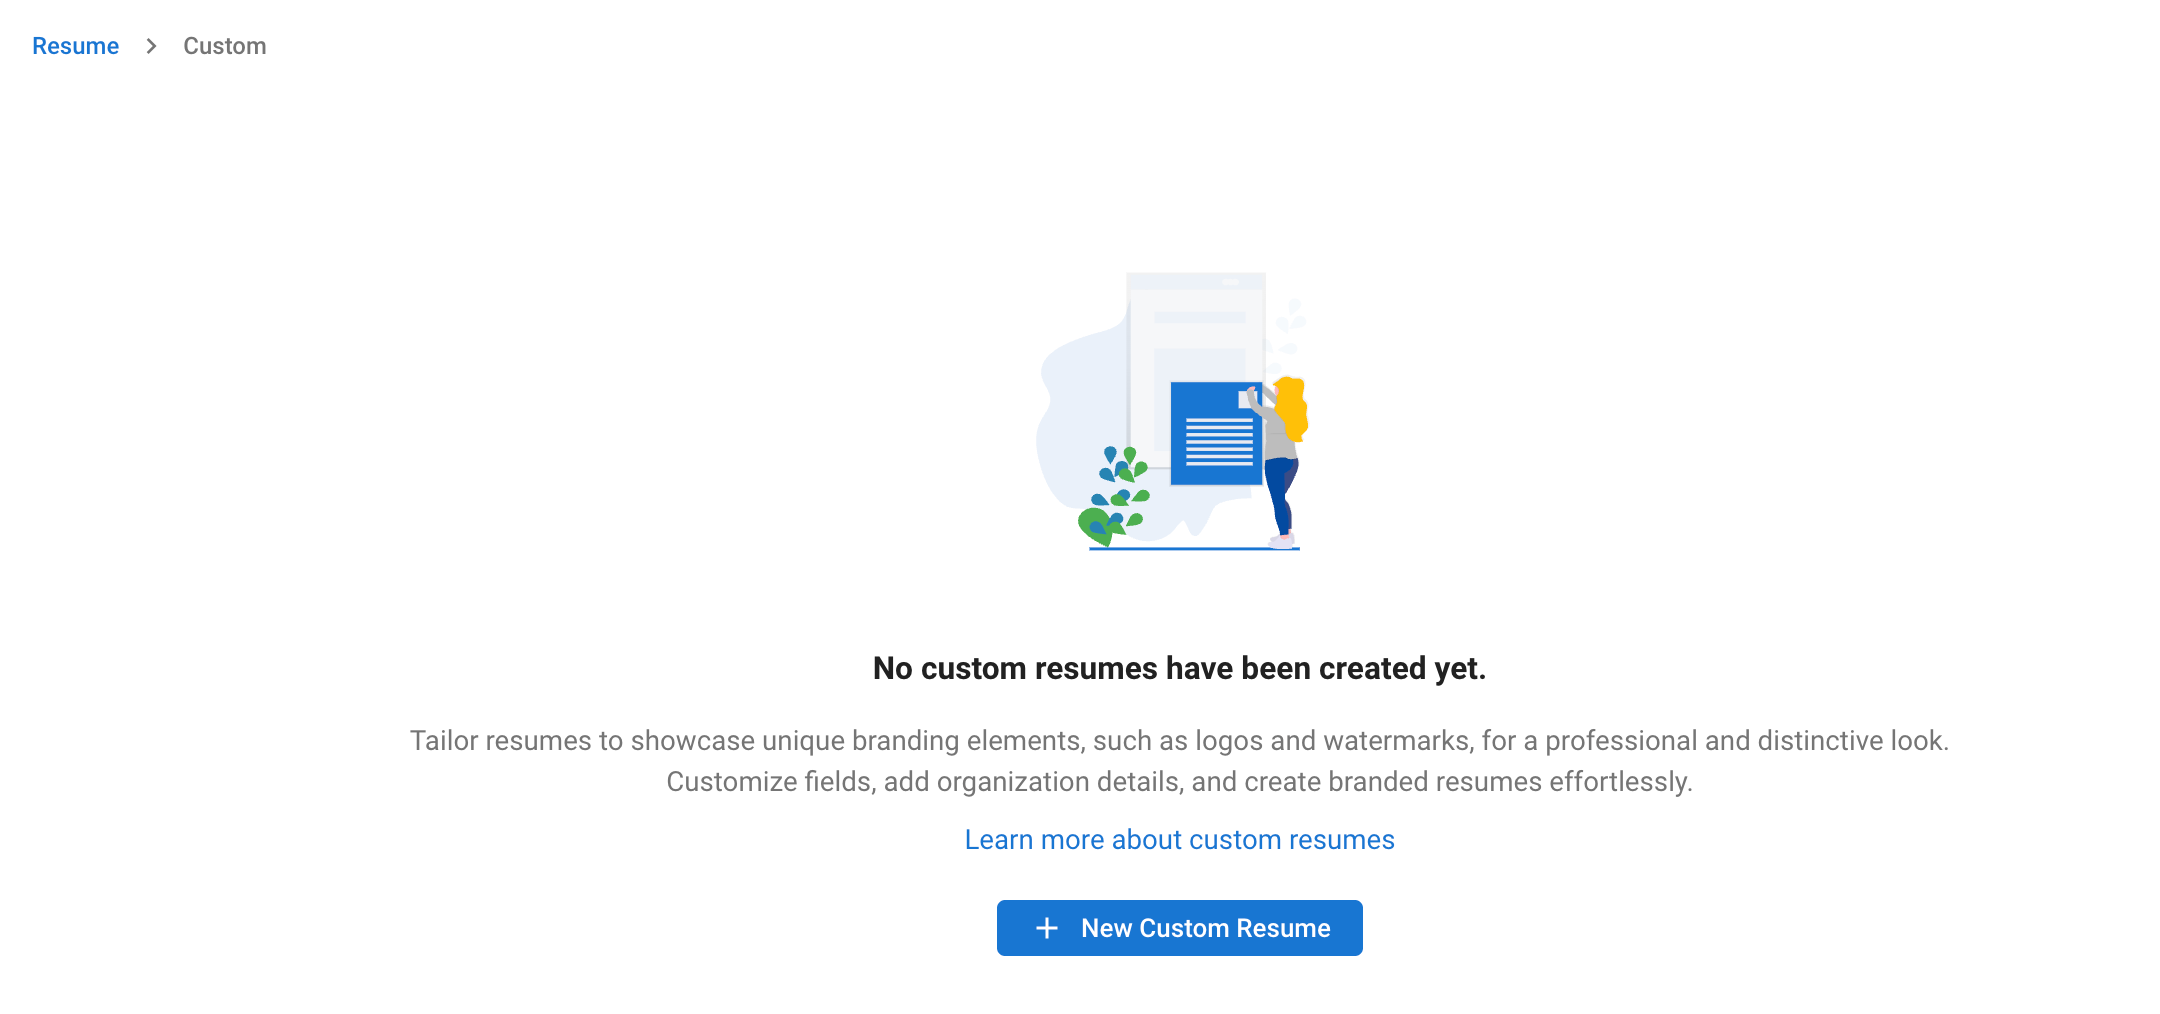
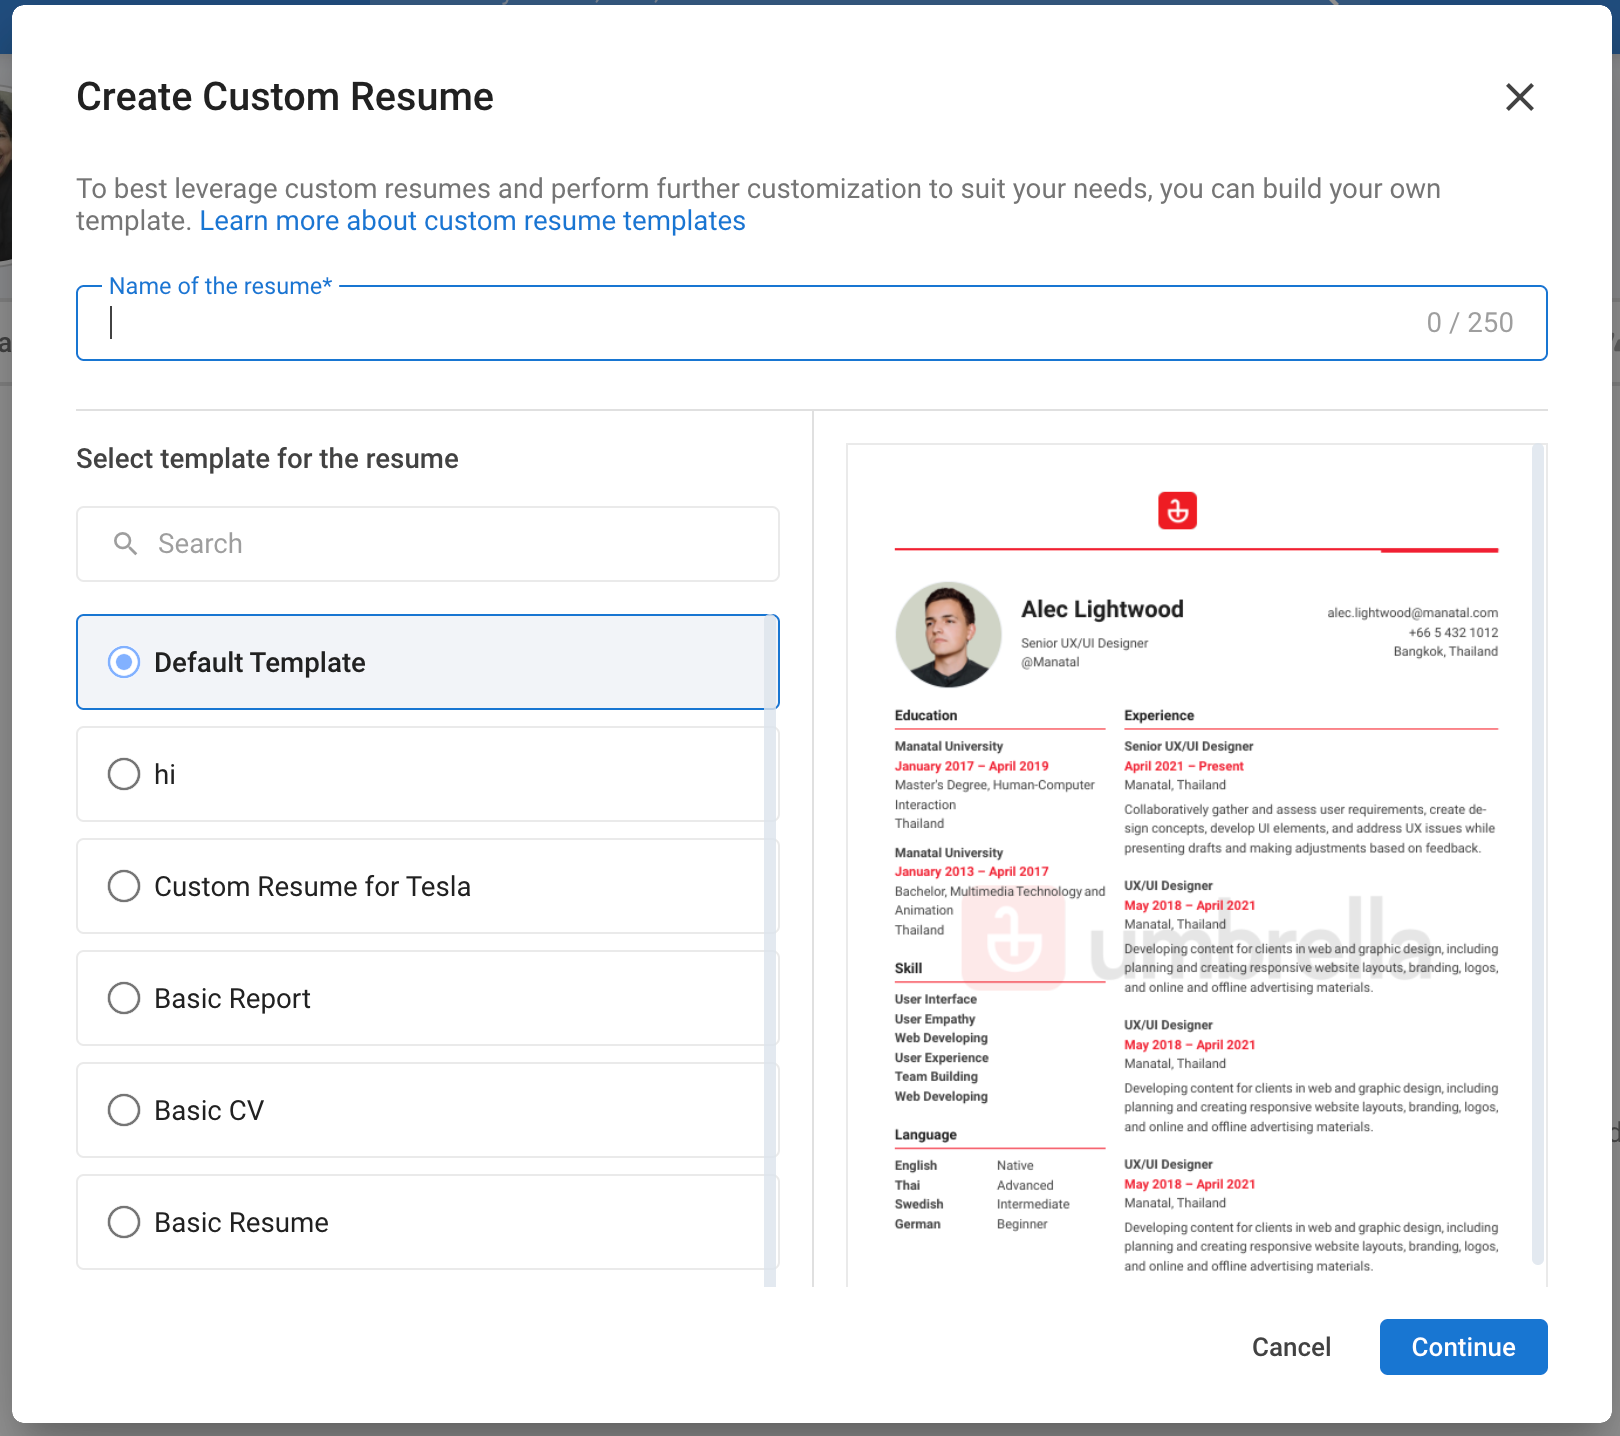
Step 12: Enter a candidate profile and click on the resume tab. Click on custom resume, then new custom resume. Write the name of this resume and select the template.
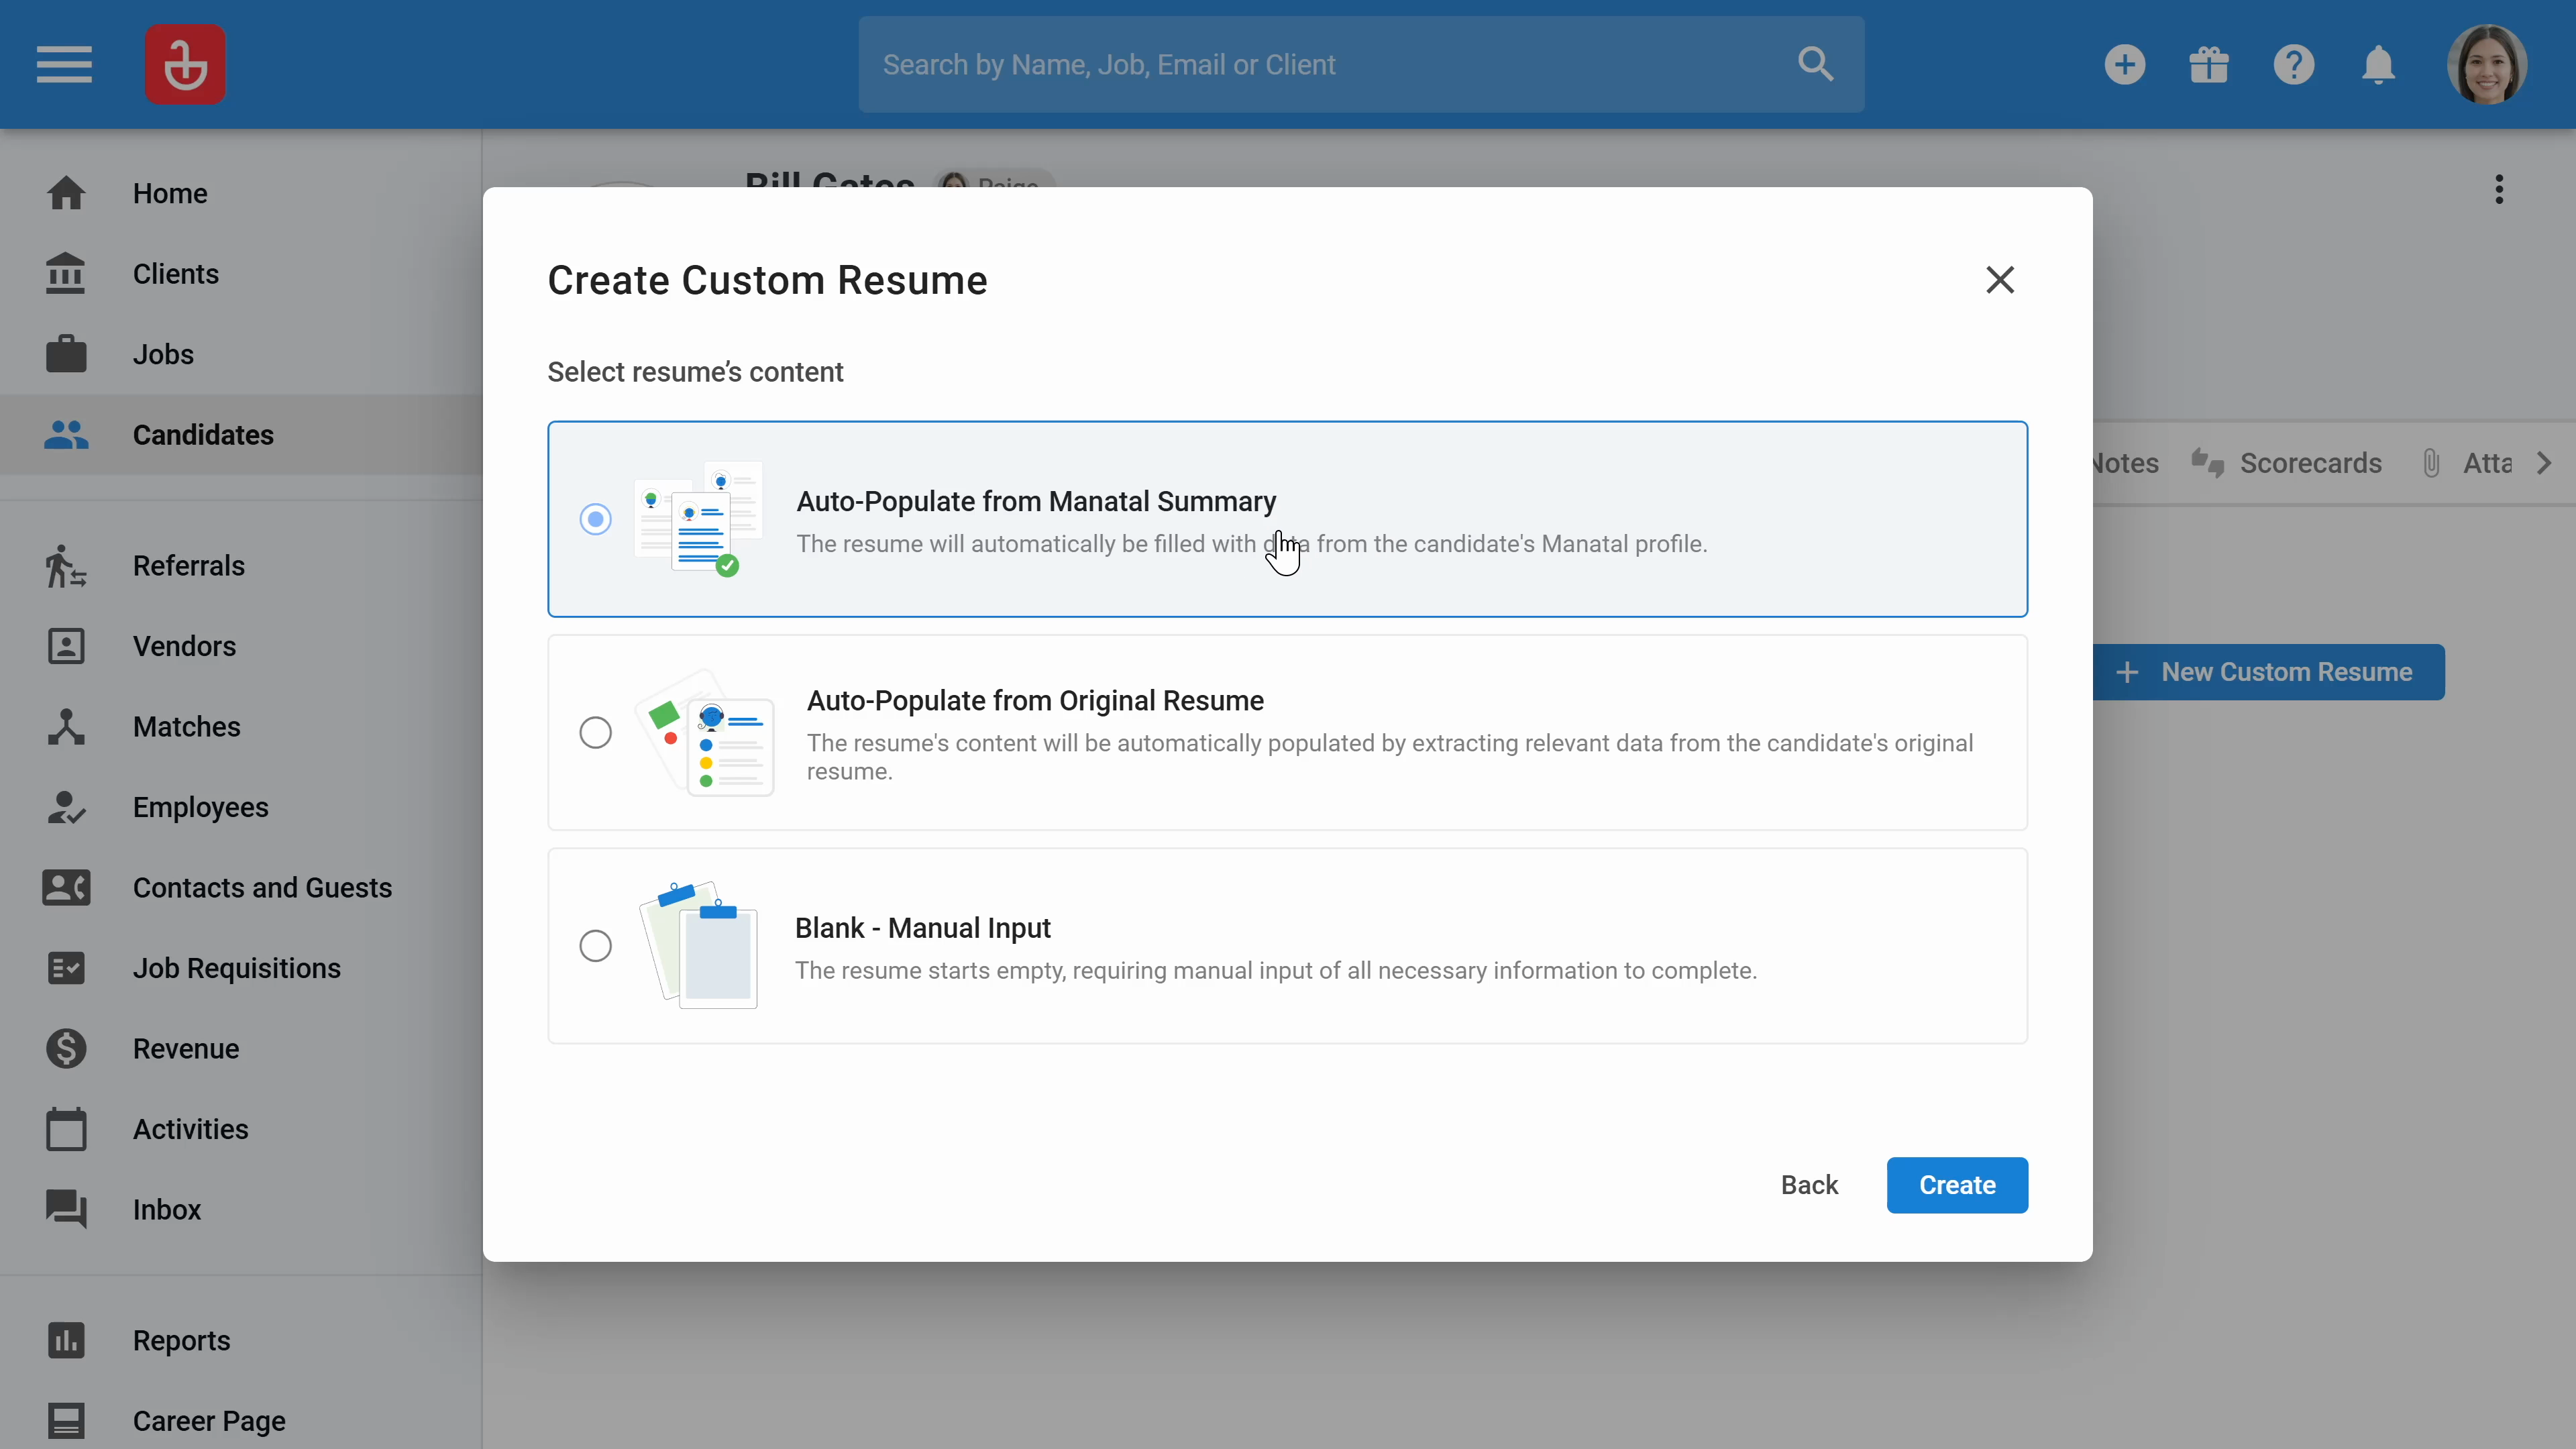
Step 13: Decide how to add information to the custom resume. You can use the candidate summary, auto populate from the original resume, or use blank input.
Step 14: Make final changes to the resume. Remove irrelevant experience or skills, add new skills, or customize the package information field.
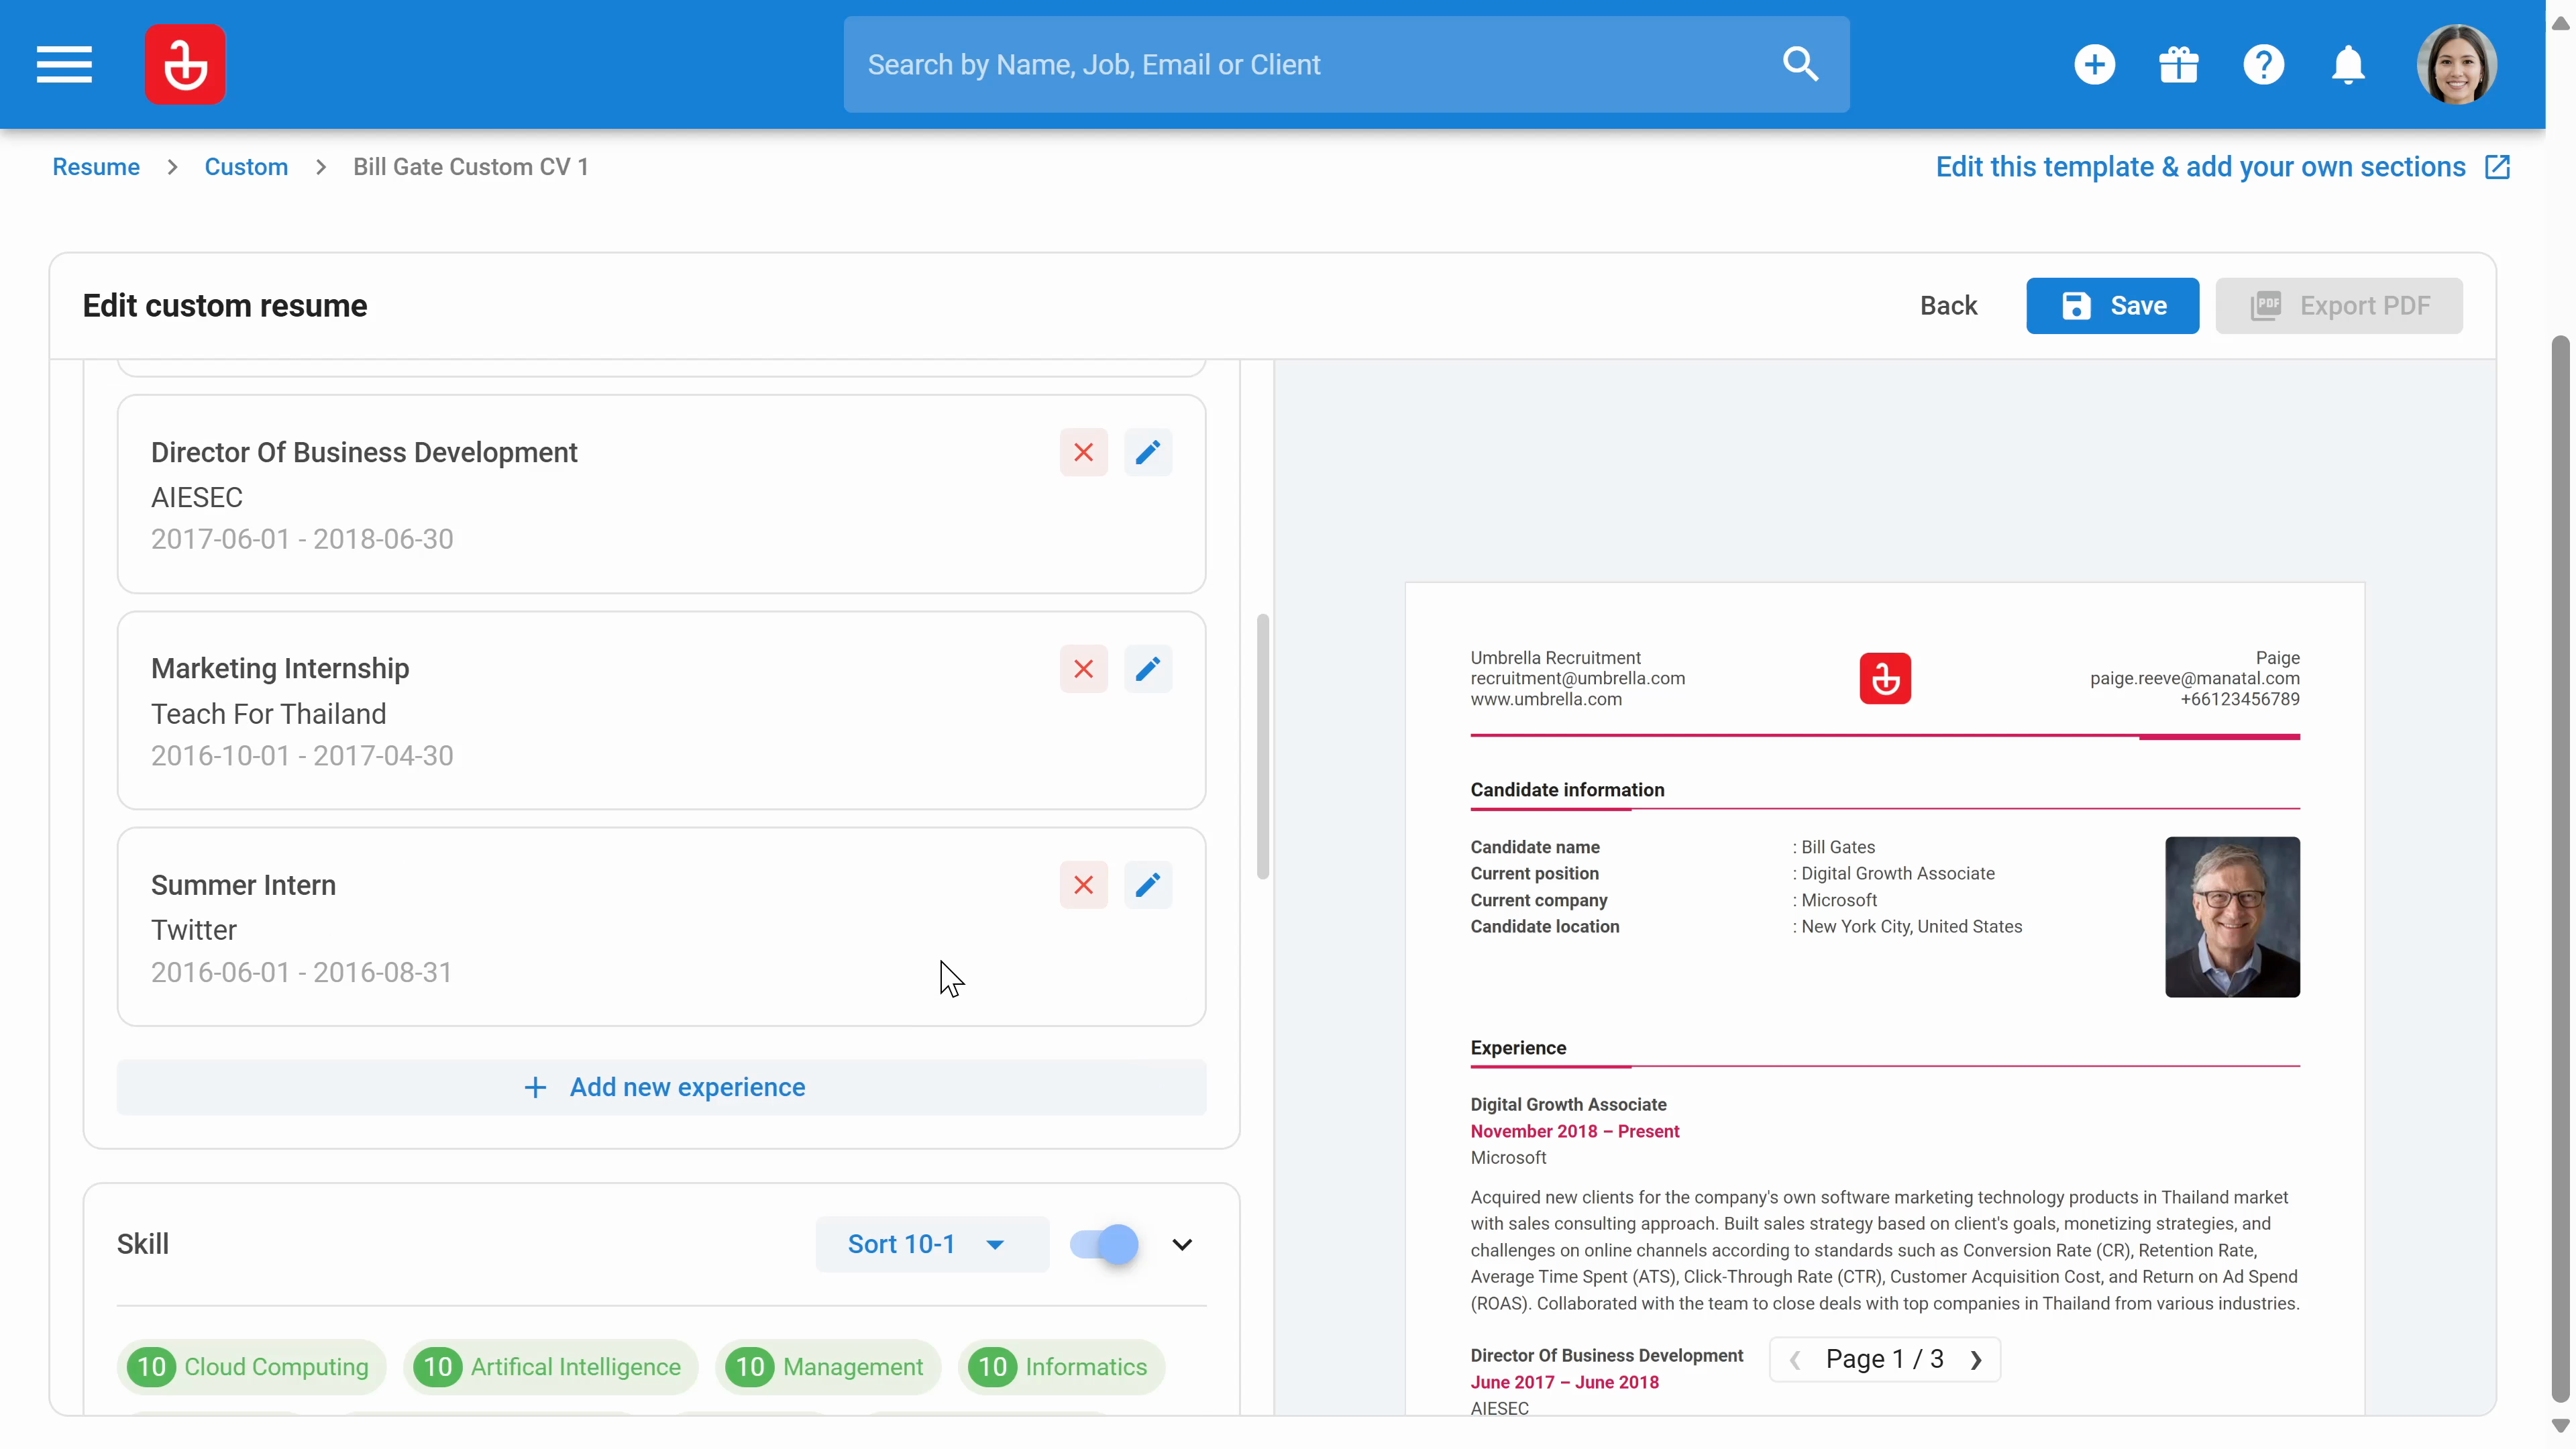
Step 15: Click save and then export the resume to a PDF file.

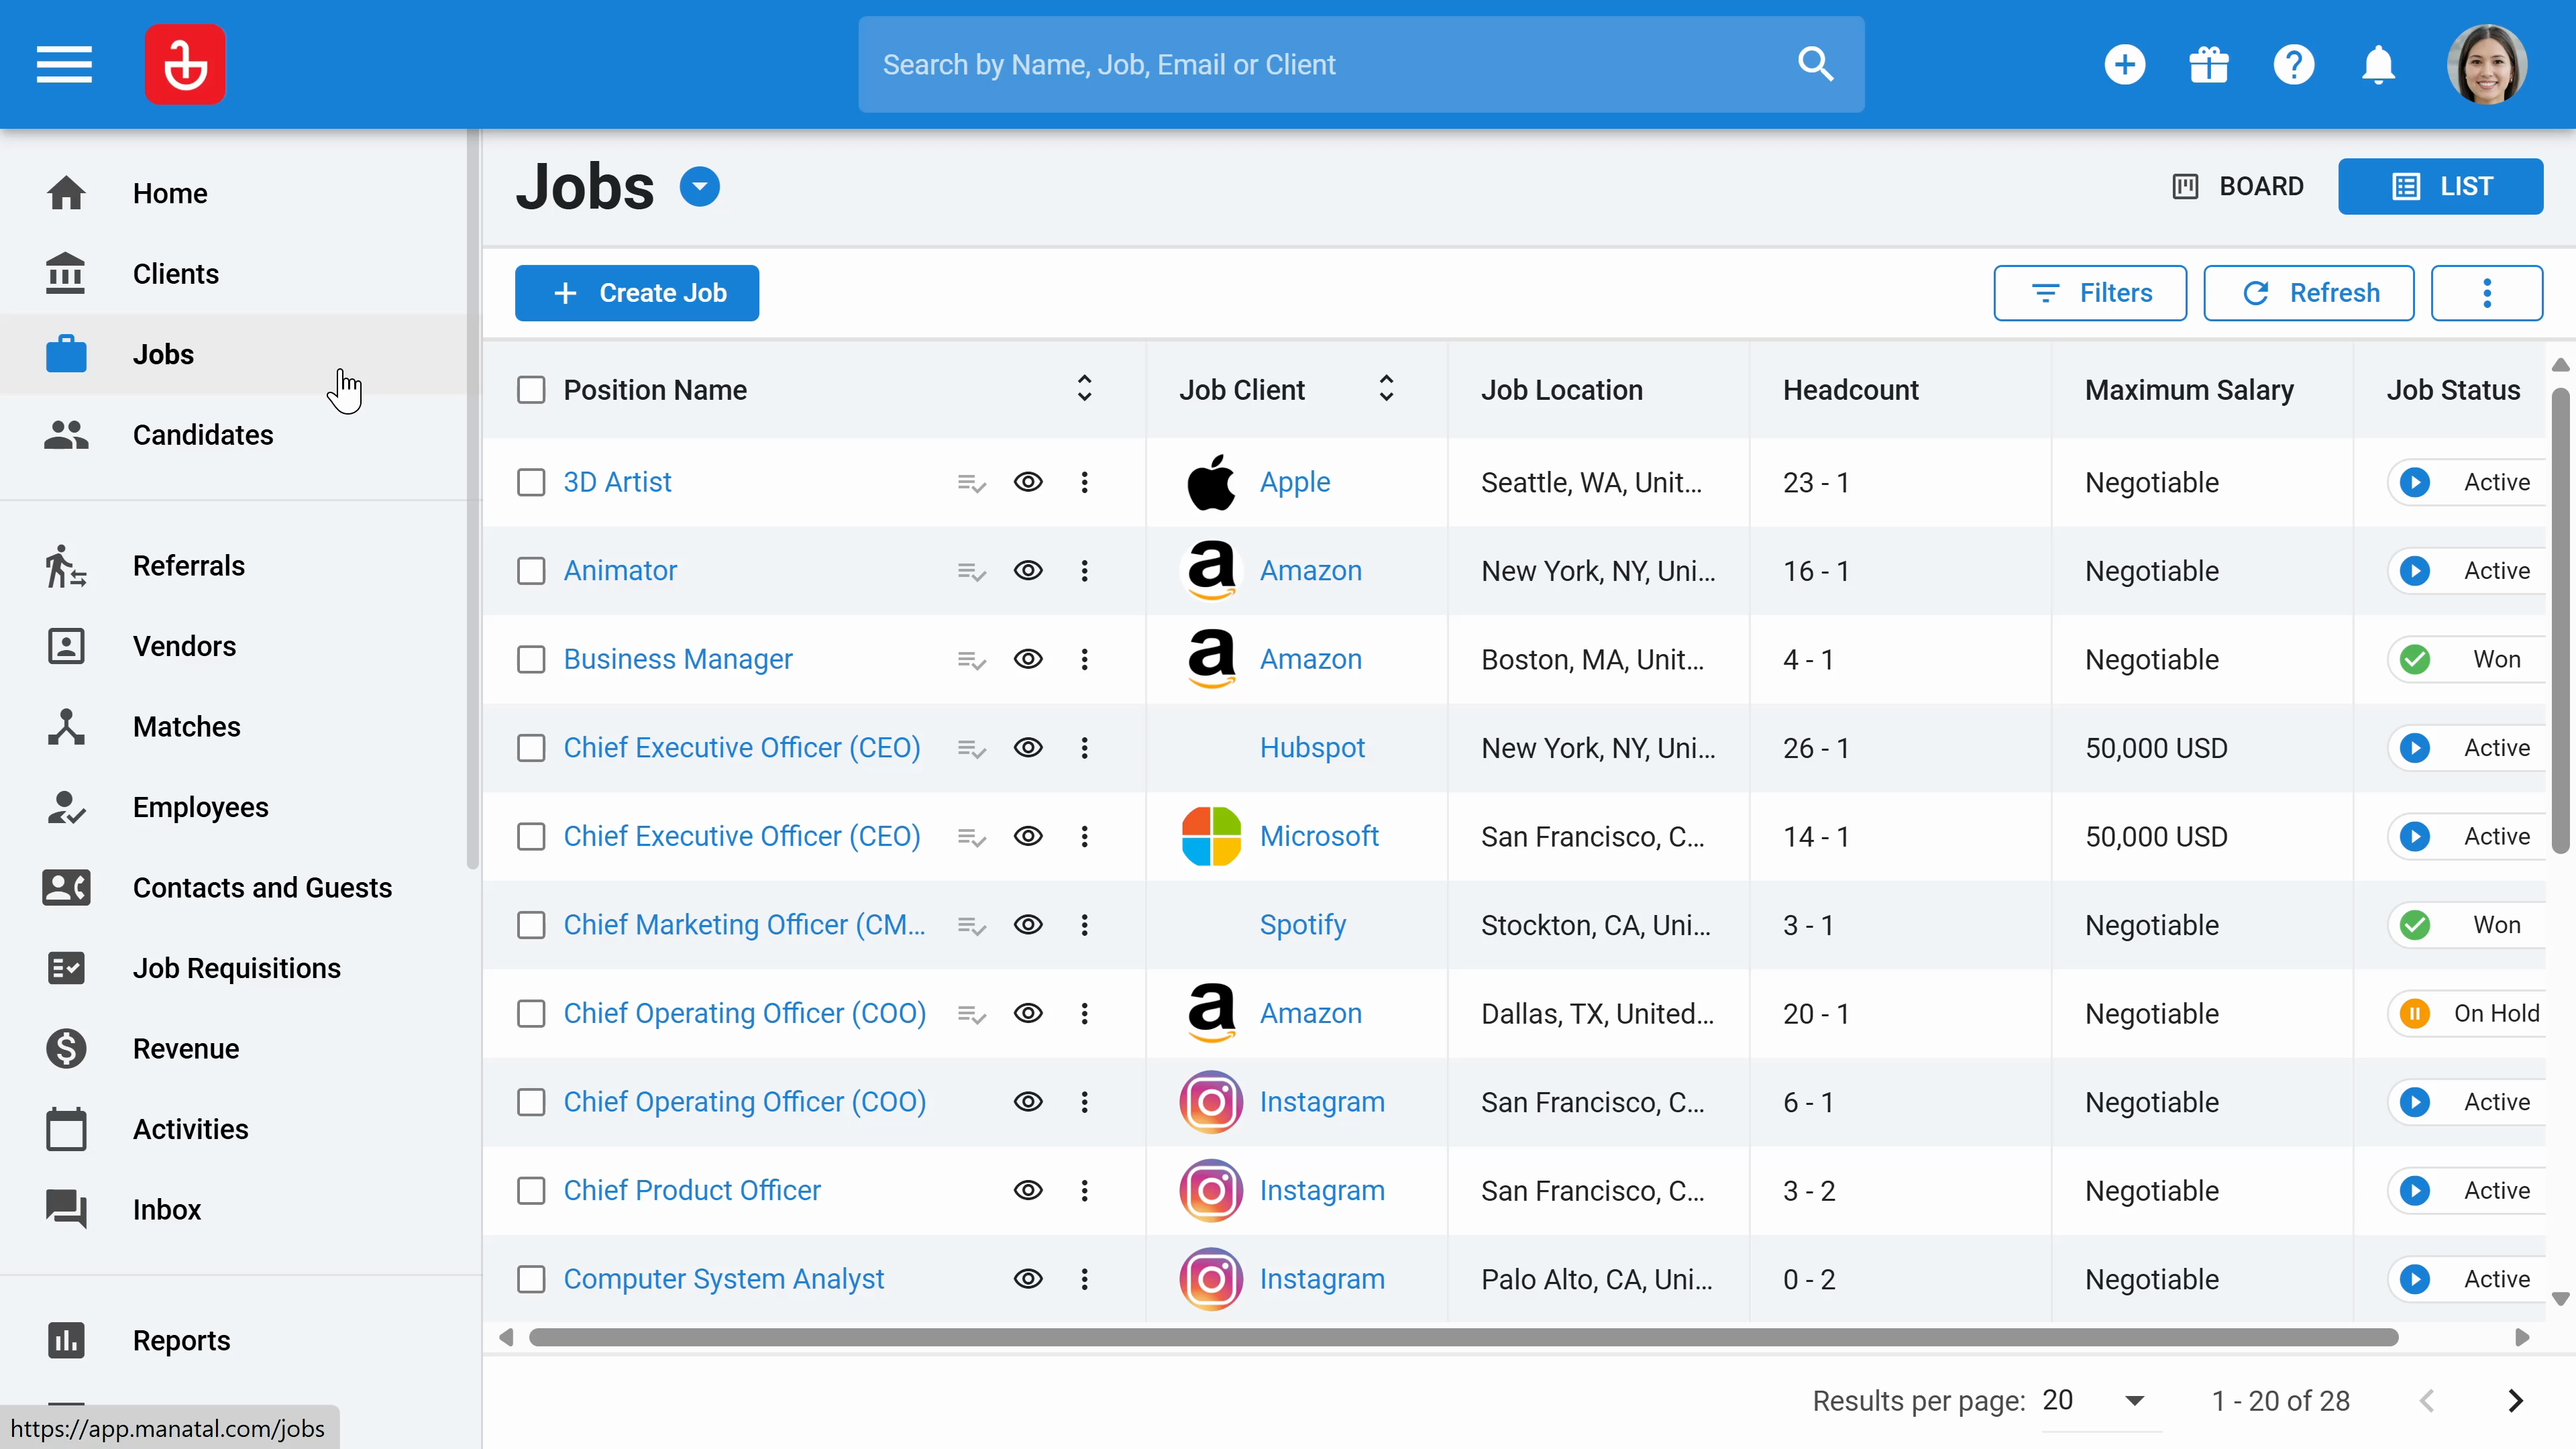
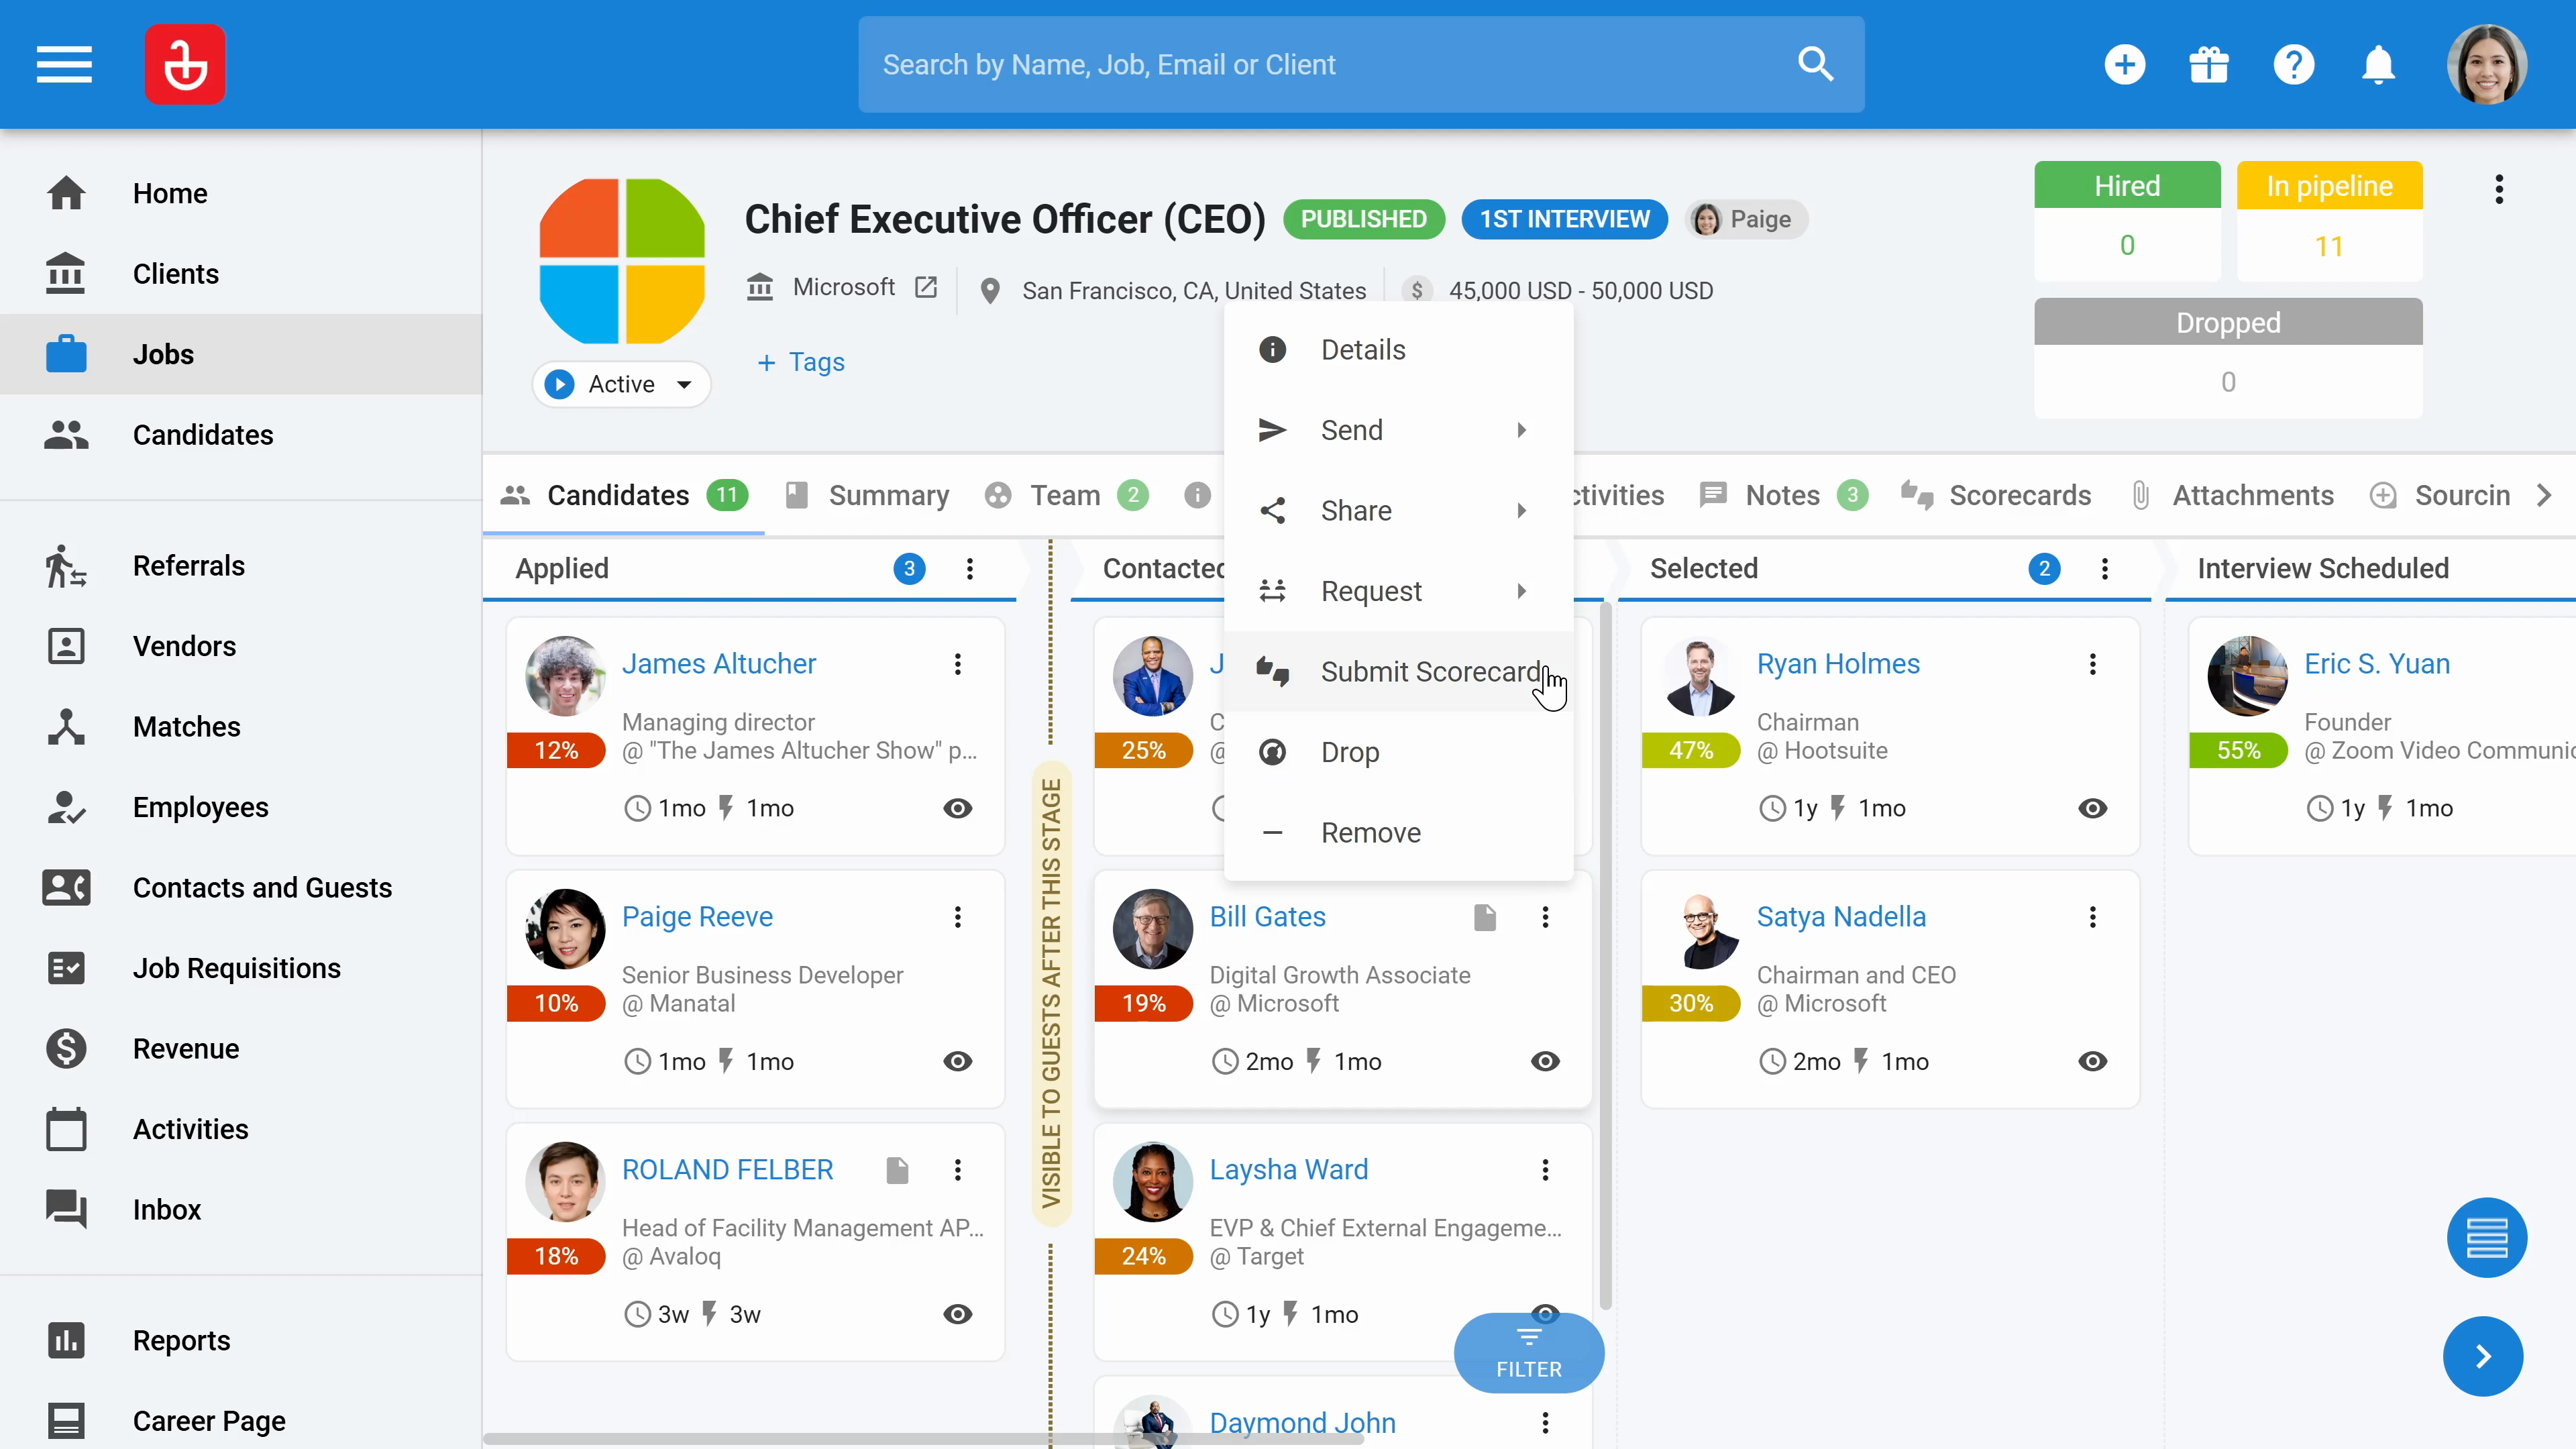
Step 16: To share the custom resume with hiring managers, navigate to the job, open a specific job, and click on the three dots on the candidate card. Click share and choose to share via email or the guest portal.